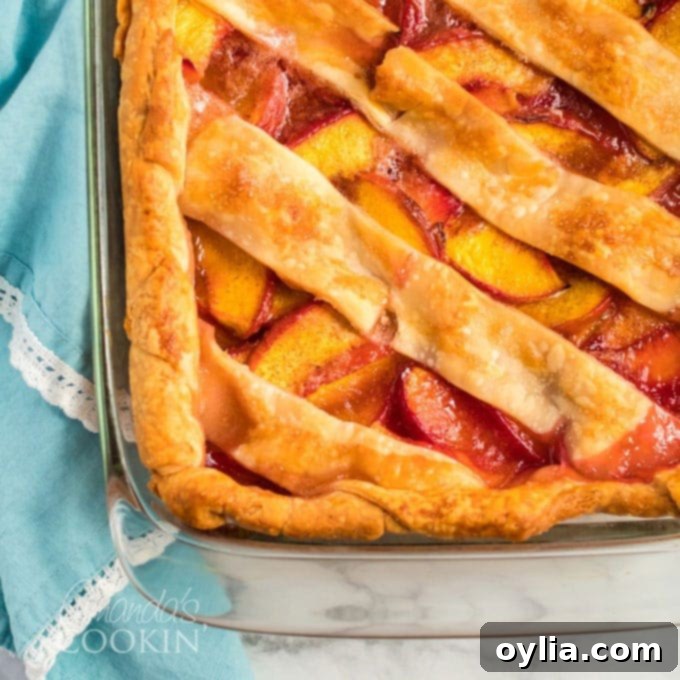
Mom’s Classic Deep Dish Peach Pie: A Beloved Family Recipe
This homemade deep dish peach pie recipe holds a special place in my heart, woven with countless cherished memories. I can vividly recall my mom preparing this very pie when I was just a little girl. Her presence in the kitchen, the worn cookbook open, her hands expertly mixing the dough, slicing the sweet peaches, and her gentle smile directed at me as I sat patiently at the table – these are moments I treasure. The scent of cinnamon and peaches baking in the oven would fill our home, promising a slice of pure comfort and joy.
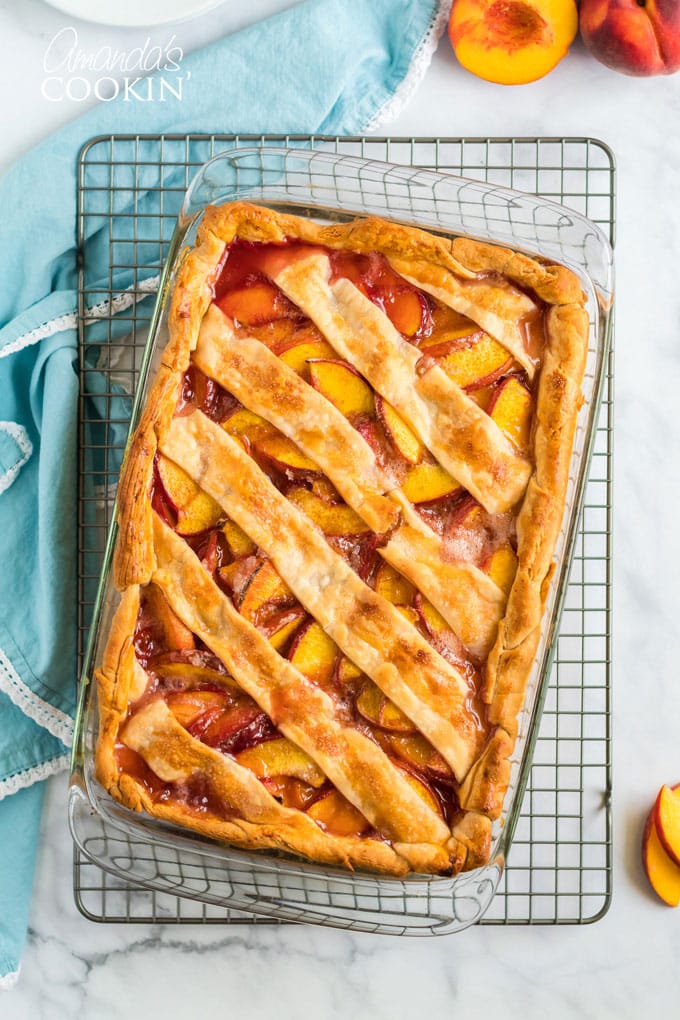
My love for pie runs deep, especially for fresh fruit pies. While I adore a vibrant blueberry pie or a zesty apple creation, no other dessert stirs such sweet nostalgia for me as this deep dish peach pie, a true gem from my mom’s collection of recipes. It’s more than just a dessert; it’s a taste of home and a loving tribute to her memory.
Why This Deep Dish Peach Pie is a Perennial Favorite
If you’ve yet to experience the delight of a freshly baked peach pie, you are in for an absolute treat. The secret to the very best peach pie lies in selecting the right peaches and preparing them with care. We always opt for fresh, firm peaches, sliced thinly with their skins left on. This method not only simplifies preparation but also adds a rustic charm and a subtle texture to the filling.
Some bakers advocate for peeling peaches, believing the skins might impart a bitter taste. In all my years of baking this recipe, I’ve never encountered that issue. However, if you have a strong preference or dietary reason to peel them, please feel free to do so. The core flavor of this incredible peach pie filling will remain wonderfully delicious.
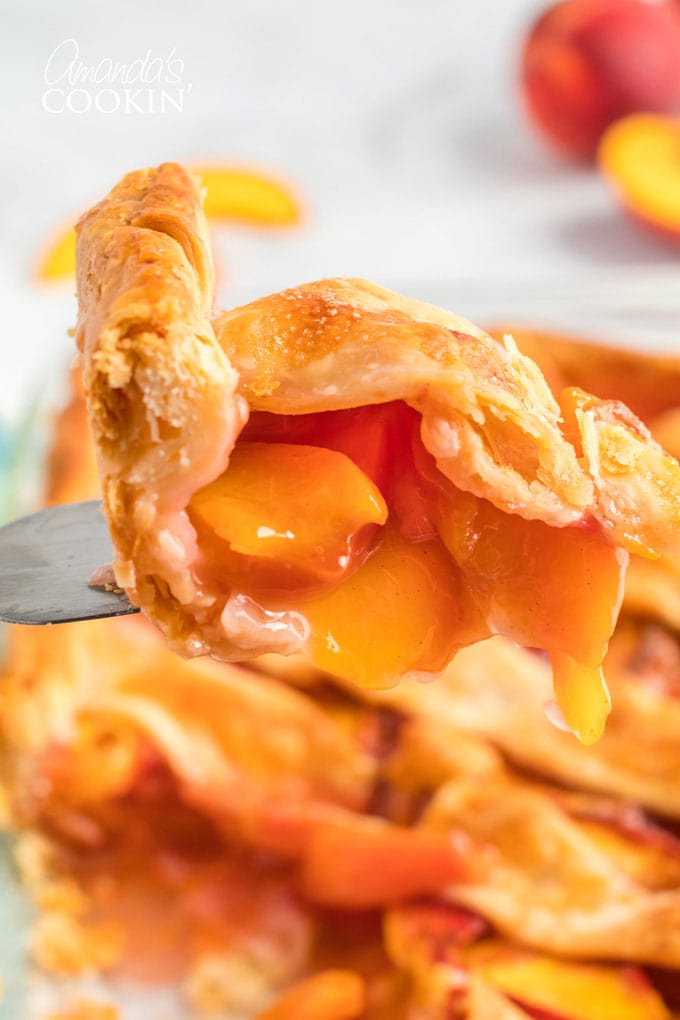
The magic truly happens when those fresh, thinly sliced peaches are gently combined with just the right amount of sugar and cinnamon. This simple yet profound marriage of ingredients creates a filling that’s rich in flavor, perfectly balanced, and never overpowered. And oh, the aroma that wafts from the oven as it bakes! It’s utterly mouth-watering, a warm, inviting fragrance that promises pure delight and will undoubtedly make your tastebuds tingle and your stomach happily growl.
The Story Behind Mom’s Deep Dish Peach Pie Recipe
This cherished fresh peach pie recipe originally hailed from my all-time favorite culinary treasure, The Good Housekeeping Illustrated Cookbook. However, my mom, with her intuitive baking wisdom, made a few clever adjustments. She decided to increase the quantity of the dough ingredients, finding the original recipe’s crust simply too delicate for her liking. Her modifications resulted in a more substantial, satisfying crust that could truly hold up to the generous deep dish filling. She also reimagined the topping design, giving it her unique touch.
So, if your quest for a perfect deep dish peach pie recipe made with fresh, succulent peaches has been fruitless, your search ends here. This particular recipe is designed to be baked in a spacious 13×9 inch pan, ensuring it yields enough to generously serve a crowd. This makes it an absolutely ideal dessert for celebratory holidays, heartwarming family gatherings, festive potlucks, or any occasion where you want to share a truly spectacular treat. Be prepared to print extra copies of the recipe, because I guarantee, you’ll be inundated with requests for it!
Essential Ingredients for Your Homemade Peach Pie
Find all precise measurements, a comprehensive list of ingredients, and detailed instructions in the printable recipe card located at the conclusion of this article.
- **Granulated Sugar:** This is your primary sweetener for the luscious filling. Its fine crystals dissolve beautifully, creating a silky texture and allowing the natural sweetness of the peaches to shine. I’ve always used white granulated sugar for this recipe and haven’t experimented with alternatives. If you do, please share your experience!
- **Cornstarch:** An indispensable ingredient, cornstarch acts as the perfect thickener for the peach filling, ensuring it’s beautifully jammy and not watery. It creates that ideal consistency that holds its shape when sliced.
- **Cinnamon:** Just a hint of ground cinnamon is all you need. It complements the peaches exquisitely, adding warmth and a subtle spice without ever overpowering the delicate fruit flavor. This balance is key to a truly outstanding peach pie.
- **Table Salt:** A pinch of regular table salt is used in both the filling and the pie crust. Don’t skip it! Salt is a flavor enhancer that brings out the best in both sweet and savory elements, balancing the richness of the butter and the sweetness of the sugar.
- **Fresh Peaches:** Plan to buy approximately 5 pounds of fresh peaches. The ideal peaches for this recipe are firm but yield slightly to a gentle squeeze. They should smell fragrant and peachy. Selecting firm fruit is crucial because riper, softer peaches release significantly more juice during baking, which can lead to a thin, watery pie filling.
- **Unsalted Butter:** In all my baking endeavors, I consistently reach for unsalted butter. It allows for precise control over the salt content in the recipe. While salted butter can be used, it might subtly alter the overall flavor. For the crust, I don’t recommend margarine as it tends to compromise the desired flaky texture, though it can be used in a pinch.
- **All-Purpose Flour:** For the pie crust, standard all-purpose flour, whether bleached or unbleached, works perfectly. Unless you have extensive experience working with alternative flours for pie crusts, it’s best to stick with all-purpose to guarantee a successful, tender, and flaky result.
- **Butter-Flavored Shortening:** This is my go-to for the crust because it contributes to an exceptionally tender and flaky texture. Regular shortening is a fine substitute. There’s a long-standing debate among bakers about shortening (or even lard) creating the superior pie crust. If you prefer, you can substitute the same amount of cold, cubed butter, but be mindful that the texture may vary slightly.
- **Cold or Ice Water:** The temperature of your water is critical for a truly flaky pie crust. Sprinkling in very cold or ice water helps keep the fat (butter or shortening) solid, preventing gluten development and resulting in a tender, melt-in-your-mouth crust.
- **Optional Sugar Coating:** For an extra touch of beauty and sparkle, lightly brush the top crust with an egg wash (a whisked egg with a splash of water or milk) and gently sprinkle with a little extra granulated sugar just before the pie goes into the oven. This creates a gorgeous, golden, slightly crisp finish.
Helpful Kitchen Tools for Perfect Pie Making
- 13×9 inch glass baking dish: Ideal for deep dish pies, promoting even baking and allowing you to see the beautiful crust.
- Rolling pin: Essential for evenly rolling out your pie dough.
- Pastry blender: A pastry blender or two knives are key for cutting fat into flour, which is crucial for a flaky crust.
- Pastry wheel or pizza wheel: Makes quick and clean work of cutting dough strips for your top crust.
Expert Tips for Baking Your Best Peach Pie
- Peach Quantity Matters: While the recipe calls for 10 cups of sliced peaches, it’s wise to purchase around 5 pounds of whole fruit. Peach sizes can vary significantly, and this ensures you’ll have more than enough. In my last baking session, approximately 3.5 pounds of peaches yielded the required 10 cups, but it’s always better to have a little extra than to run short.
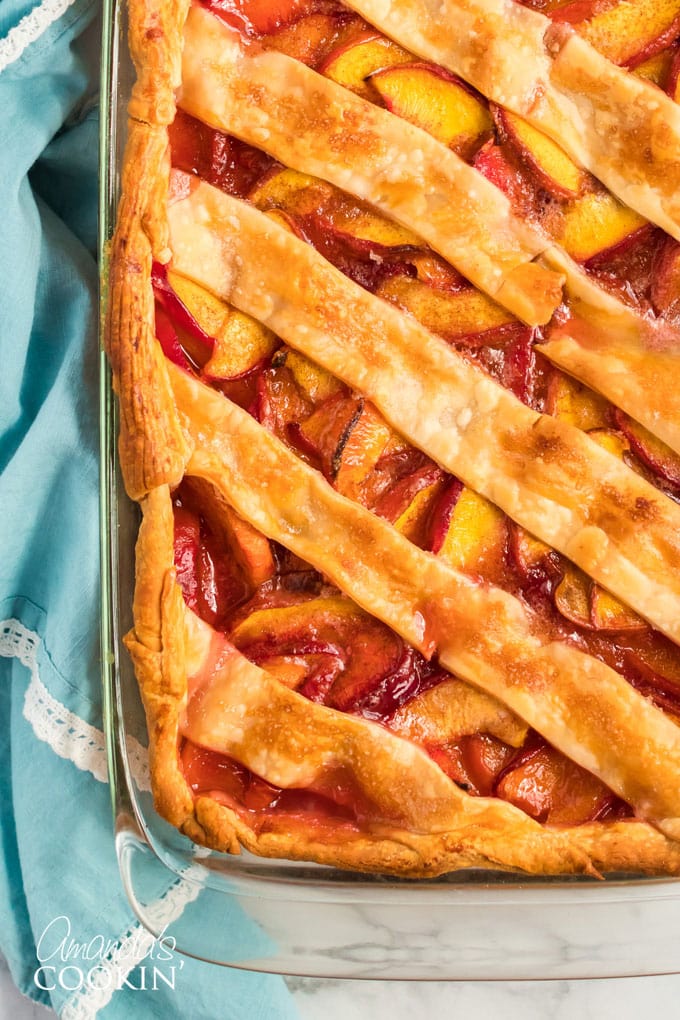
- Embrace the Rustic Charm or Get Fancy: This recipe typically results in a charmingly rustic crust, which I adore. However, if you’re aiming for a more elegant presentation, you can easily create a beautiful fluted edge with your fingers. Alternatively, for a truly impressive look, transform the top strips of pie dough into a classic lattice pattern by cutting them thinner and weaving them carefully.
- Resist the Urge to Open the Oven: For optimal baking results, let your deep dish peach pie bake undisturbed. Opening the oven door frequently causes temperature fluctuations that can hinder the crust from browning properly and the filling from setting. The crust will achieve a lovely golden brown relatively quickly. If you notice your oven tends to run hot and the edges of your crust are browning too rapidly, you can carefully remove the pie and loosely cover only the edges with aluminum foil. Do not cover the entire top of the pie, as this will trap steam, potentially causing your top crust strips to collapse and preventing the filling from thickening correctly.
- Patience for a Perfect Slice: For a pie that’s firm, beautifully set, and effortless to slice, allow it to cool for at least 2 hours on a wire rack before serving. While it’s tempting to dig in immediately, this cooling period is crucial for the cornstarch to fully thicken the filling. Should you desire a warm slice later, individual portions can be easily reheated in the microwave.
Step-by-Step Guide: How to Make This Delicious Peach Pie
The first crucial step in crafting this delightful deep dish peach pie is preparing your homemade crust. Unlike some recipes, you won’t be pre-baking it; the filling will go directly into the raw crust.
These step-by-step photographs and accompanying instructions are provided to offer a visual guide as you prepare this recipe. For a concise, printable version of the recipe, please scroll down to the end of this post!
Crafting the Perfect Pie Crust
Begin by setting out your 13×9 inch glass baking dish. There’s no need to grease the pan for this recipe.
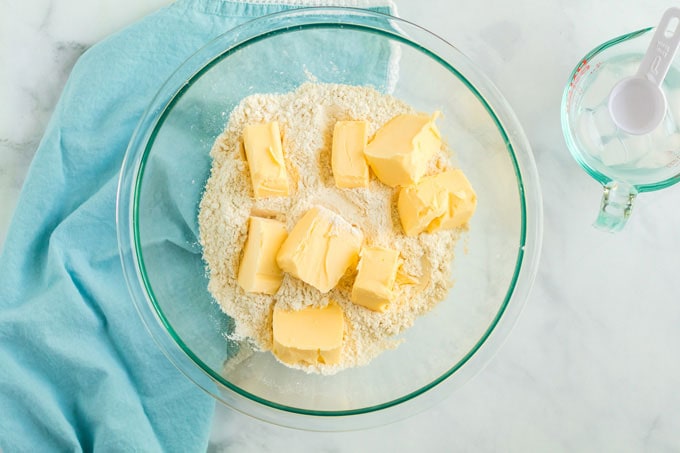
- In a medium-sized mixing bowl, combine the all-purpose flour and salt. Stir them together thoroughly with a fork until well mixed.
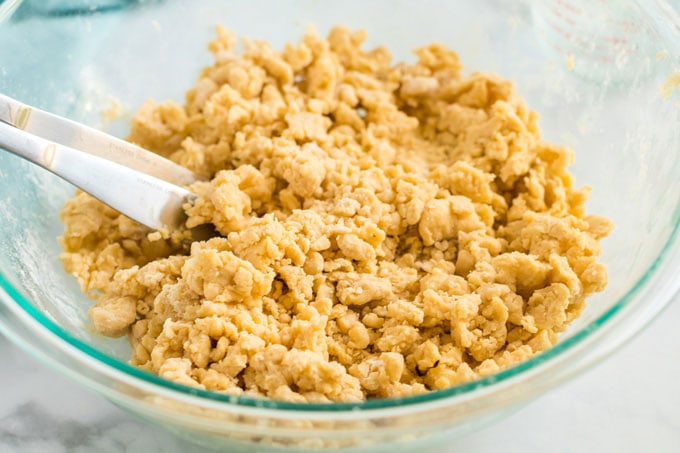
- Next, introduce the cold shortening into the flour mixture. Using a pastry blender (or alternatively, two knives in a scissor-like motion), cut the shortening into the dry ingredients until the mixture transforms into a texture resembling coarse crumbs.
- Now, gradually sprinkle in the ice-cold water, adding one tablespoon at a time. After each addition, lightly mix the dough with a fork. Continue this process until the dough just begins to come together and hold its shape. Be careful not to overmix.
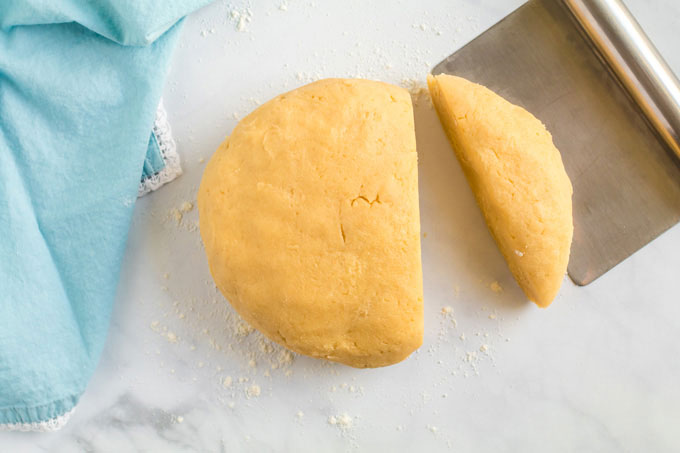
- Gently shape the prepared dough into a ball. Once formed, carefully cut off approximately one-fourth of the dough and set it aside; this portion will be used for the top crust.
- On a lightly floured surface, and with a lightly floured rolling pin, roll out the larger three-fourths portion of the dough into a generous 17×13 inch rectangle. This size is necessary to cover the bottom and sides of your deep dish pan.
- To effortlessly transfer the rolled dough, gently roll approximately half of the dough rectangle onto your rolling pin. Carefully lift it and unroll it over your 13×9 inch glass baking pan. Ease the dough gently into the contours of the pan, making sure it extends up and slightly over the sides.
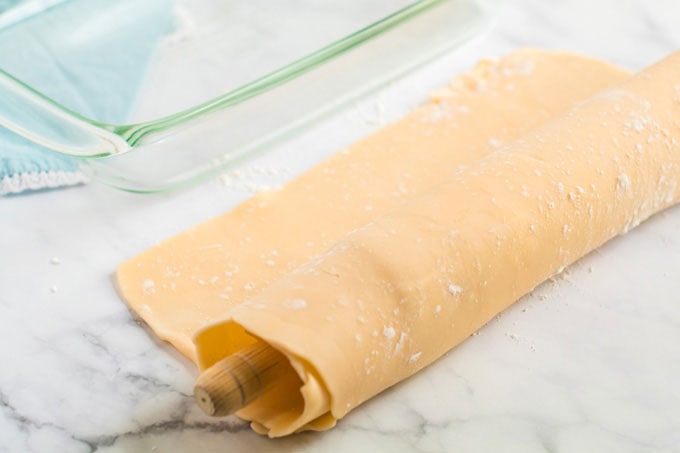
Preparing the Irresistible Peach Pie Filling
As emphasized earlier, the quality of your fresh peaches is paramount. They should be very firm and yield only slightly when gently pressed. This firm texture is key to preventing your delicious filling from becoming too thin or watery during the baking process, ensuring a perfectly set pie every time.
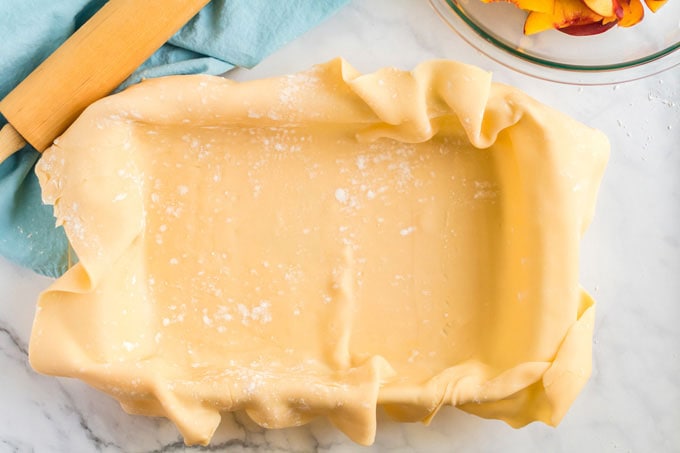
- To efficiently slice your peaches, hold one upright and carefully slice off one side, cutting as close to the pit as possible. Rotate the peach a quarter turn and repeat, slicing off another side. Continue this process two more times until you have four main sections around the pit. Then, slice these peach sections thinly, aiming for a thickness between 1/8-inch and 1/4-inch.
- In a separate medium bowl, combine the granulated sugar, cornstarch, ground cinnamon, and salt. Stir these dry ingredients together well, then set this mixture aside for a moment.
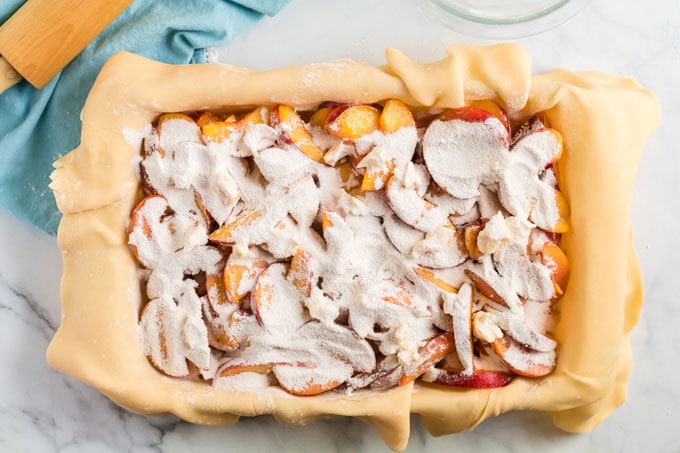
- Evenly arrange the freshly sliced peaches in a single layer over the dough-lined pan, creating a generous bed for your delicious filling.
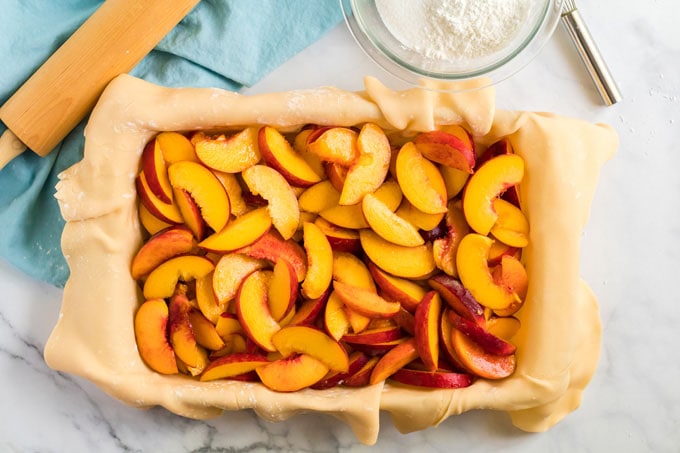
- Evenly dot the surface of the peaches with small pieces of butter. I typically cut each tablespoon of butter into four smaller pieces to ensure an even distribution, allowing it to melt and mingle with the peaches and spices as it bakes.
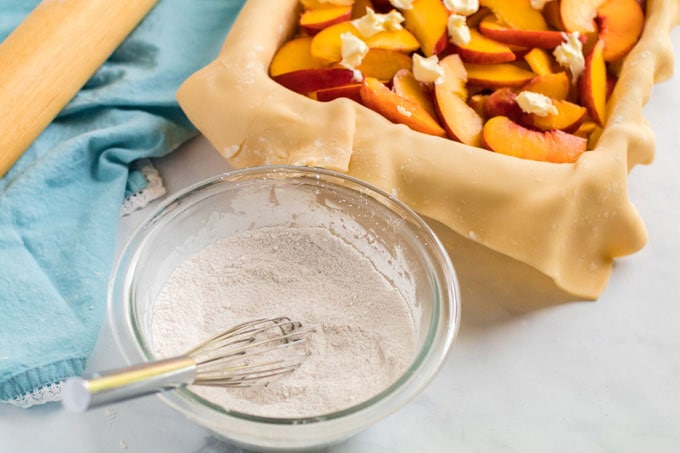
- Now, generously sprinkle the reserved sugar mixture (containing cornstarch, cinnamon, and salt) evenly over the top of all the peaches. Ensure every peach slice is lightly coated to create that perfectly sweetened and thickened filling.
- Preheat your oven to a temperature of 425°F (220°C).
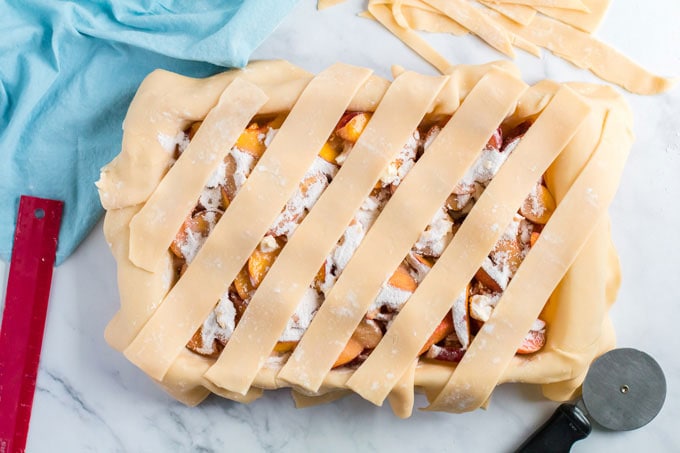
- Take the remaining one-fourth portion of dough and roll it out into a 10×6 inch rectangle. Then, using a pastry wheel or a pizza cutter for ease and precision, cut the dough into 1-inch wide strips.
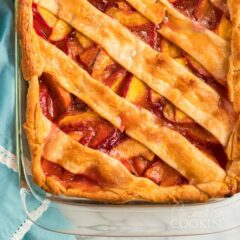
- Carefully place these dough strips crosswise over the peach filling. Gently pinch them into place along the edge of the bottom crust to secure them. This creates a simple yet elegant topping for your deep dish peach pie.
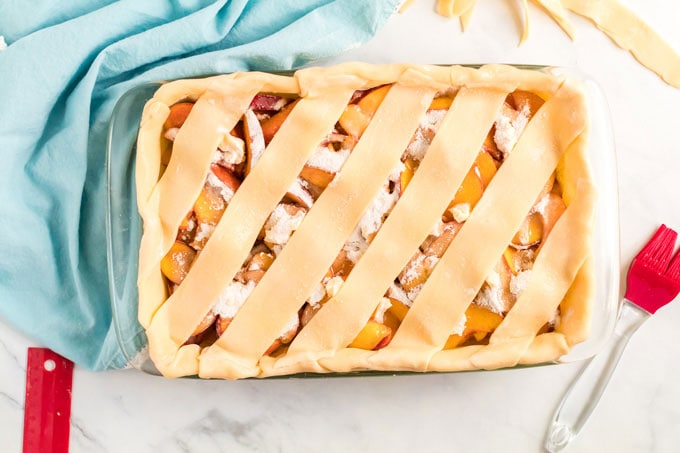
- To create a clean, finished edge, take any excess dough hanging over the sides and gently roll it up under itself along the perimeter of the pan. This secures the crust and gives it a polished look.
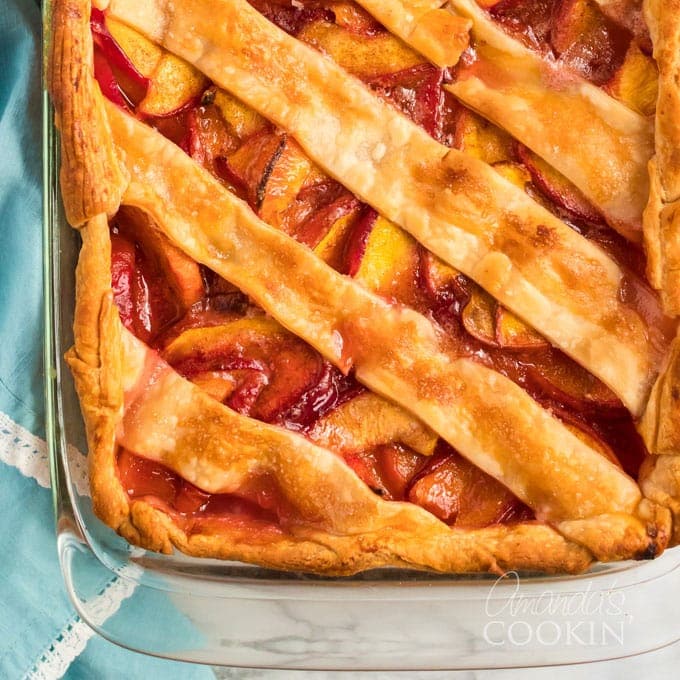
- Place the pie in your preheated oven and bake, undisturbed, for approximately 50 minutes. You’ll know it’s perfectly done when the filling is visibly bubbly around the edges and through the crust openings, and the crust itself has achieved a beautiful, rich golden-brown hue.
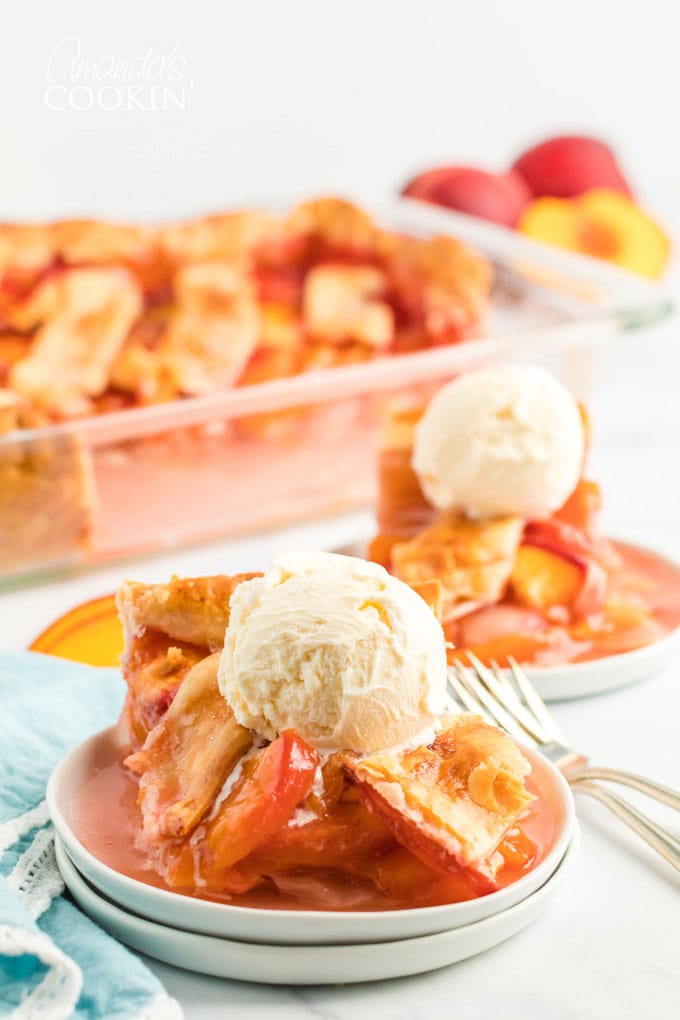
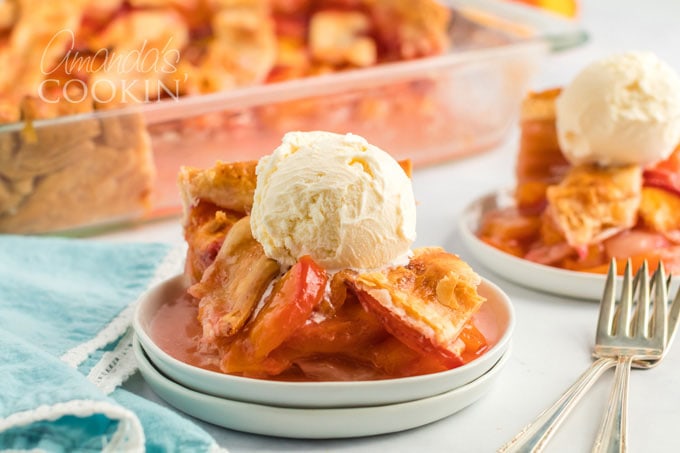
- Once baked, carefully remove the pie from the oven and transfer it to a wire cooling rack. Allow it to stand and cool for at least 15-20 minutes before serving warm. For an extra special treat, serve each slice with a generous scoop of creamy vanilla ice cream.
I often find myself missing my mom, who sadly passed away in 1990 when I was only 23 years old. Though I sometimes feel robbed of her physical presence on earth, I make sure to keep her memory vibrantly alive through the boundless love in my heart, and, of course, through cherished family recipes just like this one. Each bite of this deep dish peach pie is a connection to her, a sweet reminder of her love and the warmth she brought into our lives.
A few years ago, I also lovingly dedicated my classic yellow cake recipe to her memory, a testament to the enduring impact she had. Love you, momma, always.
More Irresistible Pie Recipes You Might Love
- No Bake Peanut Butter Pie: A creamy, dreamy, no-fuss dessert for peanut butter lovers.
- Fresh Strawberry Pie: Celebrate summer with this bright and beautiful fruit pie.
- French Silk Pie: Indulge in rich, smooth chocolate perfection.
- Key Lime Pie: A tangy, refreshing classic that transports you to the tropics.
- Million Dollar Pie: An effortlessly delicious pie packed with pineapple, pecans, and cream.
- Explore all my pie recipes here for more baking inspiration.
I am passionate about baking and cooking, and I absolutely love sharing my cherished recipes with you! I know it can be tricky to remember to revisit and search for favorite dishes. That’s why I’ve made it simple with my weekly newsletter! You can subscribe for free, and I’ll deliver delicious, inspiring recipes straight to your inbox every week.
Deep Dish Peach Pie
IMPORTANT – For valuable tips on selecting peaches, crust options, and baking advice, please refer to the “Expert Tips” section within the blog post above!
Print It
Rate It
Save ItSaved!
Ingredients
FOR THE PIE FILLING
- 1 cup granulated sugar
- ¼ cup cornstarch
- ½ tsp ground cinnamon
- ⅛ tsp table salt
- 10 cups thinly sliced firm peaches (approximately 4-5 pounds whole peaches)
- 3 tbsp unsalted butter
FOR THE FLAKY CRUST
- 3 cups all-purpose flour
- 1 ½ tsp salt
- 1 ⅛ cup butter flavored shortening
- 7-9 tbsp ice-cold water
Helpful Notes for Success
- **Peach Selection:** Aim for 5 pounds of peaches to ensure you have enough for the 10 cups needed, as peach sizes vary. Firm peaches are best to avoid a watery filling.
- **Crust Aesthetics:** Feel free to create a fluted edge or an intricate lattice design with your top crust strips if a rustic look isn’t what you’re after.
- **Baking Patience:** Avoid opening the oven door during baking to maintain consistent heat. If crust edges brown too quickly, shield them with foil. Do not cover the entire pie.
- **Cooling is Key:** Allow the pie to cool for at least 2 hours for a firmer, easier-to-cut slice. Reheat individual slices gently in the microwave if desired.
Instructions
FOR THE CRUST
-
In a medium bowl, thoroughly stir together the flour and salt with a fork.
-
Using a pastry blender or two knives, cut the shortening into the flour mixture until it forms coarse, pea-sized crumbs.
-
Sprinkle in the ice-cold water, one tablespoon at a time. After each addition, lightly mix with a fork until the dough just comes together.
-
Gently shape the dough into a ball. Cut off one-fourth of the dough and set it aside for the top crust.
-
On a lightly floured surface, use a lightly floured rolling pin to roll the larger three-fourths of the dough into a 17×13 inch rectangle.
-
Carefully roll half of the dough onto your rolling pin, then lift and unroll it over your 13×9 inch glass baking pan. Gently ease it into the pan and up over the sides.
FOR THE PIE FILLING & BAKING
-
In a medium bowl, combine the sugar, cornstarch, cinnamon, and salt. Mix well and set aside.
-
Add the thinly sliced peaches in an even layer to the dough-lined pan.
-
Dot the peaches evenly with small pieces of butter.
-
Sprinkle the reserved sugar and spice mixture evenly over the peaches.
-
Preheat your oven to 425°F (220°C).
-
Roll the remaining dough into a 10×6 inch rectangle and cut into 1-inch wide strips using a pastry wheel or pizza cutter.
-
Arrange the dough strips crosswise over the peach filling, gently pinching them to the bottom crust edges to secure.
-
Roll any excess dough hanging over the edge underneath itself, creating a neat finish.
-
Bake the pie, undisturbed, for 50 minutes. The filling should be bubbly, and the crust a beautiful golden brown.
-
Remove the pie from the oven to a cooling rack. Let it stand for at least 15 minutes before serving warm, perhaps with a scoop of vanilla ice cream!
Nutrition Information (Estimated)
The recipes on this blog are tested with a conventional gas oven and gas stovetop. It’s important to note that some ovens, especially as they age, can cook and bake inconsistently. Using an inexpensive oven thermometer can assure you that your oven is truly heating to the proper temperature. If you use a toaster oven or countertop oven, please keep in mind that they may not distribute heat the same as a conventional full sized oven and you may need to adjust your cooking/baking times. In the case of recipes made with a pressure cooker, air fryer, slow cooker, or other appliance, a link to the appliances we use is listed within each respective recipe. For baking recipes where measurements are given by weight, please note that results may not be the same if cups are used instead, and we can’t guarantee success with that method.
