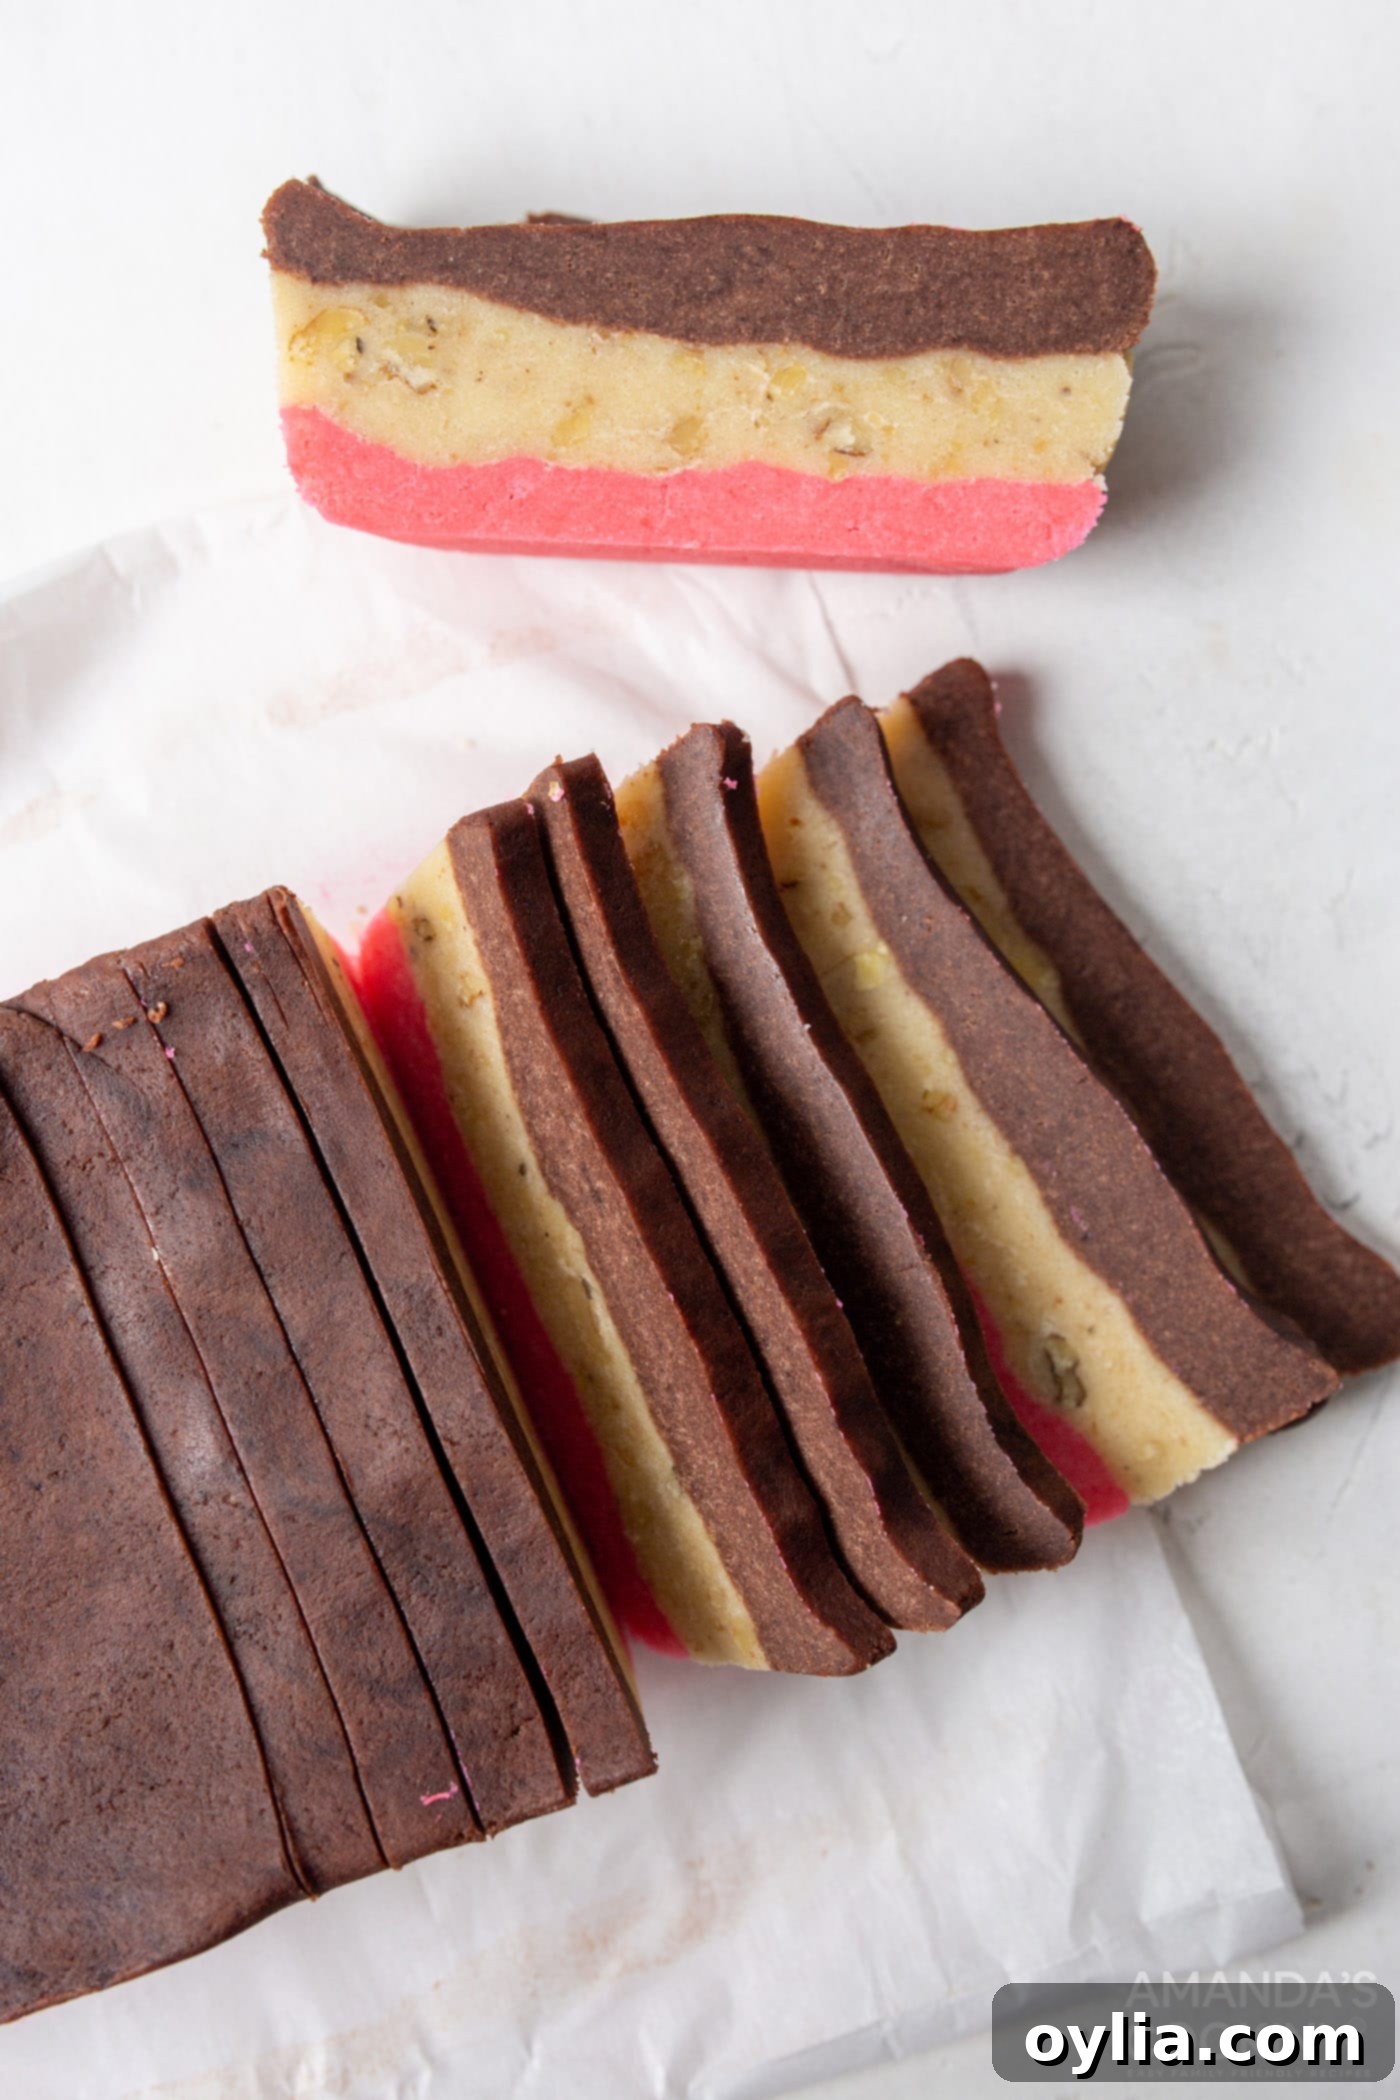
Melt-in-Your-Mouth Neapolitan Cookies: The Perfect Tri-Color Butter Cookie Recipe
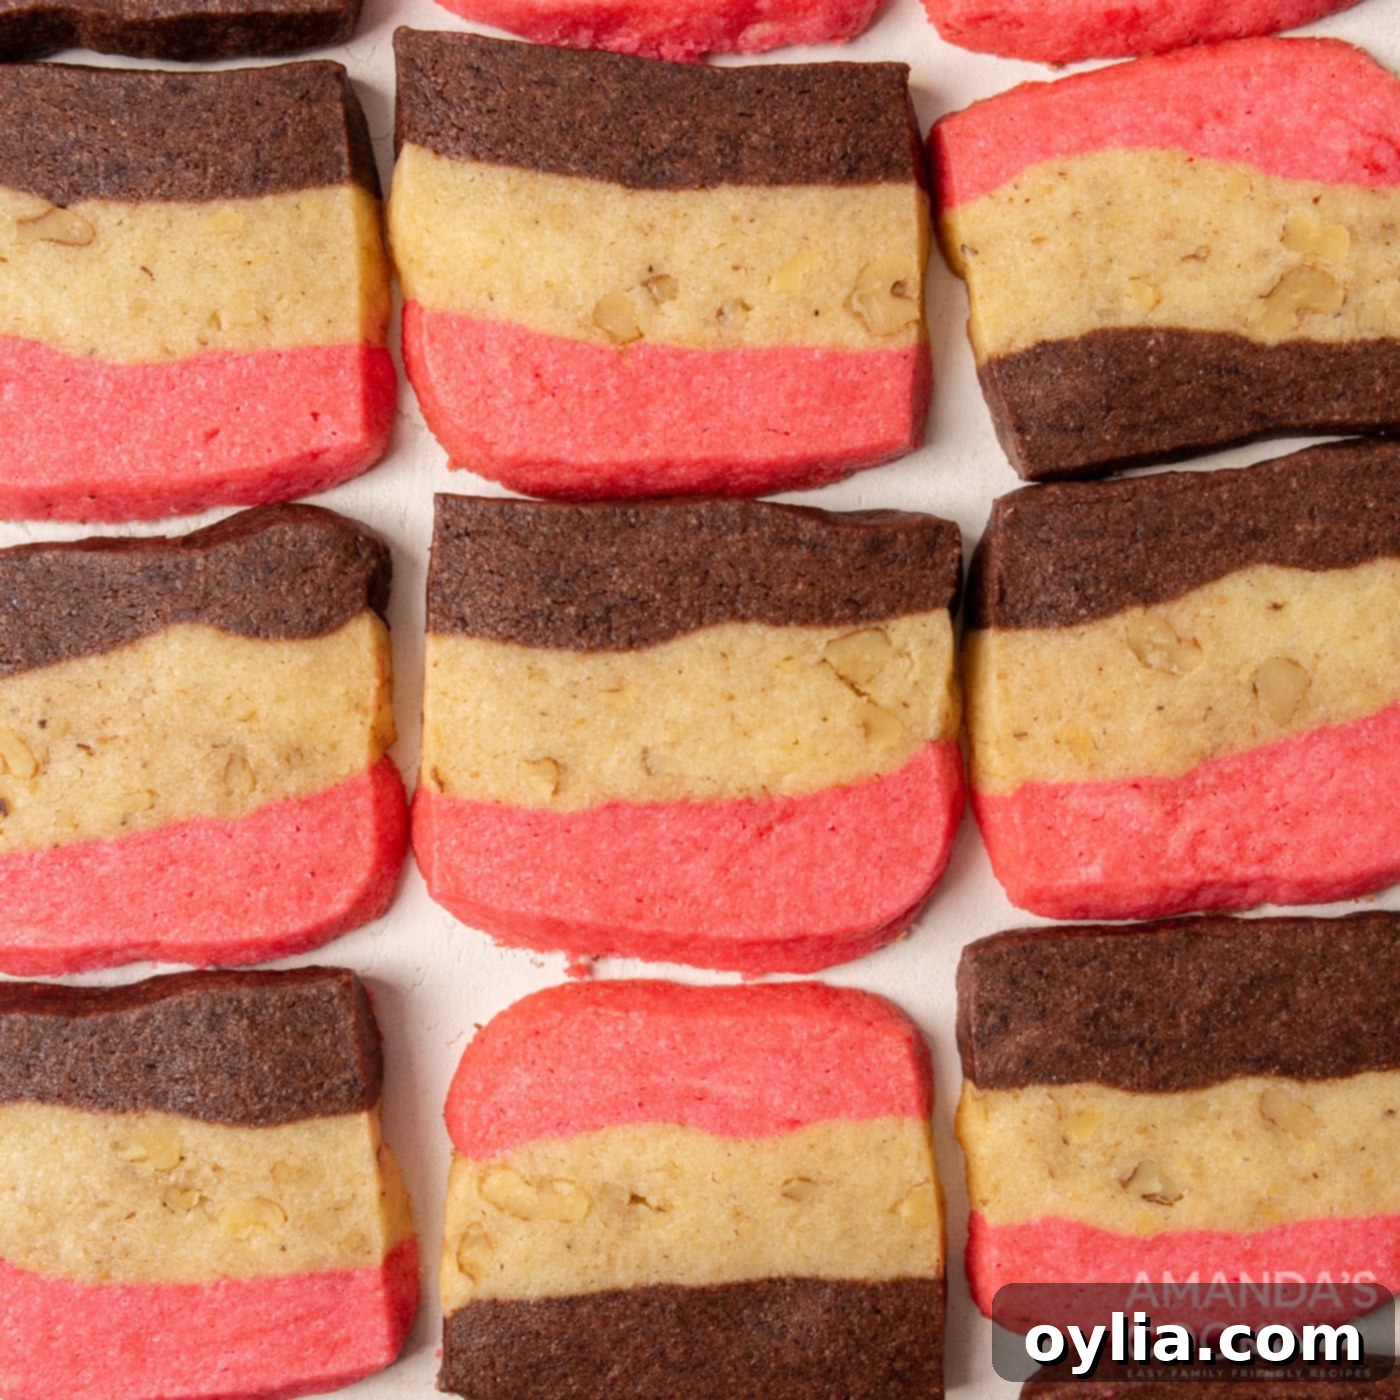
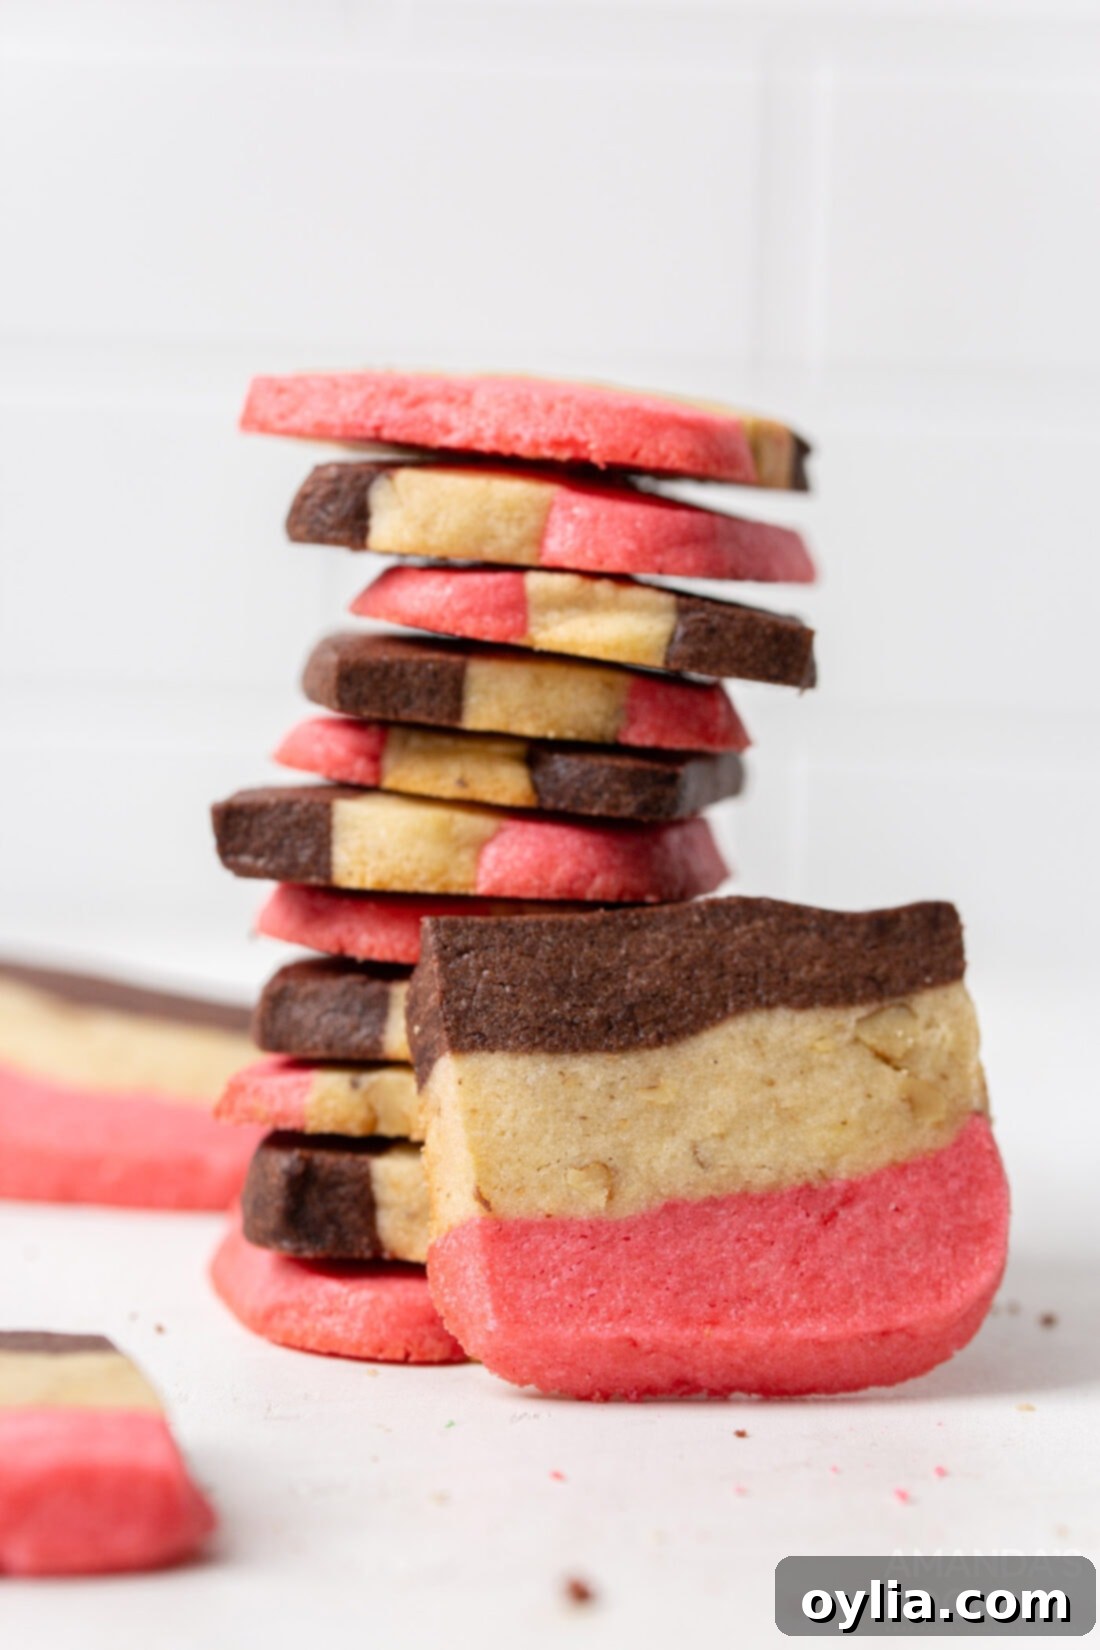
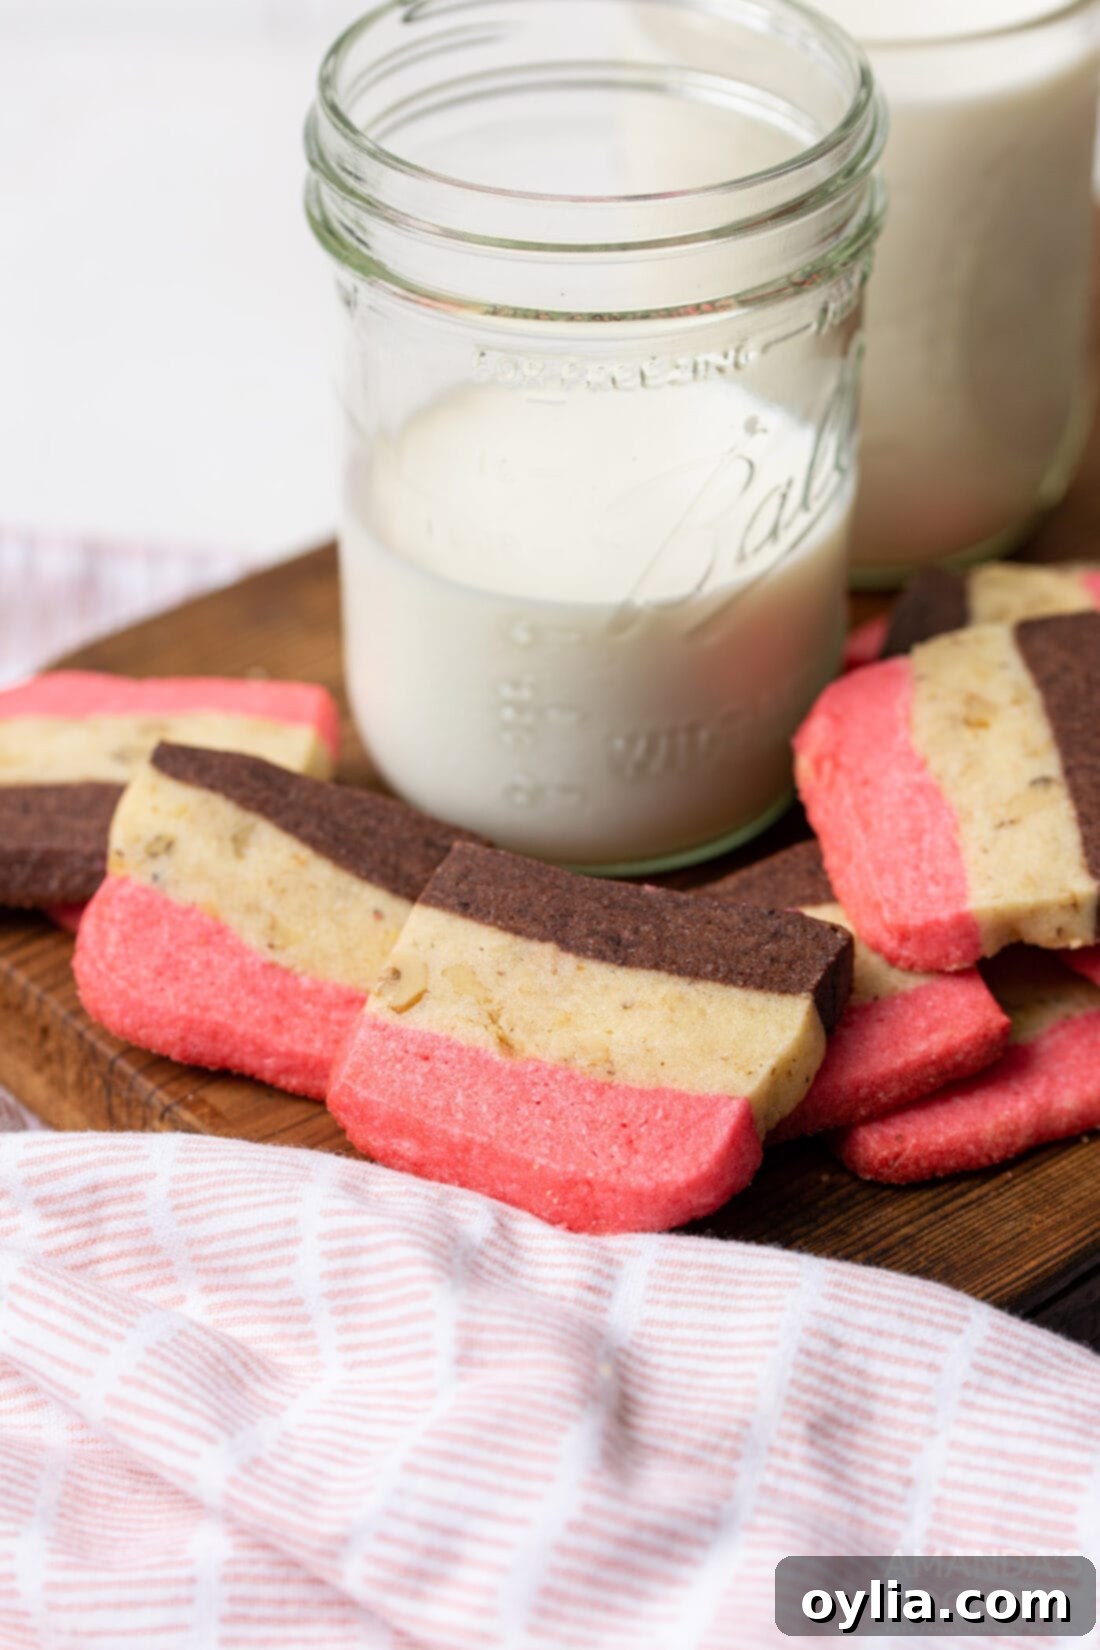
Indulge in the nostalgic delight of these beautiful Neapolitan cookies, a culinary homage to the classic ice cream flavor trio. These buttery soft cookies boast a delicate crunch and feature the iconic colors and distinct flavors of vanilla (almond), chocolate, and strawberry. Perfect for any occasion, these cookies are as pleasing to the eye as they are to the palate.
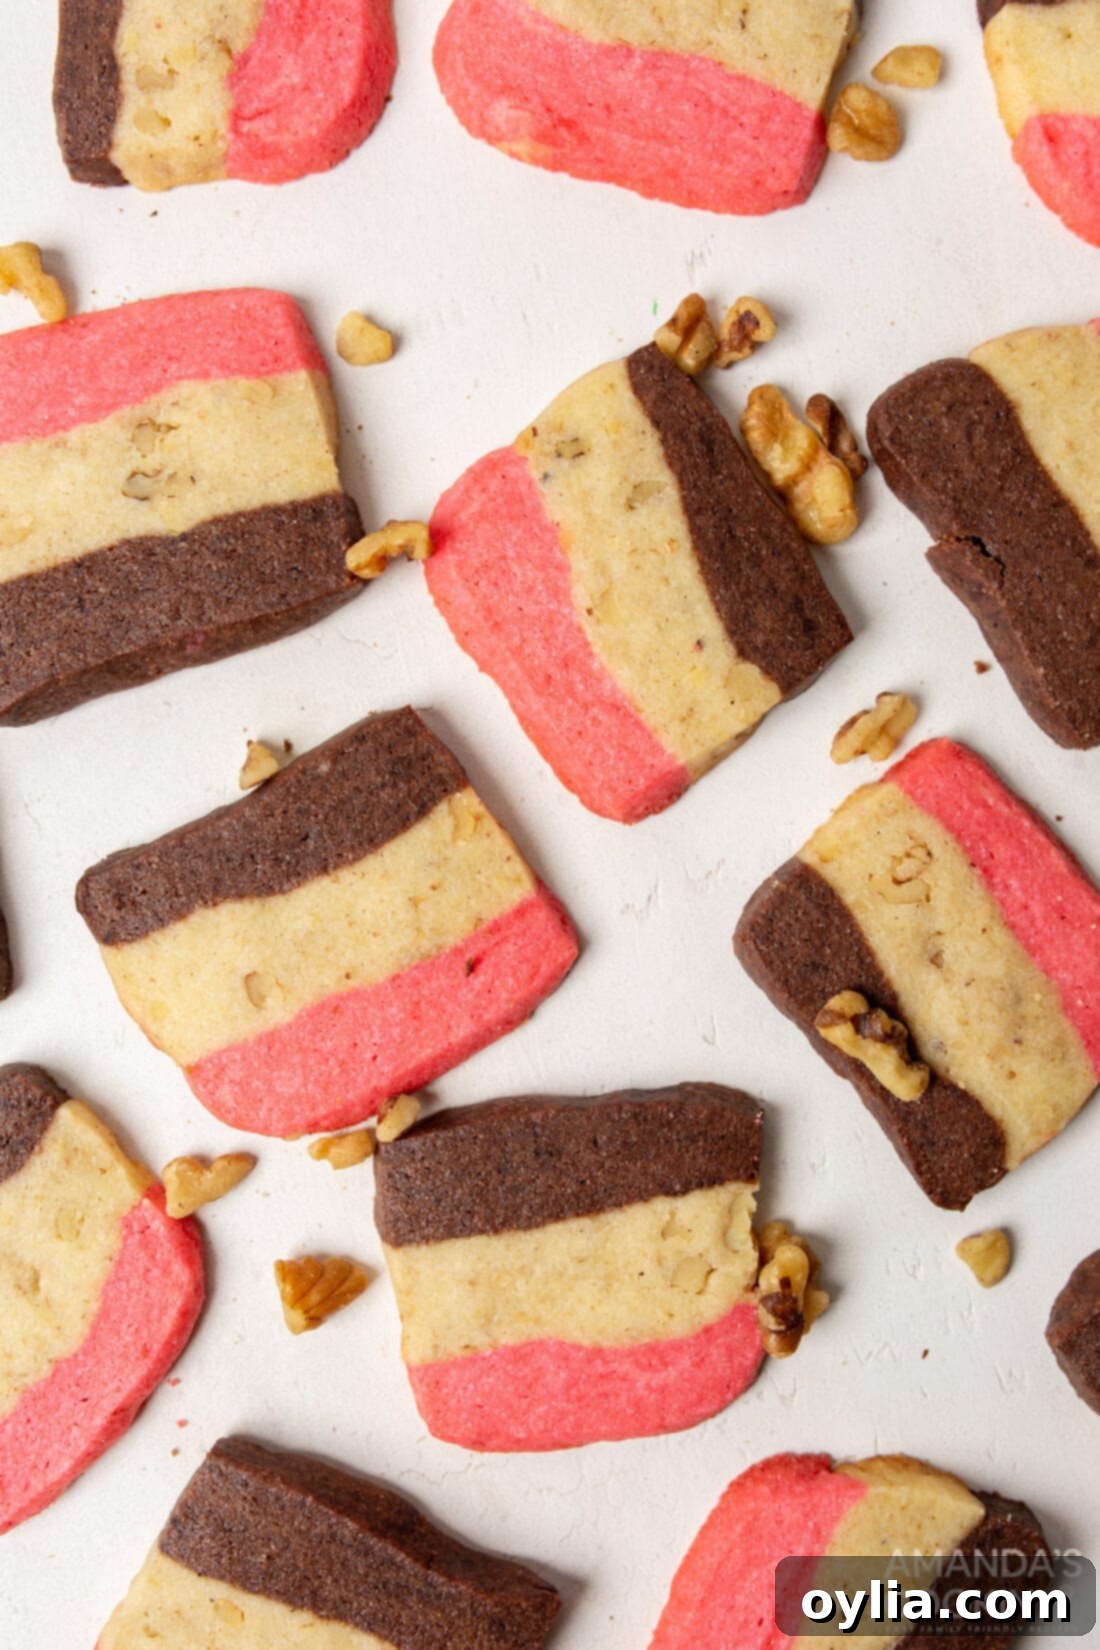
Why This Neapolitan Cookie Recipe Is a Must-Try
This Neapolitan cookie recipe stands out for its simplicity and the truly delightful results it delivers. While it may appear intricate with its three distinct layers, the magic lies in starting with just one versatile butter cookie dough! This clever technique saves you time and effort in the kitchen, making the process much easier than it looks.
We kick off this recipe with a lightly almond-flavored dough, enriched with finely chopped walnuts for a delightful texture and nutty undertone. This forms our “vanilla” layer, though it’s technically a delicious almond-walnut blend. Next, we transform a portion of the dough into a rich chocolate layer using unsweetened cocoa powder. Finally, a vibrant pink dough completes the trio, representing the beloved strawberry layer. The result is a harmonious balance of flavors and textures in every bite – a buttery, slightly crisp cookie with distinct notes of almond, chocolate, and a hint of fruity sweetness.
Originally featured as part of our “12 Days of Christmas Cookies” series, these Neapolitan cookies are so universally appealing that they’ve become a favorite year-round treat. Whether you’re baking for a holiday gathering, a special celebration, or simply to brighten an ordinary day, these cookies are guaranteed to impress.
Looking for more festive cookie ideas? Explore our previous collections for endless inspiration:
- 12 Days of Christmas Cookies 2019
- 12 Days of Christmas Cookies 2020
2021: 12 DAYS OF CHRISTMAS COOKIES COOKBOOK
12 Christmas cookies you will love, PLUS bonus baking tips!
Get the Christmas cookies cookbook! ONLY $9.97!!
Essential Ingredients for Your Neapolitan Cookies
Gathering your ingredients is the first step to creating these stunning tri-color cookies. Here’s what you’ll need to transform simple pantry staples into a delicious treat:
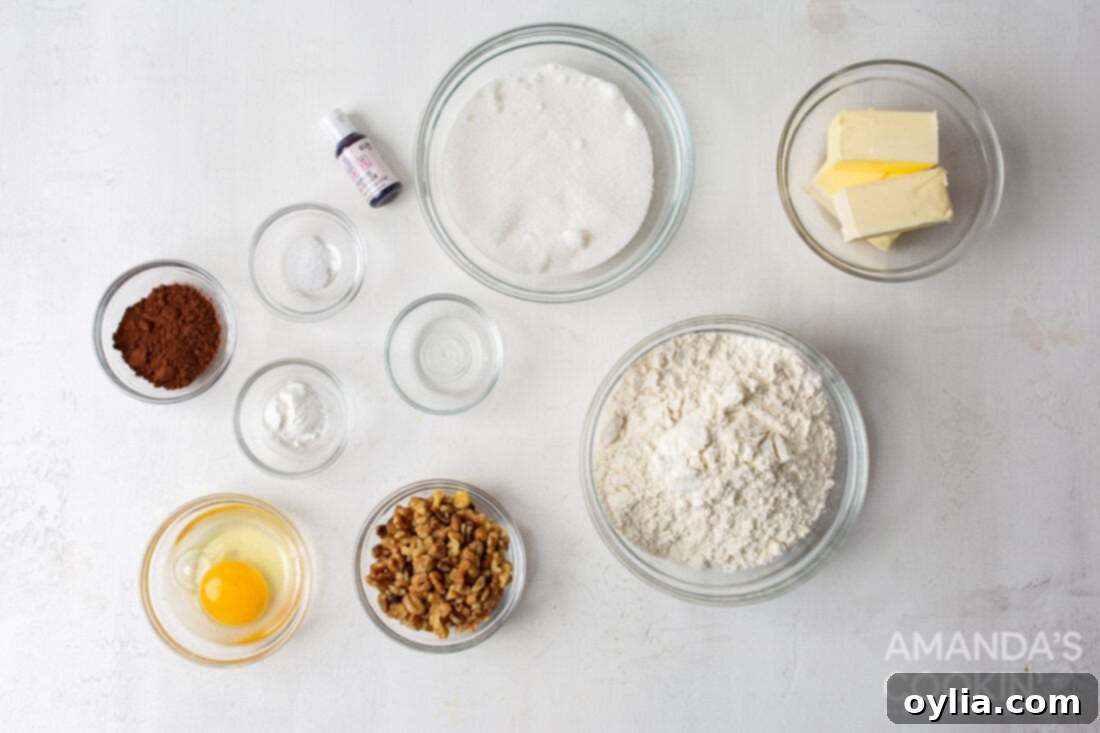
Dough Base:
- 1 cup unsalted butter, at room temperature (softened for easy creaming)
- 1 ½ cup granulated sugar
- 1 large egg
- 2 ½ cup all-purpose flour
- 1 tsp baking powder
- ½ tsp salt
For the Flavored Layers:
- 1 tsp almond extract (for the “vanilla” layer)
- ½ cup walnuts, finely chopped (for the “vanilla” layer)
- 1 Tbsp unsweetened cocoa powder (for the chocolate layer)
- Pink food coloring (start with 1-2 drops, for the strawberry layer)
- (Optional) Strawberry extract or freeze-dried strawberries (for enhanced strawberry flavor)
Ingredient Insights and Smart Substitutions
Understanding each ingredient’s role can help you perfect your Neapolitan cookies and even customize them to your taste:
- Unsalted Butter: Using unsalted butter allows you to control the overall saltiness of your cookies. Ensure it’s at room temperature for optimal creaming with sugar, which creates a light and fluffy base for the dough. If you only have salted butter, you can reduce the added salt in the recipe by ¼ teaspoon.
- Granulated Sugar: Beyond sweetness, sugar contributes to the cookies’ texture, giving them that delightful delicate crunch.
- Egg: The egg binds the dough ingredients together and adds richness, moisture, and aids in the overall structure of the cookie.
- All-Purpose Flour, Baking Powder, and Salt: These are your dry staples. The flour provides the main structure, baking powder helps with a slight lift, and salt balances the sweetness and enhances all the flavors. Sifting your flour can ensure a lighter, more even texture in your dough.
- VANILLA LAYER (Almond & Walnut): Our “vanilla” layer actually features a robust almond flavor.
- Almond Extract: This ingredient adds a wonderful depth and unique, sophisticated flavor that complements the chocolate and strawberry beautifully. If you’re not a fan of almond or don’t have it on hand, you can absolutely swap it for an equal amount of pure vanilla extract for a more traditional vanilla flavor.
- Finely Chopped Walnuts: These provide a lovely textural contrast and an additional nutty dimension to this layer. For the best integration, ensure they are very finely chopped. If you prefer, you can omit the walnuts or substitute them with finely chopped pecans or even white chocolate chips for a different twist.
- CHOCOLATE LAYER: We use unsweetened cocoa powder to achieve a rich, classic chocolate flavor without making the cookies overly sweet. Dark cocoa powder can be used for an even deeper, more intense chocolate taste. Make sure to mix it thoroughly into the dough until no streaks of cocoa remain.
- STRAWBERRY LAYER: This vibrant pink layer is crucial for the Neapolitan look.
- Pink Food Coloring: A few drops are enough to achieve a lovely pastel pink. You can use gel food coloring for more concentrated color with less liquid. Start with a small amount and add more until you reach your desired shade.
- Flavor Enhancements (Optional): For a more pronounced strawberry taste, consider adding a drop or two of strawberry extract or mixing in a tablespoon or two of finely crushed freeze-dried strawberries. Freeze-dried strawberries will also add a subtle texture. If you want a more natural pink, a tiny amount of beet powder can work, but it might slightly alter the flavor.
Crafting Your Neapolitan Cookies: A Step-by-Step Guide
These step-by-step photos and detailed instructions are designed to help you visualize each stage of making this recipe. For a convenient printable version, complete with precise measurements and instructions, simply Jump to Recipe at the bottom of this post.
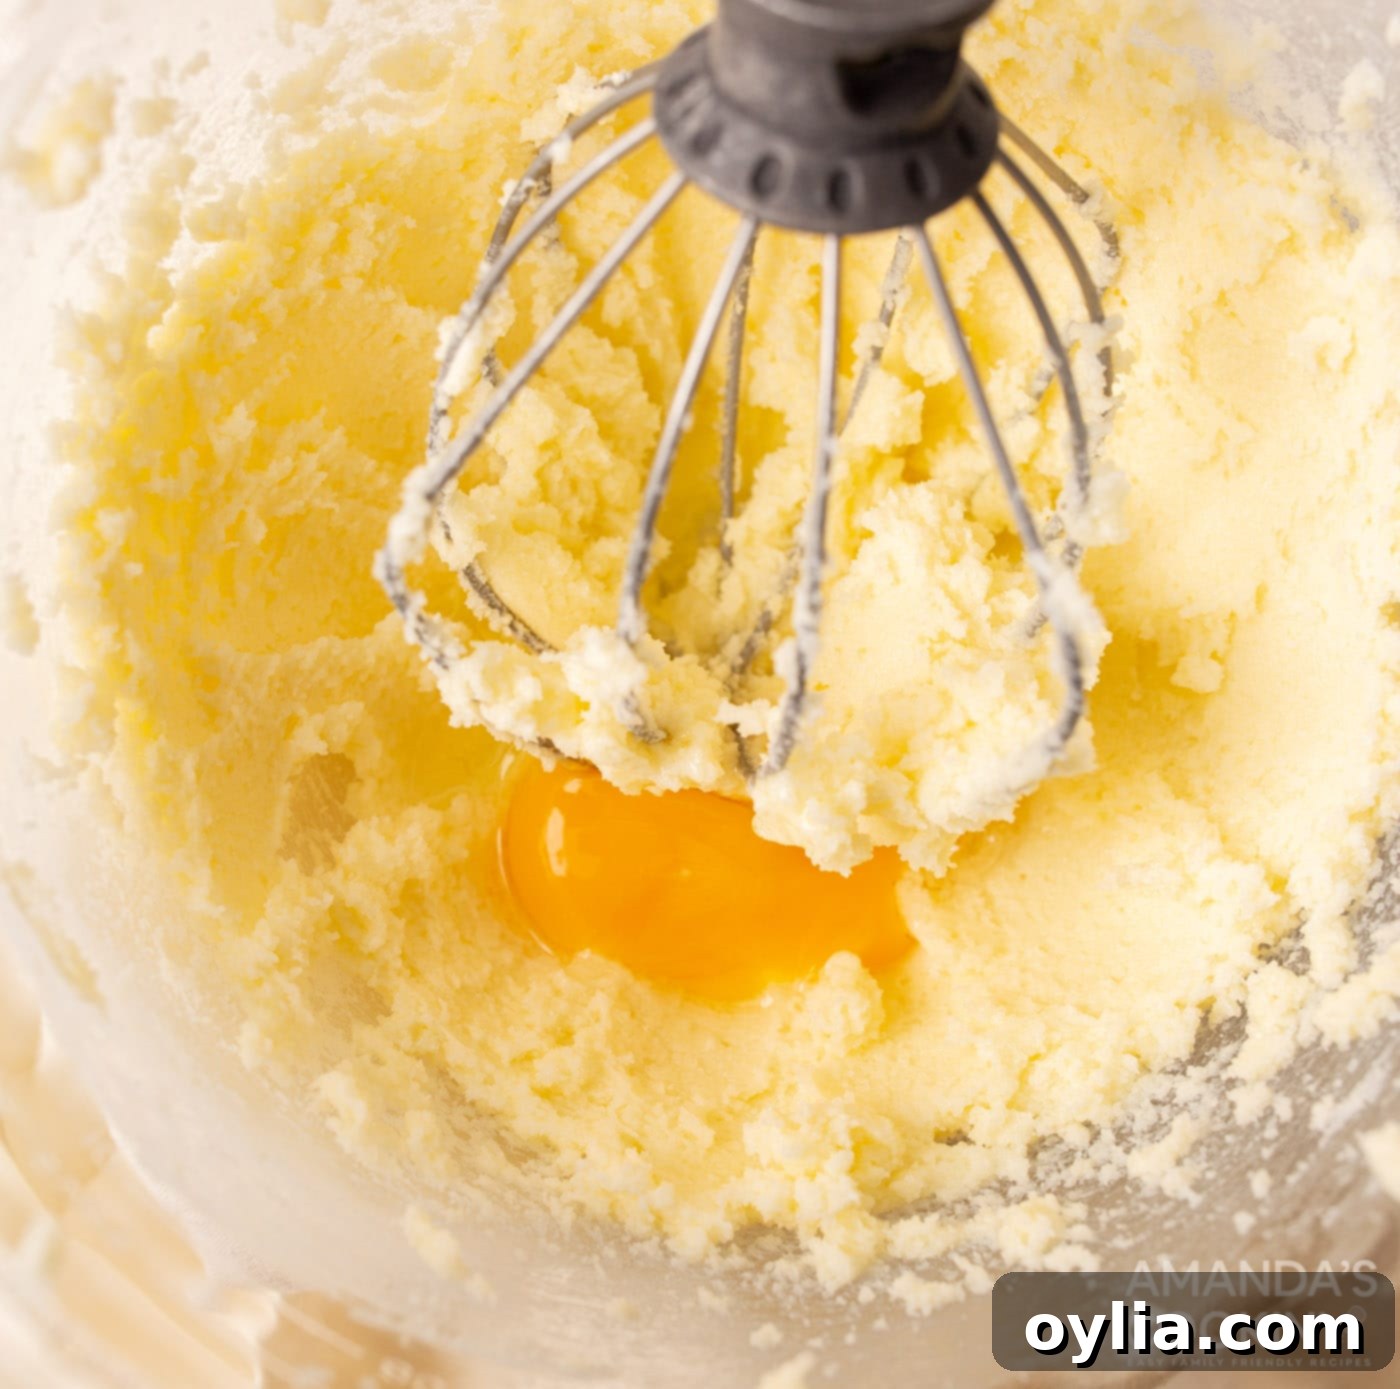
- Cream Butter and Sugar: In the bowl of a stand mixer fitted with a whisk attachment, cream together the softened unsalted butter and granulated sugar for about 5 minutes. Beat until the mixture is visibly lightened in color and fluffy in texture. This step incorporates air, making your cookies tender.
- Add Egg and Extract: Add the egg and almond extract to the creamed mixture. Mix again until fully combined, pausing to scrape down the sides of the bowl with a spatula as needed to ensure all ingredients are incorporated evenly.

Achieving a light and fluffy mixture is key for tender cookies. - Combine Dry Ingredients: In a separate large bowl, whisk together the all-purpose flour, baking powder, and salt. This ensures these dry ingredients are well distributed throughout the dough.
- Mix Dry into Wet: Slowly add the dry ingredient mixture to the stand mixer with the wet ingredients. Whisk on low speed until just combined. Be careful not to overmix, as this can lead to tough cookies.
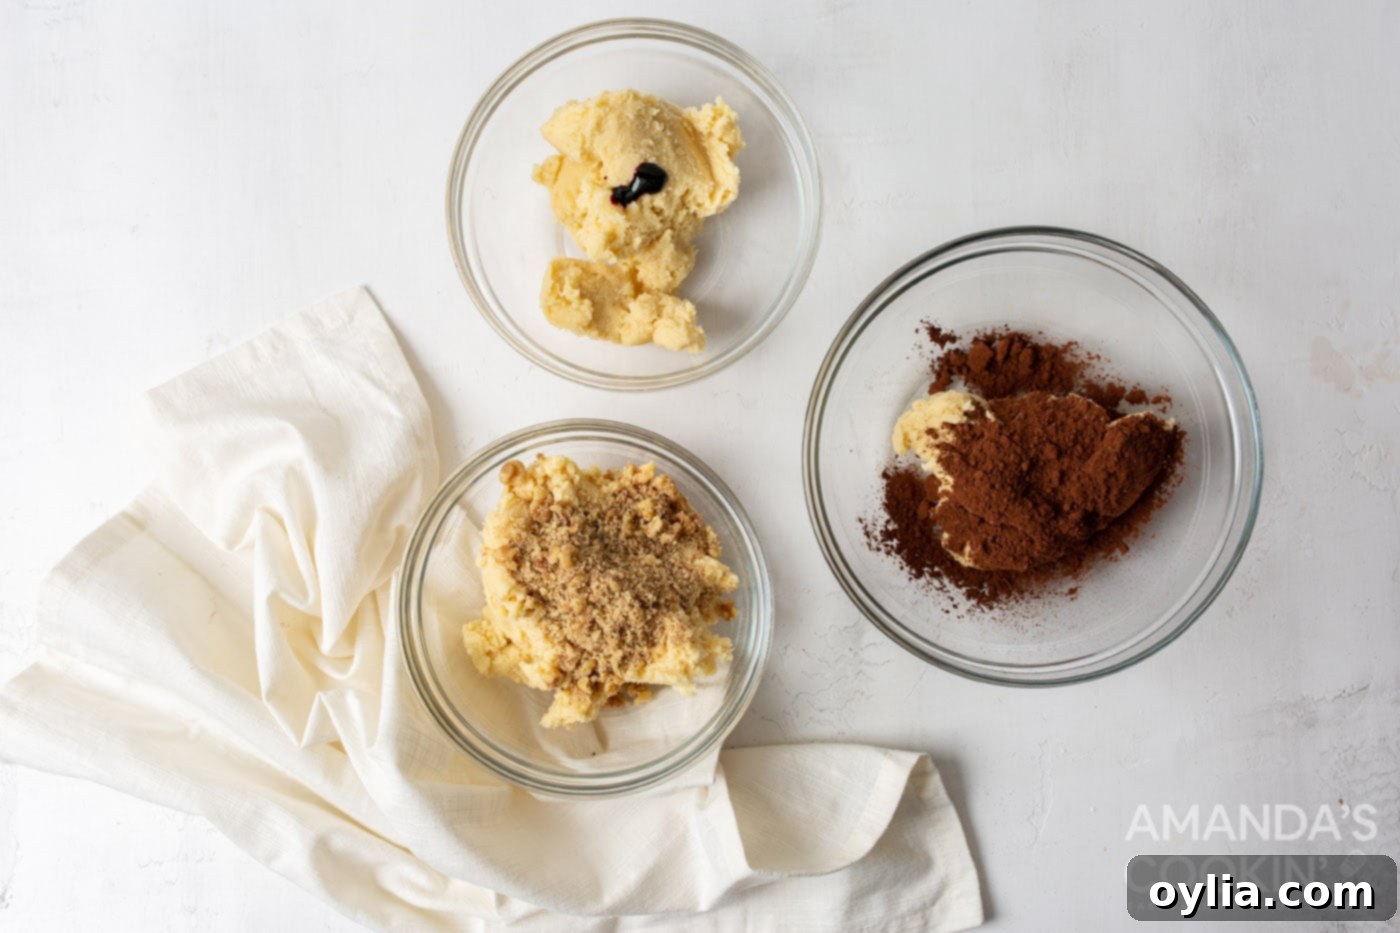
- Divide the Dough: Remove the dough from the stand mixer and divide it equally into three separate bowls. Eyeball it or use a kitchen scale for precise division, ensuring each layer is uniform.
- Create the “Vanilla” Layer: In one bowl, gently fold in the finely chopped walnuts until evenly distributed throughout the dough. This forms your first, subtly nutty, “vanilla” layer.
- Form the Chocolate Layer: In the second bowl, add the unsweetened cocoa powder. Mix thoroughly until the cocoa powder is fully incorporated and the dough has a uniform chocolate color, with no streaks remaining.
- Prepare the Strawberry Layer: In the third bowl, don plastic gloves (this helps prevent staining and ensures thorough mixing). Add a few drops of pink or red food coloring to achieve your desired shade. At this stage, if you wish to enhance the strawberry flavor, you can also mix in some freeze-dried strawberries or a drop or two of strawberry extract. Ensure the color is consistent throughout the dough.

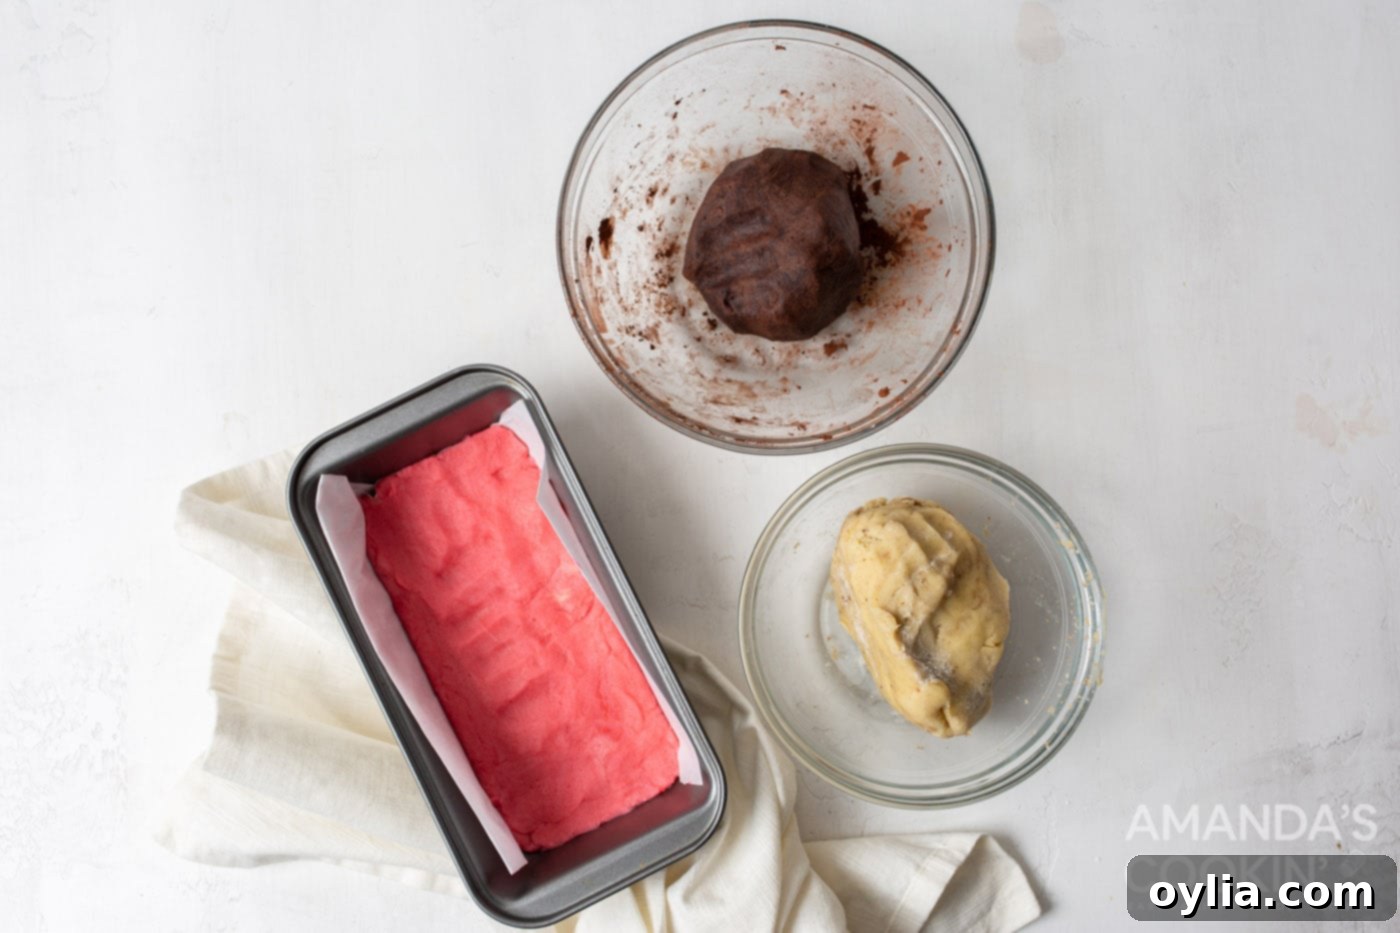
The beautifully colored doughs, ready for layering. - Layer and Chill: Line a 9×5 inch loaf pan with parchment paper, leaving an overhang on the sides for easy removal. Starting with the pink layer, press and flatten it evenly into the bottom of the loaf pan. Use your fingers or a small offset spatula to ensure a level surface. Next, carefully add the “vanilla” (almond-walnut) layer on top, pressing it down gently. Finish with the chocolate layer, making sure all layers are compact and level. Cover the loaf pan with plastic wrap and chill in the refrigerator for a minimum of 2 hours, or ideally, overnight. Chilling is crucial for the dough to firm up, making it easier to slice neatly and preventing the cookies from spreading too much during baking.

Evenly layered dough ensures perfectly distinct colors in your cookies. - Preheat Oven: Once the dough is thoroughly chilled, preheat your oven to 350°F (175°C).
- Slice the Dough: Remove the chilled dough block from the loaf pan using the parchment paper overhangs. Place it onto a clean cutting board. Using a very sharp knife, carefully cut slices of the dough approximately 1/8th to 1/4 inch in thickness. For classic Neapolitan cookie shapes, you can then cut each slice again in half, creating smaller, more manageable cookie pieces.

Precision slicing creates uniformly sized and beautifully layered cookies. - Bake the Cookies: Arrange the sliced cookies on ungreased baking sheets, leaving about 1 inch of space between each cookie. Bake for approximately 12 minutes. The cookies should be set and lightly golden at the edges, but still soft in the center. Avoid overbaking to maintain their tender texture.
- Cool Completely: As soon as they come out of the oven, gently use a thin spatula to transfer the warm cookies from the baking sheet to a wire cooling rack. Allow them to cool completely before handling or storing. This helps them firm up and prevents them from breaking.
Frequently Asked Questions & Expert Tips for Perfect Neapolitan Cookies
Here are some common questions and essential tips to ensure your Neapolitan cookies turn out perfectly every time:
Absolutely! This Neapolitan cookie dough freezes exceptionally well, making it perfect for meal prepping your holiday baking or simply having a stash for future cravings. I highly recommend splitting and prepping the three individual doughs (vanilla/almond, chocolate, and strawberry) before freezing. Wrap each dough ball tightly in plastic wrap, then place them together in a large freezer-safe ziptop bag. You can store them in the freezer for 3-4 months. When you’re ready to bake, remove the dough from the freezer and let it sit at room temperature for about 10-15 minutes to soften slightly. Then, proceed directly to step 9 of the instructions (layering the doughs together in a bread pan) and continue with chilling and baking as directed.
Once baked and completely cooled, Neapolitan cookies will remain fresh and delicious for up to a week. For best results, store them in an airtight container or a sealed ziptop bag at room temperature. This helps maintain their buttery softness and delicate crunch. Avoid refrigerating them, as this can sometimes dry out butter cookies.
Layer bleeding usually happens if the dough wasn’t sufficiently chilled before slicing and baking. The chilling step is crucial for firming up the butter in the dough, which prevents the layers from merging when exposed to oven heat. Ensure your dough chills for at least 2 hours, or even overnight, for the best results. Also, ensure your oven temperature is accurate; an oven that runs too hot or too cold can affect spreading. Using a reliable oven thermometer is always a good practice.
While a stand mixer makes the creaming process much easier and more efficient, you can certainly make these cookies with a handheld electric mixer or even by hand with a sturdy whisk and a lot of elbow grease. Just be sure to really beat the butter and sugar until light and fluffy in step 1, as this aeration is important for the cookie’s texture.
Creative Serving Suggestions for Your Neapolitan Cookies
These beautiful Neapolitan cookies are a treat in themselves, but they also offer fantastic opportunities for presentation and gifting. Their vibrant colors make them a stunning addition to any dessert table.
- Gifting: Our absolute favorite way to share Neapolitan cookies is by packaging them beautifully. Place a few cookies in cellophane baggies, tied with a festive ribbon, for charming individual gifts. For a more substantial present, arrange them in a decorative cookie tin alongside other homemade baked goods. They make a thoughtful hostess gift or a delightful addition to a holiday care package.
- Dessert Platter: Arrange these tri-color beauties on a dessert platter with contrasting single-color cookies or other sweet treats. Their distinct layers and colors will truly pop!
- With Beverages: These buttery cookies pair wonderfully with a hot cup of coffee or tea, especially for an afternoon snack. For a true Neapolitan experience, serve them with a tall glass of cold milk, just like their ice cream namesake.
- Anytime Treat: While these cookies were part of our special 12 Days of Christmas cookies countdown, their flavors are timeless and not directly linked to any specific holiday. Feel free to enjoy them year-round, whenever you crave a sweet, colorful, and satisfying cookie!
Discover More Delicious Cookie Recipes
If you’ve fallen in love with baking and want to expand your cookie repertoire, check out some of our other cherished recipes:
- Classic Spritz Cookies
- Simple and Sweet Butter Cookies
- Delightful Thumbprint Cookies
- Crisp and Buttery Shortbread Cookies
- Traditional Italian Anisette Cookies
- Sweet White Chocolate Cranberry Cookies
- Soft and Frosted Lofthouse Cookies
- Artistic Paintbrush Cookies
I am passionate about baking and cooking, and I love sharing my kitchen adventures and recipes with all of you! To make sure you never miss a new recipe, I offer a convenient newsletter delivered right to your inbox. Simply subscribe here and start receiving your free daily recipes!

Neapolitan Cookies
IMPORTANT – There are often Frequently Asked Questions within the blog post that you may find helpful. Simply scroll back up to read them!
Print It
Pin It
Rate It
Save It
Saved!
Prevent your screen from going dark
Course:
Dessert
Cuisine:
American
30
cookies
2 hours
32 minutes
147
Amanda Davis
Ingredients
-
1
cup
unsalted butter
at room temperature -
1 ½
cup
granulated sugar -
1
egg -
1
tsp
almond extract -
2 ½
cup
all-purpose flour -
1
tsp
baking powder -
½
tsp
salt -
½
cup
walnuts
finely chopped -
1
Tbsp
unsweetened cocoa powder -
pink food coloring
start with 1-2 drops
Things You’ll Need
-
9×5 loaf pan -
Stand mixer -
Baking sheet -
Wire cooling racks
Before You Begin
- We chose to leave the pink layer unflavored, but feel free to add some freeze-dried strawberries or even a drop or two of strawberry extract to the dough if desired.
Instructions
-
Cream together butter and sugar in a stand mixer with a whisk attachment for 5 minutes, or until light and fluffy.
-
Add the egg and almond extract, mix again scraping down the sides as needed.
-
In a large bowl whisk together the flour, baking powder, and salt. Slowly add to the stand mixer and whisk until combined.
-
Remove from stand mixer and separate equally into 3 separate bowls.
-
In one bowl combine the dough with finely chopped walnuts to make the “vanilla” layer.
-
In a second bowl combine the dough with cocoa powder to make the chocolate layer.
-
In a third bowl, use plastic gloves to combine the dough with a few drops of pink or red food coloring. You may also add a small amount of strawberry extract to the dough to flavor it.
-
Be sure to mix all dough thoroughly.
-
Line a loaf pan with parchment paper. Starting with the pink layer, flatten and level into the loaf pan. Next, add the “vanilla” layer in the same fashion, and finishing with the chocolate. Chill covered in the refrigerator for 2 hours to overnight.
-
Preheat the oven to 350F.
-
Remove from the bread pan and place onto a clean cutting board. Using a sharp knife, cut slices of the dough approximately 1/8th-1/4 inch in thickness, and each slice again in half.
-
Lay the cookies on ungreased baking sheets approximately 1 inch apart. Bake for 12 minutes.
-
Gently, use a thin spatula to remove from the baking sheet and place on a cooling rack until completely cool.
Nutrition
Serving:
1
cookie
|
Calories:
147
cal
|
Carbohydrates:
18
g
|
Protein:
2
g
|
Fat:
8
g
|
Saturated Fat:
4
g
|
Polyunsaturated Fat:
1
g
|
Monounsaturated Fat:
2
g
|
Trans Fat:
1
g
|
Cholesterol:
22
mg
|
Sodium:
42
mg
|
Potassium:
40
mg
|
Fiber:
1
g
|
Sugar:
10
g
|
Vitamin A:
197
IU
|
Vitamin C:
1
mg
|
Calcium:
12
mg
|
Iron:
1
mg
Tried this Recipe? Pin it for Later!
Follow on Pinterest @AmandasCookin or tag #AmandasCookin!
The recipes on this blog are tested with a conventional gas oven and gas stovetop. It’s important to note that some ovens, especially as they age, can cook and bake inconsistently. Using an inexpensive oven thermometer can assure you that your oven is truly heating to the proper temperature. If you use a toaster oven or countertop oven, please keep in mind that they may not distribute heat the same as a conventional full sized oven and you may need to adjust your cooking/baking times. In the case of recipes made with a pressure cooker, air fryer, slow cooker, or other appliance, a link to the appliances we use is listed within each respective recipe. For baking recipes where measurements are given by weight, please note that results may not be the same if cups are used instead, and we can’t guarantee success with that method.
