The Ultimate Guide to Making Classic Toll House Chocolate Chip Cookies
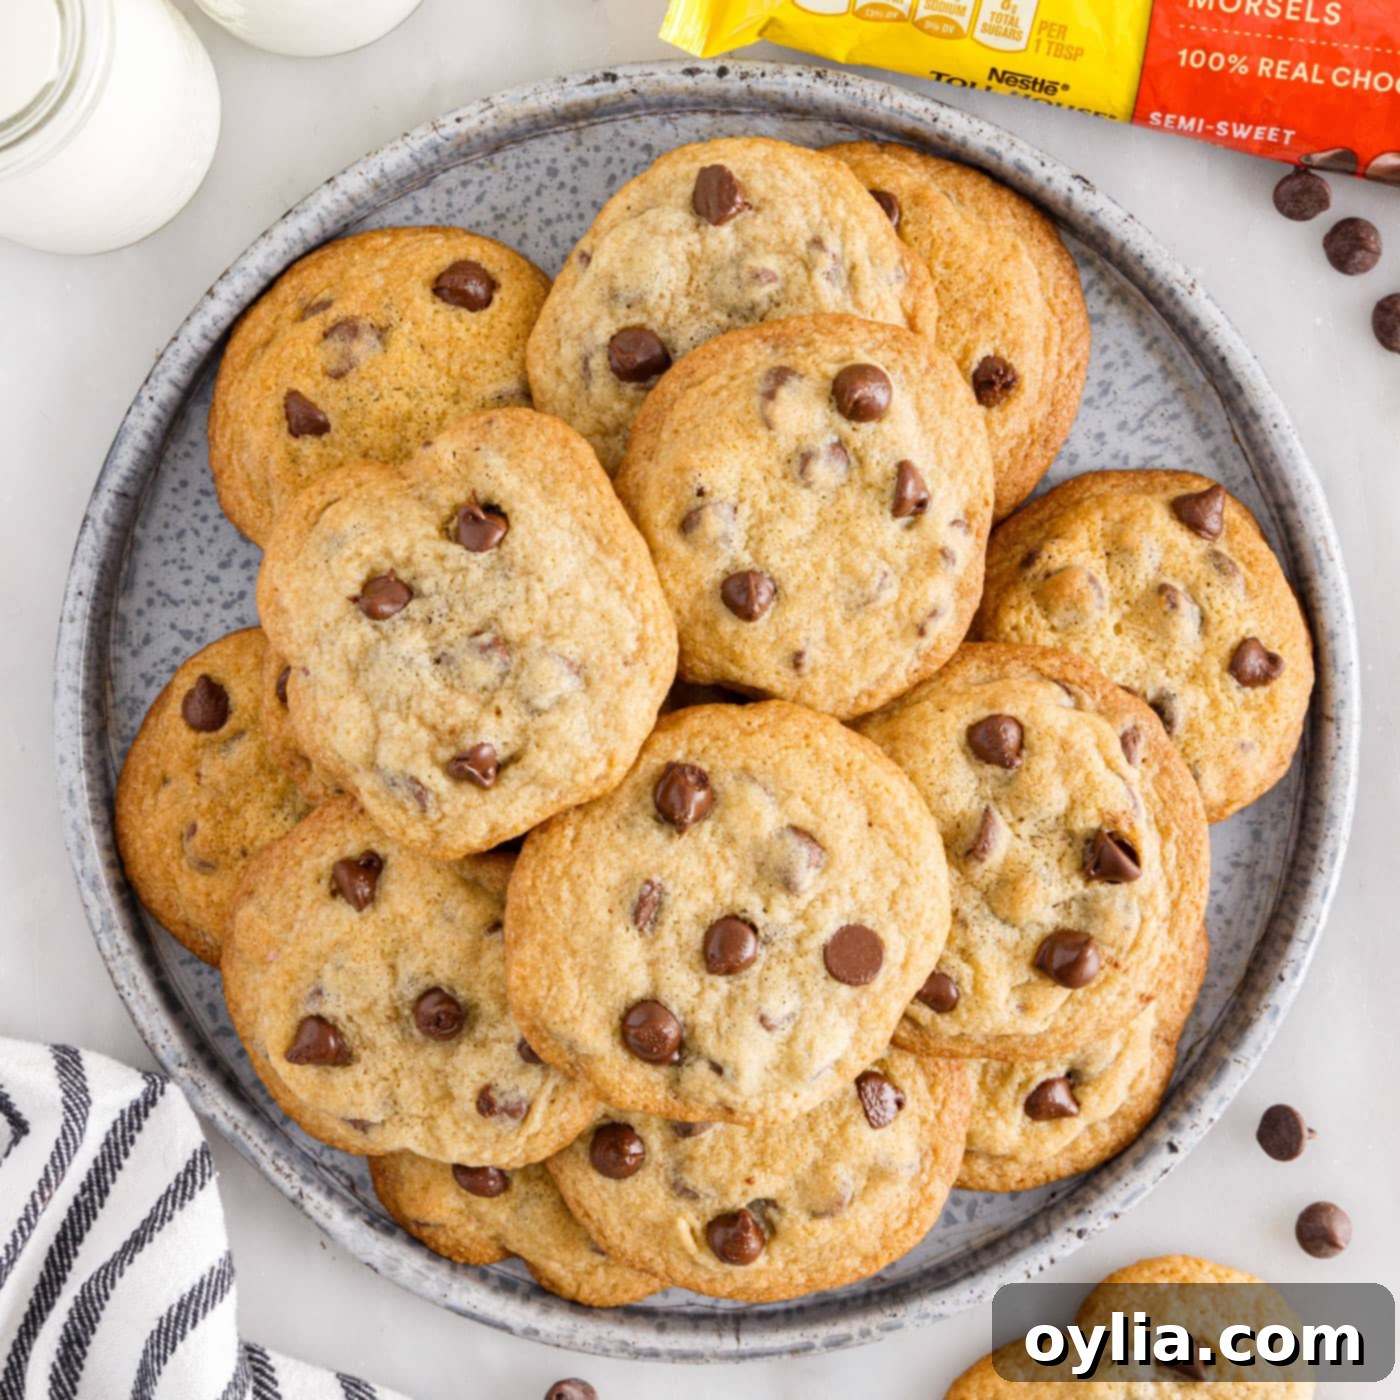
Step into the delightful world of baking with the authentic and timeless Toll House cookie recipe. Widely celebrated as the “mother of all chocolate chip cookies,” this iconic recipe has perfected the art of cookie making. Each bite offers a harmonious blend of textures and flavors: a beautifully crisp edge gives way to a wonderfully chewy center, generously studded with luscious, melty chocolate chips. It’s more than just a dessert; it’s a nostalgic journey and a testament to a true American classic that continues to bring joy to tables worldwide.
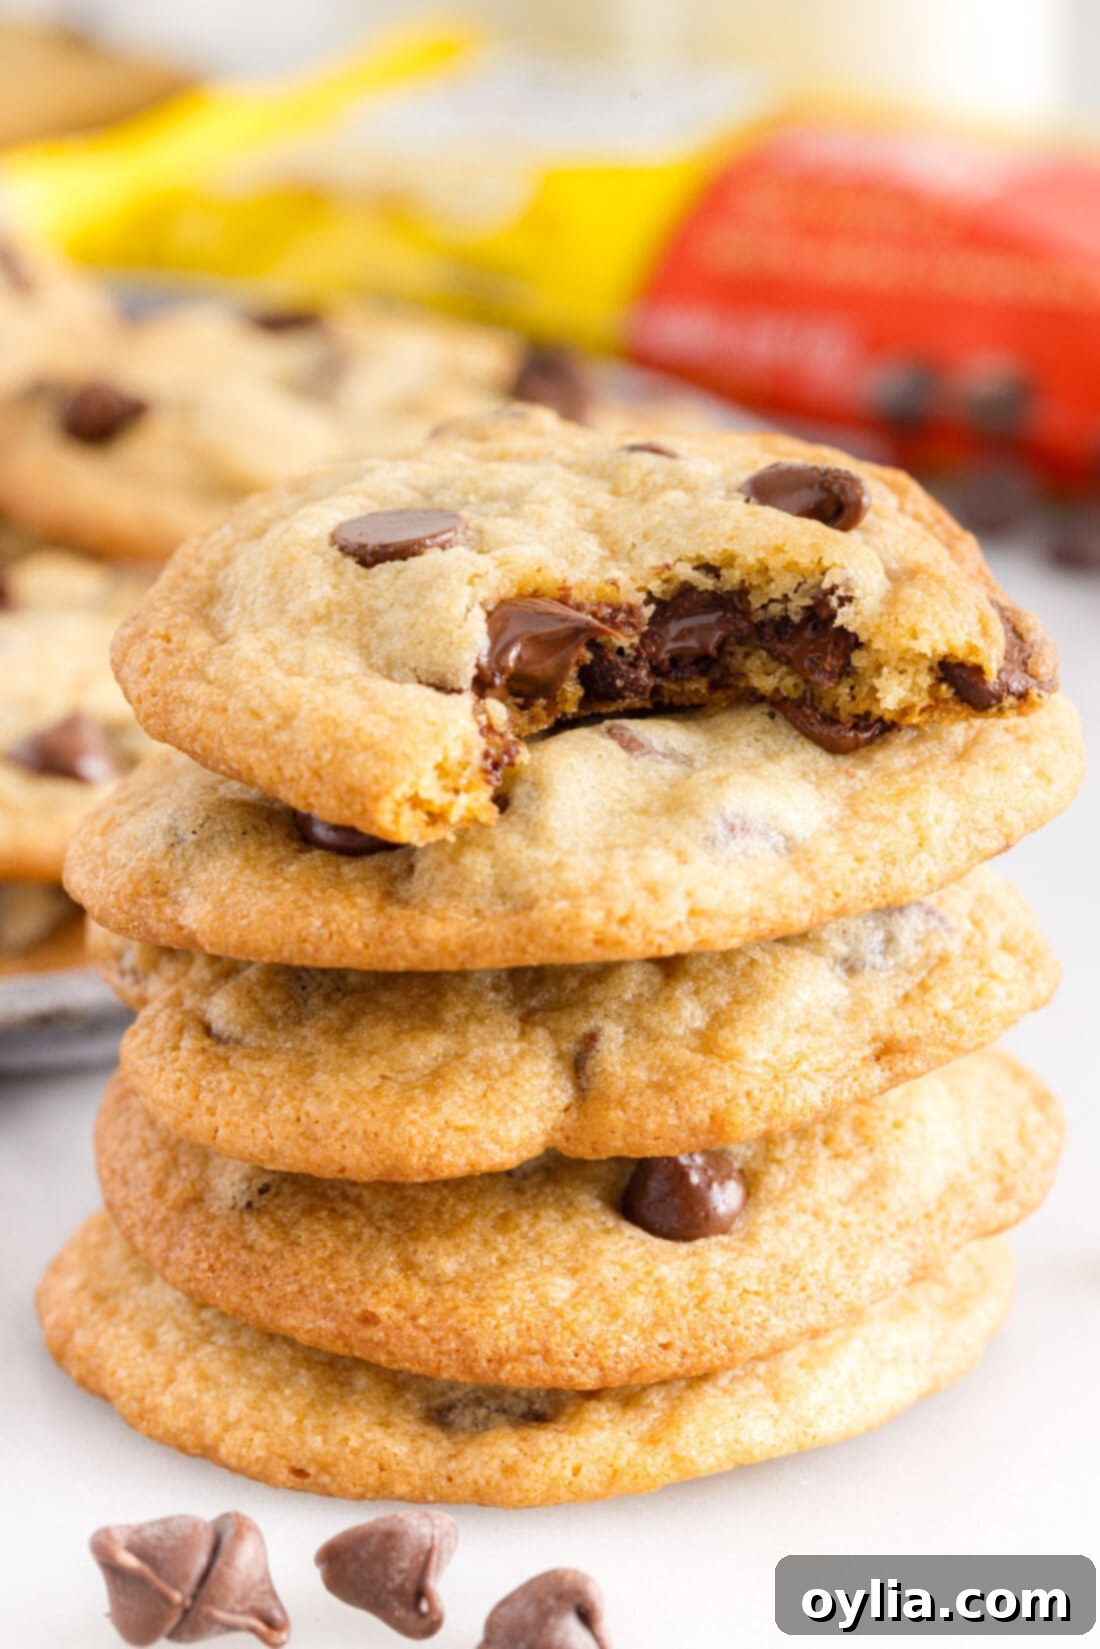
The Enduring Legacy: Why This Original Toll House Cookie Recipe Excels
The original Toll House cookie recipe isn’t just a culinary creation; it’s a significant piece of American gastronomic history, a recipe that has been lovingly passed down through generations. Its phenomenal success and enduring appeal are entirely thanks to Ruth Wakefield, the visionary owner of the Toll House Inn restaurant in Whitman, Massachusetts. It was in the 1930s that Ruth, in a moment of brilliant improvisation, pioneered the very first chocolate chip cookie.
The popular story recounts that while preparing a batch of butter drop cookies, she found herself without the usual nuts. Instead, she decided to chop up a Nestle semi-sweet chocolate bar, expecting it to melt and blend seamlessly into the dough. To her surprise and delight, the chocolate pieces maintained their distinct form, softening into irresistible pockets of gooey, melted chocolate throughout the cookie. This accidental innovation quickly became a sensation, forever changing the landscape of desserts.
It’s truly challenging to envision a world without the ubiquitous chocolate chip cookie. From inventive modern iterations such as skillet chocolate chip cookies, rich pretzel chocolate chip cookies, and countless other delightful variations, the chocolate chip cookie has grown into a global culinary phenomenon. This original recipe holds a special place as the heart of all cookies, the foundational creation that inspired and paved the way for an endless array of sweet treats to flourish. It works flawlessly because of its carefully balanced ratio of ingredients, which consistently produces a cookie with a slightly crispy edge, a wonderfully soft and chewy interior, and the perfect distribution of melty, rich chocolate.
The simplicity and reliability of Ruth Wakefield’s creation are what truly make this recipe a timeless masterpiece. Each ingredient plays a crucial role: the combination of sugars for both crispness and chewiness, the richness of real butter, the binding power of eggs, and of course, the signature semi-sweet chocolate morsels. This perfect synergy ensures that every batch of Toll House cookies is consistently delicious, evoking feelings of comfort and nostalgia with every bite.
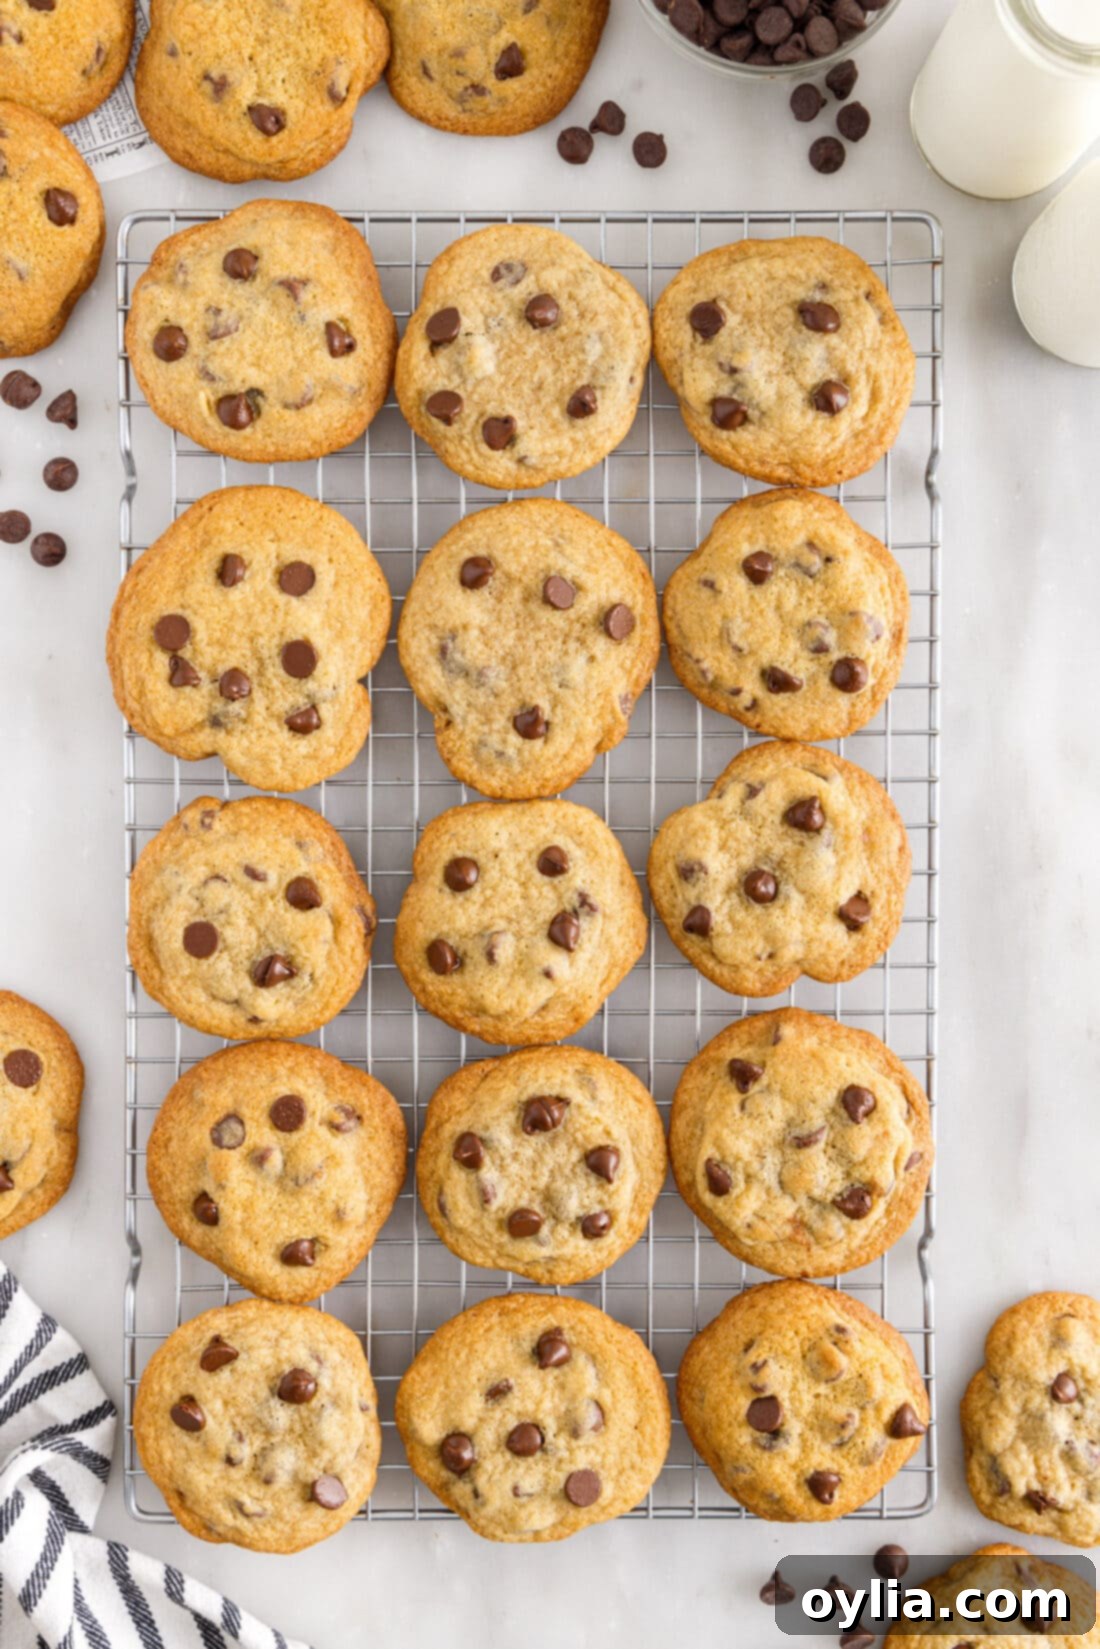
Gather Your Baking Essentials: Ingredients for Toll House Cookies
To embark on creating these legendary chocolate chip cookies, you’ll need a selection of simple, readily available ingredients. The beauty of this classic Toll House cookie recipe lies in its straightforward components, which combine to produce an extraordinary treat. For precise measurements, a comprehensive list of all necessary ingredients, and detailed step-by-step instructions, please scroll down to the printable recipe card located conveniently at the end of this article.
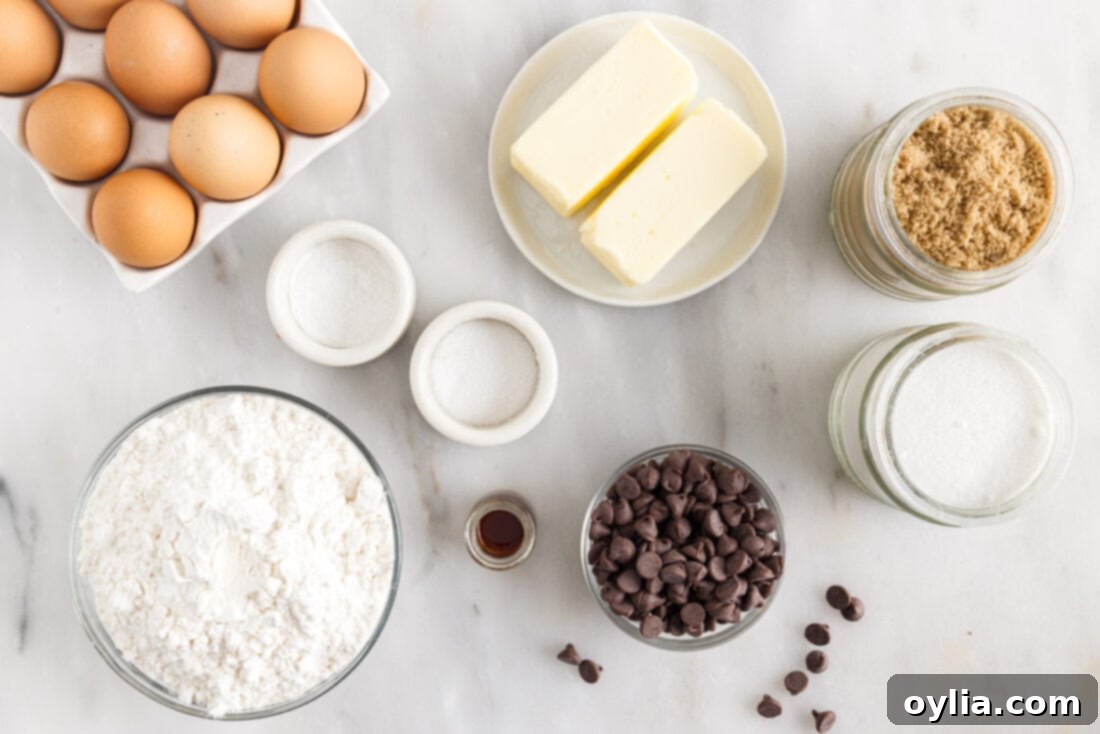
Decoding the Deliciousness: Ingredient Insights & Smart Substitutions
Achieving perfectly balanced and flavorful Toll House chocolate chip cookies hinges on understanding the role of each ingredient. Here’s an in-depth look, along with some helpful tips and substitution ideas:
FLOUR – The foundation of any great cookie! For this recipe, all-purpose flour is specified. Correct flour measurement is crucial; too much can lead to dry, dense, and crumbly cookies that lack that signature chewiness. To ensure accuracy, always use the ‘scoop and sweep’ method:
- First, use a spoon to fluff up the flour in its container. This aerates it and prevents it from being overly compacted.
- Gently spoon the flour into your dry measuring cup until it’s overflowing. Do not pack it down or shake the cup.
- Using the flat side of a butter knife or a similar straight edge, level off the excess flour back into your flour container. This method ensures you have precisely the right amount of flour.
- **Never** tap the measuring cup on the counter or pack the flour tightly, as this will result in too much flour and a dry dough.
CHOCOLATE CHIPS – At the heart of the original Toll House cookie are, of course, the Nestle Toll House semi-sweet chocolate chip morsels. Their specific size, shape, and composition are integral to the classic flavor and texture. However, don’t be afraid to experiment! You can substitute with dark chocolate chips for a richer flavor, white chocolate chips for a creamier sweetness, butterscotch morsels for a different twist, or even milk chocolate chips if you prefer a sweeter profile. For a more varied texture, consider a mix of chips or using chocolate chunks for bigger, bolder pockets of melted chocolate.
BUTTER – This recipe calls for softened butter, ideally unsalted. Room temperature butter is key for proper creaming with the sugars, which incorporates air into the dough, leading to a lighter, more tender cookie. If your butter is too cold, it won’t cream properly; if it’s melted, your cookies will likely spread too thin. Using unsalted butter allows you to control the exact amount of salt in the recipe. If you only have salted butter, reduce the added salt by about ¼ teaspoon.
SUGARS (GRANULATED & BROWN) – The magical combination of granulated sugar and packed brown sugar is what gives Toll House cookies their distinctive texture. Granulated sugar contributes to the crispness of the cookie edges and helps with proper spreading. Brown sugar, with its molasses content, adds moisture, chewiness, and a deeper, caramel-like flavor. Ensure your brown sugar is firmly packed into the measuring cup for accurate results. Using a mix of both ensures the perfect balance between crisp and chewy.
EGGS – Large eggs act as a crucial binder, providing structure and additional moisture to the cookie dough. For optimal emulsification with the butter and sugars, it’s best to use room temperature eggs. This helps create a smoother, more uniform dough, which translates to a better overall cookie texture.
VANILLA EXTRACT – A high-quality pure vanilla extract is essential for enhancing the rich, comforting flavors of these cookies. It beautifully complements the chocolate and butter, adding a layer of aromatic sweetness. Avoid artificial vanilla if possible, as it lacks the complex depth of pure extract.
BAKING SODA & SALT – These might seem like minor additions, but they play significant roles. Baking soda is the leavening agent that reacts with the acidic brown sugar, producing carbon dioxide gas that helps the cookies rise and achieve their characteristic chewiness. Salt is vital for balancing the sweetness, cutting through the richness, and intensifying all the other flavors in the cookie. Do not omit the salt!
Baking Perfection: Your Step-by-Step Guide to Toll House Cookies
Follow these detailed steps, complete with visual aids, to create your own batch of perfect Toll House chocolate chip cookies. For quick access to the full recipe, including all measurements and a printable version, you can always Jump to Recipe at the bottom of this page.
- Preheat Your Oven: Start by preheating your oven to 375°F (190°C). Allowing your oven to fully preheat ensures consistent baking and proper cookie spread. Position your oven rack in the middle for even heat distribution.
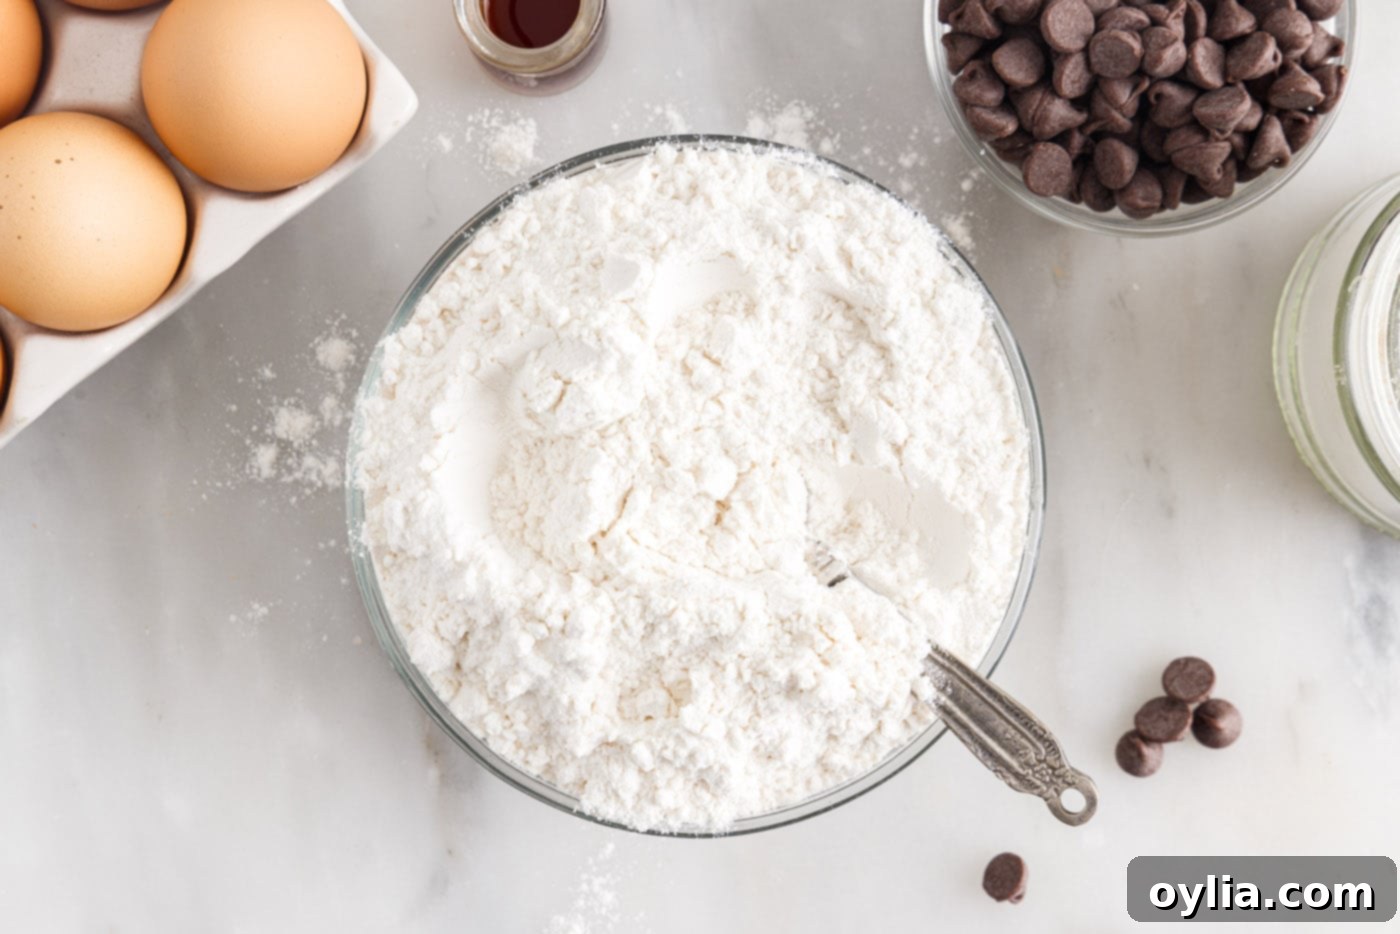
- Prepare Dry Ingredients: In a small mixing bowl, combine the all-purpose flour, baking soda, and salt. Use a whisk to thoroughly blend these ingredients. This step is crucial for distributing the leavening and salt evenly throughout the dough, ensuring uniform rise and flavor in every cookie. Set this bowl aside.

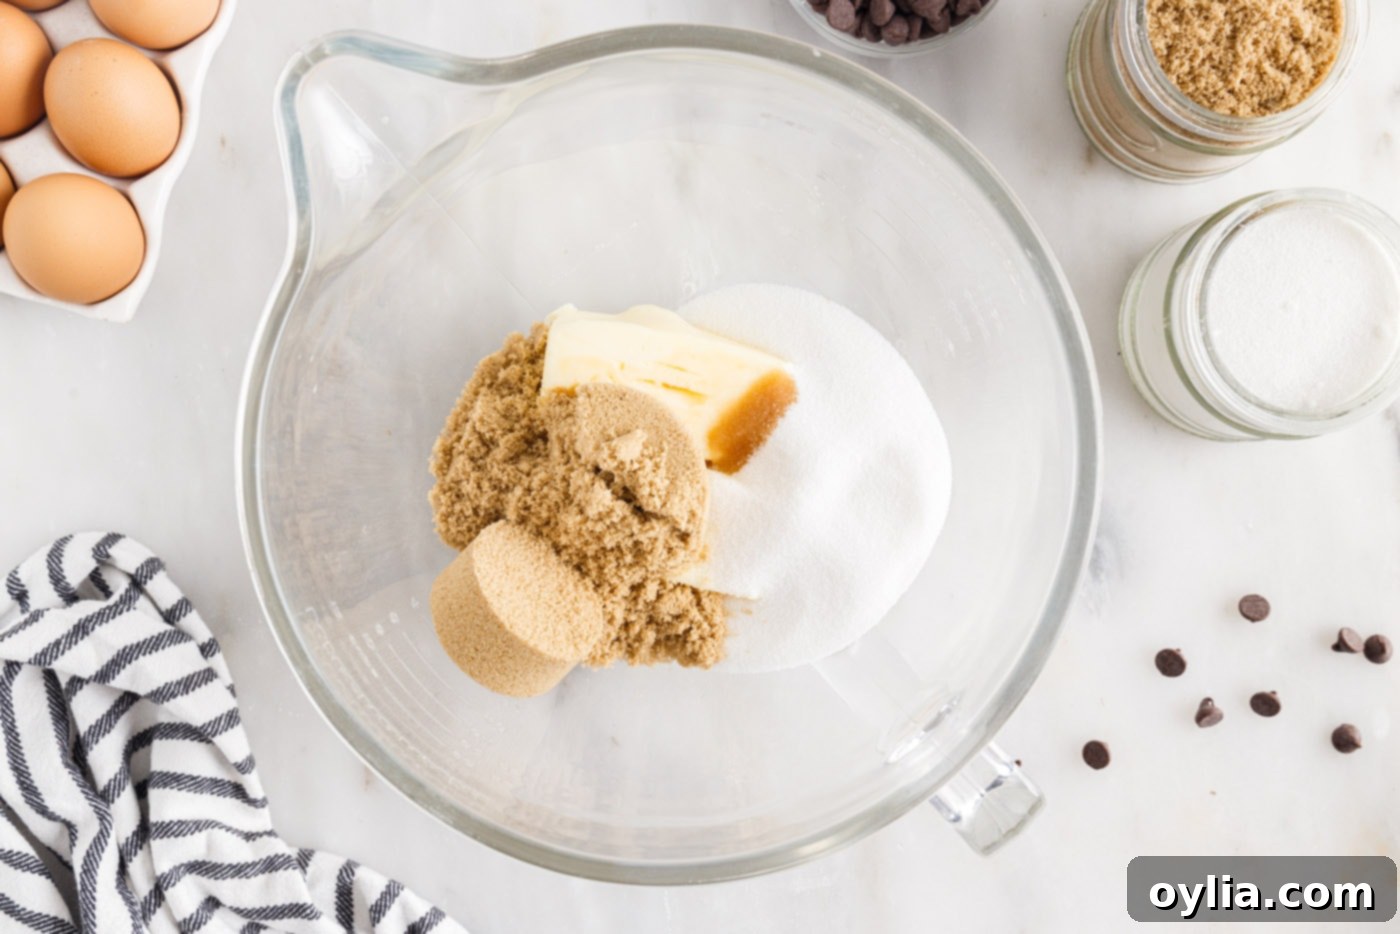
- Cream Wet Ingredients: In a large mixing bowl, using a hand mixer or a stand mixer fitted with the paddle attachment, beat together the softened butter, granulated sugar, brown sugar, and vanilla extract. Beat on medium speed for 2-3 minutes until the mixture is light, fluffy, and visibly well combined. This creaming process incorporates air, which is essential for the cookie’s texture and rise.

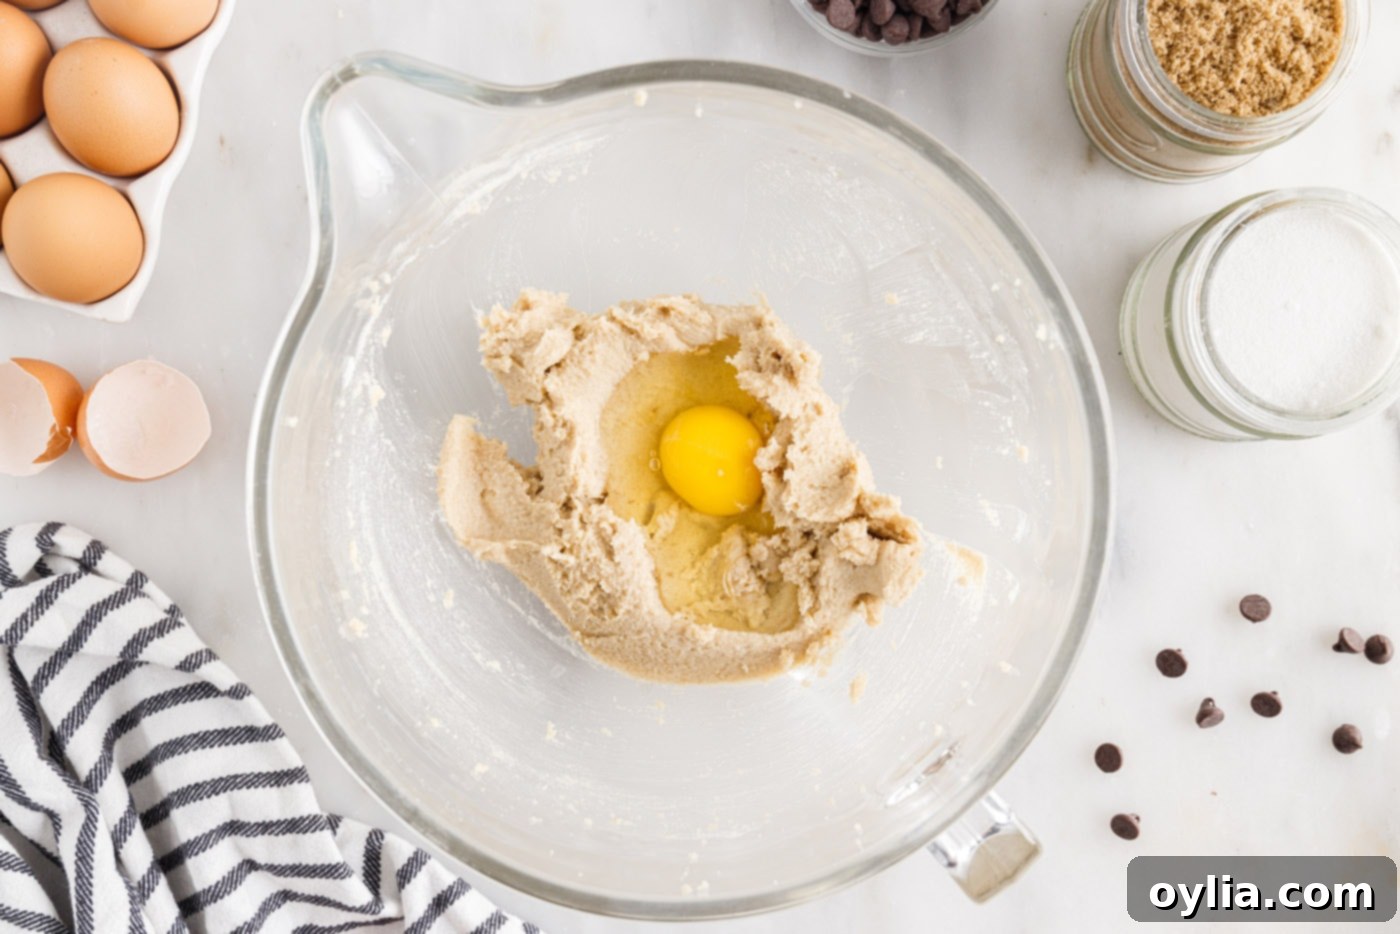
- Add Eggs Gradually: Incorporate the eggs one at a time into the creamed mixture. Beat thoroughly after each addition until fully combined. This method helps create a stable emulsion, resulting in a smoother, more consistent dough. Remember to scrape down the sides of the bowl periodically to ensure all ingredients are incorporated.

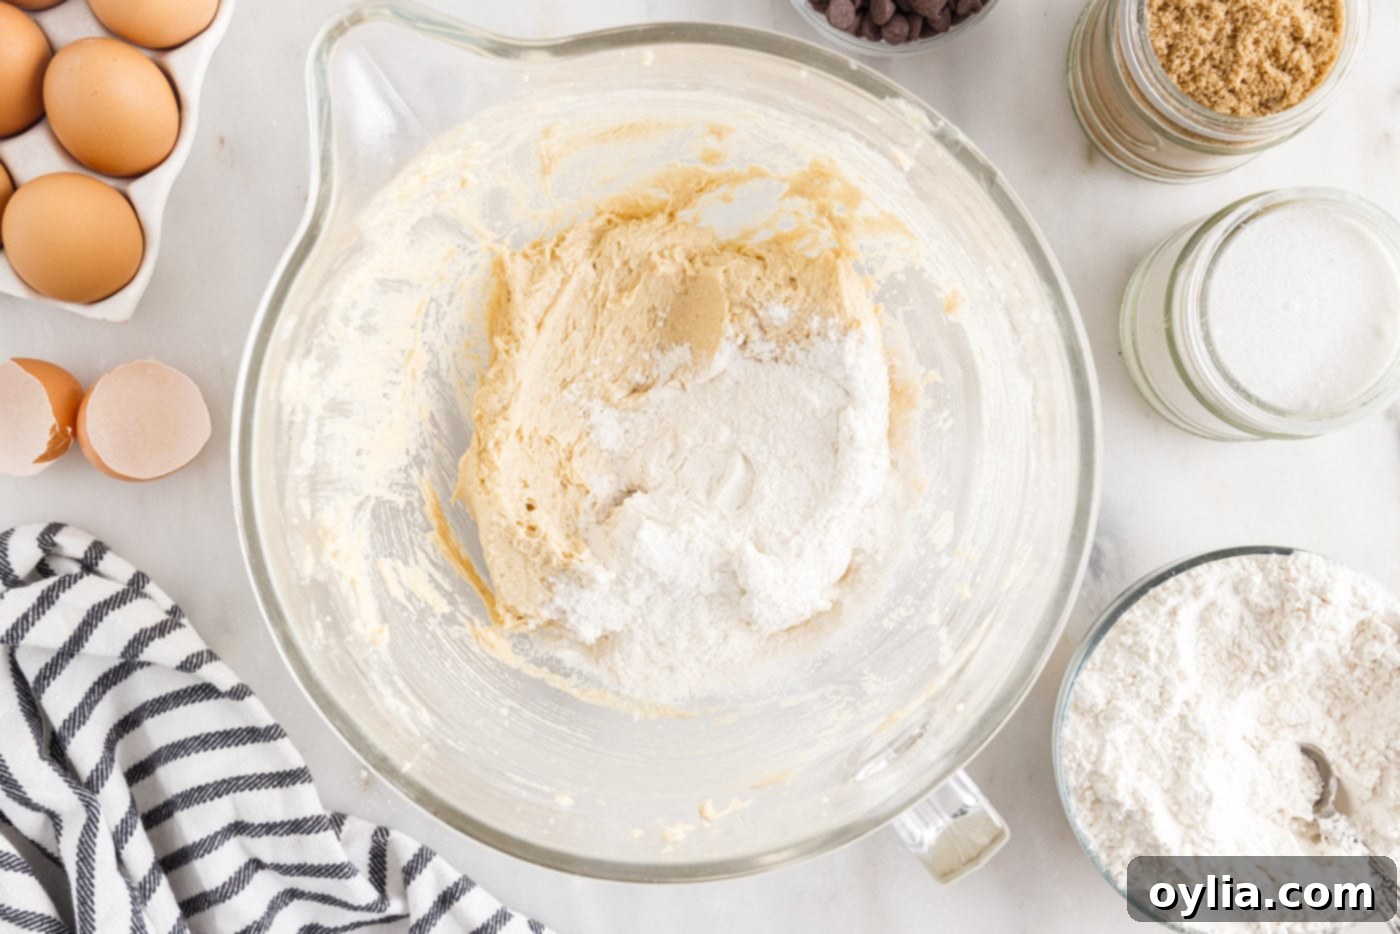
- Combine Wet and Dry: With the mixer on low speed, gradually add the whisked flour mixture to the wet ingredients. Mix just until no dry streaks of flour are visible and the ingredients are barely combined. Be careful not to overmix, as this can develop the gluten in the flour, leading to tough cookies.

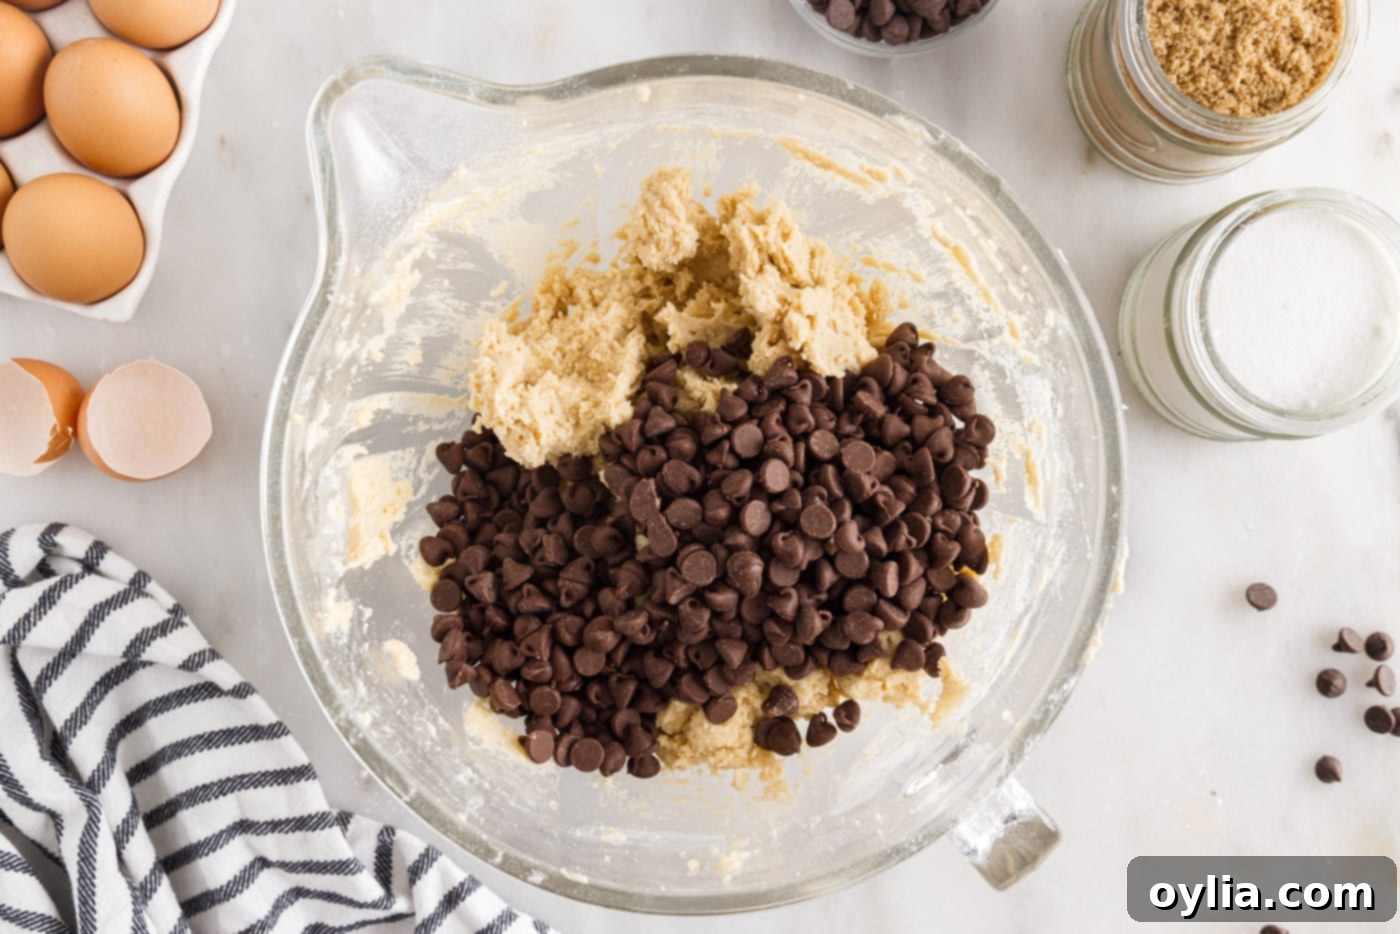
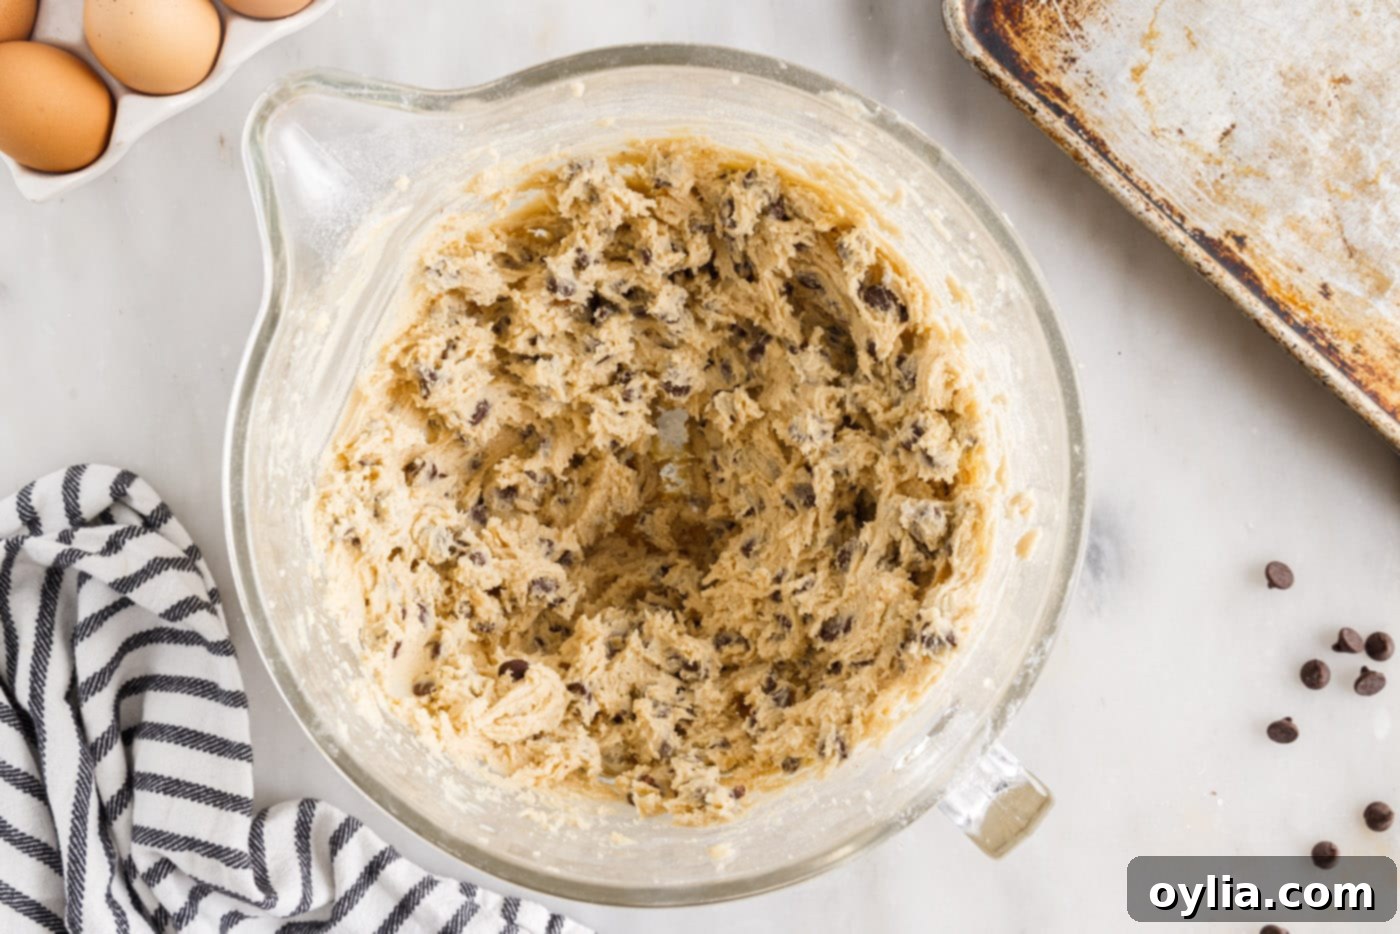
- Fold in Chocolate Chips and Nuts: Gently fold in the Nestle Toll House semi-sweet chocolate chips using a sturdy spatula or spoon. If you’re including chopped nuts, add them now too. Mix just enough to distribute them evenly throughout the dough without crushing the chips.


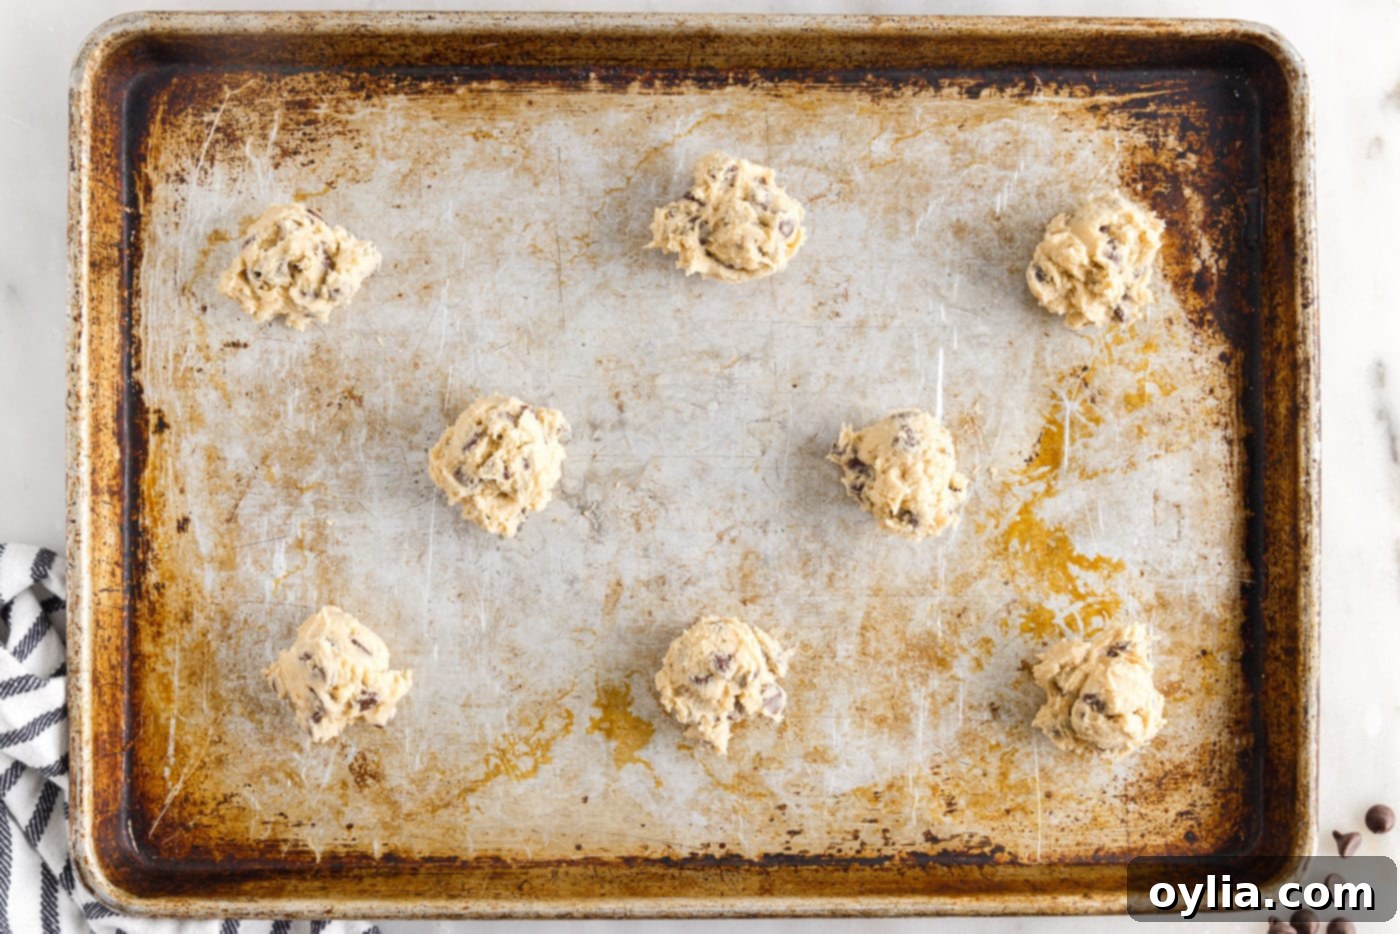
- Scoop and Bake: Using a Tablespoon cookie scoop (or a regular measuring spoon for consistency), drop rounded cookie dough balls onto an ungreased baking sheet. Ensure there is about 2 inches of space between each cookie to allow for proper spreading during baking.

- Bake Until Golden: Bake for 9 to 11 minutes. The cookies are perfectly done when their edges are golden brown and set, but their centers still look slightly soft and puffed. This indicates the ideal balance of crispness and chewiness. For even baking, consider rotating your baking sheets halfway through the cooking time.
- Cool and Serve: Once removed from the oven, let the cookies rest on the baking sheet for at least 2 minutes. This crucial resting period allows them to firm up slightly, preventing them from breaking when you transfer them. After 2 minutes, carefully move the cookies to a wire rack to cool completely. Enjoy these warm, freshly baked classic treats!
Frequently Asked Questions & Expert Baking Tips for Perfect Toll House Cookies
While the original Toll House cookie recipe doesn’t explicitly require chilling the dough, doing so can significantly impact the final texture and flavor. Chilling the dough for at least 30 minutes, or even up to 24-48 hours, allows the butter to solidify, which helps prevent the cookies from spreading too much in the oven, resulting in thicker, chewier cookies. Moreover, the chilling process allows the dry ingredients to fully hydrate and the flavors to meld and deepen, leading to a richer, more complex taste. If you’re seeking a chewier, more flavorful cookie and are concerned about spreading, a quick chill is highly recommended.
Absolutely! This versatile Toll House cookie recipe is perfect for freezing, whether as baked cookies or raw dough, allowing you to enjoy fresh-baked treats anytime. For freezing unbaked dough, I recommend the flash-freezing method. First, scoop your desired size of cookie dough balls onto a baking sheet or plate lined with waxed paper or parchment paper. Arrange them without touching. Freeze for approximately 2 hours, or until the dough balls are solid. Once firm, transfer the frozen dough balls to a freezer-safe bag or an airtight container. Flash-freezing prevents them from sticking together, enabling you to bake just a few cookies at a time. Frozen cookie dough can be stored for up to 3 months. When you’re ready to bake, you can place them directly from frozen onto a baking sheet, adding an extra 2-4 minutes to the original baking time.
For freezing baked cookies, ensure they are completely cooled to room temperature first. Arrange them in a single layer on a baking sheet and flash freeze for about an hour. Then, transfer them to an airtight freezer bag or container, separating layers with parchment paper to prevent sticking. Baked cookies will stay fresh in the freezer for up to 1 month. To enjoy, simply thaw them at room temperature or gently warm them in a preheated oven for a “freshly baked” experience.
To preserve the delicious taste and perfect texture of your homemade Toll House cookies, proper storage is essential. Store them in an airtight container at room temperature. They will remain wonderfully fresh, soft, and chewy for 5-7 days. For an extra touch of softness, you can place a slice of plain bread (like white bread) inside the container with the cookies; the cookies will absorb moisture from the bread, helping them stay tender. Just remember to replace the bread slice every couple of days to keep it fresh.
If your cookies spread excessively, several factors might be at play: your butter might have been too soft or even slightly melted, your oven temperature could be too low (it’s always a good idea to use an oven thermometer to verify accuracy), or you might have overmeasured your sugar while undermeasuring your flour. Conversely, dry and crumbly cookies are typically a result of overmeasuring flour or simply overbaking. Always adhere strictly to the “scoop and sweep” method for measuring flour and keep a vigilant eye on your oven for the recommended baking time, watching for visual cues of doneness.
Yes, this Toll House cookie recipe is adaptable for various cookie sizes! For larger, more substantial cookies, use a 2-Tablespoon cookie scoop. You’ll need to increase the baking time slightly, typically by 2-4 minutes, until the edges are beautifully golden brown and the centers are set. For smaller cookies (e.g., using a teaspoon scoop), decrease the baking time by 1-2 minutes. Regardless of size, always rely on visual cues for doneness: golden edges and slightly set centers are key indicators, as baking times will naturally vary with cookie size and oven calibration.
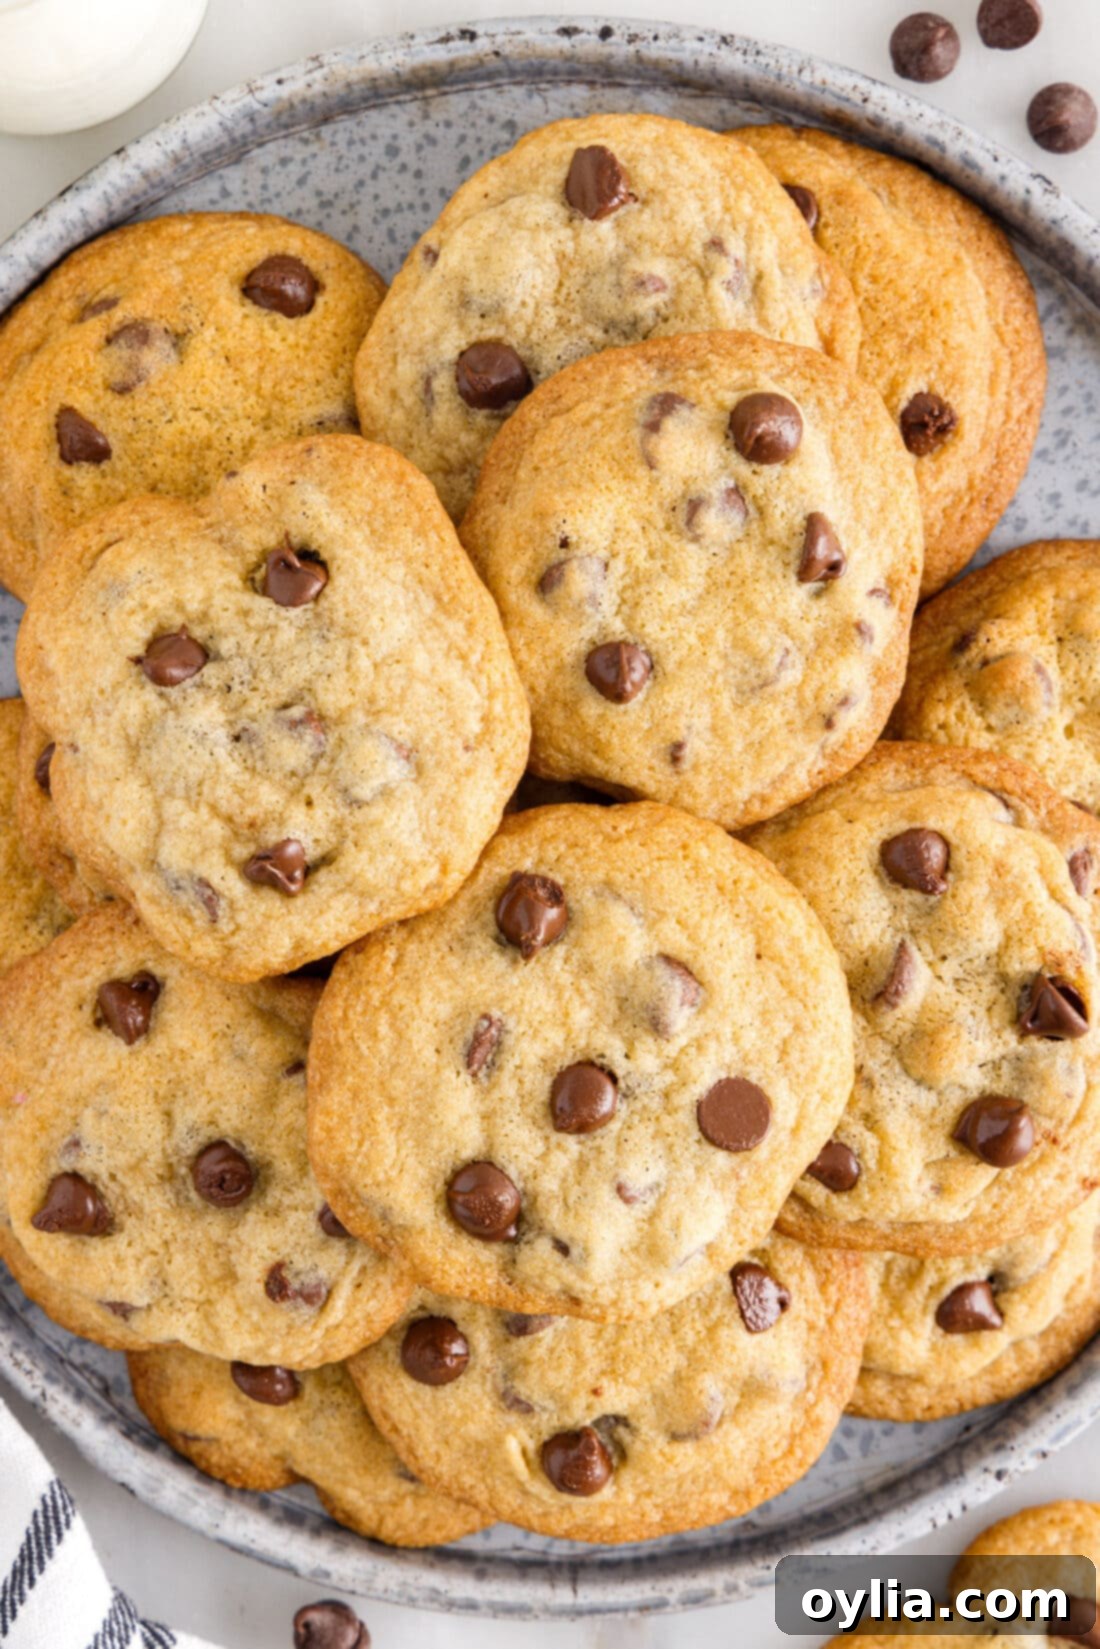
Delightful Serving Suggestions for Your Perfect Toll House Cookies
These classic Toll House cookies are incredibly satisfying on their own, but they also offer a fantastic canvas for various serving suggestions. The most iconic pairing is, without a doubt, a tall, frosty glass of cold milk, which perfectly complements their rich, sweet flavor and delightful texture. For an extra special treat, serve them warm with a scoop of creamy vanilla bean ice cream and a drizzle of chocolate syrup, creating an instant, indulgent cookie sundae. They also make a fantastic companion to a hot cup of coffee, a soothing mug of tea, or even a robust espresso for an afternoon pick-me-up.
Consider transforming them into elegant ice cream sandwiches by filling two cookies with your favorite ice cream flavor, then rolling the edges in sprinkles or chopped nuts. These homemade cookies are also a wonderful addition to any dessert platter for gatherings, holidays, or potlucks. And don’t forget their potential as a heartfelt homemade gift, beautifully packaged for friends, family, or neighbors. Whether you’re satisfying a late-night chocolate craving or celebrating a special occasion, these warm, comforting Toll House cookies are always a cherished choice!
Explore More Delicious Cookie Recipes from Our Kitchen
- Edible Cookie Dough
- Neiman Marcus Cookies
- Orange Chocolate Chip Cookies
- Chocolate Chip Pudding Cookies
- Cinnamon Chocolate Chip Cookies
- Double Tree Chocolate Chip Cookies
I love to bake and cook and share my kitchen experience with all of you! Remembering to come back each day can be tough, that’s why I offer a convenient newsletter every time a new recipe posts. Simply subscribe and start receiving your free daily recipes!

Toll House Cookie Recipe
IMPORTANT – There are often Frequently Asked Questions within the blog post that you may find helpful. Simply scroll back up to read them!
Print It
Pin It
Rate It
Save It
Saved!
Prevent your screen from going dark
Course:
Dessert
Cuisine:
American
60
cookies
24 minutes
112
Amanda Davis
Ingredients
-
2 ¼
cups
all purpose flour -
1
teaspoon
baking soda -
1
teaspoon
salt -
1
cup
butter
2 sticks, softened -
¾
cup
granulated sugar -
¾
cup
brown sugar
packed -
1
teaspoon
vanilla extract -
2
large
eggs -
12
ounces
Nestle Toll House Semi-Sweet Chocolate Morsels -
1
cup
chopped nuts
optional, see note below
Things You’ll Need
-
Hand mixer
or stand mixer -
Mixing bowls -
Baking sheet -
Cookie scoop
1 Tablespoon size
Before You Begin
- As per the original recipe notes, if you plan to omit the chopped nuts from your Toll House cookie recipe, add an additional 1 to 2 tablespoons of all-purpose flour to the mix. This helps maintain the correct dough consistency and prevents the cookies from spreading too much due to the reduced bulk.
- This recipe is designed to yield a generous batch of approximately 5 dozen cookies. If this quantity is more than you need, you can easily halve the recipe to make around 30 cookies, or simply prepare the full batch and freeze the remaining dough for later use. Refer to the detailed freezing instructions provided in the FAQ section.
- It’s incredibly important to measure your flour correctly when making any baked goods, particularly for this classic chocolate chip cookie recipe. Too much flour will result in dry, crumbly cookies, while too little can cause them to spread excessively. To properly measure flour, use the scoop and sweep method: Begin by aerating the flour with a spoon. Scoop the flour into the measuring cup with your spoon until it’s overflowing. Using the flat side of a butter knife or a flat surface, level the top of the measuring cup without packing down the flour. You never want to tap the bottom of the measuring cup when measuring flour as this compacts it, leading to an inaccurate measurement.
- For Freezing Dough: To enjoy fresh-baked cookies at a moment’s notice, I highly recommend flash-freezing the dough balls first. Measure out uniformly sized dough balls onto a waxed paper or parchment paper-lined baking sheet or plate. Place them as close together as possible, ensuring they do not touch. Freeze for approximately 2 hours, or until they are solid. Once firm, remove the dough balls and transfer them to a freezer-safe bag or an airtight container. Flash-freezing them will prevent the dough balls from sticking together in a big clump inside the bag, allowing you to easily retrieve and bake just a few at a time. Frozen dough can be stored for up to 3 months.
- Ensure your butter is truly softened to room temperature, not melted or too cold. Softened butter creams properly with sugar to create the airy, light texture critical for this recipe.
- Similarly, having your eggs at room temperature is beneficial. They emulsify better with the other ingredients, leading to a smoother and more consistent dough.
Instructions
-
Preheat oven to 375F (190°C).
-
Combine the flour, baking soda, and salt in a small mixing bowl and set aside, whisking vigorously to ensure even distribution of all dry ingredients.
-
In a large bowl, beat the softened butter, granulated sugar, brown sugar, and vanilla extract using a hand mixer or stand mixer until the mixture is light, fluffy, and well-creamed (this typically takes 2-3 minutes on medium speed).
-
Add the eggs to the creamed mixture one at a time, beating thoroughly after each addition until fully incorporated. Scrape down the sides of the bowl as needed to ensure everything is evenly mixed.
-
With the mixer on low speed, slowly add the prepared flour mixture to the wet ingredients. Mix just until combined and no dry streaks of flour are visible. Avoid overmixing to keep the cookies tender.
-
Gently fold in the Nestle Toll House chocolate chips and, if using, the chopped nuts, using a spatula until they are evenly distributed throughout the dough.
-
Using a Tablespoon cookie scoop (or a regular measuring spoon for consistent sizing), scoop uniformly sized cookie balls onto an ungreased baking sheet, ensuring approximately 2 inches of space between each to allow for even spreading.
-
Bake for 9 to 11 minutes or until the edges are beautifully golden brown and set, while the centers still appear slightly soft. This indicates the perfect chewy texture inside.
-
Allow the freshly baked cookies to rest on the hot baking sheet for a minimum of 2 minutes. This crucial step helps them firm up and prevents them from breaking when transferred. Afterward, carefully move them to a wire rack to cool completely before serving.
Nutrition
Serving:
1
cookie
|
Calories:
112
cal
|
Carbohydrates:
12
g
|
Protein:
1
g
|
Fat:
7
g
|
Saturated Fat:
3
g
|
Polyunsaturated Fat:
1
g
|
Monounsaturated Fat:
2
g
|
Trans Fat:
0.1
g
|
Cholesterol:
15
mg
|
Sodium:
85
mg
|
Potassium:
53
mg
|
Fiber:
1
g
|
Sugar:
7
g
|
Vitamin A:
107
IU
|
Vitamin C:
0.03
mg
|
Calcium:
10
mg
|
Iron:
1
mg
Tried this Recipe? Pin it for Later!
Follow on Pinterest @AmandasCookin or tag #AmandasCookin!
The recipes on this blog are tested with a conventional gas oven and gas stovetop. It’s important to note that some ovens, especially as they age, can cook and bake inconsistently. Using an inexpensive oven thermometer can assure you that your oven is truly heating to the proper temperature. If you use a toaster oven or countertop oven, please keep in mind that they may not distribute heat the same as a conventional full sized oven and you may need to adjust your cooking/baking times. In the case of recipes made with a pressure cooker, air fryer, slow cooker, or other appliance, a link to the appliances we use is listed within each respective recipe. For baking recipes where measurements are given by weight, please note that results may not be the same if cups are used instead, and we can’t guarantee success with that method.
