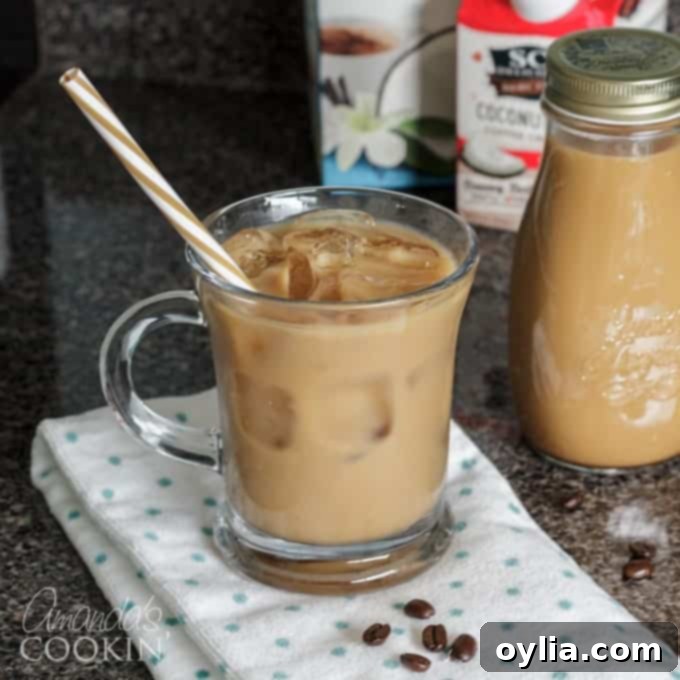
Mastering Homemade Cold Brew Iced Coffee: An Easy & Refreshing Recipe Guide
For many, the allure of a perfectly chilled glass of iced coffee is undeniable, especially when the weather warms up. It’s a daily ritual, a refreshing pick-me-up that invigorates the senses. I’ve always been a fervent admirer of iced coffee, and when I first encountered the cold brew method, it immediately resonated with me. The idea of a smooth, robust, and less acidic coffee concentrate, specifically designed for a cold beverage, made absolute sense. While I occasionally indulge in a sweet homemade frappuccino, the sugar content makes it less ideal for an everyday treat. Cold brew, however, offers a delightful and versatile alternative that can be enjoyed regularly without guilt.
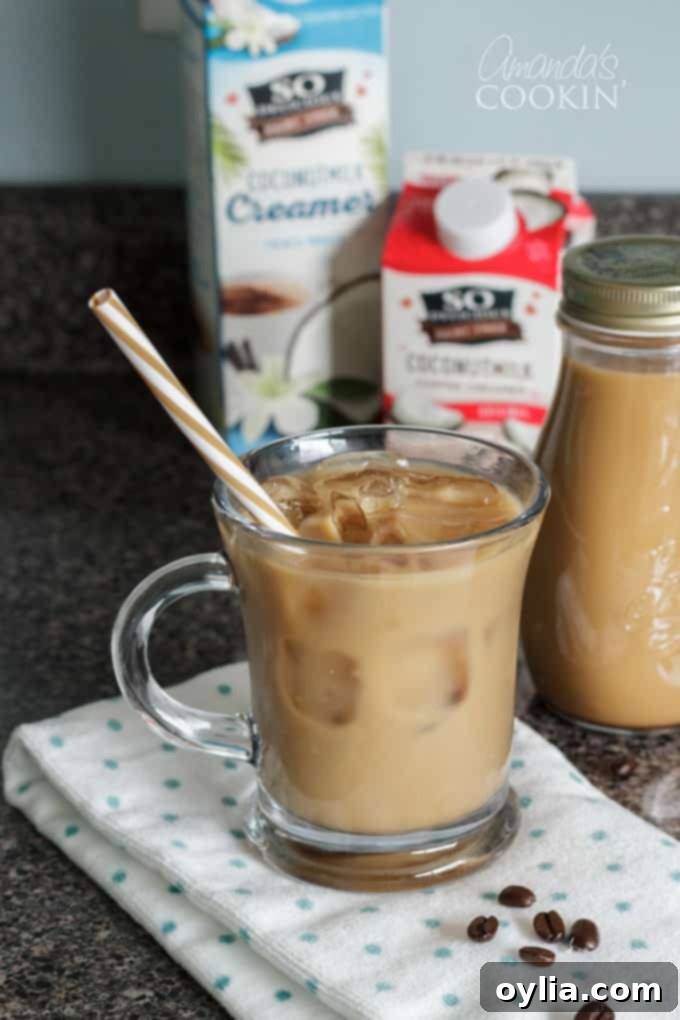
This post sponsored by Silk and So Delicious Dairy Free Creamers.
The Benefits of Cold Brew Iced Coffee: A Healthier, Smoother Choice
Beyond its incredible taste, cold brew offers several advantages, especially for those mindful of their health. My family has a history of high cholesterol, a factor that makes me particularly attentive to the nutritional content of my food and beverages. While my latest check-up showed healthy levels, I continue to make conscious choices, which led me to switch to dairy-free creamers, specifically those made from coconut milk, for my morning coffee. Coffee is an essential part of my morning routine, and I find it challenging to kickstart my day without that comforting first sip.
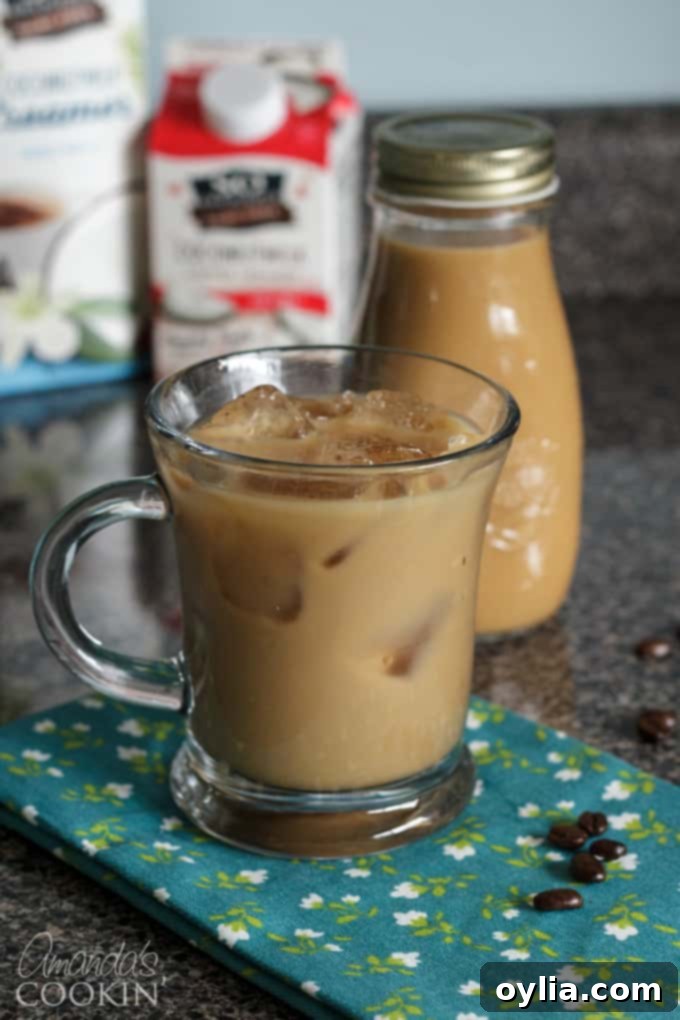
During the warmer months, my consumption of iced coffee significantly outweighs hot coffee. The good news is that learning how to make cold brew iced coffee at home is incredibly simple. This method not only delivers a superior flavor but also offers substantial financial savings. Imagine the money you’ll keep in your pocket by crafting your own delicious iced coffee each day instead of buying it from a cafe. Furthermore, customizing it into a delectable vanilla iced coffee is as simple as selecting the right creamer.

The Cold Brew Difference: Smoothness, Low Acidity, and Rich Flavor
There are generally two main approaches to making iced coffee: brewing hot and then chilling, or the cold brew method. In the past, I would simply refrigerate leftover hot coffee from the pot. While this works in a pinch, it often results in a bitter, diluted flavor once ice is added. Cold brew, on the other hand, is a game-changer. The magic of cold brewing lies in its process: instead of using hot water to extract flavors quickly, cold water slowly infuses with the coffee grounds over an extended period. This gentle extraction process minimizes the release of bitter acids and oils that are more prevalent in hot brewing, resulting in a naturally sweeter, incredibly smooth, and less acidic coffee concentrate. This makes cold brew not only easier on the stomach but also highlights the subtle, rich notes of the coffee beans.
Now that I’m the primary coffee drinker in my household, I’ve transitioned from a traditional coffee pot to a French press for my daily hot cup. However, for iced coffee, cold brew is truly superior. The concentrated nature of cold brew means it stands up beautifully to ice without becoming watered down, delivering a consistently delicious experience.
Planning Ahead for Perfect Cold Brew
While the actual steps for making cold brew are straightforward, it does require a bit of foresight. The critical component of the cold brew method is the steeping time. You’ll prepare your coffee and then allow it to steep for a minimum of 8 hours, or ideally, overnight. This prolonged contact between coffee grounds and cold water is what creates that signature smooth, low-acid concentrate. While it demands a little patience, the wait is absolutely worth it for the superior flavor profile. One of the greatest benefits is that you can prepare a substantial batch, depending on your consumption habits. A batch of homemade cold brew coffee typically stays fresh and delicious in the refrigerator for 2-3 days, making it perfect for meal prepping your morning caffeine fix.
How to Make Cold Brew Coffee: A Step-by-Step Guide
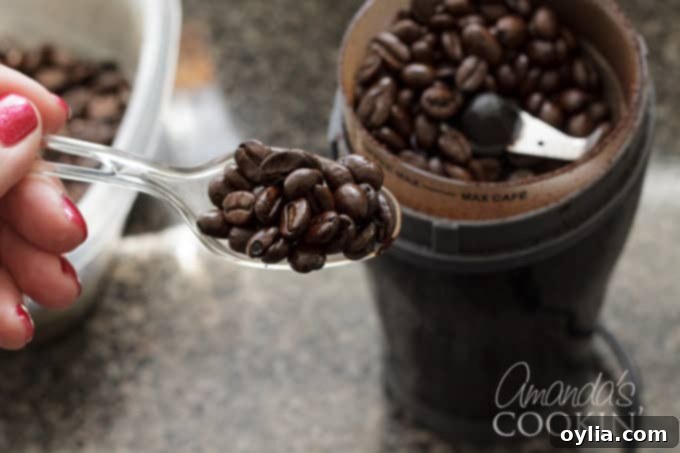
You can certainly use pre-ground coffee, but for the freshest and most flavorful cold brew, I highly recommend grinding your own whole beans just before brewing. A coarse grind is generally preferred for cold brew, as it helps prevent over-extraction and makes straining easier. Both methods will yield good results, but fresh grounds elevate the experience.
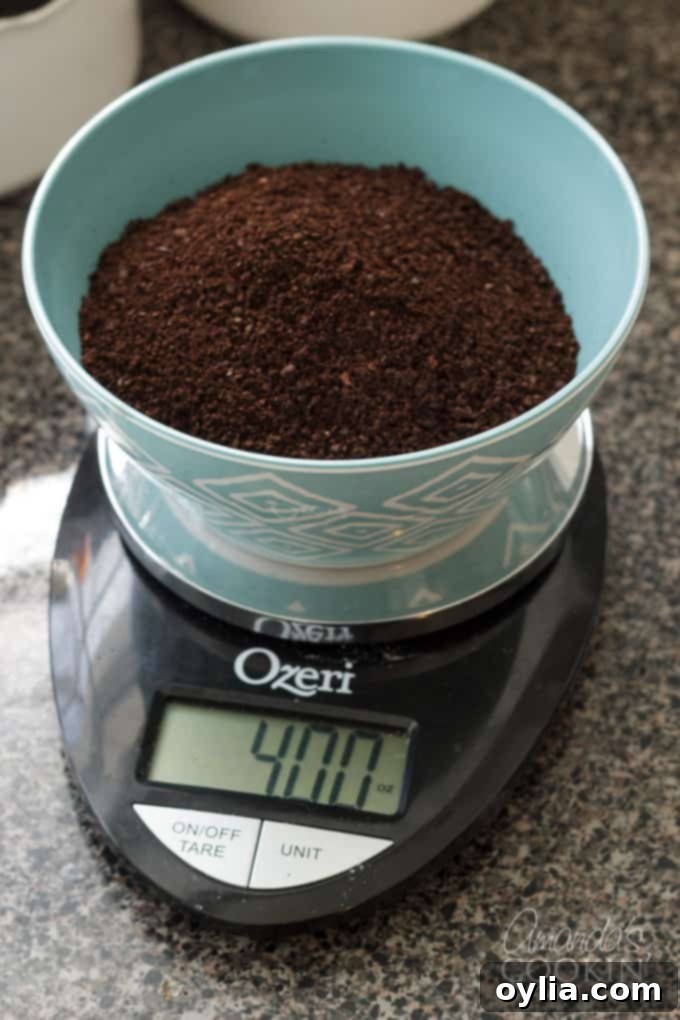
For this delicious and cost-effective cold brew recipe, you will need:
- 4 oz good quality ground coffee (preferably coarsely ground)
- A 2-quart pitcher or a large glass jar
- Fresh, filtered water (approximately 2 quarts)
- A lid or aluminum foil to cover the pitcher
- Cheesecloth for an extra fine strain
- A fine mesh strainer
- Your choice of creamer (vanilla coconut milk creamer is recommended for vanilla iced coffee)
- Optional: Sugar or other sweetener to taste
- Start by accurately measuring your coffee. Grind enough whole beans to yield 4 ounces of ground coffee. A simple kitchen scale ensures precision. Aim for a coarse grind, similar to breadcrumbs, to facilitate optimal extraction and straining.
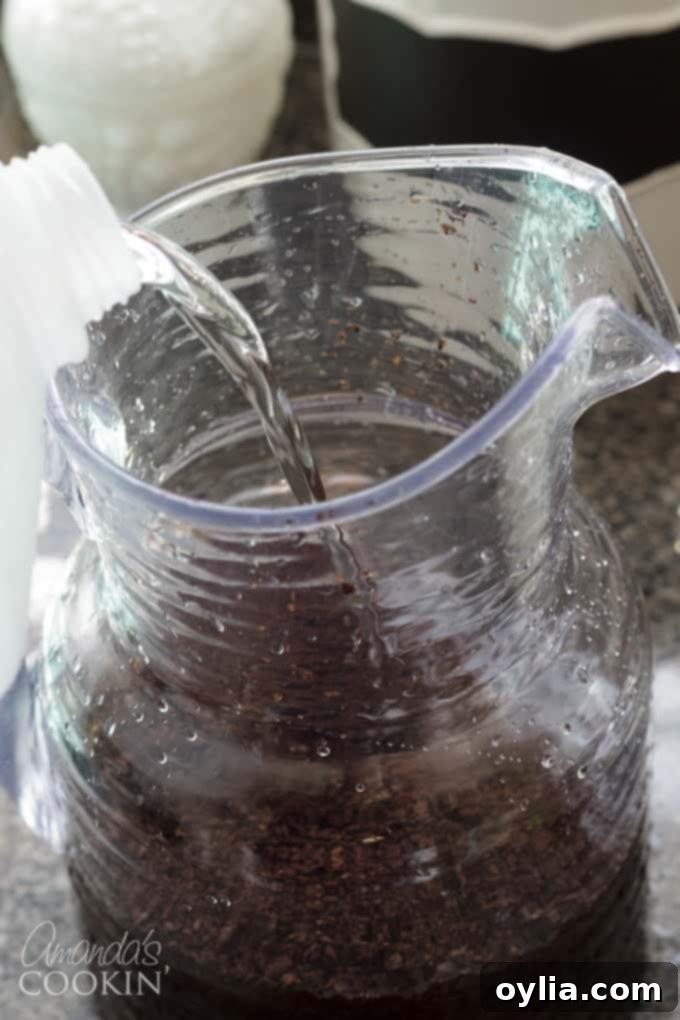
- Place the measured ground coffee into your 2-quart pitcher or jar. Fill the pitcher with approximately 2 quarts of fresh, cold water. Filtered water is recommended for the best flavor.
- Using a spoon or spatula, gently stir the coffee grounds and water mixture. This step is crucial to ensure all the coffee grounds are thoroughly saturated with water, promoting an even and effective extraction.
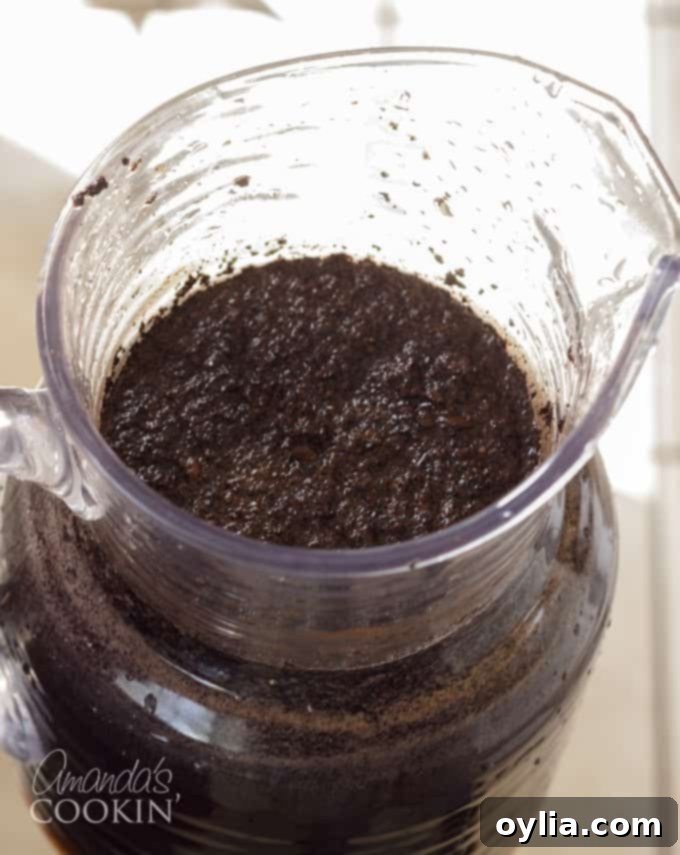
- Now comes the test of patience: the steeping process. Cover the top of the pitcher tightly with a lid or foil. Allow the mixture to sit at room temperature for at least 8 hours, or for an even richer concentrate, leave it overnight. This extended steeping time is what develops the characteristic smooth, low-acid flavor of cold brew.
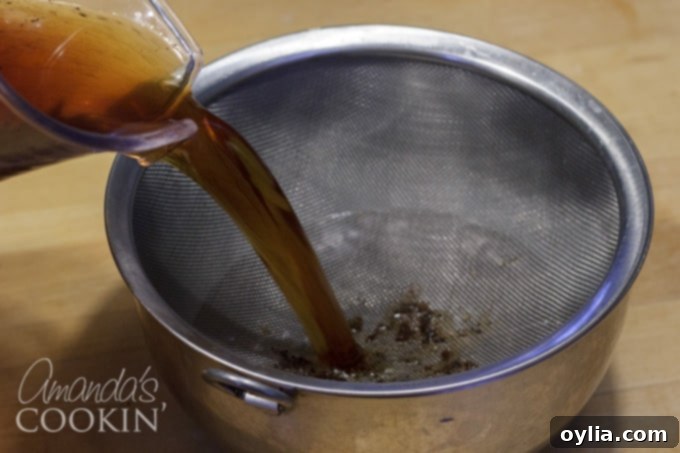
- The next morning, it’s time to separate the liquid gold from the grounds. Line a fine mesh strainer with two layers of cheesecloth for optimal filtration. Place the lined strainer over another clean pitcher or bowl. Carefully pour the steeped coffee mixture through the strainer.
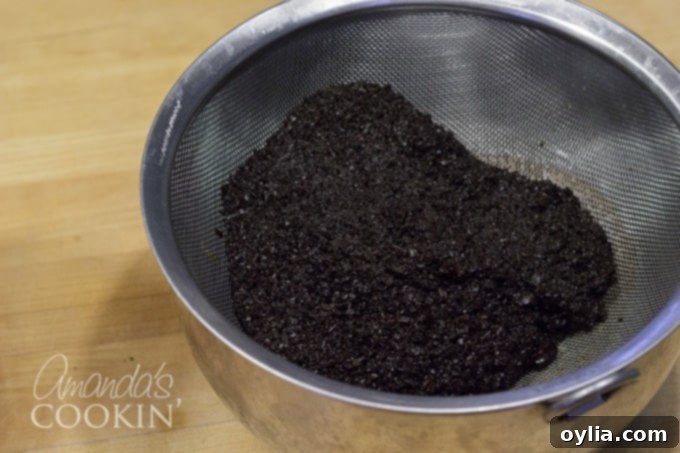
- Once all the liquid has passed through, discard the coffee grounds. They can be composted or disposed of responsibly.
- For an exceptionally clear and grit-free cold brew concentrate, run the coffee through the strainer once more. This second filtration, especially with the cheesecloth layer, ensures that any stray fine grounds are caught, leaving you with a perfectly smooth beverage.
- Now, your cold brew concentrate is ready for customization! I highly recommend using a vanilla coconut milk creamer for a delightful vanilla iced coffee experience. Many vanilla creamers are already subtly sweetened, which means you might not need to add any extra sugar.
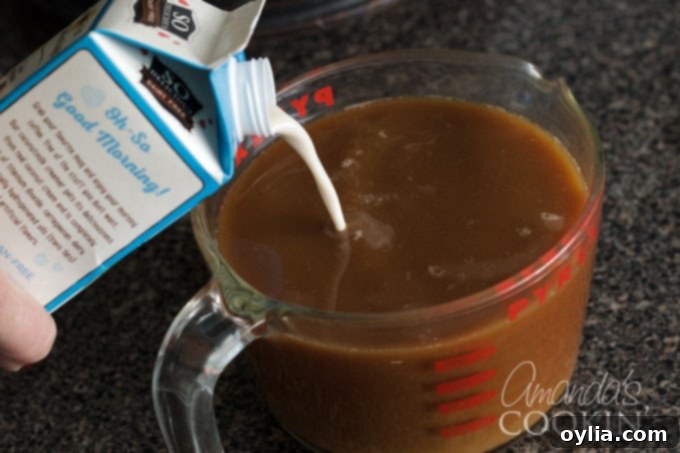
This recipe yields approximately 8 cups of delicious cold brew. I often divide my batch into two halves. For example, I’ll add vanilla creamer to one half for a naturally sweet, aromatic experience, and an original or unflavored creamer to the other. The vanilla batch typically doesn’t require additional sugar due to the creamer’s sweetness, but the original version might benefit from a touch of your preferred sweetener. This is entirely a matter of personal preference, and you can adjust the sweetness and creamer to suit your taste. Experiment with different dairy-free creamers, flavored syrups, or even a dash of cinnamon or cocoa powder to create your signature cold brew concoction!
Finally, all that’s left is to grab a tall glass and fill it generously with ice. The beauty of cold brew concentrate is that it’s robust enough to handle melting ice without becoming weak or watery.
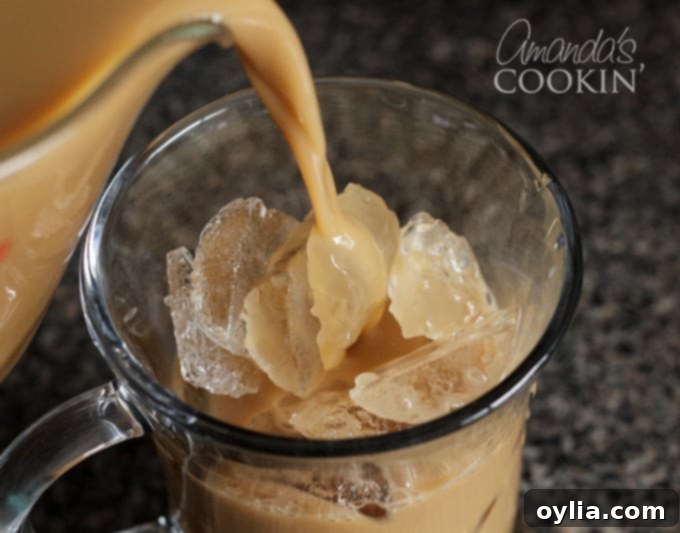
Pour your customized iced coffee over the ice and savor every refreshing sip!
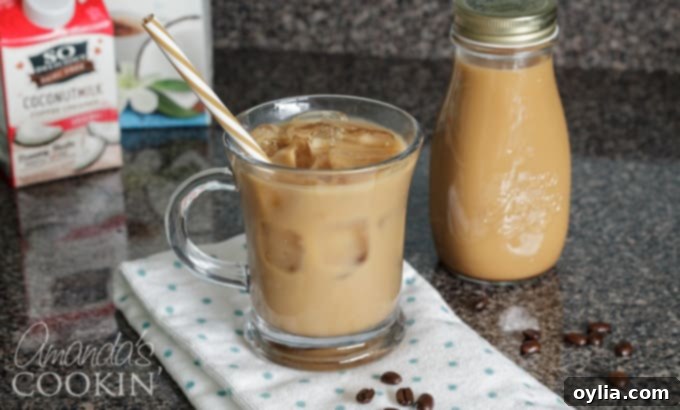
Looking for more innovative ways to enjoy your morning cup of joe or an afternoon pick-me-up? You’re in luck! Try these incredible Homemade Mocha Frappuccinos – skip the expensive coffee shop lines and enjoy a luxurious treat right at home. For an adult twist, elevate your coffee experience with this indulgent Baileys Coffee Float. And if you’re a fan of nourishing smoothies, don’t miss our energizing Loaded Coffee Smoothie, perfect for a quick and satisfying breakfast. Happy brewing!
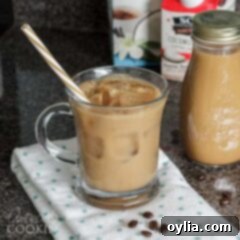
Cold Brew Iced Coffee
IMPORTANT – There are often Frequently Asked Questions within the blog post that you may find helpful. Simply scroll back up to read them!
Print It
Pin It
Rate It
Save ItSaved!
Ingredients
- 4 oz ground coffee (coarsely ground)
- 2 quart pitcher
- Fresh, filtered water approximately 2 quarts
- Lid or foil
- Cheesecloth
- Fine mesh strainer
- 1 cup Vanilla creamer
- Sugar or sweetener optional, to taste
Instructions
-
Grind enough coffee to measure 4-ounces (using a kitchen scale for accuracy), aiming for a coarse grind. Place the ground coffee into a 2-quart pitcher and fill it with fresh, filtered water. Stir the mixture well to ensure all the coffee grounds are fully saturated.
-
Cover the top of the pitcher securely and let it steep at room temperature for at least 8 hours, or ideally, overnight, to allow for optimal flavor extraction.
-
The next morning, set up a fine mesh strainer over another clean container. Carefully pour the steeped coffee through the strainer to separate the liquid from the grounds.
-
Discard or compost the used coffee grounds.
-
For an extra smooth concentrate, line the fine mesh strainer with a layer of cheesecloth and strain the coffee a second time. This step catches any tiny particles that might have slipped through the first straining.
-
Your cold brew concentrate is now ready! Add your preferred creamer, such as vanilla coconut milk creamer, which often provides enough sweetness without additional sugar.
-
This recipe yields about 8 cups of cold brew. You can divide it and customize each portion. Adjust sweetness with sugar or other sweeteners as desired, as taste preferences vary. Serve over plenty of ice and enjoy!
Nutrition
The recipes on this blog are tested with a conventional gas oven and gas stovetop. It’s important to note that some ovens, especially as they age, can cook and bake inconsistently. Using an inexpensive oven thermometer can assure you that your oven is truly heating to the proper temperature. If you use a toaster oven or countertop oven, please keep in mind that they may not distribute heat the same as a conventional full sized oven and you may need to adjust your cooking/baking times. In the case of recipes made with a pressure cooker, air fryer, slow cooker, or other appliance, a link to the appliances we use is listed within each respective recipe. For baking recipes where measurements are given by weight, please note that results may not be the same if cups are used instead, and we can’t guarantee success with that method.
