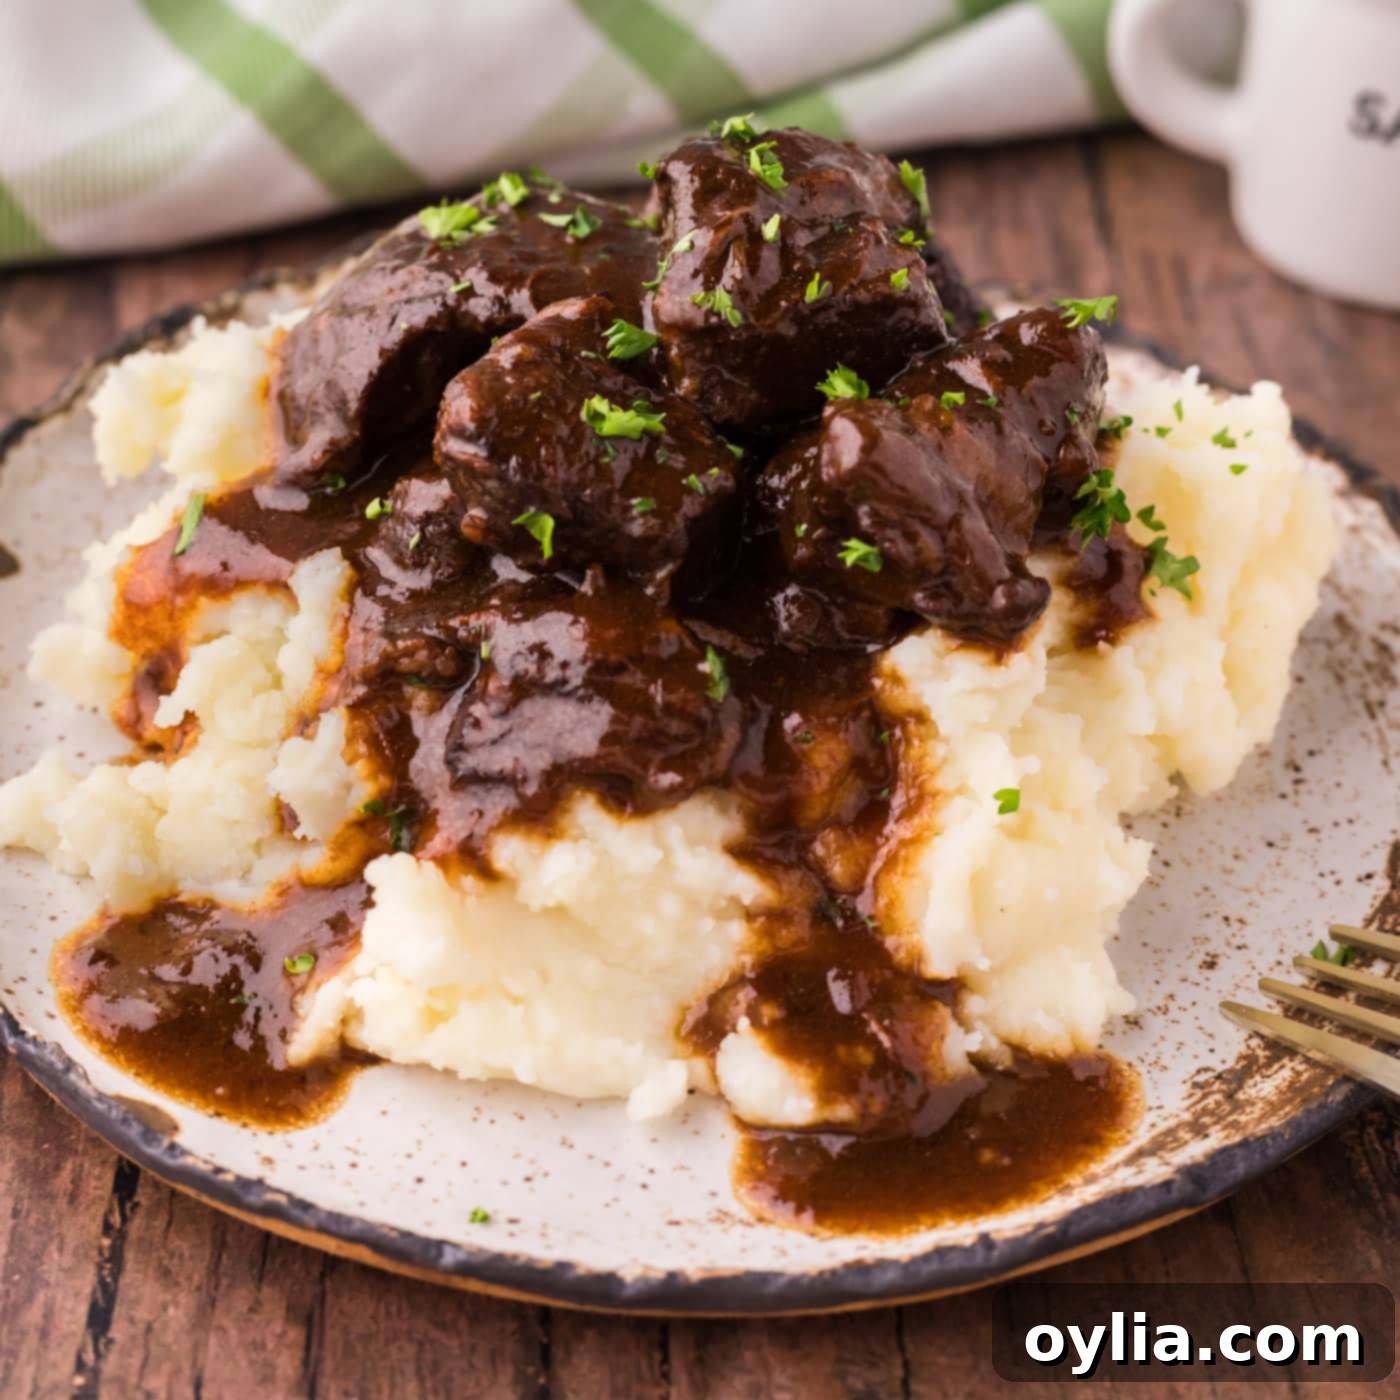
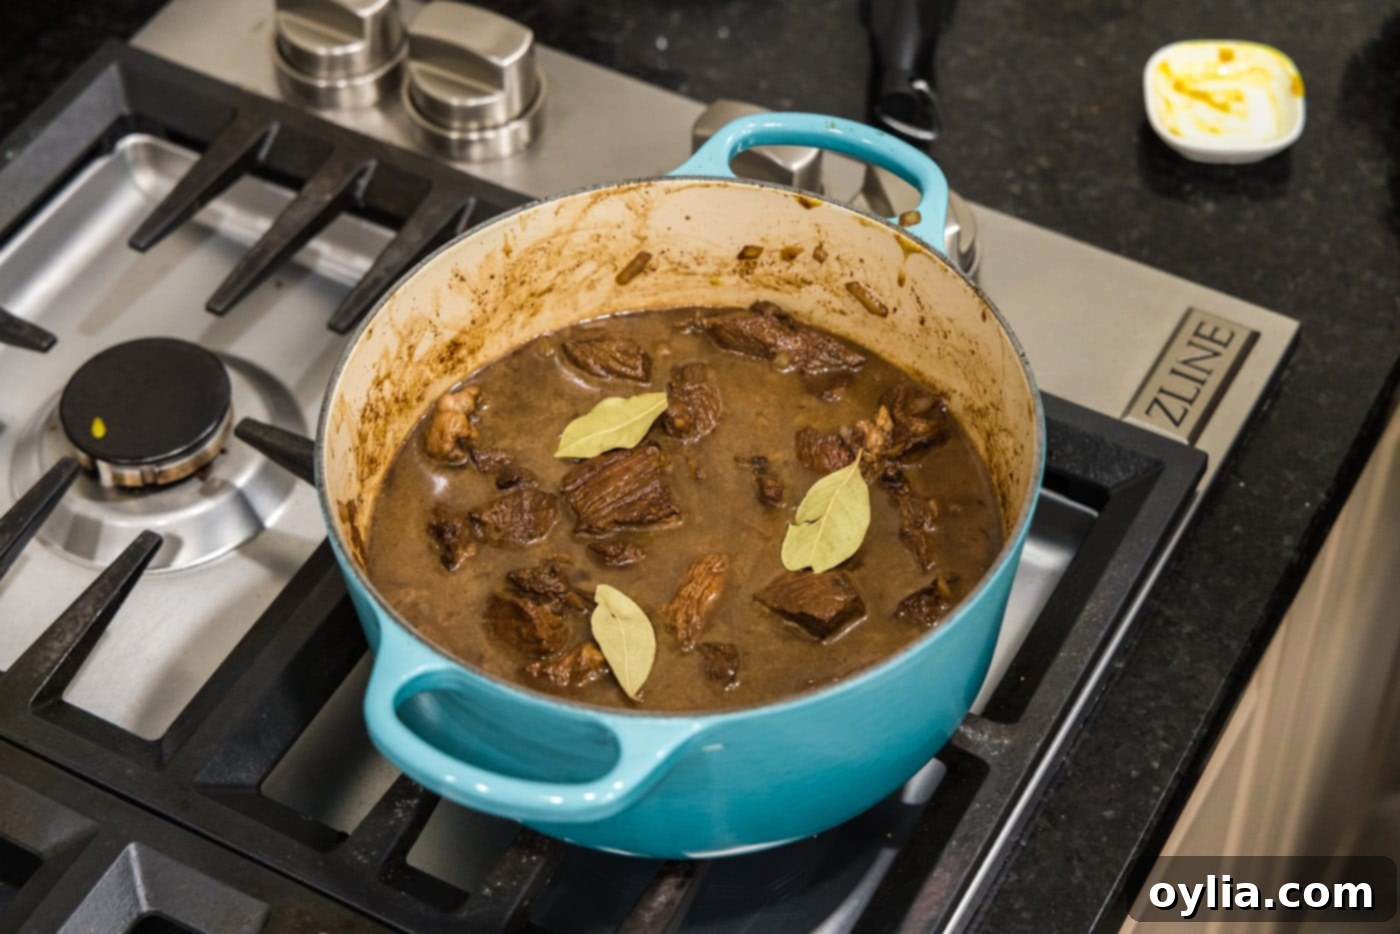
The Ultimate Stovetop Beef Tips and Gravy: Fork-Tender Perfection for a Comforting Meal
Prepare for a truly heartwarming and satisfying meal with this incredible stovetop beef tips and gravy recipe. Imagine succulent pieces of beef, slow-simmered to an irresistible fork-tender texture, generously coated in a rich, savory brown gravy. This classic comfort food is designed for ease and maximum flavor, making it a perfect addition to your weekly dinner rotation. Whether you prefer it over creamy mashed potatoes, fluffy egg noodles, a bed of white rice, or even your favorite pasta, the robust gravy will elevate every bite into a truly memorable experience. It’s the kind of dish that brings people together around the table, offering warmth and deep, satisfying flavors that feel like a comforting hug.
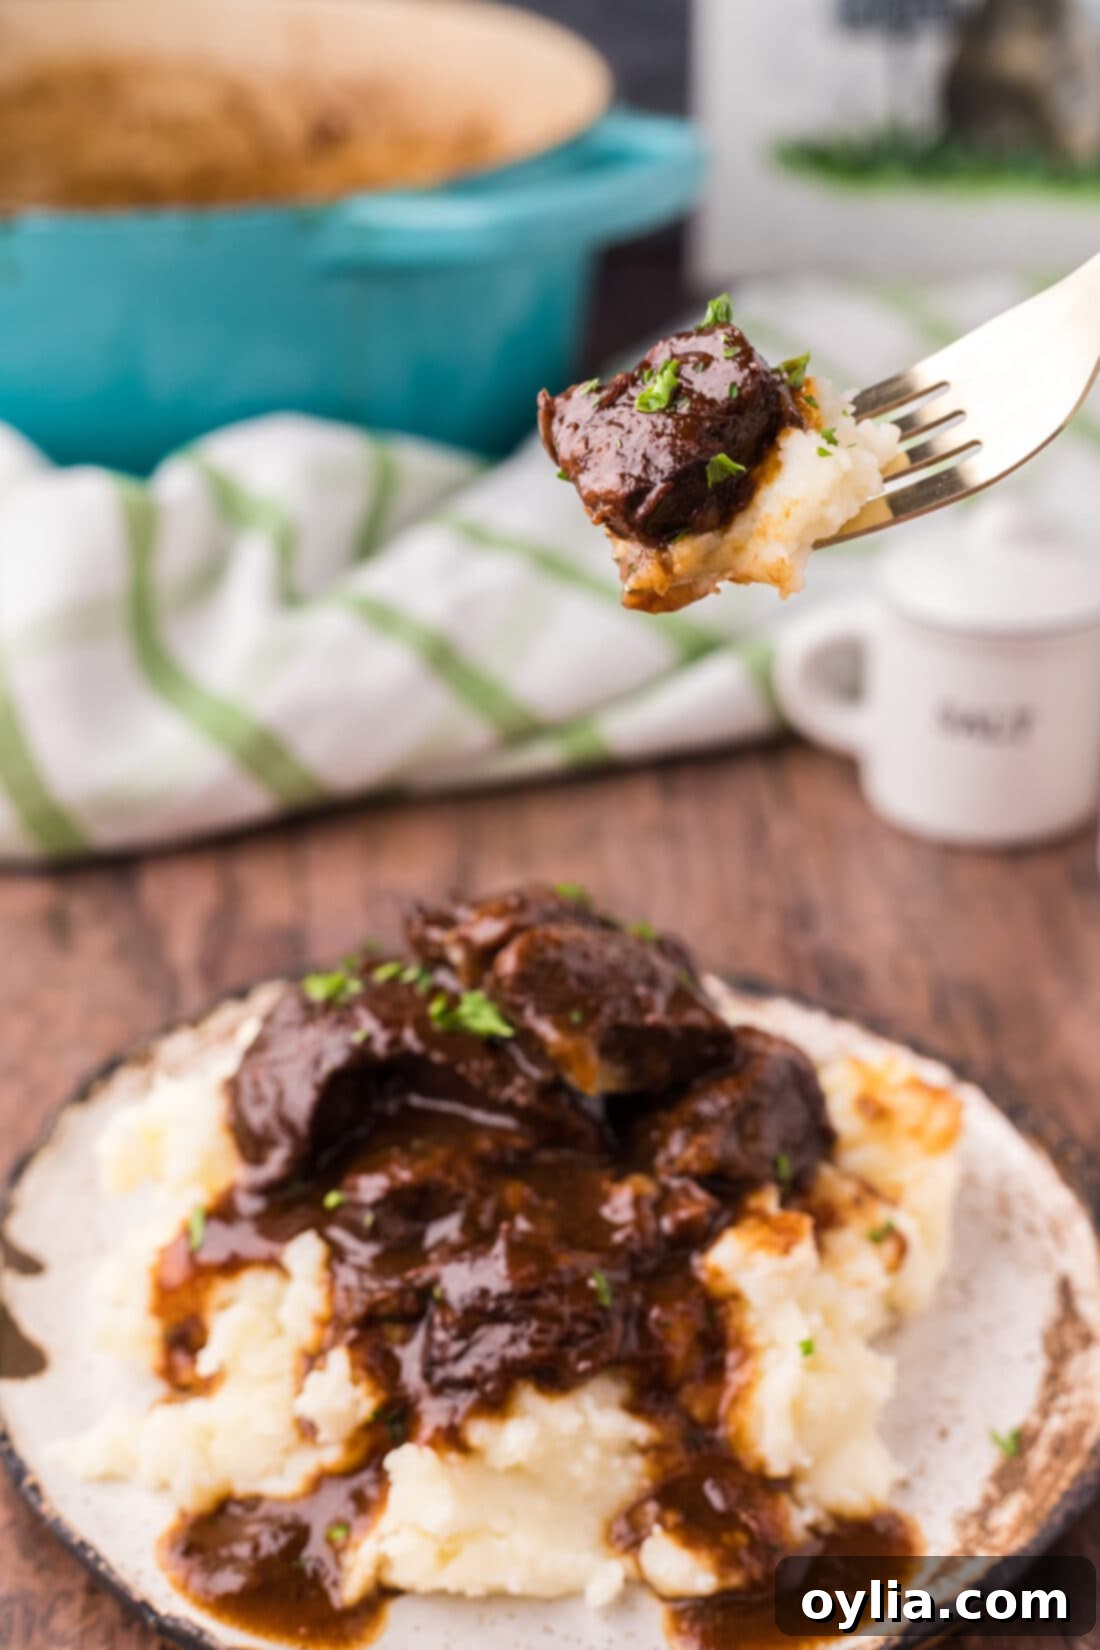
Why This Beef Tips and Gravy Recipe is a Must-Try
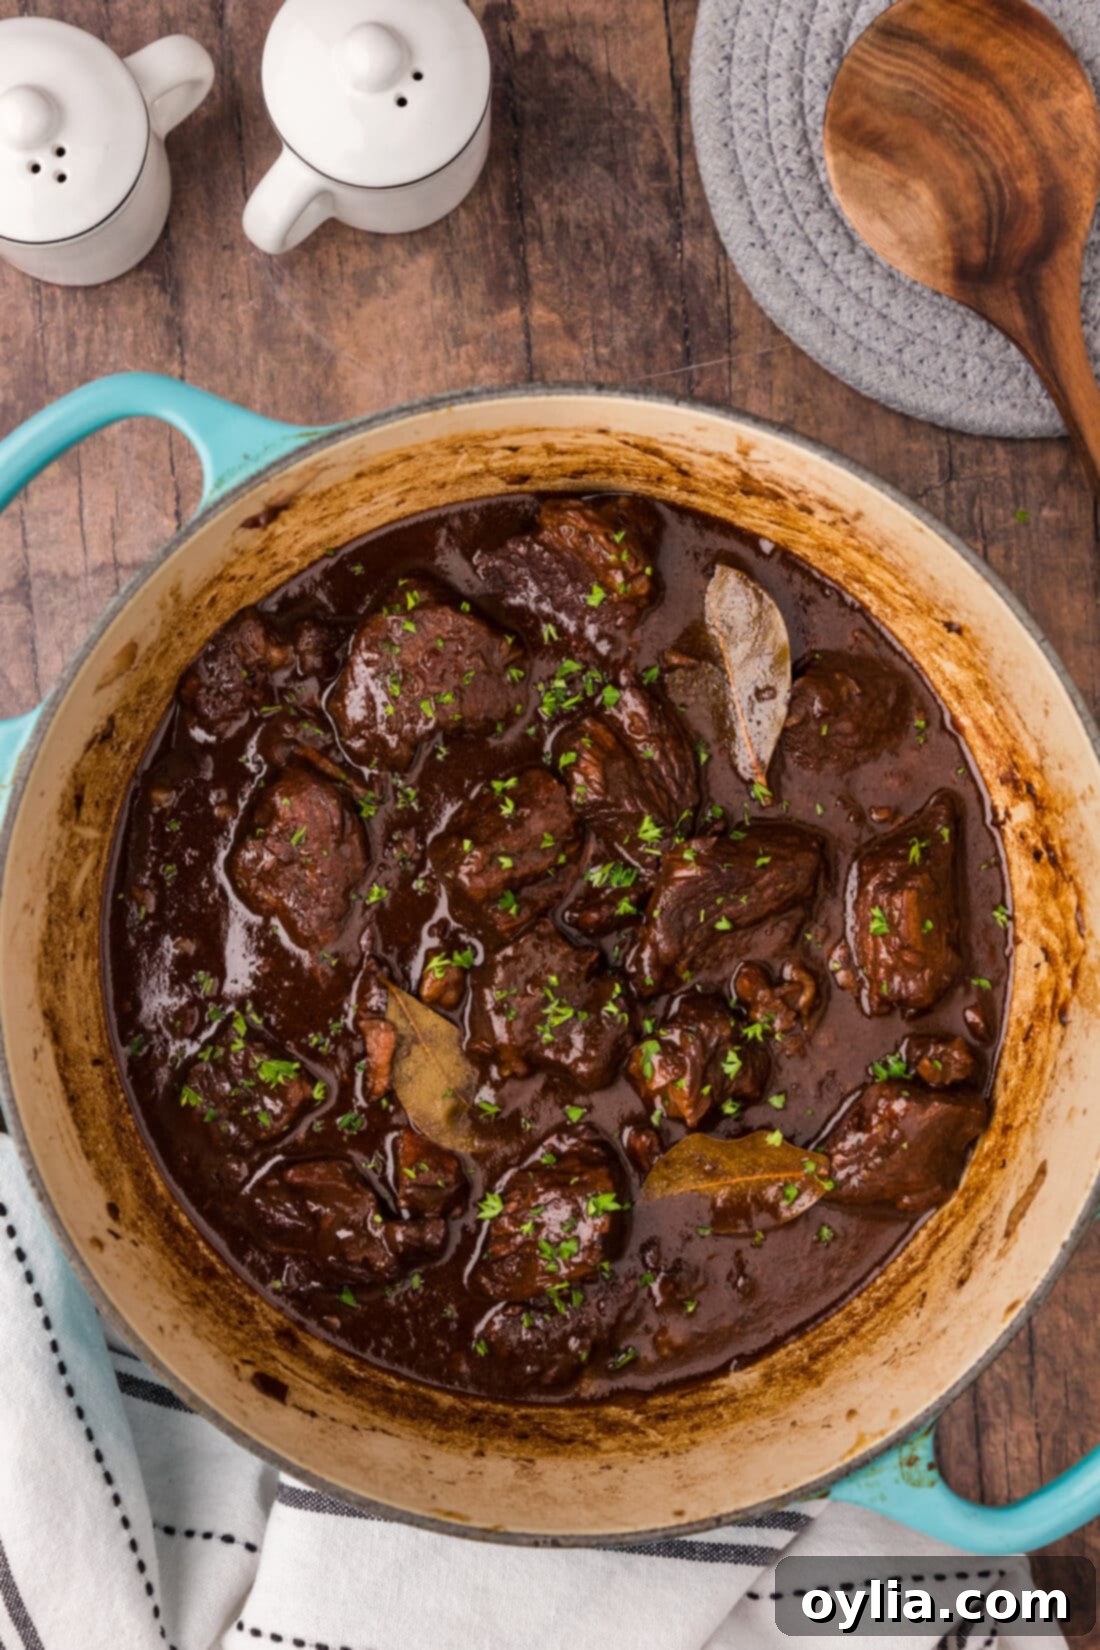
There’s a reason this beef tips and gravy recipe stands out as a true culinary gem. It perfectly balances incredible flavor with a surprisingly simple cooking process. The secret lies in the “low and slow” cooking method, transforming tougher, more affordable cuts of beef into unbelievably tender, melt-in-your-mouth morsels. We begin by thoroughly seasoning and browning the beef in a sturdy Dutch oven. This crucial step isn’t just for color; it locks in moisture and builds a foundational layer of rich, caramelized flavor – known as the Maillard reaction – that will permeate the entire dish.
Once the beef is beautifully browned, we introduce the aromatic onions and the essential gravy ingredients. The Dutch oven then takes over, creating a sealed environment where the beef can gently simmer. This extended, unhurried cooking time is what breaks down the connective tissues in the meat, ensuring that every piece becomes remarkably tender. As it simmers, the ingredients meld together, deepening the gravy’s complexity and filling your kitchen with an aroma that is utterly irresistible. This hands-off approach makes it an ideal recipe for a weekend meal or a cozy weeknight dinner, allowing the stovetop to do most of the work while you enjoy the anticipation.
Many cuts of beef are suitable for beef tips, but we are particularly fond of chuck roast. Often labeled as “stew meat” when pre-cut, chuck roast is a fantastic choice because its marbling and connective tissue break down beautifully during slow cooking, yielding exceptional tenderness and flavor that leaner cuts simply can’t match. Alongside dishes like braised beef, this recipe demonstrates that even tougher cuts of meat can be transformed into mouthwatering, gourmet-quality meals when given the proper time and care in the kitchen. The result is a gravy-smothered masterpiece that truly can’t get much better.
Ingredients You Will Need for Stovetop Beef Tips and Gravy
Crafting this delicious beef tips and gravy recipe requires a handful of accessible ingredients that work in harmony to create its signature deep flavor. Below is a list of what you’ll need. For precise measurements, the full printable recipe card with all instructions is available at the end of this post.
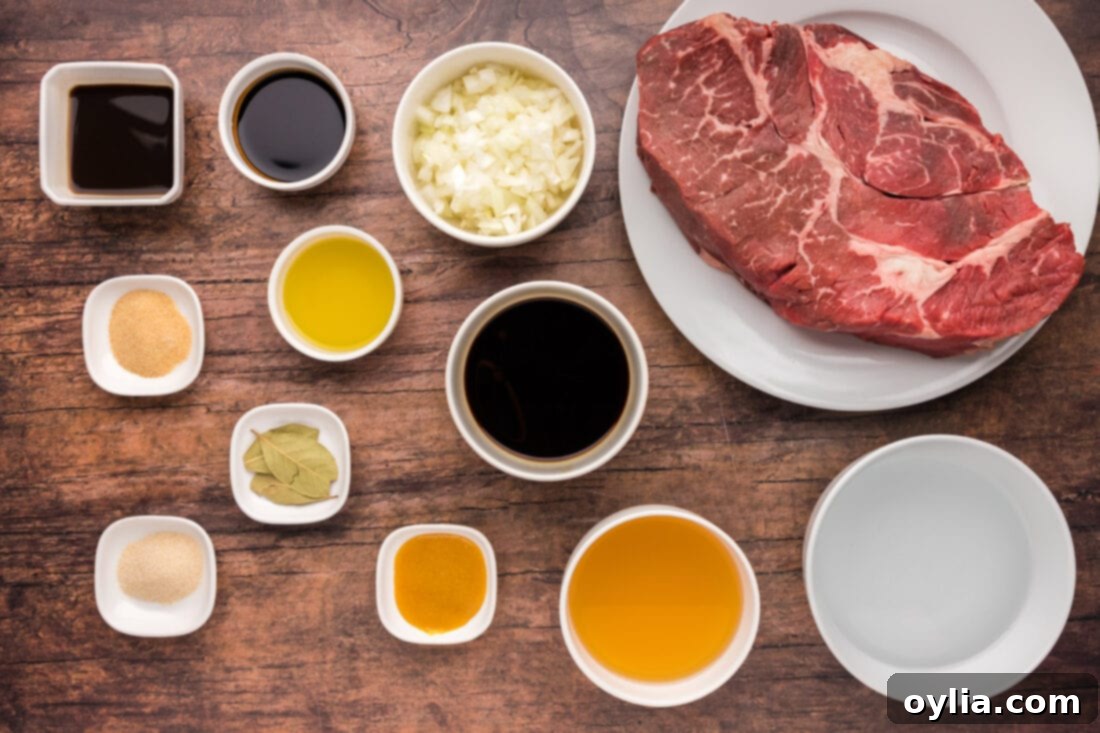
Ingredient Info and Substitution Suggestions for Perfect Beef Tips
Here’s a closer look at the key components of this savory dish and how you can adapt them to your pantry or preference:
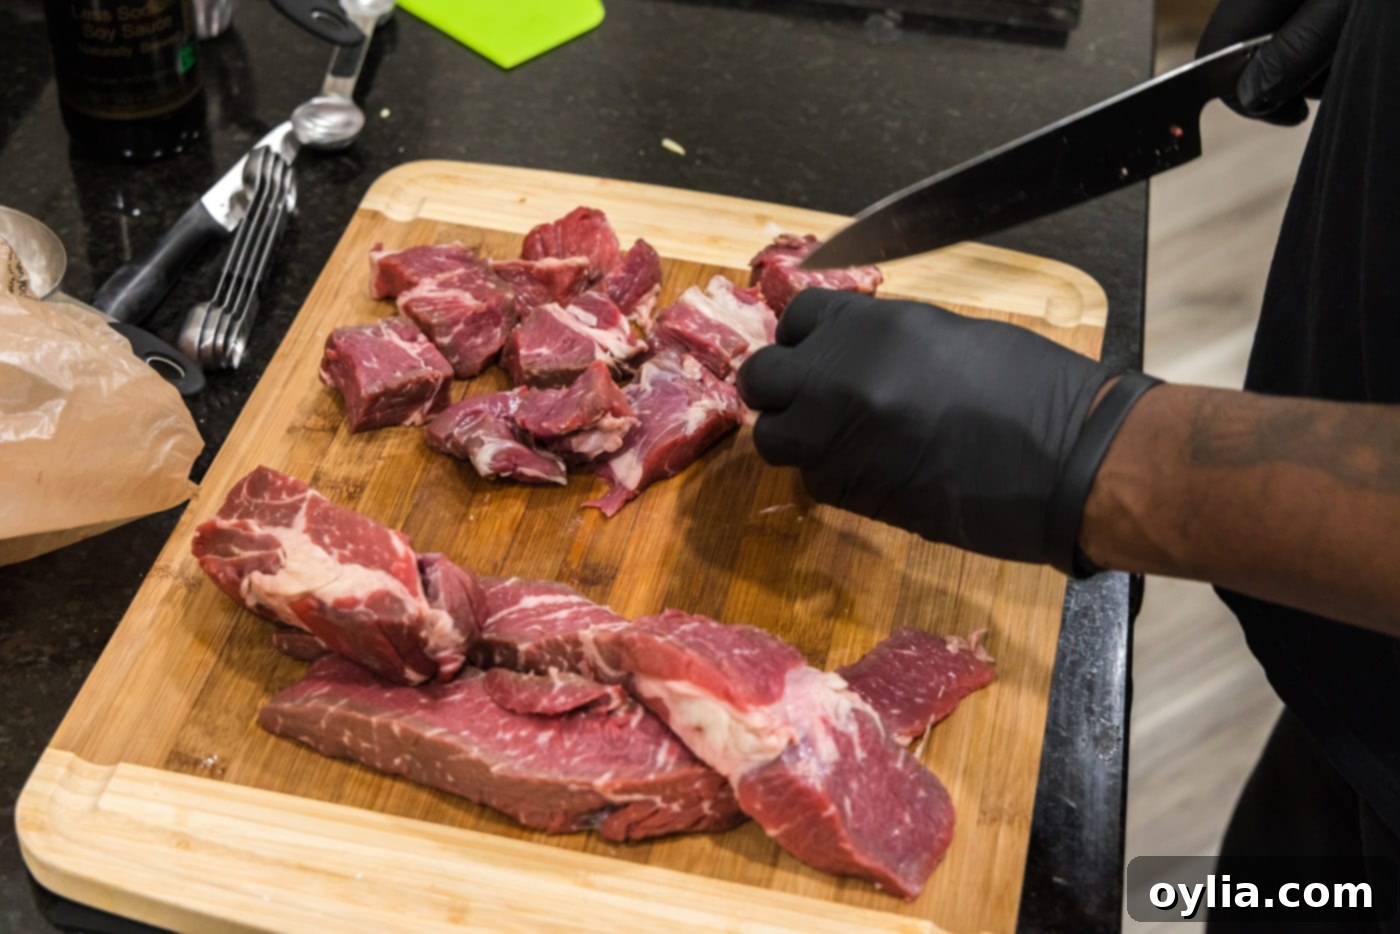
- BEEF – The star of the show! Beef tips are incredibly versatile and can be made from various cuts. However, for true fork-tender results and robust flavor, we highly recommend using stew meats, with chuck roast being our top choice. These cuts, though initially tough, contain a good amount of connective tissue and marbling that break down beautifully over low, slow heat, infusing the gravy with incredible richness. You can usually find them pre-cut and labeled as “stew cubes” at your local grocery store. If you buy a larger chuck roast, simply cut it into 2-inch cubes yourself.
- Leaner Cut Alternatives: If you prefer a leaner option, you can substitute with cuts like tenderloin, sirloin, or round roast. Be mindful that these cuts are naturally more tender and will require significantly less cooking time to avoid becoming dry. Keep an eye on them and cook only until they reach your desired tenderness, which might be closer to 30-45 minutes of simmering. When using leaner cuts, you might see them labeled as “steak tips” or “sirloin tips” at the store.
- OLIVE OIL – Essential for browning the beef and sautéing the aromatics. Any neutral cooking oil like vegetable or canola oil will also work.
- SEASONINGS (Garlic Powder & Onion Powder) – These dry seasonings provide a concentrated aromatic base that coats the beef evenly. They contribute a foundational layer of savory flavor.
- Substitution: For a fresher taste, you can use minced fresh garlic (2-3 cloves) and diced fresh onion (½ cup extra, beyond the main diced onion) instead of or in addition to the powders. Add them after browning the beef and sauté until fragrant before adding liquids.
- BROWNING SAUCE (e.g., Kitchen Bouquet) – This ingredient is primarily used to enhance the color of the beef and gravy, giving it that appealing rich brown hue. It also adds a subtle layer of umami.
- Substitution: If you don’t have browning sauce, you can still achieve a deep color by ensuring a good, dark sear on your beef. A tablespoon of tomato paste browned with the onions can also add depth and color. A touch of dark soy sauce (beyond what’s already in the recipe) can also work.
- DICED ONION – A fundamental aromatic that sweetens and deepens the gravy’s flavor as it cooks down. Yellow or white onions are best here.
- Additions: For an even richer flavor base, consider adding other aromatics like diced carrots and celery (a classic mirepoix) when you add the onion.
- CHICKEN BOUILLON (e.g., Better Than Bouillon Roasted Chicken Base) – While this is a beef dish, chicken bouillon adds an incredible layer of savory depth and umami without overpowering the beef flavor. Better Than Bouillon is highly recommended for its concentrated flavor.
- Substitution: You can use beef bouillon or a beef base for an even more pronounced beefy flavor. Just be mindful of sodium content.
- CHICKEN STOCK – The primary liquid base for our gravy, offering a lighter yet flavorful foundation compared to pure beef stock, allowing other flavors to shine.
- Substitution: Beef broth or beef stock can be used for a stronger beef flavor profile. Vegetable broth is also an option if you prefer. Opt for low-sodium versions if you are sensitive to salt, as soy sauce and Worcestershire also contribute sodium.
- SOY SAUCE – A secret weapon for umami! It adds a fantastic savory depth and richness to the gravy without making the dish taste distinctly Asian.
- Substitution: Tamari for a gluten-free option, or coconut aminos for a soy-free alternative.
- WORCESTERSHIRE SAUCE – Another umami powerhouse, this sauce brings a tangy, sweet, and savory complexity that is crucial to the gravy’s overall profile.
- Substitution: A dash of balsamic vinegar mixed with a pinch of sugar and a drop of fish sauce can mimic its flavor in a pinch.
- WATER – Used to adjust the liquid volume and ensure the beef is sufficiently covered for simmering.
- BAY LEAVES – These aromatic leaves slowly release their subtle, herbaceous flavor into the gravy, adding complexity. Remember to remove them before serving.
How to Make Tender Stovetop Beef Tips and Gravy
These step-by-step photos and detailed instructions are here to help you visualize how to make this delicious recipe. For a convenient printable version of this recipe, complete with precise measurements and full instructions, you can Jump to Recipe at the bottom of this page.
- Heat the Oil: Heat the olive oil in a heavy-bottomed Dutch oven over medium-high heat until it shimmers. A hot pan is essential for proper browning, which is key for flavor.
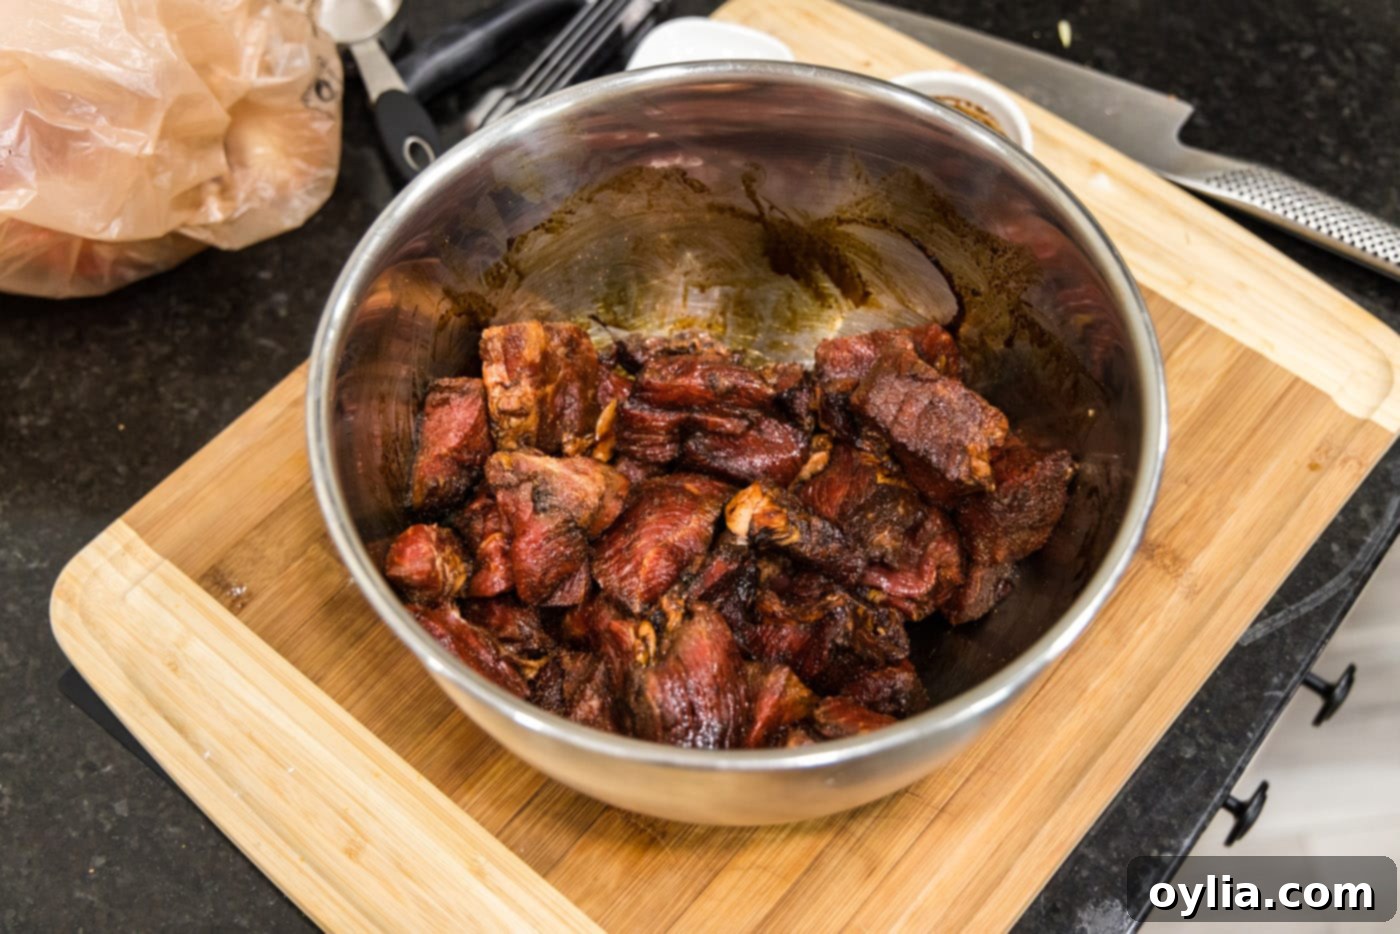
- Season the Beef: While the oil is heating, combine the beef cubes, onion powder, garlic powder, and browning sauce in a large bowl. Use gloved hands to mix everything thoroughly, ensuring each piece of meat is completely and evenly coated with the seasonings and browning sauce. This step sets the stage for a rich flavor and beautiful color.


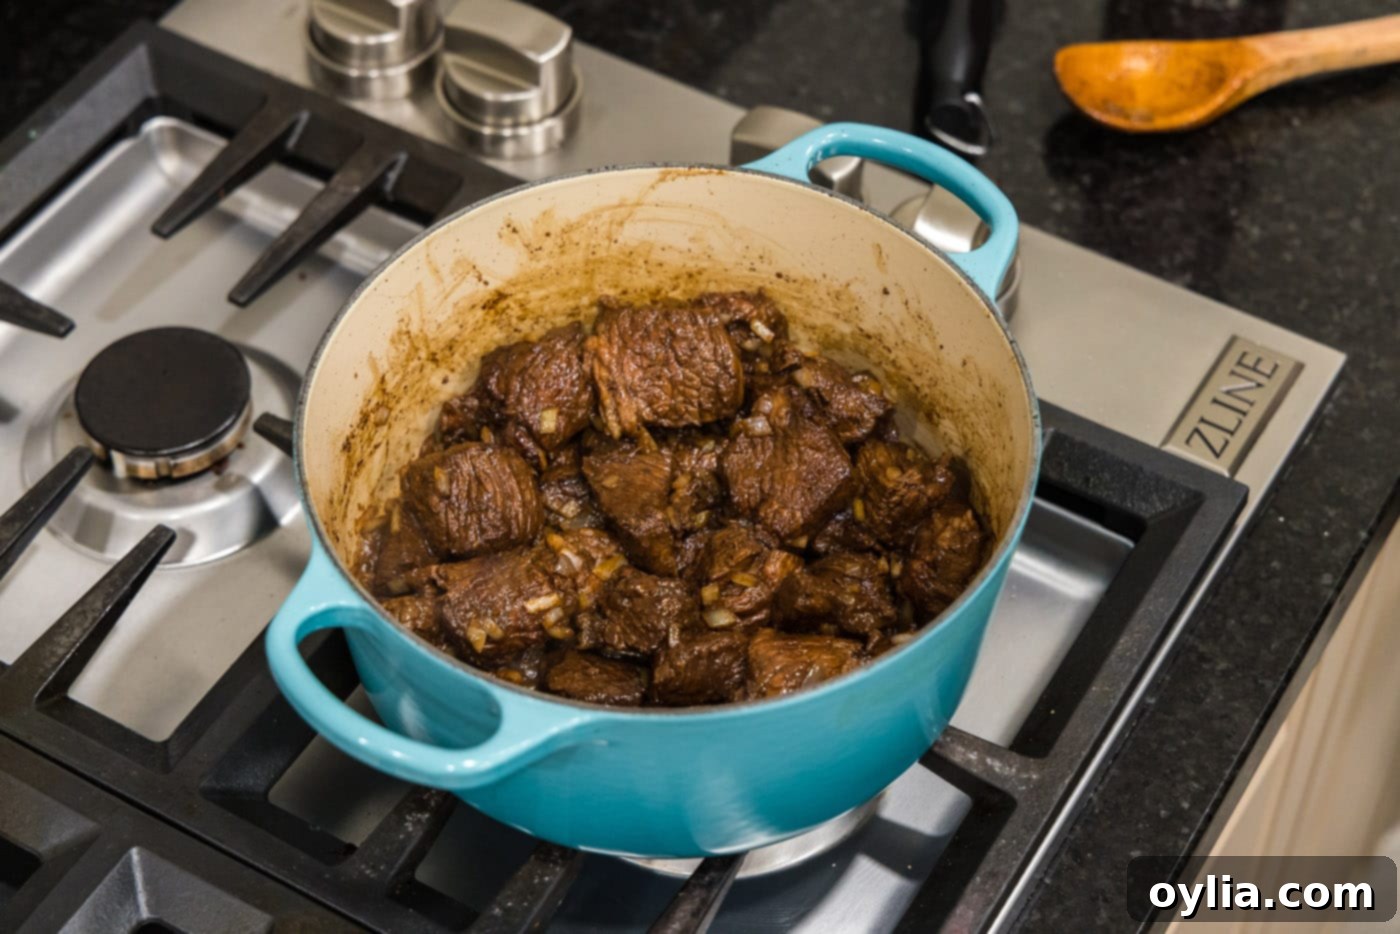
- Brown the Beef: Add the seasoned meat to the preheated oil in the Dutch oven. Cook, stirring occasionally, until all sides are nicely browned and no pink remains. Avoid overcrowding the pot; if necessary, cook the beef in batches to ensure a good sear rather than steaming. This browning develops a deep, rich flavor that will form the backbone of your gravy.
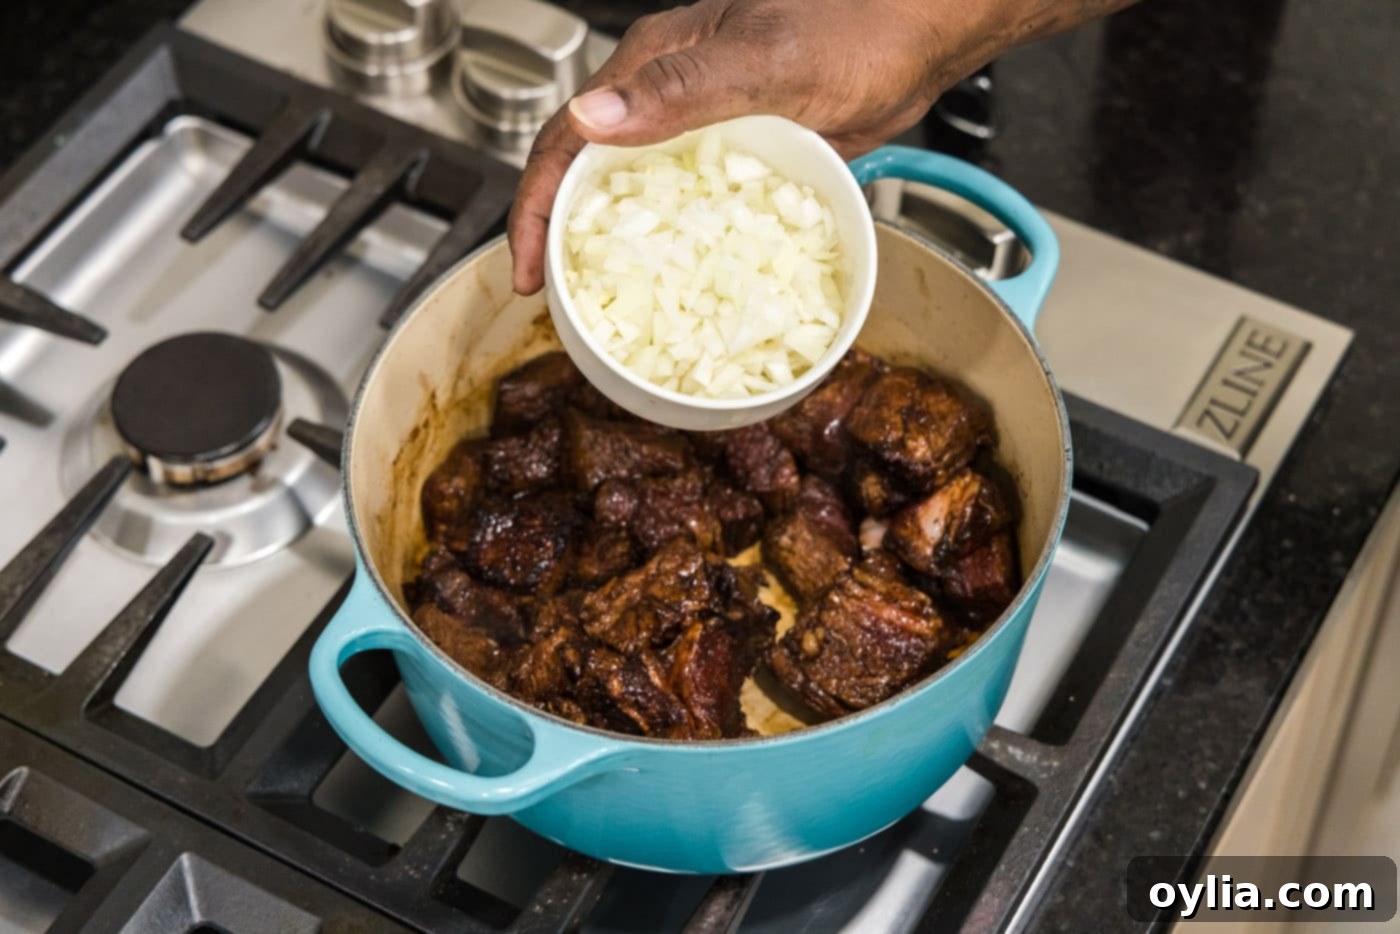
- Sauté the Onion: Add the diced onion to the pot with the browned beef and stir well to combine. Sauté for a few minutes until the onion softens and becomes translucent, scraping up any browned bits from the bottom of the pot (this is called deglazing and adds immense flavor to the gravy).


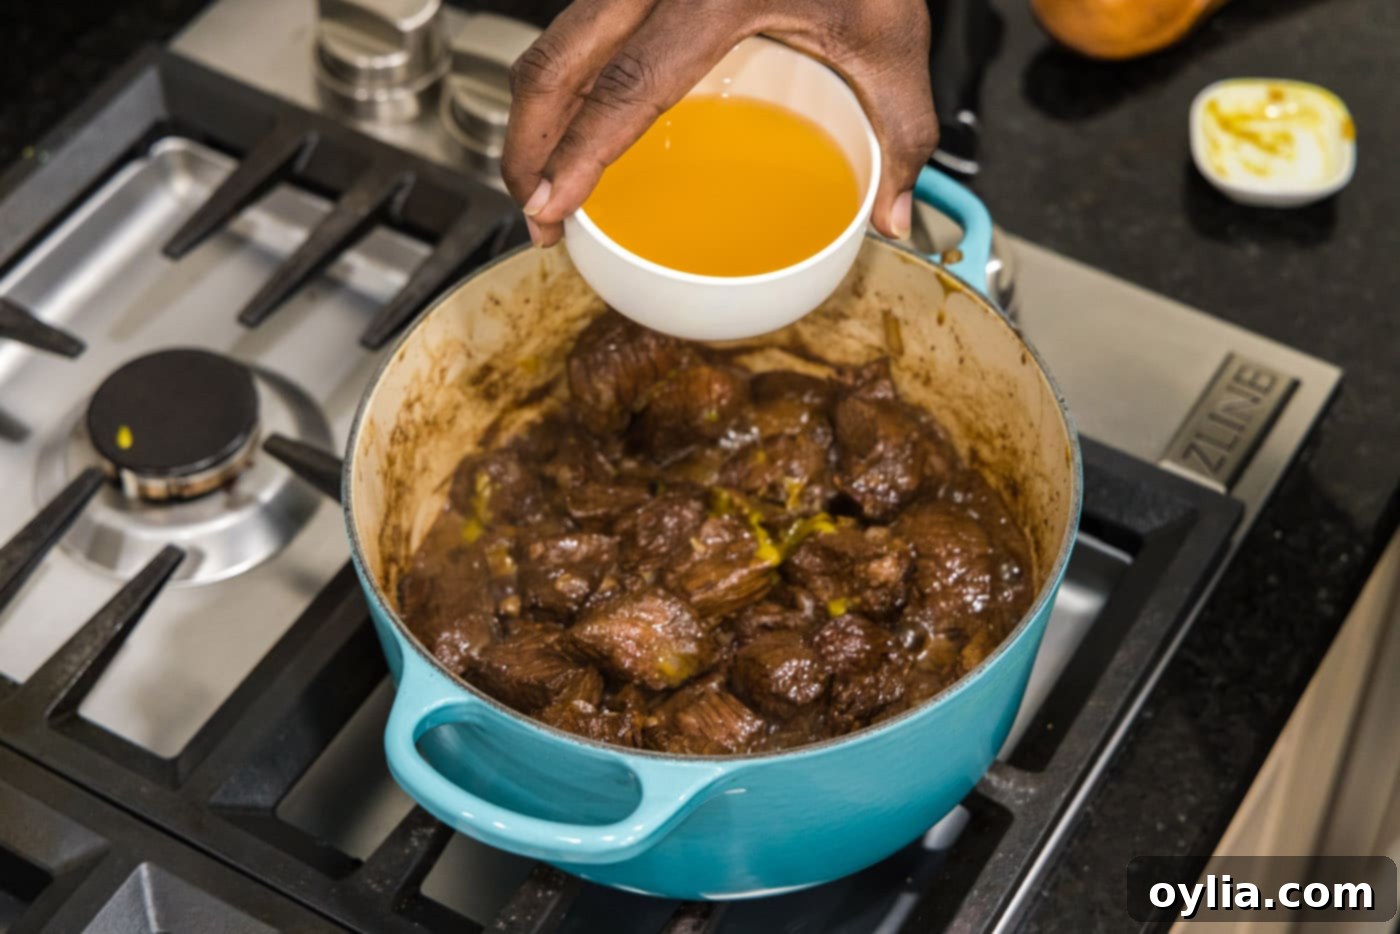
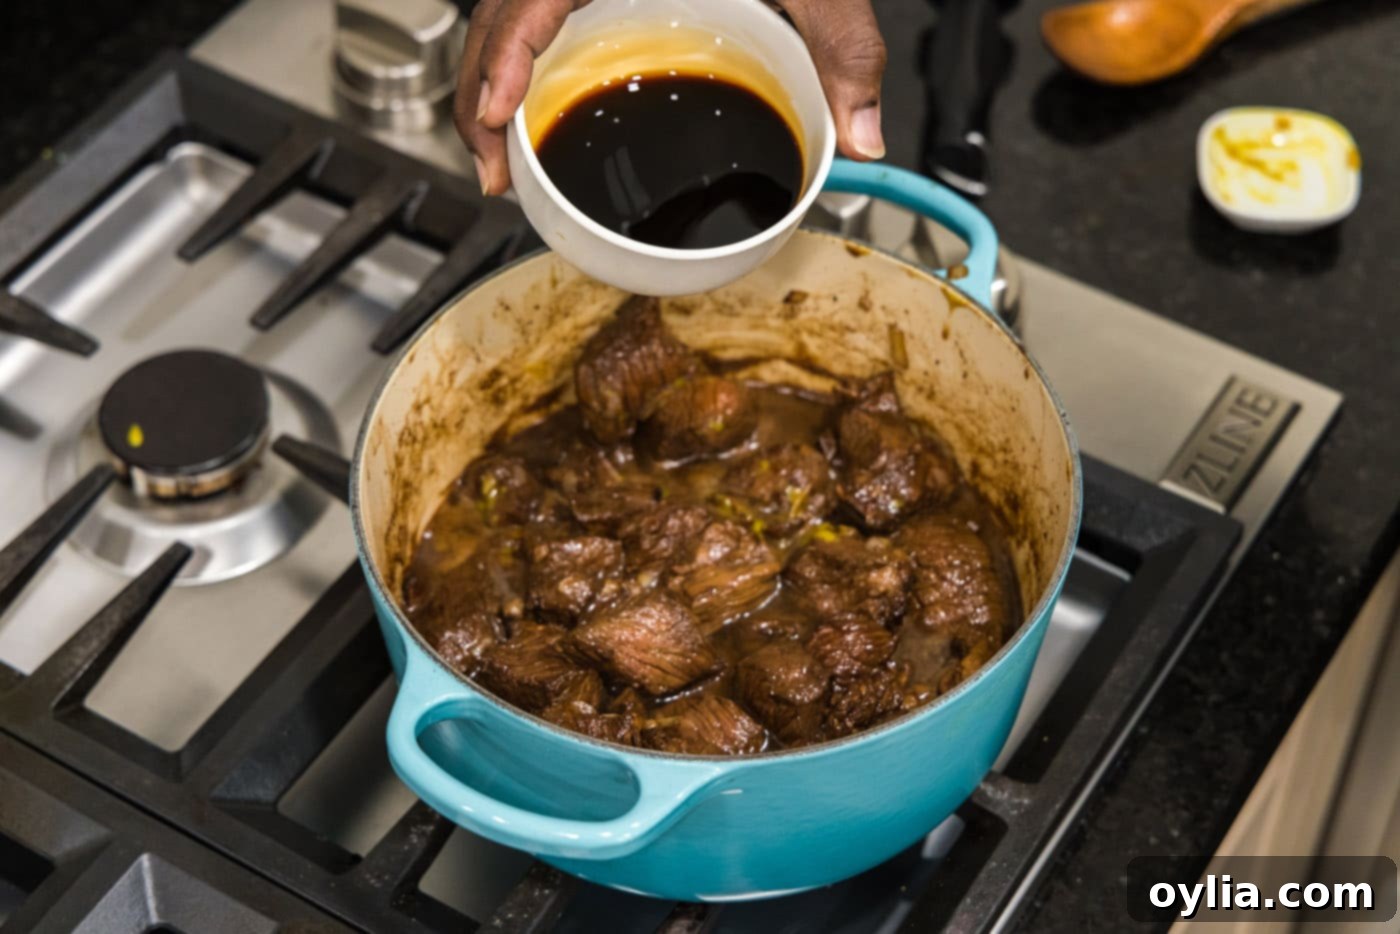
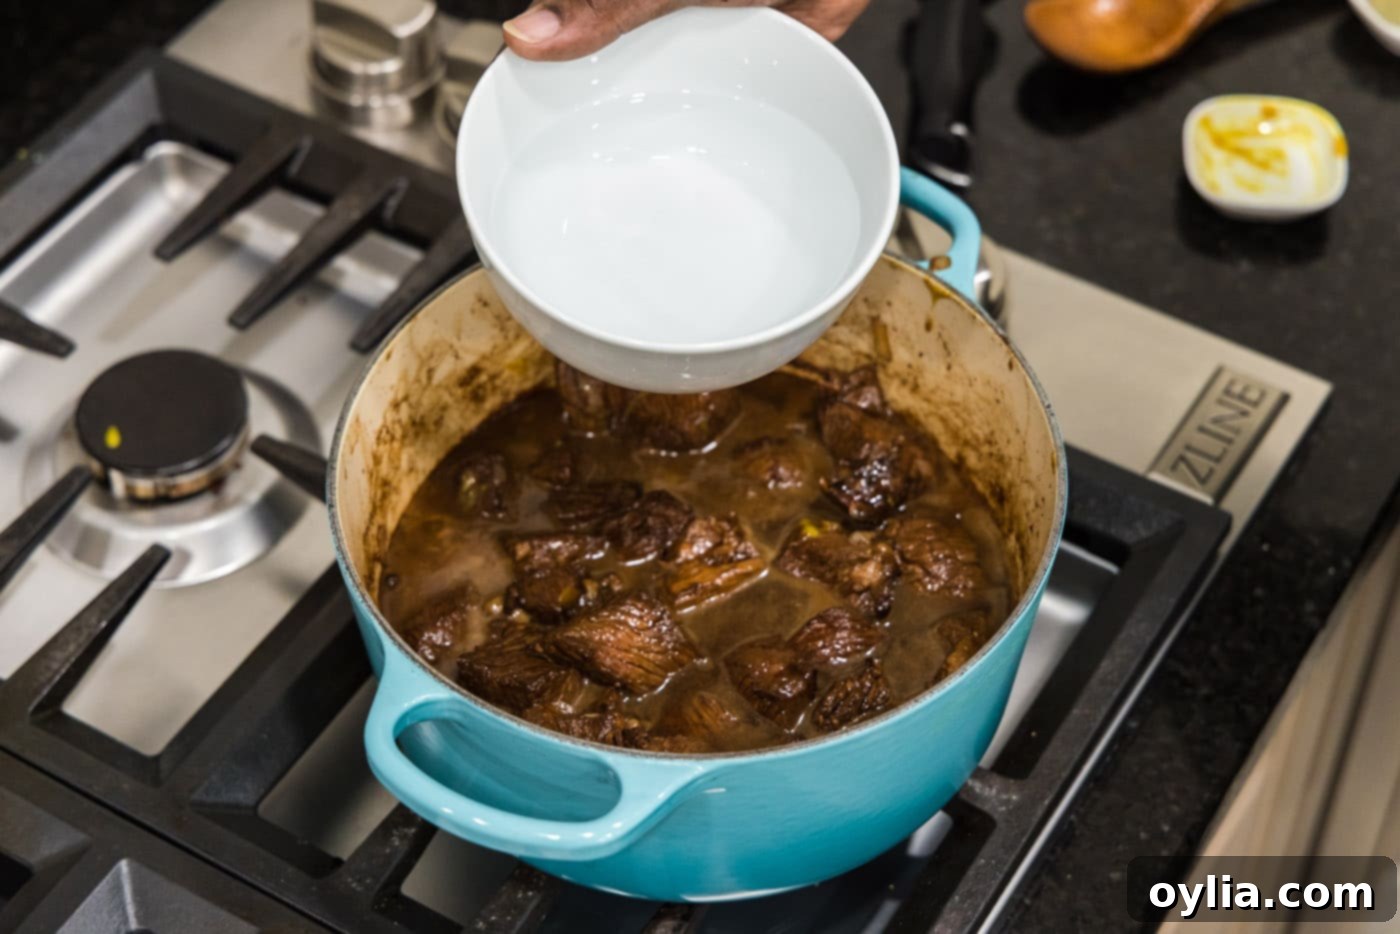
- Simmer for Tenderness: Now, add the bouillon, chicken stock, soy sauce, Worcestershire sauce, and water to the pot. Stir everything together until all ingredients are well combined and the liquids begin to bubble. Add the bay leaves to the mixture. Reduce the heat to low, cover the pan tightly, and let it simmer gently for 60-90 minutes. The goal is to cook until the beef is incredibly tender and easily pierced with a fork. The exact time will depend on your specific cut of beef and cookware.


Frequently Asked Questions & Expert Tips for Beef Tips and Gravy
Store any leftover beef tips and gravy in an air-tight container, kept in the refrigerator, for up to 3 days. This dish reheats beautifully and is fantastic for meal prepping into containers for easy lunches or quick dinners throughout the week. For longer storage, see our tip on freezing below.
If your beef tips are still tough, it’s almost certainly because they haven’t simmered long enough. Tougher cuts of meat, like chuck roast or stew meat, require extended cooking at a low temperature to break down their collagen and connective tissues. Patience is key! Continue simmering until they are undeniably fork-tender. The type of pan can also influence cooking time: cast iron pans retain heat more efficiently, so you might be closer to the 60-minute mark, whereas a regular non-stick pan might need the full 90 minutes. Remember, the longer these cuts cook, the more tender they become.
Absolutely! The Instant Pot is an excellent tool for achieving fork-tender beef tips in a fraction of the time. For detailed instructions on how to adapt this recipe for pressure cooking, hop over to our dedicated Instant Pot beef tips and gravy recipe.
Our recipe creates a rich, naturally thickened gravy as the beef cooks down. However, if you prefer an even thicker consistency, you can easily achieve this. After the beef is tender, remove a few tablespoons of the liquid from the pot and whisk in 1-2 tablespoons of all-purpose flour or cornstarch until smooth. Pour this slurry back into the simmering gravy, stirring constantly, and cook for another 2-3 minutes until the gravy thickens to your desired consistency. For a gluten-free option, use a cornstarch slurry.
Yes, this recipe freezes wonderfully! Once completely cooled, transfer the beef tips and gravy to freezer-safe containers or heavy-duty freezer bags. Ensure there’s minimal air in the containers to prevent freezer burn. It can be stored in the freezer for up to 3 months. Thaw overnight in the refrigerator before reheating gently on the stovetop or in the microwave, adding a splash of broth or water if needed to adjust consistency.
Certainly! Adding vegetables is a great way to make this a more complete meal and add extra nutrients. Carrots, celery, mushrooms, or even potatoes (added later in the cooking process to prevent mushiness) are excellent additions. You can add diced carrots and celery along with the onions, and sliced mushrooms can be added during the last 30 minutes of simmering.
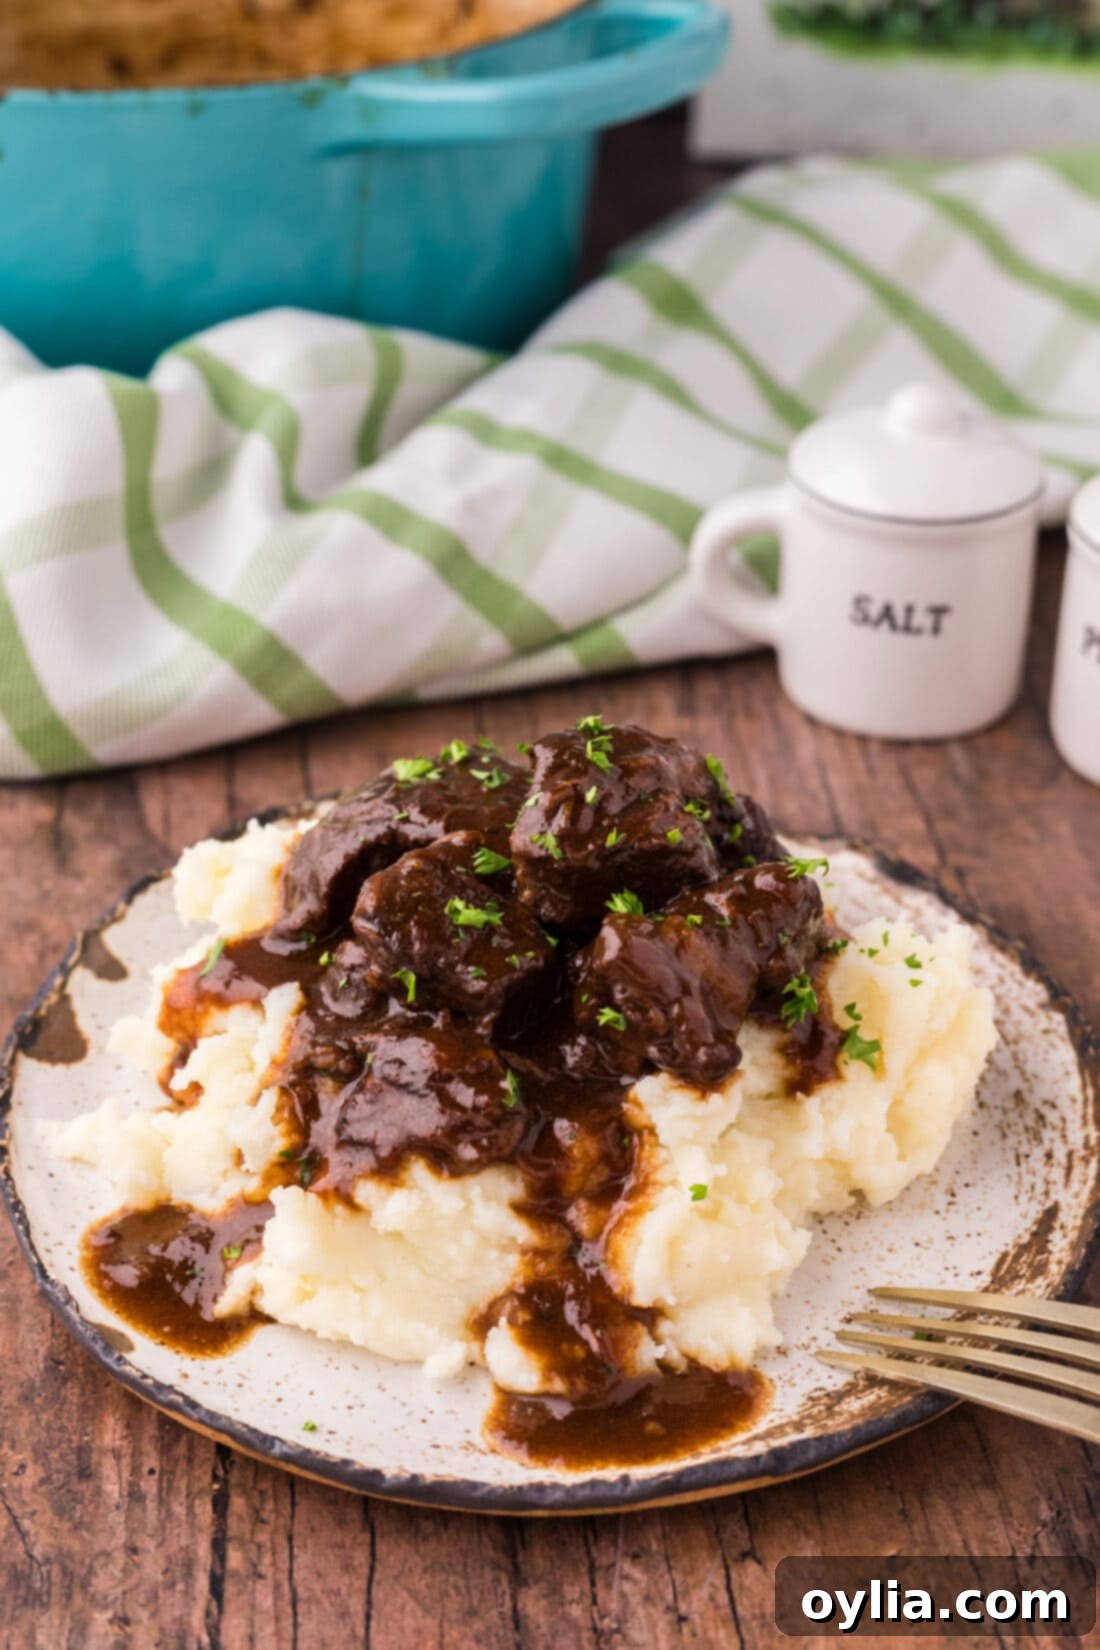
Delicious Serving Suggestions for Beef Tips and Gravy
The beauty of these tender beef tips and their luscious gravy lies in their versatility. The rich, savory gravy is truly the star that ties everything together, making any accompanying side dish incredibly flavorful and moist. Here are some of our favorite ways to serve this comforting meal:
- Creamy Mashed Potatoes: A classic pairing! The fluffy, creamy mashed potatoes are the perfect canvas to absorb all that delicious, savory gravy. It’s the ultimate comfort food combination.
- Buttery Egg Noodles: Tender egg noodles, tossed lightly in butter, provide a delightful texture contrast and soak up the gravy beautifully, creating a hearty and satisfying dish.
- Fluffy White Rice: For a simple yet effective option, serve over steamed white rice. The rice kernels become infused with the deep flavors of the gravy, offering a comforting and wholesome meal.
- Your Favorite Pasta: Don’t limit yourself! Penne, fettuccine, or even spaghetti can be wonderful bases for these beef tips, turning it into a hearty pasta dish.
- Crusty Bread: Don’t let any of that precious gravy go to waste! A side of crusty bread is perfect for mopping up every last drop.
- Simple Green Vegetables: Balance the richness with a fresh, crisp vegetable side. Steamed green beans, roasted asparagus, or a simple side salad add color and a lighter element to the meal.
No matter which side you choose, rest assured that the abundant, flavorful gravy in this recipe will transform it into a truly satisfying and complete dining experience!
More Hearty Beef Recipes to Explore
- Beef Barbacoa
- Beef Tenderloin
- Oven Beef Ribs
- Boneless Beef Short Ribs
- Crockpot Beef Burgundy
I love to bake and cook and share my kitchen experience with all of you! Remembering to come back each day can be tough, that’s why I offer a convenient newsletter every time a new recipe posts. Simply subscribe and start receiving your free daily recipes!
Beef Tips and Gravy
IMPORTANT – There are often Frequently Asked Questions within the blog post that you may find helpful. Simply scroll back up to read them!
Print It
Pin It
Rate It
Save ItSaved!
Ingredients
- 3 pound chuck roast cut into 2-inch cubes
- 3 Tablespoons olive oil
- ½ Tablespoon garlic powder
- ½ Tablespoon onion powder
- 1 ½ Tablespoons browning sauce we use Kitchen Bouquet
- 1 cup diced onion
- ½ Tablespoon chicken bouillon we use Better Than Bouillon Roasted Chicken Base
- 1 cup chicken stock
- ½ cup soy sauce
- 3 Tablespoons Worcestershire sauce
- 1 ½ cups water
- 3 bay leaves
Things You’ll Need
-
Dutch oven 4.5 – 5 quart
-
Mixing bowls
-
Vinyl gloves
Before You Begin
- Cast iron pans will heat up and hold heat more efficiently than regular non-stick pans. Therefore, your cooking time might be closer to the 60-minute mark with cast iron, and closer to 90 minutes with a non-stick pot. Always cook until the beef is truly fork-tender.
- For beef, chuck roast or stew meat is highly recommended for best results. You can substitute with leaner cuts such as tenderloin, sirloin, and round roast if preferred. If you use sirloin or tenderloin tips, you likely won’t need to cook the beef as long as the recipe calls for, as they are naturally more tender. You can typically find beef tips at the store labeled as stew cubes; if you prefer to use sirloin, you might see them labeled as steak tips or sirloin tips. Adjust simmering time accordingly for leaner cuts.
- Store leftovers in an air-tight container kept in the refrigerator for up to 3 days. This recipe also freezes well for longer storage.
Instructions
-
Heat the olive oil in a Dutch oven over medium-high heat until it shimmers.
-
While the oil is heating, combine the meat cubes, onion powder, garlic powder, and browning sauce in a large bowl. Mix together with gloved hands until the meat is completely coated.
-
Add the seasoned meat to the preheated oil in the Dutch oven and cook, stirring occasionally, until no pink remains and the beef is nicely browned.
-
Add the diced onion to the pot and stir together to combine with the beef, sautéing until softened.
-
Add the bouillon, chicken stock, soy sauce, Worcestershire sauce, and water. Stir together until well combined. Add the bay leaves. Turn the heat down to low, cover the pan, and simmer for 60-90 minutes, or until the beef is fork-tender. Remove bay leaves before serving.
Nutrition
The recipes on this blog are tested with a conventional gas oven and gas stovetop. It’s important to note that some ovens, especially as they age, can cook and bake inconsistently. Using an inexpensive oven thermometer can assure you that your oven is truly heating to the proper temperature. If you use a toaster oven or countertop oven, please keep in mind that they may not distribute heat the same as a conventional full sized oven and you may need to adjust your cooking/baking times. In the case of recipes made with a pressure cooker, air fryer, slow cooker, or other appliance, a link to the appliances we use is listed within each respective recipe. For baking recipes where measurements are given by weight, please note that results may not be the same if cups are used instead, and we can’t guarantee success with that method.
