The Ultimate Homemade Funfetti Cake Recipe: Perfect for Any Celebration
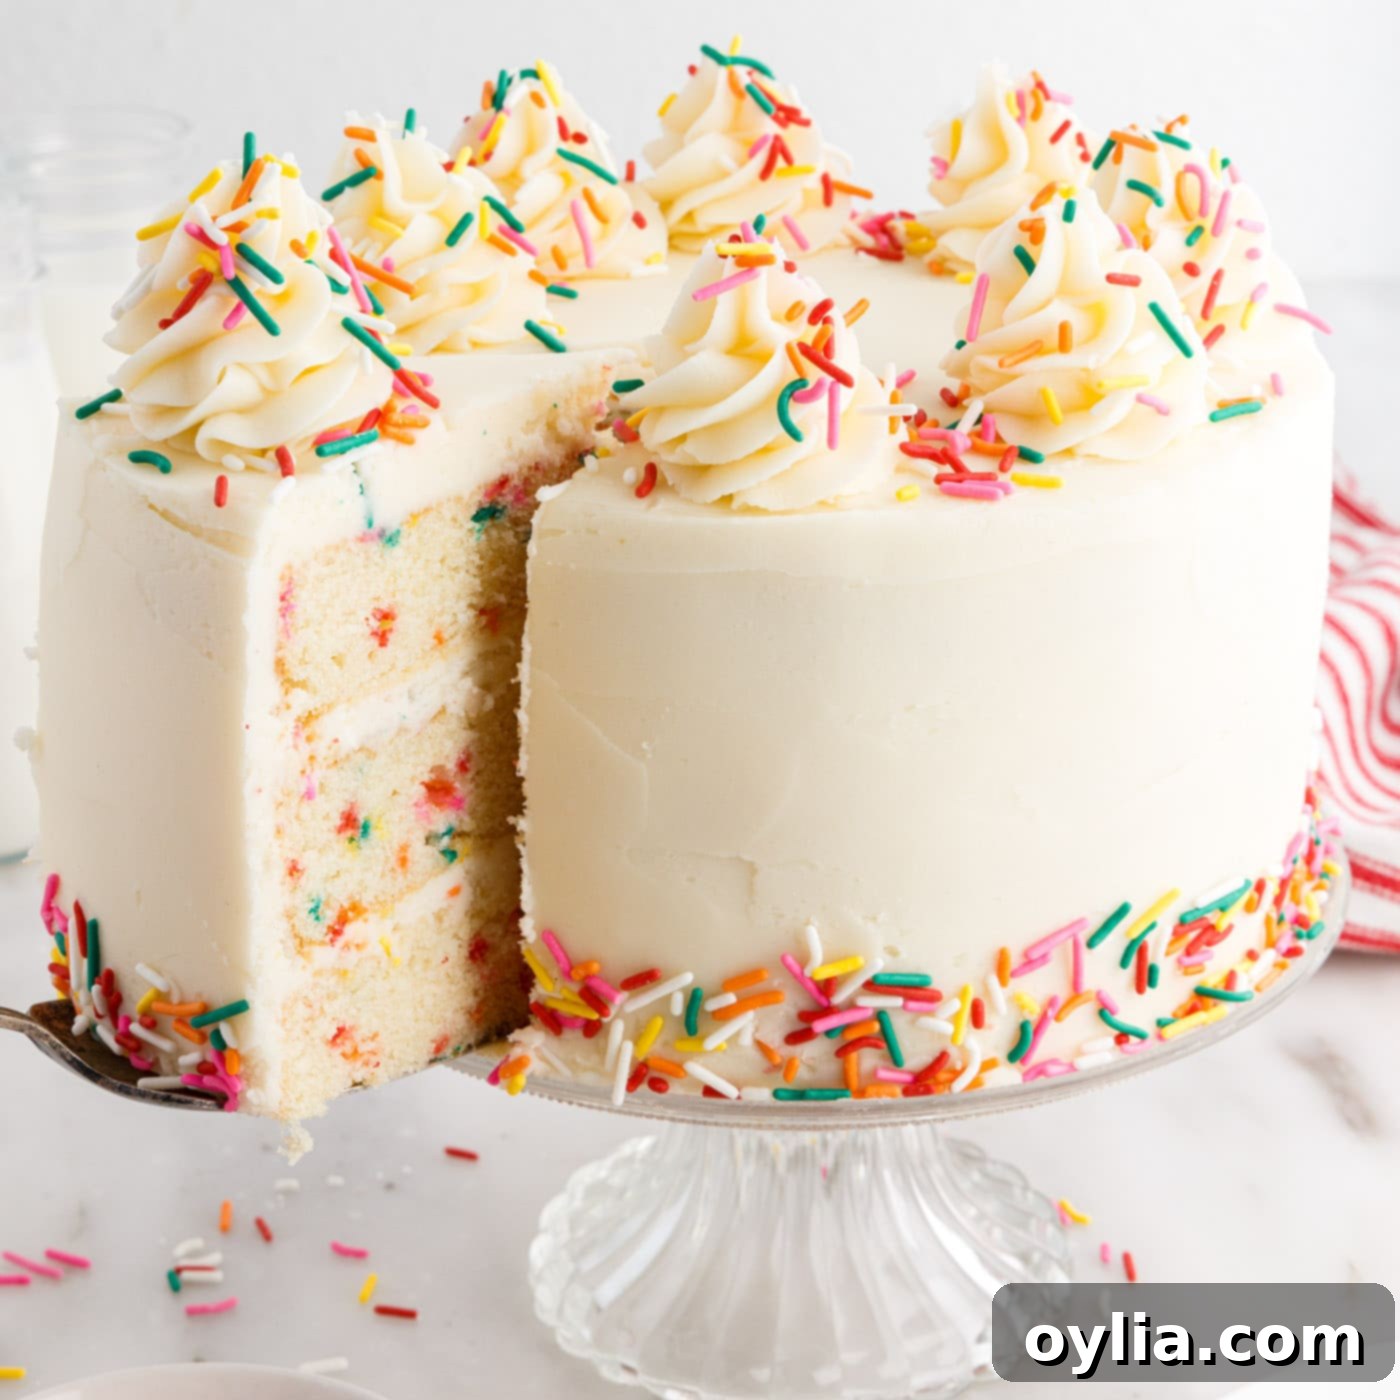
Step into a world of pure joy with our ultimate homemade Funfetti cake recipe! This classic, buttery vanilla cake is generously dotted with a vibrant rainbow of colorful sprinkles, creating a visual and flavorful masterpiece. Made completely from scratch, this impressive tiered cake isn’t just a dessert; it’s the very epitome of a perfect celebration, promising smiles and sweet memories with every single bite.
Why This Homemade Funfetti Cake Recipe Works Wonders
There’s an undeniable magic to Funfetti cake that simply screams celebration and pure happiness. It’s more than just a cake; it’s a nostalgic journey back to childhood birthday parties, a burst of color and sweetness that brightens any occasion. Our meticulously crafted recipe ensures that every aspect of this cake lives up to its celebratory promise, making it a guaranteed crowd-pleaser and a standout dessert.
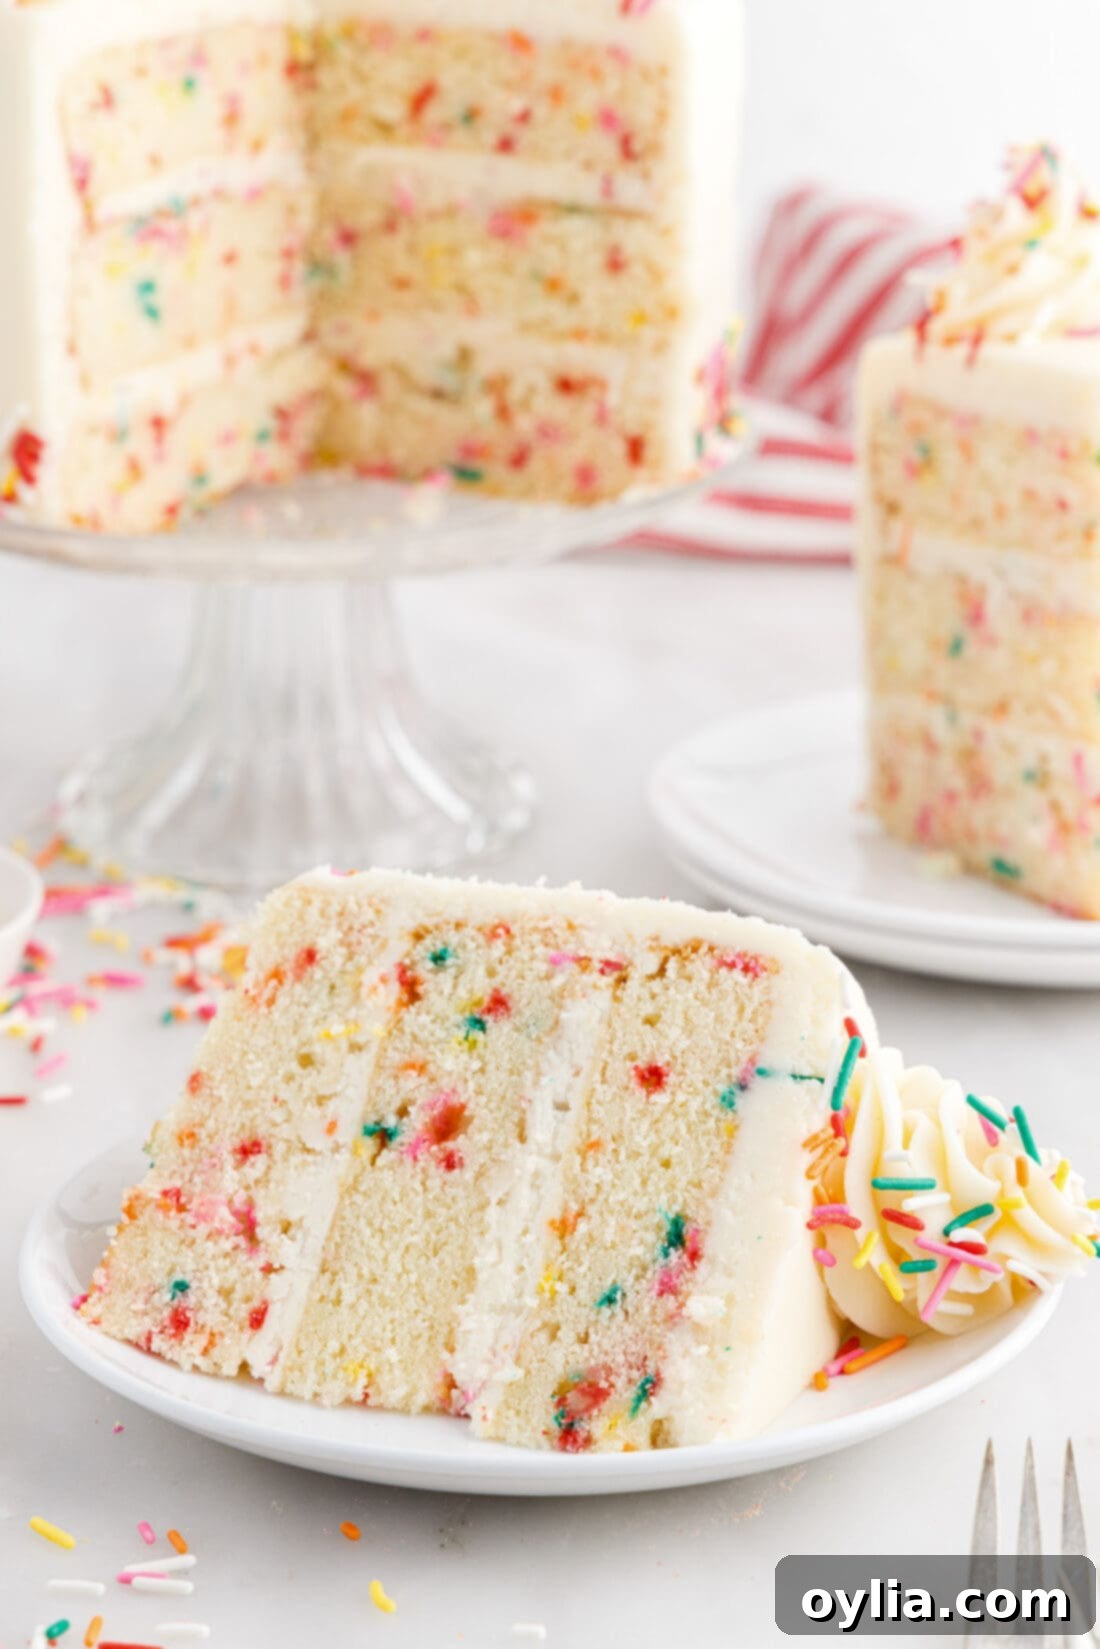
At its heart, this recipe delivers a sublime three-tiered vanilla cake with a truly soft, moist, and wonderfully dense crumb. Unlike many store-bought or boxed mix versions, our homemade Funfetti offers a depth of flavor and a superior texture that you can truly taste and feel. The secret lies in using high-quality ingredients and a thoughtful baking process that focuses on creating the perfect balance between richness and lightness. Each forkful is an exquisite symphony of flavors and textures: the tender vanilla cake base, the delightful crunch and sugary pop of rainbow sprinkles, and the luxurious, fluffy buttercream frosting that ties it all together. It’s an explosion for the senses, leaving you with a delightful rainbow of sugary joy and creamy sweetness.
Moreover, this recipe is designed for success, providing clear, step-by-step instructions that empower even novice bakers to create a show-stopping dessert. We’ve fine-tuned every detail, from the exact blend of extracts that give it its classic Funfetti flavor to the method for achieving that coveted light and airy buttercream. This isn’t just a recipe; it’s a guide to baking a truly exceptional cake that will impress your guests and bring immense satisfaction to your baking endeavors. If you really want to take the funfetti madness over the top and make your celebration unforgettable, consider pairing this magnificent cake with our easy no-churn birthday cake ice cream or a playful scoop of birthday cake rolled ice cream for an ultimate treat!
Essential Ingredients for Your Funfetti Masterpiece
Gathering your ingredients is the first exciting step towards baking this incredible Funfetti cake. For all precise measurements, a comprehensive ingredient list, and detailed instructions, please refer to the printable recipe card available at the end of this post.
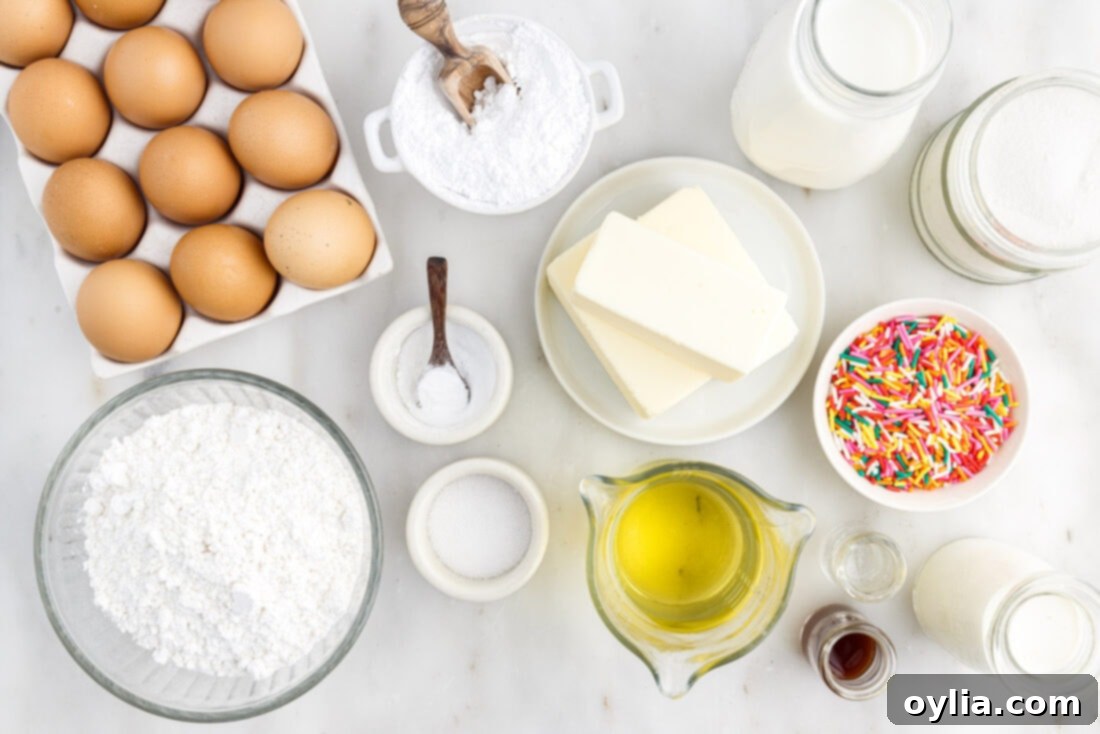
Ingredient Spotlight & Smart Substitutions
Sprinkles: The Key to True Funfetti
The type of sprinkles you choose is crucial for an authentic Funfetti cake. For baking directly into the cake batter, you’ll definitely want to stick to rainbow Jimmies. Jimmies are cylinder-shaped and are specifically designed to hold their vibrant color and shape, preventing them from bleeding into your delicate cake batter or melting away during baking. They are, without a doubt, the most popular and reliable choice for Funfetti cake, ensuring those beautiful pops of color throughout your crumb.
Confetti sprinkles, which are small, disc-shaped sprinkles, are another excellent option. They also tend to hold their color well and create a lovely visual effect within the cake. However, I strongly advise against using nonpareils (the tiny, round ball sprinkles) in the batter. Nonpareils are notorious for bleeding their colors, which can unfortunately tint your lovely vanilla cake batter an unappealing grayish hue. Save the nonpareils for decorating the outside of your cake, where their vibrant colors can shine without affecting the cake’s appearance.
Crafting the Perfect Cake Base
Our Funfetti cake boasts a wonderfully soft and dense crumb – the hallmark of a truly great homemade cake. This delightful texture is achieved through a careful balance of ingredients. The combination of unsalted butter and vegetable oil contributes significantly to both the richness and the moisture of the cake, ensuring it stays tender for days. The eggs, used at room temperature, help to create a smooth, emulsified batter and add to the cake’s structure and richness. What truly elevates this cake’s flavor is the harmonious blend of almond and vanilla extracts. While vanilla provides that classic sweet, creamy note, the almond extract adds a subtle, almost marzipan-like complexity that perfectly complements the funfetti aesthetic. If you prefer, you can certainly stick to just vanilla or just almond extract, but we genuinely believe the mixture of the two provides an unparalleled boost of classic funfetti flavor that truly sets this recipe apart.
Fluffy Buttercream Frosting
This recipe is generous with frosting, yielding enough for a delightfully thick filling between layers and plenty to beautifully frost and decorate the entire cake. We believe a generous amount of frosting is essential for any celebration cake! If you’re aiming for a simpler cake or prefer less frosting, you can easily halve the frosting recipe. Our rich and creamy buttercream is made with real butter and vanilla extract, which naturally gives it a lovely cream-colored hue. For those aiming for a pure, bright white frosting – perhaps to make rainbow sprinkles stand out even more – you can substitute regular vanilla extract with clear vanilla extract. Alternatively, you could substitute some or all of the butter with white shortening. However, be mindful that using shortening will compromise on the rich, buttery flavor that makes this buttercream so irresistible, so it’s a trade-off to consider.
How to Make the Best Homemade Funfetti Cake: Step-by-Step
These step-by-step photos and detailed instructions are here to help you visualize how to make this delightful Funfetti cake recipe. For a complete printable version of this recipe, including all measurements and instructions, you can Jump to Recipe at the bottom of this page.
Preparing the Cake Layers
- Begin by preheating your oven to 325°F (160°C). Prepare three 7-inch round cake pans by spraying them thoroughly with non-stick baking spray. For easy release and to prevent sticking, line the bottoms of each pan with a circle of parchment paper. This step is crucial for perfectly shaped cake layers.
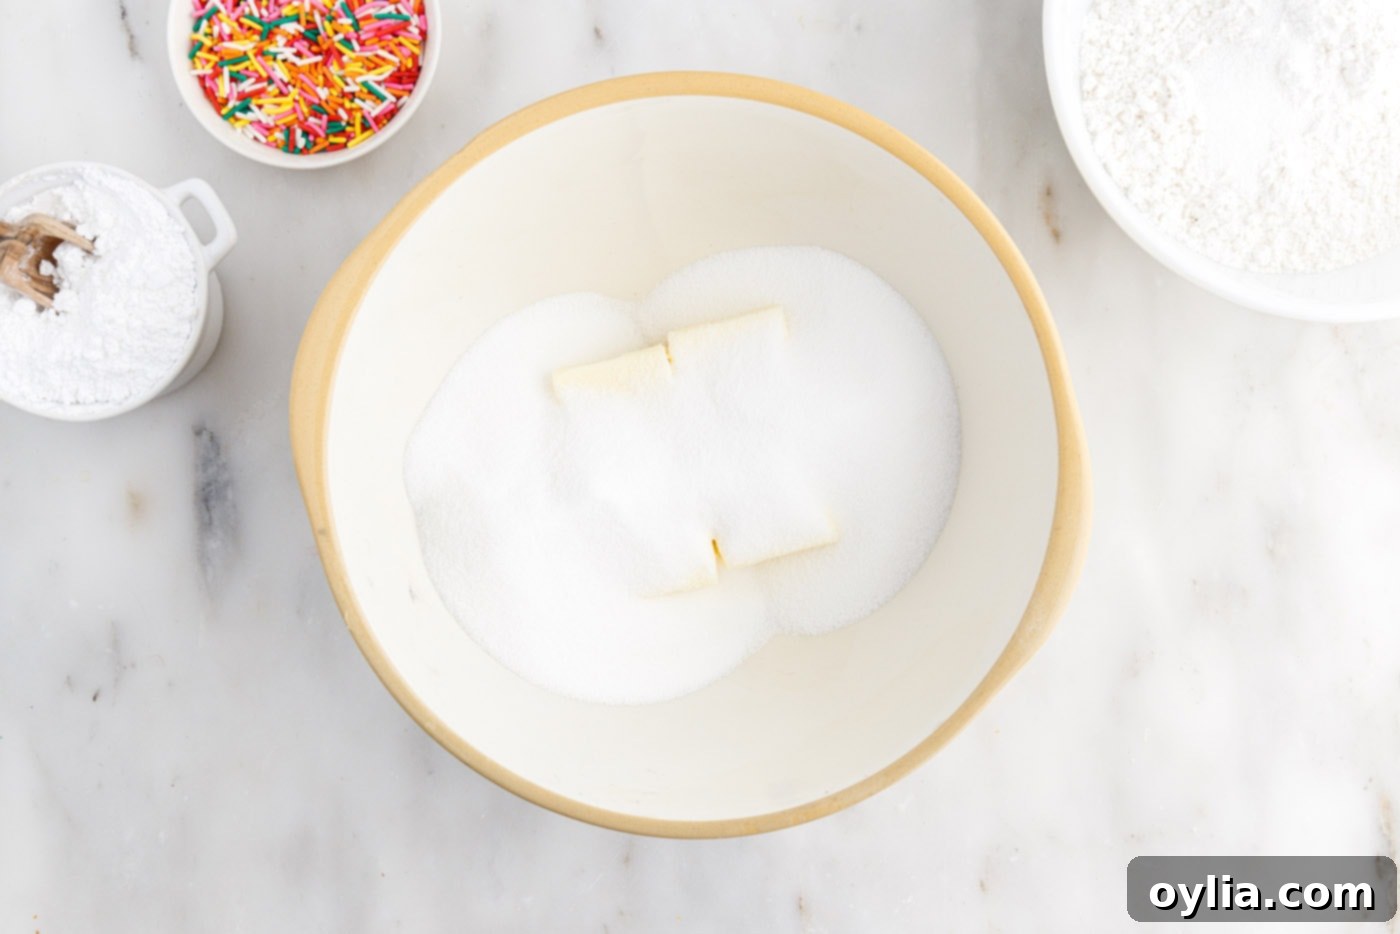
- In a large mixing bowl, combine the softened unsalted butter and granulated sugar. Using a hand mixer (or a stand mixer with the paddle attachment), beat these ingredients together on medium-high speed until the mixture becomes light, pale, and wonderfully creamy. This process incorporates air, essential for a tender cake.
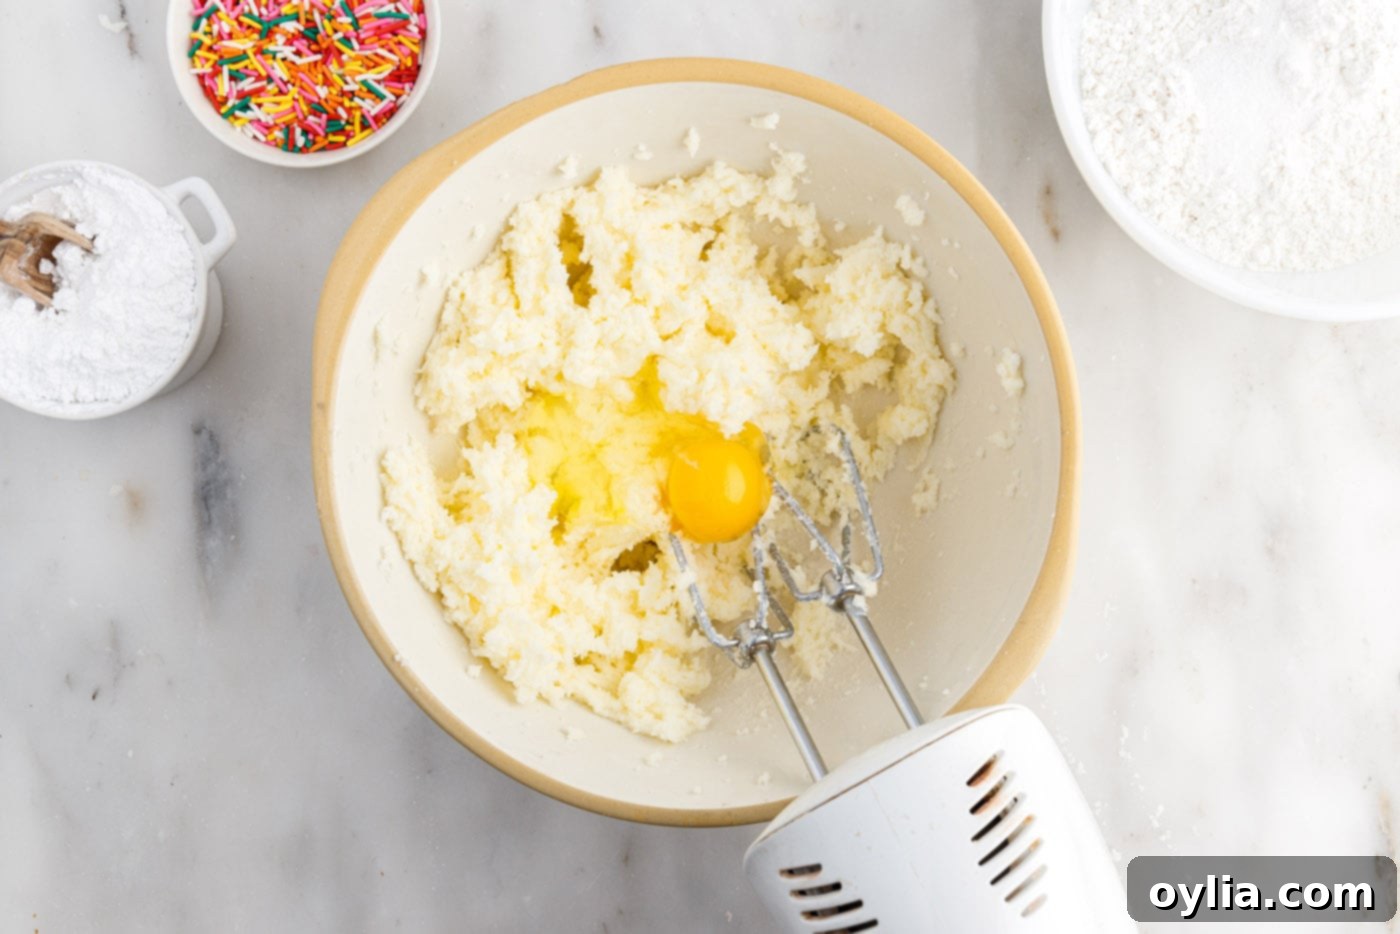
- Crack in one large egg at a time, beating well after each addition until fully incorporated. Ensure each egg is completely mixed into the butter and sugar before adding the next. This helps create a stable emulsion and a smooth batter.


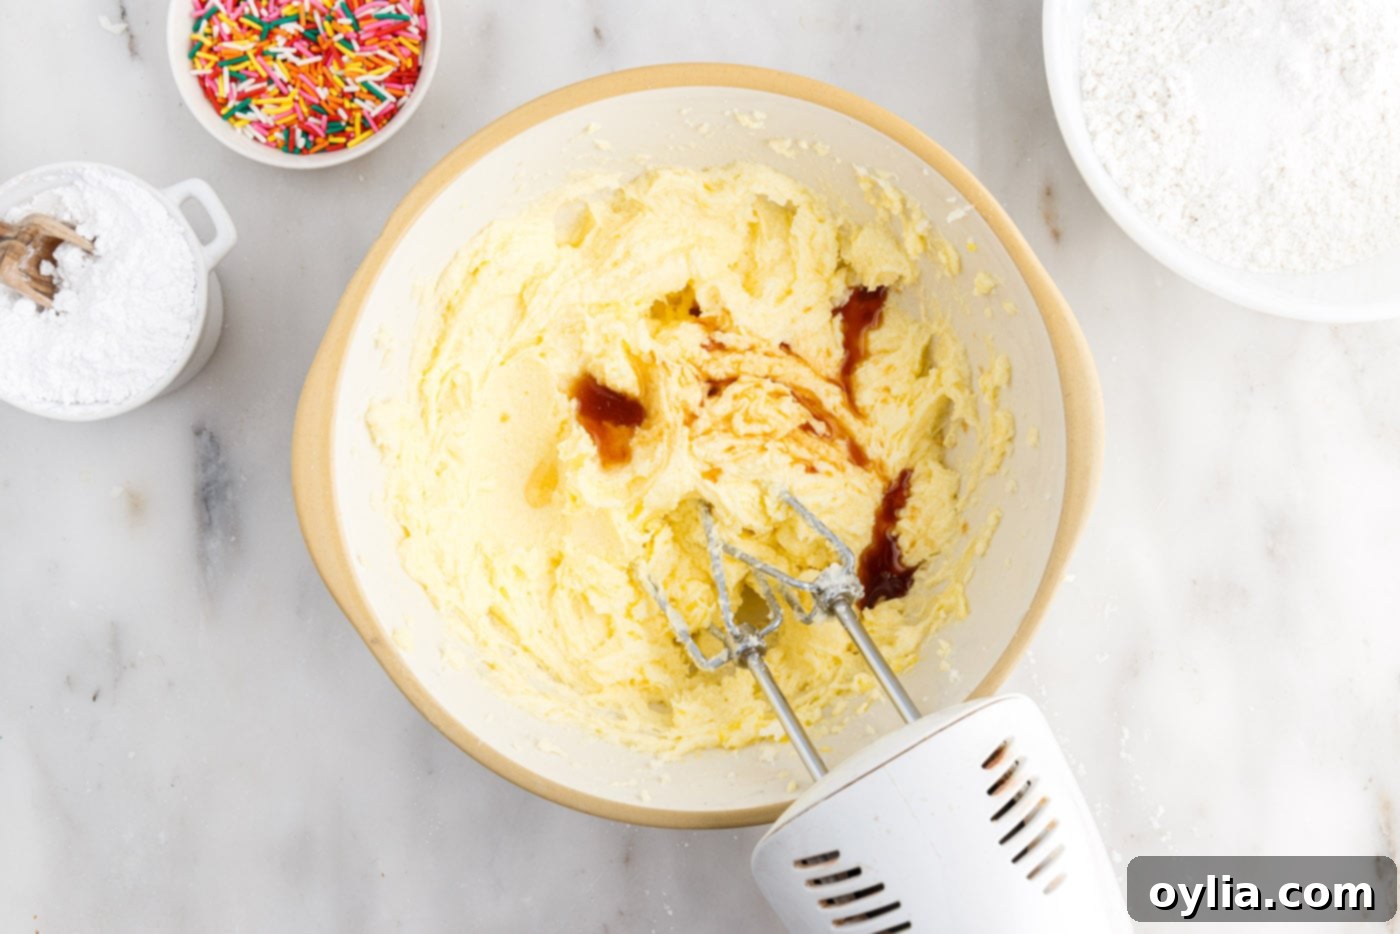
- Now, add the vanilla extract, almond extract, and vegetable oil to the wet ingredients. Beat everything together until well combined, ensuring the flavors are evenly distributed and the oil adds its moisturizing properties to the batter.

- In a separate medium-sized bowl, whisk together the all-purpose flour, baking powder, and salt. This ensures these dry ingredients are evenly distributed before being added to the wet mixture.
- Gradually incorporate the dry ingredients into the wet mixture, alternating with the milk. Start by adding half of the flour mixture and beat until just combined. Then, add half of the milk and beat. Follow with the remaining flour mixture, beat, and finally add the rest of the milk. Beat only until the batter is just fully combined and smooth. Be careful not to overmix, as this can lead to a tough cake.


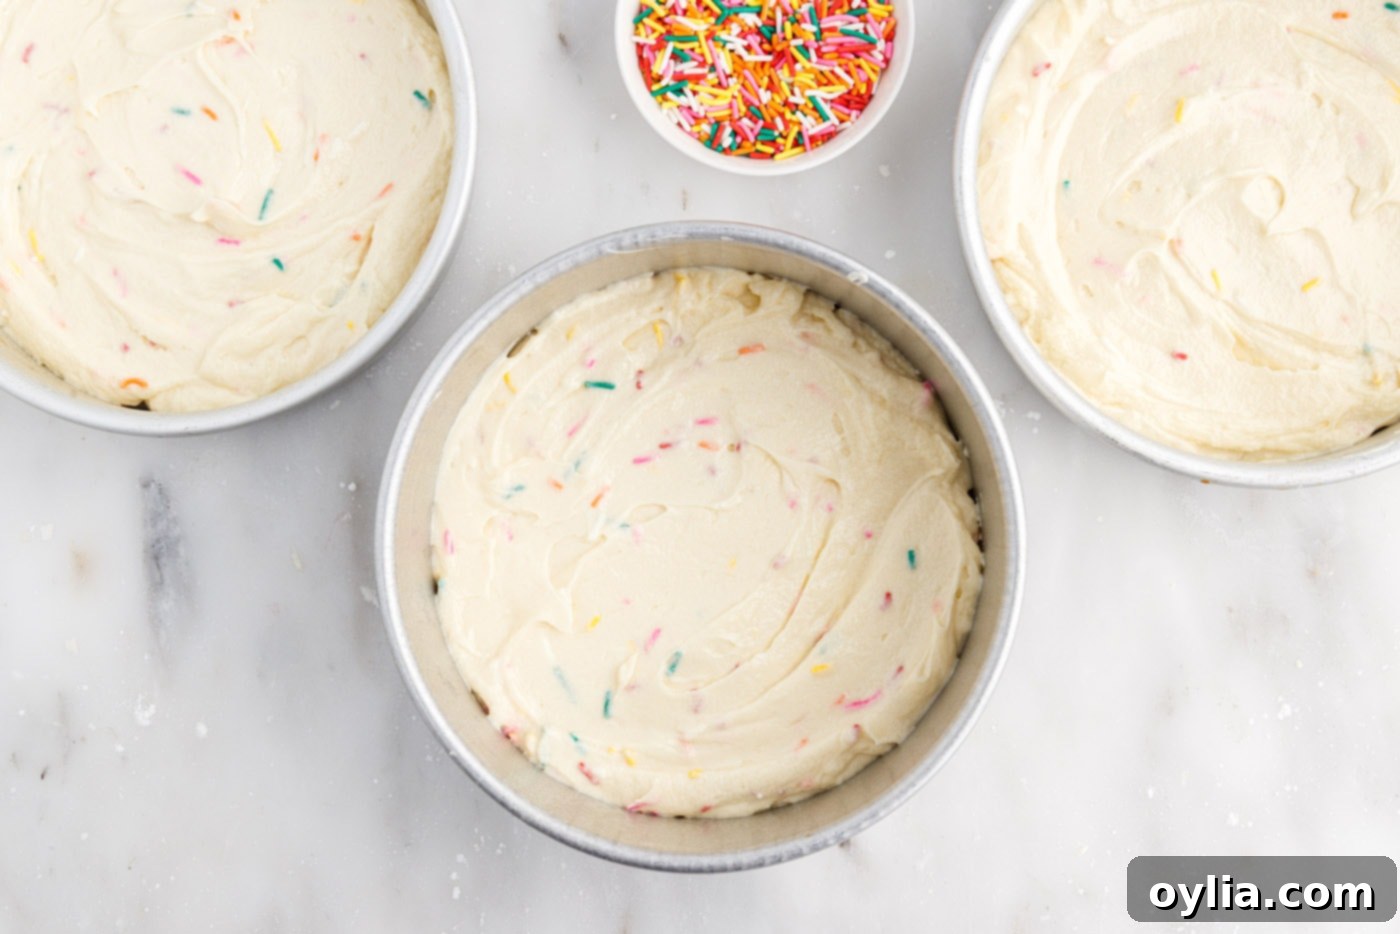
- Gently fold in 1⁄2 cup of rainbow Jimmies using a spatula. Fold just enough to distribute them evenly without overmixing, which can cause the sprinkles to break or their colors to bleed.

- Divide the cake batter evenly among the three prepared cake pans. You can use a kitchen scale for precision, ensuring uniform layers.

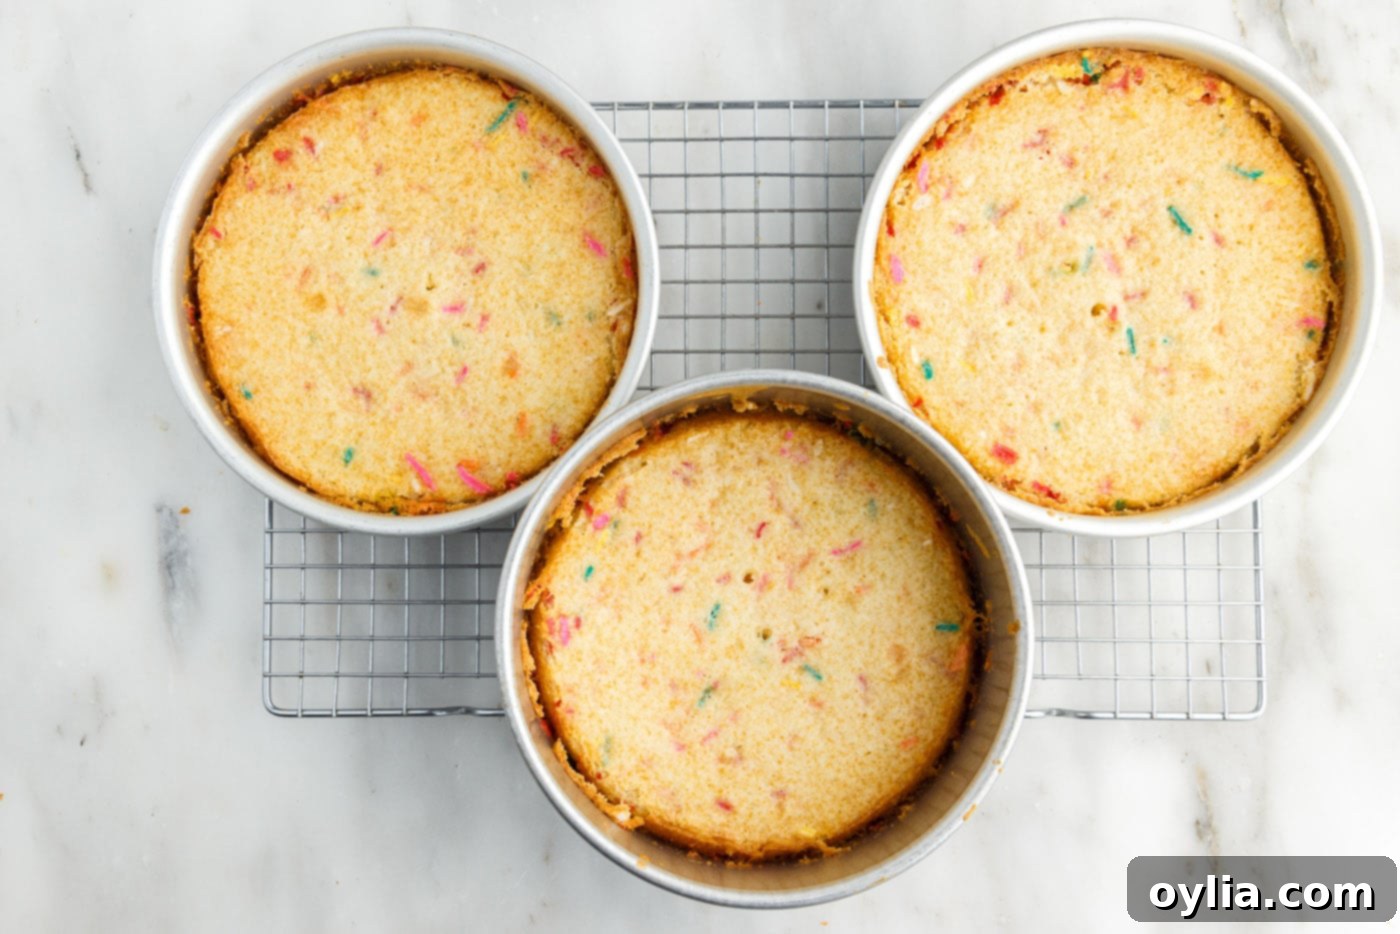
- Bake for 35-40 minutes, or until a toothpick inserted into the center of a cake layer comes out with only a few moist crumbs attached. Avoid overbaking, as this can lead to a dry cake.

- Allow the cakes to cool in their pans on a wire cooling rack for 10-15 minutes. This allows them to firm up slightly. After this initial cooling, carefully invert the cakes onto the cooling rack, remove the parchment paper, and let them cool completely before frosting. Frosting a warm cake will lead to melted, sliding frosting!
Preparing the Fluffy Buttercream Frosting
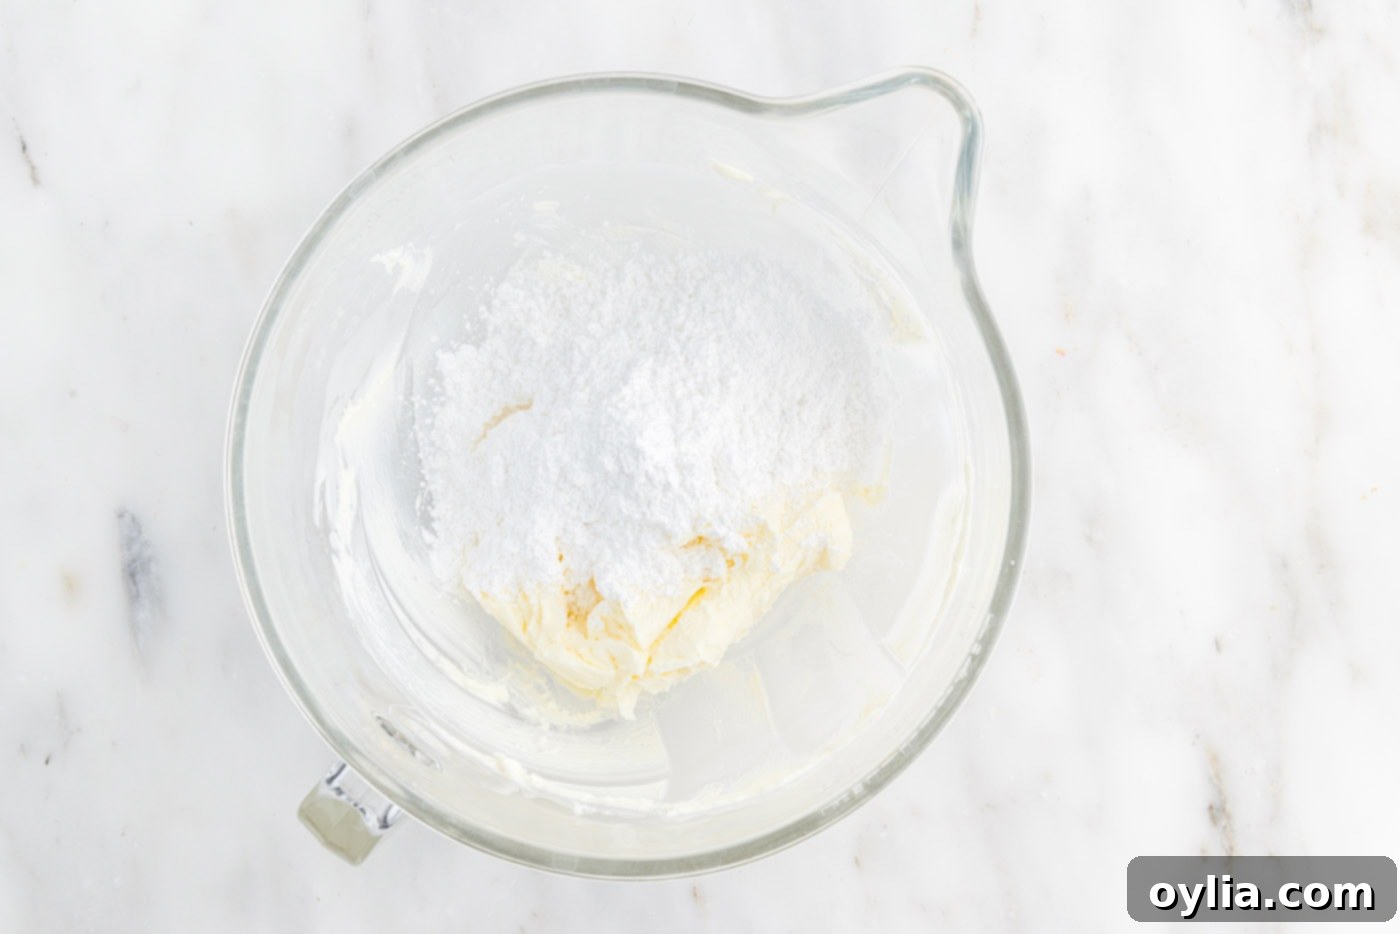
- To make the frosting, ideally in a standing mixer fitted with a paddle attachment, beat the softened unsalted butter on high speed for several minutes until it becomes very light in color and incredibly fluffy. This step is key for a light, airy buttercream.
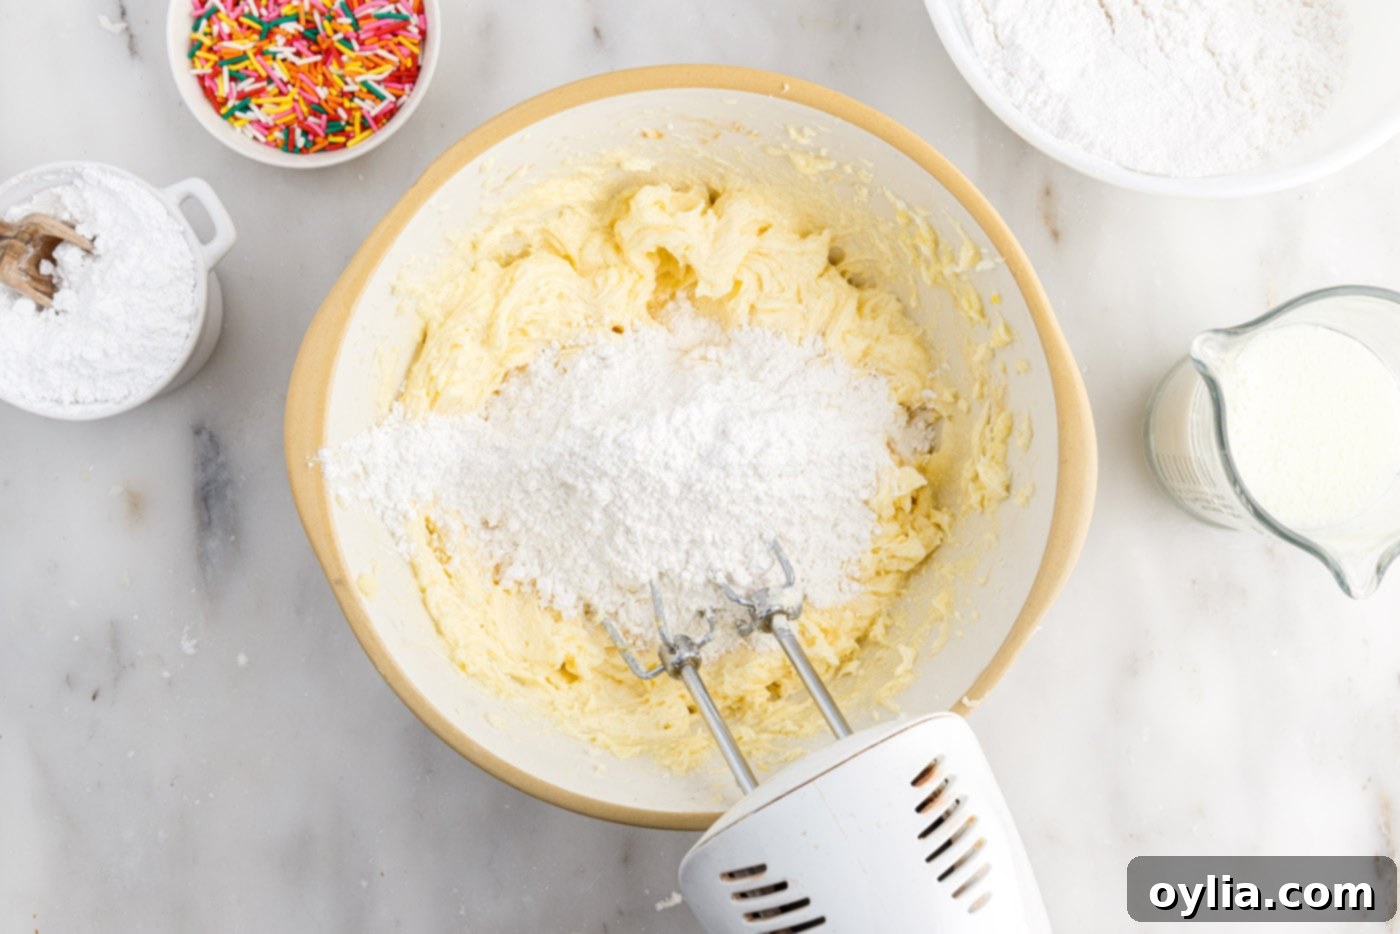
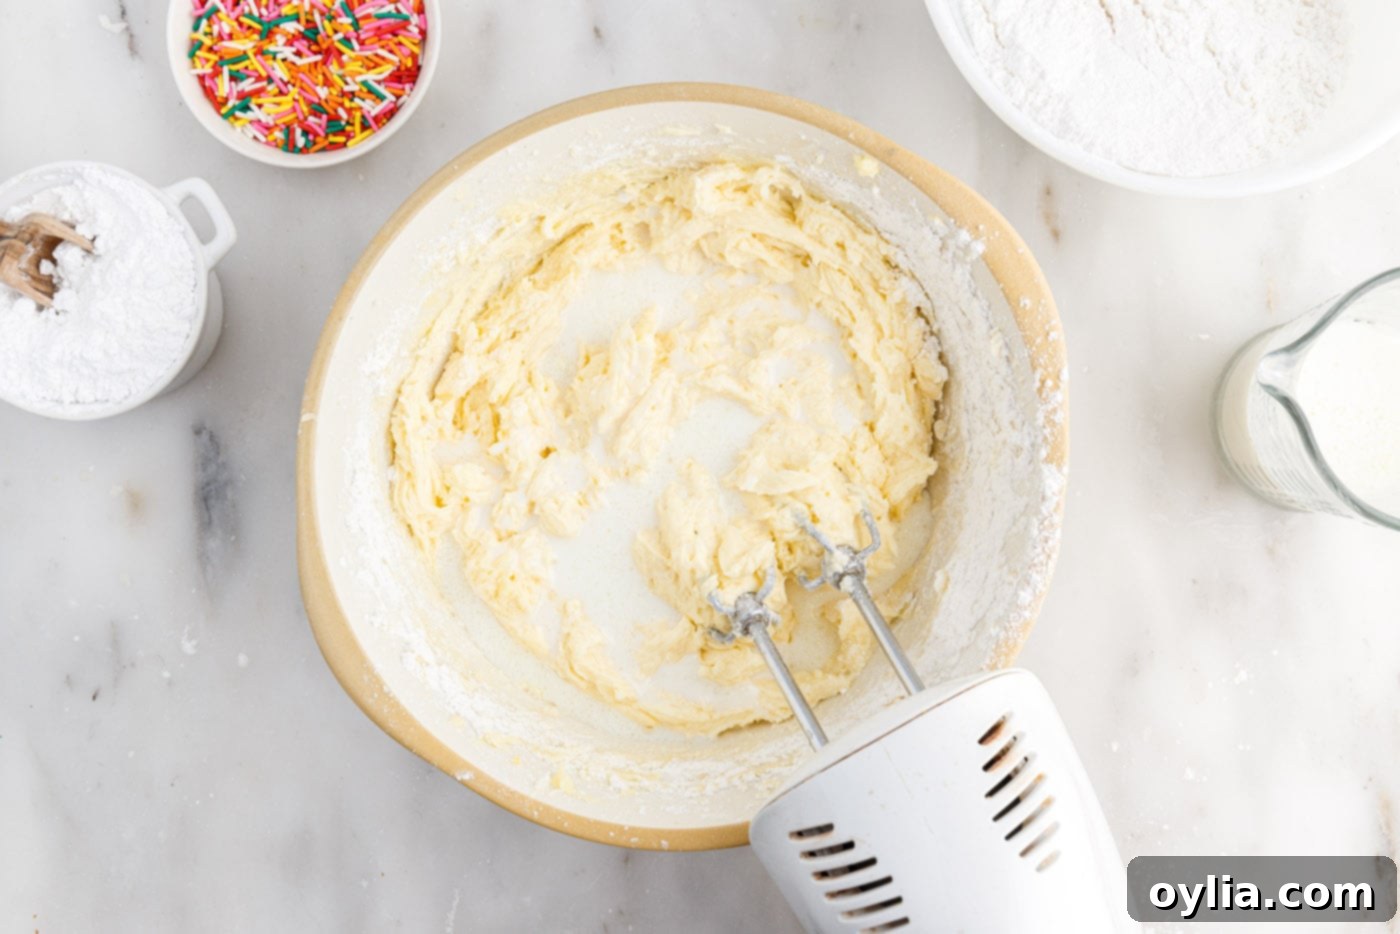
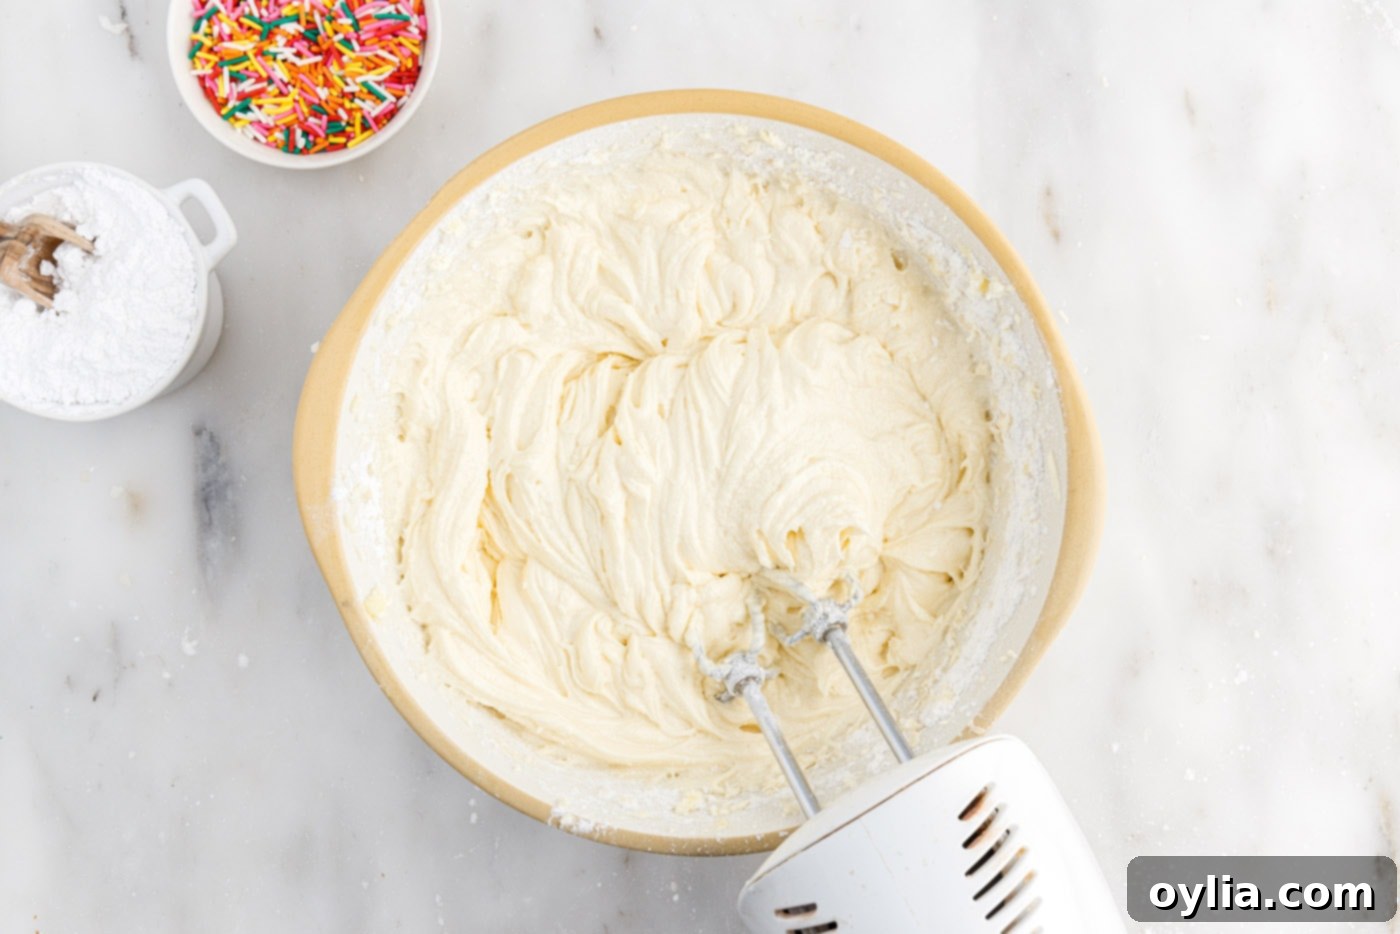
- Gradually add the powdered sugar, one cup at a time, on low speed to avoid a sugar cloud. Once fully incorporated, increase the speed and beat until smooth.


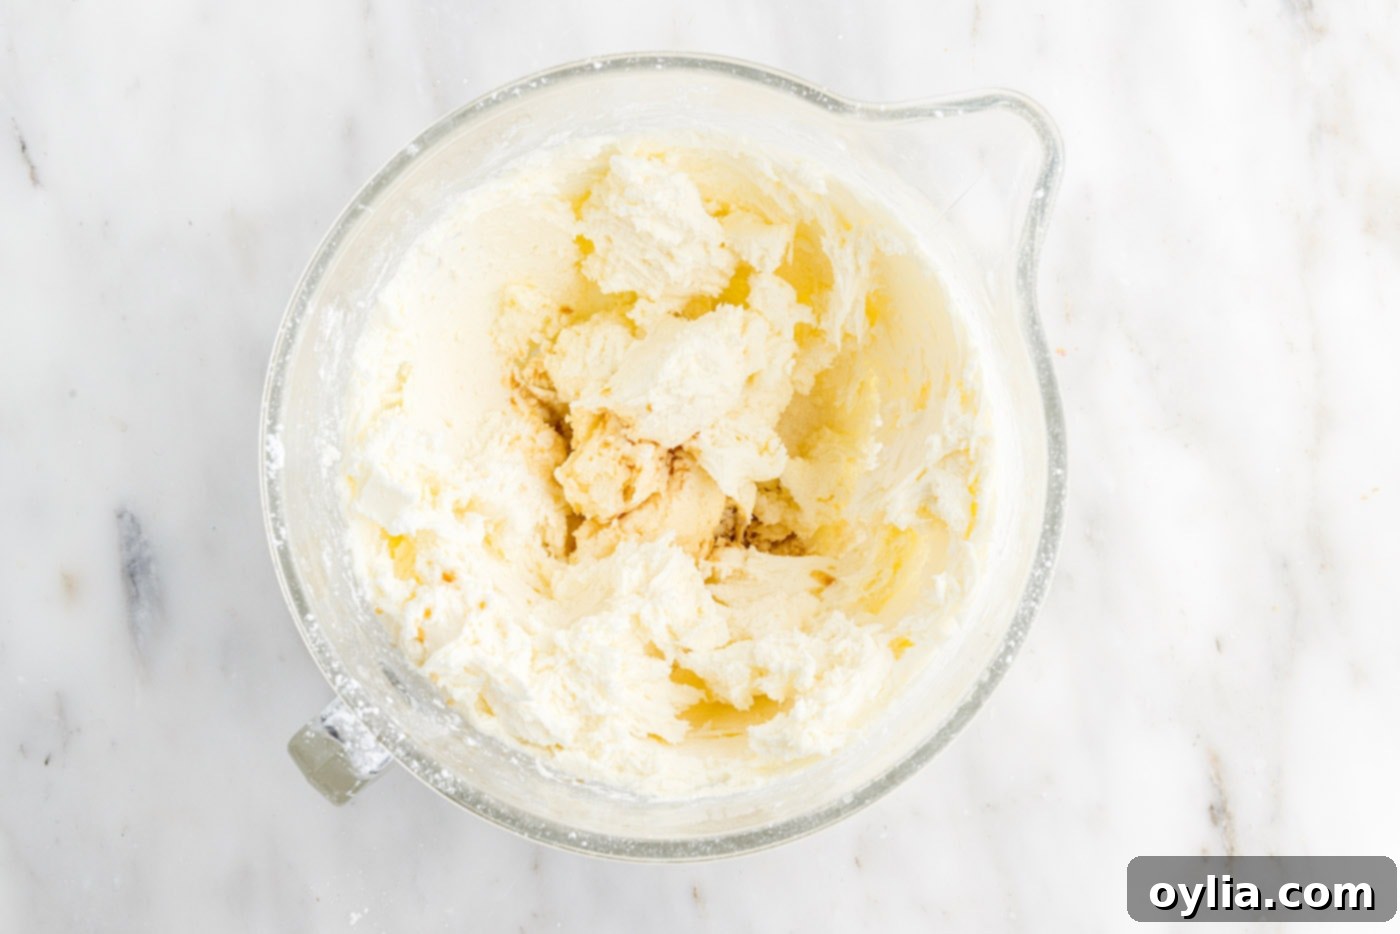
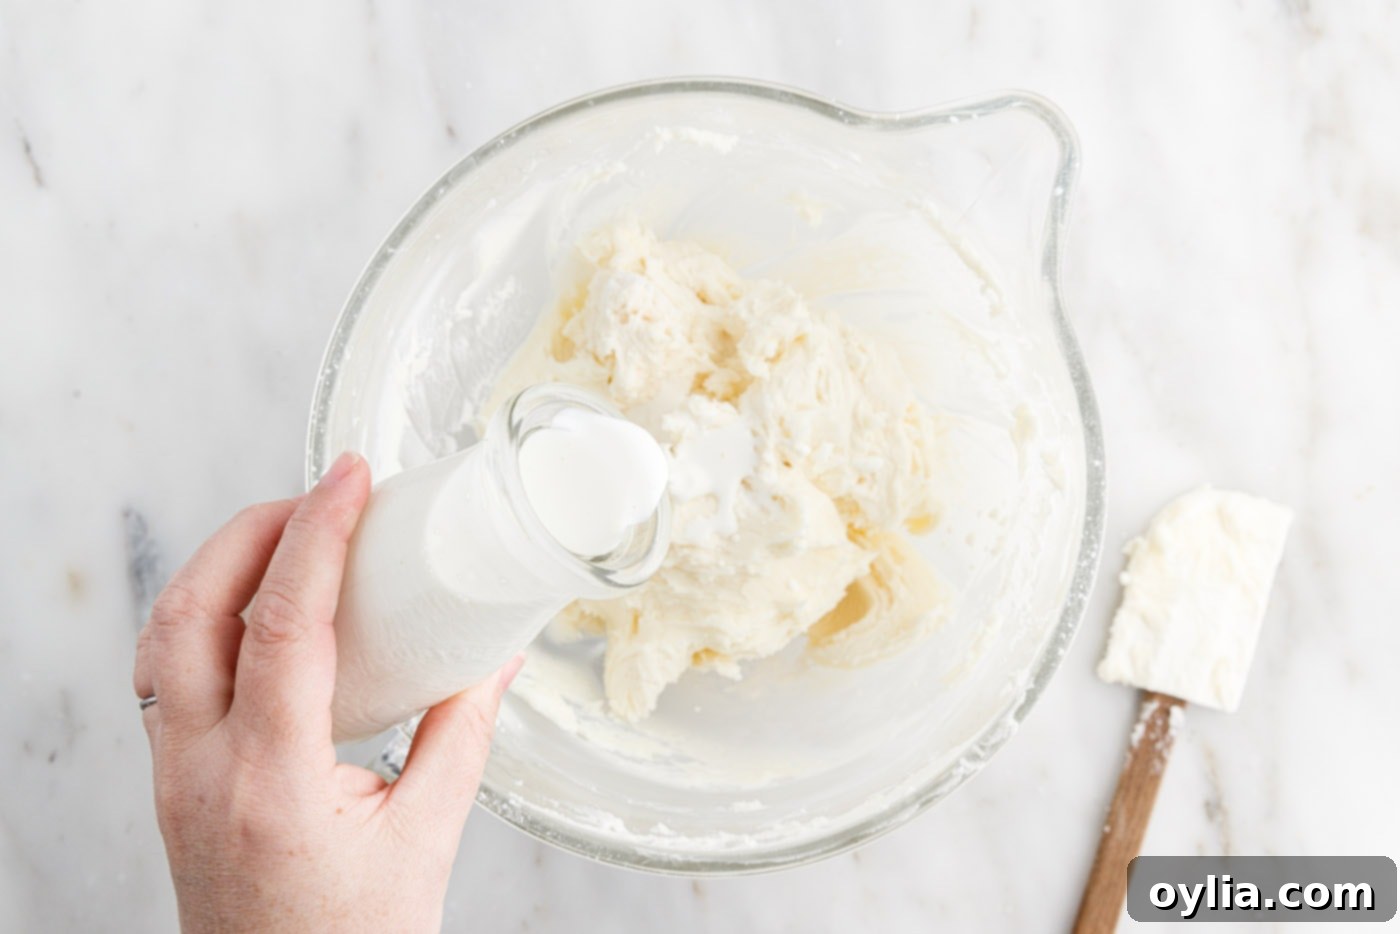
- Beat in the vanilla extract and almond extract. With the mixer still running on low speed, slowly pour in the heavy cream until the frosting reaches a light, fluffy consistency that is easily spreadable. Adjust the amount of cream as needed to achieve your desired consistency.

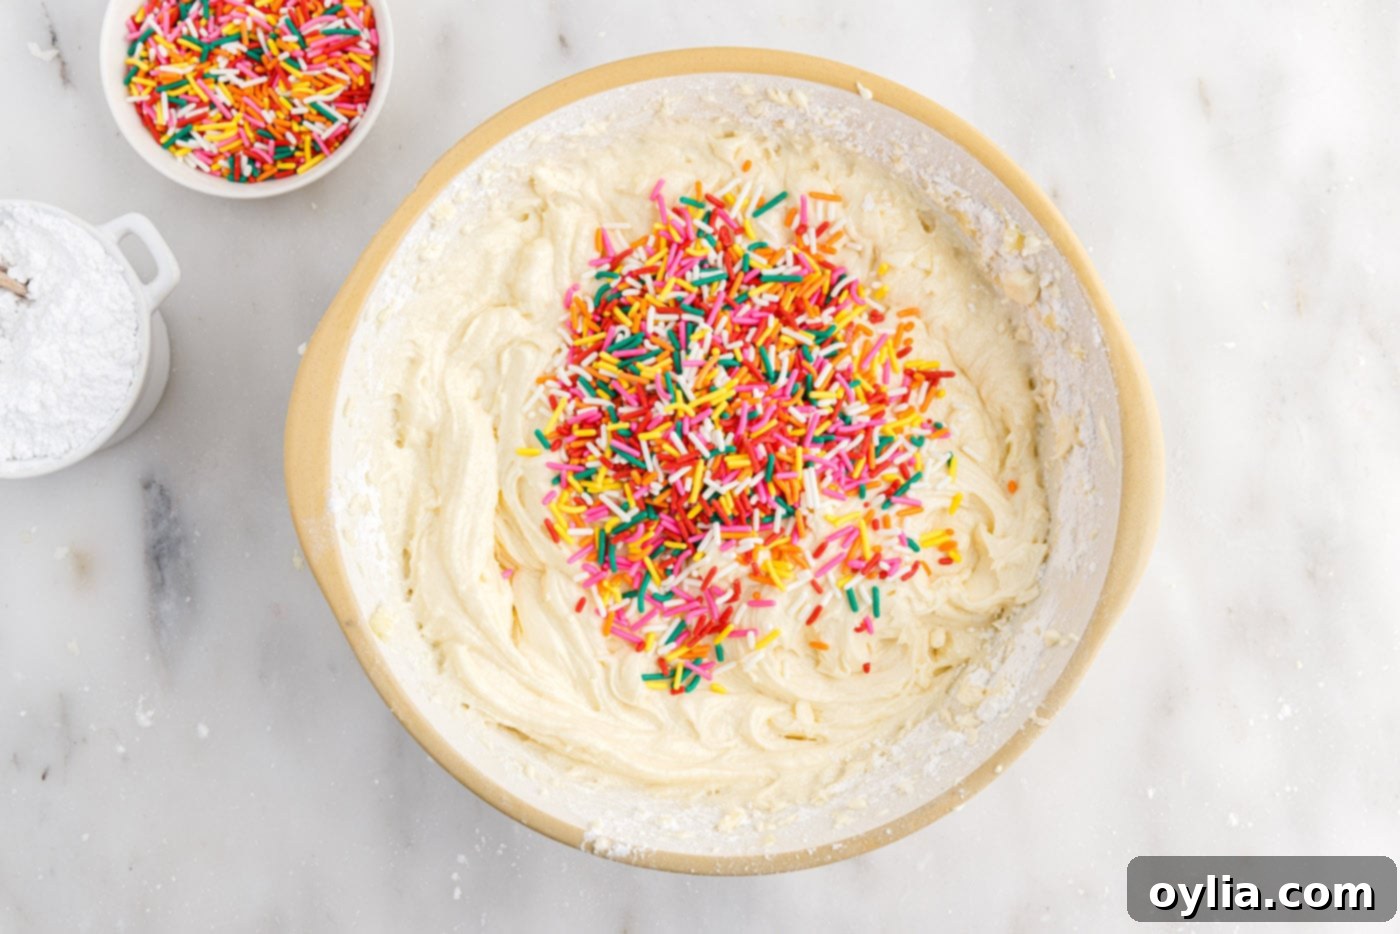
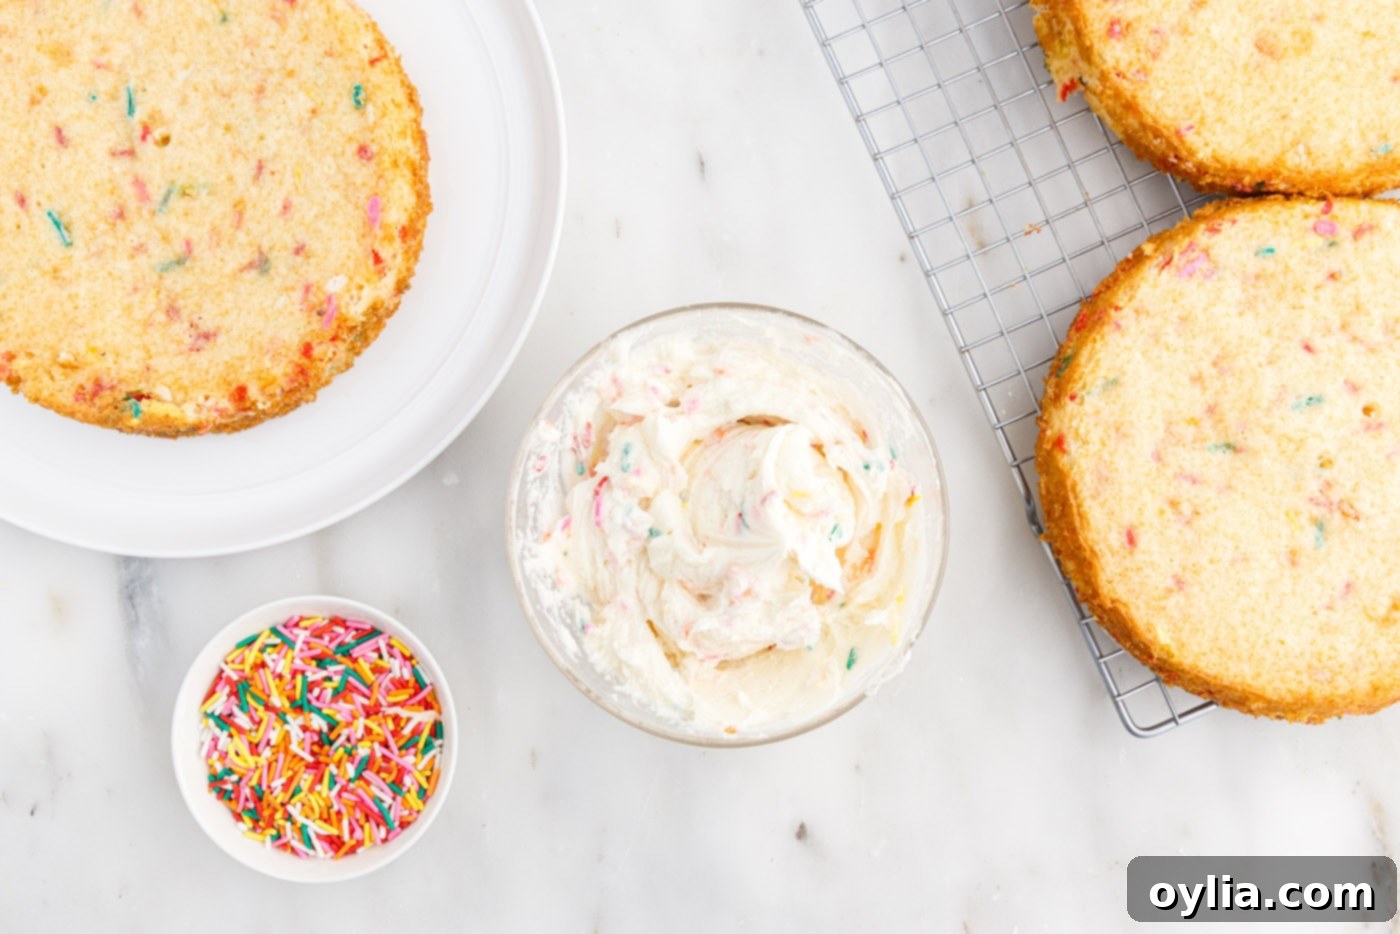
- If you wish to have a special funfetti filling between your cake layers, set aside about 1 cup of the prepared frosting. Gently fold in 2 tablespoons of rainbow sprinkles into this reserved frosting. This creates an extra festive surprise inside your cake!

Assembling and Decorating Your Funfetti Cake
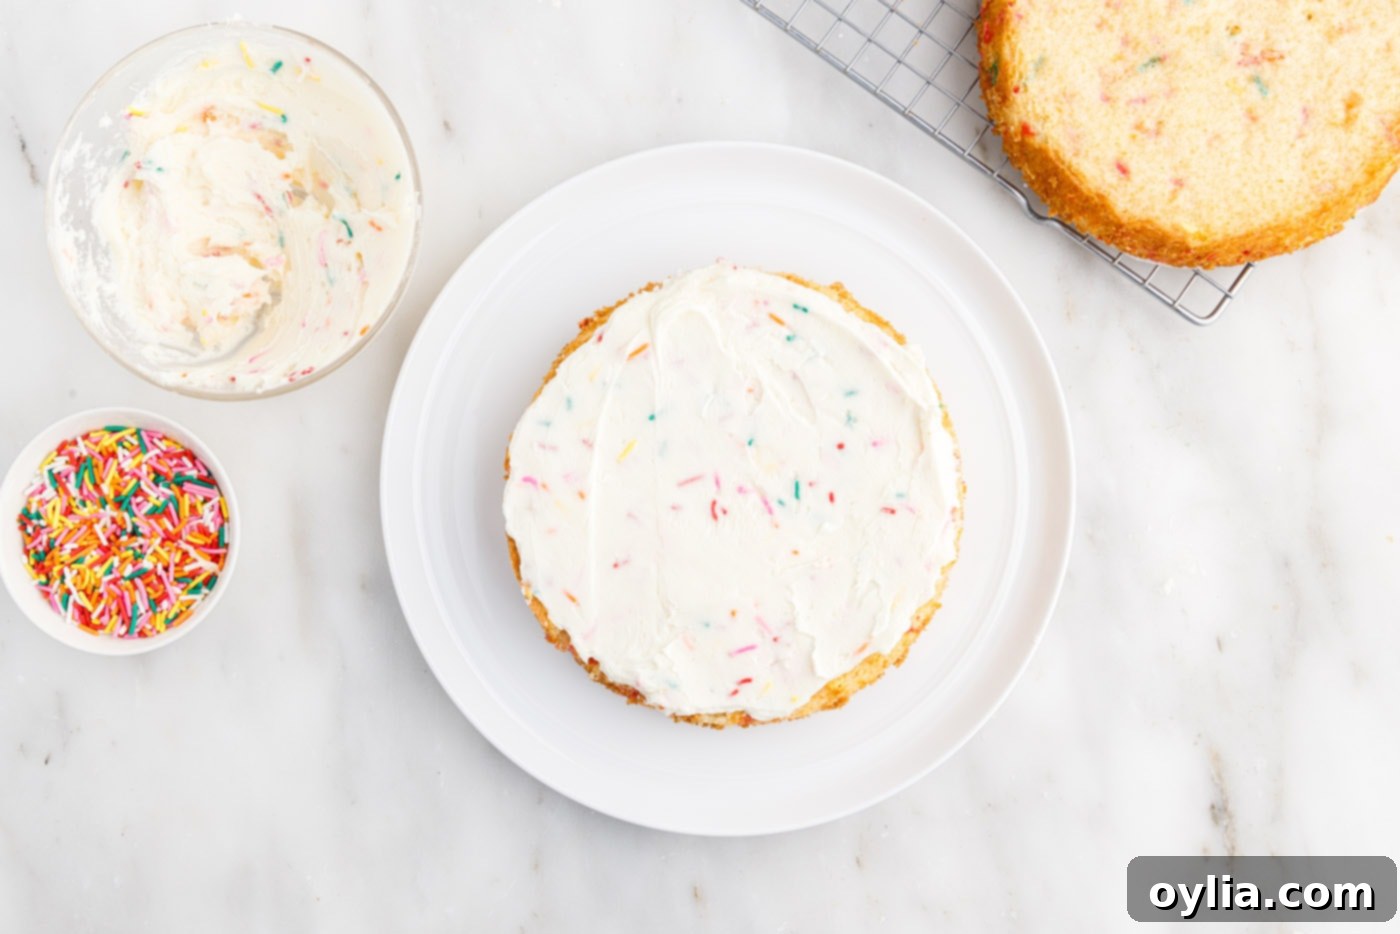
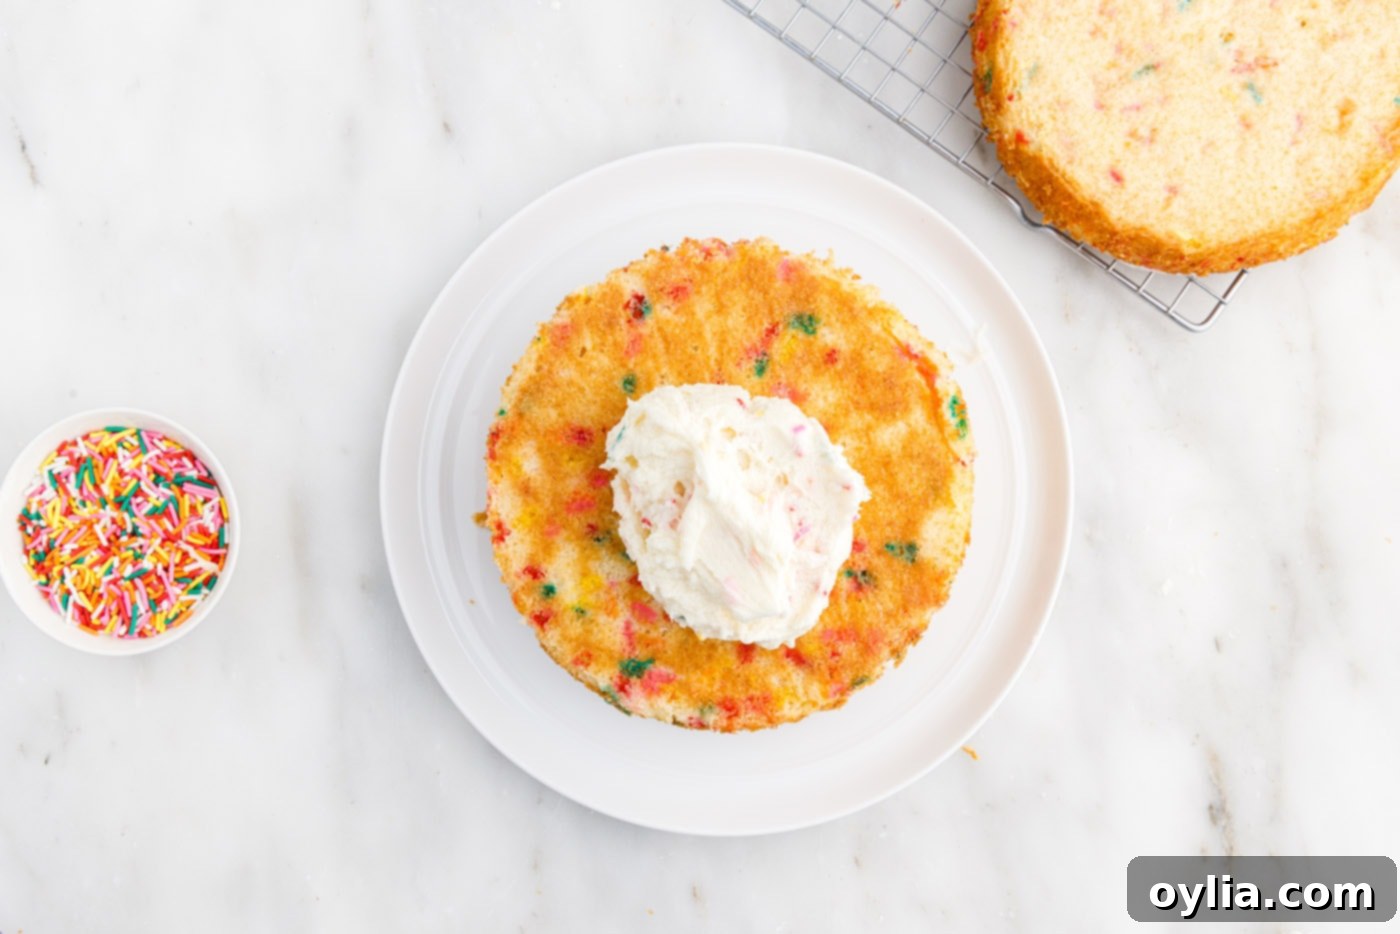
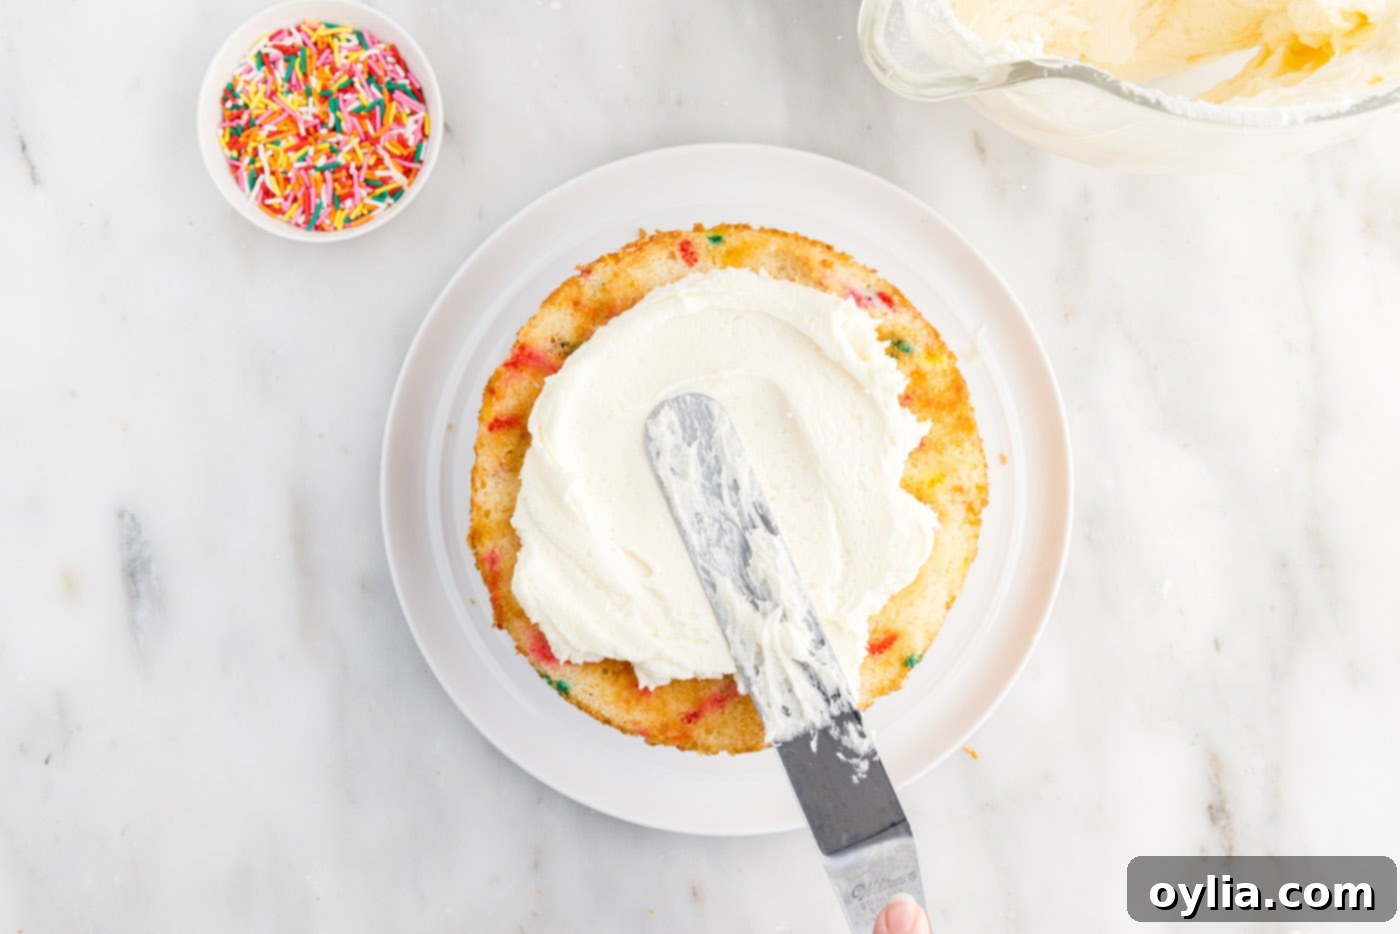
- Place your first cooled cake layer on a sturdy cake stand or serving platter. Dollop about 1⁄2 cup of the frosting (or your funfetti filling) onto the top and use an offset spatula to spread it evenly to the edges.
- Carefully place the second cake layer directly on top of the frosted first layer. Add another layer of frosting and spread it evenly. Finally, top with the third and final cake layer, ensuring it’s centered and level.


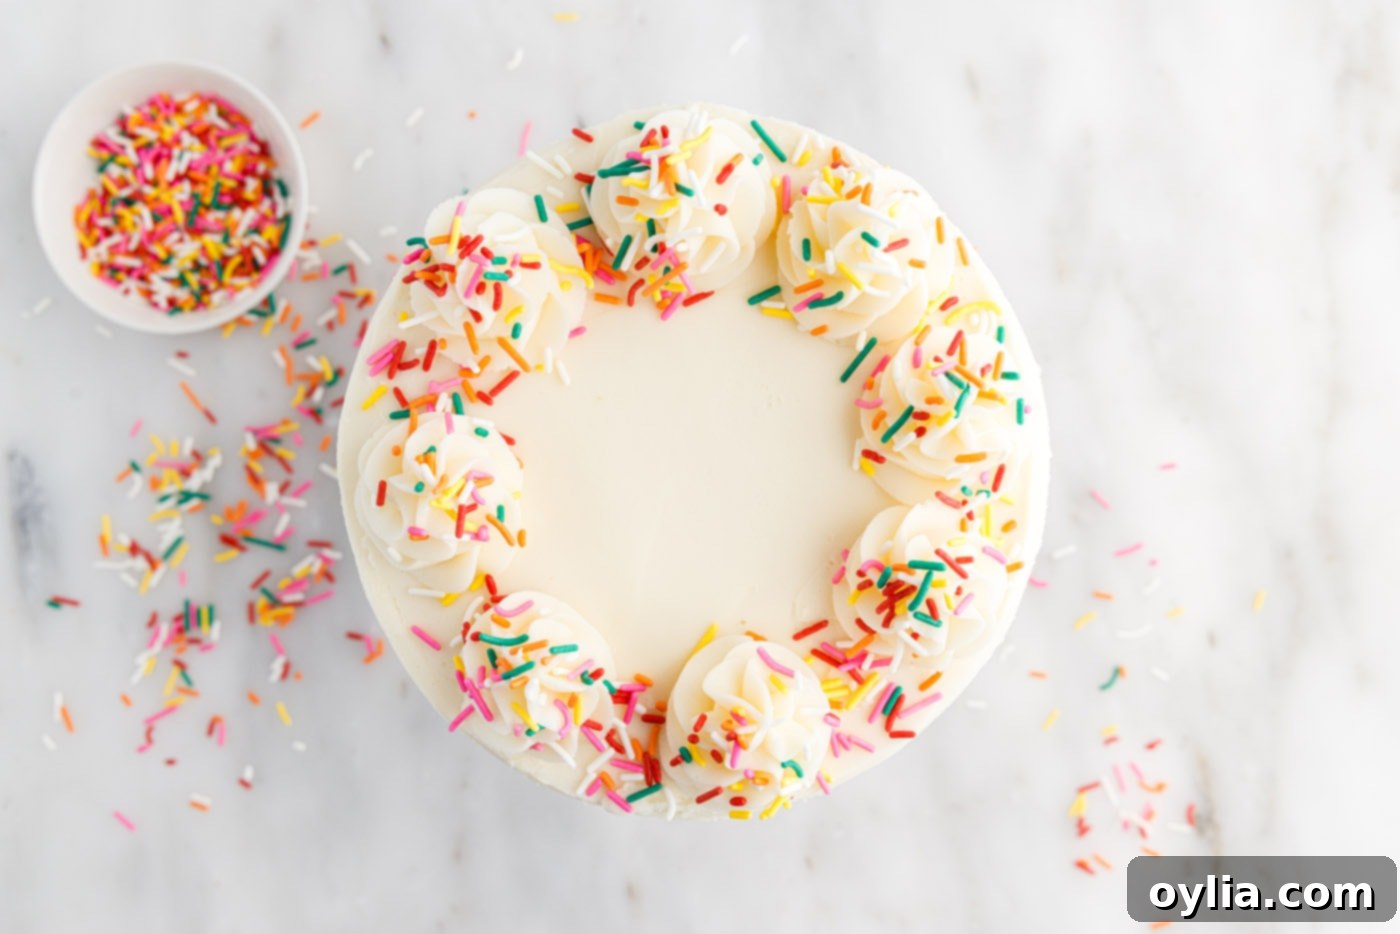
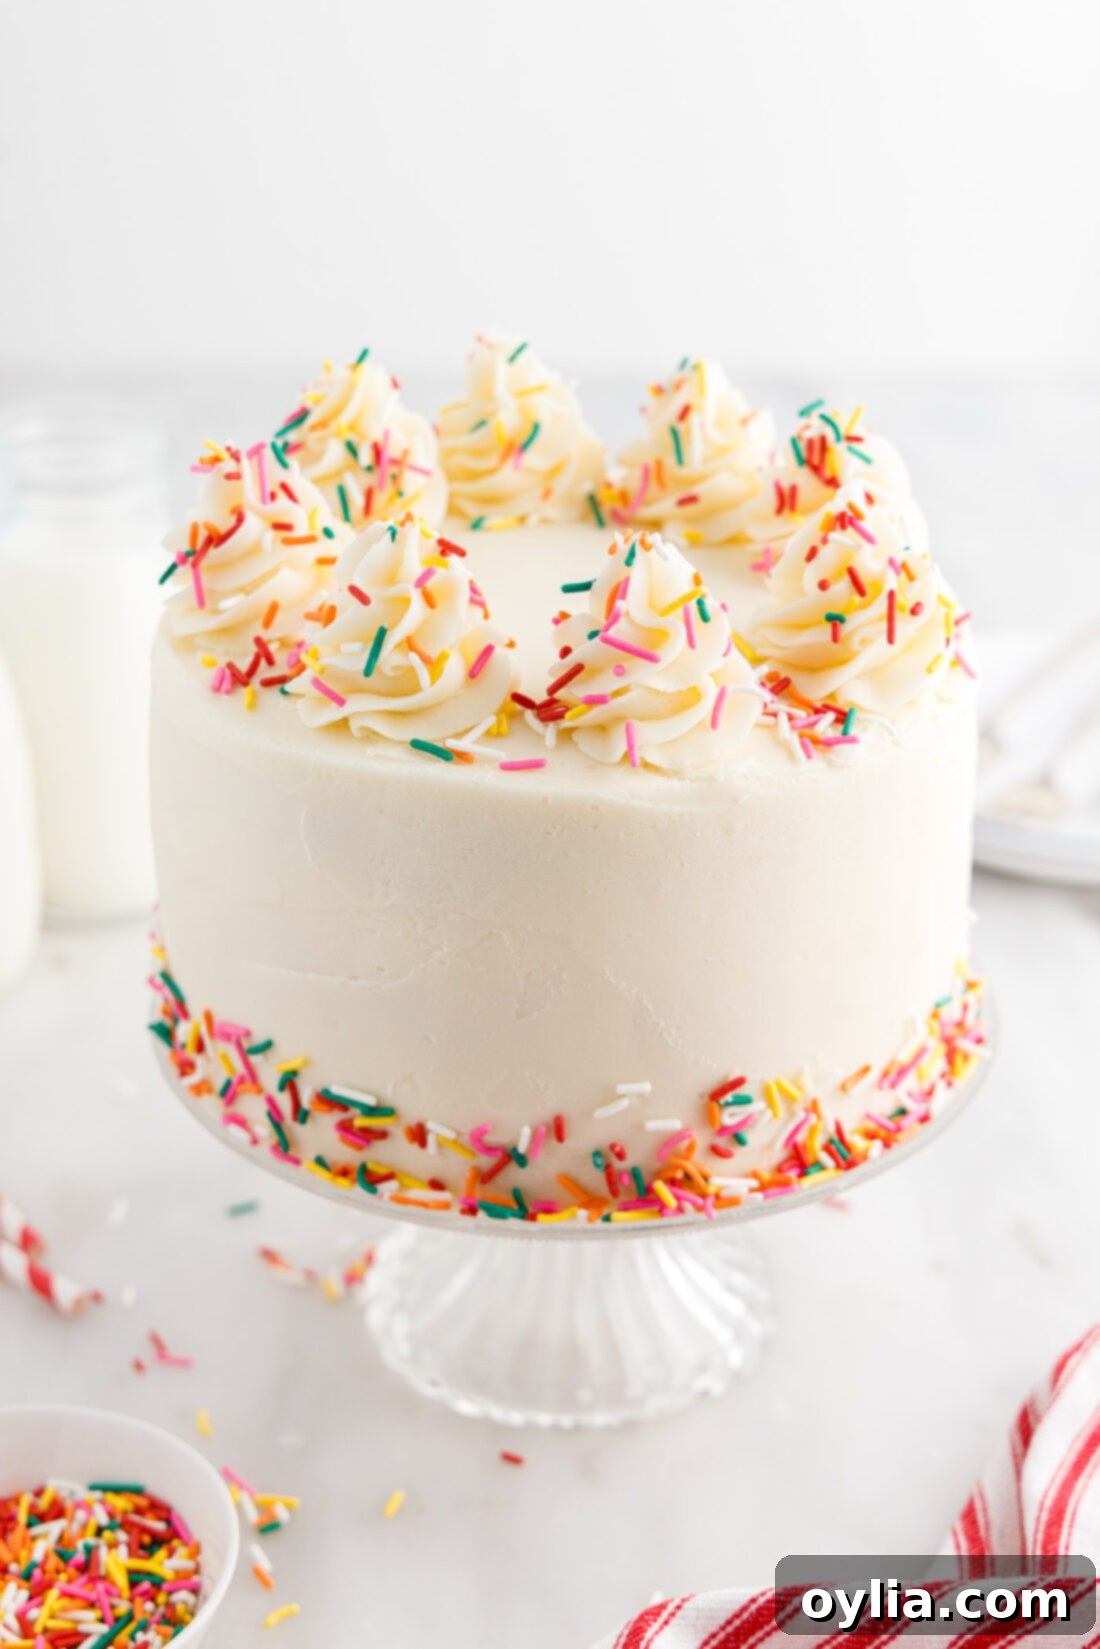
- Using the remaining frosting, generously cover the entire cake – the top and sides. Aim for a smooth, even coating. Once frosted, unleash your creativity! We opted to pipe a few elegant swirls on the top of the cake using a piping bag and then added extra sprinkles to the piped swirls and around the bottom perimeter for a festive finish. You can decorate yours as simply or elaborately as you desire.

Frequently Asked Questions & Expert Baking Tips
Yes, you absolutely can adapt this recipe to different sized pans, although we have not extensively tested the bake times for every variation. This recipe is perfectly suited for baking a 2-layer cake using 8-inch or 9-inch round cake pans. When using different sizes, it’s crucial to rely on the toothpick method to check for doneness: insert a toothpick into the center of the cake, and if it comes out with just a few moist crumbs, your cake is ready. Be aware that larger pans will result in thinner layers and potentially shorter bake times, while smaller pans might yield thicker layers requiring longer baking. This versatile batter can also be transformed into cupcakes! While we haven’t tested the exact bake time or yield for cupcakes, typically cupcakes bake for a shorter duration, often between 18-25 minutes. If you give this a try with cupcakes or different pan sizes, please let us know in the comments below – your feedback is always valuable!
To maintain the delicious freshness and moist texture of your homemade Funfetti cake, it’s best to store it covered with an airtight lid. A cake carrier is an excellent investment for this purpose, as it protects the frosting and prevents drying. Store the cake in the refrigerator for up to 5 days. While an uncut cake can be left at room temperature for a day or two in a cool environment, once you cut into it, the exposed surfaces will begin to dry out. Therefore, after the first slice, always ensure the cut sides are covered with at least plastic wrap to lock in moisture, even if using a cake carrier. For best flavor and texture, allow the refrigerated cake to come to room temperature for about 30-60 minutes before serving.
Absolutely, this Funfetti cake freezes beautifully, allowing you to prepare components ahead of time or save leftovers. You can freeze the individual unfrosted cake layers once they have completely cooled. To do this, wrap each layer tightly in Press N Seal or several layers of plastic wrap, ensuring no air can reach the cake. Follow this with a layer of heavy-duty aluminum foil for extra protection against freezer burn. Place the securely wrapped layers in a large ziptop bag or an airtight freezer-safe container and freeze for up to 3 months. When you’re ready to assemble or serve, thaw the wrapped layers in the refrigerator overnight. It’s truly best to wait until you are ready to serve (or the night before) to frost the cake, as freezing a fully frosted cake can sometimes lead to cracking or smushing of the delicate frosting design. You can also freeze leftover frosted slices using the same method; just be aware that the frosting might not look as pristine after thawing, but the taste will still be delicious!
Creative Serving and Decorating Suggestions for Your Funfetti Cake
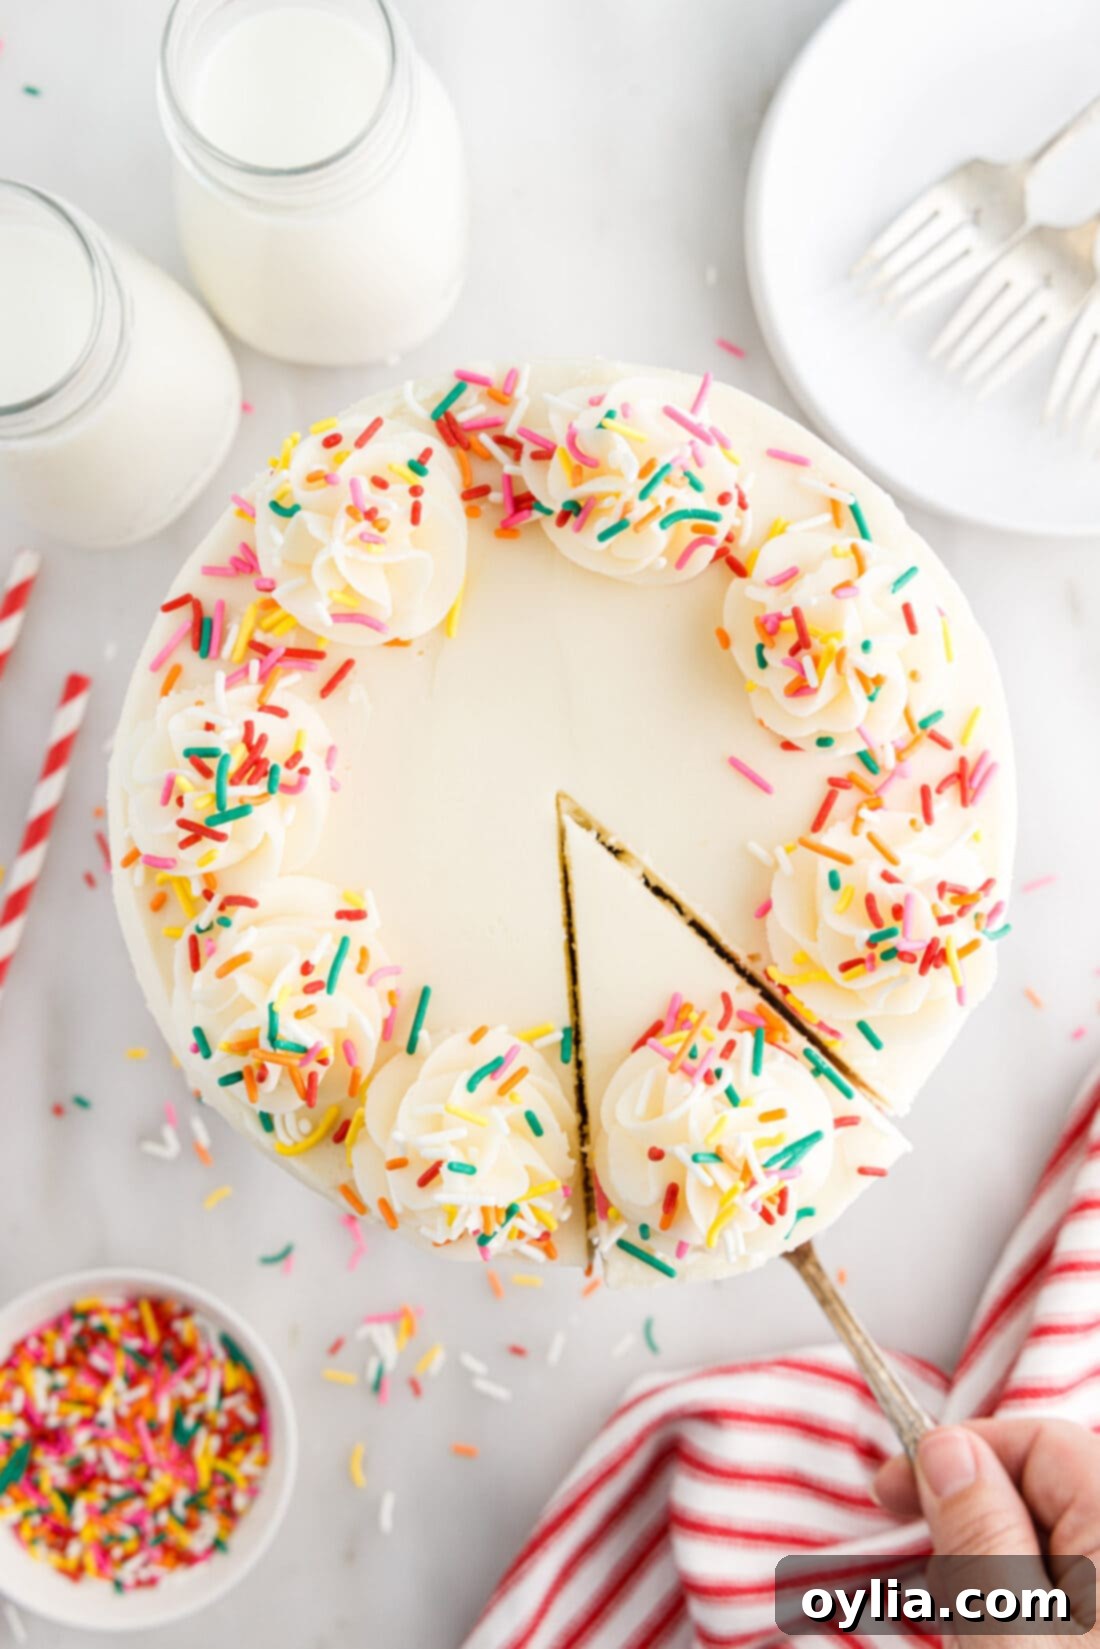
The beauty of a homemade Funfetti cake extends beyond its delicious taste to the endless possibilities for personalization and decoration. There are so many different and fun ways to decorate this cake, allowing your creativity to shine! After frosting the entire outside of the cake smoothly, we chose to pipe a few elegant swirls on top using a star tip, adding a classic touch. We then generously sprinkled more rainbow Jimmies over the piped swirls and around the bottom perimeter of the cake for that quintessential festive look. Don’t hesitate to experiment with different piping techniques, patterns, or even a full covering of sprinkles for a truly dazzling effect!
For an extra pop of color and personality, feel free to add a small amount of gel food coloring to a portion of your buttercream frosting. This can create vibrant bands, ombre effects, or even a tie-dye frosting that will add a little extra pizazz and perfectly match your party theme. Consider adding fresh berries, edible glitter, or small fondant cutouts for an even more elaborate presentation. This Funfetti cake is perfect for any celebration – birthdays, anniversaries, graduations, baby showers, or just a Tuesday that needs a little extra joy!
If you’re as much of a Funfetti enthusiast as we are, be sure to explore more of our sprinkle-filled delights. You’ll love our Instant Pot Funfetti Cheesecake for a creamy, no-bake twist, and our Funfetti Icebox Cake, a refreshingly simple dessert that captures all the funfetti magic!
More Delightful Cake Recipes to Explore
If you loved baking this Funfetti cake, you’re in for a treat with our other popular cake recipes. Each one is crafted to bring joy to your kitchen and your dessert table:
- Zesty Lemon Cake
- Elegant Chantilly Cake
- Classic Red Velvet Cake
- Timeless Classic White Cake
- Delightful Blueberry Bundt Cake
I love to bake and cook and share my kitchen experience with all of you! Remembering to come back each day can be tough, that’s why I offer a convenient newsletter every time a new recipe posts. Simply subscribe and start receiving your free daily recipes!
Funfetti Cake
IMPORTANT – There are often Frequently Asked Questions within the blog post that you may find helpful. Simply scroll back up to read them!
Print It
Pin It
Rate It
Save ItSaved!
Ingredients
Cake
- 1 cup unsalted butter softened, at room temperature
- 1 ½ cups granulated sugar
- 3 large eggs at room temperature
- 1 teaspoon almond extract
- 2 teaspoons vanilla extract
- ¼ cup vegetable oil
- 2 cups all-purpose flour
- 2 teaspoons baking powder
- ½ teaspoon salt
- ¾ cup milk at room temperature
- ½ cup rainbow jimmies for batter
Frosting
- 2 cups unsalted butter softened, at room temperature
- 8 cups powdered sugar sifted, if lumpy
- 2 teaspoons vanilla extract (use clear vanilla for whiter frosting)
- ½ teaspoon almond extract
- 1 cup heavy whipping cream cold
- rainbow sprinkles for decorating (extra Jimmies or confetti sprinkles)
Essential Equipment
-
3 7 inch round cake pans
-
Mixing bowls (large and medium)
-
Hand mixer or stand mixer with paddle attachment
-
Wire cooling rack
-
Spatula
-
Parchment paper
Before You Begin & Expert Tips
- **Room Temperature Ingredients are Key:** Ensure your butter, eggs, and milk are at room temperature. This allows them to emulsify properly, creating a smooth batter and a light, airy frosting.
- **Don’t Overmix:** When combining wet and dry ingredients for the cake batter, mix only until just combined. Overmixing develops gluten, which can lead to a tough, dry cake.
- **Freezing Cake Layers for Best Results:** Freezing the fully cooled cake layers for 1-2 hours (or up to 3 days) significantly helps to lock in moisture, resulting in an even more tender cake. It also makes the assembly and frosting process much easier, especially when applying a crumb coat.
- **Frosting Quantity:** This recipe is designed to yield a generous amount of frosting, enough for a thick, delicious filling between layers and plenty to beautifully frost and decorate the entire tiered cake. If you prefer a simpler, less frosted cake, you can easily halve the frosting recipe.
- **Achieving White Frosting:** The natural butter and vanilla extracts in the frosting will give it a lovely cream color. For a pure, bright white frosting (ideal for making sprinkles pop), consider using clear vanilla extract. You can also substitute some or all of the butter with high-quality white shortening, but be aware that this will slightly compromise the rich, buttery flavor of the buttercream.
- **Choosing the Right Sprinkles:** The type of sprinkles you use for the cake batter truly matters! For baking into the cake, you’ll want to stick to rainbow Jimmies. Jimmies are designed not to lose their color or bleed into your cake batter once mixed. Confetti sprinkles (small discs) are another good choice for internal mixing, as they also hold up well. I do **not** recommend using nonpareils (the tiny round balls) in the batter, as they tend to bleed their colors and can tint your cake batter an undesirable shade. Save them for external decoration!
- **Pan Size Flexibility:** While the recipe specifies three 7-inch round pans, you can also bake this as a 2-layer cake in 8-inch or 9-inch round cake pans. If adjusting pan sizes, closely monitor the bake time and use the toothpick method to check for doneness, as baking times will vary.
- **Storing Your Funfetti Cake:** Store your finished Funfetti cake, covered with an airtight lid (a cake carrier works perfectly), in the refrigerator for up to 5 days. Once cut, always cover the exposed surfaces with plastic wrap to prevent the cake from drying out.
Instructions
Making the Cake Layers
-
Preheat the oven to 325°F (160°C). Spray three 7” round cake pans with non-stick baking spray and line the bottoms with parchment paper.
-
In a large mixing bowl, beat softened butter and granulated sugar until light and creamy with a hand mixer (or stand mixer with paddle attachment).
-
Add one large egg at a time, beating well after each addition until fully incorporated.
-
Add vanilla extract, almond extract, and vegetable oil and beat until well combined.
-
In a separate bowl, whisk together the flour, baking powder, and salt.
-
Add half of the dry flour mixture to the butter mixture and beat on low speed until just combined. Add half of the milk, then the remaining flour mixture, then the rest of the milk. Beat only until fully combined, avoiding overmixing.
-
Gently fold in 1⁄2 cup of rainbow Jimmies with a spatula until evenly distributed.
-
Divide the batter evenly between the three prepared cake pans.
-
Bake for 35-40 minutes, or until a toothpick inserted into the center comes out with just a few moist crumbs.
-
Cool cakes on a wire cooling rack for 10-15 minutes in their pans, then turn them out from the pans and cool completely on the rack.
Making the Buttercream Frosting
-
To make the frosting in a standing mixer (or with a hand mixer), beat the softened butter on high speed until it’s lightened in color and very fluffy (about 3-5 minutes).
-
Gradually add the powdered sugar, one cup at a time, on low speed until fully incorporated. Increase speed and beat until smooth.
-
Beat in the vanilla and almond extracts. With the mixer running on low, slowly pour in the heavy cream until the frosting becomes light, fluffy, and reaches your desired spreading consistency.
-
If you’d like to create a funfetti filling, set aside about 1 cup of frosting and mix in 2 tablespoons of rainbow sprinkles.
Assembling and Decorating the Cake
-
Place the first fully cooled cake layer on a cake stand or platter. Add about 1⁄2 cup of frosting (or your funfetti filling) to the top and spread it evenly to the edges.
-
Stack the second cake layer on top and add another layer of frosting. Top with the third cake layer, ensuring it’s centered.
-
Frost the entire cake (top and sides) with the remaining buttercream. Decorate as desired; we piped a few swirls on top and added sprinkles to the piped areas and around the bottom perimeter.
Nutrition Information
The recipes on this blog are tested with a conventional gas oven and gas stovetop. It’s important to note that some ovens, especially as they age, can cook and bake inconsistently. Using an inexpensive oven thermometer can assure you that your oven is truly heating to the proper temperature. If you use a toaster oven or countertop oven, please keep in mind that they may not distribute heat the same as a conventional full sized oven and you may need to adjust your cooking/baking times. In the case of recipes made with a pressure cooker, air fryer, slow cooker, or other appliance, a link to the appliances we use is listed within each respective recipe. For baking recipes where measurements are given by weight, please note that results may not be the same if cups are used instead, and we can’t guarantee success with that method.
