Mastering Stovetop Rice: Two Foolproof Methods for Perfectly Fluffy Grains
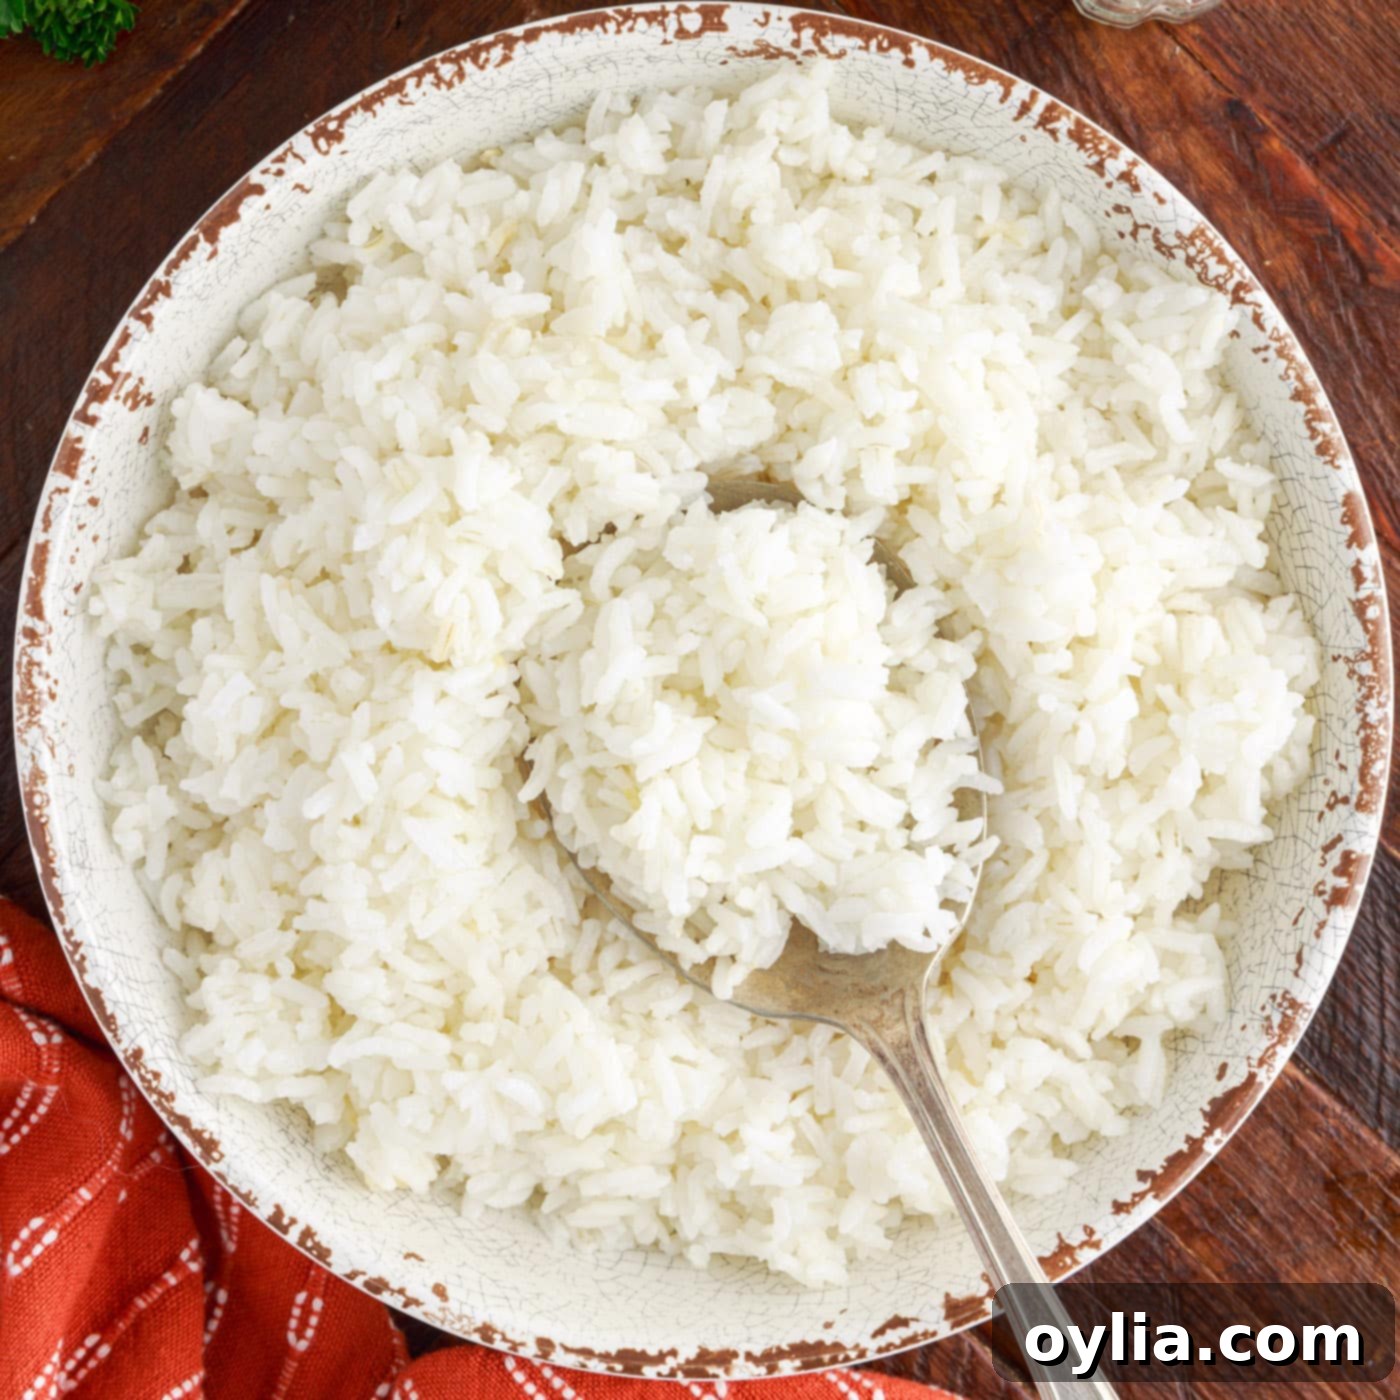
Achieving perfectly cooked rice on the stovetop might seem like a culinary challenge for many, often resulting in sticky, mushy, or burnt grains. But what if we told you it’s incredibly simple? This comprehensive guide will teach you how to make impeccable long-grain white rice using two easy, foolproof methods: the classic **Steaming Method** and the innovative **Pasta Method**. With our expert tips and tricks, you’ll be a pro rice maker in no time, all without the need for expensive gadgets or specialized equipment. Get ready to elevate your home cooking with consistently fluffy, separate grains that are never sticky or scorched, providing the perfect foundation for any meal.
Why These Stovetop Rice Methods Work So Well
Many home cooks struggle with consistently perfect rice, often due to incorrect water ratios, improper heat management, or insufficient resting time. Our two chosen methods, the Steaming Method and the Pasta Method, directly address these common pitfalls, ensuring a flawless result every time. They are designed for reliability and ease, making them suitable for beginners and experienced cooks alike.
With both approaches, you’ll produce beautifully fluffy, distinct grains of rice that are never sticky, mushy, or burnt to the bottom of the pan. The choice between them ultimately comes down to your preference and what best suits your cooking style and the specific meal you’re preparing. Regardless of which method you choose, the outcome will be a foundational component for a myriad of delicious dishes. You’ll learn the secrets to truly perfect stovetop rice.
Having a solid, go-to recipe for white rice is incredibly valuable in any kitchen. This versatile grain effortlessly complements a wide array of main courses, from savory Honey Walnut Shrimp and succulent Garlic Chicken to hearty stews and vibrant stir-fries. Mastering stovetop rice opens up a world of culinary possibilities, making your meal preparations smoother and your dining experiences more enjoyable. It’s truly a staple that pairs with a plethora of different cuisines and flavor profiles, from Asian and Mexican to classic American comfort food.
Essential Ingredients for Perfect Stovetop Rice
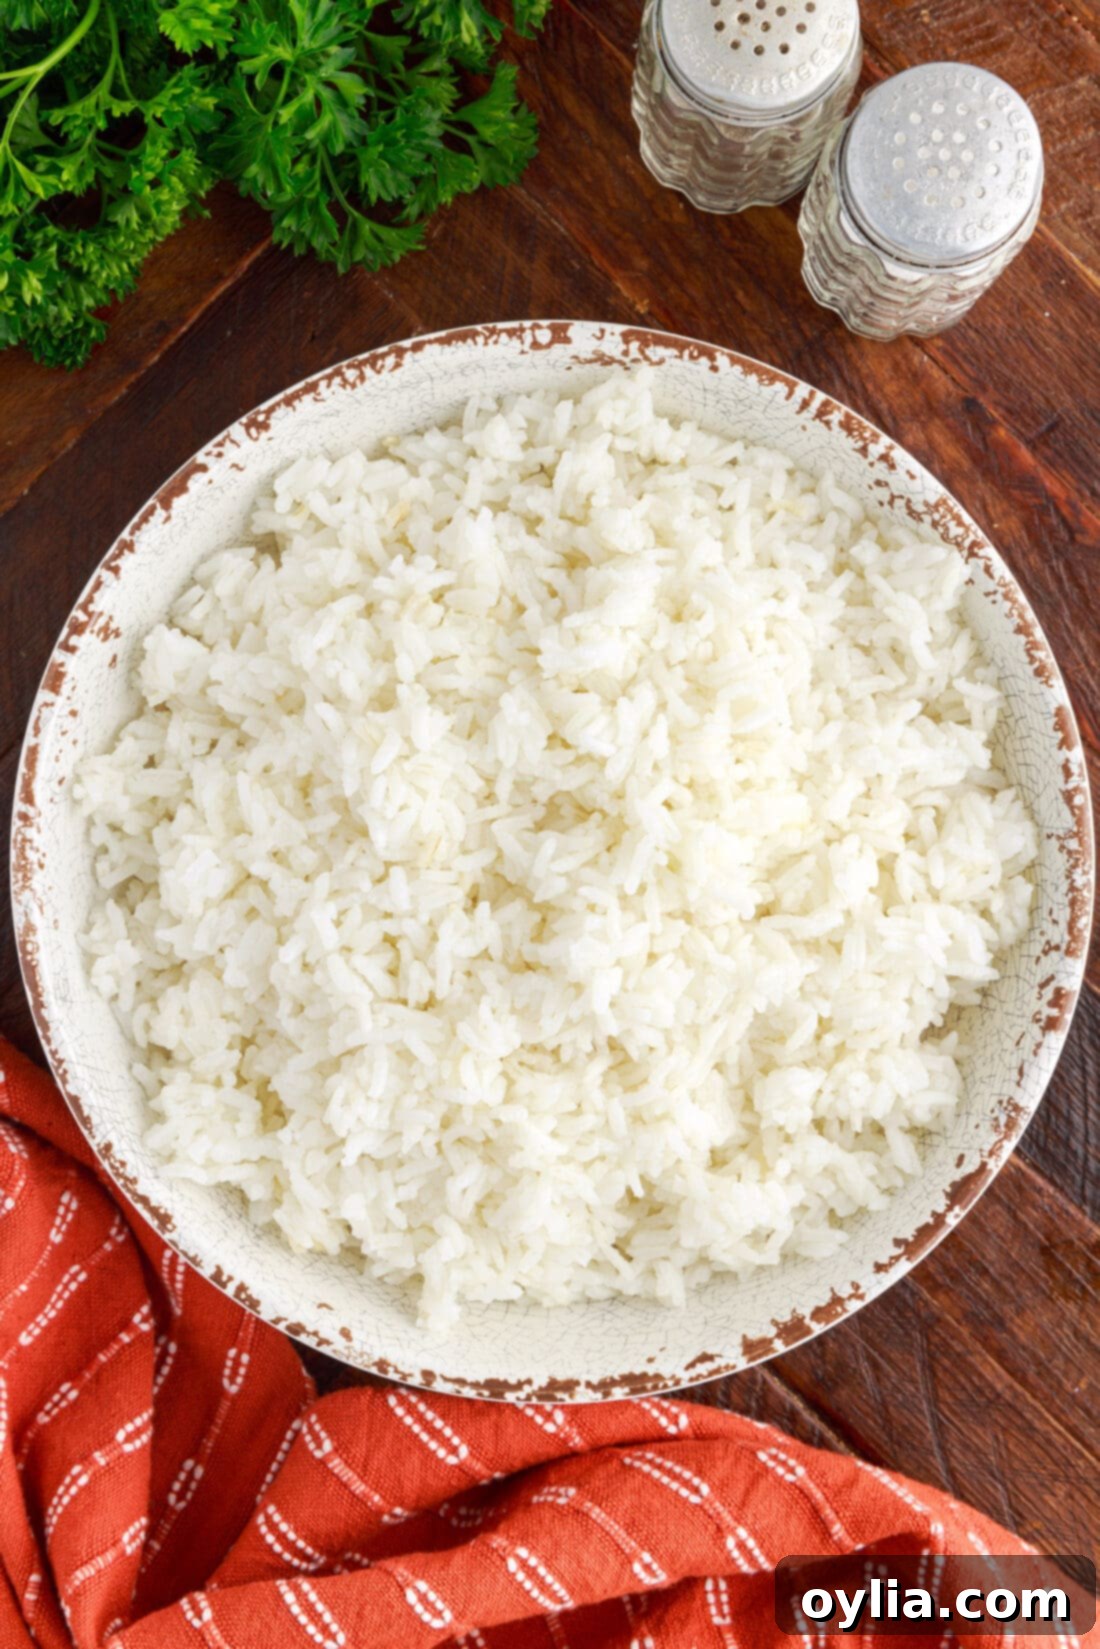
To embark on your journey to perfect stovetop rice, you’ll only need a few basic, readily available ingredients. These staples, when combined with the right technique, transform into a versatile and delicious foundation for countless meals. You can find all specific measurements, detailed ingredients, and step-by-step instructions in the comprehensive, printable recipe card located at the end of this post. For now, here’s a quick overview of what you’ll need:
- **Long-Grain White Rice:** The star of our show, providing distinct, fluffy grains.
- **Water (or Broth):** The primary liquid for cooking.
- **Salt:** A simple yet crucial seasoning to enhance flavor.
- **Butter (optional):** For added richness, shine, and a little extra flavor.
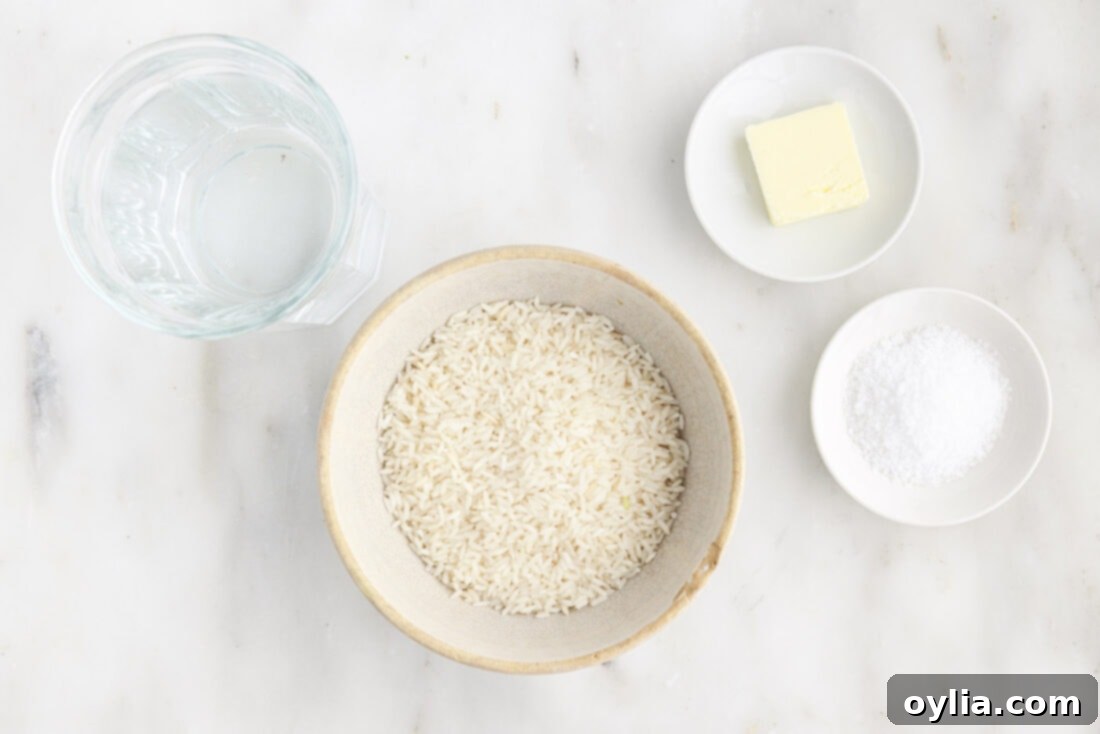
Ingredient Information & Expert Substitution Suggestions
Understanding your ingredients is key to successful cooking. Here’s a deeper dive into what you’ll be using and how you can adapt the recipe to your needs for the best stovetop rice.
RICE – This recipe has been specifically developed and tested for **long-grain white rice**, such as Basmati or Jasmine. These varieties are highly recommended for their distinct, fluffy grains when cooked, making them ideal for the methods outlined here. It is important to note that the water amounts and cook times will vary significantly for other varieties of rice due to their different starch content and structural properties, including:
- **Medium or Short-Grain White Rice:** These varieties, like Arborio or sushi rice, have a higher starch content and tend to be stickier, requiring different cooking ratios.
- **Brown Rice:** This whole grain retains its bran layer, necessitating much more water and a significantly longer cooking time.
- **Wild Rice:** Botanically a grass, not a true rice, wild rice has unique cooking requirements that differ greatly from white rice.
While you can certainly explore cooking these other types, always adjust water ratios and cooking times accordingly, often consulting the package instructions for guidance. For consistent, foolproof results with *this* particular guide, stick to long-grain white rice.
WATER (or Broth) – Plain water works perfectly for cooking rice, allowing its natural flavor to shine. However, for an added layer of depth and savory flavor, especially when serving rice as a prominent side dish, consider substituting water with low-sodium chicken broth, vegetable broth, or even beef broth. This simple swap can significantly enhance the richness of your rice, turning a simple side into a more flavorful component of your meal.
SALT – A pinch of salt is crucial not just for taste, but also because it helps to balance the starchiness of the rice, making it more palatable. You can adjust the amount to your personal preference, but do not skip it entirely as it really brings out the best in the grains.
BUTTER (or Oil) – Adding butter, particularly salted butter, introduces a wonderful richness and a subtle glossy sheen to the cooked rice. It also helps prevent the grains from sticking together and contributes to that beautifully separated, fluffy texture. If you prefer, or if you’re looking for a dairy-free option, you can easily use a neutral cooking oil like olive oil, avocado oil, or vegetable oil. For an aromatic, Asian-inspired touch, a tiny drizzle of sesame oil tossed in at the very end can be transformative.
How to Make Rice on the Stovetop: Step-by-Step Guide
These step-by-step photos and detailed instructions are provided to help you visualize how to make this recipe perfectly. For a concise, printable version of this recipe, complete with exact measurements and instructions, you can Jump to the Recipe Card at the bottom of this post.
Method 1: The Steaming Method for Classic, Fluffy Rice
The steaming method is the most traditional way to cook rice, relying on precise water absorption and a gentle, controlled steaming process to yield tender, separate grains. It requires a bit more attention to water ratios and heat management but delivers consistently excellent results that many consider the benchmark for perfectly cooked rice.
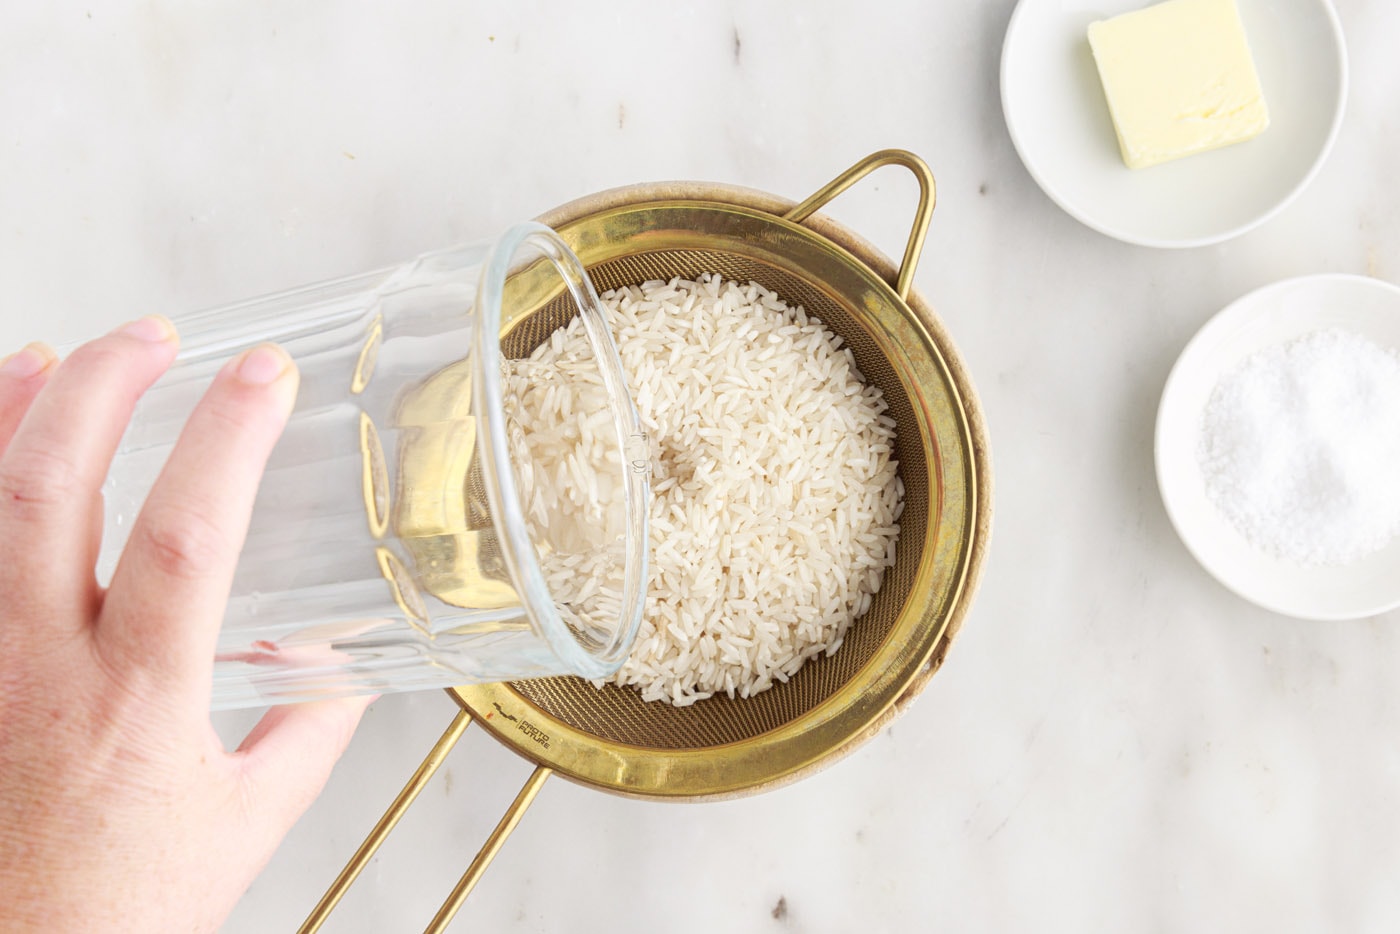
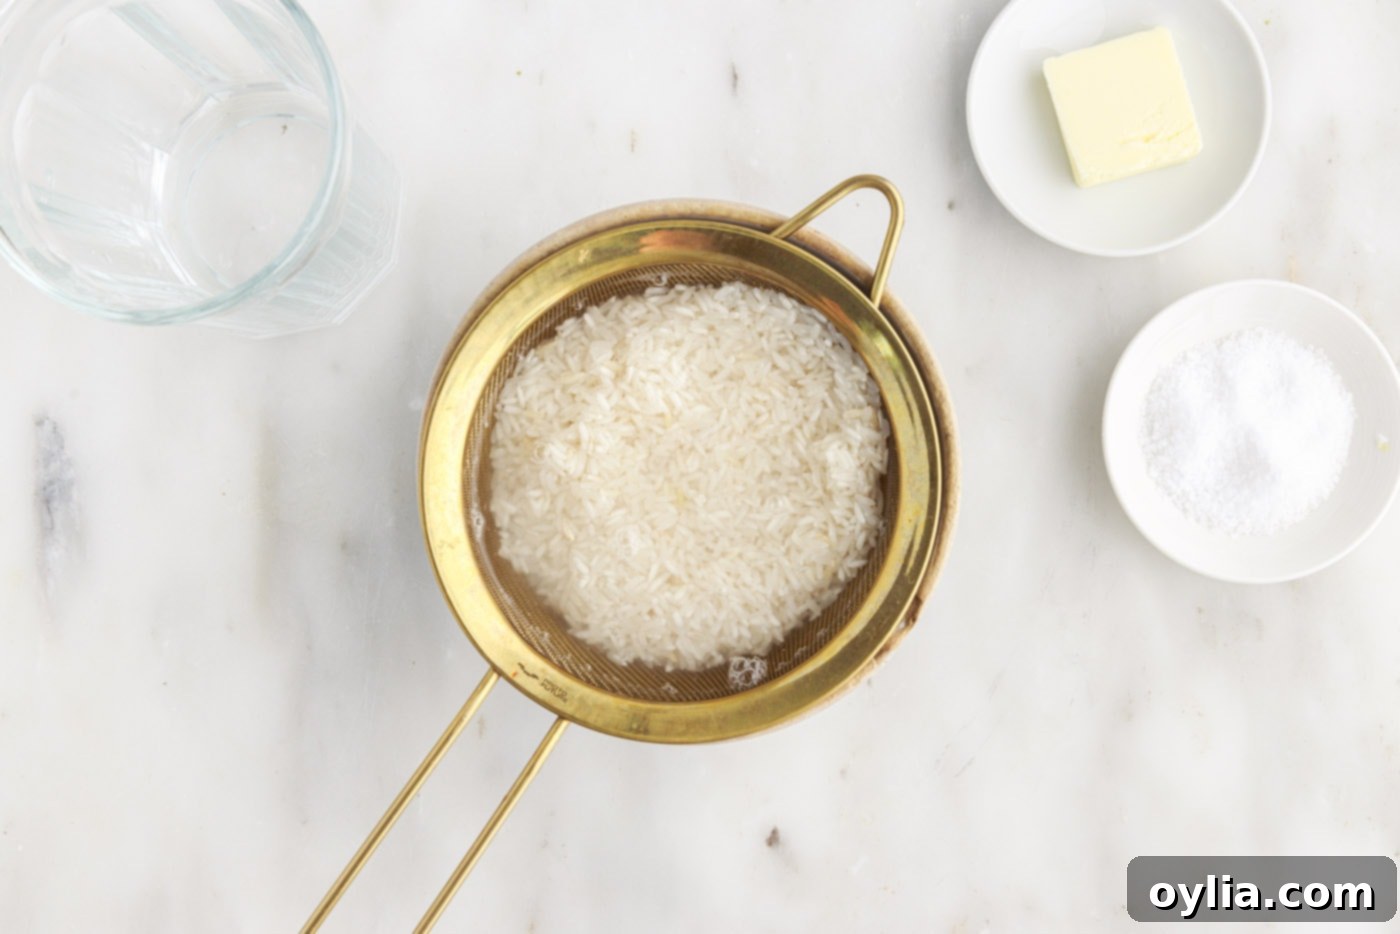
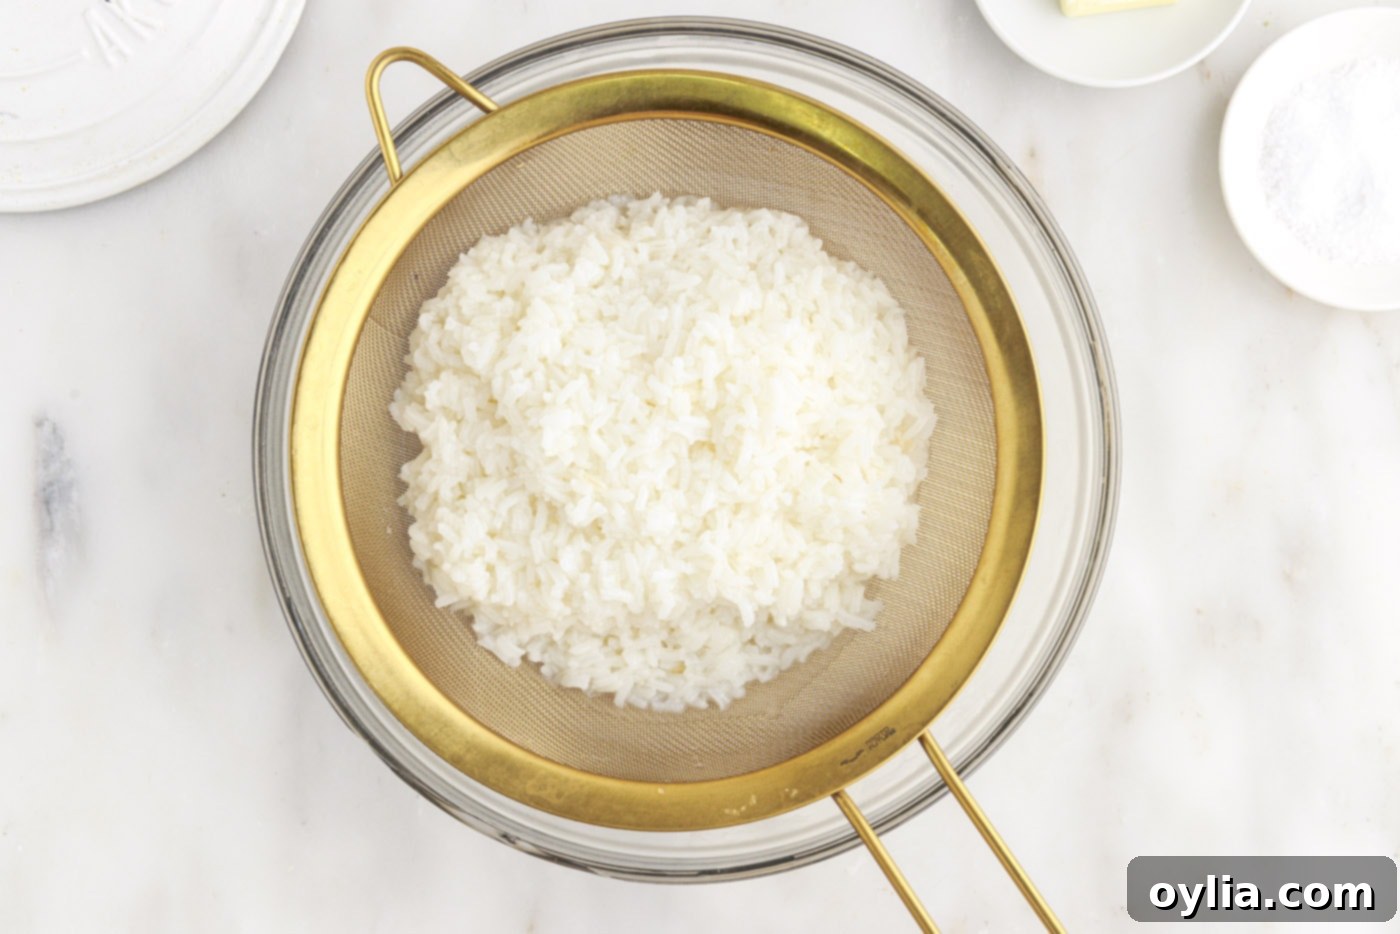
- **Rinse the Rice Thoroughly:** This is a crucial first step for the steaming method to achieve truly fluffy, non-sticky rice! Place your long-grain white rice in a fine-mesh sieve and rinse it under cold, running water. Gently agitate the rice with your fingers or a spoon. Continue this process until the water draining from the sieve runs completely clear. This action removes excess surface starch from the rice grains, which is the primary cause of clumping and stickiness. Ensure the rice is very well-drained after rinsing.


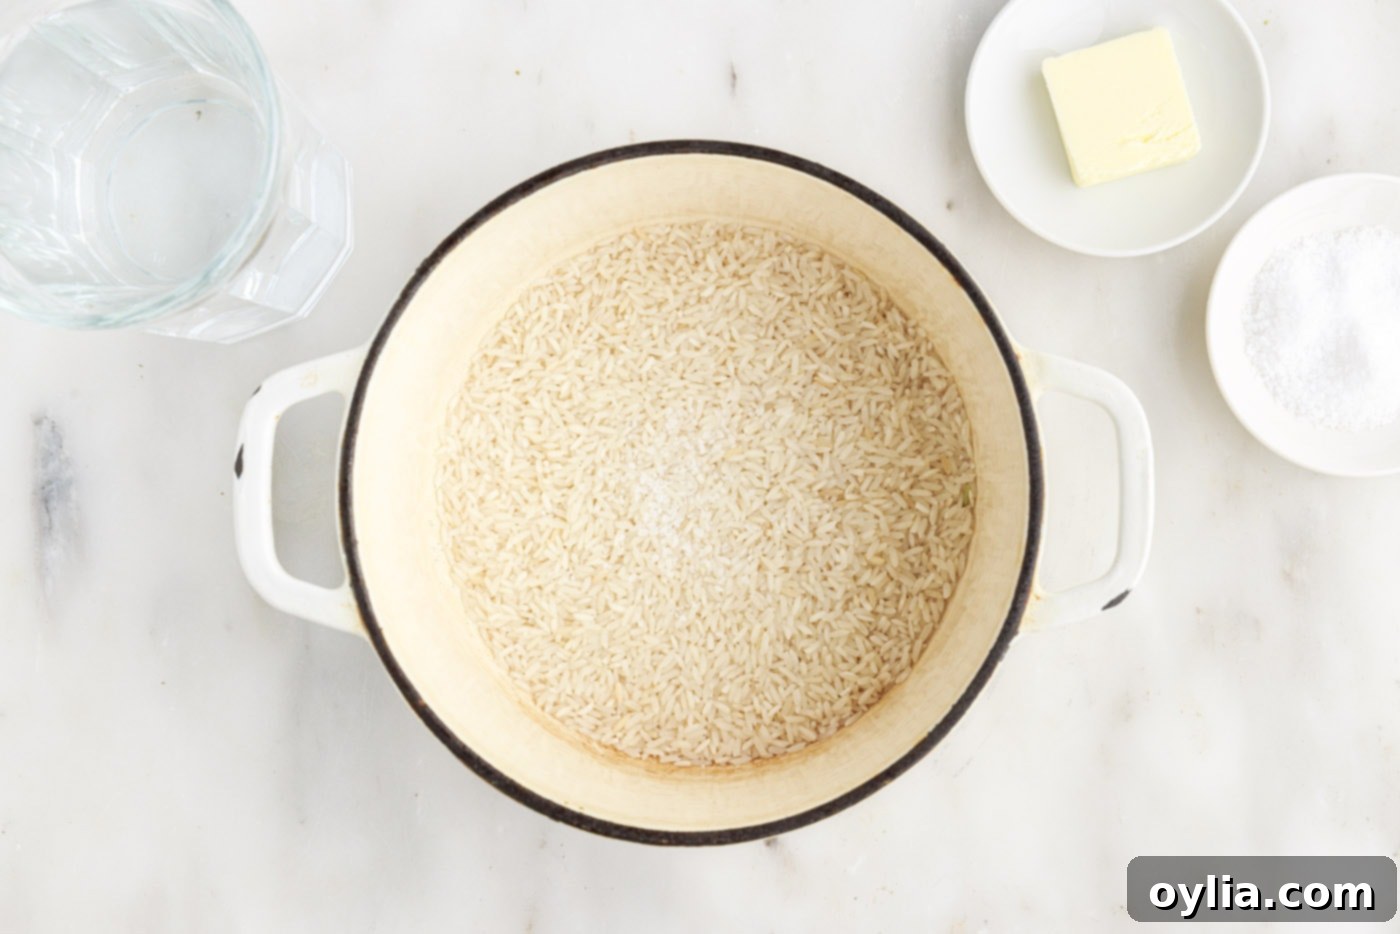
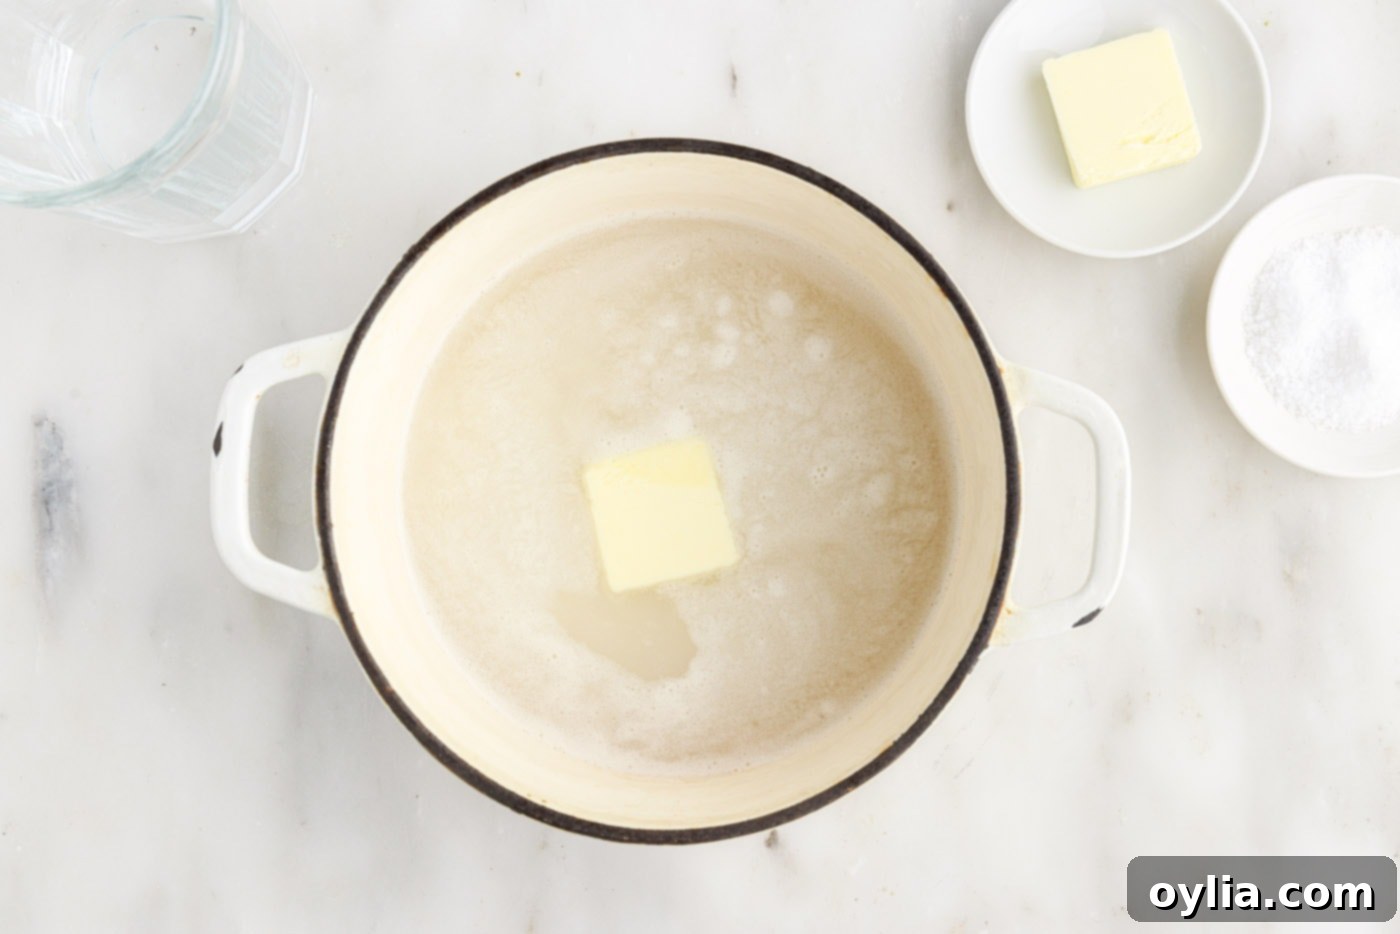
- **Combine Ingredients in a Saucepan:** Transfer the rinsed and thoroughly drained rice to a medium, heavy-bottomed saucepan. Add the measured water (or broth), a pinch of salt, and a tablespoon of butter (if using). A heavy-bottomed pot is essential here as it helps distribute heat evenly and significantly reduces the risk of scorching. Ensure your pot is large enough to comfortably accommodate the rice as it will roughly triple in volume during cooking.


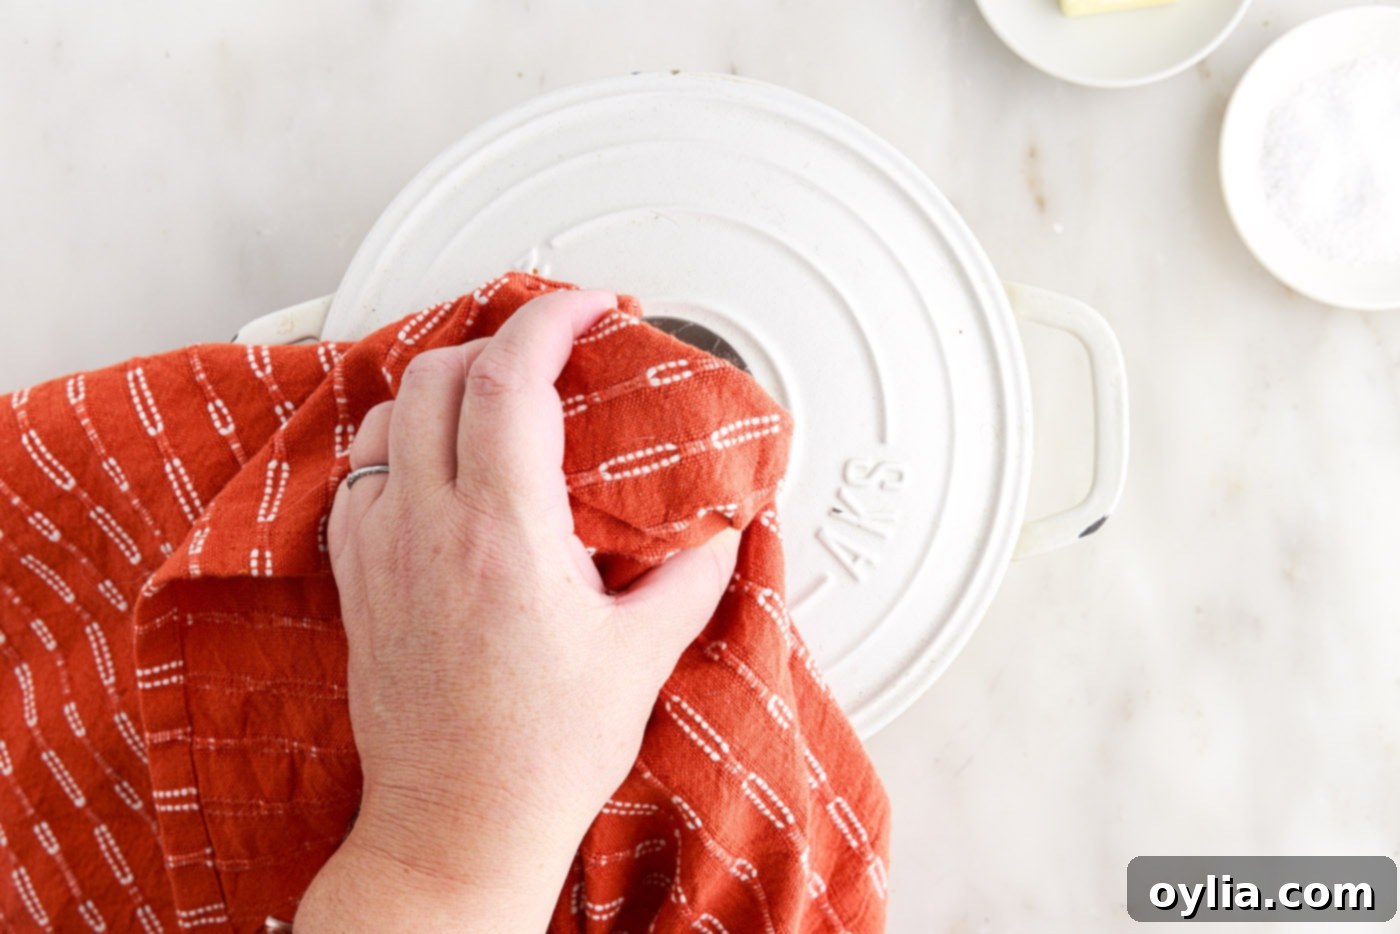
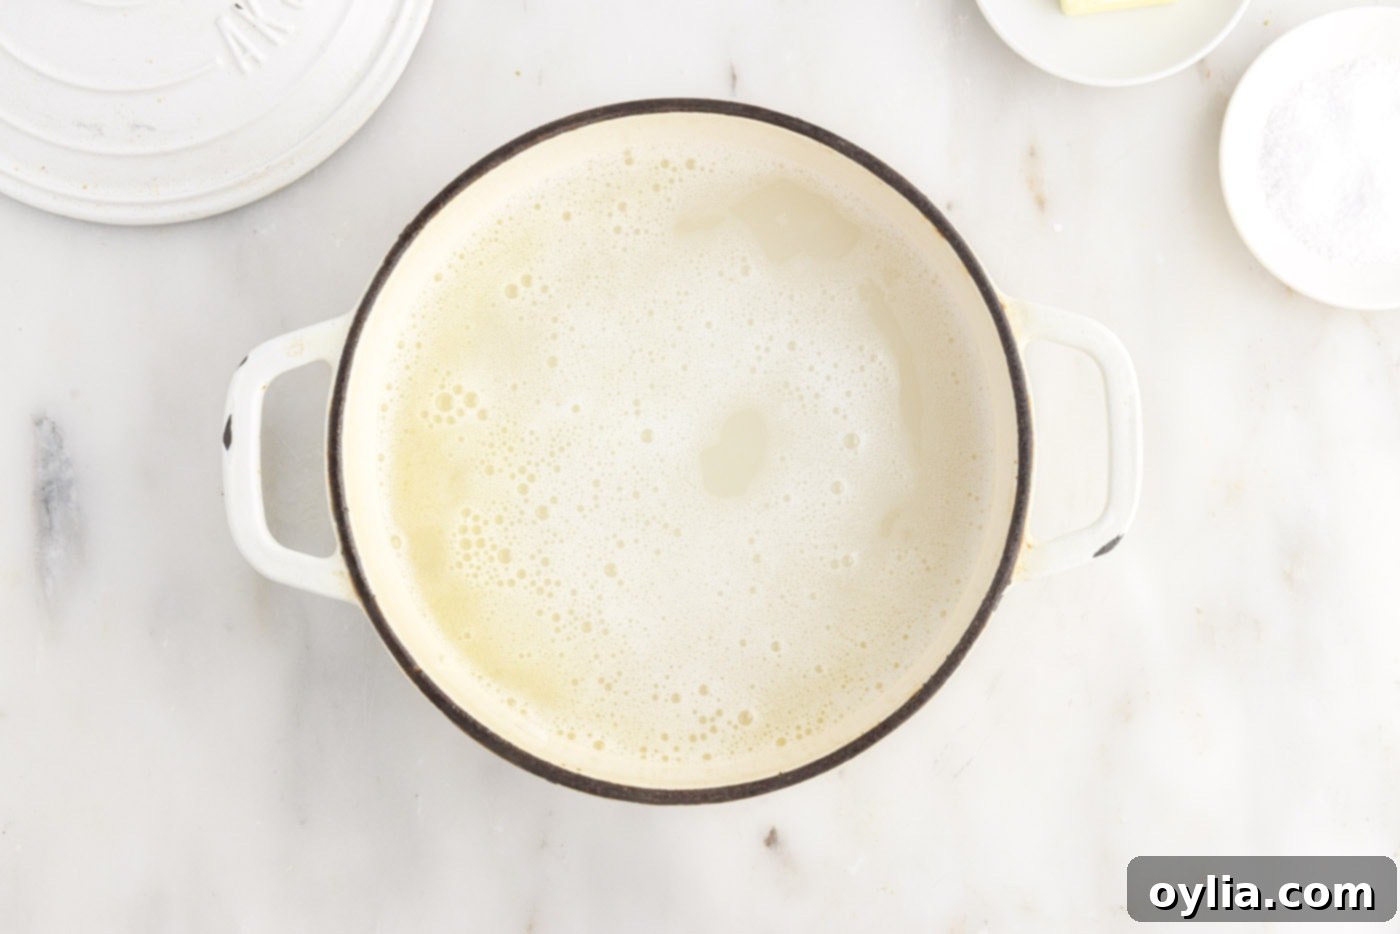
- **Bring to a Boil, Then Simmer:** Place the saucepan over high heat and bring the rice and water to a gentle boil. As soon as you see small bubbles consistently breaking the surface, indicating a boil, immediately reduce the heat to the absolute lowest setting your stove offers. This is critical for preventing the rice from burning. Promptly place a tight-fitting lid on the pot. It is paramount to avoid lifting the lid during the simmering process, as this releases valuable steam that is essential for cooking the rice evenly and thoroughly.

- **Simmer & Check for Absorption:** Allow the rice to simmer undisturbed over the lowest heat for 15 minutes. This gentle cooking ensures the water is fully absorbed into the grains. After 15 minutes, briefly lift the lid to check if all the liquid has been absorbed. You should see tiny “craters” or steam vents on the surface of the rice, and no visible water pooling. If there’s still visible liquid, quickly replace the lid and simmer for an additional minute or two until the water is fully absorbed and the rice appears tender. Be mindful that cook time can vary slightly depending on your specific stove and the thickness of your pan.
- **Rest for Perfect Fluffiness:** Once the liquid is absorbed and the rice is tender, turn off the heat completely. Keep the lid firmly on the pot and let the rice rest for an additional 10 minutes. This resting period is an absolutely critical step. It allows the trapped steam to evenly redistribute throughout the grains, enabling them to firm up, separate, and become perfectly fluffy and distinct. Do not skip this step – patience is key for optimal texture!
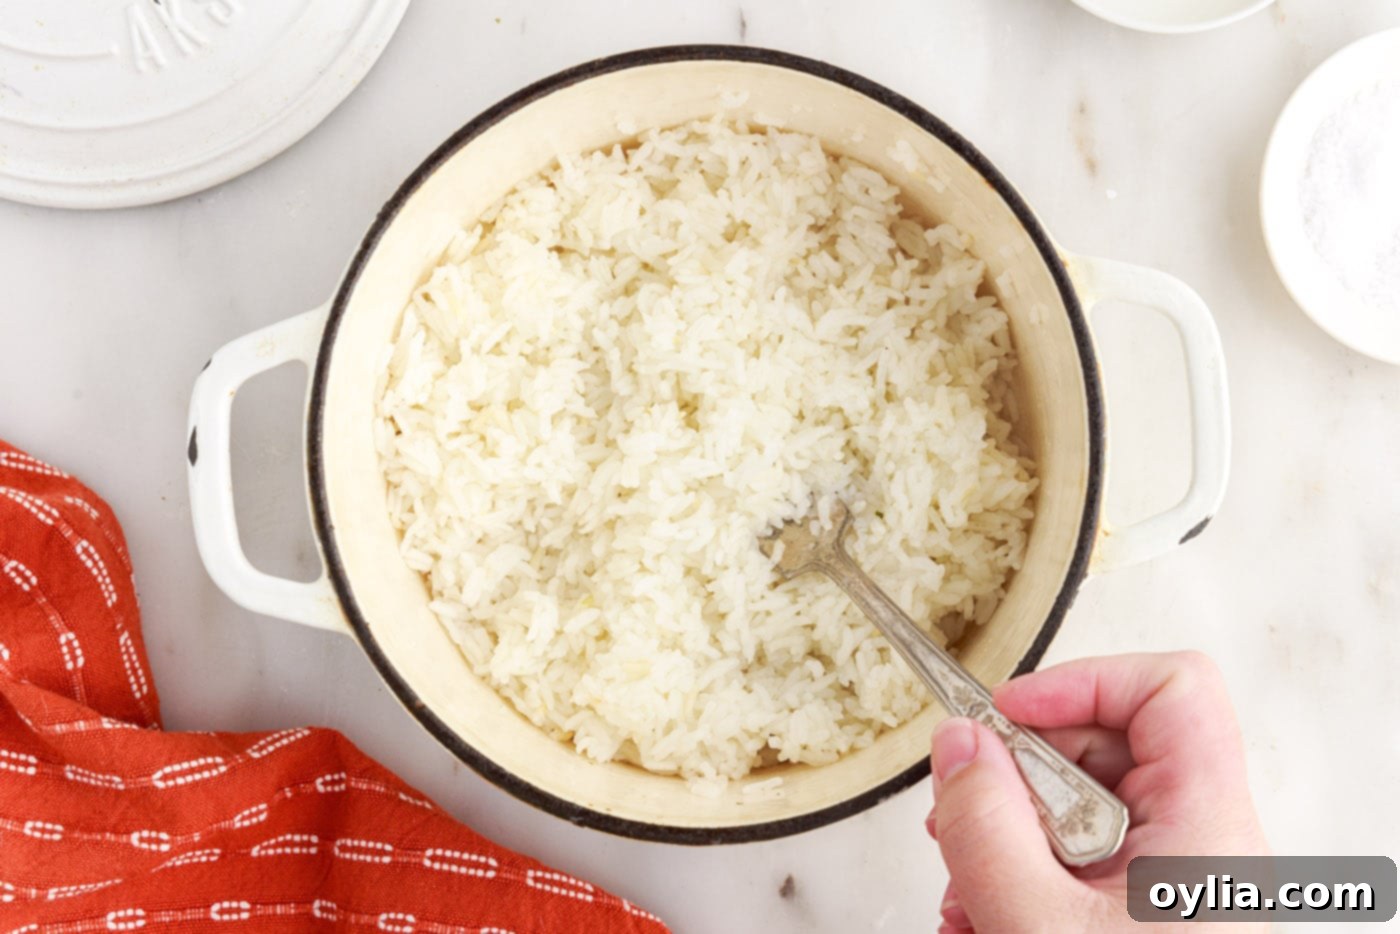
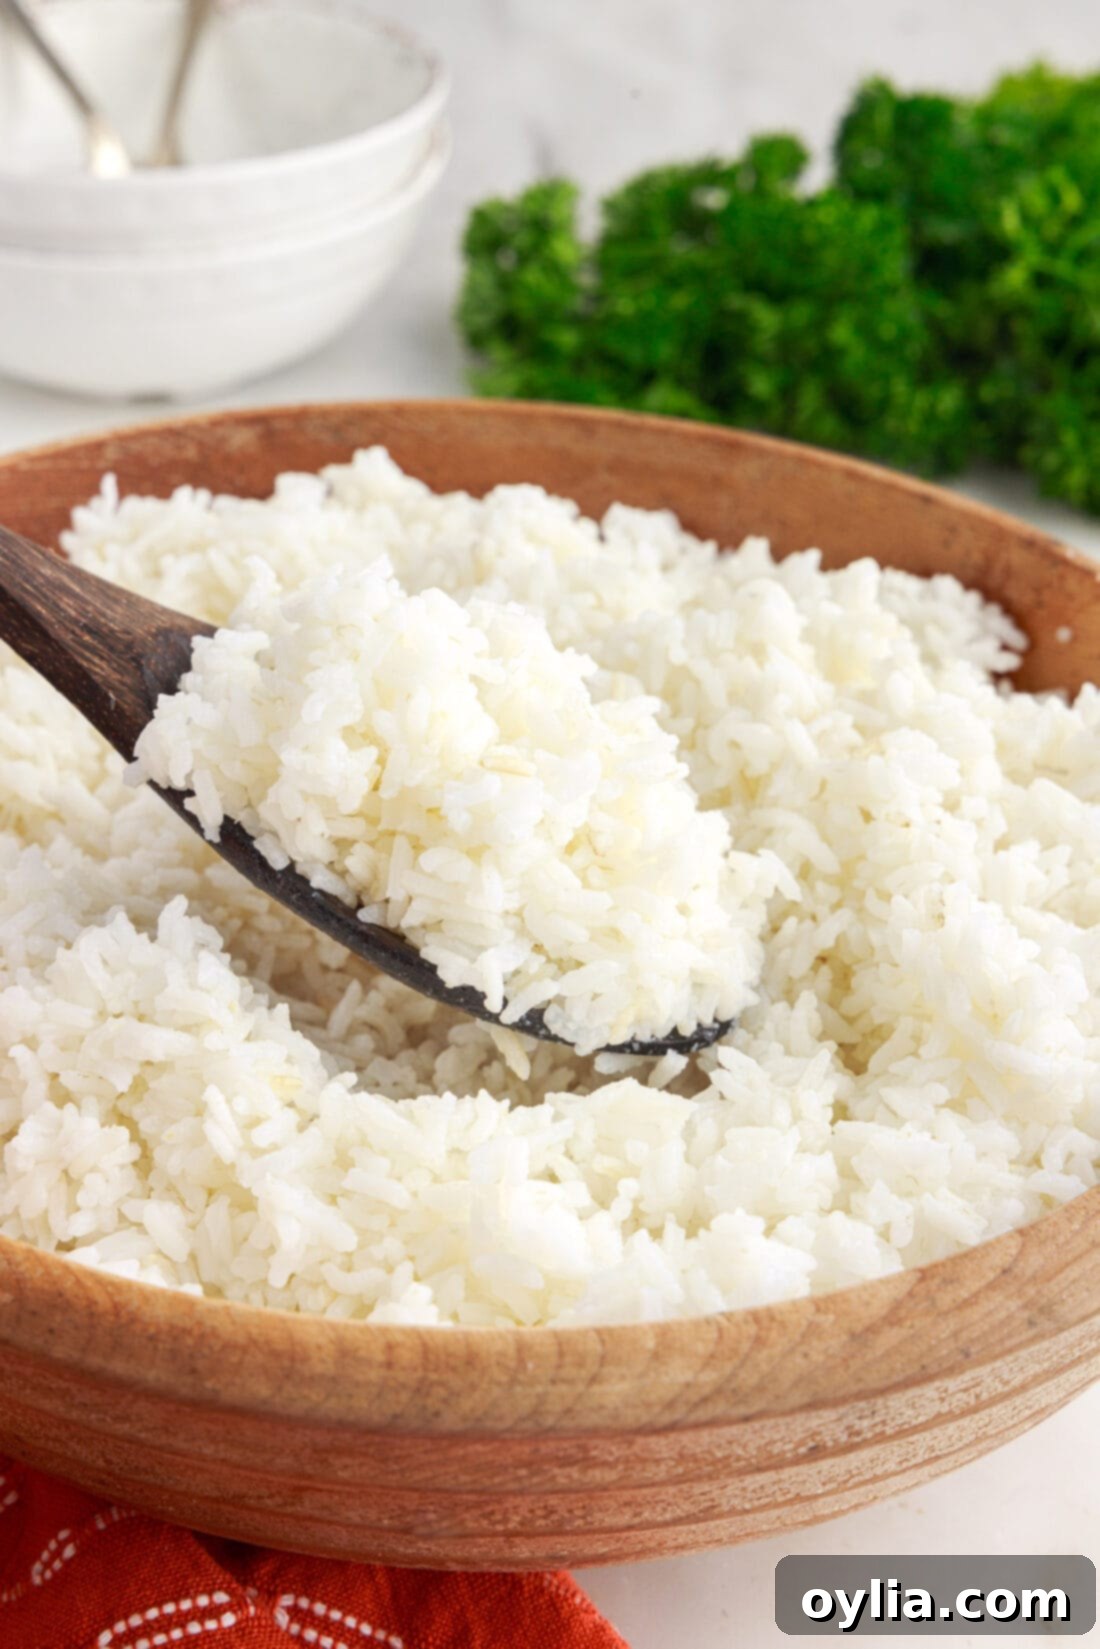
- **Fluff and Serve:** Remove the lid and use a fork to gently fluff the rice. This action separates the individual grains and releases any remaining steam, which prevents sogginess and creates that desirable light, airy texture. Your perfectly cooked, fluffy stovetop rice is now ready to serve immediately alongside your favorite main courses or as a delightful side dish!

Method 2: The Pasta Method for Easy, Loose Rice
The “Pasta Method” for cooking rice is a true game-changer for those who find the traditional steaming method intimidating or who prefer an extra loose, non-sticky grain. It’s incredibly forgiving, doesn’t require precise water measurements, and consistently delivers beautifully separated rice. Think of it exactly like cooking pasta: you boil it in abundant water until tender, then simply drain it.
- **Prepare Rice for Boiling:** Place your long-grain white rice and a pinch of salt in a large saucepan or pot. Unlike the steaming method, pre-rinsing is entirely optional here, as any excess starch will be thoroughly rinsed away after cooking. Add a generous amount of cold water to cover the rice by at least 2-3 inches. You are NOT measuring the water precisely with this method; the key is to ensure there’s plenty of water for the rice to boil freely, similar to cooking pasta.

- **Boil the Rice:** Place the pot over medium-high heat and bring the rice and water to a rapid, rolling boil. Once it reaches a vigorous boil, set a timer for 15 minutes. You can stir occasionally to prevent any grains from sticking to the bottom, but generally, let it boil freely without a lid. If the water level drops too much, you can add more hot water to ensure the rice remains submerged.
- **Check for Doneness:** After the 15 minutes of boiling, taste a few grains of rice to ensure it is cooked through and tender to your liking. It should be pleasantly al dente – cooked through but still retaining a slight bite, not mushy. If it’s still too firm, continue boiling for another minute or two, checking frequently until desired tenderness is reached.
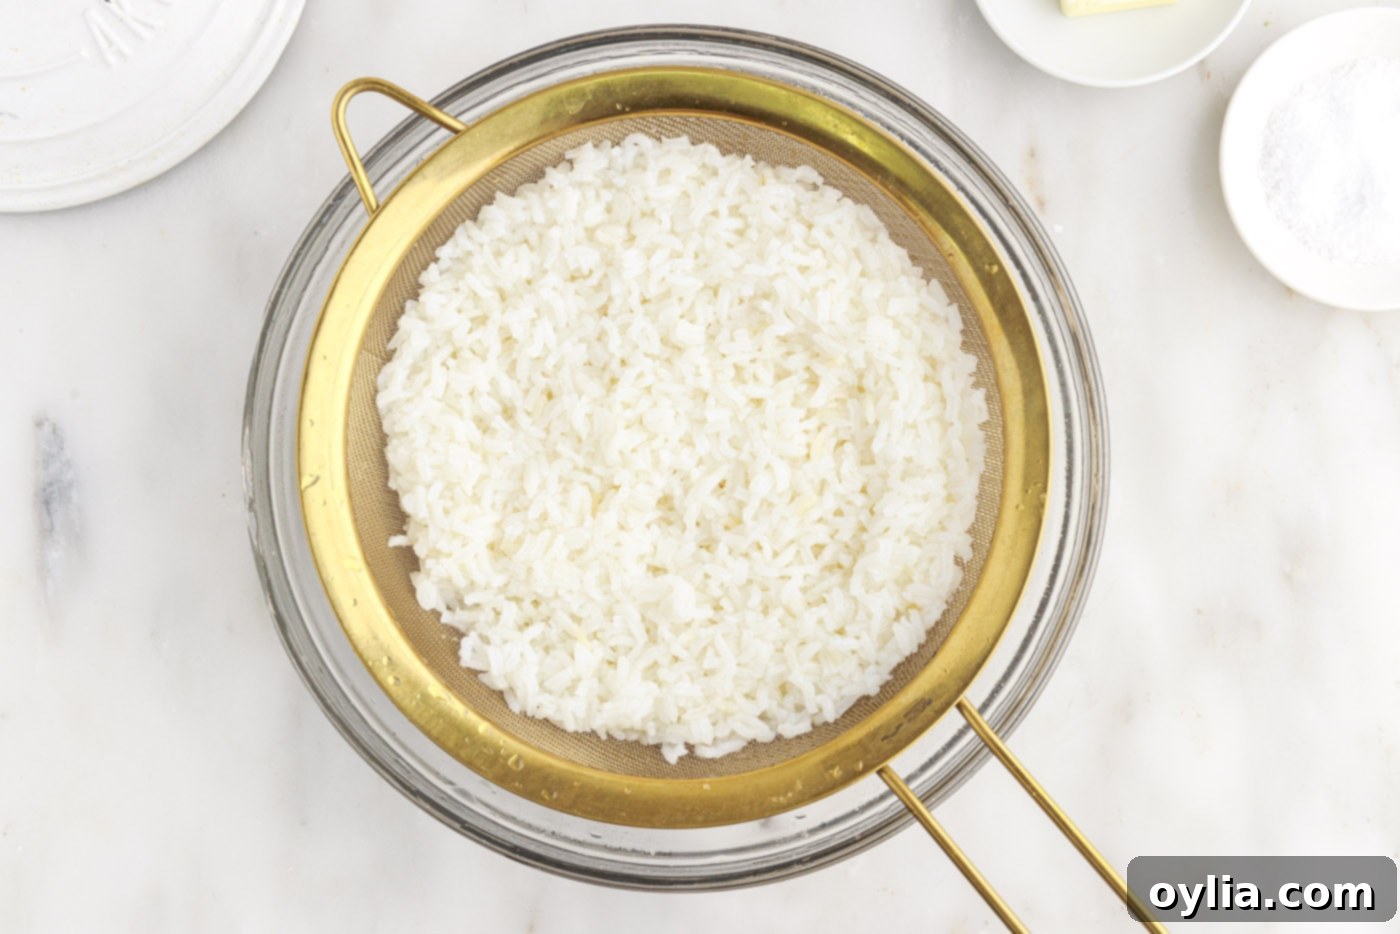
- **Drain and Rinse:** Carefully pour the rice and water through a fine-mesh sieve set over the sink to thoroughly drain all the excess water. Immediately after draining, rinse the cooked rice under cold, running water. This step is critical for removing any remaining surface starch, ensuring your rice is incredibly loose, separate, and never sticky. Drain completely, shaking the sieve vigorously to remove as much water as possible.


- **Season and Serve:** Return the drained rice to the empty, warm saucepan (or transfer to a clean serving bowl). Immediately season with butter, additional salt if desired, or any other flavorings you’d like. Fluff with a fork and serve hot. This method is incredibly versatile for meal prep or for rice that needs to be extra loose, such as for stir-fries or fried rice.
Frequently Asked Questions & Expert Tips for Stovetop Rice
Proper storage is essential for safety and freshness. After cooking, cool any leftover rice quickly (within one hour) and store it in an airtight container in the refrigerator for up to 4-5 days. For longer storage, you can freeze it for up to 3 months. When reheating, ensure it’s piping hot throughout to eliminate any potential bacteria, as rice can harbor spores that multiply at room temperature.
Yes, for the **Steaming Method**, rinsing rice beforehand is highly recommended and makes a significant difference. During our testing, pre-rinsed rice was noticeably fluffier, cooked more evenly, and was significantly less sticky than unrinsed rice. Rinsing removes excess surface starch that can lead to clumping and gummy texture. It’s a small step that yields big results!
For the **Pasta Method**, pre-rinsing isn’t strictly necessary before cooking. Because you’re boiling the rice in a large volume of water and then draining and rinsing it extensively after cooking, the excess starch is naturally washed away during and after the boiling process. However, rinsing before can still be beneficial for extra clean grains and certainly won’t hurt the outcome.
Absolutely! Swapping water for low-sodium chicken broth, vegetable broth, or even beef broth is an excellent way to infuse your rice with more flavor and aroma. This is particularly delicious when the rice is served as a primary side dish and you want to complement your main course. Just be mindful of the sodium content in your chosen broth and adjust any additional salt accordingly to avoid over-seasoning.
A heavy-bottomed saucepan with a tight-fitting lid is ideal for both methods. The heavy bottom helps to distribute heat evenly across the base, preventing the rice from scorching or sticking to the bottom, especially crucial with the steaming method. The tight-fitting lid is absolutely essential for the steaming method to trap moisture and create an optimal steaming environment for proper grain expansion. For the pasta method, a slightly larger pot is generally better to allow the rice to boil freely without overflowing.
Preventing rice from sticking is a common concern. Here are several effective strategies:
- **Thorough Rinsing (Steaming Method):** As mentioned, removing excess starch significantly reduces stickiness.
- **Correct Water Ratio (Steaming Method):** Too little water can cause grains to stick and burn. Follow the precise ratio.
- **Low Heat (Steaming Method):** After reaching a boil, reduce the heat to the absolute lowest setting to gently cook the rice without harsh scorching.
- **The Essential Resting Period:** Do not skip the resting step after cooking. This allows moisture to redistribute, firming up the grains and making them less prone to sticking to the bottom or each other.
- **Use a Quality Pot:** A heavy-bottomed saucepan provides more even heat distribution.
- **Add a Touch of Fat:** A tablespoon of butter or neutral oil can create a thin barrier, further reducing sticking.
Yes, both methods are easily scalable to fit your needs, but with slightly different considerations:
- **Steaming Method:** You can confidently double or halve the recipe, maintaining the recommended 1:1.5 rice to water ratio (e.g., 2 cups rice to 3 cups water). For very large batches (e.g., more than 3-4 cups of dry rice), you might need a significantly larger pot to allow for expansion and potentially a minute or two more simmering time, but generally, the ratio remains constant.
- **Pasta Method:** This method is incredibly forgiving with quantities. You simply need enough water to generously cover the rice by a few inches, regardless of how much rice you’re cooking. The boiling time will remain roughly the same, as you’re cooking to tenderness rather than complete absorption.
Beyond salt and butter, there are many ways to flavor your rice:
- **Aromatic Vegetables:** Sauté a bit of minced garlic or finely diced onion in butter or oil before adding the rice and water.
- **Herbs:** Stir in fresh chopped cilantro, parsley, chives, or a sprig of rosemary or thyme during the last few minutes of steaming or after fluffing.
- **Citrus:** A squeeze of lemon or lime juice and a sprinkle of zest at the end can brighten the flavor considerably.
- **Spices:** Add a pinch of turmeric for color and earthy notes, a dash of cumin for a Mexican touch, or a touch of bay leaf during cooking for subtle aroma.
- **Toasted Nuts or Seeds:** Gently toast some slivered almonds, pine nuts, or sesame seeds in a dry pan and sprinkle over the finished rice for added texture and nutty flavor.
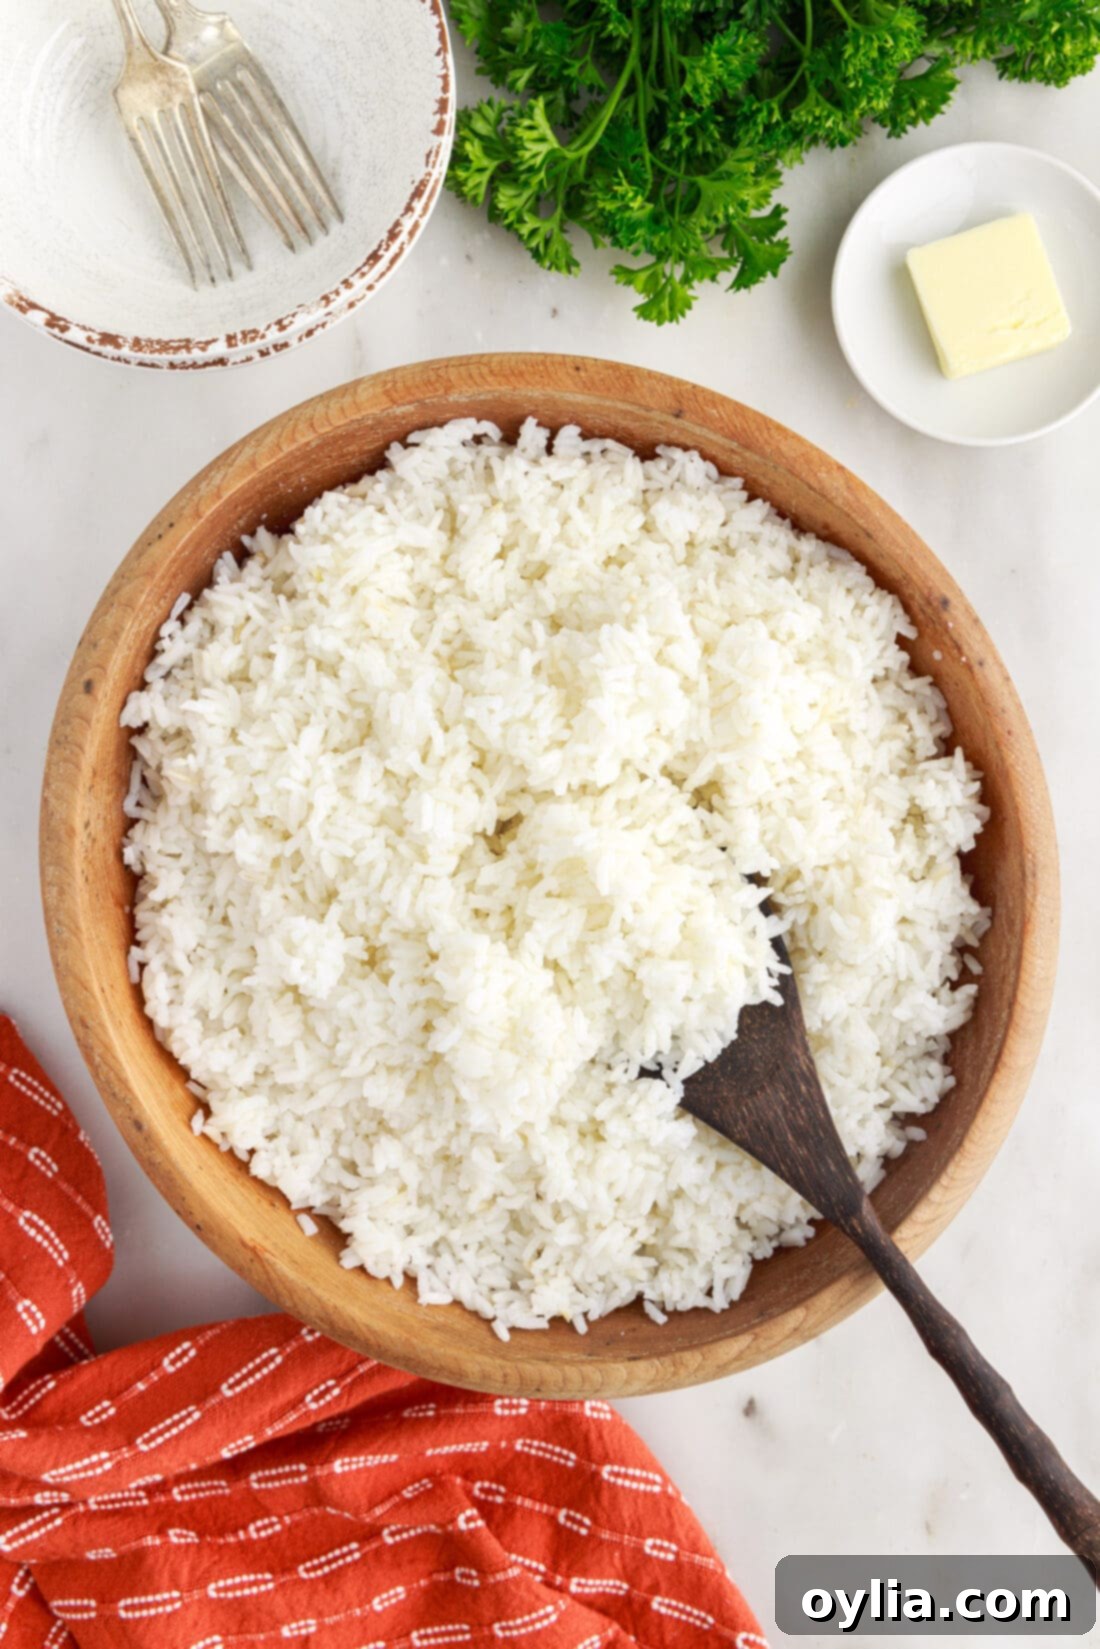
Serving Suggestions for Your Perfectly Cooked Rice
Perfectly cooked rice is more than just a side dish; it’s a versatile culinary canvas! Its neutral flavor and comforting texture make it an ideal accompaniment for an endless variety of meals across different cuisines. Serve your fluffy stovetop rice with classic Asian mains like sticky-sweet General Tso Chicken or tangy Orange Chicken, where it will beautifully soak up all the delicious sauces, adding depth and substance to every bite.
Beyond Asian cuisine, rice is incredibly adaptable. Use it as a hearty, satisfying base for vibrant burrito bowls, nourishing Buddha bowls, or a comforting addition to hearty soups and stews. It also makes a fantastic, satisfying filler for wraps, savory stuffed peppers, and fresh spring or summer rolls. Imagine it alongside savory curries, robust chili, grilled fish, roasted vegetables, or even as a simple, buttered side to any weeknight dinner.
To further enhance your rice and tailor it to your meal, consider these simple additions right before serving:
- **Fresh Herbs:** A generous sprinkle of finely chopped cilantro, parsley, green onions, or chives adds a burst of freshness and color.
- **Citrus Zest & Juice:** A squeeze of lemon or lime juice and a sprinkle of their finely grated zest can brighten the flavor profile considerably, especially with seafood or lighter dishes.
- **Toasted Nuts or Seeds:** For a delightful textural contrast and nutty flavor, gently toast some slivered almonds, cashews, pine nuts, or sesame seeds in a dry pan and sprinkle them over the finished rice.
- **Light Spices:** A dash of garlic powder, onion powder, a tiny pinch of saffron for aroma and color, or even a touch of red pepper flakes for a subtle kick can elevate your rice.
- **Roast Vegetables:** Mix in some finely diced, roasted vegetables like carrots, bell peppers, or corn for added nutrients and sweetness.
We truly hope this detailed tutorial empowers you to confidently cook perfect stovetop rice for any and all dishes you plan on serving it with! Soon enough, you’ll have these fundamental techniques memorized, consistently yielding tender and fluffy white rice every single time you step into the kitchen. Enjoy the journey to becoming a rice master and savor the delicious results!
More Delicious Rice-Inspired Recipes to Explore
Once you’ve mastered plain white rice, expand your culinary repertoire with these flavorful and exciting rice recipes:
- Dirty Rice
- Chicken Fried Rice
- Classic Spanish Rice
- Chicken Broccoli Rice Casserole
- One Pot Vegetable Rice Soup
I love to bake and cook and share my kitchen experience with all of you! Remembering to come back each day can be tough, that’s why I offer a convenient newsletter every time a new recipe posts. Simply subscribe and start receiving your free daily recipes!
How to Make Rice on the Stovetop
IMPORTANT – There are often Frequently Asked Questions within the blog post that you may find helpful. Simply scroll back up to read them!
Print It
Pin It
Rate It
Save ItSaved!
Ingredients
- 1 cup long grain white rice
- 1 ½ cups water (or broth for enhanced flavor)
- 1 pinch salt
- 1 Tablespoon salted butter optional (or neutral cooking oil for dairy-free)
Equipment You’ll Need
-
Medium to Large, Heavy-Bottomed Saucepan with Lid
-
Fine Mesh Strainer (Sieve)
Before You Begin – Important Tips
- **Pot Size & Rice Expansion:** Always use a saucepan that is sufficiently large to accommodate the rice as it expands considerably during cooking. As a general rule, 1 cup of dry rice yields approximately 3 cups of cooked rice. This is particularly important for the steaming method to prevent boil-overs and ensure even cooking. For the pasta method, a larger pot allows the rice to boil freely without clumping.
- **Water Level for Pasta Method:** With the pasta method, precise water measurement is not critical. Simply ensure you add enough water to generously cover the rice by 2-3 inches. If the water level drops too low during boiling, add more hot water to keep the rice submerged and boiling freely.
- **Rice Variety Matters:** Please note that this recipe is specifically tailored for long-grain white rice (e.g., Basmati or Jasmine). Other rice varieties such as brown rice, medium-grain, or short-grain rice will require different water ratios and cooking times. For these, always refer to the package instructions for the best results.
- **The Importance of Rinsing for Fluffiness:** For the steaming method, thorough rinsing is an essential step to remove excess surface starch. This is key to achieving truly fluffy, separate, and non-sticky rice. For the pasta method, rinsing before cooking is optional but rinsing *after* draining is crucial to remove the copious amounts of starch released during boiling, ensuring a very loose grain.
- **Choosing Your Method:** The pasta method is often considered more forgiving for beginners as it eliminates the need for precise water measurements and is less prone to burning. It typically yields a looser, more distinct grain, making it excellent for dishes like fried rice. The steaming method, while requiring a bit more precision, produces classic, tender rice with a slightly different texture. Experiment to find your preference!
- **Proper Storage:** To maintain freshness and ensure food safety, store any leftover cooked rice in an airtight container in the refrigerator for up to 4-5 days. For longer-term storage, it can be frozen for up to 3 months. Always ensure reheated rice is steaming hot throughout before serving.
Instructions
Steaming Method
-
Rinse the long-grain white rice under cold, running water in a fine-mesh sieve. Gently agitate the grains until the water draining from the sieve runs completely clear, indicating that excess surface starch has been removed. Drain the rice thoroughly.
-
Place the rinsed and drained rice, the measured water (or broth), a pinch of salt, and the butter (if using) into a medium, heavy-bottomed saucepan.
-
Bring the mixture to a gentle boil over high heat. As soon as small bubbles consistently appear and the water begins to boil, immediately reduce the heat to the lowest possible setting your stove allows. Quickly cover the pot with a tight-fitting lid. It is crucial not to lift the lid during the cooking process.
-
*Note: The exact cook time for the steaming method may vary slightly depending on your specific pan’s material and thickness, as well as your stove’s efficiency. Always ensure your burner is turned down to its absolute lowest setting to prevent the rice from scorching or sticking to the bottom of the pan.*
-
Allow the rice to simmer undisturbed over low heat for 15 minutes. After 15 minutes, briefly lift the lid to check if all of the liquid has been absorbed. You should see small indentations (steam vents) on the rice surface. If there is still visible water, quickly replace the lid and simmer for an additional 1-2 minutes until the water is fully absorbed and the rice is tender to the bite.
-
Turn off the heat completely. Keep the lid firmly on the pot and let the rice rest for an additional 10 minutes. This essential resting period allows the trapped steam to evenly distribute throughout the grains, enabling them to firm up and become perfectly fluffy and distinct.
-
Remove the lid, then use a fork to gently fluff the rice, separating the grains and releasing any remaining steam. Serve your perfectly steamed rice immediately.
Pasta Method
-
Place your long-grain white rice and a pinch of salt in a medium to large saucepan. Add plenty of cold water to cover the rice generously by at least 2-3 inches. (Remember, precise water measurement is not required for this method, as you’ll be draining the excess.)
-
Place the pot over medium-high heat and bring the rice and water to a vigorous, rolling boil.
-
Once boiling, set a timer for 15 minutes and continue to boil the rice until the timer is complete. You can stir occasionally to ensure the grains don’t stick to the bottom of the pot.
-
After 15 minutes, taste a few grains to ensure the rice is cooked through and tender to your liking. It should be pleasantly soft but still hold its shape (al dente). If it’s still too firm, continue boiling for another minute or two, checking frequently.
-
Carefully pour the rice and water through a fine-mesh sieve set over the sink to drain all the excess water thoroughly. Immediately after draining, rinse the cooked rice under cold, running water until the water runs completely clear. This step is crucial for removing any remaining surface starch, ensuring your rice is incredibly loose, separate, and never sticky. Shake the sieve vigorously to remove as much excess moisture as possible.
-
Return the drained rice to the empty, warm saucepan (or transfer to a clean serving bowl). Immediately season with butter, additional salt if desired, or any other desired flavorings. Fluff with a fork to separate the grains and serve hot.
Nutrition Information
The recipes on this blog are tested with a conventional gas oven and gas stovetop. It’s important to note that some ovens, especially as they age, can cook and bake inconsistently. Using an inexpensive oven thermometer can assure you that your oven is truly heating to the proper temperature. If you use a toaster oven or countertop oven, please keep in mind that they may not distribute heat the same as a conventional full sized oven and you may need to adjust your cooking/baking times. In the case of recipes made with a pressure cooker, air fryer, slow cooker, or other appliance, a link to the appliances we use is listed within each respective recipe. For baking recipes where measurements are given by weight, please note that results may not be the same if cups are used instead, and we can’t guarantee success with that method.
