Easy 3-Ingredient Cool Whip Candy: The Ultimate No-Bake Homemade Chocolate Treat
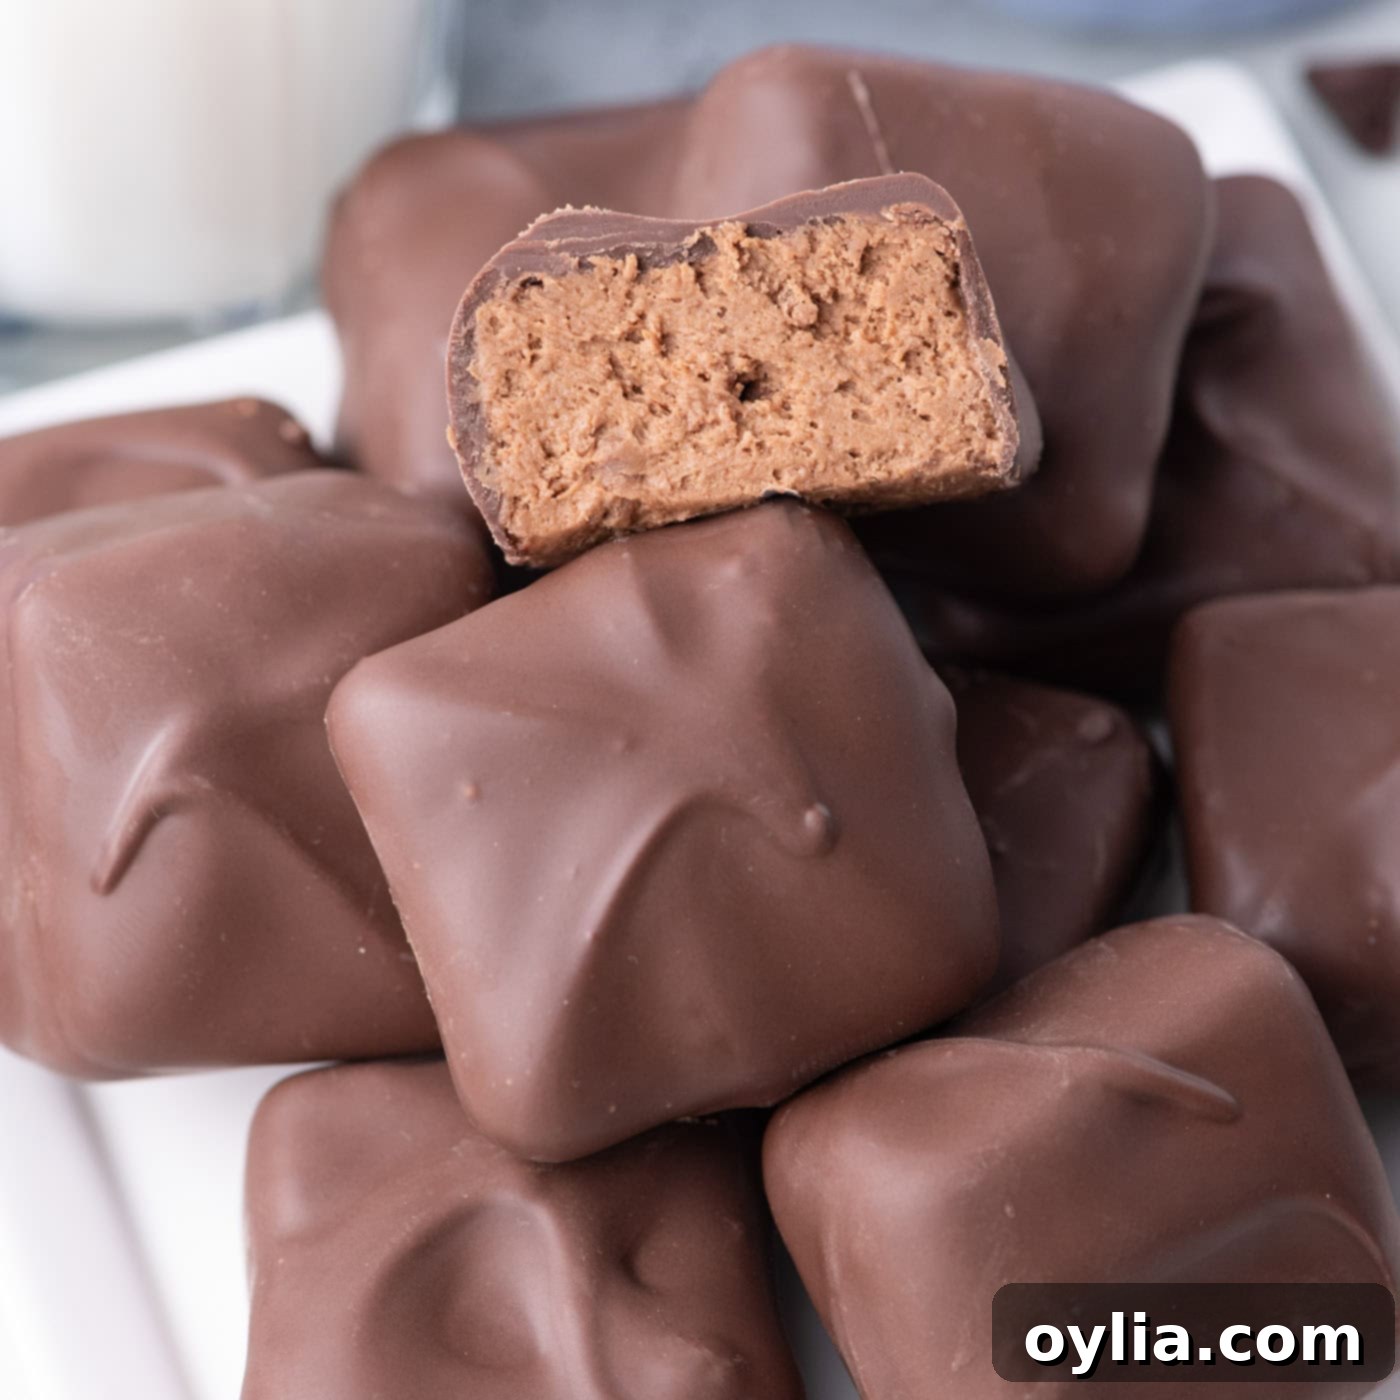
Prepare to discover your new favorite no-bake dessert! This incredibly easy Cool Whip candy recipe requires just three simple ingredients and minimal effort, delivering a truly delightful homemade treat. Imagine a rich, dark chocolate shell giving way to a light, soft, and satisfying nougat-like center. It’s a confectionary dream that comes together in a flash, perfect for satisfying those sweet cravings or impressing guests with a seemingly complex, yet effortlessly made, chocolate delight. Whether you’re a seasoned baker or a beginner in the kitchen, this recipe promises a foolproof way to create irresistible candy that everyone will adore.
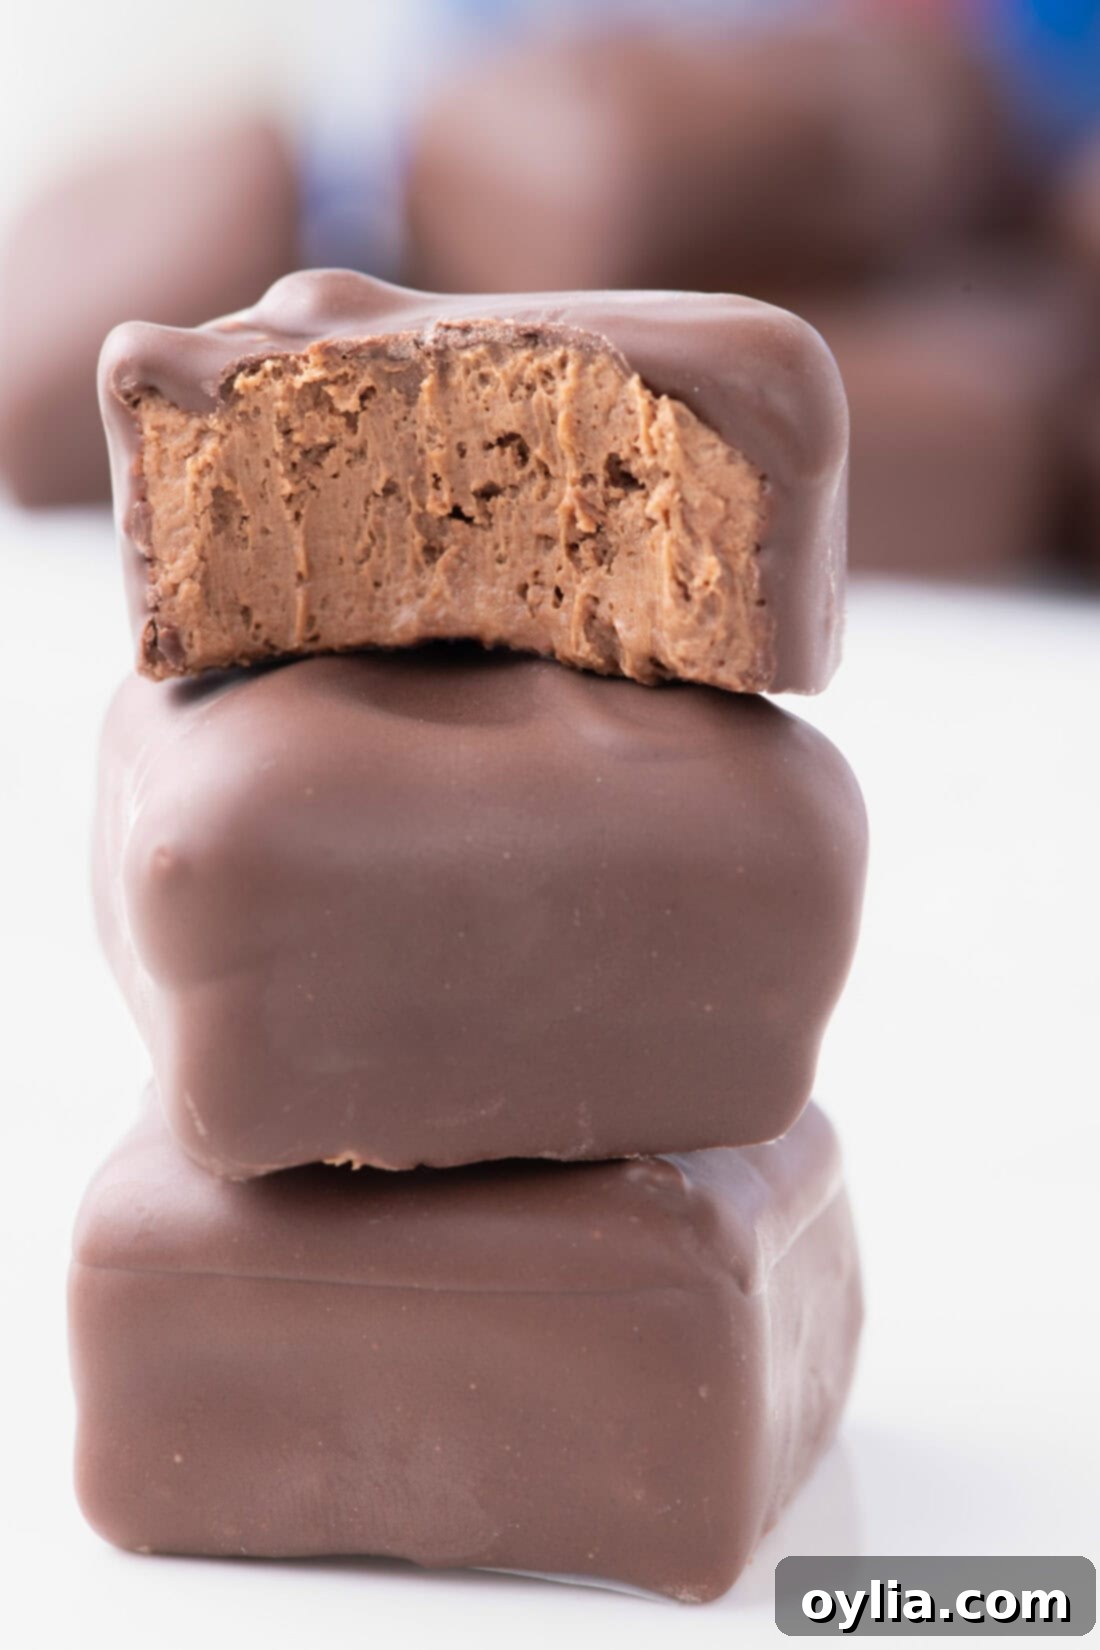
Why This Easy Homemade Cool Whip Candy Recipe Works So Well
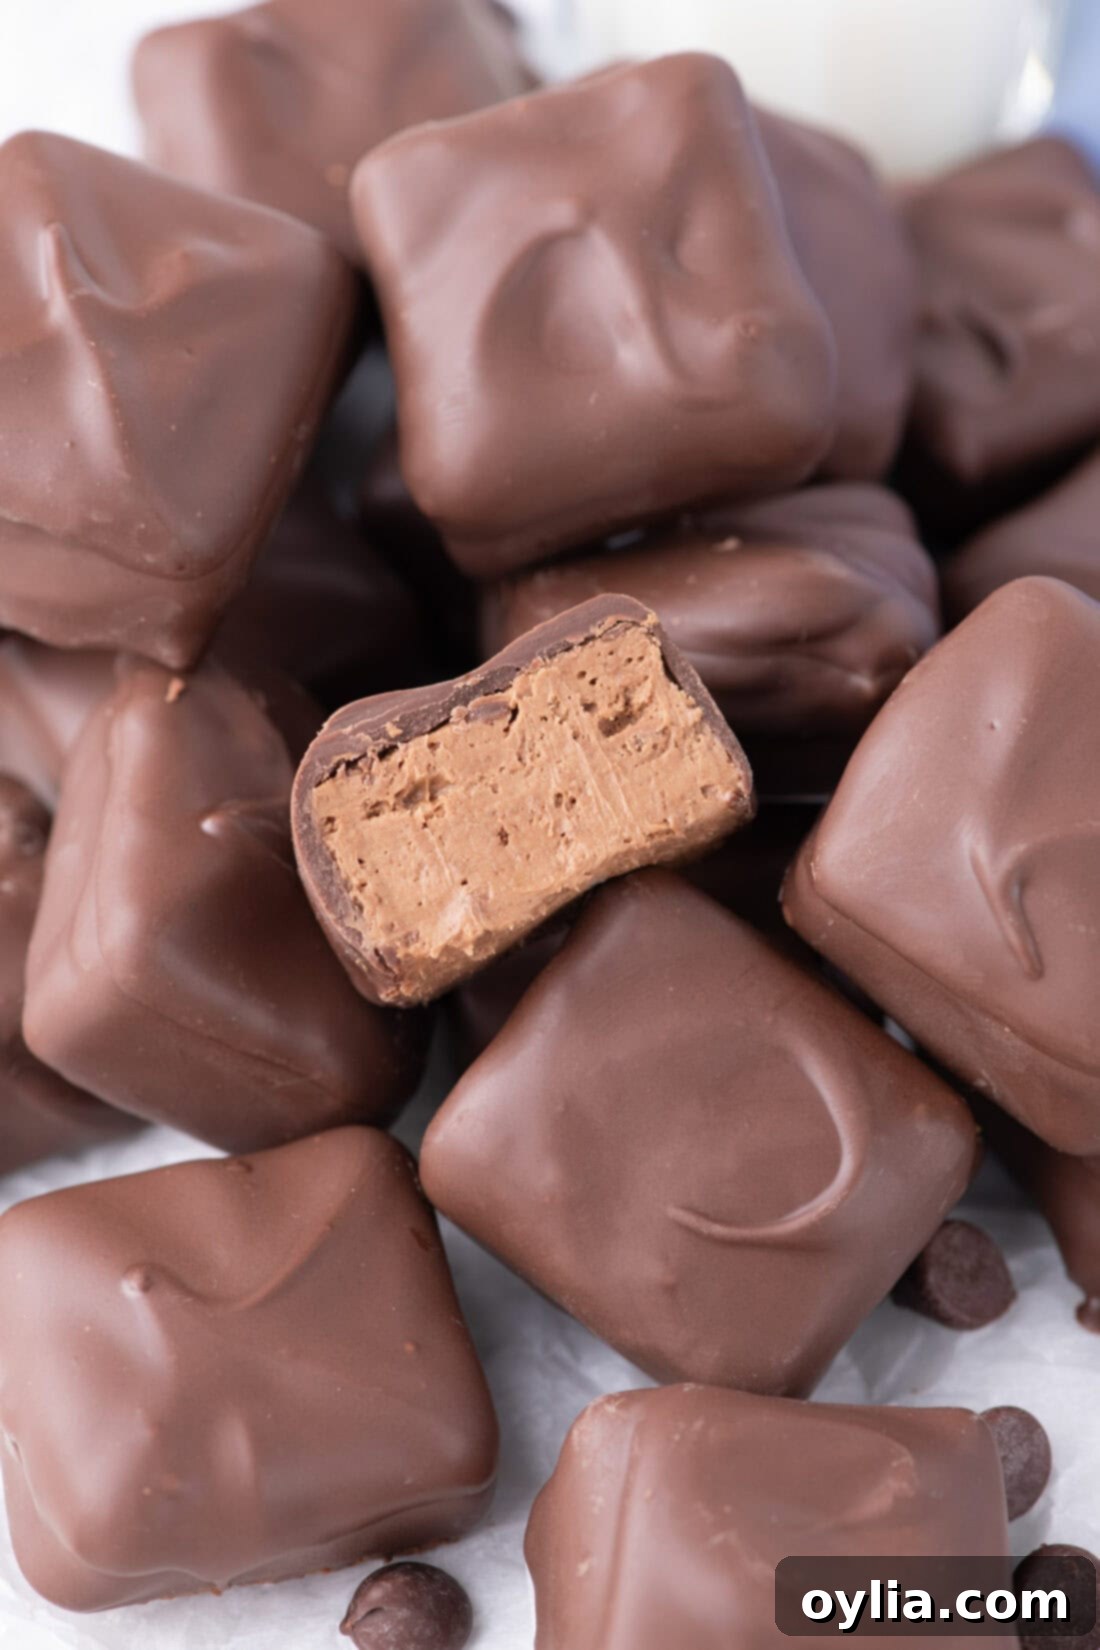
This Cool Whip candy stands out as an exceptional homemade treat, offering a delightful texture reminiscent of a classic 3 Musketeers bar, but with the unique charm of being homemade. The secret lies in its incredibly soft and fluffy chocolate nougat-like center, expertly enrobed in a crisp, dark chocolate shell. What makes this recipe truly brilliant is its simplicity: it requires only three core ingredients – milk chocolate chips, semi-sweet chocolate chips, and Cool Whip – making it an accessible and budget-friendly option for anyone craving homemade candy. Each bite-sized piece offers a perfect balance of rich chocolate flavor and airy texture, making it an irresistible treat that’s far easier to prepare than it looks. Plus, it’s a no-bake wonder, meaning you won’t even need to turn on your oven, saving you time and effort while still delivering a professional-looking dessert.
Essential Ingredients for Your 3-Ingredient Cool Whip Candy
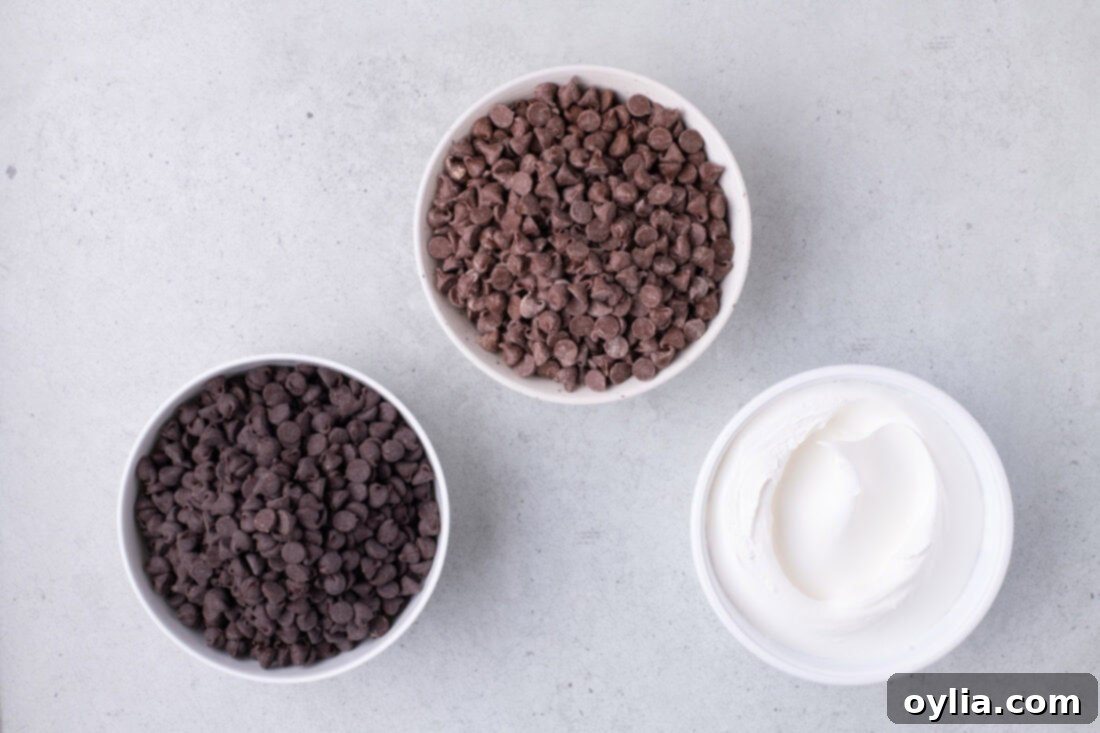
Crafting these delectable homemade chocolate candies requires a minimal ingredient list, making it a perfect last-minute dessert or an easy project for kids. While the full measurements and detailed instructions are provided in the printable recipe card at the end of this post, let’s take a quick look at the stars of this simple show. You’ll need two types of chocolate chips to create a nuanced flavor profile and a stable, fluffy center, along with the star ingredient, Cool Whip, which lends its signature light and airy texture. The quality of your ingredients, especially the chocolate, will directly impact the final taste and texture of your Cool Whip candy, so choose wisely!
Ingredient Spotlight: Tips for Perfect Cool Whip Candy
Understanding the role of each ingredient is key to perfecting your homemade Cool Whip candy. While this recipe is straightforward, a few expert tips can ensure your treats turn out beautifully every time.
Choosing Your Chocolate Chips
CHOCOLATE CHIPS – For this recipe, we utilize both milk chocolate chips for a classic sweetness and semi-sweet chocolate chips to add a touch of depth and balance. We strongly recommend investing in good quality chocolate chips. Since chocolate is the primary flavor and structural component of both the center and the coating, better quality chocolate will result in a smoother melt, a richer flavor, and a more luxurious mouthfeel for your finished candy. If you’re a fan of a more intense chocolate experience, feel free to substitute the semi-sweet chocolate chips with an even darker variety, such as bittersweet chocolate. For a different flavor profile, you could experiment with white chocolate chips for the center (though the color would change) or even a flavored chocolate like mint or peanut butter for the outer coating, providing a fun twist on the classic. Just ensure your chosen chocolate melts smoothly and sets firmly.
Working with Cool Whip
COOL WHIP – The key to achieving that soft, nougat-like center is using Cool Whip at room temperature. This makes it significantly easier to fold into the melted chocolate, ensuring a smooth, uniform mixture without lumps. It’s crucial to resist the temptation to warm the Cool Whip or the Cool Whip/chocolate mixture to make it more pliable. Doing so will cause the Cool Whip to condense and lose its airy structure, essentially turning your delightful candy mixture into a dense, sticky fudge. The magic of Cool Whip lies in its stability and fluffy consistency, which, when gently combined at the correct temperature, creates the perfect light texture for these candies. If Cool Whip isn’t readily available, you could try a store-brand whipped topping, but ensure it’s a stabilized product to achieve similar results.
Step-by-Step Guide: How to Make Easy Cool Whip Candy
These step-by-step photos and instructions are here to help you visualize how to make this recipe. You can Jump to Recipe to get the printable version of this recipe, complete with measurements and instructions at the bottom.
- Prepare Your Pans: Begin by lining a baking sheet with parchment paper. This will be used later for dipping the finished candies. Next, line an 8-inch square baking pan with two sheets of parchment paper. Arrange them so that they overlap and extend beyond the edges of the pan, creating “handles” that will make it easy to lift the chilled chocolate candy out later. Set both prepared pans aside.
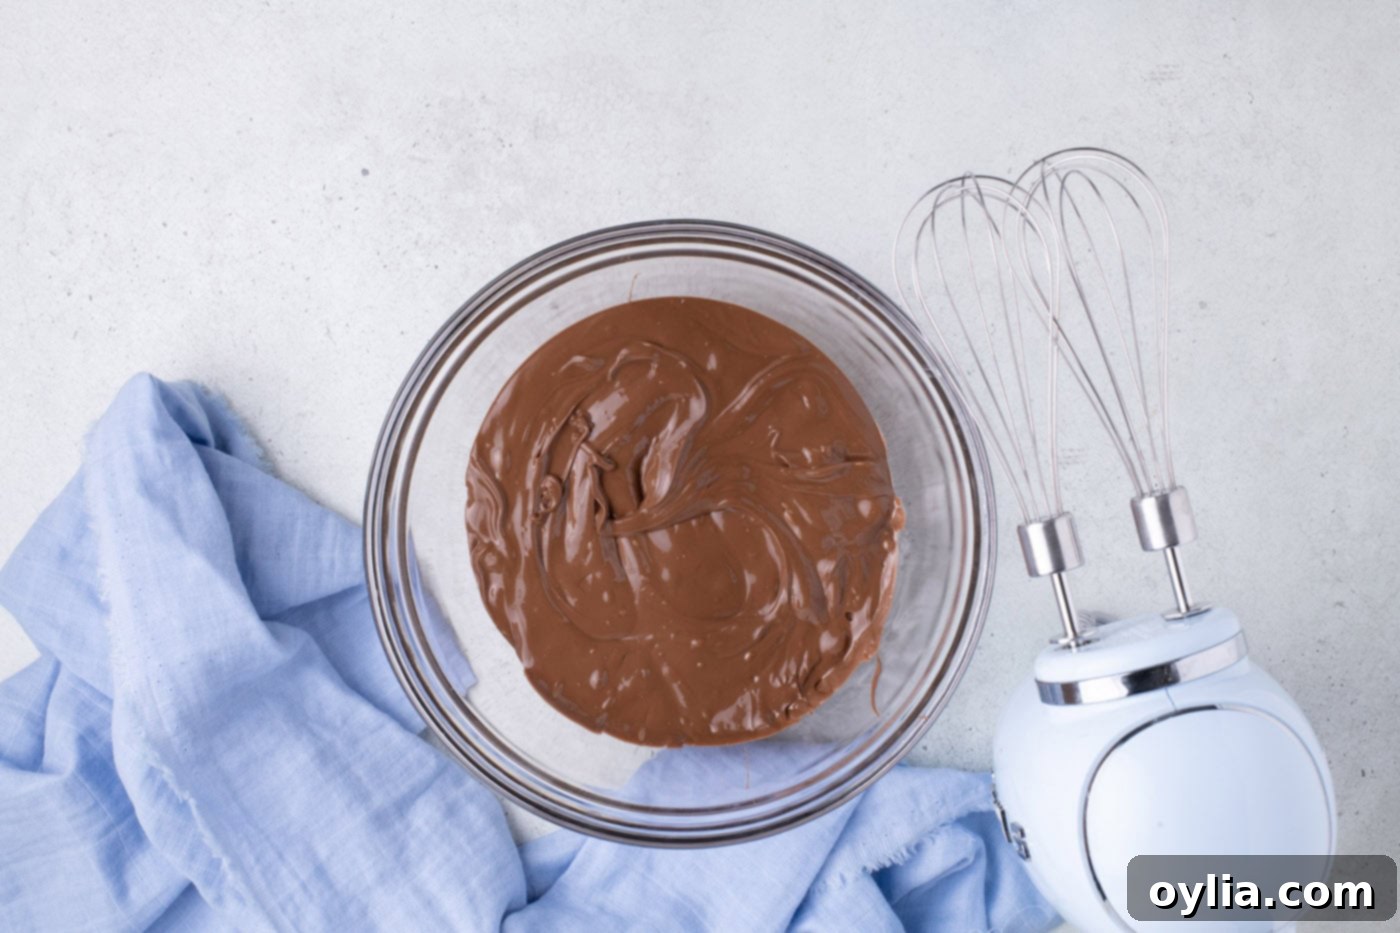
- Melt the Milk Chocolate: Place the milk chocolate chips into a large, microwave-safe bowl. Heat the chocolate in 30-second increments, stirring thoroughly after each interval. This gradual heating and stirring prevents the chocolate from burning or seizing, ensuring a smooth, fully melted consistency. Continue until the chocolate is completely smooth and free of any lumps.

- Whip the Melted Chocolate: Once the milk chocolate chips are fully melted and smooth, use a hand mixer to beat the melted chocolate. Continue beating until the chocolate lightens in color and gains volume, becoming airy and fluffy. This step is crucial for achieving the nougat-like texture of the candy’s center.
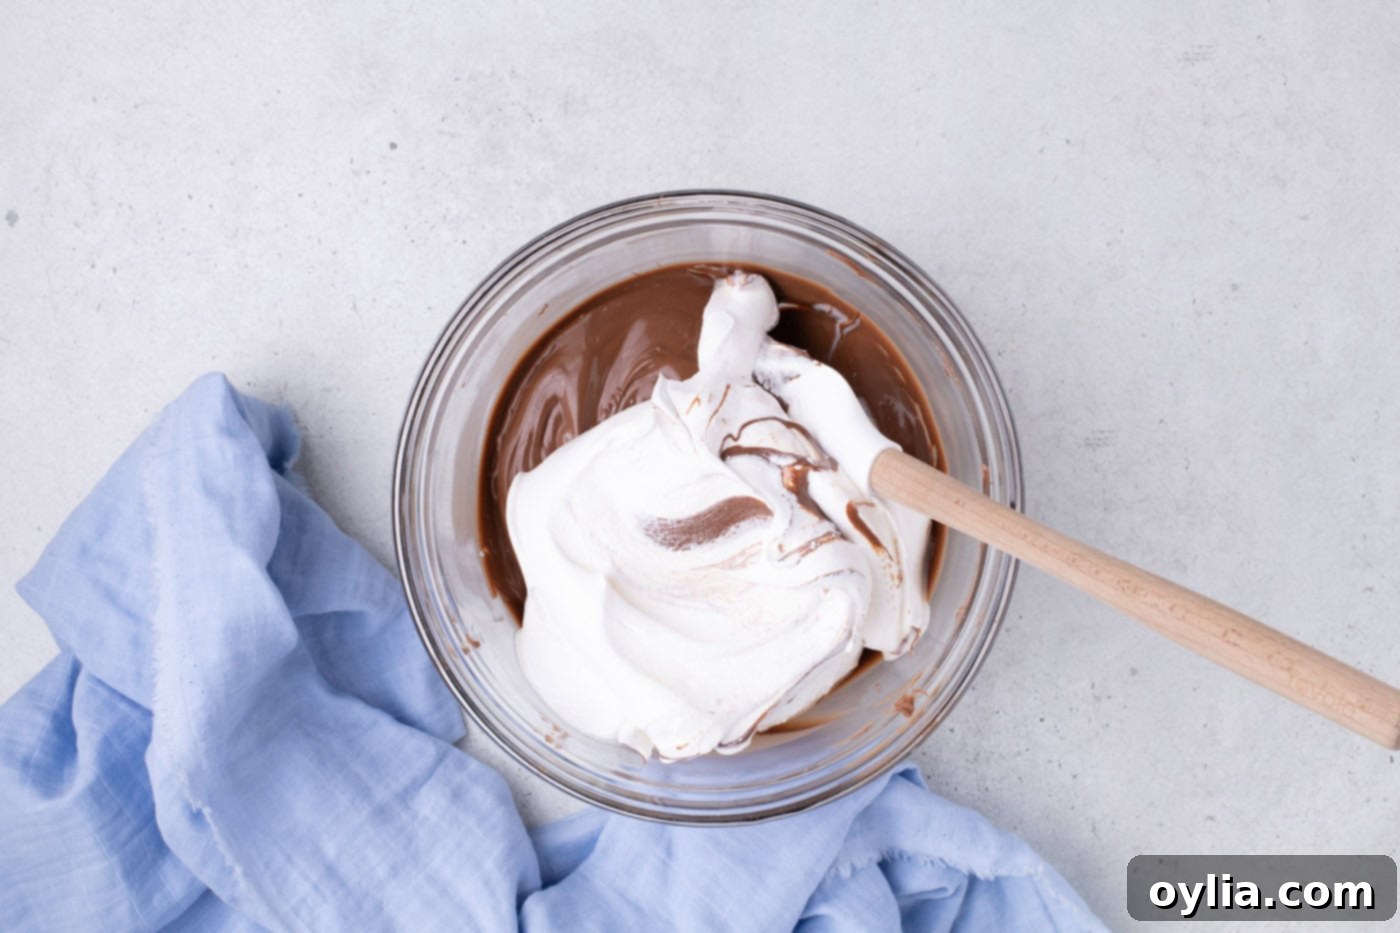
- Fold in the Cool Whip: Gently fold the room-temperature Cool Whip into the whipped melted chocolate mixture. Use a spatula to incorporate the Cool Whip with a light hand, mixing just until no streaks of white remain and the mixture is uniformly combined. Be careful not to overmix, as this can deflate the airy texture you’ve just created.

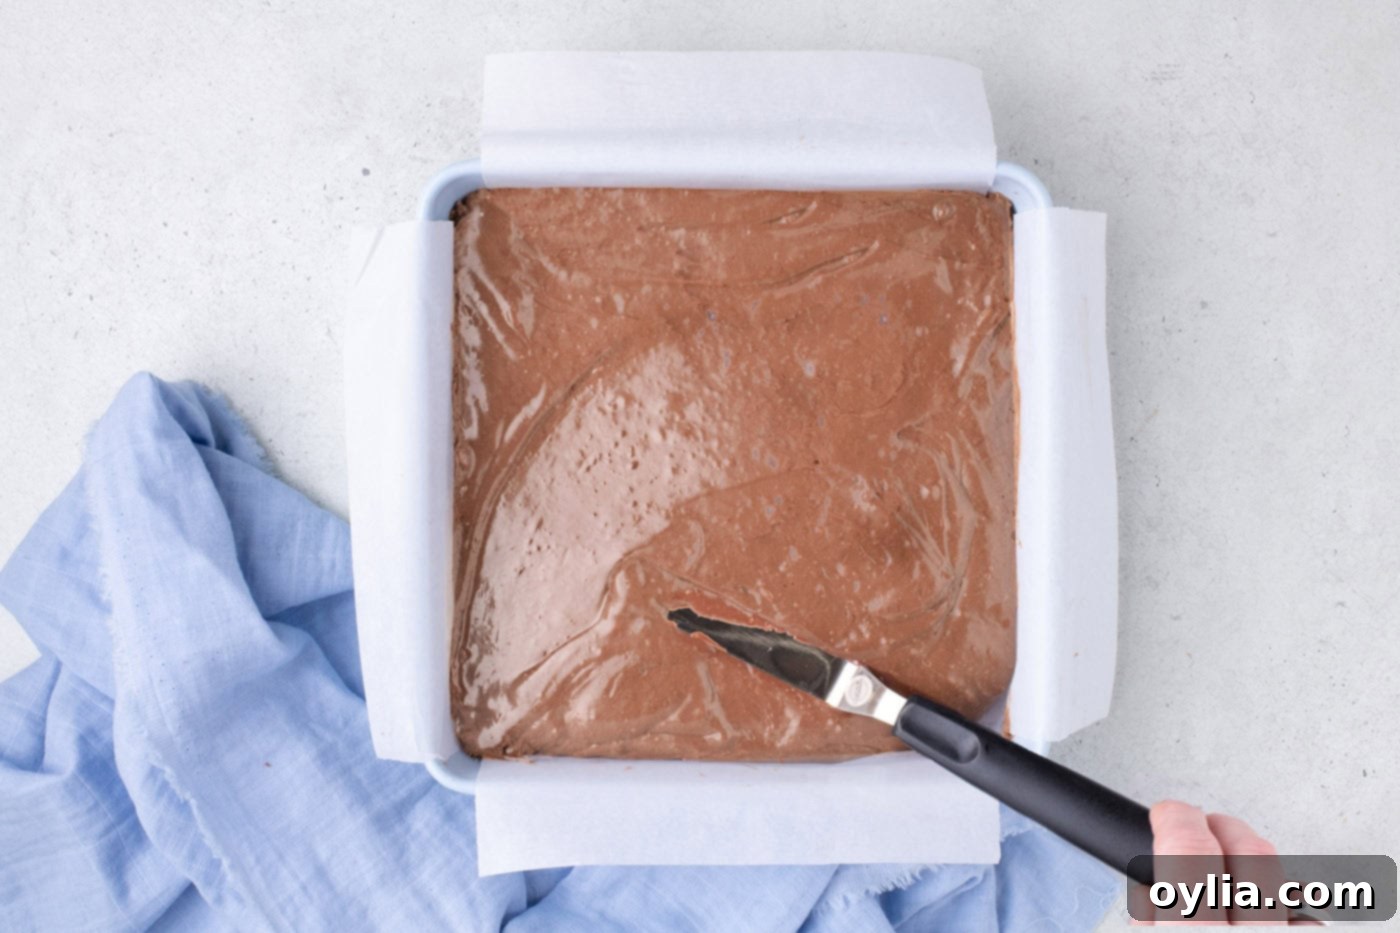
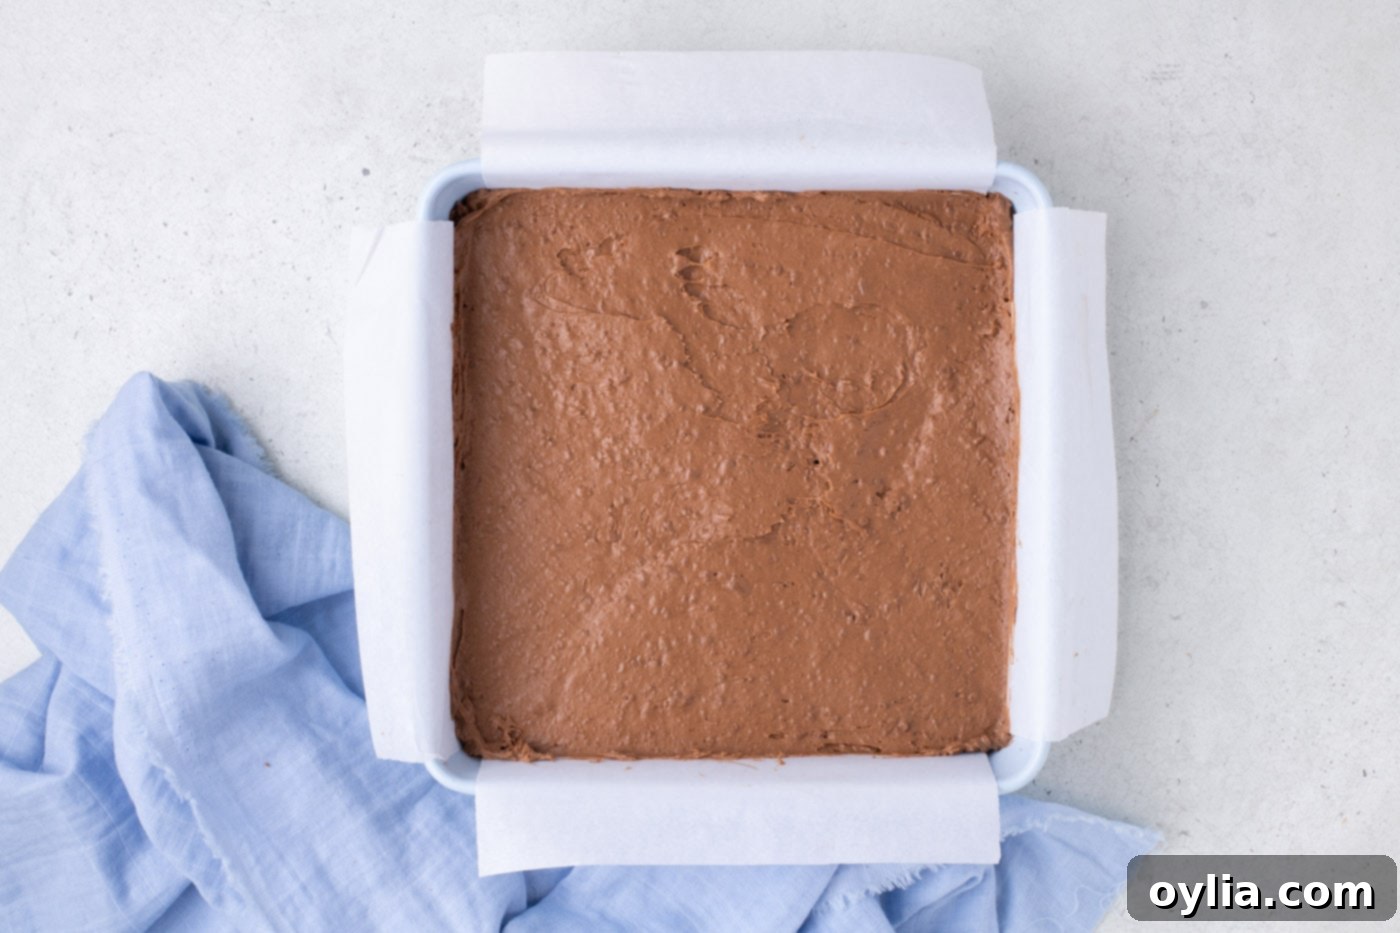
- Transfer and Smooth: Transfer the chocolate and Cool Whip mixture into the prepared 8-inch square baking pan. Use a small offset spatula or the back of a spoon to spread the mixture evenly, ensuring it fills all corners and the top surface is smooth. This will help create uniform candy squares later.

- Chill the Mixture: Place the baking pan with the chocolate mixture into the freezer. Allow it to chill for a full 45 minutes, or until the mixture is completely solid and firm to the touch. Proper chilling is essential for clean cuts.

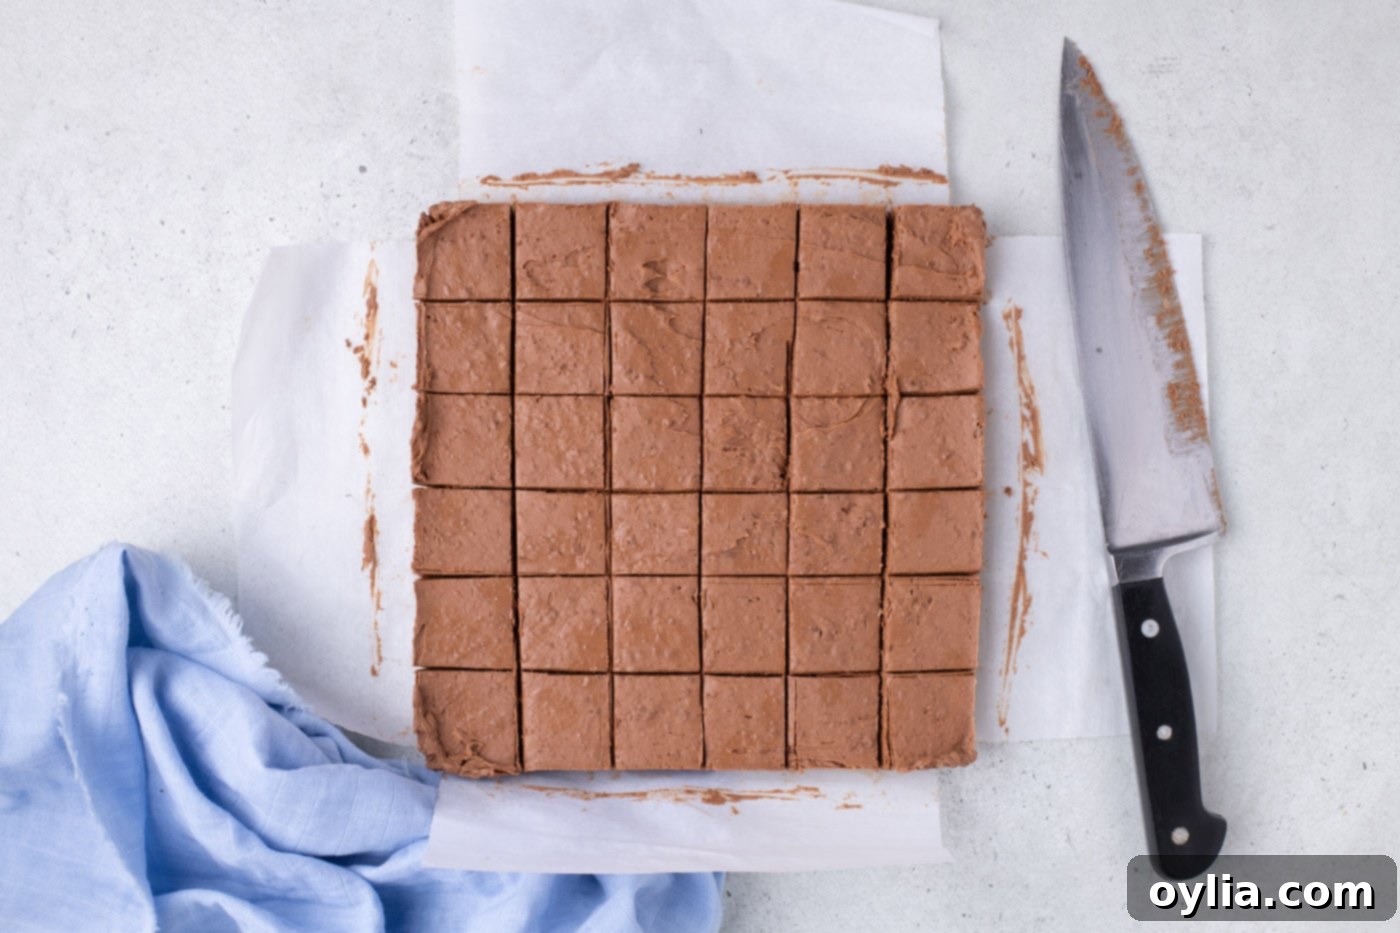
- Cut the Candy Squares: Once fully hardened, remove the chocolate mixture from the pan by lifting it with the parchment paper handles. Place it on a cutting board. Using a sharp chef’s knife, cut the block into 36 equal-sized squares. For the cleanest cuts, dip your knife into hot water and wipe it dry before each cut. Return the cut squares to the freezer for an additional 30 minutes to ensure they are very cold and firm, which will prevent them from melting during the dipping process.

- Melt the Semi-Sweet Chocolate: In a separate, smaller microwave-safe bowl, heat the semi-sweet chocolate chips. Follow the same procedure as before: heat in 30-second increments, stirring well after each interval, until the chocolate is completely melted and smooth. This will be your coating chocolate.
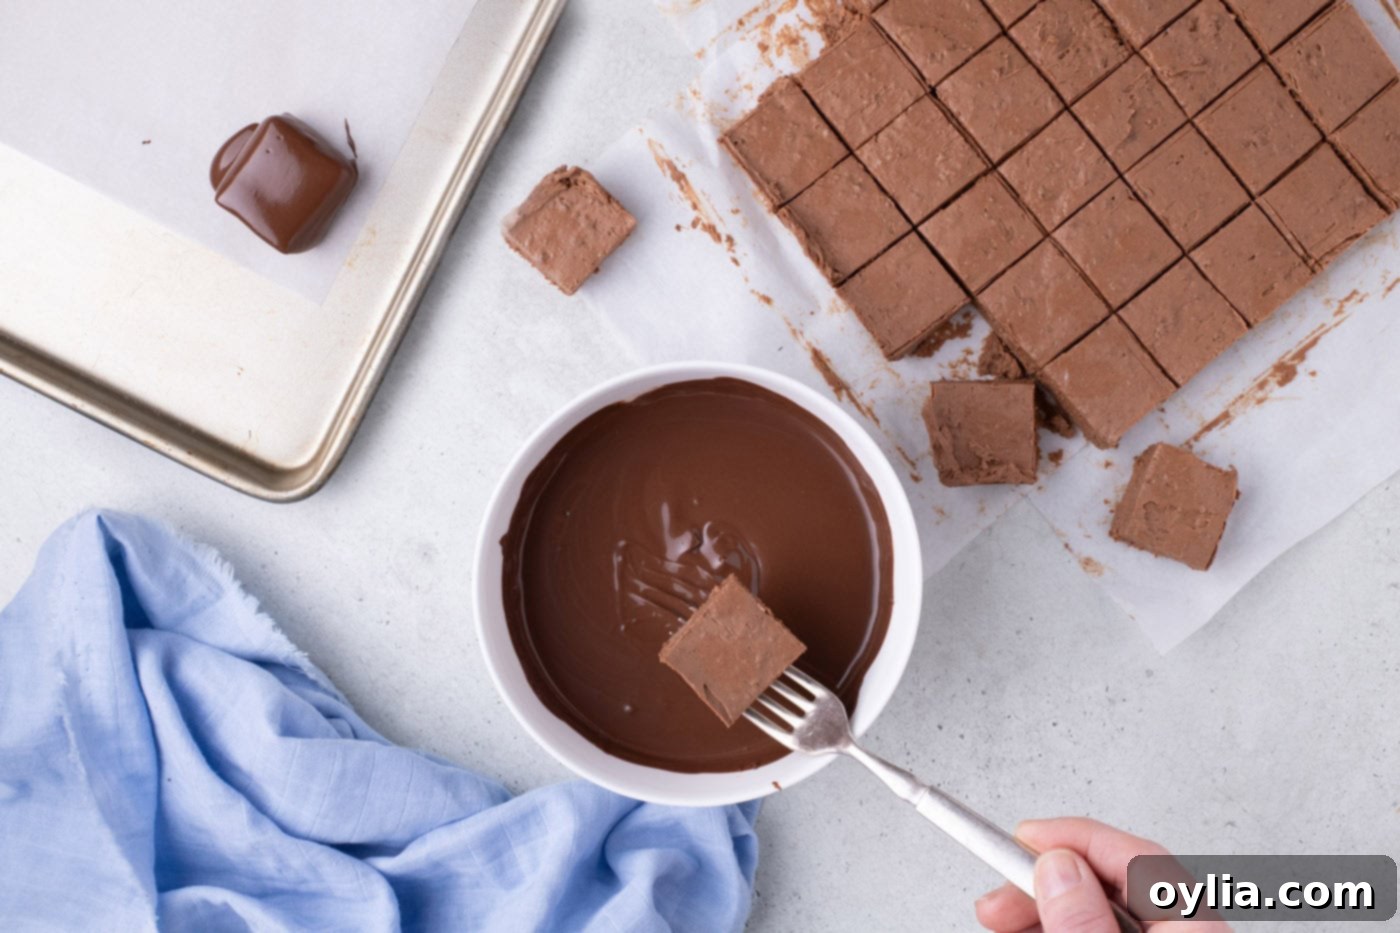
- Dip the Candies: Take one chilled chocolate square and carefully place it on a fork. Dip the square into the melted semi-sweet chocolate, ensuring it’s fully coated. Gently tap the fork against the edge of the bowl to allow any excess chocolate to drip off, ensuring a thin, even coating.

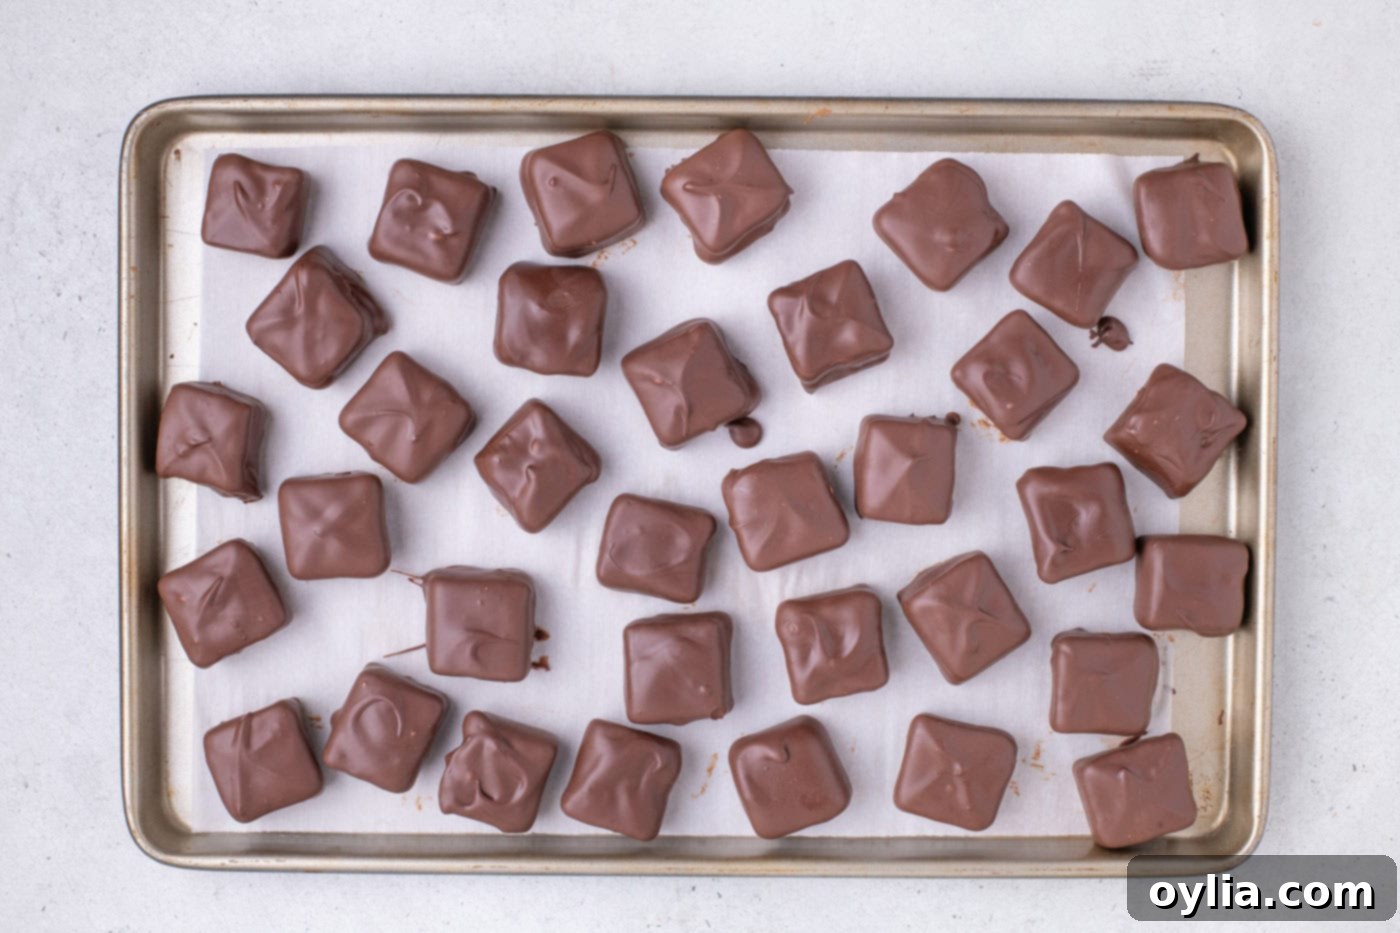
- Set and Serve: Carefully transfer the chocolate-dipped square onto the prepared parchment-lined baking sheet. Repeat the dipping process with all remaining squares. Allow the chocolate coating to set completely at room temperature or in the refrigerator for quicker setting. Once the coating is firm, your homemade Cool Whip candy is ready to be enjoyed!

Frequently Asked Questions & Expert Tips for Perfect Cool Whip Candy
Proper storage is key to maintaining the freshness and texture of your homemade Cool Whip candy. Store these delicious chocolates in an air-tight container at room temperature for up to 7 days. For an extended shelf life, they will keep even longer when stored in the refrigerator or freezer. If refrigerating, place them in an air-tight container for up to 2 weeks. For longer storage, transfer them to a freezer-safe ziptop bag, ensuring as much air is removed as possible, and freeze for up to 1 month. When serving from the refrigerator or freezer, allow them to come to room temperature for the best soft, nougat-like consistency, or enjoy them chilled for a firmer bite.
Achieving perfectly clean cuts before dipping can be challenging as the chocolate and Cool Whip mixture is quite sticky. The trick to smooth, precise squares lies in proper chilling and knife technique. First, ensure the chocolate mixture is thoroughly frozen in the baking pan for the full 45 minutes as instructed. The colder and firmer it is, the less it will stick and tear. Secondly, before making each cut, dip your sharp chef’s knife into very hot water and immediately wipe it completely dry. The warm, dry blade will slice through the cold candy much more cleanly. Re-warm and dry your knife for every few cuts to maintain efficiency.
This particular recipe is specifically formulated to work best with Cool Whip. Cool Whip’s unique smooth, creamy, and stabilized texture differs significantly from fresh whipped cream. Fresh whipped cream tends to be less stable and can weep or lose its volume over time, especially when folded into warm chocolate and then chilled, potentially leading to a less desirable, dense, or watery candy. While you *could* try to use homemade stabilized whipped cream (which includes gelatin or cream cheese to maintain its structure), for the guaranteed fluffy, nougat-like consistency of this 3-ingredient Cool Whip candy, sticking to Cool Whip is highly recommended.
Absolutely! While semi-sweet chocolate offers a lovely contrast to the sweet milk chocolate center, you can certainly experiment with other types of chocolate for the outer coating. Dark chocolate will provide a more intense, less sweet finish, which many adults prefer. White chocolate can offer a creamy, vanilla-like flavor, or you could use flavored melting wafers (like mint, caramel, or peanut butter flavored) for a fun variation. Just ensure that whatever chocolate you choose is suitable for melting and dipping, as some varieties are formulated better for this purpose than others. Tempering your chocolate (if you’re an experienced candy maker) can also give a shinier, snappier shell, though simply melting works perfectly fine for this easy recipe.
These homemade Cool Whip candies are delicious as is, but they also serve as a fantastic base for customization! For extra flavor, a few drops of food-grade extract (like peppermint, almond, orange, or even a hint of rum extract) can be folded into the chocolate-Cool Whip mixture before chilling. For decorations, you can sprinkle a pinch of sea salt on top of the still-wet chocolate coating for a delightful sweet and salty contrast. Colorful sprinkles, finely chopped nuts (like peanuts or almonds), shredded coconut, or even a contrasting chocolate drizzle (e.g., white chocolate drizzle on dark-coated candy) can elevate their appearance and taste, making them perfect for gifting or special occasions.
Creative Serving Suggestions for Your Homemade Cool Whip Candy
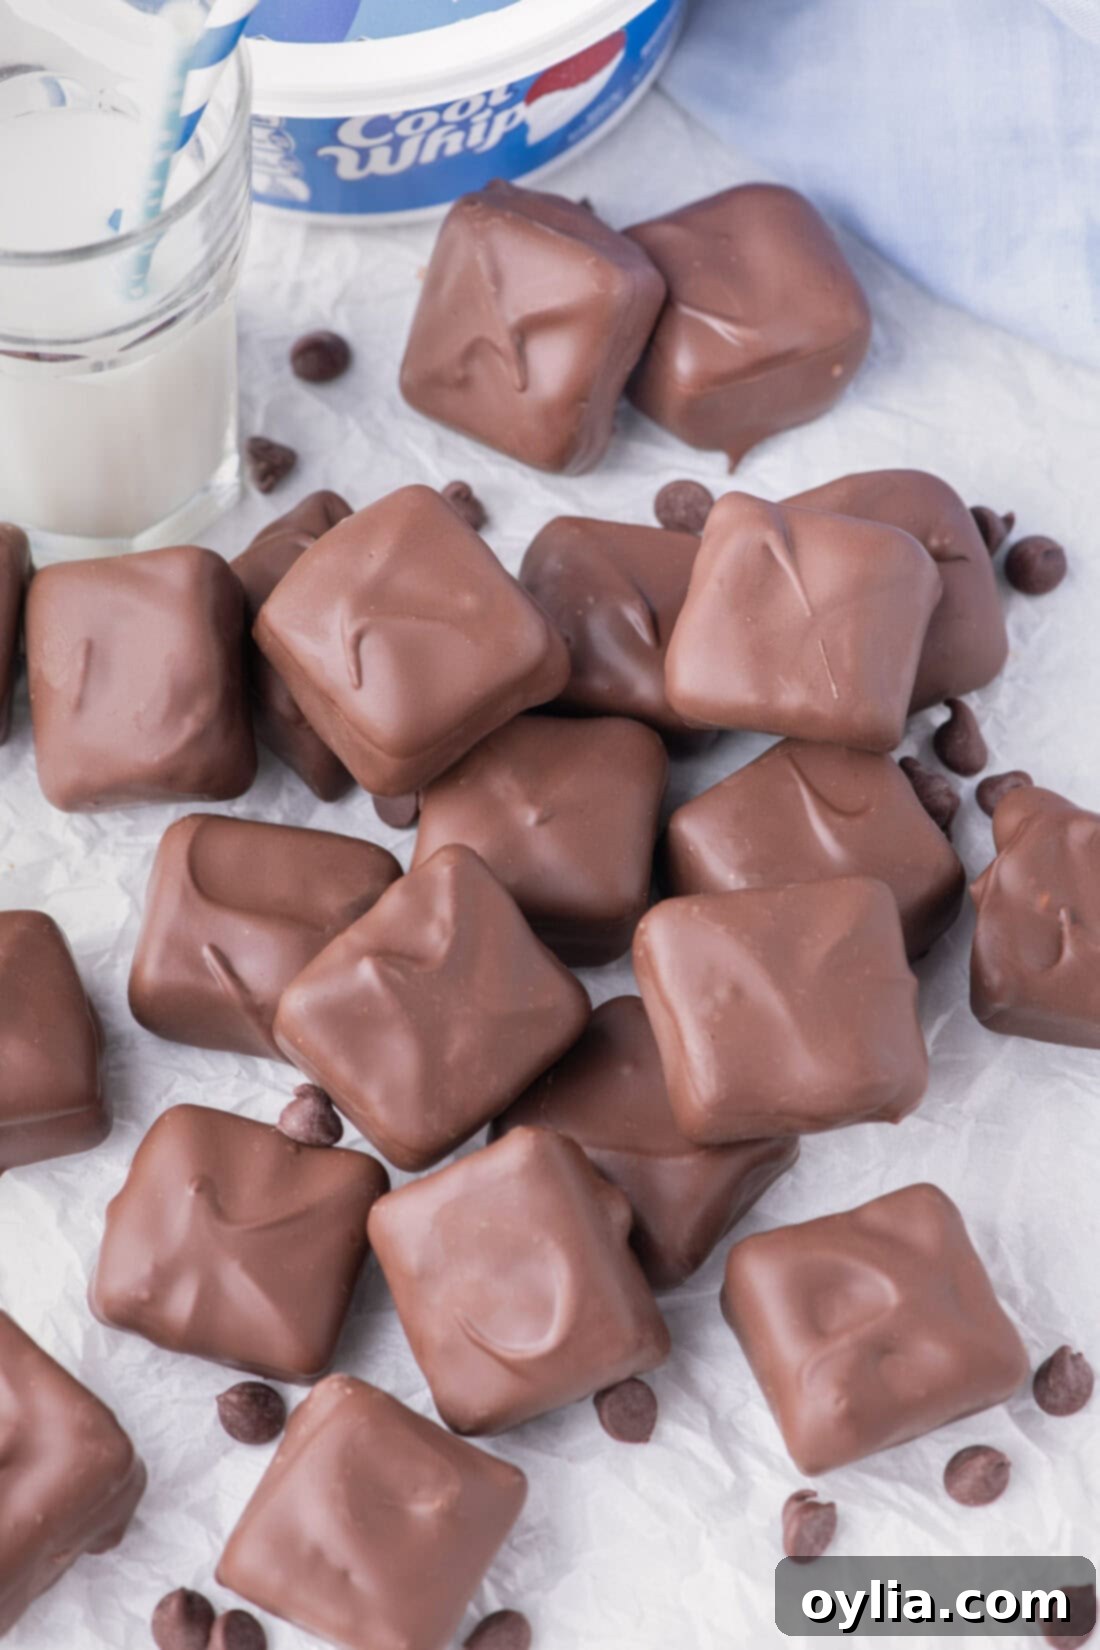
One of the best qualities of this delightful Cool Whip candy is its versatility in serving. Whether you prefer them at room temperature, slightly chilled, or even frozen, they offer a unique and equally amazing experience in all three ways! At room temperature, the nougat-like center is at its softest and most ethereal. Chilled, the center becomes firmer with a pleasant chew, while the chocolate shell remains crisp. Frozen, they transform into a delightful frosty bite, perfect for warmer days.
For an extra touch of elegance, consider drizzling the top of the set candies with a contrasting melted chocolate or a decorative swirl. These homemade treats also make fantastic edible gifts, especially around the holidays or for special occasions. Package them in clear cellophane bags, tie them with a pretty ribbon, and you have a thoughtful and delicious present that friends and family will surely appreciate. They’re also an ideal addition to any dessert platter, holiday cookie exchange, or as a sweet ending to a casual meal.
More Easy No-Bake & Homemade Candy Recipes
If you loved making these 3-ingredient Cool Whip candies, you’ll be thrilled to explore more simple, delicious, and often no-bake candy recipes. These are perfect for satisfying sweet cravings, holiday gift-giving, or just a fun kitchen project. Be sure to check out some of our other popular homemade candy creations:
- Potato Candy: A unique and surprisingly delicious old-fashioned treat.
- Buckeye Candy: Irresistible peanut butter fudge balls dipped in chocolate.
- Microwave Caramels: Quick, chewy, and perfectly sweet caramels made right in your microwave.
- Chocolate Truffles: Decadent, rich, and incredibly easy chocolate truffles that taste gourmet.
I love to bake and cook and share my kitchen experience with all of you! Remembering to come back each day can be tough, that’s why I offer a convenient newsletter every time a new recipe posts. Simply subscribe and start receiving your free daily recipes!
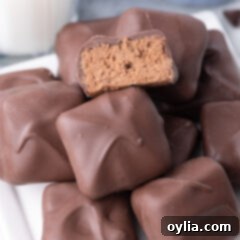
Cool Whip Candy
IMPORTANT – There are often Frequently Asked Questions within the blog post that you may find helpful. Simply scroll back up to read them!
Print It
Pin It
Rate It
Save It
Saved!
Course: Dessert
Cuisine: American
Ingredients
- 23 ounces milk chocolate chips (two 11.5 ounce bags)
- 8 ounces Cool Whip (room temperature)
- 24 ounces semi-sweet chocolate chips (two 12 ounce bags)
Things You’ll Need
-
Baking sheet
-
8×8 baking pan
-
Hand mixer
-
Mixing bowls
-
Rubber spatula
Before You Begin
- Ensure your Cool Whip is at room temperature before combining it with the melted chocolate. This ensures a smoother mixture.
- Do not attempt to warm the Cool Whip or the chocolate-Cool Whip mixture. Doing so will cause the Cool Whip to condense, leading to a dense, fudge-like texture instead of the desired airy nougat.
- For impeccably clean cuts of the chocolate mixture, it must be thoroughly frozen for the full 45 minutes. A quick trick is to dip your knife into hot water and wipe it dry before each cut; this will help slice through the sticky mixture more smoothly.
Instructions
-
Line a baking sheet with parchment paper and an 8-inch square baking pan with 2 sheets of parchment paper (long enough to create handles for easy removal of the chocolate candy). Set both aside.
-
Place the milk chocolate chips into a large microwave-safe bowl and heat in 30-second increments, stirring after each interval to ensure the chocolate chips don’t burn and are smooth.23 ounces milk chocolate chips
-
Once the chocolate chips have melted and are smooth, add volume to the chocolate by beating it with a hand-held mixer until it is lighter in color.
-
Gently fold in the room temperature Cool Whip until combined and no streaks remain.8 ounces Cool Whip
-
Transfer the chocolate mixture to the prepared baking pan, smoothing out the top with a small offset spatula and ensuring it fills all corners.
-
Place the baking pan in the freezer for 45 minutes, or until the chocolate is completely solid and firm.
-
Remove the hardened chocolate mixture from the pan using the parchment paper handles. Using a sharp chef’s knife (warmed and dried between cuts), cut into 36 equal-sized squares and return them to the freezer to chill for another 30 minutes.
-
In a smaller microwave-safe bowl, heat the semi-sweet chocolate chips in 30-second increments until smooth and completely melted.24 ounces semi-sweet chocolate chips
-
Place a chilled chocolate square on a fork and dip it into the melted semi-sweet chocolate, ensuring full coverage. Scrape the bottom of the fork against the edge of the bowl to remove any excess chocolate.
-
Place the chocolate-dipped squares onto the prepared parchment-lined baking sheet, repeating this with all remaining squares. Let the chocolate coating set completely at room temperature or in the refrigerator, then serve.
Expert Tips & FAQs
- Store the chocolates in an air-tight container at room temperature for up to 7 days. For longer storage, refrigerate for up to 2 weeks or freeze in a ziptop bag for up to 1 month.
- Ensure Cool Whip is at room temperature for easy, lump-free folding into the chocolate.
- For perfectly clean cuts, freeze the chocolate mixture thoroughly (45 minutes) and use a hot, dry knife, cleaning it between each cut.
- Do not substitute fresh whipped cream for Cool Whip; its stability is crucial for the candy’s unique texture.
- Feel free to experiment with different types of chocolate for the outer coating, such as dark chocolate or flavored melting wafers.
- Add extracts like peppermint or almond to the chocolate-Cool Whip mixture, or decorate with sprinkles, sea salt, or chopped nuts before the coating sets.
Nutrition
Tried this Recipe? Pin it for Later!Follow on Pinterest @AmandasCookin or tag #AmandasCookin!
The recipes on this blog are tested with a conventional gas oven and gas stovetop. It’s important to note that some ovens, especially as they age, can cook and bake inconsistently. Using an inexpensive oven thermometer can assure you that your oven is truly heating to the proper temperature. If you use a toaster oven or countertop oven, please keep in mind that they may not distribute heat the same as a conventional full sized oven and you may need to adjust your cooking/baking times. In the case of recipes made with a pressure cooker, air fryer, slow cooker, or other appliance, a link to the appliances we use is listed within each respective recipe. For baking recipes where measurements are given by weight, please note that results may not be the same if cups are used instead, and we can’t guarantee success with that method.
