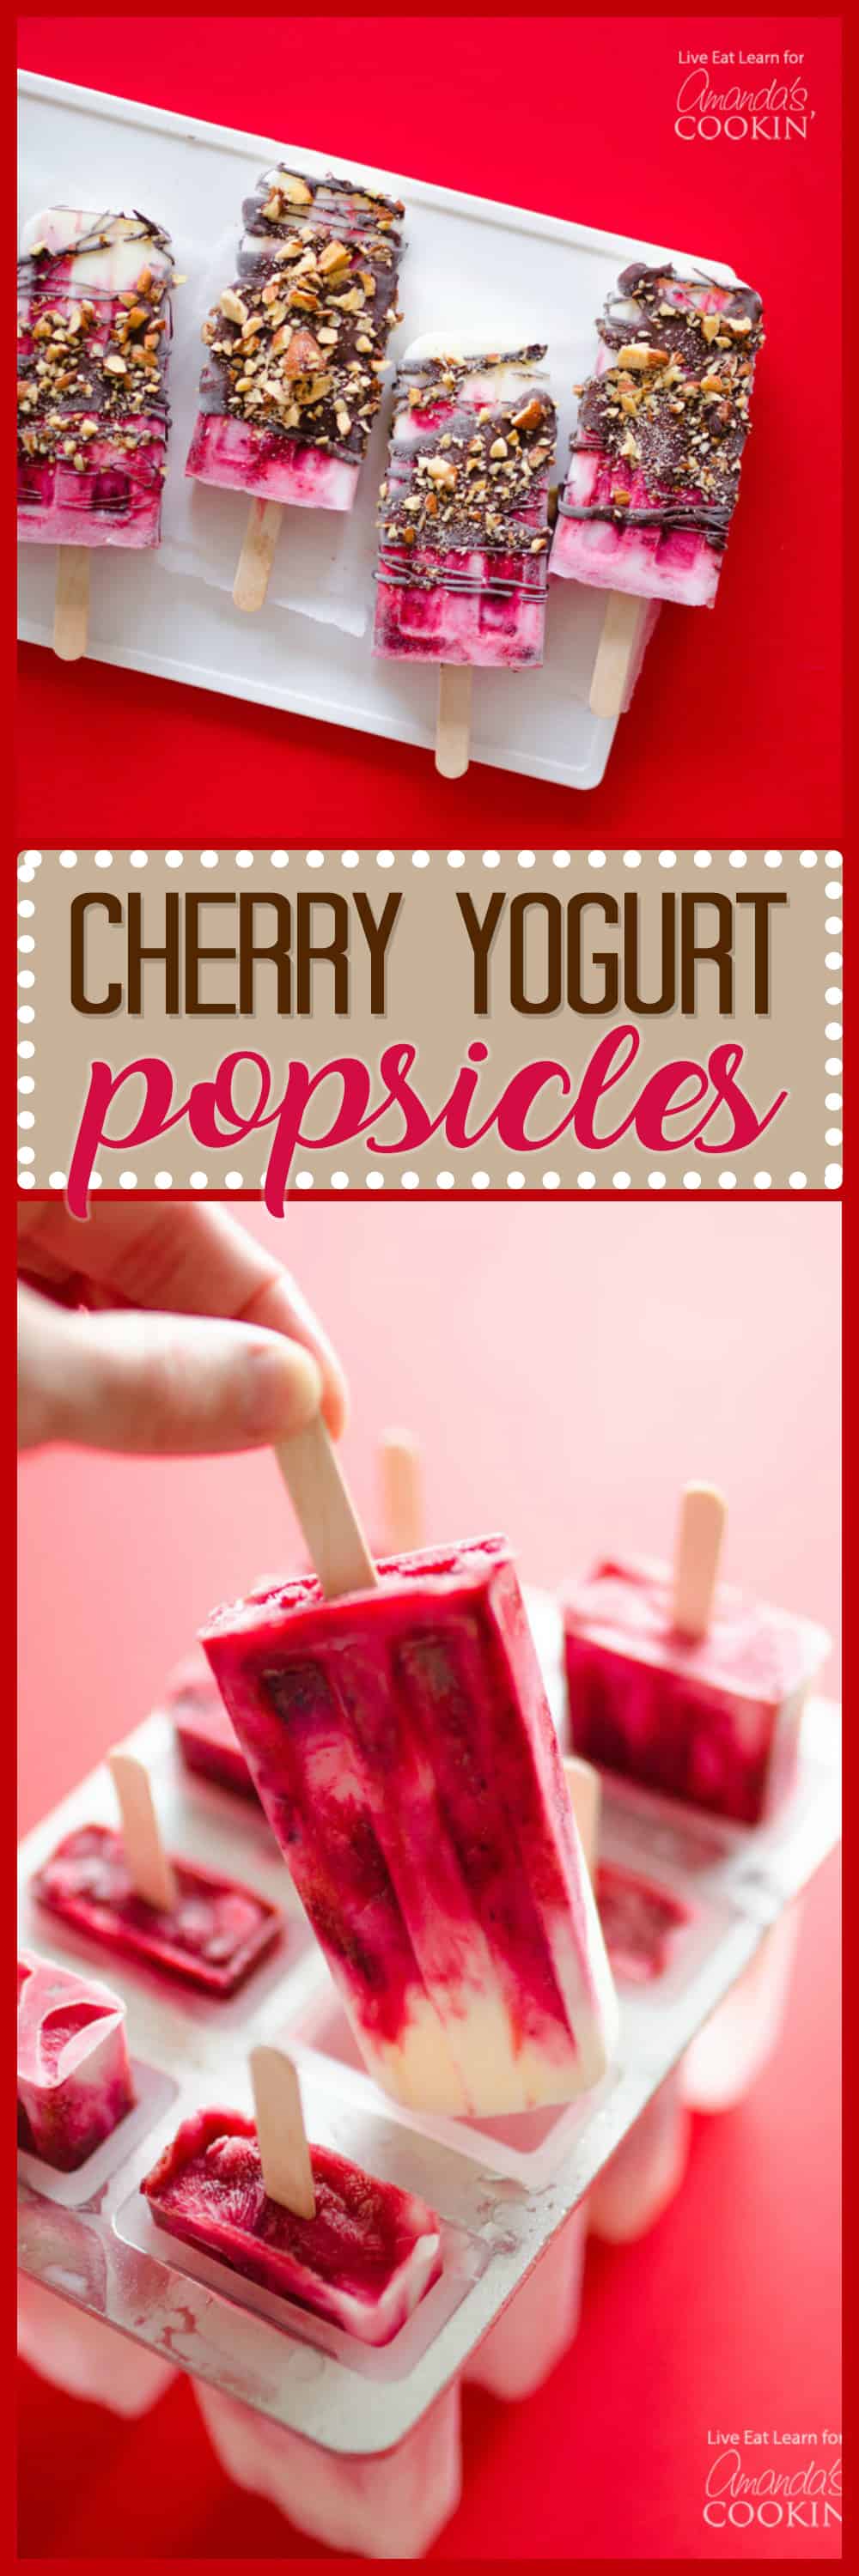
Delicious Cherry Yogurt Popsicles with Magic Shell Chocolate: Your Ultimate Healthy Summer Treat
Get ready to beat the heat with these incredibly simple, healthy, and utterly delicious Cherry Yogurt Popsicles! Perfectly designed for those warm summer days, these frozen delights are a refreshing escape. What makes them truly irresistible is the indulgent yet easy-to-make magic shell chocolate coating, which adds a delightful crunch to every bite. These popsicles aren’t just a treat; they’re a celebration of summer, offering a guilt-free dessert that everyone in your family will absolutely adore. Prepare to make these a staple in your summer recipe collection!
The Joy of Homemade Popsicles: A Sweet Summer Revelation
For years, I’d scroll through endless beautiful popsicle recipes online, admiring their vibrant colors and creative combinations, often thinking, “They look lovely, but are they truly worth the effort and investment in a mold?” My skepticism lingered, until one fateful week, I finally gave in. I bought a popsicle mold, and let me tell you, it was a game-changer. Suddenly, I understood the hype. There’s something inherently more exciting, more satisfying, and undeniably fun about enjoying virtually anything when it’s transformed into a perfectly shaped popsicle.
The possibilities are truly endless once you have a good mold. Want to turn your healthy breakfast into a cool treat? Green smoothies as a popsicle? Absolutely! Craving something creamy and tropical? Mango and yogurt blend seamlessly into a delightful frozen pop. For a more decadent, yet still wholesome option, consider a dessert-inspired treat like blueberries, cream cheese, and yogurt, all frozen into a convenient stick. And of course, for today’s star, the classic combination of refreshing yogurt and sweet cherries creates a symphony of flavors in a portable, fun format.
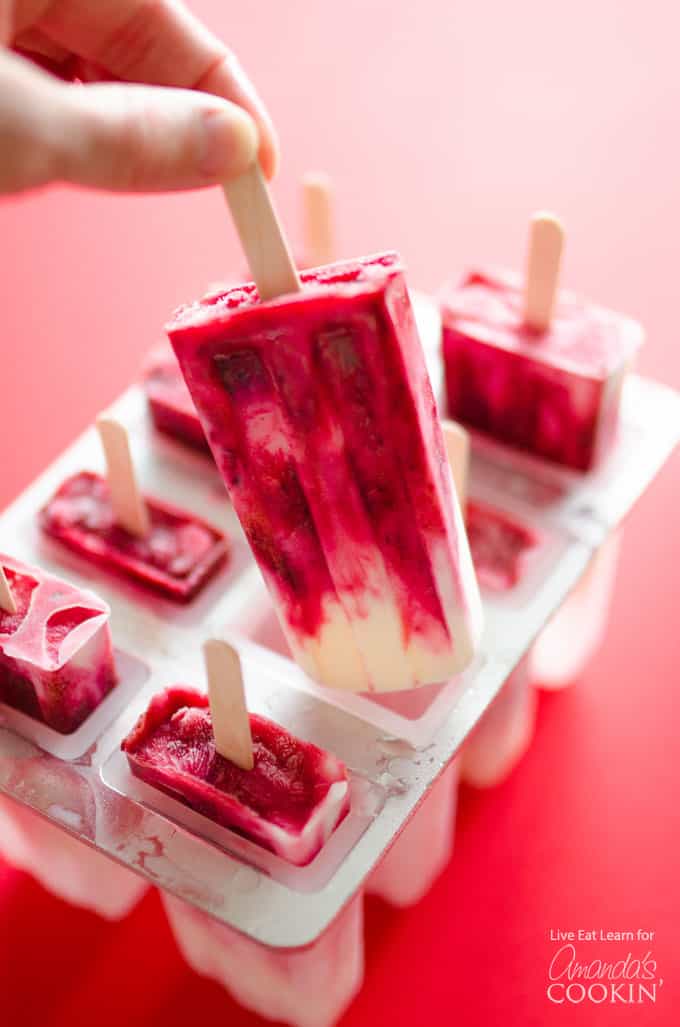
The beauty of these homemade treats lies in their simplicity and the control you have over the ingredients. You can opt for organic, sugar-free, or dairy-free options to suit any dietary need. The process itself is surprisingly straightforward, involving just a few steps. You’ll simply mix plain Greek yogurt with a touch of honey and vanilla extract to form a creamy, slightly sweet base. Then, fresh or frozen cherries are processed until they reach a desired consistency – chunky or smooth, it’s up to your preference. Layer these two delicious components into your popsicle molds, and let the freezer do the rest. The anticipation builds as they chill, promising a delightful reward.
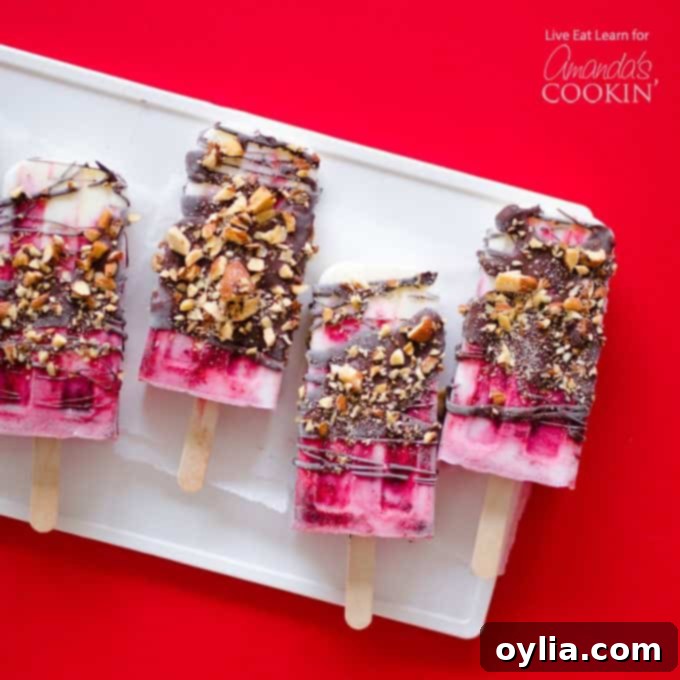
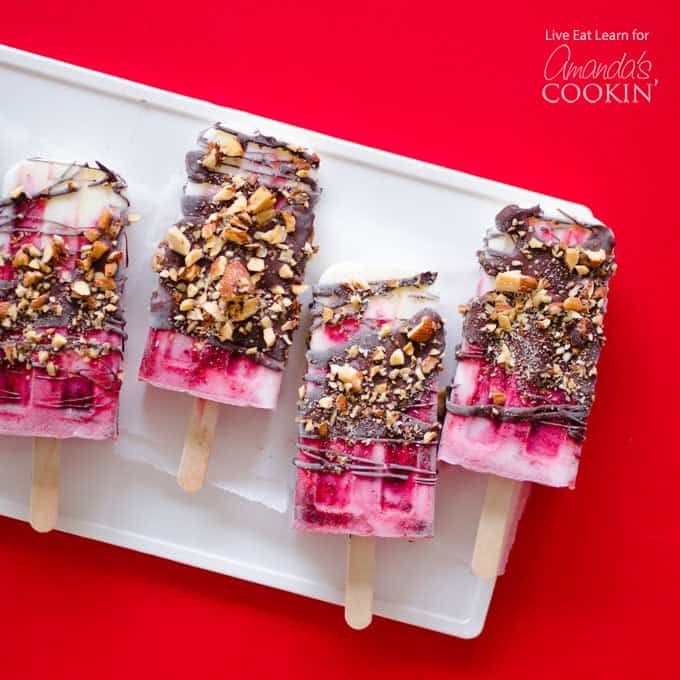
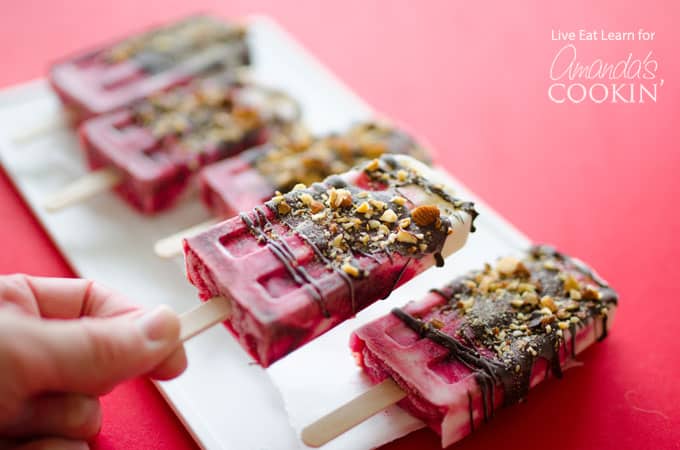
Once your Cherry Yogurt Popsicles are perfectly frozen and firm, the real magic happens: the luscious chocolate shell! We’ll dip these vibrant pops into a homemade magic shell—that nostalgic chocolate sauce that instantly hardens into a crisp coating when it touches something cold. It’s a trick that brings out the inner child in all of us. A final flourish of chopped almonds adds a wonderful textural contrast and a hint of nutty flavor, elevating these simple popsicles to a gourmet experience. The result? Exquisitely delicious and stunning Cherry Yogurt Popsicles that are as pleasing to the eye as they are to the palate!
Key Ingredients for Your Delicious Cherry Yogurt Popsicles
Creating these delightful popsicles requires a handful of simple, wholesome ingredients that come together to create a symphony of flavors and textures. Here’s what you’ll need to gather:
- 1 cup plain Greek yogurt: This forms the creamy, protein-packed base of your popsicles. Greek yogurt provides a wonderful tang that perfectly complements the sweetness of the cherries, and its thick consistency helps the popsicles freeze beautifully.
- 1 Tbsp honey: A natural sweetener that adds a touch of sweetness without being overly sugary. You can adjust the amount to your taste or substitute with maple syrup.
- ¼ tsp vanilla extract: A dash of vanilla enhances all the other flavors, adding a warm, aromatic note to the yogurt base.
- 1 cup cherries (fresh or frozen): The star of the show! Whether you choose fresh, pitted cherries or convenient frozen ones, they will lend their vibrant color and sweet-tart flavor to these treats.
- ½ cup dark chocolate (chopped): For that irresistible magic shell! Dark chocolate not only tastes amazing but also offers antioxidants. Chopping it ensures it melts evenly.
- 2 Tbsp coconut oil: This is the secret ingredient for the “magic shell” effect. When melted with chocolate, it allows the chocolate to harden almost instantly upon contact with the cold popsicle, creating a satisfying crack.
- ¼ cup chopped almonds: Adds a fantastic crunch and nutty flavor, providing a delightful textural contrast to the smooth popsicle and crisp chocolate shell. Feel free to use other nuts or sprinkles if you prefer!
Essential Kitchen Tools for Popsicle Perfection
To make the process of creating your own Cherry Yogurt Popsicles smooth and enjoyable, a few basic kitchen tools will be incredibly helpful:
- Food processor: Ideal for quickly grinding the cherries into a smooth or slightly chunky puree, ensuring an even distribution of flavor throughout your popsicles.
- Popsicle molds: The crucial tool for shaping your frozen treats. There are many varieties available, from classic plastic molds to silicone ones, making unmolding a breeze.
- Popsicle sticks: For holding your delicious creations! Most molds come with reusable sticks, but extra wooden ones are always handy.
- Measuring cups and spoons: For accurate measurements, ensuring your ingredient ratios are perfect for the best flavor and consistency.
- Small saucepan and heat-resistant bowl: For creating a double-boiler setup to melt your chocolate gently for the magic shell.
Tips for Perfect Cherry Yogurt Popsicles Every Time
Making these Cherry Yogurt Popsicles is incredibly rewarding, and with a few simple tips, you can ensure they turn out perfectly every time, turning your summer into something truly delicious and miraculous.
- Choosing Your Cherries: Fresh, ripe cherries will give the best flavor, but frozen pitted cherries work just as well and are often more convenient. If using frozen, thaw them slightly before processing to ensure a smoother puree.
- Achieving the Right Yogurt Consistency: Greek yogurt is recommended for its thickness, which helps prevent ice crystals and results in a creamier popsicle. If using thinner yogurt, you might want to strain it slightly to remove excess whey, or reduce the honey slightly.
- Layering for Visual Appeal: Don’t rush the layering! Alternating spoonfuls of the yogurt and cherry mixture creates a beautiful marbled or striped effect in your popsicles. For distinct layers, you can slightly freeze each layer for 15-20 minutes before adding the next, though this is not strictly necessary for flavor.
- Freezing Time is Key: Patience is a virtue when it comes to popsicles! Allow at least 6 hours for them to freeze solid. Overnight freezing is ideal to ensure they are firm enough for the magic shell dipping without breaking.
- Effortless Unmolding: To easily remove your frozen popsicles from the molds, run the mold under warm water for about 10-15 seconds. This loosens the edges just enough for them to slide out smoothly without melting too much.
- The Magic Shell Technique: When preparing the chocolate magic shell, ensure the chocolate and coconut oil are fully melted and smooth. The key to its instant hardening is the temperature difference. Work quickly once the popsicle is out of the freezer – dip, drizzle, or spread the chocolate, then immediately sprinkle with almonds before the chocolate fully sets.
- Storage: Store any leftover popsicles in an airtight container or individually wrapped in parchment paper and then plastic wrap in the freezer to prevent freezer burn and keep them fresh for up to two weeks.
Variations and Serving Suggestions
These Cherry Yogurt Popsicles are fantastic as is, but don’t hesitate to experiment! You can substitute cherries with other fruits like raspberries, blueberries, or mixed berries. Try different flavored yogurts or add a pinch of cinnamon or cardamom for an exotic twist. For an extra protein boost, stir in a scoop of unflavored protein powder into the yogurt mix. Feel free to swap almonds for other chopped nuts, shredded coconut, or even colorful sprinkles for a festive look.
Beyond these delicious popsicles, there’s a whole world of frozen treats to explore. Looking for another colorful frozen delight? You might enjoy these vibrant rainbow popsicles from View From Great Island!
For more tasty and healthy frozen treats that are perfect for cooling down, check out how to make your very own creamy and delicious Nice Cream Milkshakes, or whip up this incredibly refreshing Pina Colada Smoothie! And last but certainly not least, for a classic, wholesome indulgence, this refreshing and healthy Strawberry Frozen Yogurt will hit the spot perfectly. Don’t forget to also explore our delightful Raspberry Mango Popsicles for another fruity twist!
More Popsicle Recipes You’ll Love
Once you fall in love with making homemade popsicles, you’ll want to try them all! Here are some other fantastic recipes to inspire your frozen treat adventures:
- Creamsicle Popsicles: A nostalgic treat with a creamy vanilla base and tangy orange swirl.
- Cherry Yogurt Popsicles: Our featured recipe, packed with tart cherries and creamy yogurt.
- Green Smoothie Popsicles: A clever way to get your greens in, disguised as a sweet frozen snack.
- Mint Chocolate Popsicles: A refreshing combination of cool mint and rich chocolate.
- Mango Yogurt Popsicles: Tropical mango puree swirled with creamy yogurt for a taste of paradise.
- Raspberry Mango Popsicles: A vibrant blend of two favorite fruits, bursting with flavor.
- Strawberry Banana Popsicles: A classic fruit combination that’s always a crowd-pleaser.
- Blueberry Cheesecake Popsicles: Indulgent and creamy, mimicking the beloved dessert in popsicle form.
- Fruit Popsicles: Simple and refreshing, featuring a medley of your favorite seasonal fruits.

Cherry Yogurt Popsicles
IMPORTANT – There are often Frequently Asked Questions within the blog post that you may find helpful. Simply scroll back up to read them!
Print It
Pin It
Rate It
Save ItSaved!
Ingredients
- 1 cup plain Greek yogurt
- 1 Tbsp honey
- ¼ tsp vanilla extract
- 1 cup cherries fresh or frozen
- ½ cup dark chocolate chopped
- 2 Tbsp coconut oil melted
- ¼ cup chopped almonds
Before You Begin
Instructions
-
In a small bowl, combine yogurt, honey, and vanilla. Stir until well mixed and smooth.
-
In a food processor, add the cherries (fresh or frozen, pitted). Grind them until they are a fairly smooth puree, or leave a few small chunks for added texture if you prefer.
-
Carefully spoon a small amount of the yogurt mixture into each popsicle mold, followed by a spoonful of the cherry puree. Continue adding alternating layers of yogurt and cherry until each mold is full. Insert popsicle sticks and freeze the molds until the popsicles are completely hard, which will take at least 6 hours or preferably overnight.
-
About 10-15 minutes before you are ready to remove the popsicles, prepare the chocolate magic shell. In a heat-resistant bowl, combine the chopped dark chocolate and coconut oil. Bring a small pot of water to a gentle boil, then set the bowl of chocolate over the boiling water (creating a double boiler). Stir constantly until most of the chocolate has melted. Remove the bowl from over the steam and continue to stir until the chocolate is completely smooth and melted.
-
Remove the popsicles from the freezer. To easily release them from the molds, run the molds under warm tap water for a few seconds. Gently pull each popsicle from its mold. Immediately drizzle generously with the melted chocolate magic shell and quickly sprinkle with the chopped almonds before the chocolate hardens. Serve immediately or return to the freezer for later enjoyment.
Nutrition
The recipes on this blog are tested with a conventional gas oven and gas stovetop. It’s important to note that some ovens, especially as they age, can cook and bake inconsistently. Using an inexpensive oven thermometer can assure you that your oven is truly heating to the proper temperature. If you use a toaster oven or countertop oven, please keep in mind that they may not distribute heat the same as a conventional full sized oven and you may need to adjust your cooking/baking times. In the case of recipes made with a pressure cooker, air fryer, slow cooker, or other appliance, a link to the appliances we use is listed within each respective recipe. For baking recipes where measurements are given by weight, please note that results may not be the same if cups are used instead, and we can’t guarantee success with that method.
