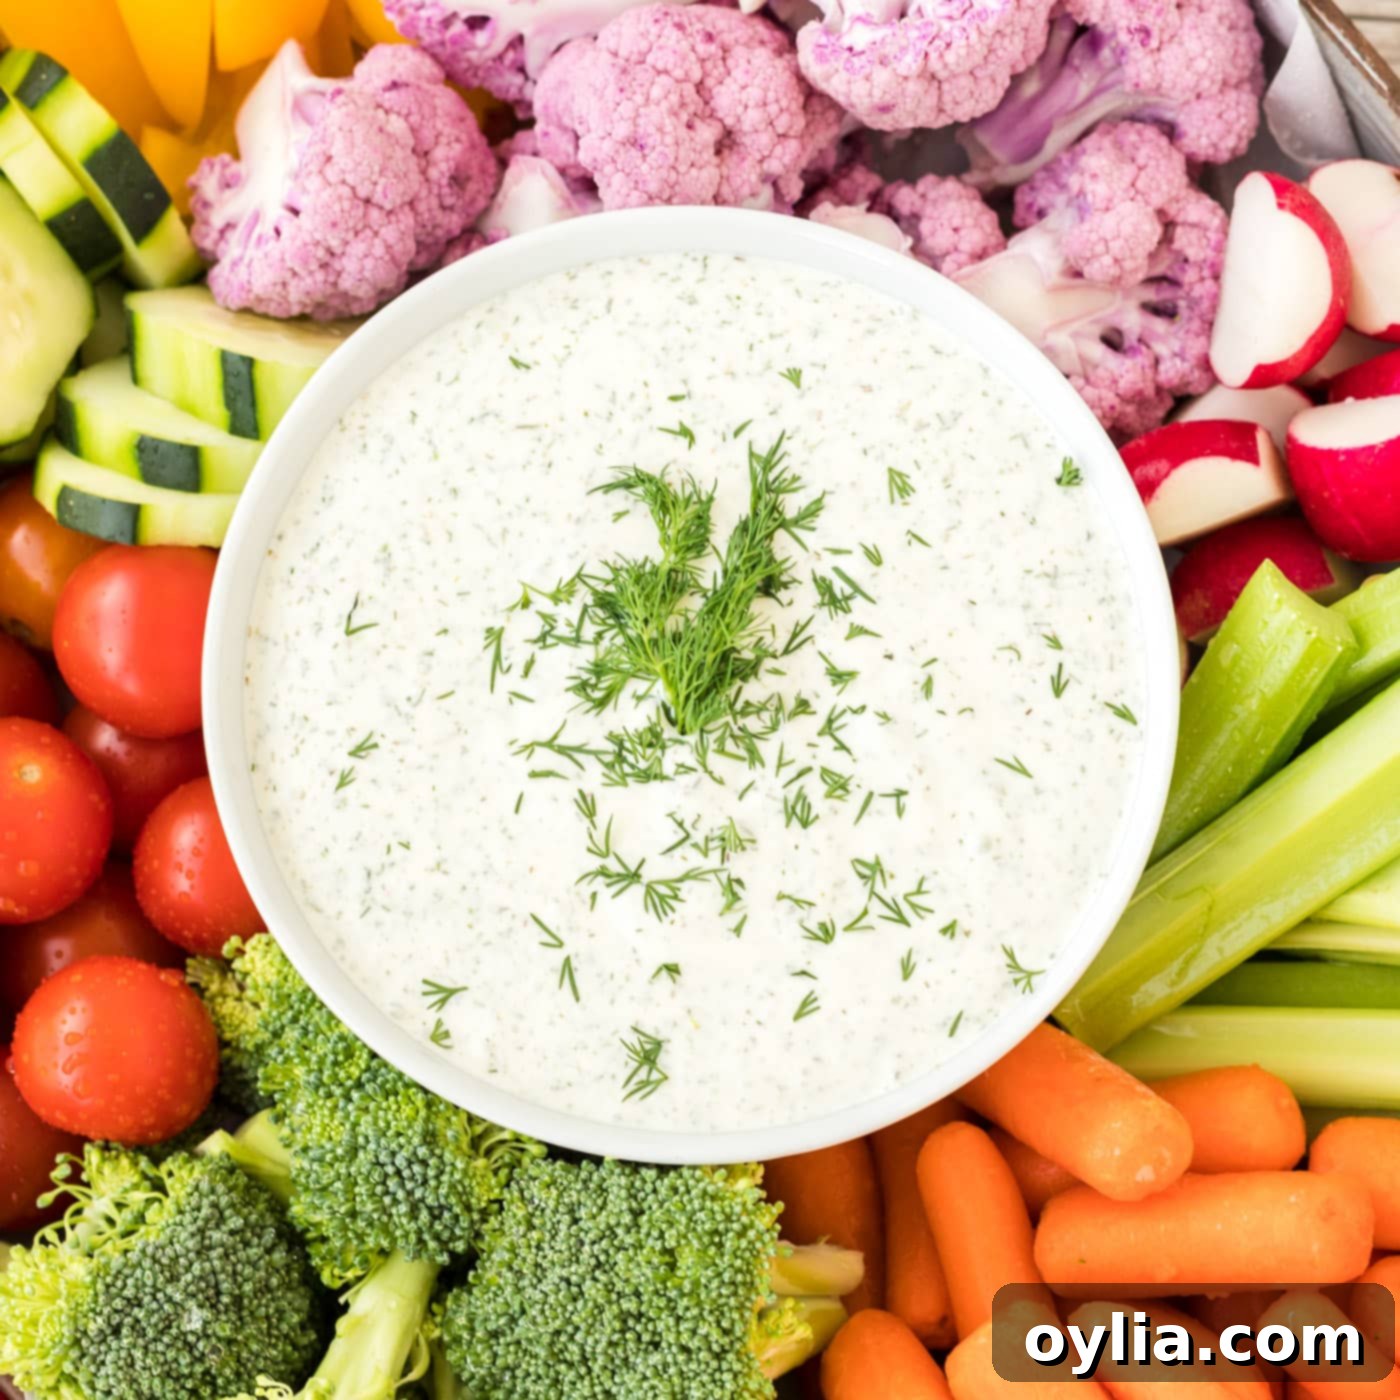
The Ultimate Creamy Dill Dip Recipe: Your Easy & Flavorful Party Appetizer
Prepare to delight your taste buds with our sensational creamy dill dip! This recipe starts with a rich, tangy base of sour cream and mayonnaise, then elevates the flavor profile with an abundance of both dried and fresh dill. It’s the perfect companion for a colorful assortment of crisp vegetables, crunchy chips, or savory pretzels, making it an indispensable addition to any gathering.
Why This Creamy Dill Dip Recipe Is a Must-Try
Dill dip holds a special place as one of the most beloved party appetizers, and for excellent reasons. Its smooth, incredibly creamy texture and vibrant flavor effortlessly complement almost any dipper you can imagine. Whether it’s crisp garden vegetables or salty potato chips, this dip is a match made in heaven. Beyond its universal appeal, this creamy dill dip is remarkably easy to prepare, making it your go-to solution for game nights, potlucks, football parties, or any event where you need a quick yet irresistibly tasty appetizer ready in just 10 minutes or less. Simply blend the ingredients, chill to perfection, and get ready to dip!
One of the brilliant secret ingredients in our dill dip is a splash of pickle juice. This seemingly small addition works wonders, livening up the entire flavor profile. It introduces just the right balance of vinegar for tang, salt for seasoning, and an extra layer of dill essence, building upon an already delicious foundation. If you’re someone who appreciates the distinctive zest of pickles, you’ll absolutely adore the added depth this brings. And if you’re a true pickle enthusiast, don’t miss our fantastic dill pickle dip recipe!
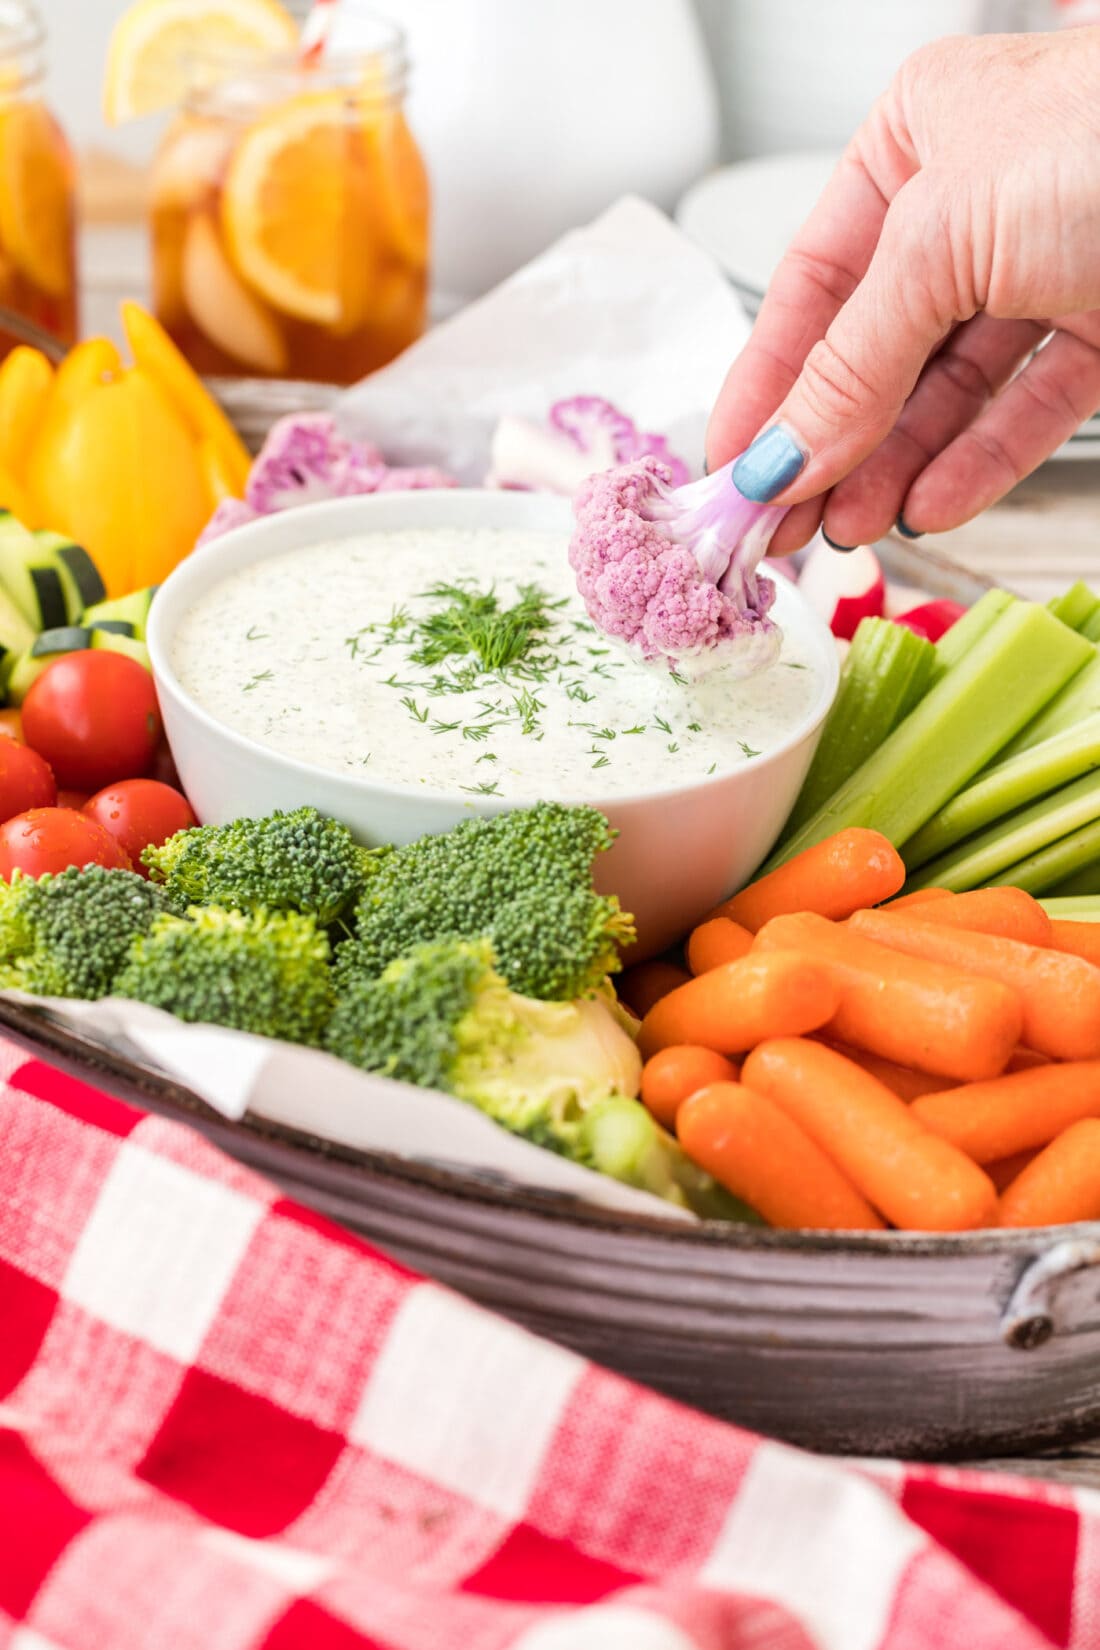
Key Ingredients for Your Delicious Dill Dip
Crafting this delightful dill dip requires just a handful of accessible ingredients that work in harmony to create its signature creamy, tangy, and herbaceous profile. Before diving into the detailed notes and substitutions, here’s a quick overview of what you’ll need. For exact measurements and a convenient printable version of the full recipe, simply scroll to the end of this post.
- Sour Cream
- Mayonnaise (both regular and horseradish mayo)
- Fresh Dill
- Dried Dill
- Diced Shallots
- Garlic Powder
- Garlic Salt
- Pickle Juice (preferably dill pickle juice)
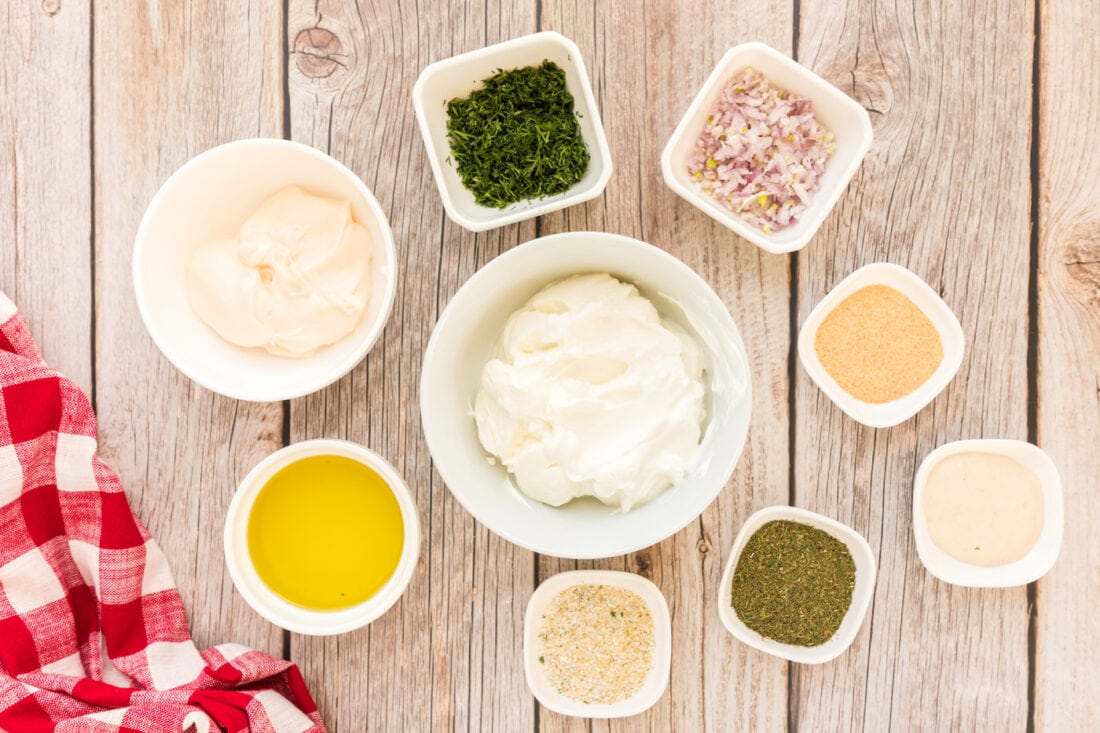
Ingredient Spotlight & Smart Substitutions
Understanding each ingredient’s role allows for perfect execution and clever customizations. Here’s a deeper dive into the components of our delicious dill dip:
- SOUR CREAM – For that signature rich and velvety texture, full-fat sour cream is highly recommended. It provides unparalleled creaminess and a delightful tang that balances the other flavors. If you’re looking for a lighter alternative, light sour cream works well too. For a lower-calorie and higher-protein option, plain Greek yogurt can be substituted. Keep in mind that Greek yogurt will introduce a slightly different, more pronounced tang and a thicker consistency, so you might need to thin it slightly with a touch of milk or water if desired.
- MAYO – Our recipe calls for a blend of regular mayonnaise and horseradish mayonnaise. The horseradish mayo is a secret weapon, imparting a subtle, zesty kick and an additional layer of complexity that truly elevates this dip beyond the ordinary. However, if horseradish isn’t to your taste or readily available, you can certainly omit it and use an equal amount of regular mayonnaise. For a different twist, consider using a high-quality avocado oil mayonnaise for a slightly richer flavor.
- DILL (Fresh & Dried) – The magic of this dill dip lies in using both dried and fresh dill. Dried dill offers a concentrated, earthy dill flavor, while fresh dill brings a bright, herbaceous aroma and a vibrant, fresh taste that cannot be replicated. Using both creates a layered, more robust dill experience. While it’s perfectly acceptable to use only dried dill if fresh is unavailable, we strongly encourage using fresh dill if you can, as it is key to achieving that truly outstanding, dill-centered flavor. When buying fresh dill, look for bright green, feathery fronds, and store it in the refrigerator with the stems in a glass of water, covered loosely with plastic wrap.
- SHALLOTS – Diced shallots provide a milder, sweeter onion flavor than traditional onions, adding a delicate aromatic depth without overpowering the dill. If you don’t have shallots, a very finely minced chive or a tiny bit of red onion can be used as a substitute, but use sparingly.
- GARLIC POWDER & GARLIC SALT – These powdered forms of garlic offer a consistent, mellow garlic flavor that blends seamlessly into the creamy base. Garlic salt also contributes to the overall seasoning. Adjust the amount of garlic salt based on your preference and the saltiness of your mayonnaise and pickle juice. If using fresh garlic, mince it very, very finely or grate it to ensure no raw garlic chunks.
- PICKLE JUICE – The secret ingredient! A splash of dill pickle juice introduces a wonderful acidity and a briny, tangy depth that perfectly complements the creamy base and enhances the dill flavor. It provides a unique brightness and cuts through the richness of the sour cream and mayo. Make sure to use dill pickle juice for the best results; other pickle juices might have different flavor profiles.
Effortlessly Craft Your Creamy Dill Dip
These step-by-step photos and instructions are here to help you visualize how to make this recipe. You can Jump to Recipe to get the printable version of this recipe, complete with measurements and instructions at the bottom.
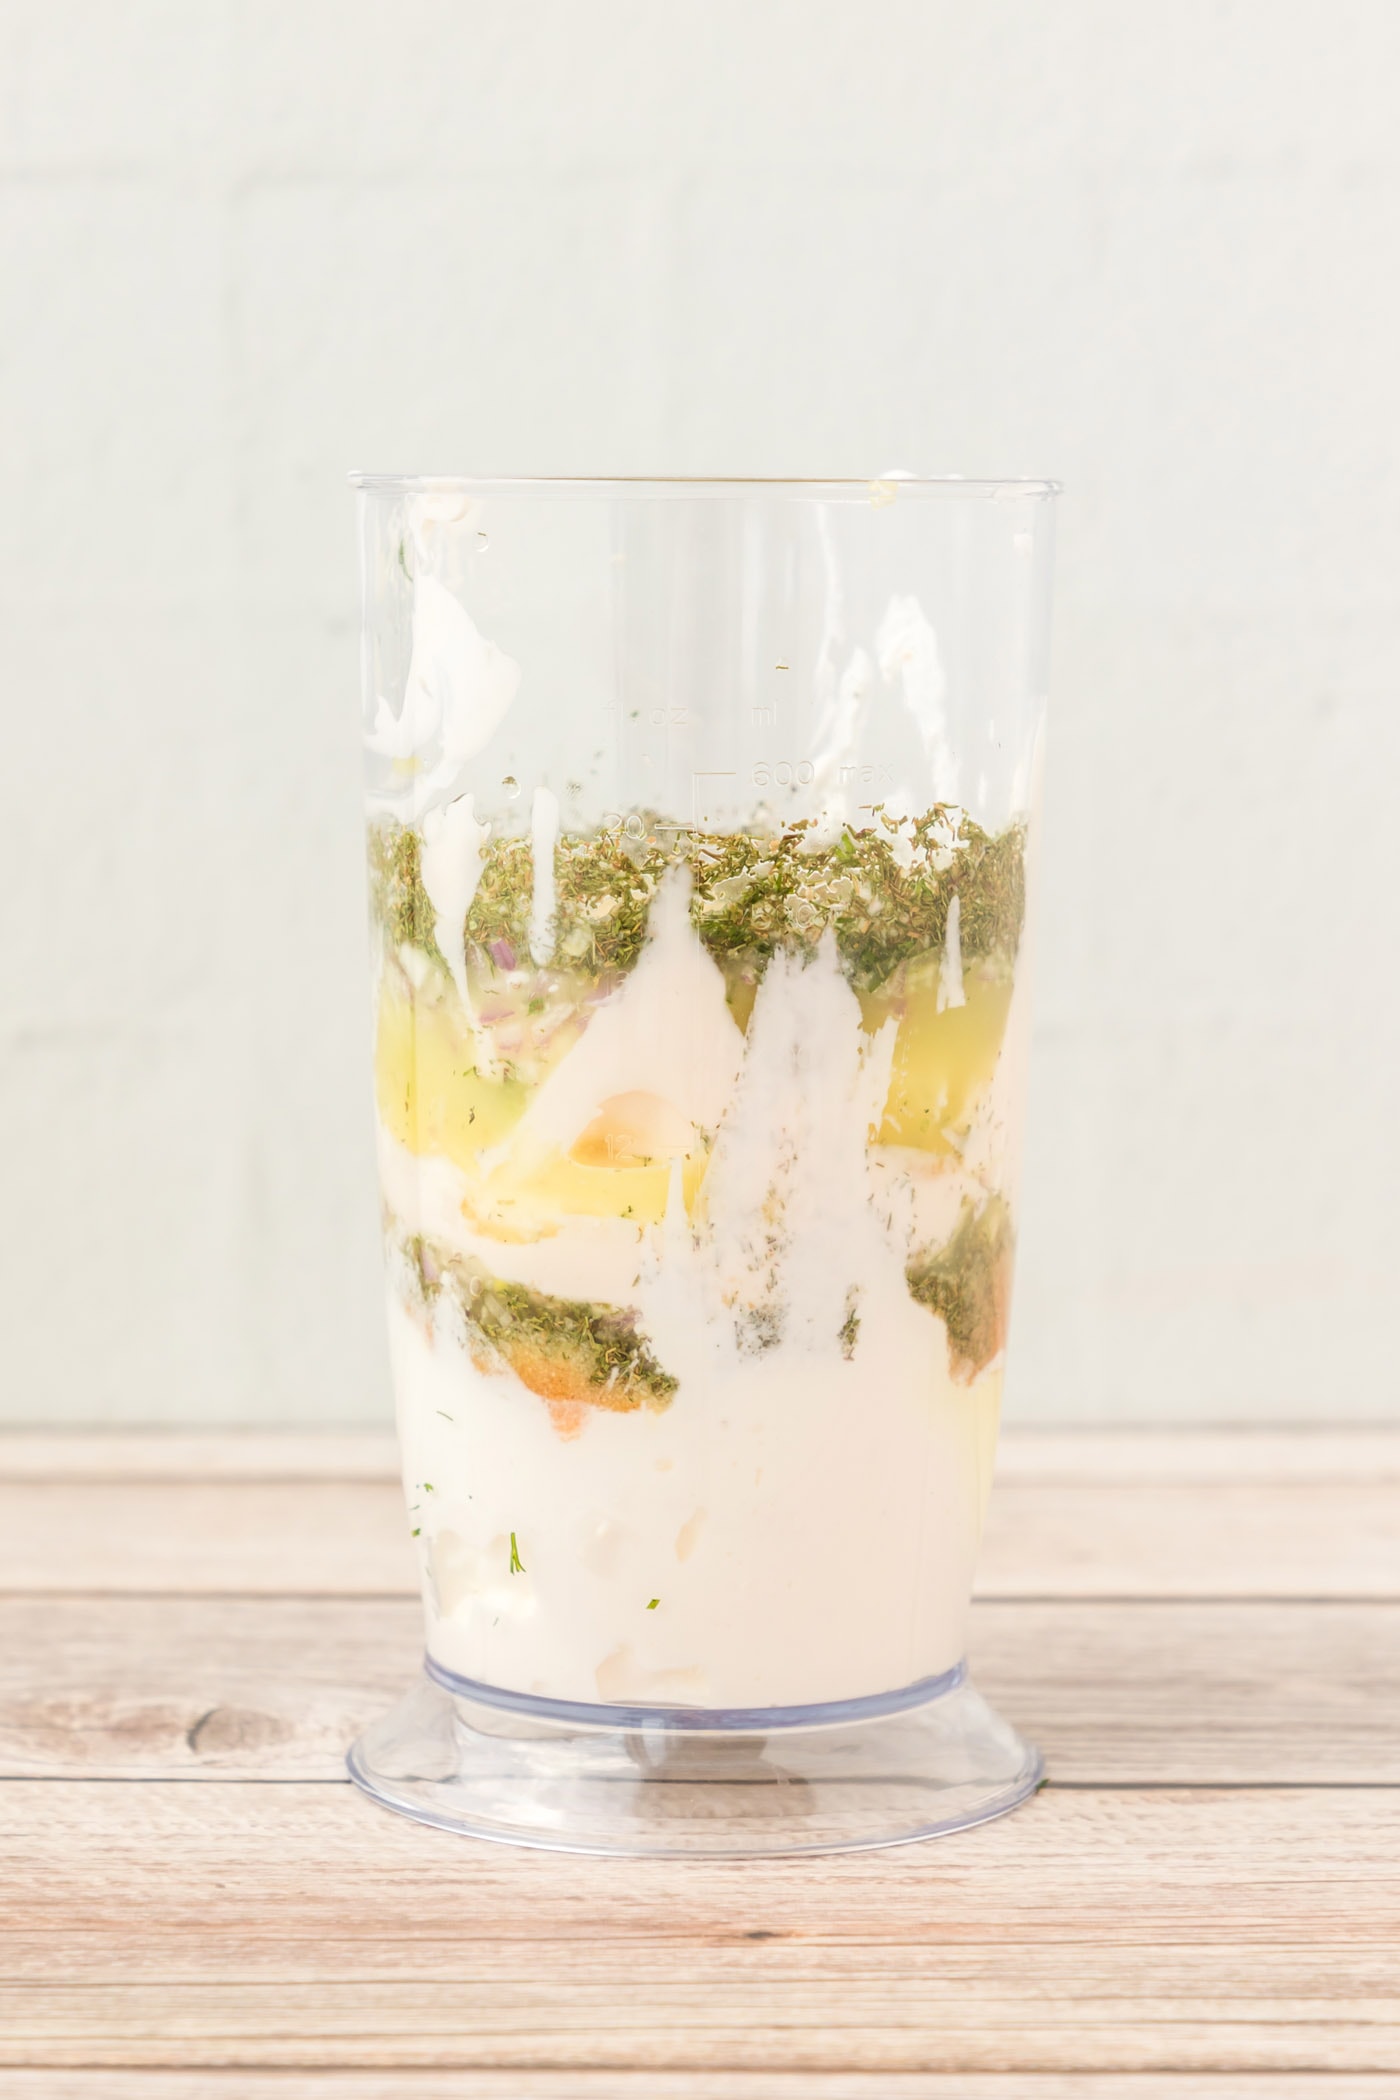
- Begin by gathering all your ingredients. Add the sour cream, mayonnaise (both regular and horseradish if using), diced shallots, garlic powder, garlic salt, fresh dill, dried dill, and pickle juice into an immersion blender container or a food processor bowl. Ensure all ingredients are added in the order listed for optimal blending.

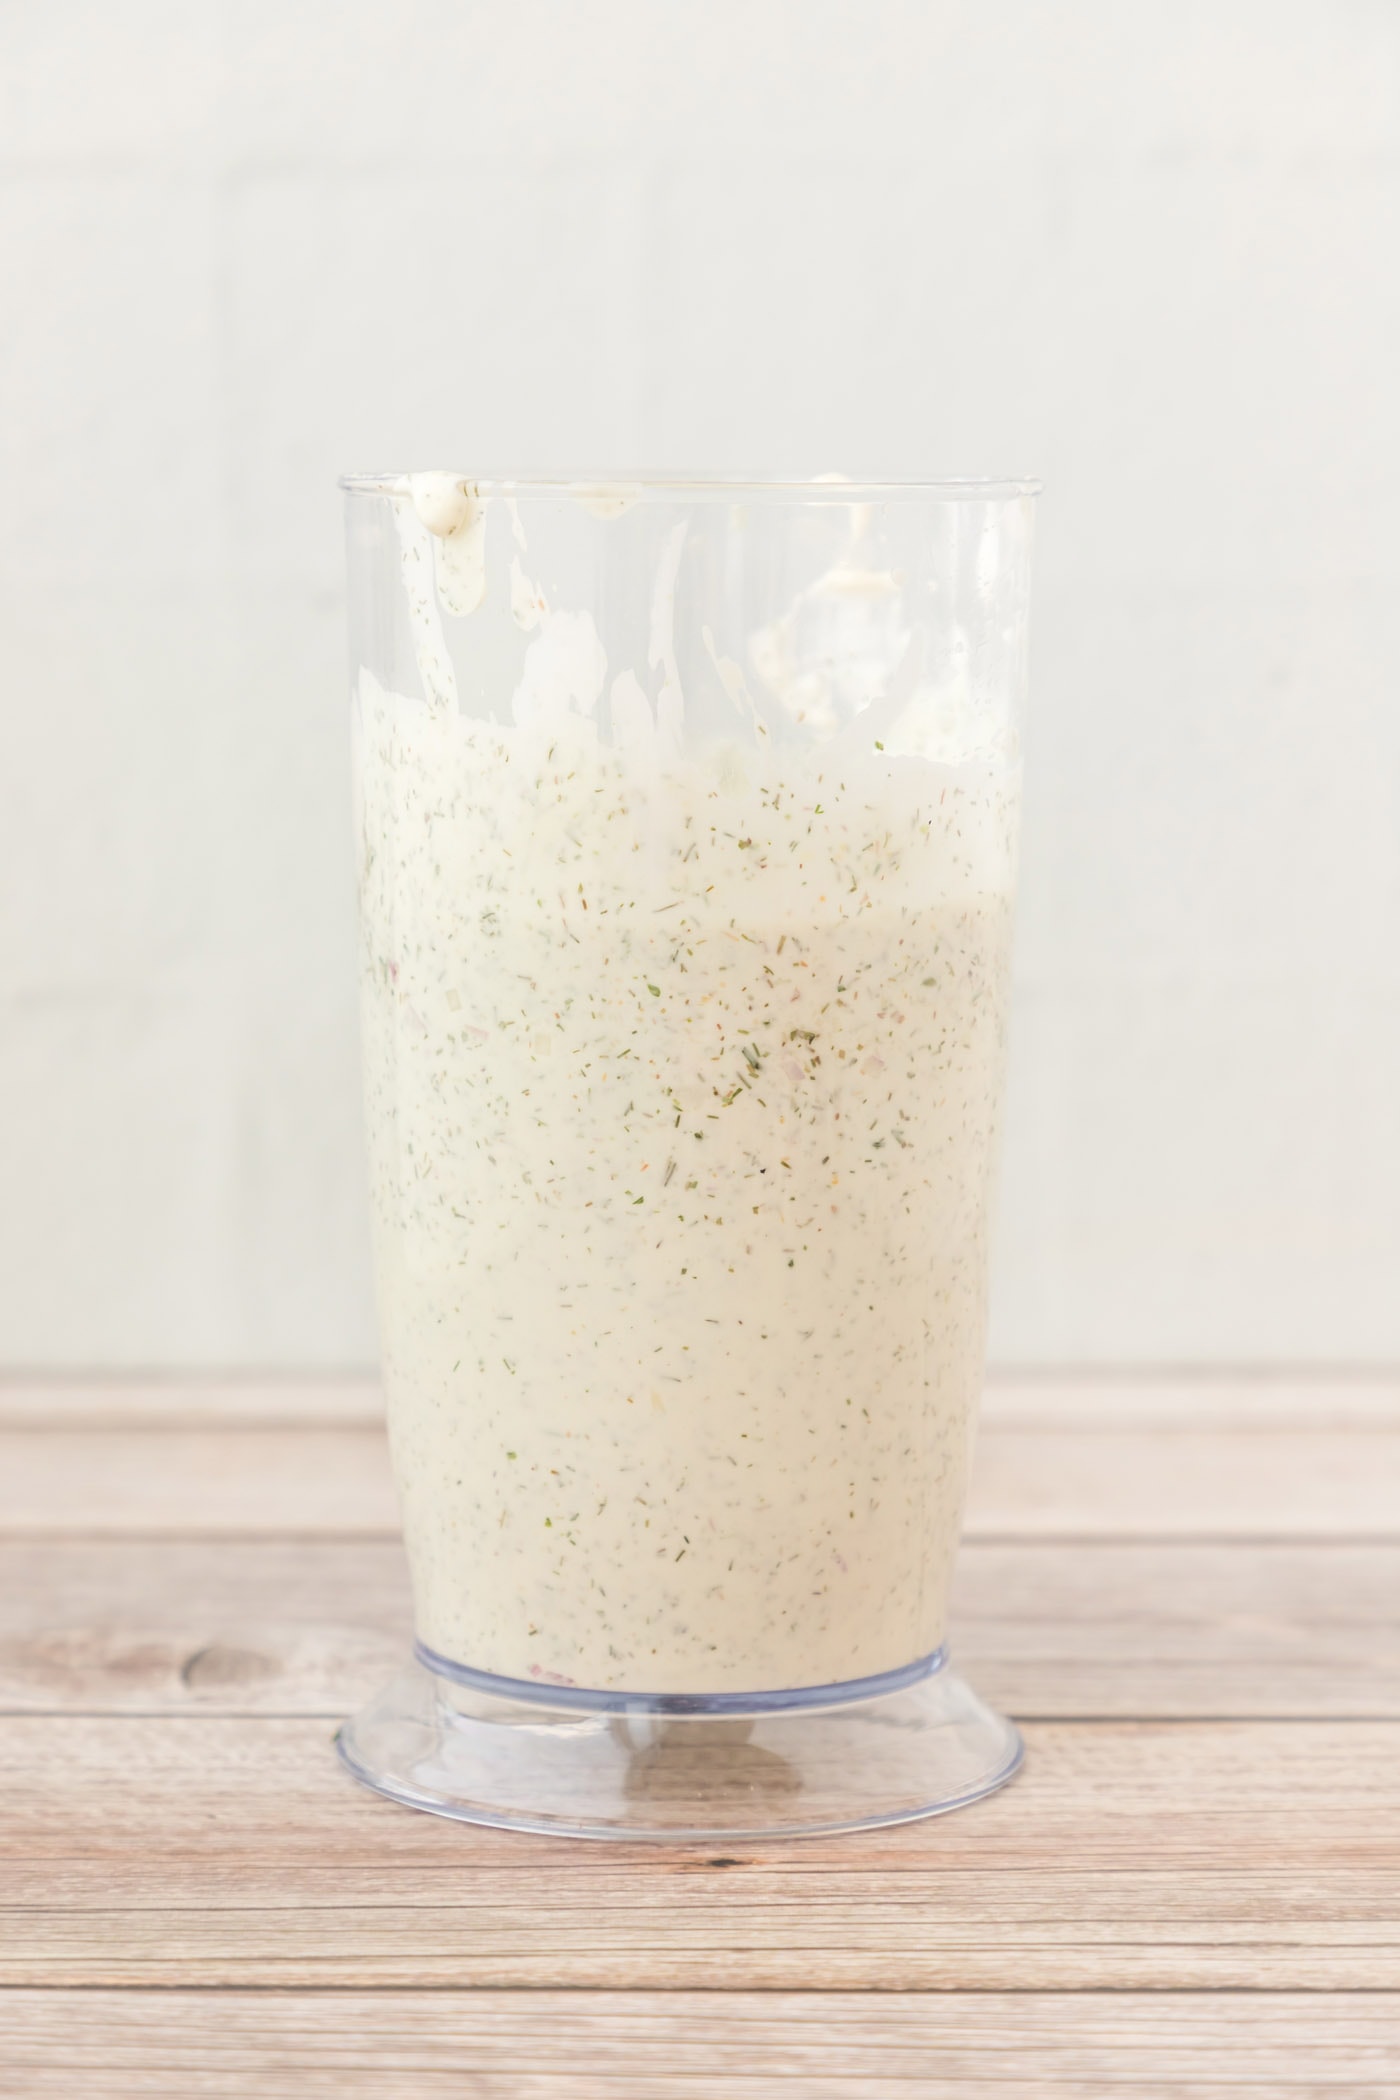
- Process the mixture using your immersion blender or food processor until all ingredients are thoroughly combined and the dip is smooth and creamy. Scrape down the sides of the bowl as needed to ensure everything is incorporated evenly. Avoid over-blending, which can make the dip too thin.

- Once blended, pour the creamy dill dip into a medium-sized serving bowl. Cover the bowl tightly with plastic wrap and refrigerate for at least 4 hours before serving. This chilling period is crucial as it allows the flavors to fully meld and deepen, resulting in a much more delicious and cohesive dip.
Frequently Asked Questions & Expert Tips for Perfect Dill Dip
Absolutely! This dill dip is an excellent make-ahead appetizer. You can prepare it up to 24 hours in advance. For optimal flavor development, it’s ideal to make this dip and store it in the refrigerator for a minimum of 4 hours before serving. The longer it sits, the more the dill, garlic, and pickle juice flavors are able to mingle and intensify, resulting in a more harmonious and delicious dip. Just ensure it’s properly stored in an airtight container in the refrigerator. We love using these particular mixing bowls with lids for convenient prepping, storing, and serving.
Store your homemade dill dip in an airtight container in the refrigerator. When properly stored, it will last for up to 4 days. Always remember to refrigerate the dip promptly when you are not actively consuming it, especially if it has been sitting out at room temperature for more than two hours.
If your dip is too thick for your liking, you can thin it out by adding a small amount of milk (dairy or non-dairy), a little more pickle juice, or even a tablespoon of water at a time until you reach your desired consistency. If it’s too thin, you can try adding a bit more sour cream or mayonnaise, or letting it chill longer, as chilling often helps to firm up dips.
Yes, you can! Simply substitute the sour cream with a dairy-free sour cream alternative or an unsweetened plain dairy-free yogurt (like almond or coconut yogurt). Ensure your mayonnaise is also dairy-free. Most regular mayonnaise is dairy-free, but always check the label. The flavor profile will be slightly different, but still wonderfully delicious.
Freezing is generally not recommended for sour cream and mayonnaise-based dips. The texture tends to change significantly upon thawing, often becoming watery and separated. For the best quality, it’s best to enjoy this dip fresh and within the recommended 4-day refrigeration period.
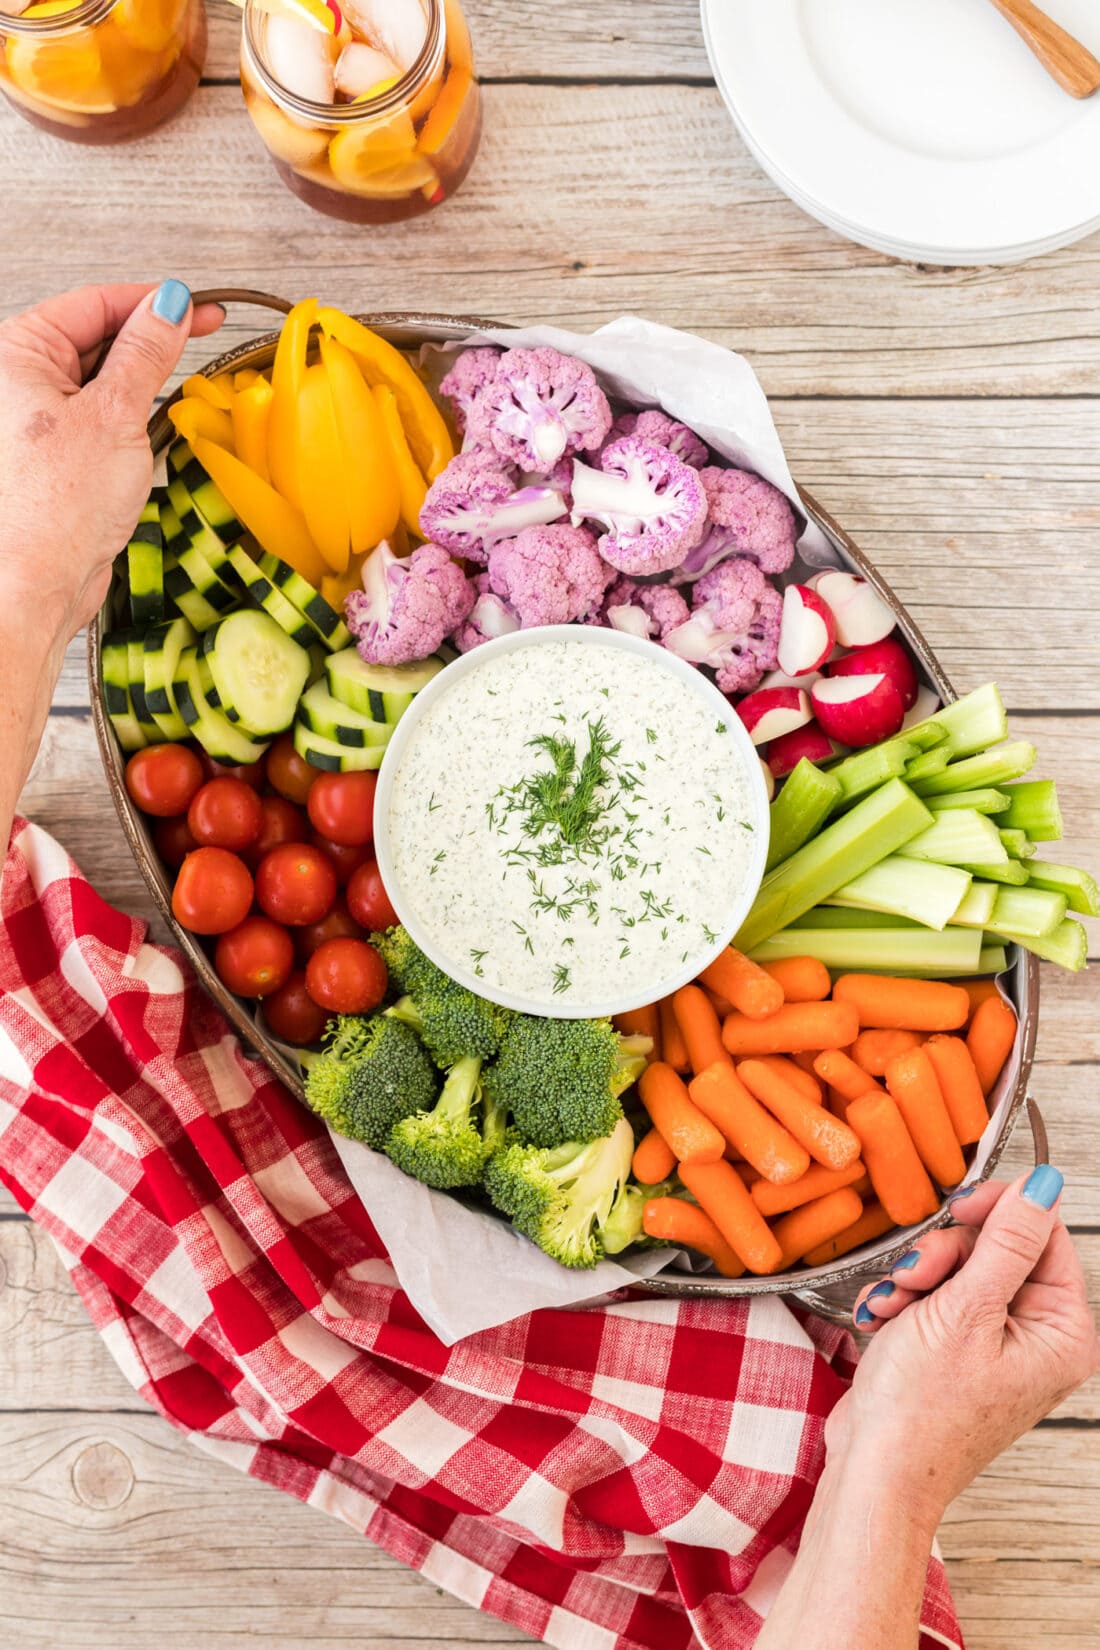
Creative Ways to Serve Your Creamy Dill Dip
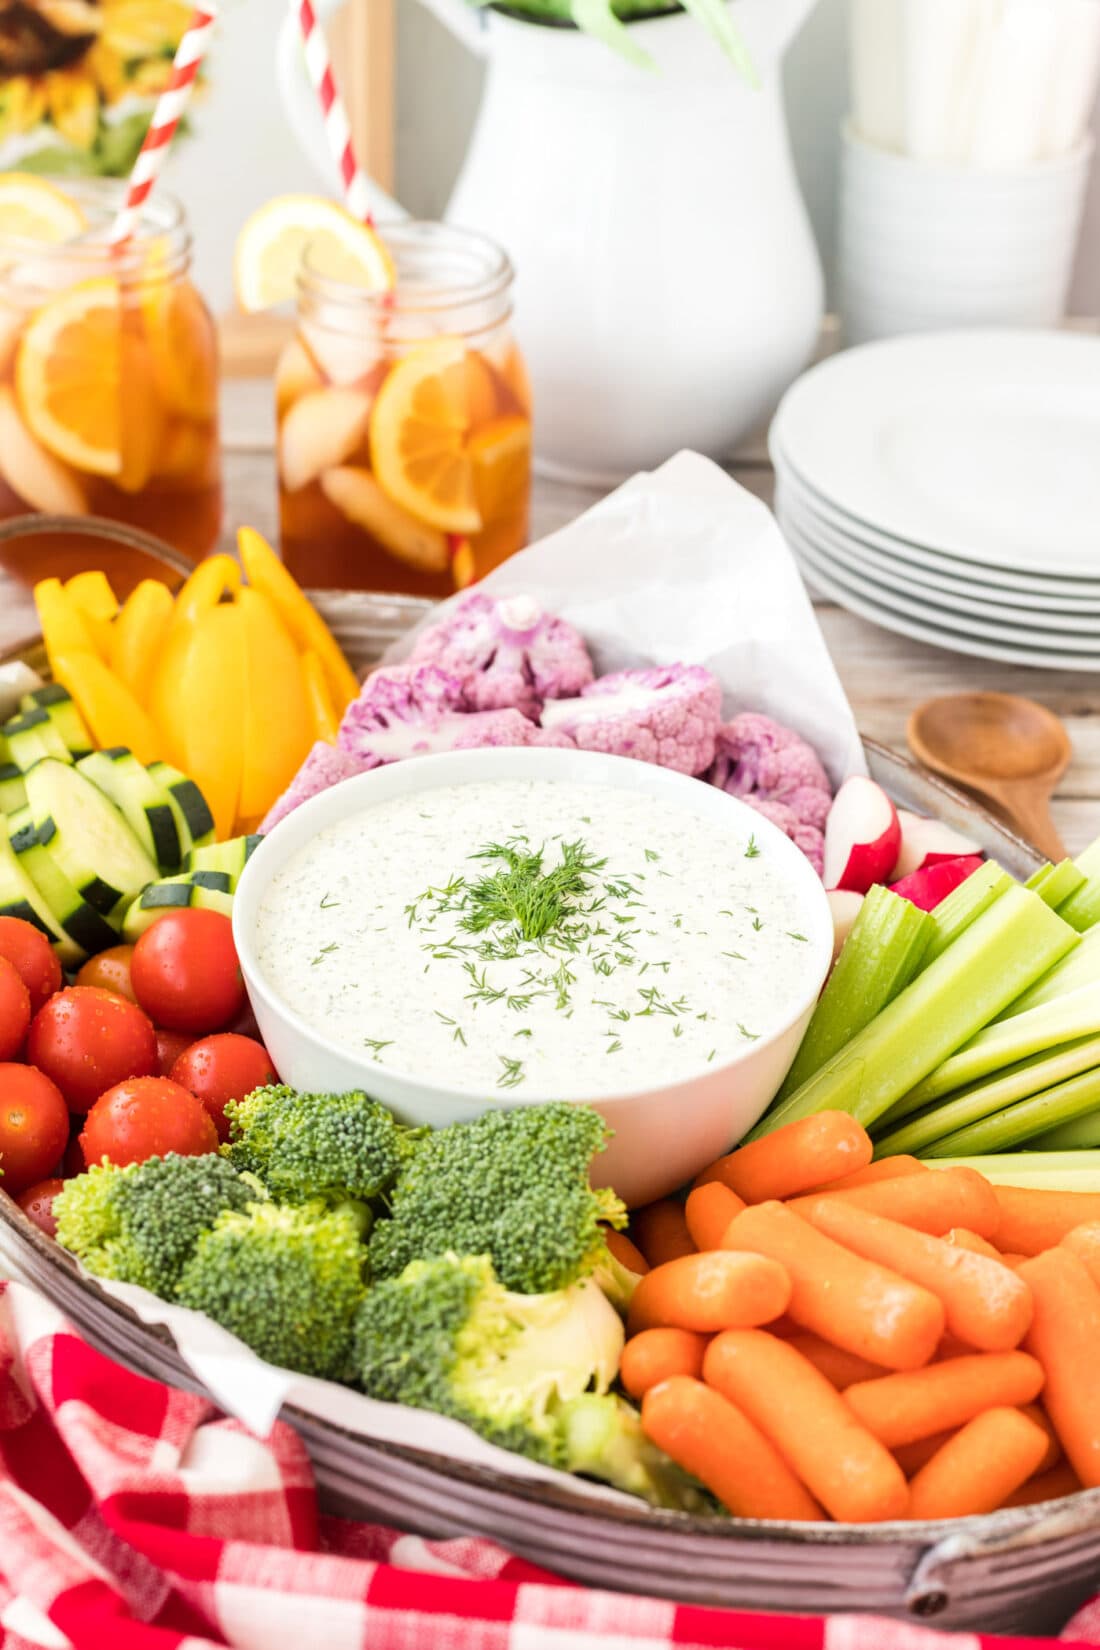
This versatile creamy dill dip is a crowd-pleaser that pairs wonderfully with a wide variety of dippers. Here are some fantastic serving suggestions to make your appetizer platter truly shine:
The Classic Crudités Platter
For a fresh and healthy option, arrange a colorful platter of crisp, raw vegetables. Some popular choices include:
- Celery sticks
- Carrot sticks or baby carrots
- Broccoli florets
- Cauliflower florets
- Cherry tomatoes (halved or whole)
- Cucumber slices or spears
- Radish slices
- Colorful bell pepper strips (red, yellow, orange)
- Sugar snap peas or snow peas
- Asparagus spears (blanched or raw)
Salty & Crunchy Dippers
When entertaining, it’s always a good idea to offer a variety of textures. Complement your veggies with some satisfyingly salty and crunchy options:
- Classic potato chips (especially ruffled ones for scooping!)
- Pretzels (twists or sticks)
- Rye chips or toasted pita chips
- Crackers of various shapes and flavors
- Tortilla chips (plain or flavored)
Beyond the Dip Bowl
Don’t limit this amazing dill dip to just dipping! It can also be used as:
- A flavorful spread for sandwiches or wraps.
- A creamy sauce for grilled chicken or fish.
- A zesty dressing for a simple green salad.
- A topping for baked potatoes or loaded fries.
The Benefits of Making Dill Dip from Scratch
While store-bought dips offer convenience, making your dill dip at home comes with a host of advantages that make the minimal effort well worth it:
- Superior Flavor: Homemade means fresh ingredients, and the taste difference is undeniable. You control the quality and quantity of each herb and spice, resulting in a dip that’s vibrant and bursting with flavor, far beyond what you’d find in a pre-made container.
- No Unwanted Additives: When you make it yourself, you avoid preservatives, artificial flavors, and excessive sugars or sodium often found in commercial dips. You know exactly what’s going into your body.
- Customization: Love more garlic? Add extra! Prefer a tangier dip? Increase the pickle juice. Making it from scratch allows you to tailor the flavors precisely to your preferences and dietary needs.
- Cost-Effective: Dips can be surprisingly expensive at the grocery store. With common pantry staples and a few fresh ingredients, you can make a generous batch of this dill dip for a fraction of the cost.
- Impress Your Guests: There’s something special about serving a homemade appetizer. Your guests will appreciate the effort and the delicious result, making you the star of the party!
Variations & Customizations to Try
This dill dip recipe is fantastic as is, but it also serves as a wonderful base for experimentation. Feel free to get creative and tailor it to your liking:
- Lemon Zest & Juice: A little fresh lemon zest and a squeeze of lemon juice can brighten the dip even further, adding another layer of tangy freshness.
- Spice It Up: For a touch of heat, a pinch of cayenne pepper or a dash of hot sauce can add a subtle kick without overpowering the dill.
- Herbal Boost: Beyond dill, consider adding other finely chopped fresh herbs like chives, parsley, or even a hint of mint for a different aromatic profile.
- Cream Cheese Addition: For an even richer, thicker dip, blend in 2-4 ounces of softened cream cheese along with the other ingredients. This will give it a more spreadable consistency.
- Onion Powder Swap: If you don’t have shallots, a half teaspoon of onion powder can provide a similar underlying savory note.
- Smoky Flavor: A tiny dash of smoked paprika can add an unexpected depth and a subtle smoky aroma.
More Irresistible Party Dip Recipes
If you’re looking to expand your appetizer repertoire, here are some other fantastic party dip recipes that are sure to be a hit:
- Zesty Salsa Verde
- Tangy Dill Pickle Dip
- Hearty Beer Cheese Dip
- Sweet Cream Cheese Fruit Dip
- Light & Flavorful Skinny French Onion Dip
I absolutely love to bake and cook, and my greatest joy is sharing my kitchen experiences and delicious recipes with all of you! Remembering to come back each day for new culinary inspiration can be tough, which is why I offer a convenient newsletter every time a new recipe posts. Simply subscribe to receive your free daily recipes directly in your inbox and never miss a beat!
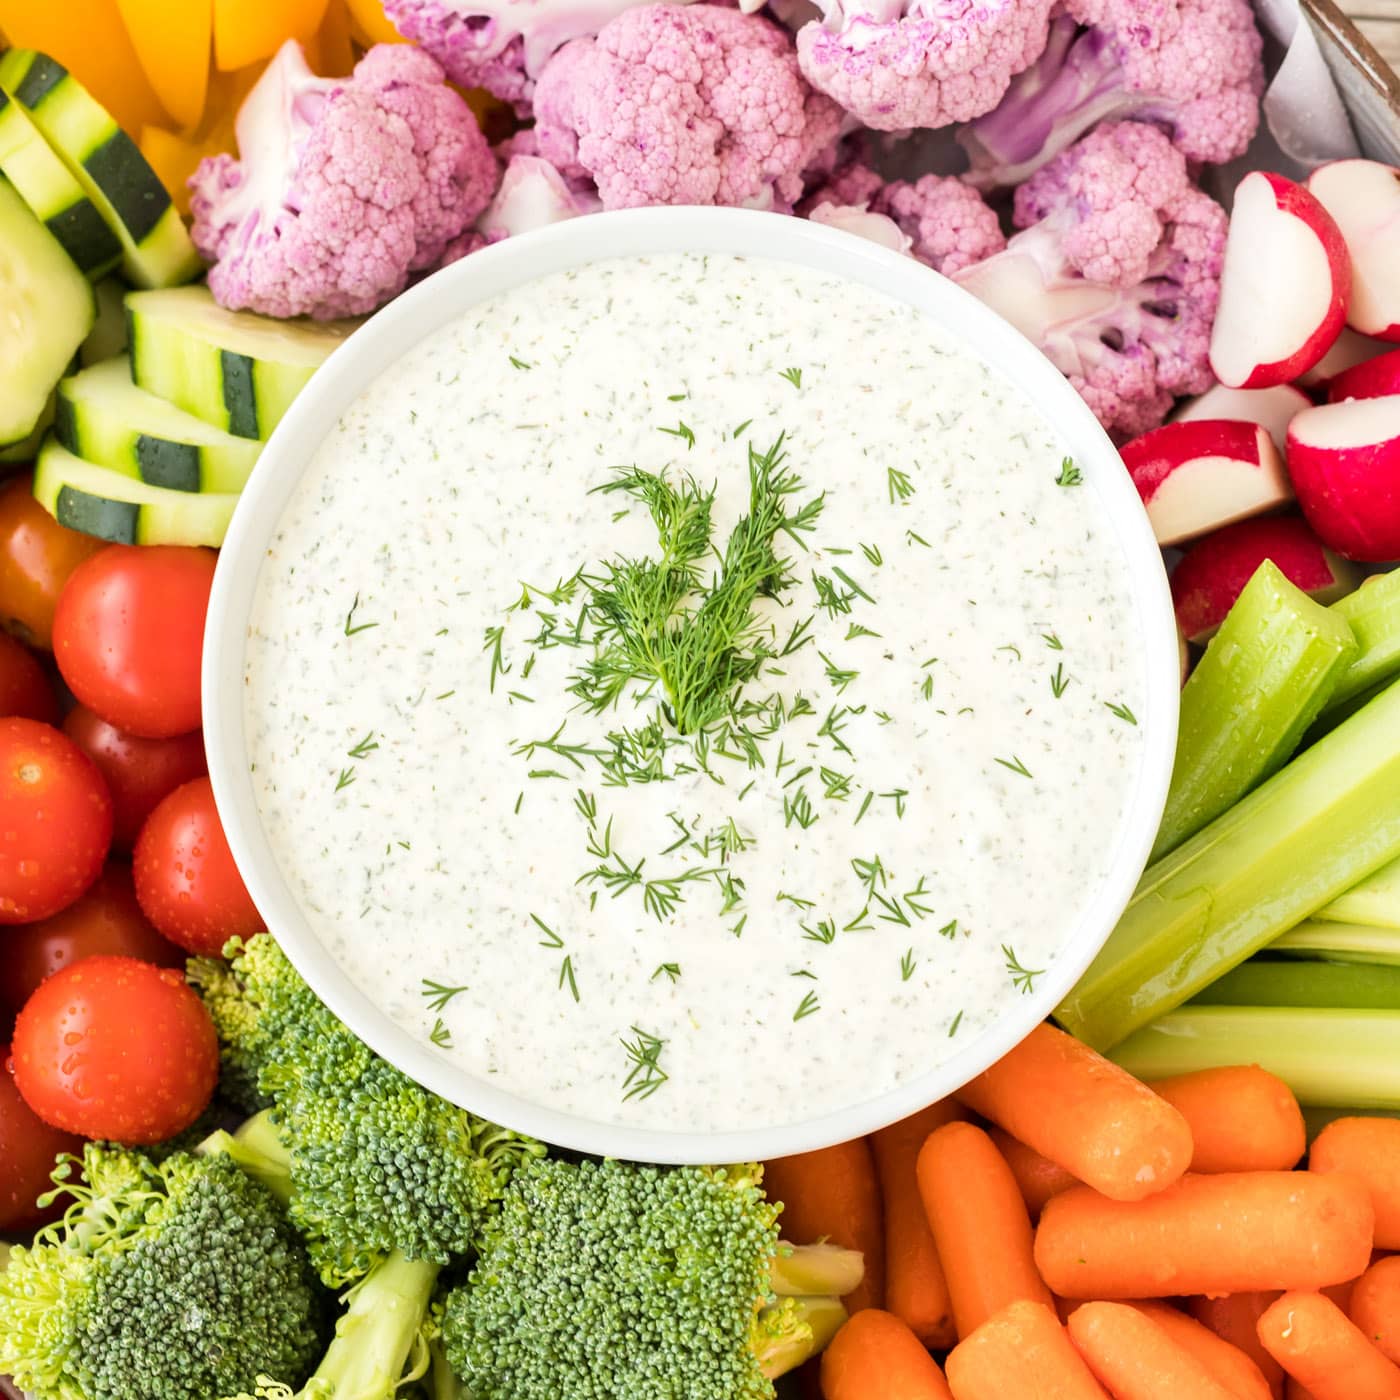
Dill Dip
IMPORTANT – There are often Frequently Asked Questions within the blog post that you may find helpful. Simply scroll back up to read them!
Print It
Pin It
Rate It
Save ItSaved!
Ingredients
- 8 ounces sour cream
- 2 Tablespoons shallots diced
- 1 Tablespoon horseradish mayo
- 1 Tablespoon garlic powder
- 2 Tablespoons fresh dill finely chopped
- 1 cup mayonnaise
- 1 Tablespoon garlic salt
- ¼ cup pickle juice preferably dill pickle juice
- 1 Tablespoon dried dill
Things You’ll Need
-
immersion blender or food processor
-
Serving bowl
-
Herb scissors
Before You Begin
- We are using both regular and horseradish mayo for enhanced flavor. While we highly recommend the horseradish mayo for an extra kick, you can certainly use all regular mayonnaise if preferred.
- For best results and to allow flavors to meld, prepare this dip at least 4 hours ahead of time. It can be made up to 24 hours in advance.
- Store any leftover homemade dill dip in an airtight container in the refrigerator for up to 4 days. Always refrigerate when not being served.
- Serve this versatile dip with fresh cut vegetables, crunchy crackers, or classic potato chips.
Instructions
-
Add all listed ingredients (sour cream, mayonnaise, shallots, garlic powder, garlic salt, fresh dill, dried dill, and pickle juice) to an immersion blender container or food processor bowl.
-
Blend the mixture until all ingredients are thoroughly combined and the dip achieves a smooth, creamy consistency.
-
Transfer the blended dip to a medium serving bowl, cover tightly with plastic wrap, and refrigerate for a minimum of 4 hours before serving to allow the flavors to fully develop.
Nutrition
The recipes on this blog are tested with a conventional gas oven and gas stovetop. It’s important to note that some ovens, especially as they age, can cook and bake inconsistently. Using an inexpensive oven thermometer can assure you that your oven is truly heating to the proper temperature. If you use a toaster oven or countertop oven, please keep in mind that they may not distribute heat the same as a conventional full sized oven and you may need to adjust your cooking/baking times. In the case of recipes made with a pressure cooker, air fryer, slow cooker, or other appliance, a link to the appliances we use is listed within each respective recipe. For baking recipes where measurements are given by weight, please note that results may not be the same if cups are used instead, and we can’t guarantee success with that method.
