The Ultimate Easy Peanut Butter Bread Recipe: A Sweet & Savory Delight
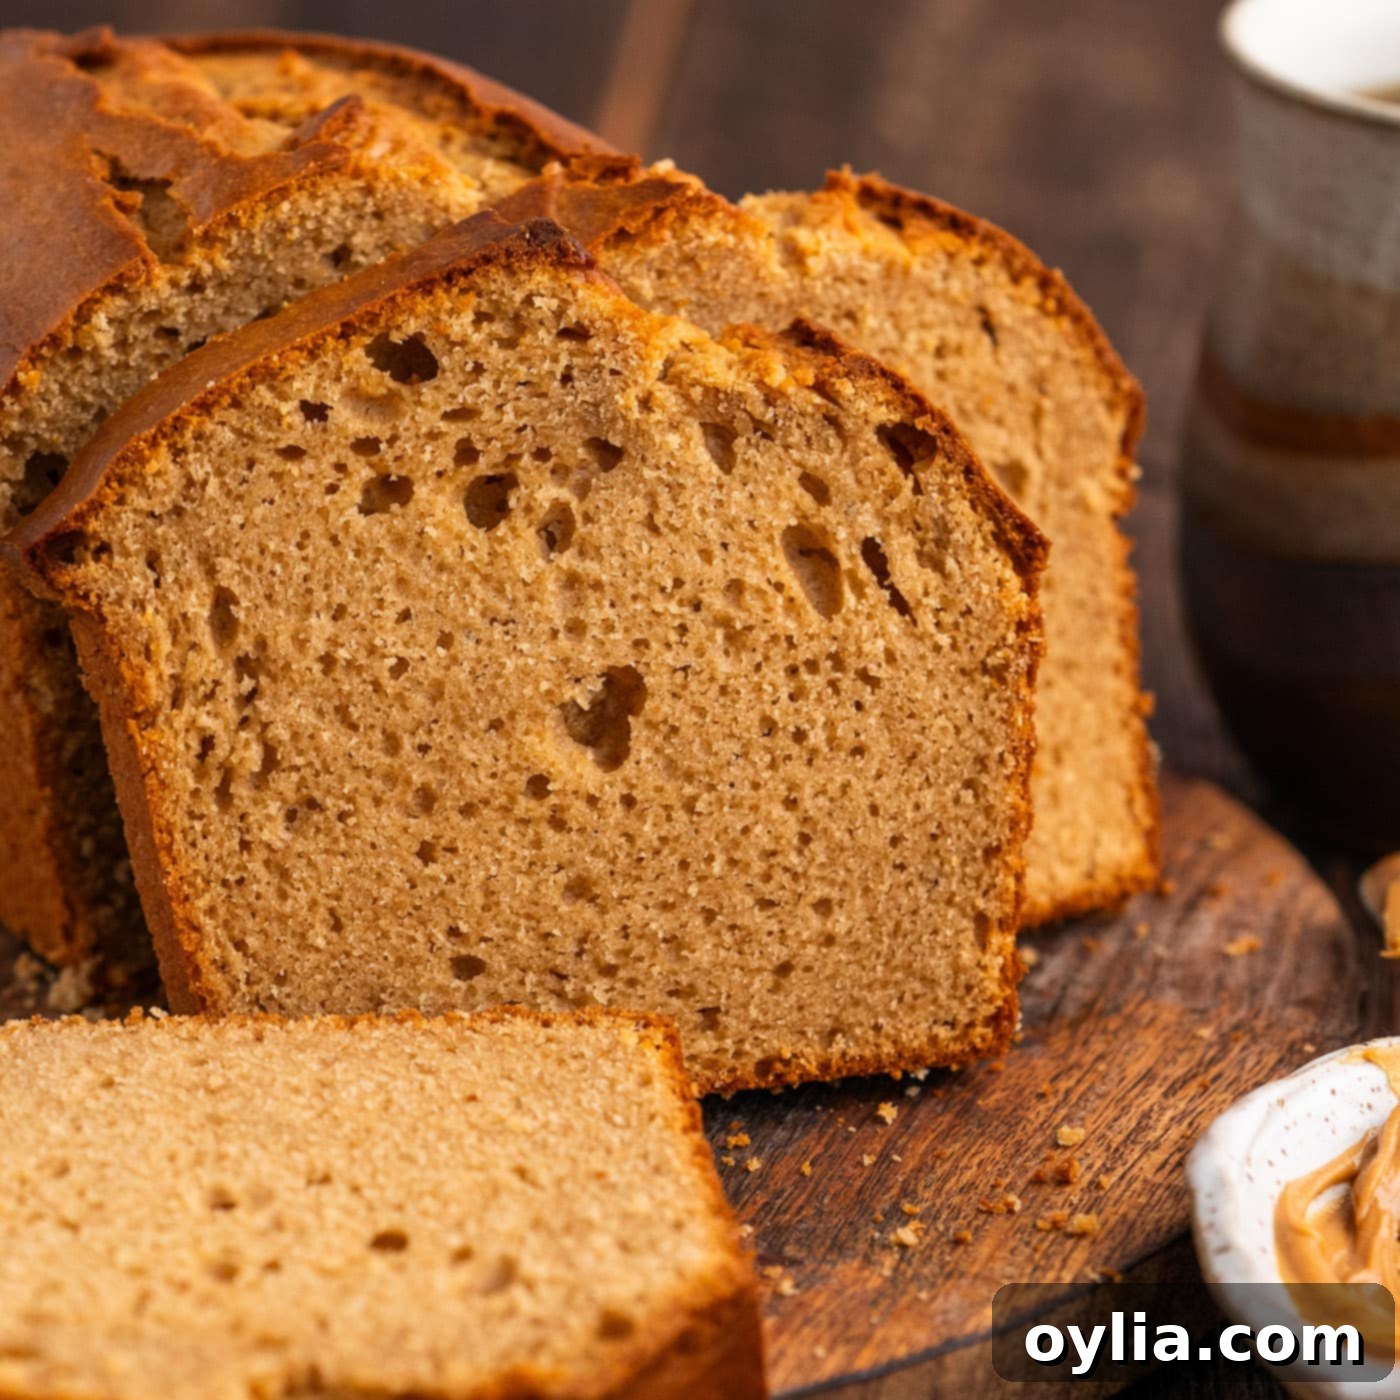
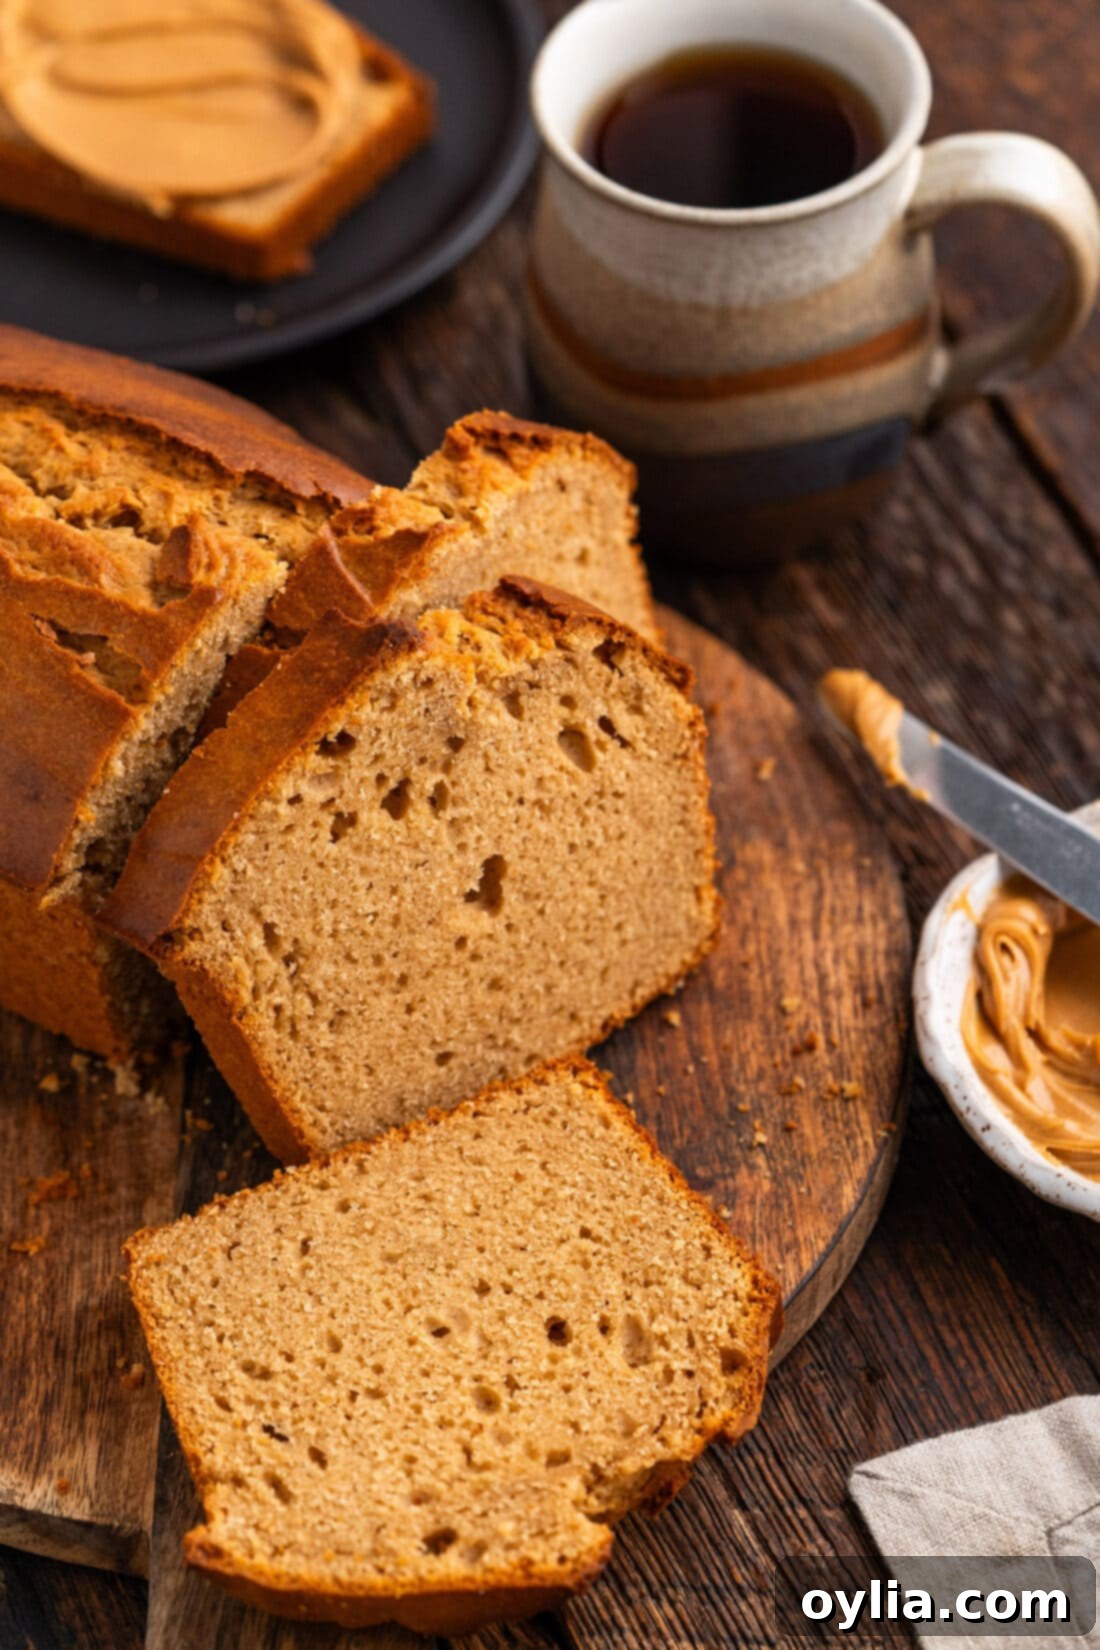
Get ready to bake a truly delightful treat with this incredibly easy peanut butter bread recipe. Crafted from basic pantry staples, this quick bread offers a unique balance of savory and sweet flavors that will captivate your taste buds. It’s perfect for a quick snack, a comforting breakfast alongside your favorite coffee or tea, or even a simple yet satisfying dessert. Imagine a slice, lightly toasted and slathered with your favorite jelly or a bit more peanut butter – pure bliss in every bite!
Why This Peanut Butter Bread Recipe Works So Well
This peanut butter bread isn’t just a recipe; it’s a culinary journey back to comforting flavors and simple pleasures. Describing it as tender, soft, and lightly sweet only scratches the surface. Its true magic lies in its delightful texture and the deep, nutty essence of peanut butter infused throughout. What makes this recipe particularly special, beyond the star ingredient, is that it’s a quick bread, meaning it requires no yeast. This eliminates lengthy rising times, making it an ideal choice for bakers of all skill levels, especially those looking for a delicious homemade treat without the fuss of traditional bread making. Think of it as a flavorful cousin to classic banana bread, but with the irresistible salty-sweet character of peanut butter taking center stage.
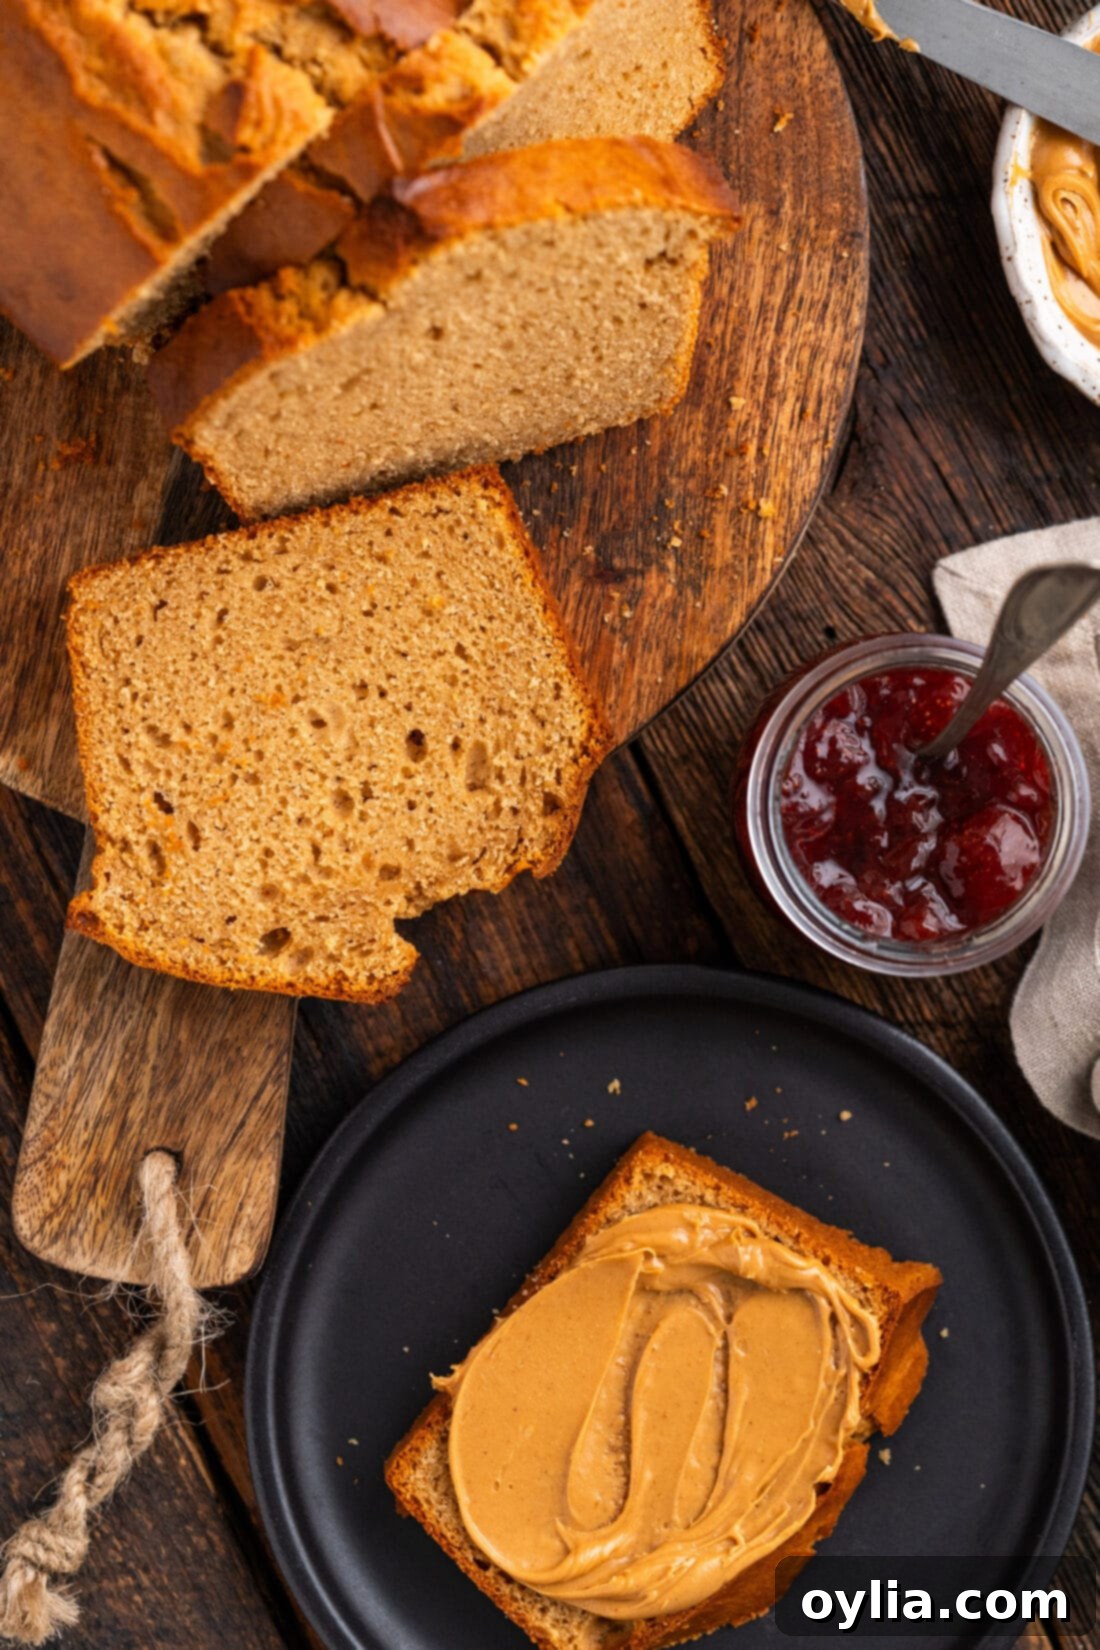
The history of peanut butter bread is as rich as its flavor, gaining significant popularity during the Depression era. In those challenging times, peanut butter was an invaluable source of protein, while bread was a filling and affordable staple. This recipe provided sustenance and comfort when it was needed most, a testament to its enduring appeal. Today, it continues to be cherished for its simplicity and versatility. There are countless ways to enjoy this nutty loaf: slice it thick and toast it until golden, then spread with fruit jelly for a classic pairing. Use it as the base for an elevated peanut butter and jelly sandwich, enjoy it as a hearty breakfast alongside your morning coffee or tea, or simply grab a slice as-is for a satisfying snack.
Essential Ingredients You Will Need
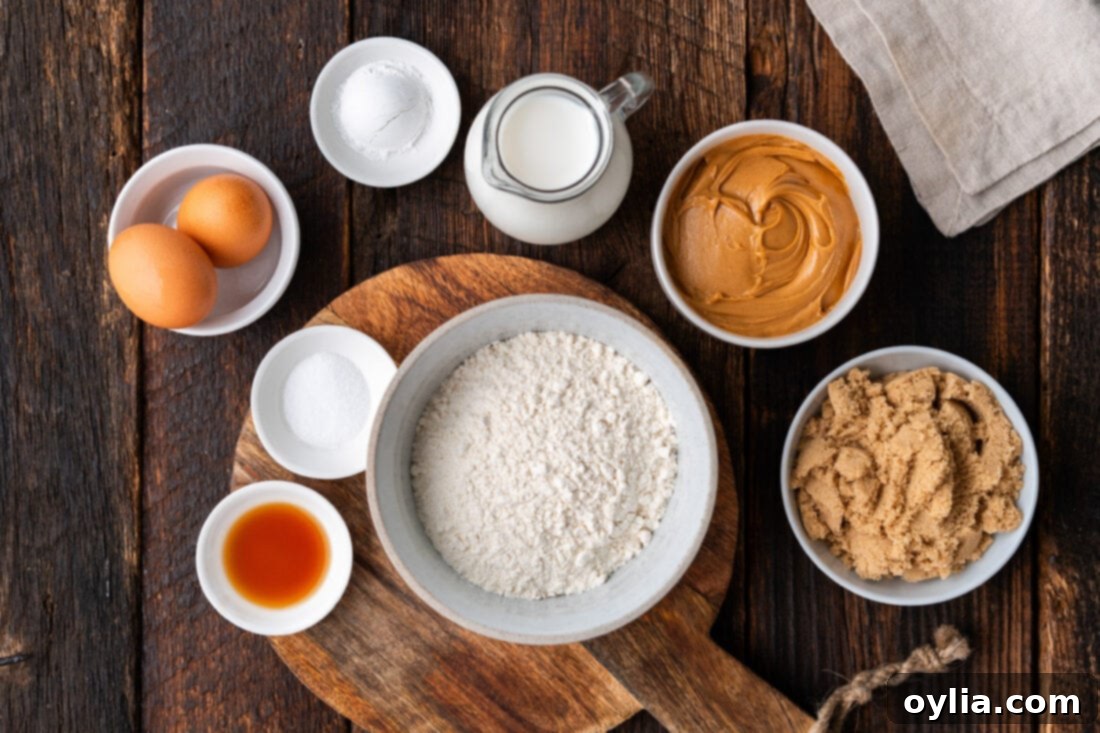
Creating this delicious peanut butter bread requires only a handful of common ingredients, most of which you likely already have in your pantry. For precise measurements, a detailed list of ingredients, and comprehensive instructions, be sure to refer to the printable recipe card located at the conclusion of this post. Gather your ingredients, and let’s get baking!
Ingredient Insights and Expert Substitution Suggestions
Each ingredient plays a crucial role in achieving the perfect texture and flavor for your peanut butter bread. Here’s what you need to know, along with some helpful substitution tips:
SUGAR – Our recipe calls for brown sugar, which lends a wonderfully slightly caramelized depth and contributes extra moisture, resulting in a tender crumb. However, if brown sugar isn’t on hand, you can confidently substitute it with 3/4 cup of granulated white sugar. This will yield a slightly lighter, sweeter flavor profile, but still delicious!
PEANUT BUTTER – For the best results, we highly recommend using regular creamy peanut butter brands like Skippy or Jif. These commercial varieties have a thicker, more stable consistency that is essential for the structure of this quick bread. Natural nut butters, while delicious on their own, tend to separate and be too oily or thin for this particular recipe, potentially affecting the final texture of the bread.
ALL-PURPOSE FLOUR – This provides the primary structure for the bread. Ensure it’s spooned and leveled for accurate measurement to avoid a dense or dry loaf. While not tested, some bakers have success with a 1:1 gluten-free baking flour blend, though results may vary.
EGGS – Eggs act as a binder, providing structure and moisture. Always use large eggs at room temperature for better incorporation into the batter.
MILK – Whole milk adds richness and moisture. You can use 2% milk if whole milk isn’t available, but avoid skim milk as it might make the bread less tender.
VANILLA EXTRACT – A touch of pure vanilla extract enhances the overall flavor, complementing the peanut butter beautifully. Don’t skip it!
BAKING POWDER – This is our leavening agent, responsible for the bread’s rise and light texture. Ensure your baking powder is fresh for optimal results.
SALT – A pinch of salt balances the sweetness and brings out the robust flavor of the peanut butter, making every bite more complex and satisfying.
How to Make Perfect Peanut Butter Bread: Step-by-Step Guide
These step-by-step photos and detailed instructions are here to guide you visually through the process of making this irresistible peanut butter bread. For a convenient printable version of this recipe, complete with precise measurements and concise instructions, you can Jump to Recipe at the bottom of the page.
- Begin by preheating your oven to 350°F (175°C). This ensures your oven is at the correct temperature for even baking. Next, prepare an 8.5 by 4.5-inch loaf pan by thoroughly greasing its inside with butter or a generous spray of cooking spray. This crucial step prevents the bread from sticking and ensures an easy release after baking.
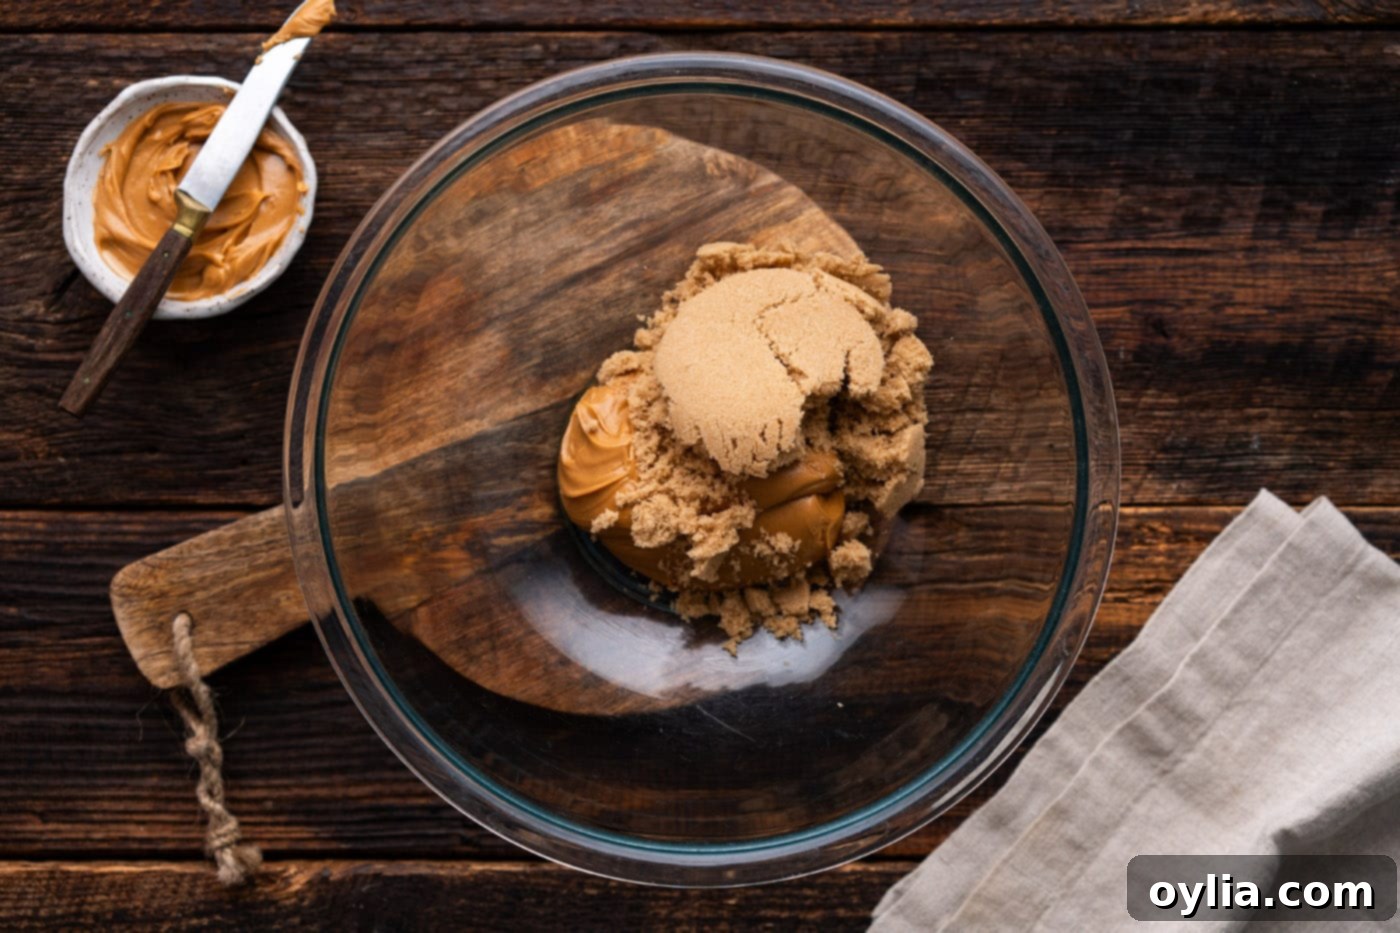
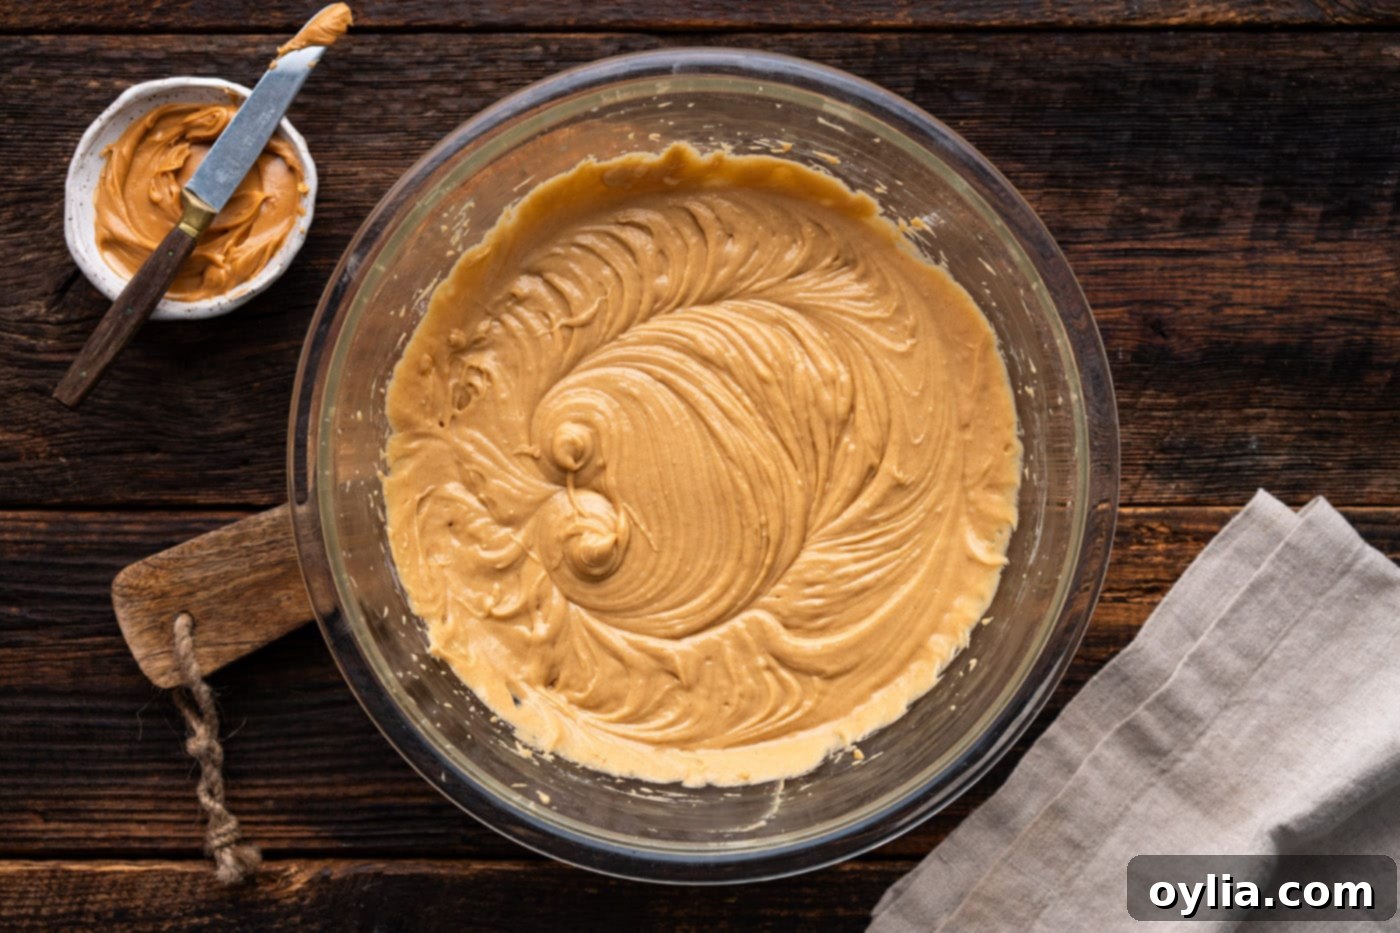
- In a large mixing bowl, combine the creamy peanut butter and the brown sugar. Using a handheld electric mixer, beat these two ingredients together until they are well combined and the mixture appears light and fluffy. This creaming process helps to incorporate air, leading to a lighter bread texture.


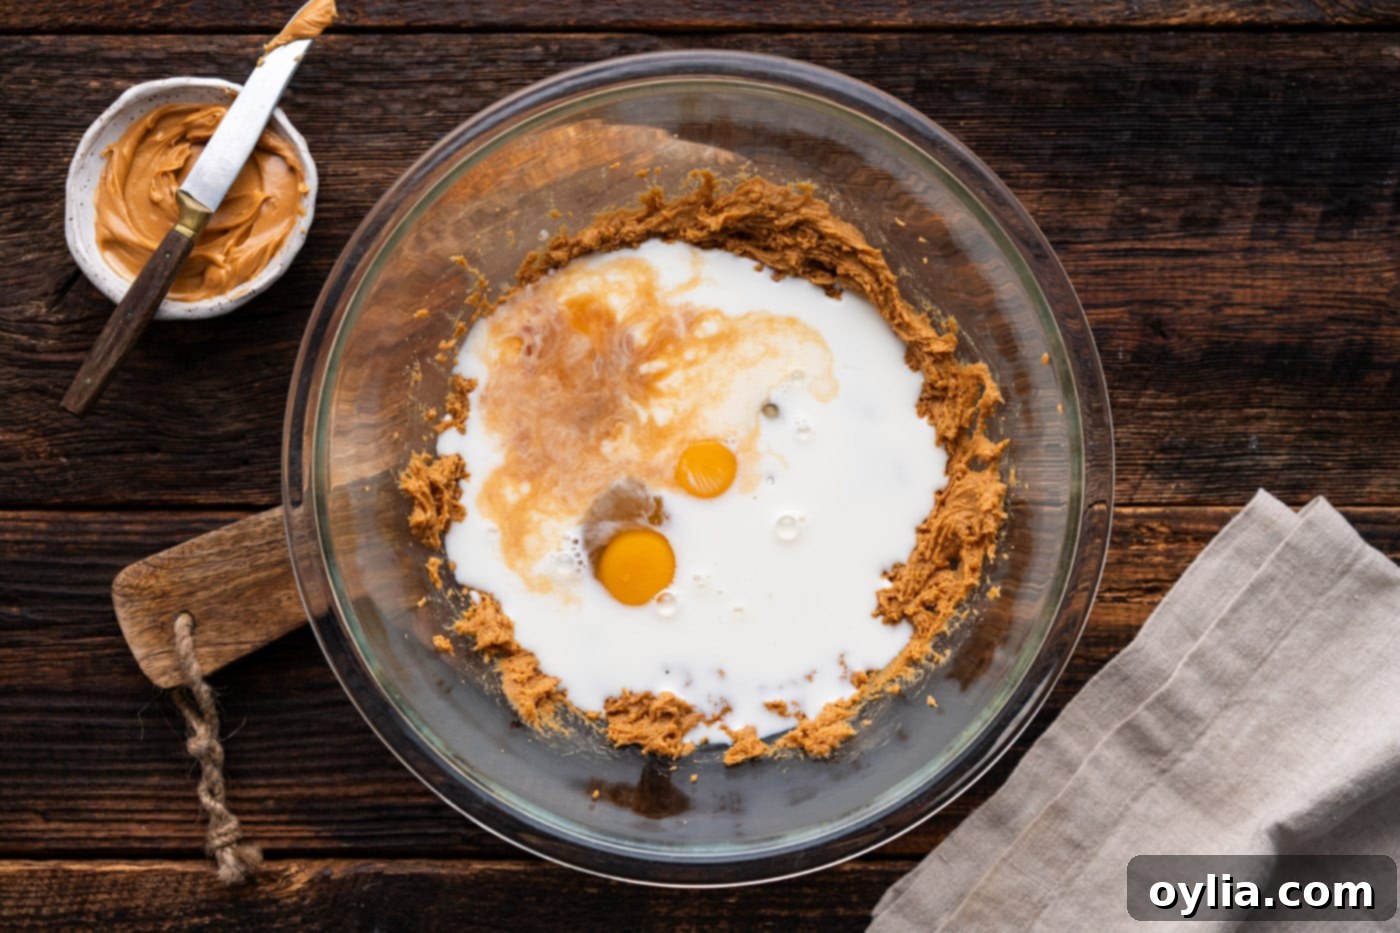
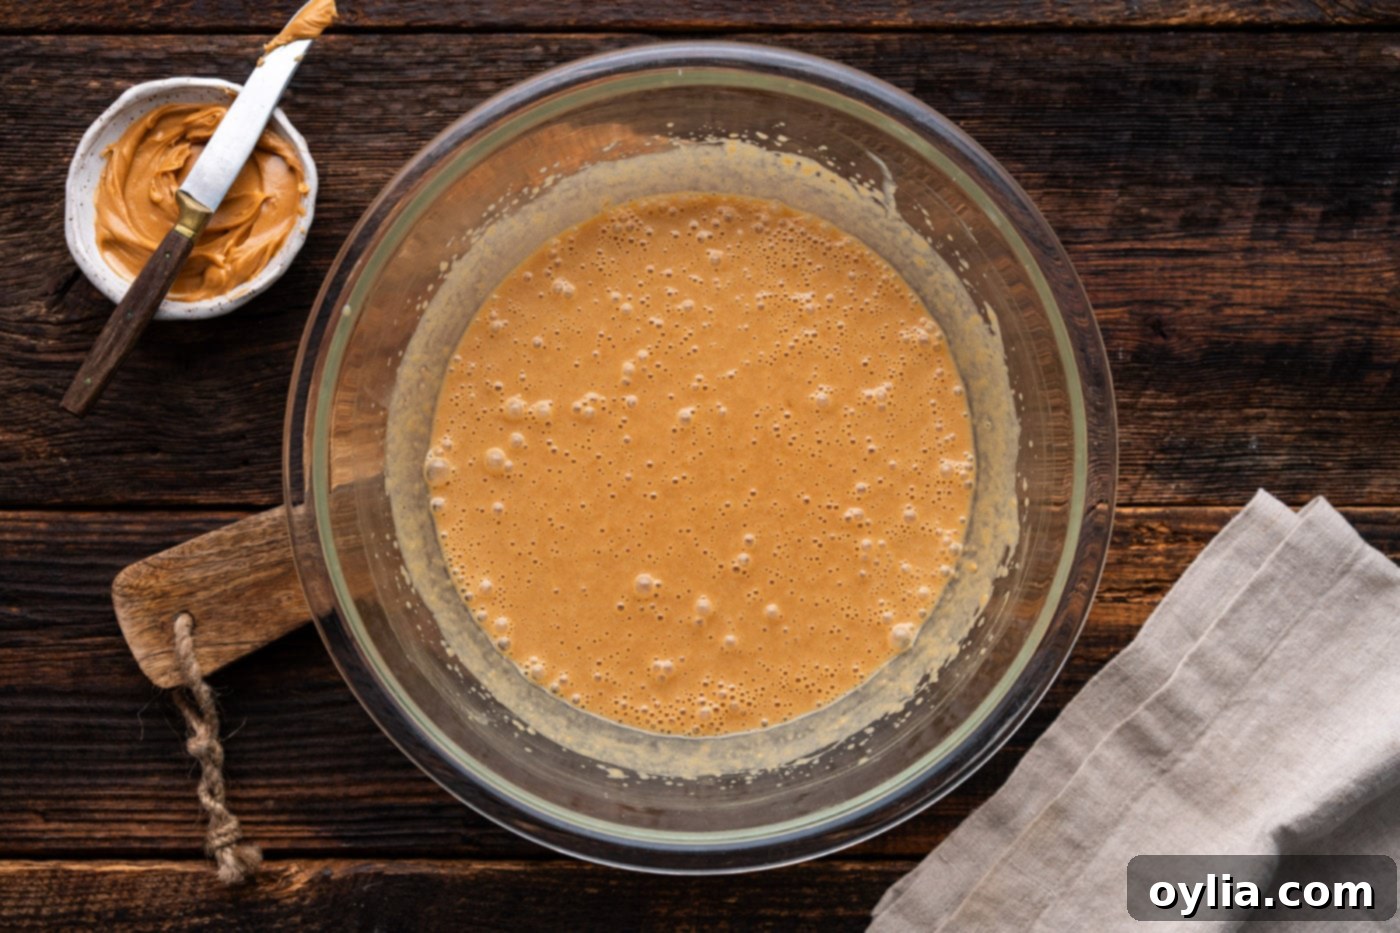
- Next, add the eggs one at a time, beating well after each addition to ensure they are fully incorporated. Then, pour in the milk and vanilla extract. Continue to beat the mixture with the electric mixer until it is smooth and uniform, with no lumps. The batter will be wet at this stage, which is perfectly normal.


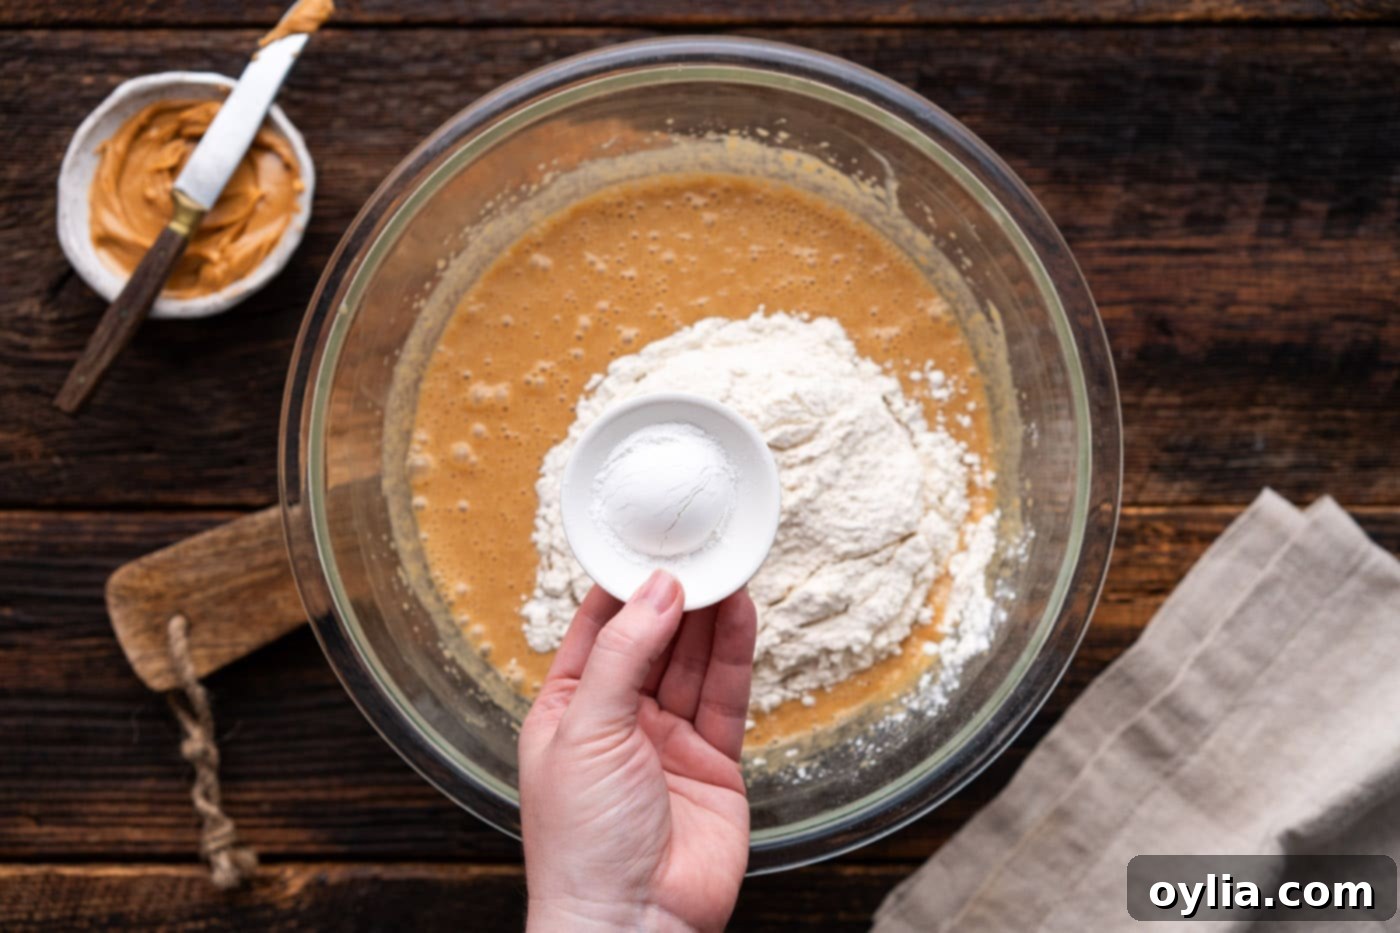
- Finally, gently add the dry ingredients: the all-purpose flour, baking powder, and salt. Beat on low speed until just incorporated. It’s vital not to over-mix the batter at this stage, as overmixing can develop the gluten in the flour too much, leading to a tough, dry bread. A few streaks of flour are fine; they will disappear during baking.


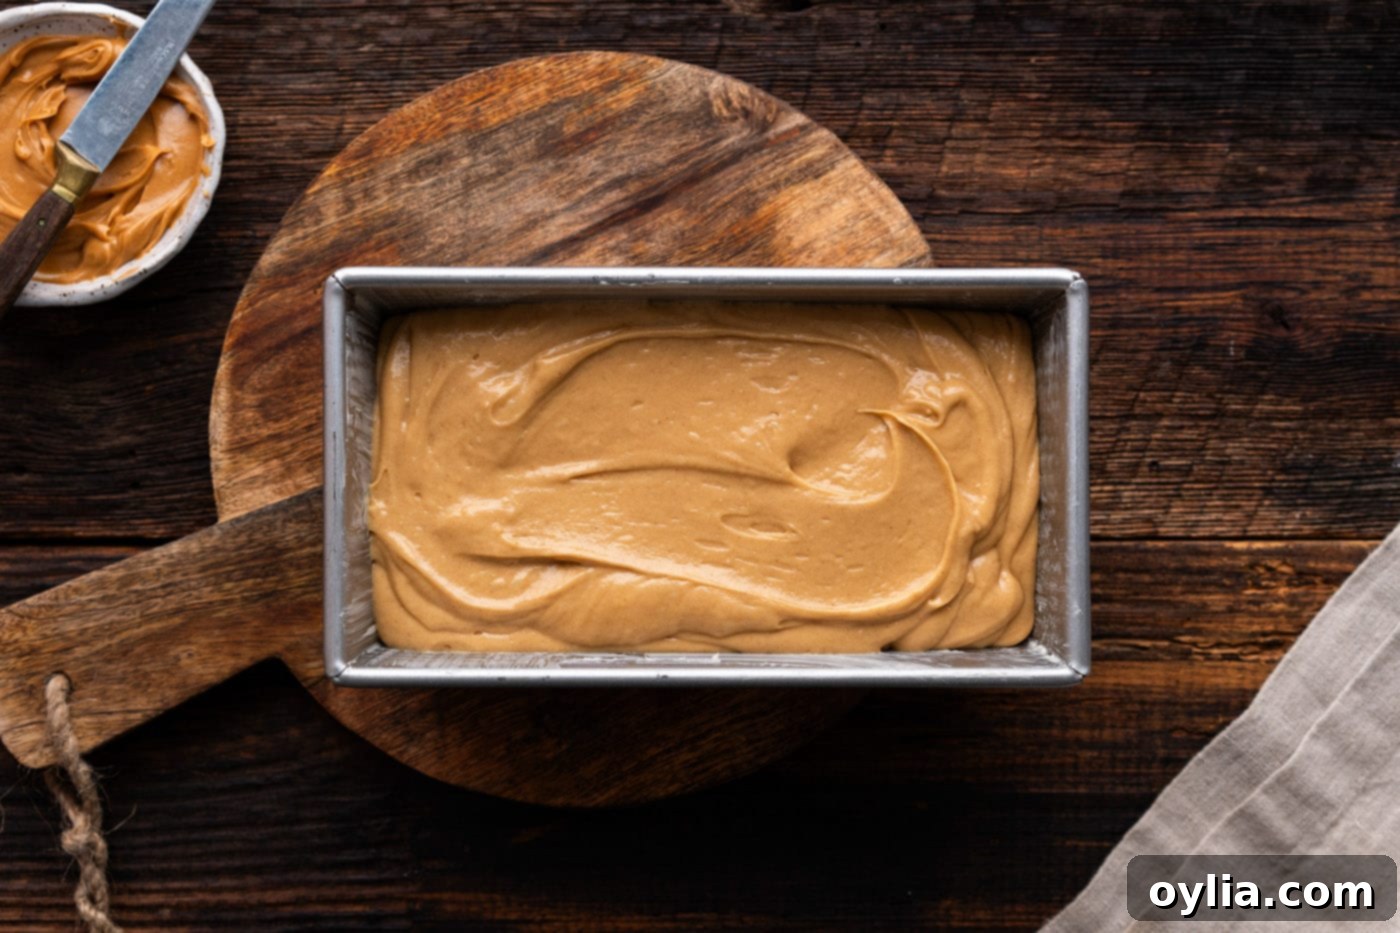
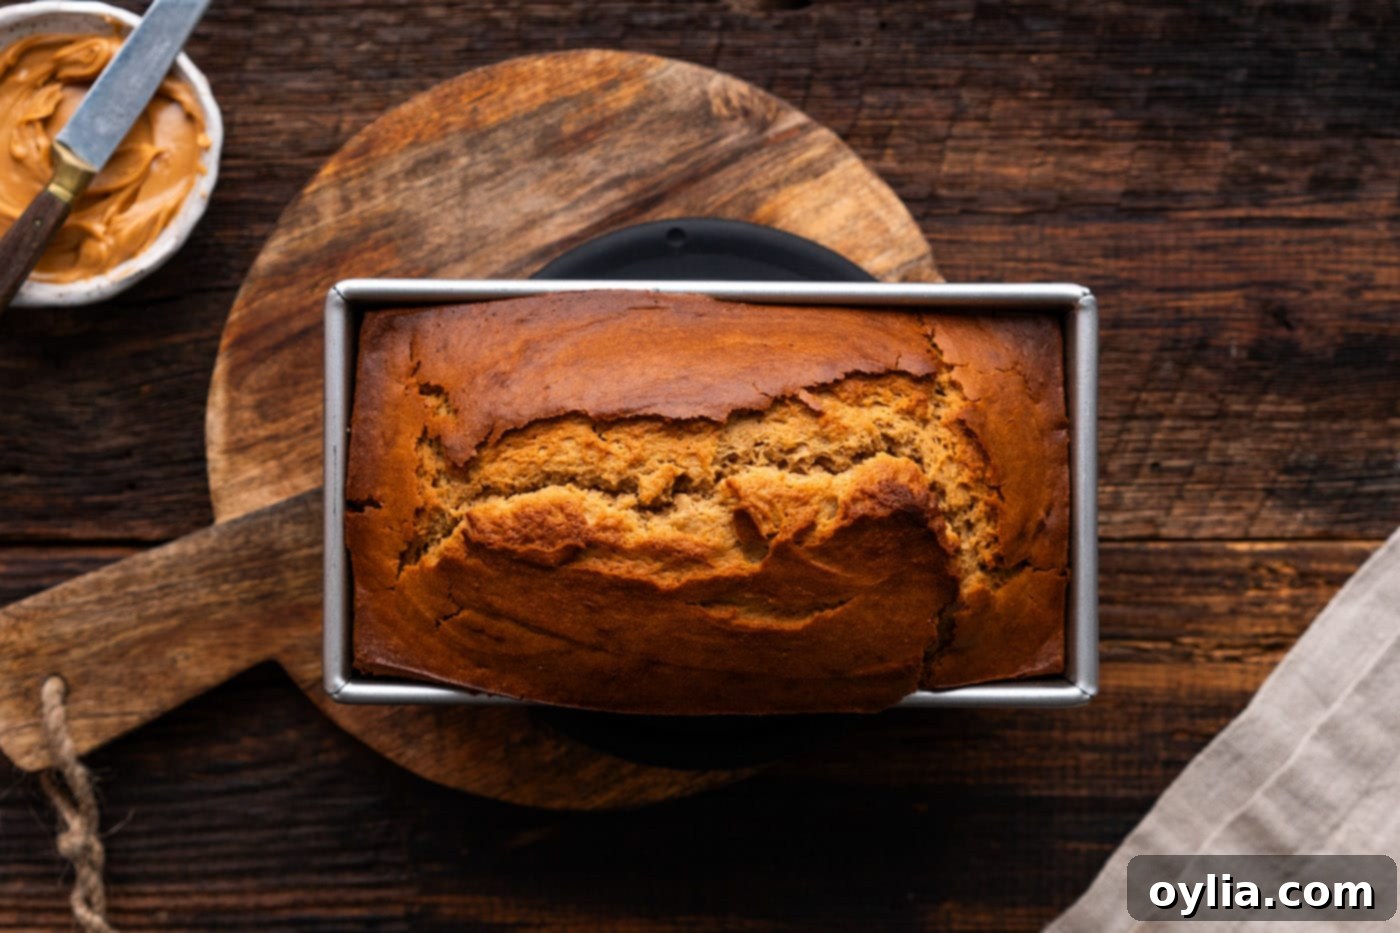
- Carefully transfer the prepared batter into your greased loaf pan, spreading it evenly. Bake in the preheated oven for approximately 55 to 65 minutes. To test for doneness, insert a toothpick into the very center of the loaf. If it comes out clean, with no wet batter clinging to it, your bread is perfectly baked.


- Once baked, remove the pan from the oven and allow the bread to cool in the pan for about 30 minutes. This resting period helps the bread set and prevents it from crumbling when removed. After 30 minutes, carefully invert the loaf onto a wire rack and let it cool completely before attempting to slice. Slicing warm quick bread can cause it to compress and become gummy. Patience is key for perfect slices!
Customizing Your Peanut Butter Bread
While delicious on its own, peanut butter bread is also incredibly versatile, offering plenty of opportunities for customization. Feel free to get creative with add-ins:
- Chocolate Chips: As mentioned, chocolate chips are a fantastic addition. Try semi-sweet, milk chocolate, or even dark chocolate chips. A cup is usually sufficient for a balanced flavor.
- Chopped Nuts: For extra crunch and nutty flavor, fold in half a cup of chopped peanuts, walnuts, or pecans.
- Dried Fruits: Raisins, dried cranberries, or chopped dates can add a chewy texture and a touch of fruity sweetness.
- Spices: A pinch of cinnamon or nutmeg can enhance the warm, comforting notes of the bread.
- Glaze: For an extra touch of sweetness and visual appeal, consider drizzling a simple powdered sugar glaze (powdered sugar mixed with a little milk or vanilla) over the cooled loaf.
Frequently Asked Questions & Expert Tips
Absolutely! Transforming this peanut butter bread into a chocolate peanut butter delight is a fantastic idea. Simply stir in about 1 cup of semi-sweet chocolate chips (or milk chocolate, or even white chocolate chips) into the batter just before transferring it to the loaf pan. The chocolate adds another layer of decadence that pairs wonderfully with the nutty flavor.
To maintain optimal freshness and flavor, ensure your peanut butter bread is completely cooled before storing. Store the cooled loaf in an airtight container at room temperature for 3-4 days. If you wish to extend its shelf life further, you can store it in the refrigerator for up to one week. Always ensure it’s well-sealed to prevent it from drying out.
Yes, peanut butter bread freezes beautifully! To freeze a whole loaf, first wrap it securely a few times in plastic wrap, then follow with a layer of aluminum foil. This double-wrapping protects against freezer burn. Place the well-wrapped loaf into a large freezer-safe bag or an airtight container and freeze for up to 3 months. For individual servings, you can freeze slices by flash-freezing them on a baking tray until solid. Once frozen, transfer them to a large zip-top bag and store in the freezer. Flash-freezing prevents the slices from sticking together. Alternatively, you can wrap each individual slice in plastic wrap before placing them in a zip-top bag. Thaw frozen bread at room temperature, or warm gently in a toaster or oven for a fresh-baked feel.
While this recipe was specifically tested and developed using an 8.5 by 4.5-inch metal loaf pan, you can certainly use a different size, but please be aware that your cooking time will likely vary. If you opt for a larger 9 by 5-inch loaf pan, the bread might cook faster, so start checking for doneness around the 45-minute mark. If using a glass loaf pan, which conducts heat differently than metal, you might need to reduce your oven temperature by 25°F and increase baking time slightly. Always rely on the toothpick test: when a toothpick inserted into the center comes out clean, the bread is perfectly baked, regardless of pan size.
A dry or crumbly bread is often a sign of over-baking or over-mixing the batter. Over-mixing can develop the gluten in the flour too much, leading to a tough texture. Over-baking, on the other hand, dries out the moisture. To avoid this, mix the dry ingredients into the wet until just combined (a few streaks of flour are okay), and always perform the toothpick test to ensure it’s cooked through but not excessively.
Creative Serving Suggestions for Peanut Butter Bread
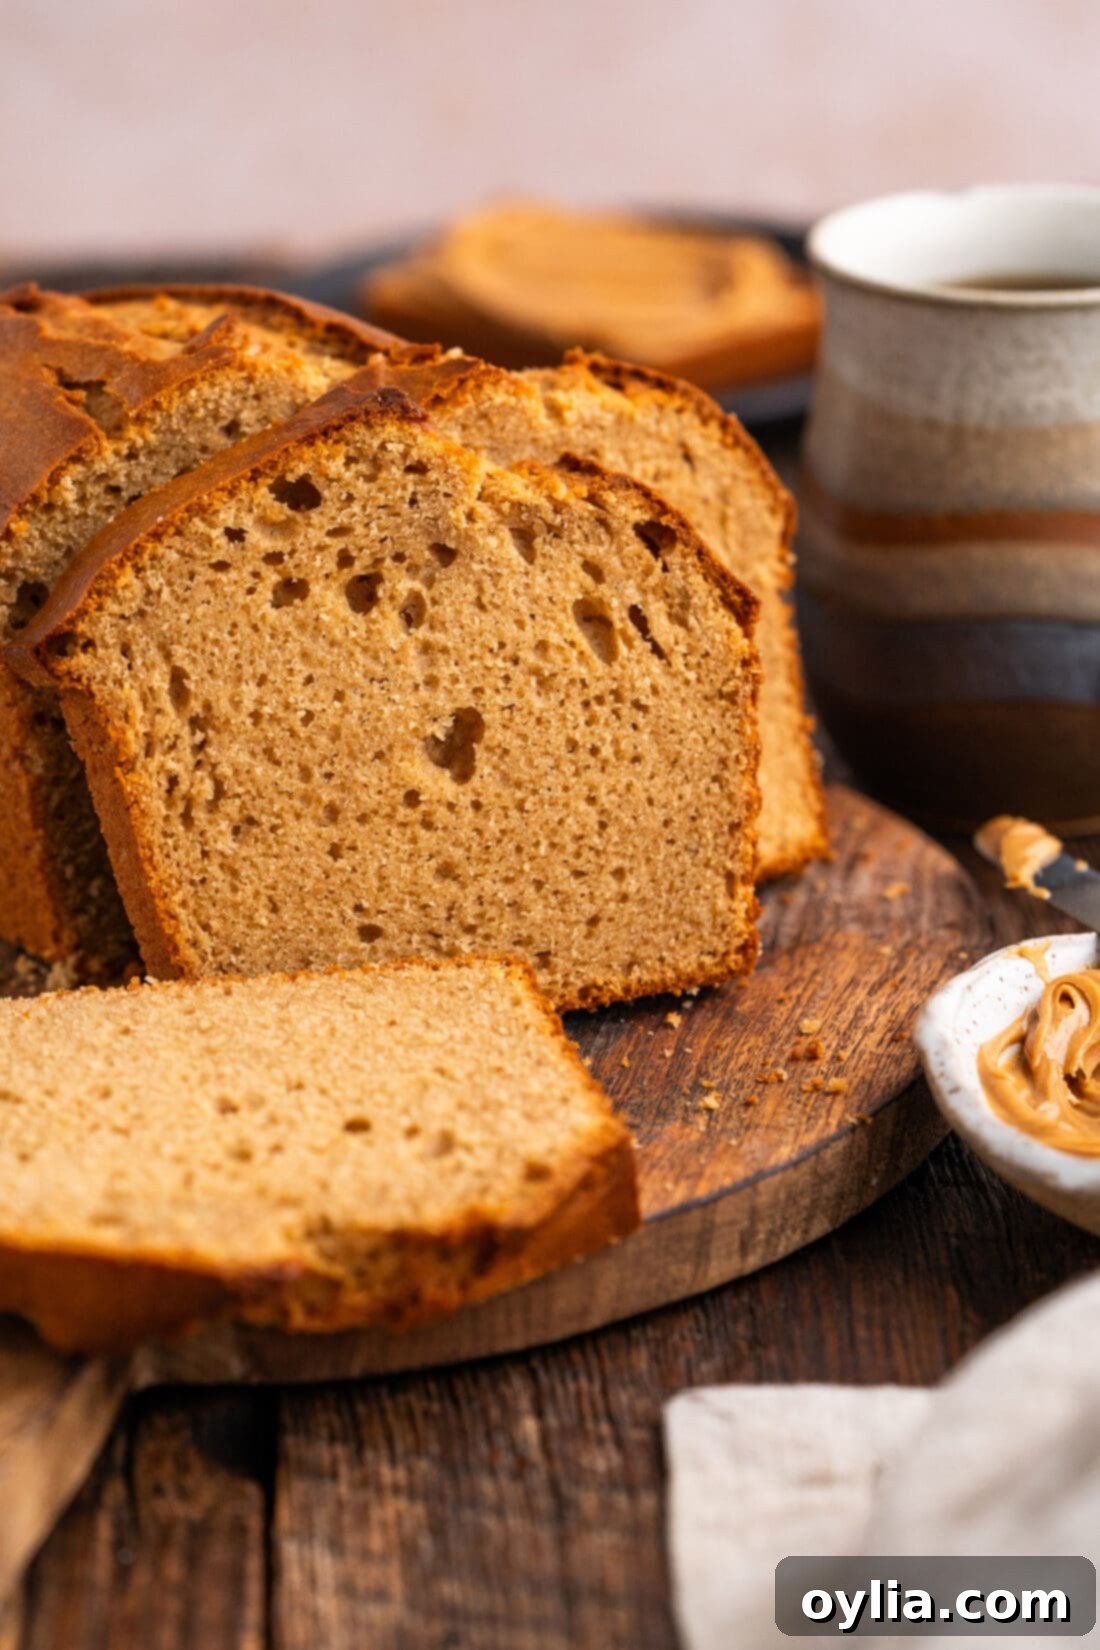
This versatile peanut butter bread offers a delightful experience whether enjoyed simply or dressed up. Here are some ideas to make the most of your delicious loaf:
- Classic Toasted: Many enthusiasts agree that toasting slices of peanut butter bread brings out its best qualities, creating a slightly crisp exterior and a warm, soft interior.
- With Spreads: Enjoy toasted slices slathered with your favorite fruit jelly, jam, or marmalade for a classic, comforting treat. A thin layer of cream cheese also makes for a surprisingly delicious topping.
- Breakfast Companion: Serve it as a hearty and satisfying breakfast alongside a cup of freshly brewed coffee, a comforting mug of tea, or a glass of cold milk.
- Elevated Sandwiches: Use thick slices as a base for a gourmet peanut butter and jelly sandwich. For an extra special touch, add sliced bananas or a sprinkle of cinnamon.
- Dessert Delight: Serve warmed slices with a scoop of vanilla or chocolate ice cream, drizzled with a touch of caramel or hot fudge. It’s a simple dessert that feels indulgent.
- Quick Snack: Perfectly portable, slices of peanut butter bread make an excellent grab-and-go snack for school lunches, office breaks, or busy afternoons when you need a quick energy boost.
- French Toast Transformation: Day-old slices can be dipped in an egg mixture and fried for a unique peanut butter French toast – a truly decadent breakfast!
More Delicious Quick Bread Recipes to Try
If you loved the ease and flavor of this peanut butter bread, you’ll be thrilled to explore other quick bread varieties that are just as simple and satisfying. Quick breads are perfect for when you crave homemade goodness without the wait. Here are some more favorites from our kitchen:
- Apple Bread: A warm, spiced loaf perfect for fall.
- Peach Bread: Sweet and juicy, ideal for summer fruit.
- Pineapple Quick Bread: A tropical twist for a sunny treat.
- Cantaloupe Quick Bread: A surprisingly delicious and refreshing option.
- Chocolate Chip Banana Bread: A classic favorite with a chocolatey upgrade.
- Ice Cream Bread: An incredibly simple, two-ingredient wonder!
I love to bake and cook and share my kitchen experience with all of you! Remembering to come back each day can be tough, that’s why I offer a convenient newsletter every time a new recipe posts. Simply subscribe and start receiving your free daily recipes!
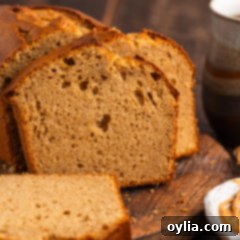
Peanut Butter Bread
IMPORTANT – There are often Frequently Asked Questions within the blog post that you may find helpful. Simply scroll back up to read them!
Print It
Pin It
Rate It
Save ItSaved!
Ingredients
- 1 cup creamy sweetened peanut butter such as Skippy or Jif
- ⅔ cup light brown sugar lightly packed
- 2 large eggs
- 1 cup whole milk
- ½ Tablespoon pure vanilla extract
- 1 ¾ cups all-purpose flour
- 1 Tablespoon baking powder
- 1 teaspoon salt
Things You’ll Need
-
8.5 by 4.5 inch loaf pan
-
Hand mixer
-
Mixing bowls
-
Wire cooling racks
Before You Begin & Expert Tips
- You can use 3/4 cup granulated white sugar instead of brown sugar if desired, for a slightly different sweetness profile.
- For the best texture and consistency, I would strongly recommend sticking to regular creamy peanut butter (such as Skippy or Jif) for this recipe. Natural nut butters tend to be too thin and may alter the bread’s structure.
- To add a delicious twist, transform this peanut butter bread into a chocolate peanut butter bread by stirring in 1 cup of semi-sweet chocolate chips (or your favorite kind!) to the batter before baking.
- Proper storage is key: Store the cooled peanut butter bread in an airtight container at room temperature for 3-4 days to maintain its tenderness, or in the refrigerator for up to one week for extended freshness.
- TO FREEZE: For long-term storage, wrap the entire cooled loaf a few times in plastic wrap, ensuring it’s completely sealed, then follow with a layer of aluminum foil. Place the wrapped loaf in a large freezer-safe bag or an airtight container and freeze for up to 3 months. For individual convenience, you can also freeze slices: flash-freeze them on a baking tray until solid to prevent sticking, then transfer to a large zip-top bag and freeze. If preferred, wrap individual slices in plastic wrap before storing them in a zip-top bag. Thaw frozen bread at room temperature, or warm gently for a quick treat.
Instructions
-
Preheat your oven to 350°F (175°C). Prepare an 8.5 by 4.5-inch loaf pan by greasing the inside thoroughly with butter or cooking spray to prevent sticking.
-
In a large mixing bowl, add the creamy peanut butter and light brown sugar. Use a handheld electric mixer to beat them together until well combined and fluffy. Next, beat in the eggs, whole milk, and pure vanilla extract until the mixture is smooth.
-
Add the all-purpose flour, baking powder, and salt to the wet ingredients. Beat on low speed until just incorporated, being careful not to over-mix the batter.
-
Transfer the batter evenly into the prepared loaf pan. Bake in the preheated oven for approximately 55 to 65 minutes, or until a wooden toothpick inserted into the center of the loaf comes out clean.
-
Allow the bread to cool in the pan for 30 minutes before carefully removing the loaf. Transfer it to a wire rack to cool completely before slicing and serving. This ensures a clean slice and maintains the bread’s structure.
Nutrition Information
The recipes on this blog are tested with a conventional gas oven and gas stovetop. It’s important to note that some ovens, especially as they age, can cook and bake inconsistently. Using an inexpensive oven thermometer can assure you that your oven is truly heating to the proper temperature. If you use a toaster oven or countertop oven, please keep in mind that they may not distribute heat the same as a conventional full sized oven and you may need to adjust your cooking/baking times. In the case of recipes made with a pressure cooker, air fryer, slow cooker, or other appliance, a link to the appliances we use is listed within each respective recipe. For baking recipes where measurements are given by weight, please note that results may not be the same if cups are used instead, and we can’t guarantee success with that method.
