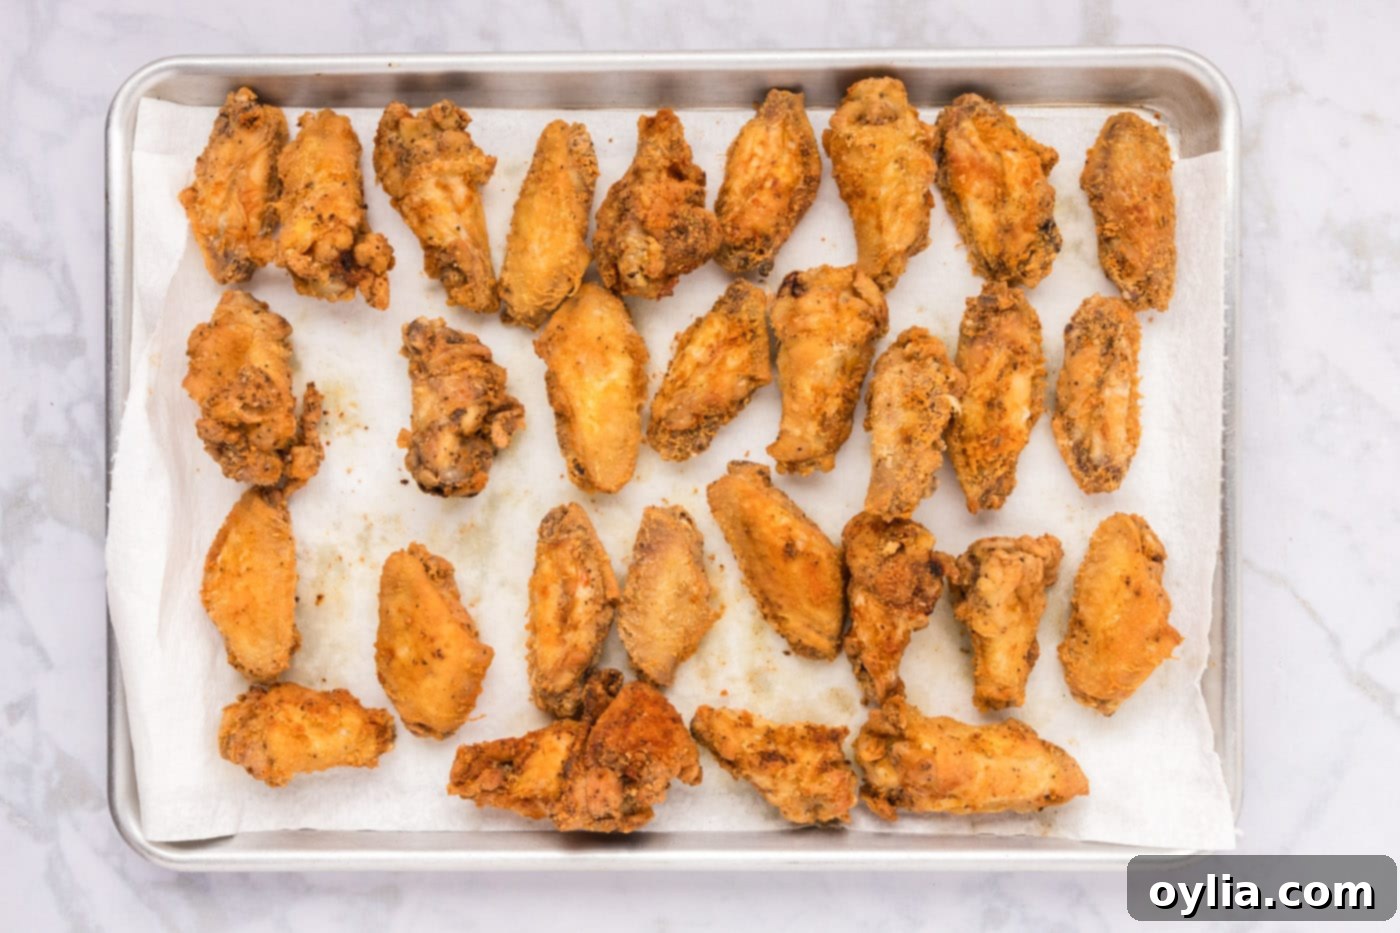
Crispy Fried Chicken Wings: Your Ultimate Guide to Stovetop Perfection in Under 30 Minutes
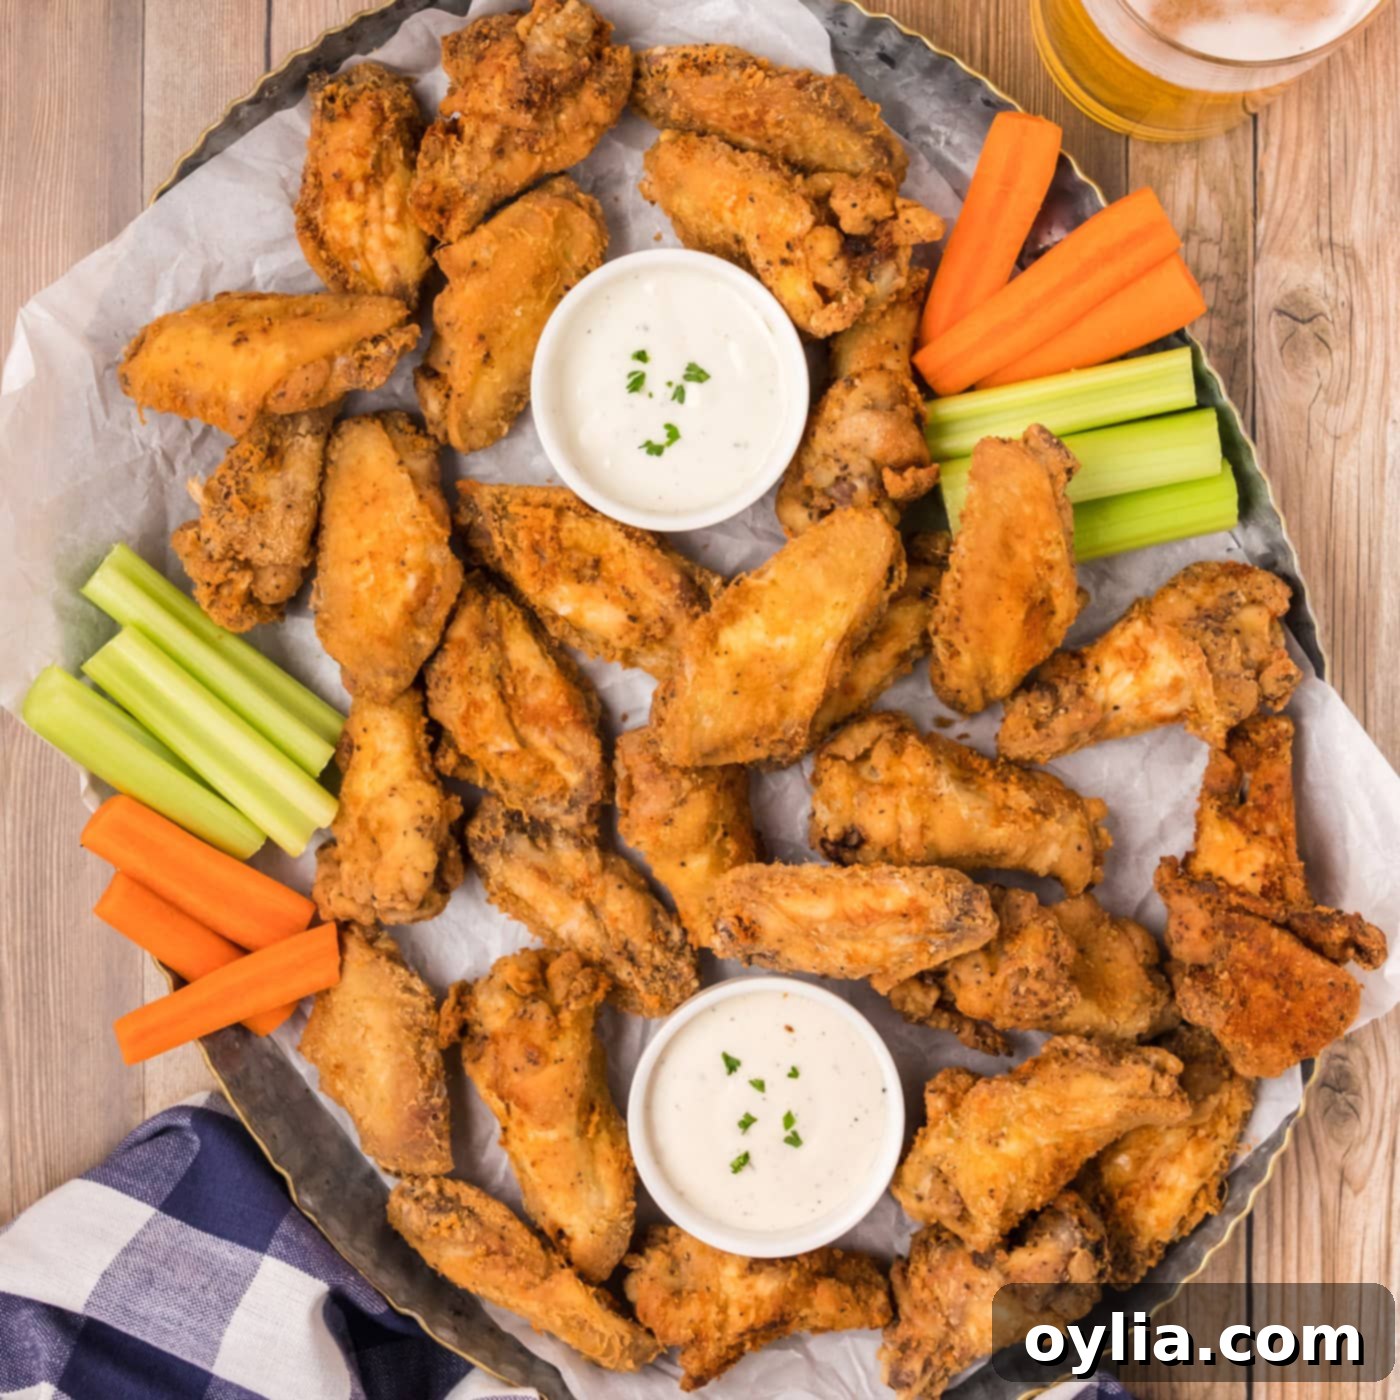
There’s an undeniable allure to perfectly fried chicken wings – that irresistible crunch of golden-brown skin giving way to tender, juicy meat. This comprehensive guide and easy-to-follow recipe promise to deliver just that, achieving restaurant-quality results right in your kitchen. Forget complicated deep fryers; with a simple skillet, you’ll whip up a batch of these crave-worthy wings in under 30 minutes. Get ready to impress your taste buds and any lucky guests with this ultimate fried chicken wing experience.
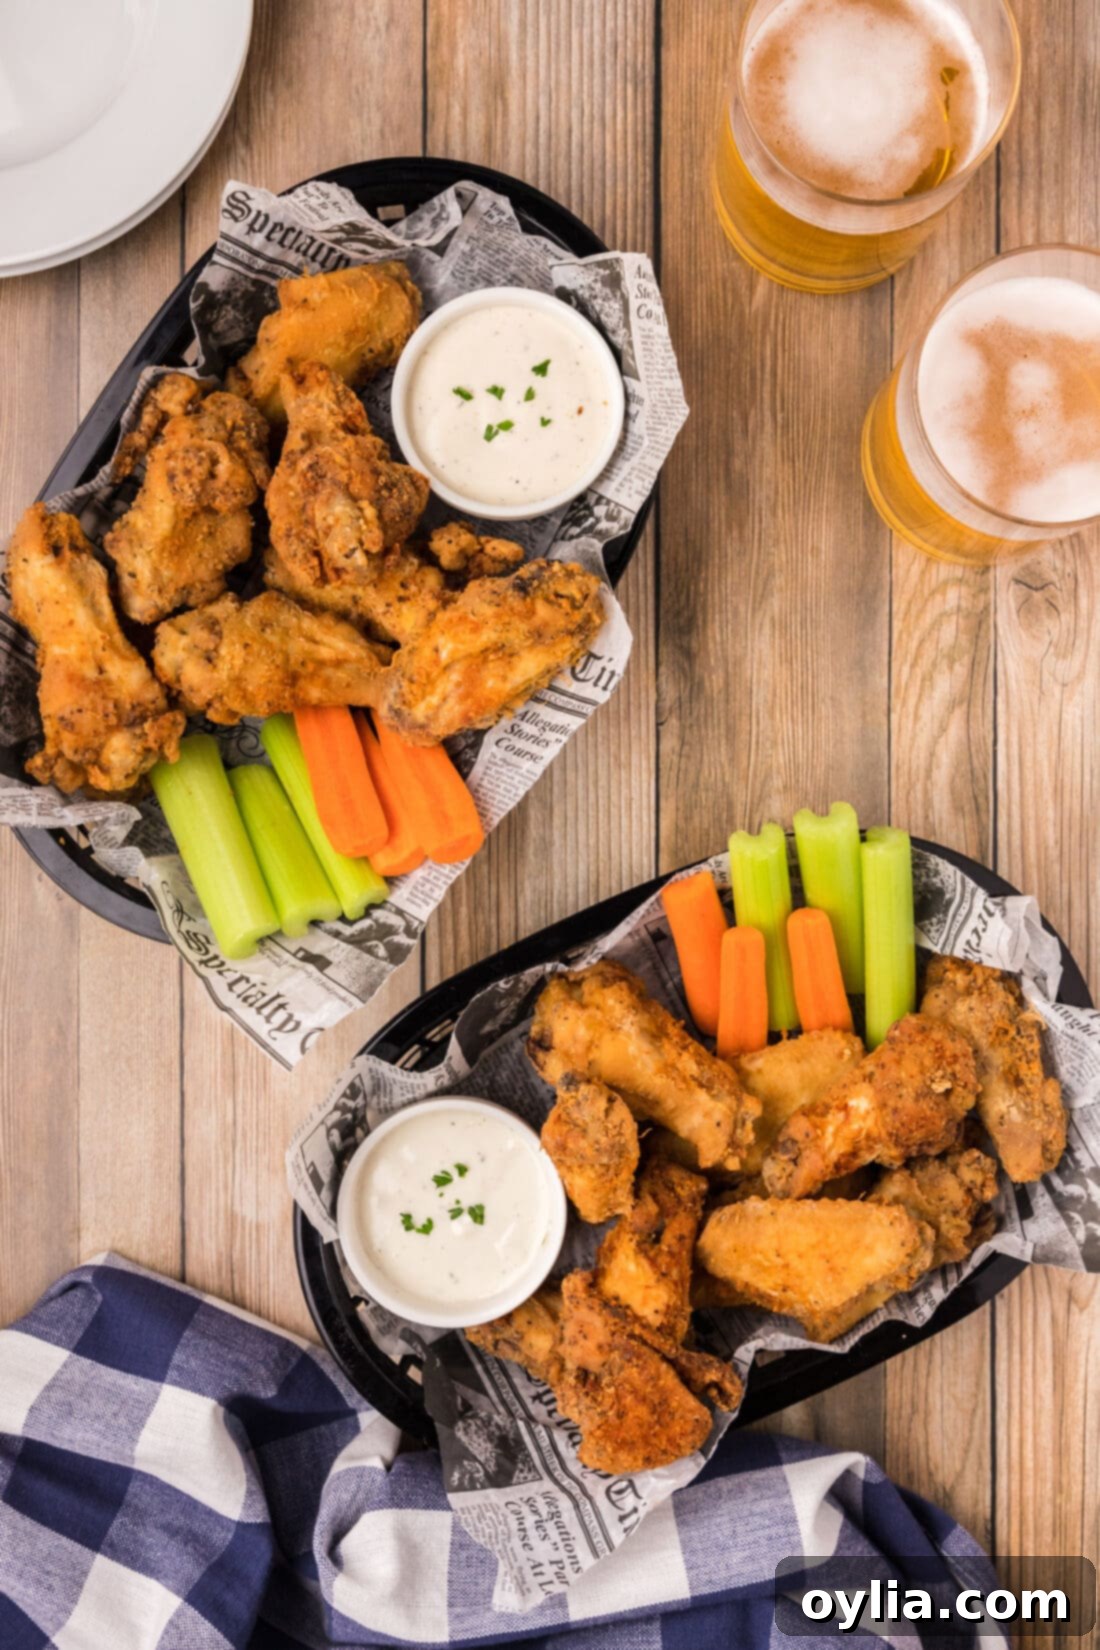
Why This Stovetop Fried Chicken Wing Recipe Is a Game-Changer
While we cherish the convenience and lighter profile of crispy baked chicken wings for an oil-free experience, there’s truly nothing that quite rivals the satisfying, loud crunch of biting into a perfectly fried chicken wing. This recipe focuses on achieving that coveted texture and flavor with minimal fuss and maximum speed. The magic lies in our carefully balanced flour coating, which doesn’t just add a layer of flavor but also acts as a crucial barrier, sealing in the chicken’s natural juices while creating an ultra-crisp, golden-brown crust that’s truly finger-licking good.
You might think achieving such perfection requires a bulky, specialized deep fryer, but that’s far from the truth here. A simple, large, heavy-bottomed skillet is all you need to transform ordinary chicken wings into extraordinary crispy delights. The process is straightforward: first, season your wings generously, then toss them in a zip-top bag with our special flour mixture for an even coat. Finally, a quick dip in hot oil until they reach that perfect golden hue and are cooked through. The result? An incredibly easy appetizer or main dish, ready to serve in under 30 minutes, making it ideal for game nights, quick dinners, or impromptu gatherings.
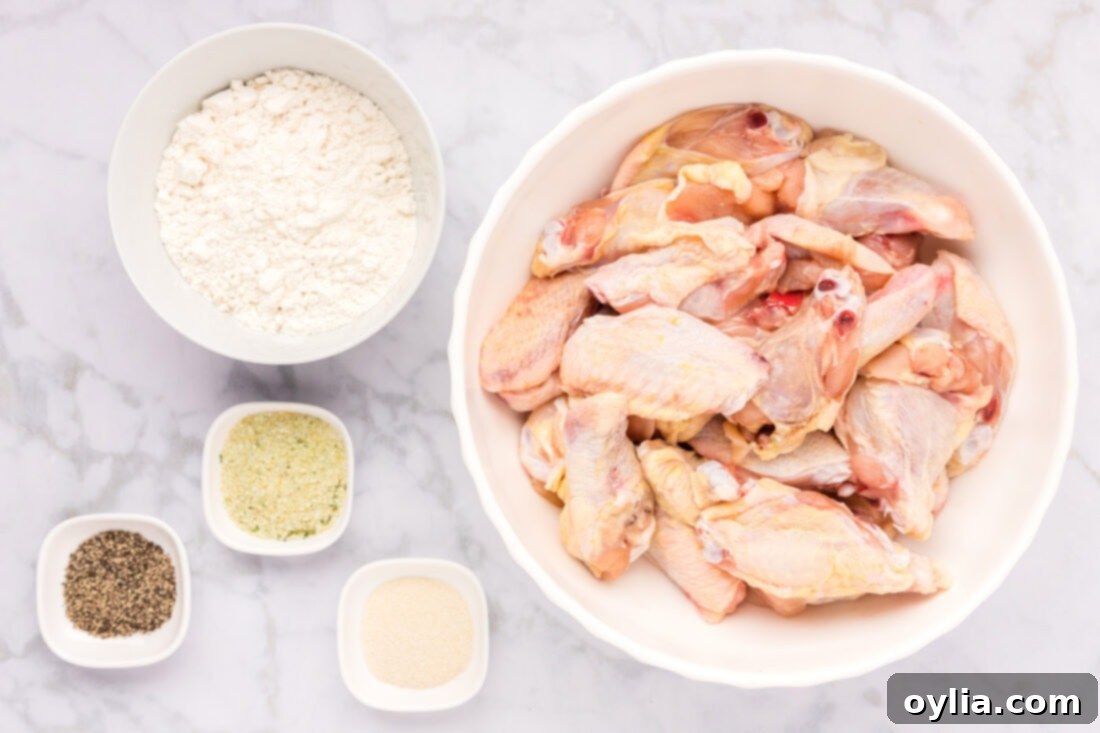
Essential Ingredients for Your Crispy Chicken Wings
Crafting these delectable fried chicken wings requires a straightforward list of ingredients, most of which you likely already have in your pantry. For precise measurements, the full printable recipe card is conveniently located at the end of this post. Let’s dive into what you’ll need to create this culinary masterpiece.
Ingredient Insights and Smart Substitutions
- CHICKEN WINGS: We recommend using whole chicken wings, which you can cut into “flats” (wingettes) and “drumettes” if preferred, or buy them pre-separated. The cooking time will directly depend on the size and thickness of your wings. Larger, meatier pieces naturally require a few extra minutes in the hot oil to ensure they cook all the way through to a safe internal temperature. Always pat your chicken wings thoroughly dry before seasoning and coating – this is a critical step for achieving maximum crispiness!
- ALL-PURPOSE FLOUR: This forms the base of our crispy coating. While all-purpose flour works perfectly, you can experiment with self-rising flour for an even lighter, crispier crust due to its leavening agents. For a gluten-free option, a good quality gluten-free all-purpose flour blend can be used, though the texture might vary slightly.
- GARLIC SALT: A flavorful staple that provides both garlic essence and saltiness. If you only have garlic powder and regular salt, you can easily substitute. Use 1/2 teaspoon garlic powder and 1/2 teaspoon salt for every teaspoon of garlic salt. Adjust to your taste preferences.
- BLACK PEPPER: Freshly ground black pepper offers a superior aroma and bolder flavor. Don’t be shy with it!
- ONION POWDER: Adds a savory depth that complements the garlic and pepper beautifully. If you don’t have onion powder, a pinch of paprika can offer a similar aromatic warmth, or simply omit if necessary.
- VEGETABLE OIL: For frying, a neutral-flavored oil with a high smoke point is essential. Vegetable oil is a great, affordable choice. Other excellent options include canola oil, peanut oil, or sunflower oil. Avoid olive oil as its lower smoke point makes it unsuitable for deep frying. The oil should be fresh for the best flavor.
Mastering the Art of Stovetop Fried Chicken Wings
These step-by-step photos and detailed instructions are designed to help you visualize and execute this recipe with confidence. For a convenient printable version, complete with all measurements and instructions, simply Jump to Recipe at the bottom of this post.
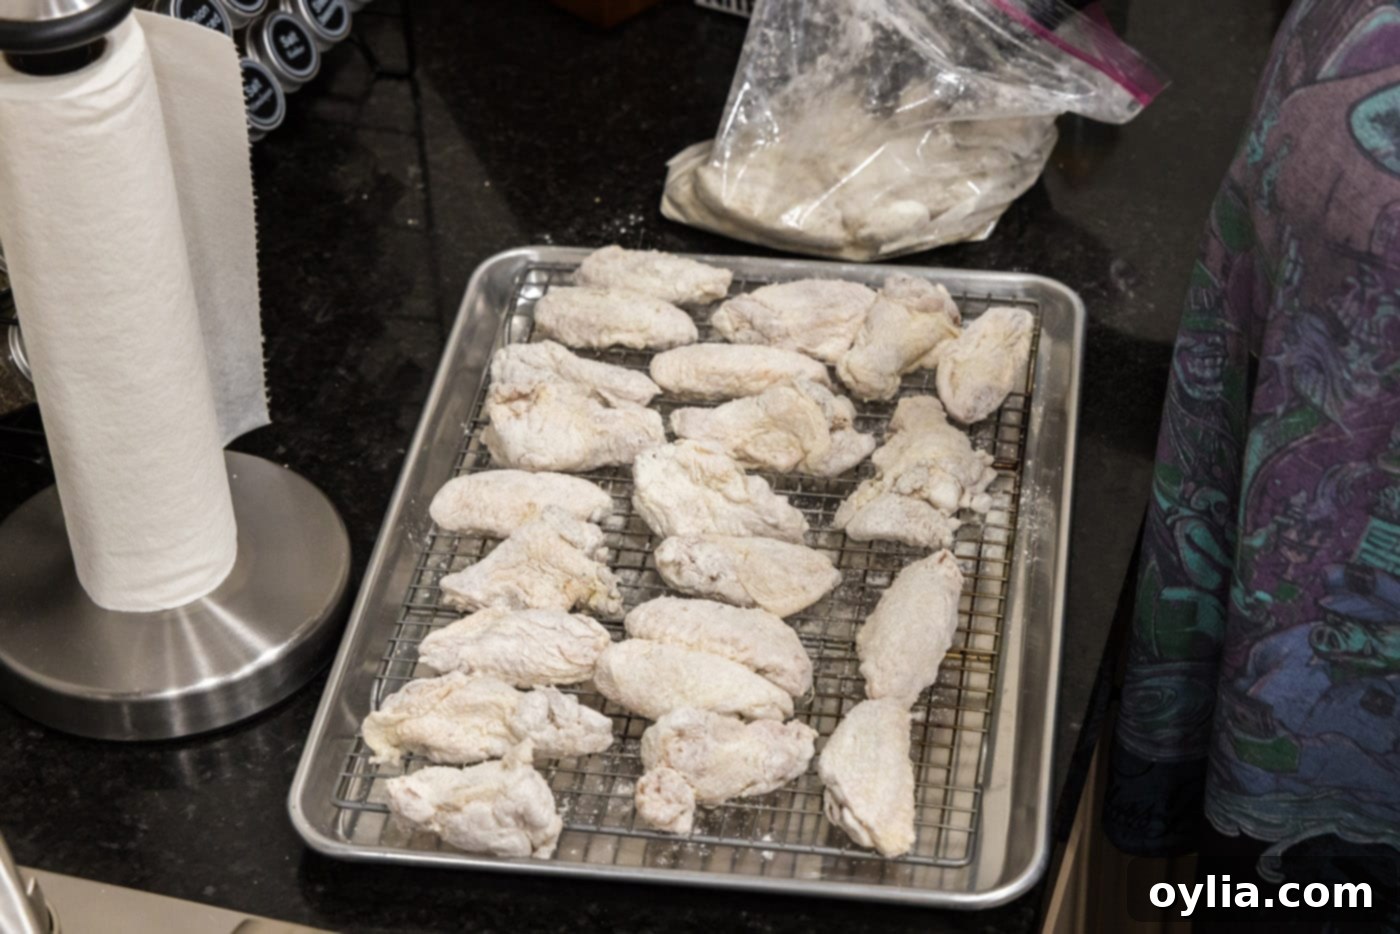
- Begin by preparing your draining station: Place a wire rack on top of a large baking sheet. This setup is crucial for allowing excess oil to drain off, preventing sogginess, and maintaining crispiness.
- Achieving truly crispy skin starts here: Ensure your chicken wings are thoroughly patted dry with paper towels. Any excess moisture will steam the chicken rather than fry it, hindering the development of that perfect crisp crust.
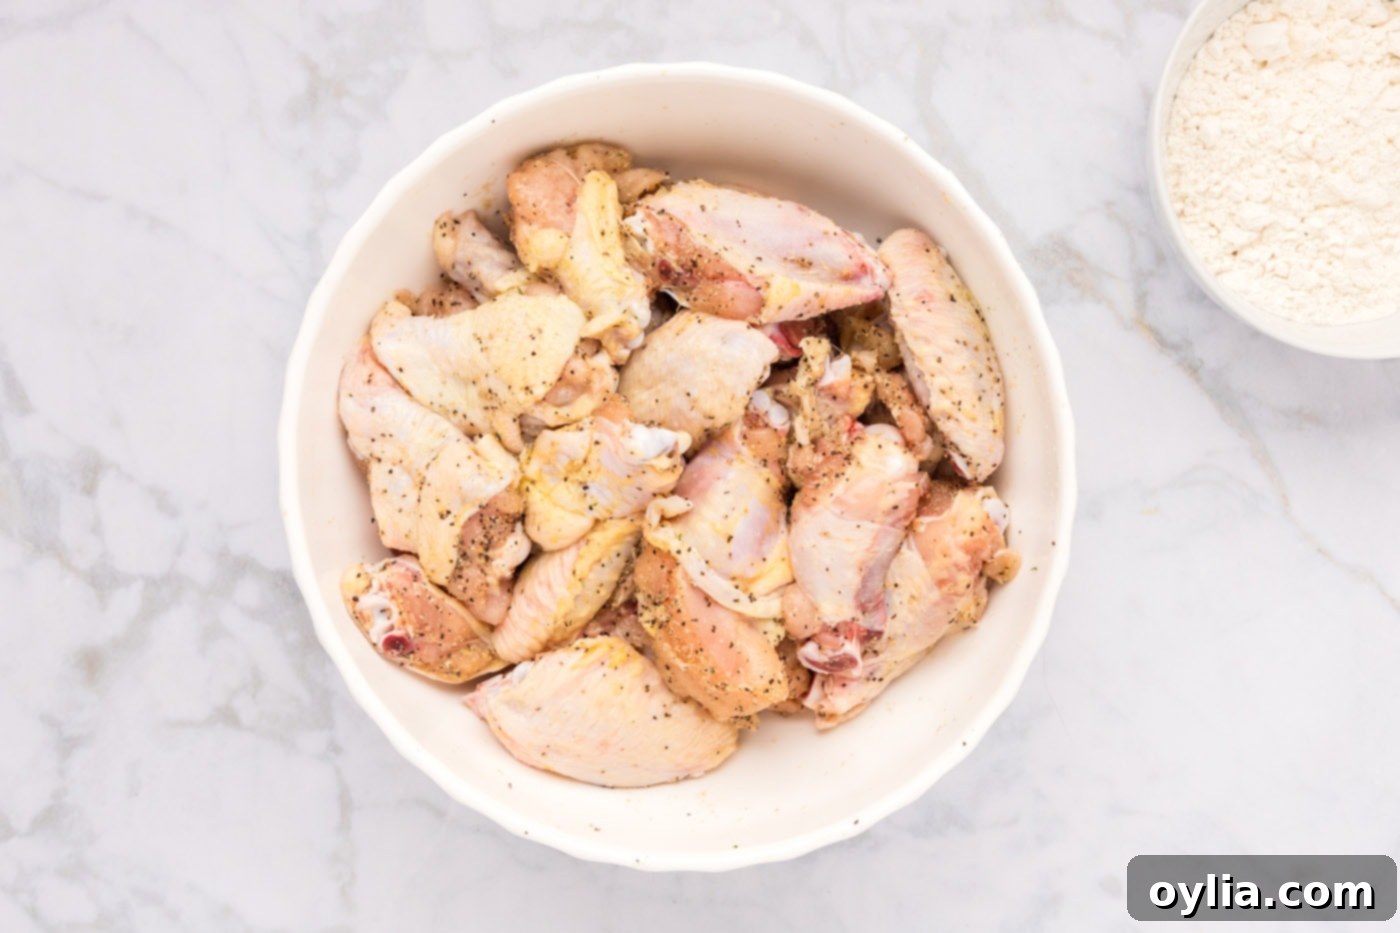
- In a large bowl, season the dry chicken wings evenly with black pepper, onion powder, and half of the garlic salt. Toss them well to ensure every piece is coated with the flavorful spices.

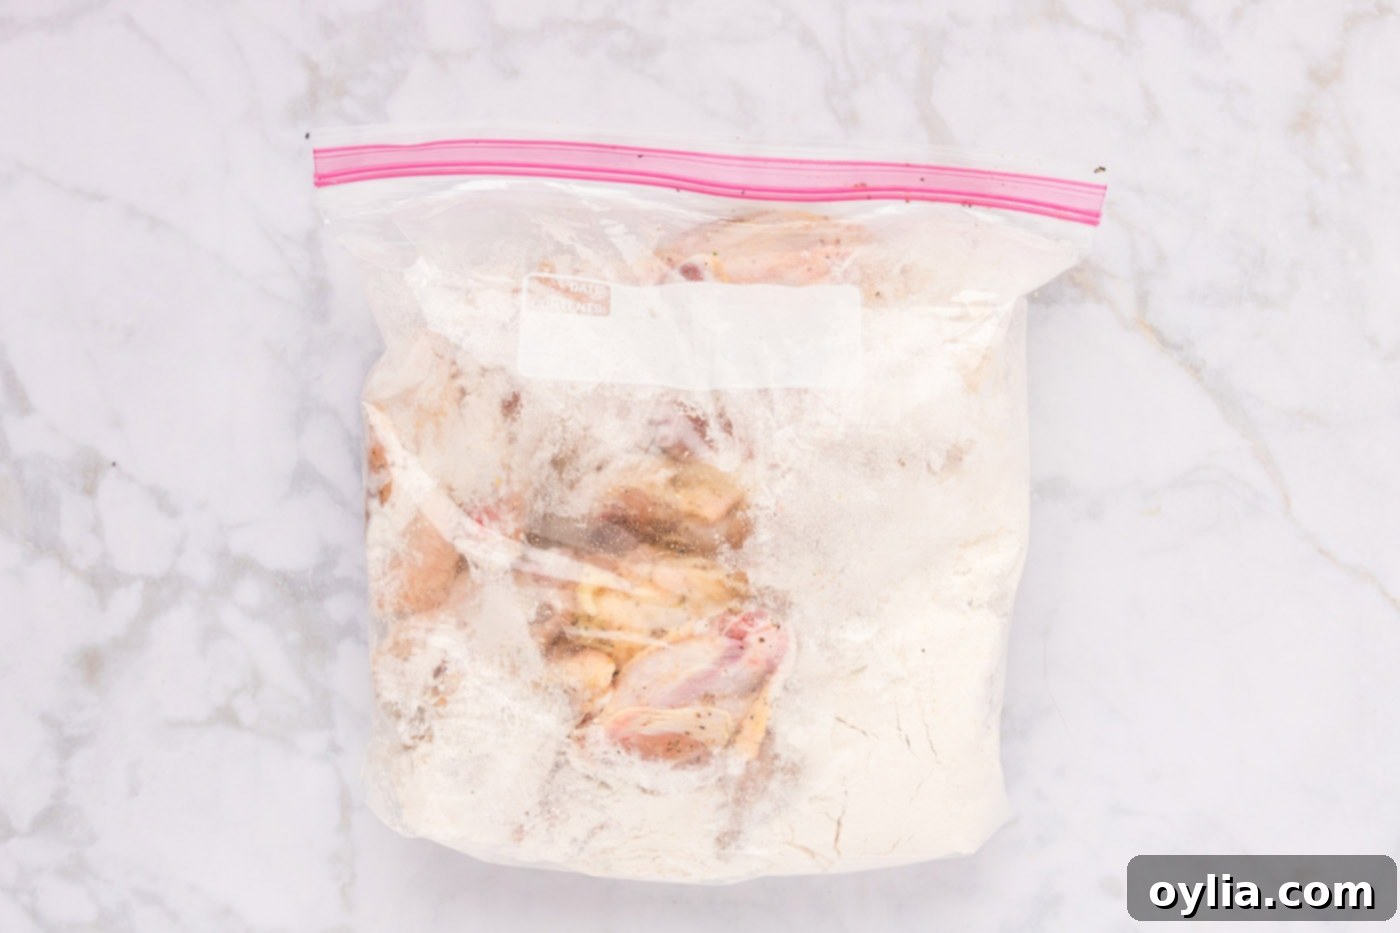
- Prepare your flour mixture: Add the remaining garlic salt and the all-purpose flour to a gallon-sized zip-top plastic bag. Shake it gently to combine the ingredients thoroughly.
- Time to coat! Add your seasoned chicken wings to the bag with the flour mixture. Seal the top securely, ensuring there’s some air inside. Then, vigorously shake the bag until each wing is completely and evenly coated in the flour mixture. This method ensures maximum coverage with minimal mess.

- Once coated, gently remove the floured wings from the bag and place them onto your prepared wire rack. Allow them to rest for a few minutes while you prepare your oil. This brief resting period helps the coating adhere better, preventing it from flaking off during frying.

- Pour enough vegetable oil into a large, heavy-bottomed skillet to reach about an inch up the sides. Heat the oil over medium-high heat until it begins to shimmer. To test if the oil is ready, you can drop a tiny pinch of flour into it; if it sizzles vigorously, the oil is at temperature. Ideally, the oil should be between 350-375°F (175-190°C).
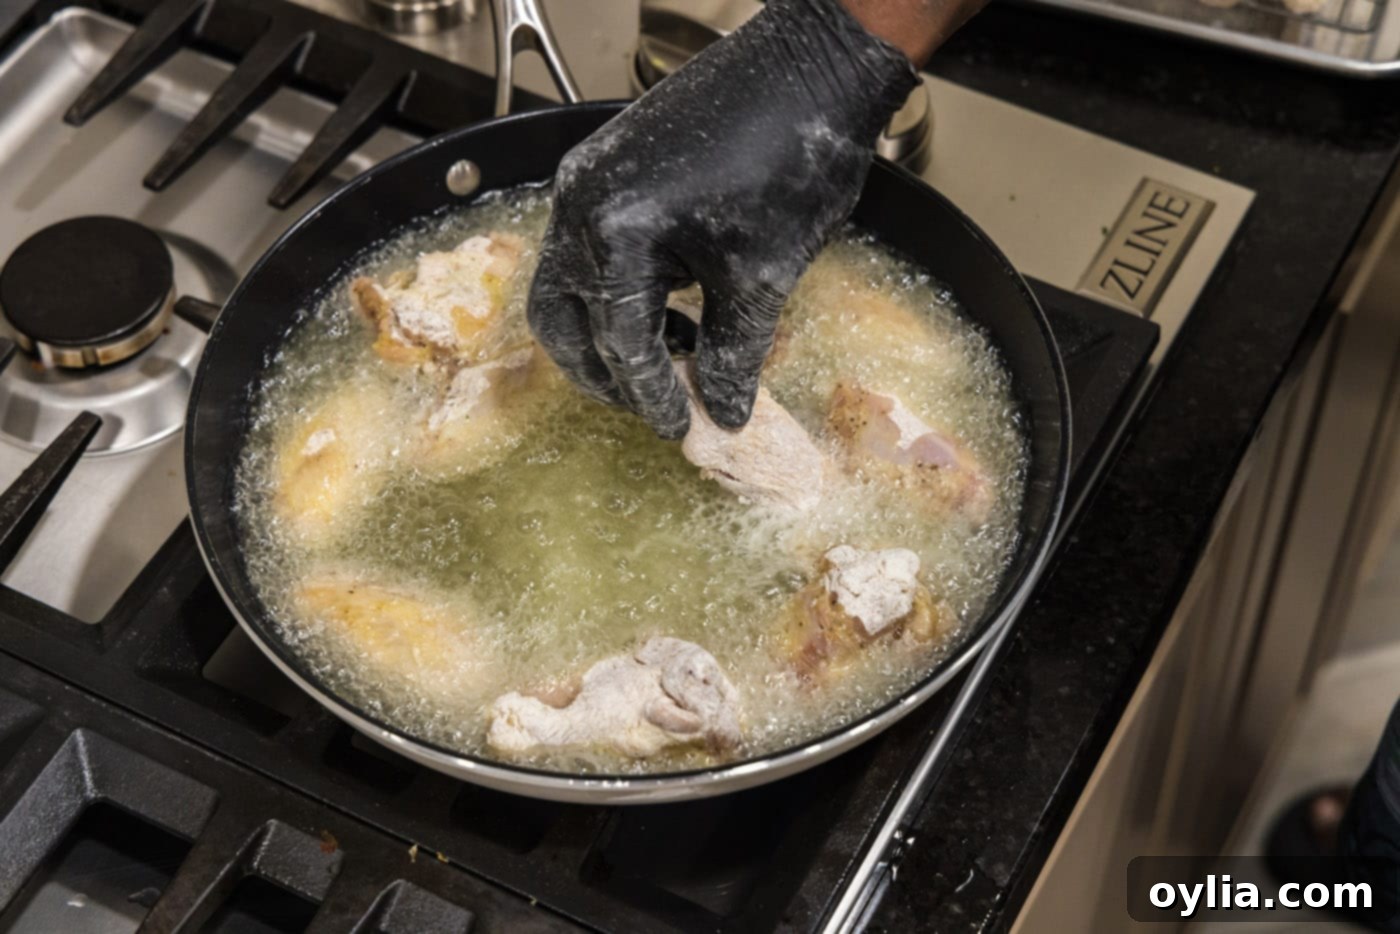
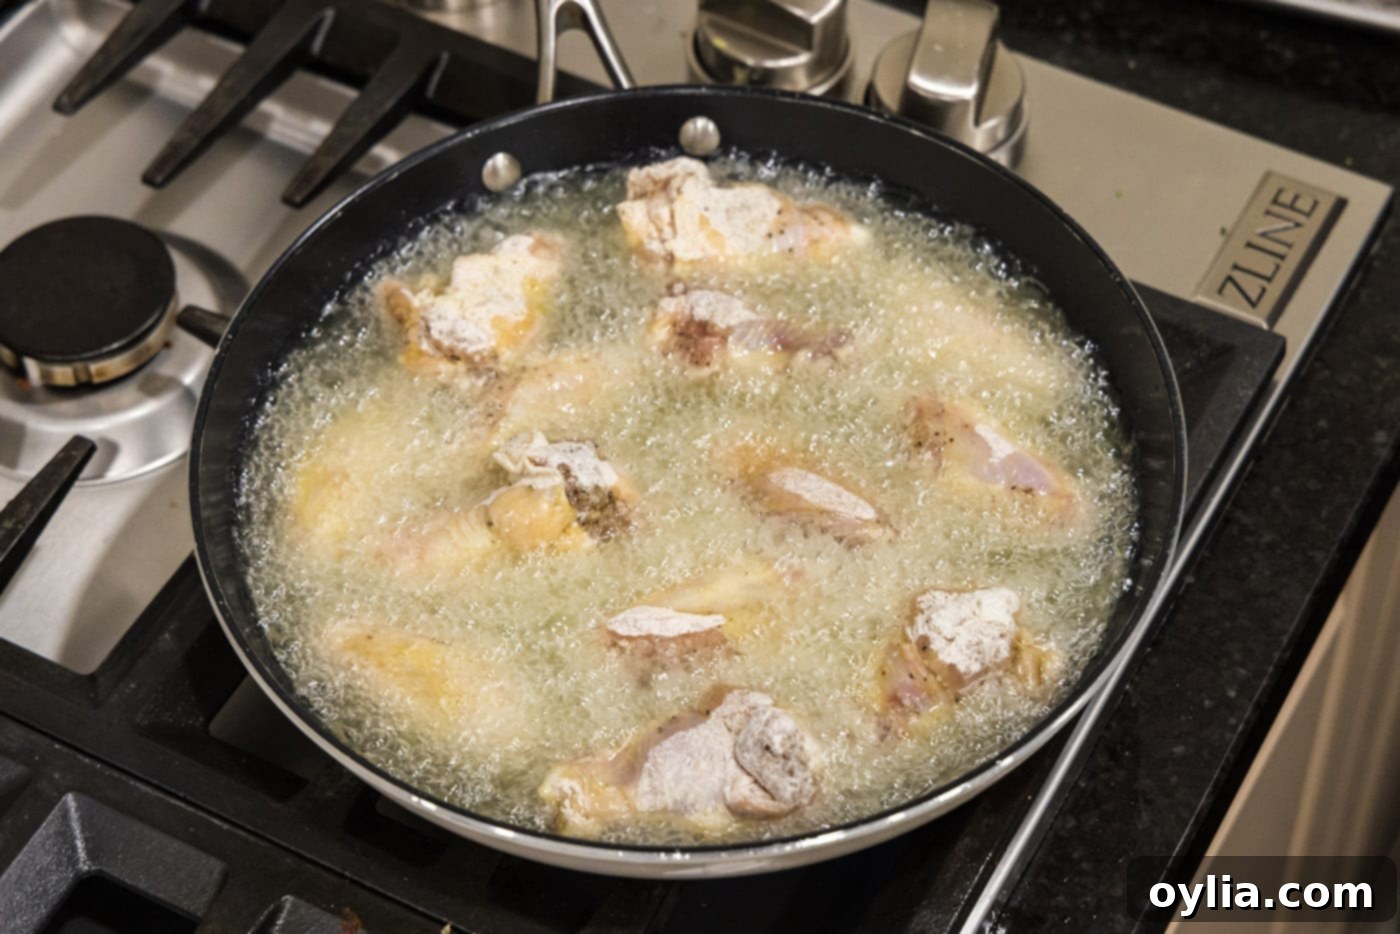
- Carefully, one by one, add the floured chicken wings to the hot oil. Crucially, avoid overcrowding the skillet. Frying in batches is essential; overcrowding lowers the oil temperature dramatically, leading to greasy, less crispy wings.


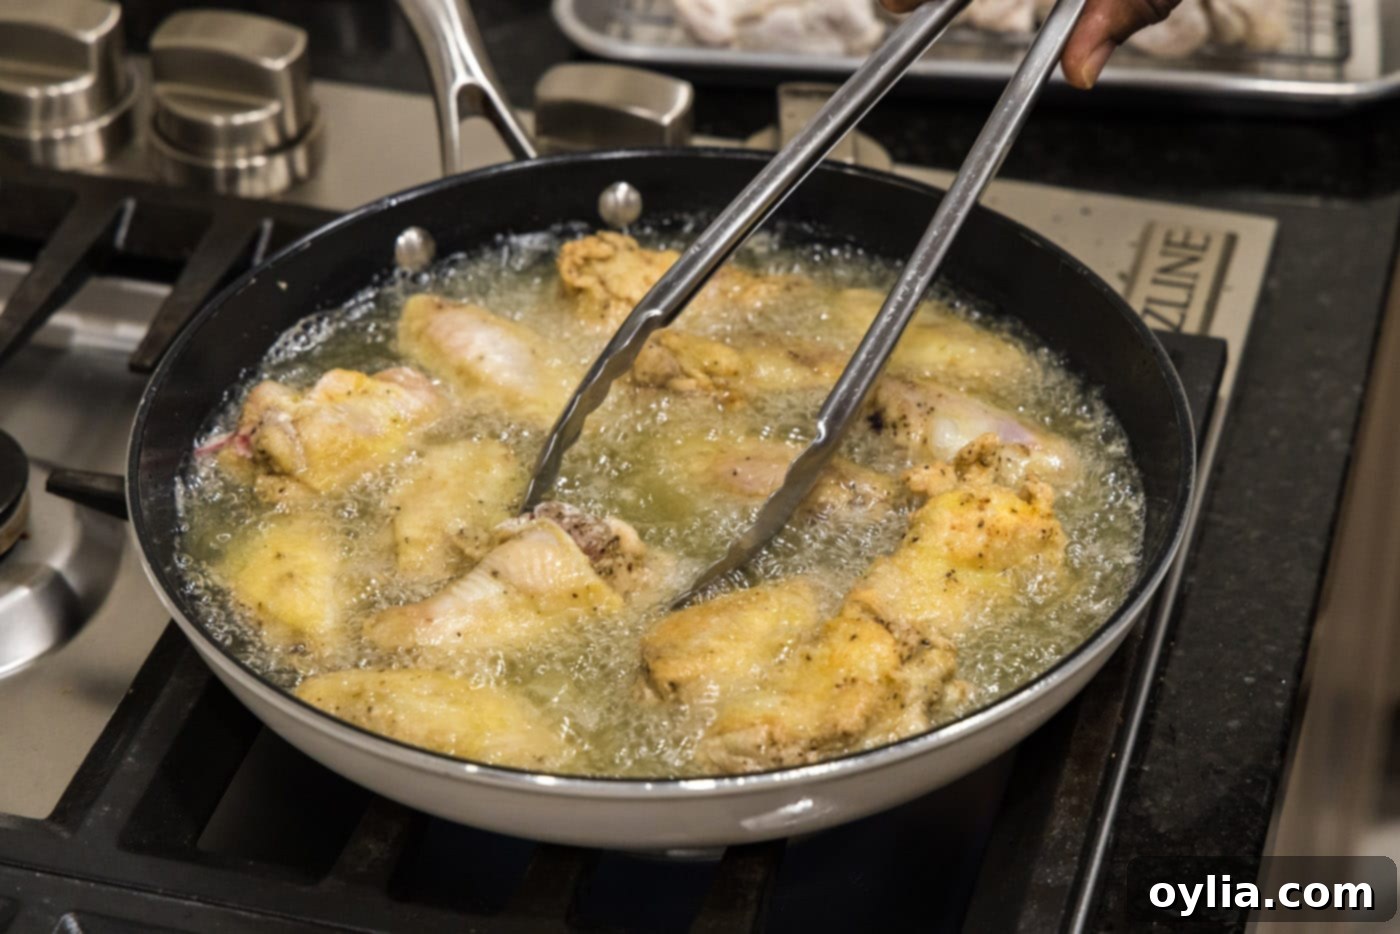
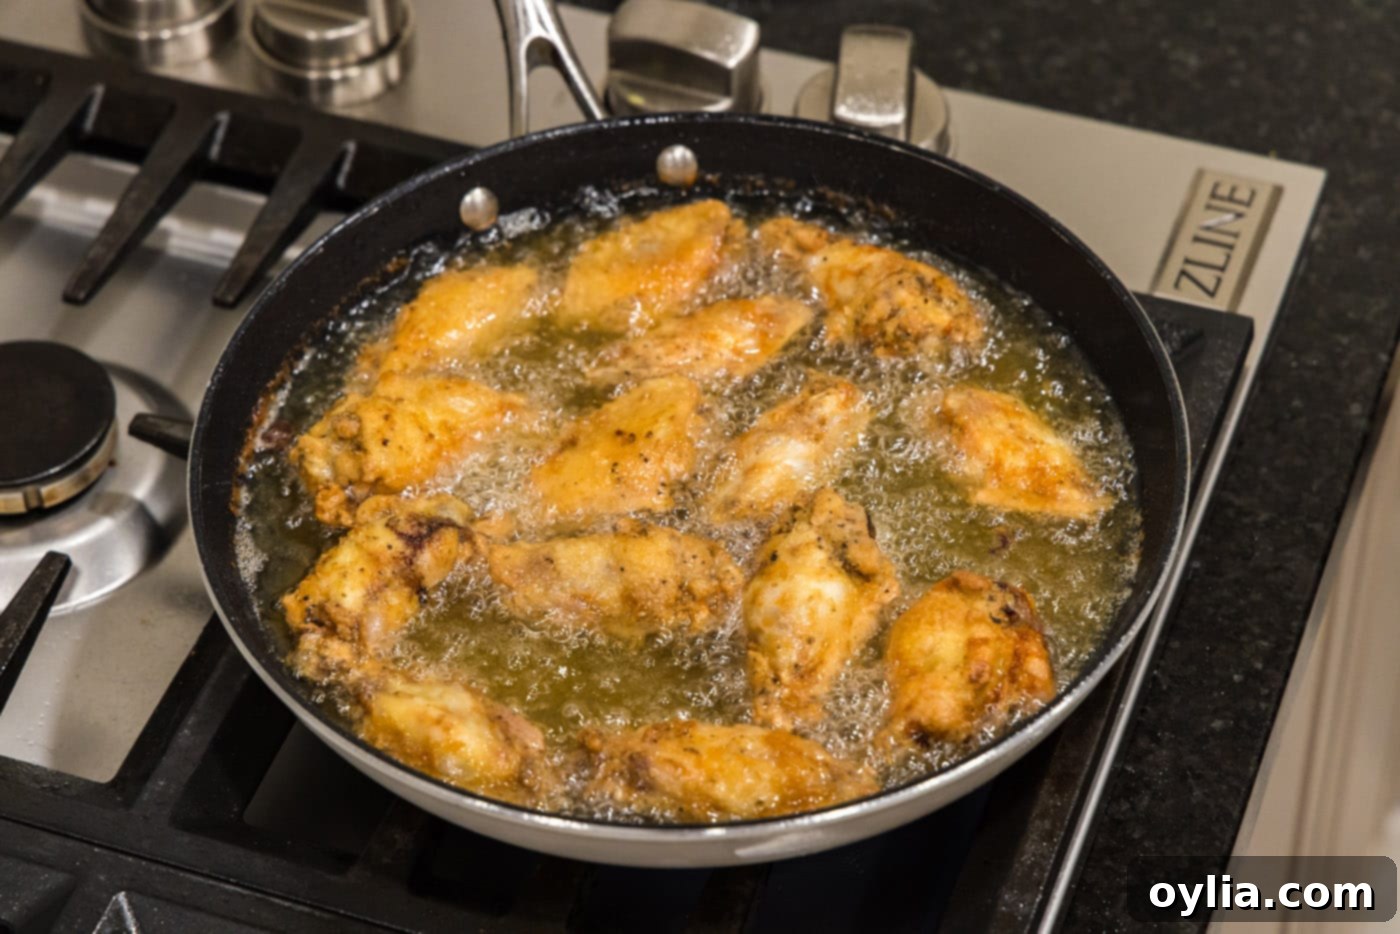
- Cook the wings undisturbed for 3-4 minutes to allow a crust to form. Then, using tongs, carefully turn the chicken over. Continue cooking, turning 1-2 more times as needed, until the wings reach your desired level of golden-brown crispness and are thoroughly cooked through. This process typically takes about 10-12 minutes per batch, depending on wing size and oil temperature.


- While the chicken from the first batch is cooking, line your wire rack with a fresh layer of paper towels. This will absorb excess oil from the finished wings, contributing to their ultimate crispiness.
- Once a batch is perfectly fried, remove the chicken wings from the oil and transfer them immediately to the paper towel-lined wire rack. Allow them to drain for a few minutes before serving. This brief rest period helps the coating firm up and releases any residual oil, ensuring a truly crispy bite. Repeat with remaining batches.

Frequently Asked Questions & Expert Tips for Perfect Fried Wings
Chicken is fully cooked and safe to eat when it reaches an internal temperature of 165°F (74°C). Use an instant-read thermometer, inserting it into the thickest part of the meat, avoiding the bone, to get an accurate reading. The juices should also run clear when pierced.
The optimal oil temperature for frying chicken wings is between 350-375°F (175-190°C). Maintaining this temperature is crucial for two main reasons: it ensures the chicken cooks evenly without drying out, and it prevents the wings from becoming greasy. If the oil is too cold, the chicken will absorb too much oil, resulting in a soggy, oily product. If it’s too hot, the outside will burn before the inside is cooked through. To help maintain temperature, do not overcrowd your skillet – fry in small batches. Using a candy or deep-fry thermometer clipped to the side of your pan is highly recommended for precise temperature control, guaranteeing those perfectly crispy results.
Store any leftover fried chicken wings in an airtight container in the refrigerator for up to 4 days. To bring back their crispy glory, you have two excellent reheating options. First, preheat your oven to 350°F (175°C), place the wings on a baking sheet, and bake for 10-15 minutes, or until they are warmed through and crispy again. Alternatively, an air fryer works wonders! Use its reheat function at around 375°F (190°C) for 5-8 minutes, shaking the basket halfway through, to achieve a crispness very similar to freshly fried.
While all-purpose flour is our standard, you can certainly experiment! For an extra light and airy crust, some chefs prefer a mix of flour and cornstarch (e.g., 3 parts flour to 1 part cornstarch). Cornstarch helps to inhibit gluten development, leading to a crispier texture. Self-rising flour can also be used for a slightly puffier coating. Just be mindful of the salt content if using self-rising flour, as it already contains leavening agents and salt.
Several pitfalls can derail your crispy wing ambitions:
- Not drying the wings: This is paramount! Wet wings steam, preventing crispiness.
- Overcrowding the pan: Lowers oil temperature, leading to greasy wings. Always fry in batches.
- Incorrect oil temperature: Too low makes them greasy; too high burns the outside before the inside cooks. Use a thermometer!
- Not using a wire rack: Placing fried items directly on paper towels can trap steam underneath, making them soggy. A wire rack allows air circulation for maximum crispness.
- Under-seasoning: Don’t be afraid to season generously, both the chicken directly and the flour mixture, for maximum flavor.
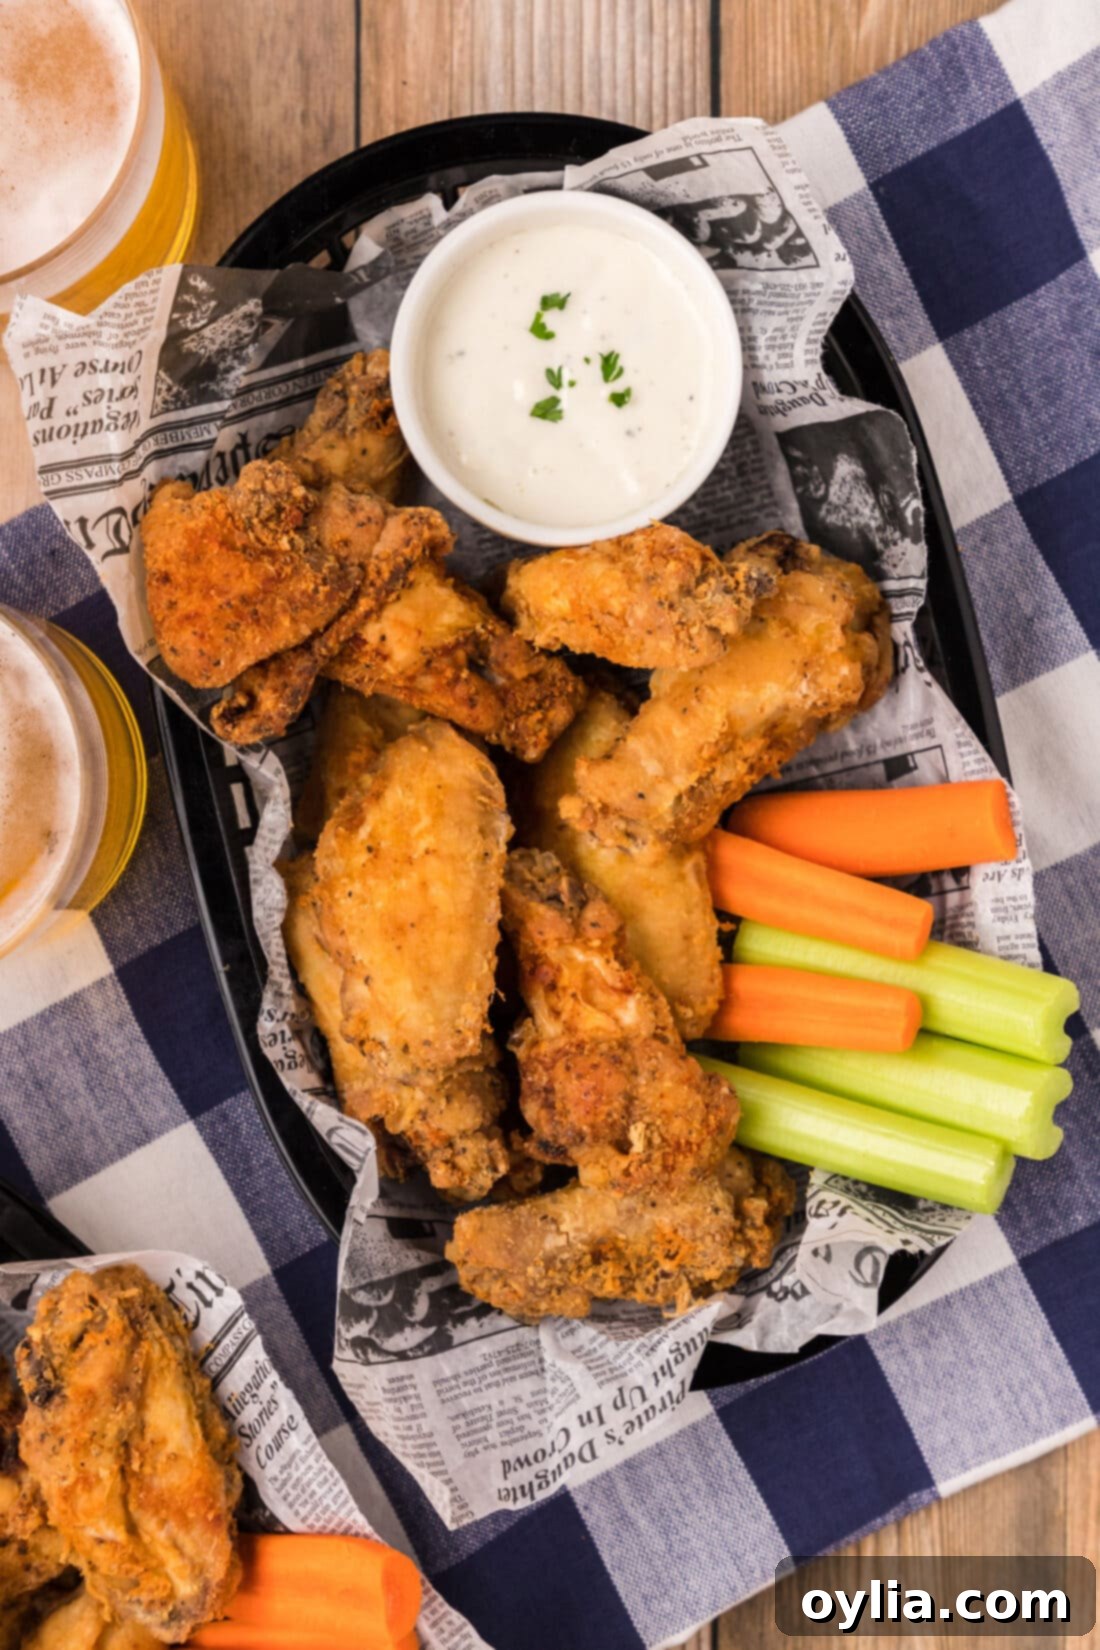
Perfect Pairings: Serving Suggestions for Your Fried Chicken Wings
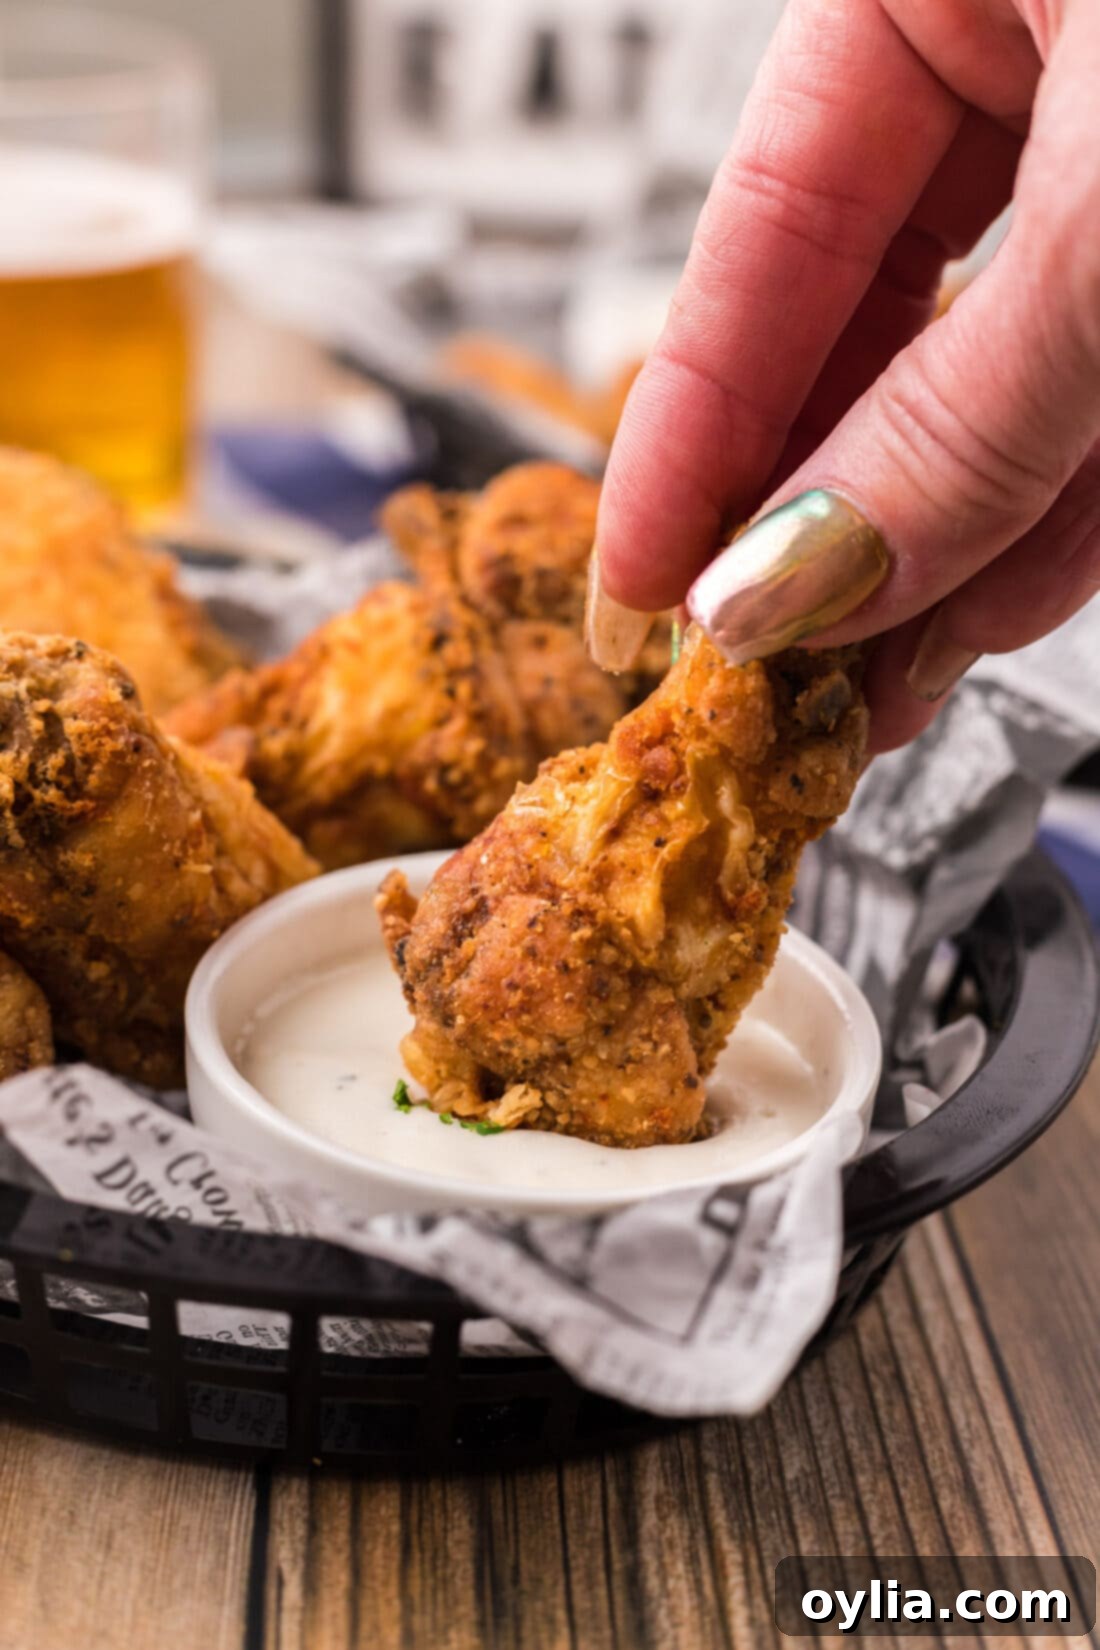
Fried chicken wings are incredibly versatile and can be enjoyed in a multitude of ways. There are two distinct camps when it comes to serving these golden beauties: those who prefer them au natural, savoring the pure, seasoned crispness, and those who love to elevate them with an array of sauces. For the sauce enthusiasts, the possibilities are endless! Consider classic BBQ sauce, sweet and savory teriyaki, zesty garlic parmesan, fiery buffalo sauce, or a simple yet potent hot sauce. For a cool, creamy counterpoint, a side of rich blue cheese or ranch dressing is always a winner.
Beyond sauces, consider accompanying your wings with classic sides. A heap of crispy french fries is a natural fit, while fresh carrot sticks and celery stalks provide a refreshing crunch and are perfect for scooping up extra dipping sauce. For a heartier meal, think about creamy coleslaw, a vibrant potato salad, or even a comforting mac and cheese. Whether you’re hosting a game day party, planning a casual family dinner, or simply treating yourself, these fried chicken wings are guaranteed to be a crowd-pleaser. Enjoy every crispy, juicy bite!
Explore More Delicious Chicken Wing Recipes
If you’ve loved this recipe, you might be interested in exploring other exciting ways to prepare chicken. From spicy to savory, and baked to air-fried, there’s a chicken recipe for every craving:
- Nashville Hot Chicken
- Korean Fried Chicken
- Air Fryer Chicken Wings
- Crispy Baked Chicken Wings
- Garlic Parmesan Wings
- Popcorn Chicken
I’m passionate about baking and cooking, and I love sharing my culinary adventures and tested recipes with all of you! It can be challenging to remember to check back every day, which is why I offer a convenient newsletter delivered straight to your inbox every time a new recipe posts. Simply subscribe to start receiving your free daily recipes and never miss out on a delicious dish!
Fried Chicken Wings
IMPORTANT – There are often Frequently Asked Questions within the blog post that you may find helpful. Simply scroll back up to read them!
Print It
Pin It
Rate It
Save ItSaved!
Ingredients
- 4-5 pounds chicken wings ours weighed 4.71 pounds
- 1 Tablespoon garlic salt divided
- 2 teaspoons black pepper
- 2 teaspoons onion powder
- 1 cup all-purpose flour
- vegetable oil for frying
Things You’ll Need
-
Baking sheet
-
Wire cooling rack
-
Large heavy bottomed skillet
-
Vinyl gloves
Before You Begin
- The amount of time will increase or decrease based on the size of your wings. Bigger, meatier pieces will take a few minutes longer to cook.
- Chicken is one cooking when it reaches an internal temperature of 165F on an instant-read thermometer. Insert the thermometer into the thickest portion of the meat in order to accurately gauge doneness.
- Do not overcrowd the skillet with chicken, this will lower the temperature of the oil which will also cause the chicken to absorb the oil and become greasy.
- Maintaining the temperature and not overcrowding the pan (frying in batches) will yield crispy results. Use a candy/deep fry thermometer clipped to the side of the pan to keep an eye on the temperature if desired. Ideally, you want to maintain a temperature between 350-375F throughout the cooking process.
- Store leftovers in an air-tight container kept in the refrigerator for up to 4 days.
- To reheat, you have two options. Preheat the oven to 350F and place the chicken wings on a baking sheet. Bake for 10-15 minutes or until warmed through. The other option is to use the reheat function on an air fryer which will help crisp them back up like they would in the oven.
Instructions
-
Place a wire rack onto a large baking sheet.
-
Be sure to pat the chicken wings dry before starting.
-
Season the chicken wings with black pepper, onion powder, and 1/2 of the garlic salt.
-
Add the remaining garlic salt and the flour to a gallon zip top plastic bag.
-
Add seasoned wings to the bag and close the top. Shake to coat the wings in the flour mixture.
-
Place floured wings on wire rack.
-
Add enough vegetable oil to a large skillet to come about an inch up the sides. Heat over medium-high until oil shimmers.
-
One by one, add chicken wings to the hot oil, being careful not to crowd the wings. You will need to work in batches.
-
Cook undisturbed for 3-4 minutes. Turn chicken over. Continue cooking, turning 1-2 more times until desired darkness. This should take about 10-12 minutes.
-
While chicken is cooking, line your wire rack with paper towels.
-
Remove chicken to a paper towel lined rack and allow to drain before serving.
Nutrition
The recipes on this blog are tested with a conventional gas oven and gas stovetop. It’s important to note that some ovens, especially as they age, can cook and bake inconsistently. Using an inexpensive oven thermometer can assure you that your oven is truly heating to the proper temperature. If you use a toaster oven or countertop oven, please keep in mind that they may not distribute heat the same as a conventional full sized oven and you may need to adjust your cooking/baking times. In the case of recipes made with a pressure cooker, air fryer, slow cooker, or other appliance, a link to the appliances we use is listed within each respective recipe. For baking recipes where measurements are given by weight, please note that results may not be the same if cups are used instead, and we can’t guarantee success with that method.
