The Ultimate Crispy Homemade Onion Rings Recipe: Golden Perfection in Under 25 Minutes
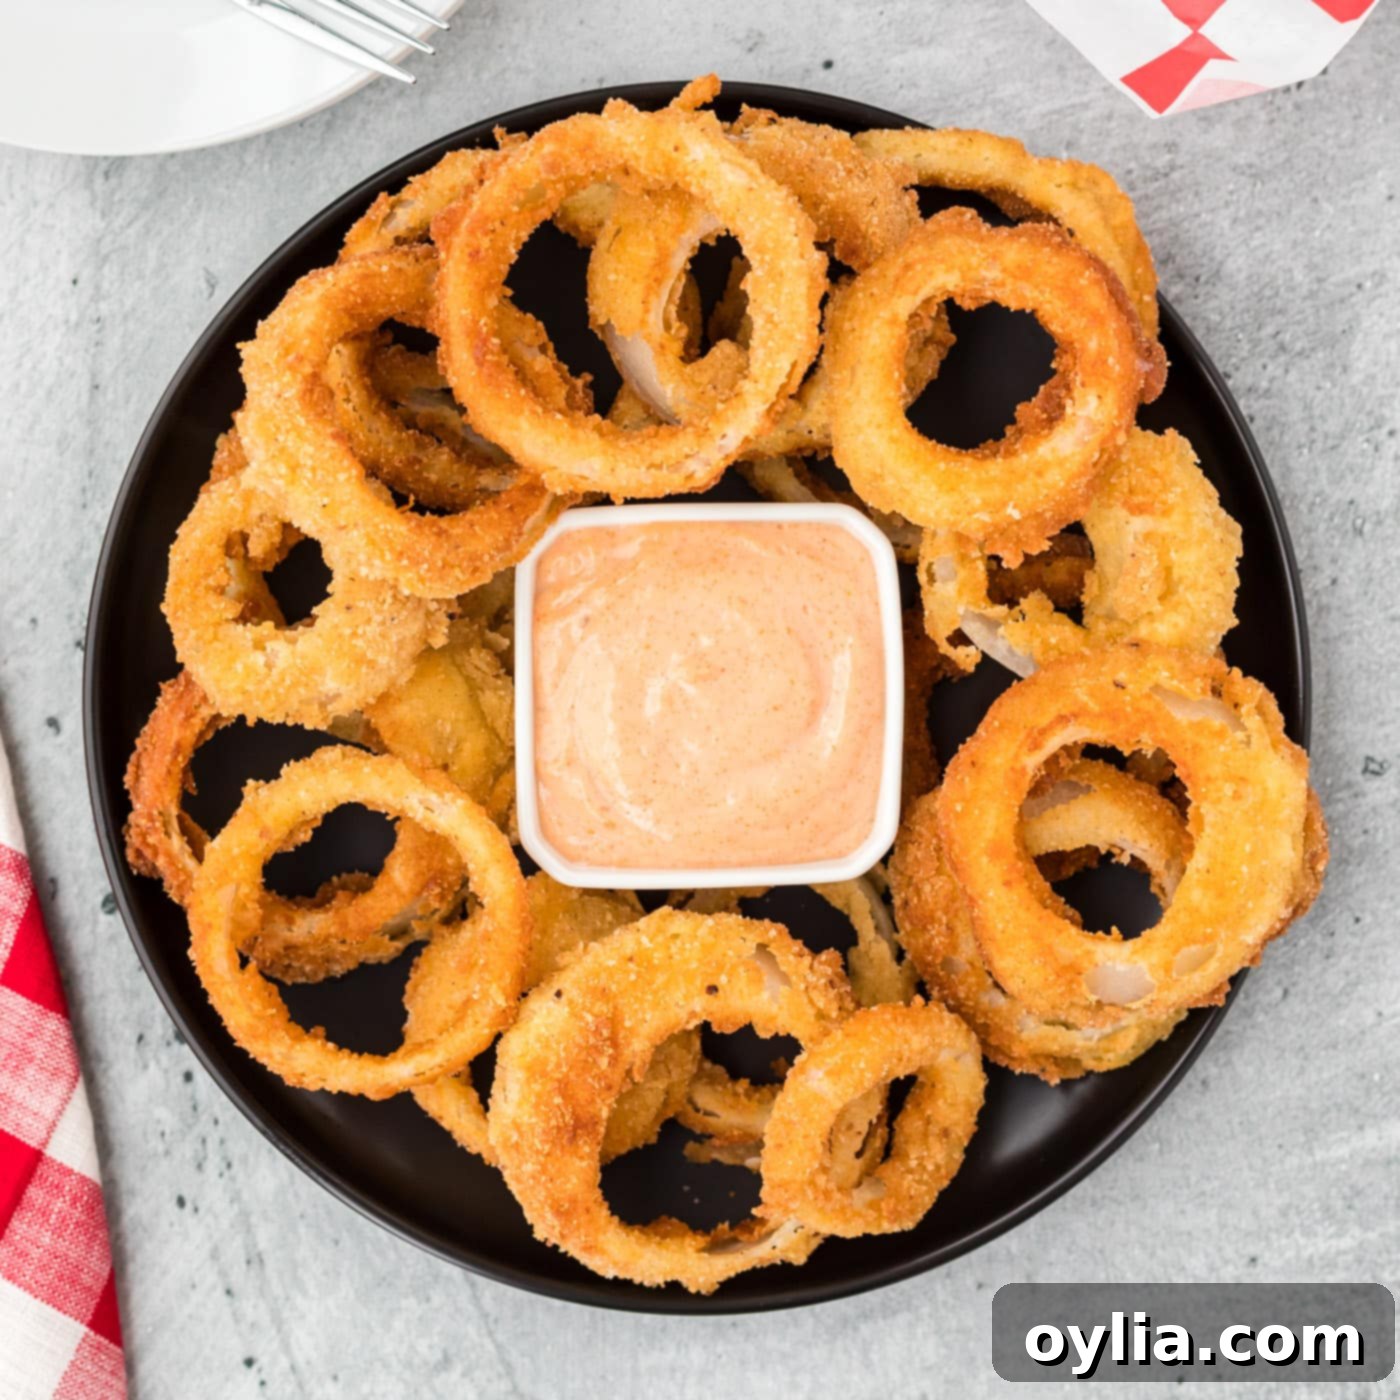
Craving that irresistible crunch and sweet onion flavor? Look no further! This recipe delivers incredibly crispy, perfectly golden-brown onion rings right in your own kitchen. Battered, dredged in breadcrumbs, and fried to mouth-watering perfection, these homemade delights are ready to enjoy in under 25 minutes. Forget the soggy, bland versions; our recipe guarantees a satisfyingly crunchy texture and a burst of flavor with every bite, making them the ultimate side dish or appetizer for any occasion.
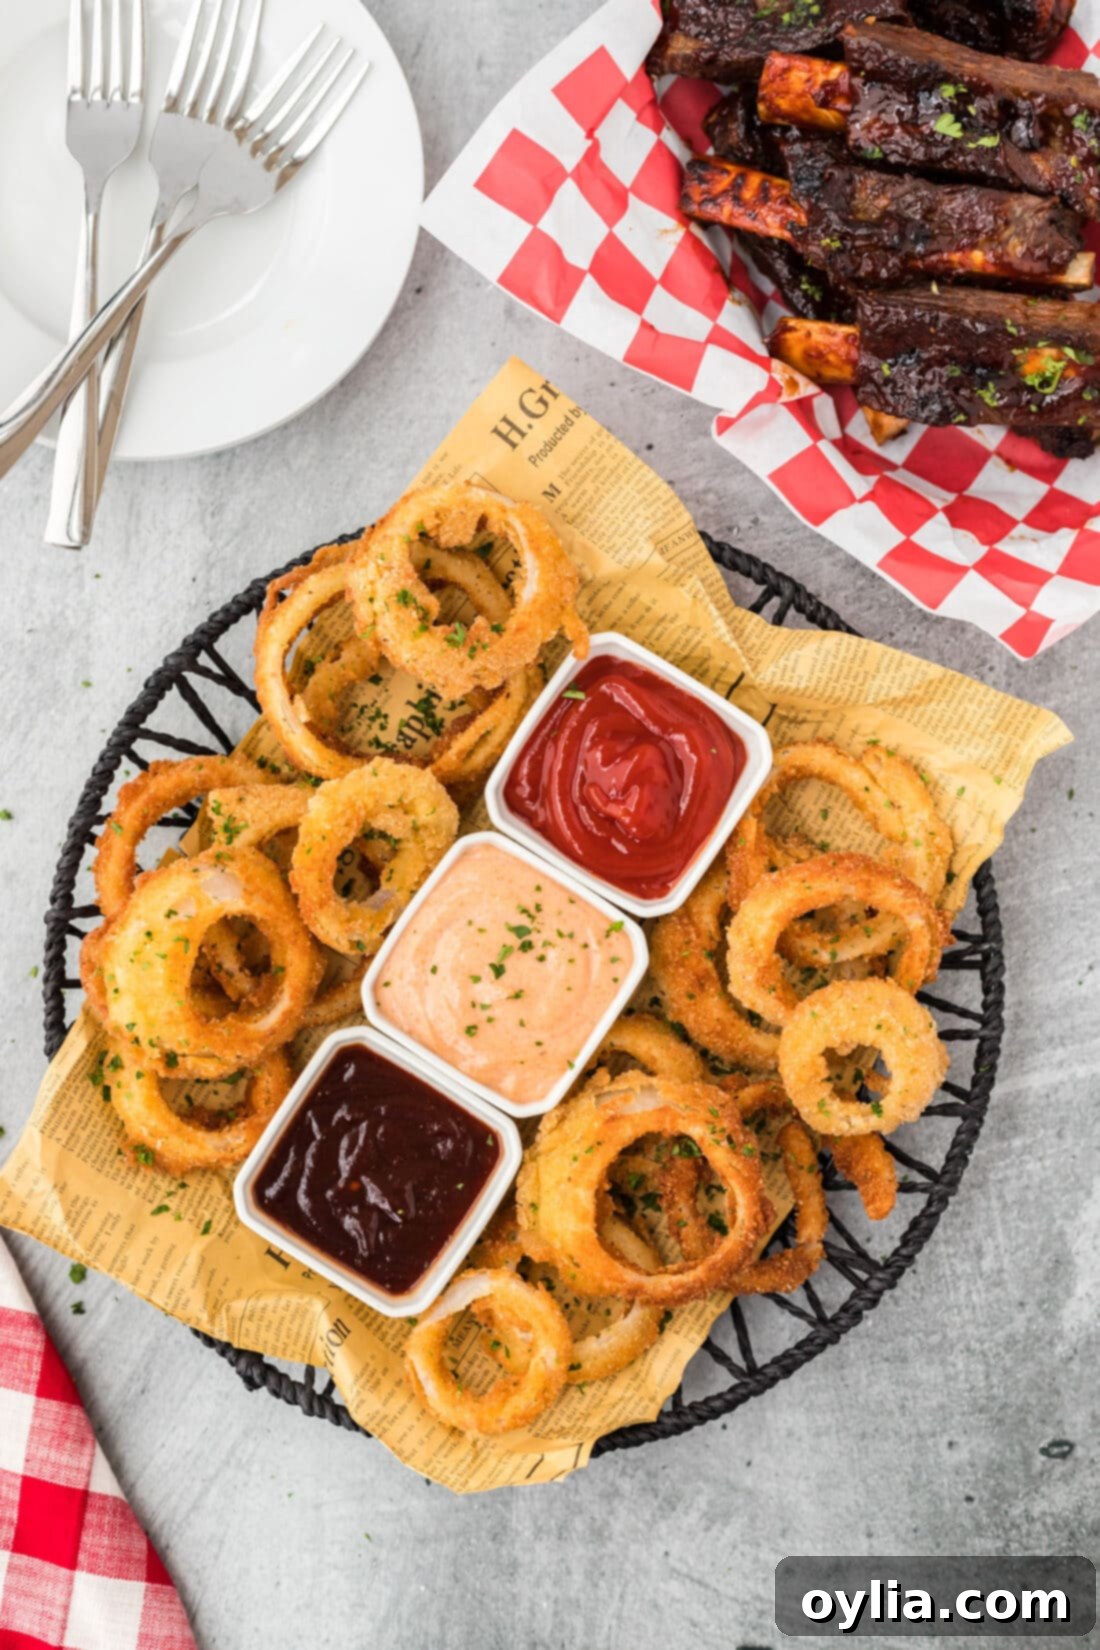
Why This Homemade Onion Rings Recipe Works
Is there anything better than a side of perfectly crunchy, golden-fried onion rings? We think not! These homemade onion rings aren’t just good; they’re incredibly easy to make and rival any restaurant-quality version you’ve had. The secret lies in our simple yet effective three-step coating process: a light flour dredge, a flavorful batter dip, and a final roll in crispy breadcrumbs. This method creates a robust crust that locks in the onion’s natural sweetness while ensuring a satisfying crunch with every bite.
Our recipe is designed for maximum flavor and texture without unnecessary complications. From slicing the onion to the final golden sizzle in the pan, you’ll find each step straightforward and rewarding. Plus, knowing exactly what goes into your food makes these crispy delights even more enjoyable. So, skip the drive-thru and treat yourself to the best homemade onion rings you’ll ever taste!
Not into using oil to fry onion rings? You’ll love our air fryer onion rings recipe for a lighter alternative!
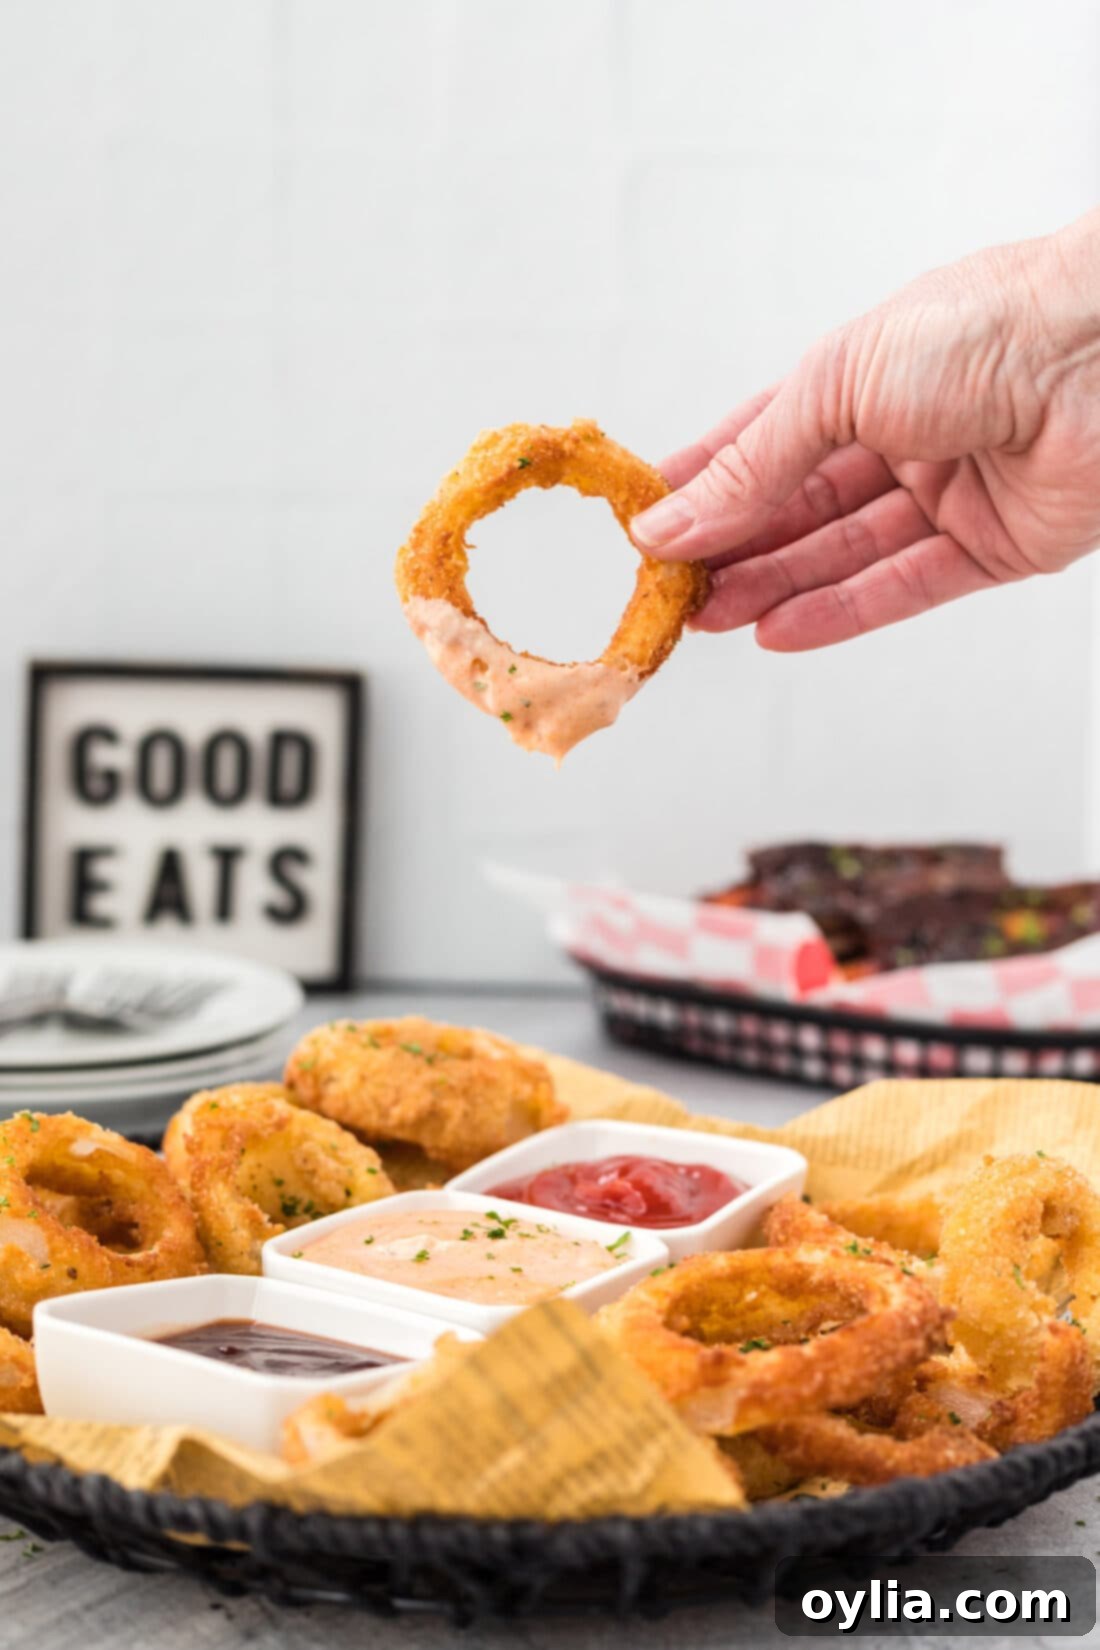
Ingredients You Will Need for Crispy Onion Rings
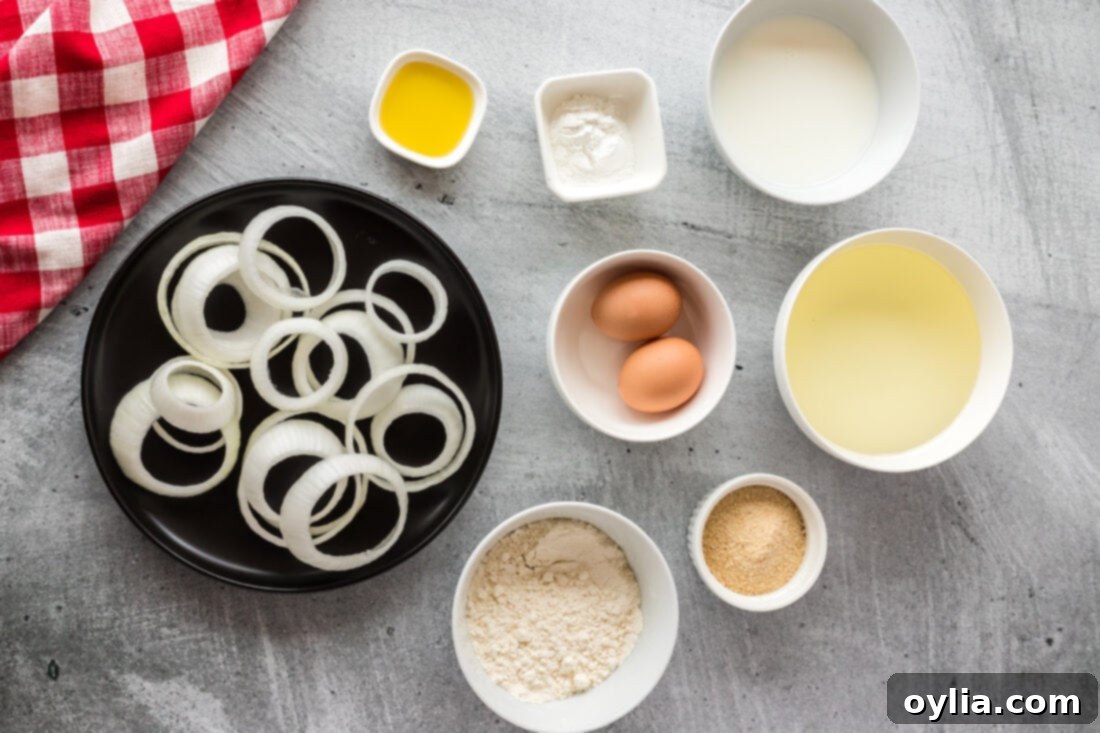
Gathering your ingredients is the first step to making these mouth-watering onion rings. Most of what you need are common pantry staples, ensuring that this delicious snack is always within reach. For precise measurements and detailed instructions, refer to the printable recipe card at the end of this post.
Ingredient Information and Substitution Suggestions
Understanding your ingredients is key to perfecting your homemade onion rings:
ONION – The star of the show! You have several options here, each offering a slightly different flavor profile. We typically opt for a **sweet onion** (like a Vidalia) in this recipe, as its mild flavor complements the crispy coating beautifully. However, **yellow onions** offer a classic, balanced onion taste, while **white onions** provide a sharper, more pungent flavor for those who prefer a bolder onion kick. You could even use **red onions** for a striking color and a slightly peppery note. Whichever you choose, ensure it’s a large, firm onion for easy slicing into rings. After slicing, gently separate the rings and you can even soak them in ice water for 15-30 minutes to reduce some of the pungency and potentially enhance crispness.
BREADING – This is where the magic happens for that ultimate crunch! We use standard breadcrumbs, but for an extra layer of crispiness, consider using **Panko breadcrumbs**. Their flaky texture creates a lighter, airier crust. Don’t be afraid to customize your breading! For enhanced flavor, mix in your favorite seasonings with the breadcrumbs or the initial flour mixture. Great additions include **paprika** (for color and mild flavor), **garlic powder**, **onion powder**, **black pepper**, a pinch of **cayenne pepper** for a subtle kick, or even some dried **Italian herbs**. You can also use pre-seasoned breadcrumbs for convenience. In our ingredient photo, you might spot two eggs, but we found one large egg is usually sufficient for the batter. Feel free to use two if you have extra or prefer a slightly thicker batter consistency; it won’t negatively affect the outcome.
FLOUR & BAKING POWDER – All-purpose flour forms the base of our coating, providing structure. The crucial addition of **baking powder** in the flour mixture is what helps create a light, airy, and truly crispy batter when combined with the wet ingredients. It reacts with the liquid and heat to produce tiny air bubbles, preventing a dense, greasy result.
EGG & MILK – These are the liquid components of our batter, working together to bind the flour and breadcrumbs to the onion rings. The egg helps create a rich, golden hue, while the milk thins the batter to the perfect consistency for an even coating. Any type of milk (dairy or non-dairy) will generally work here.
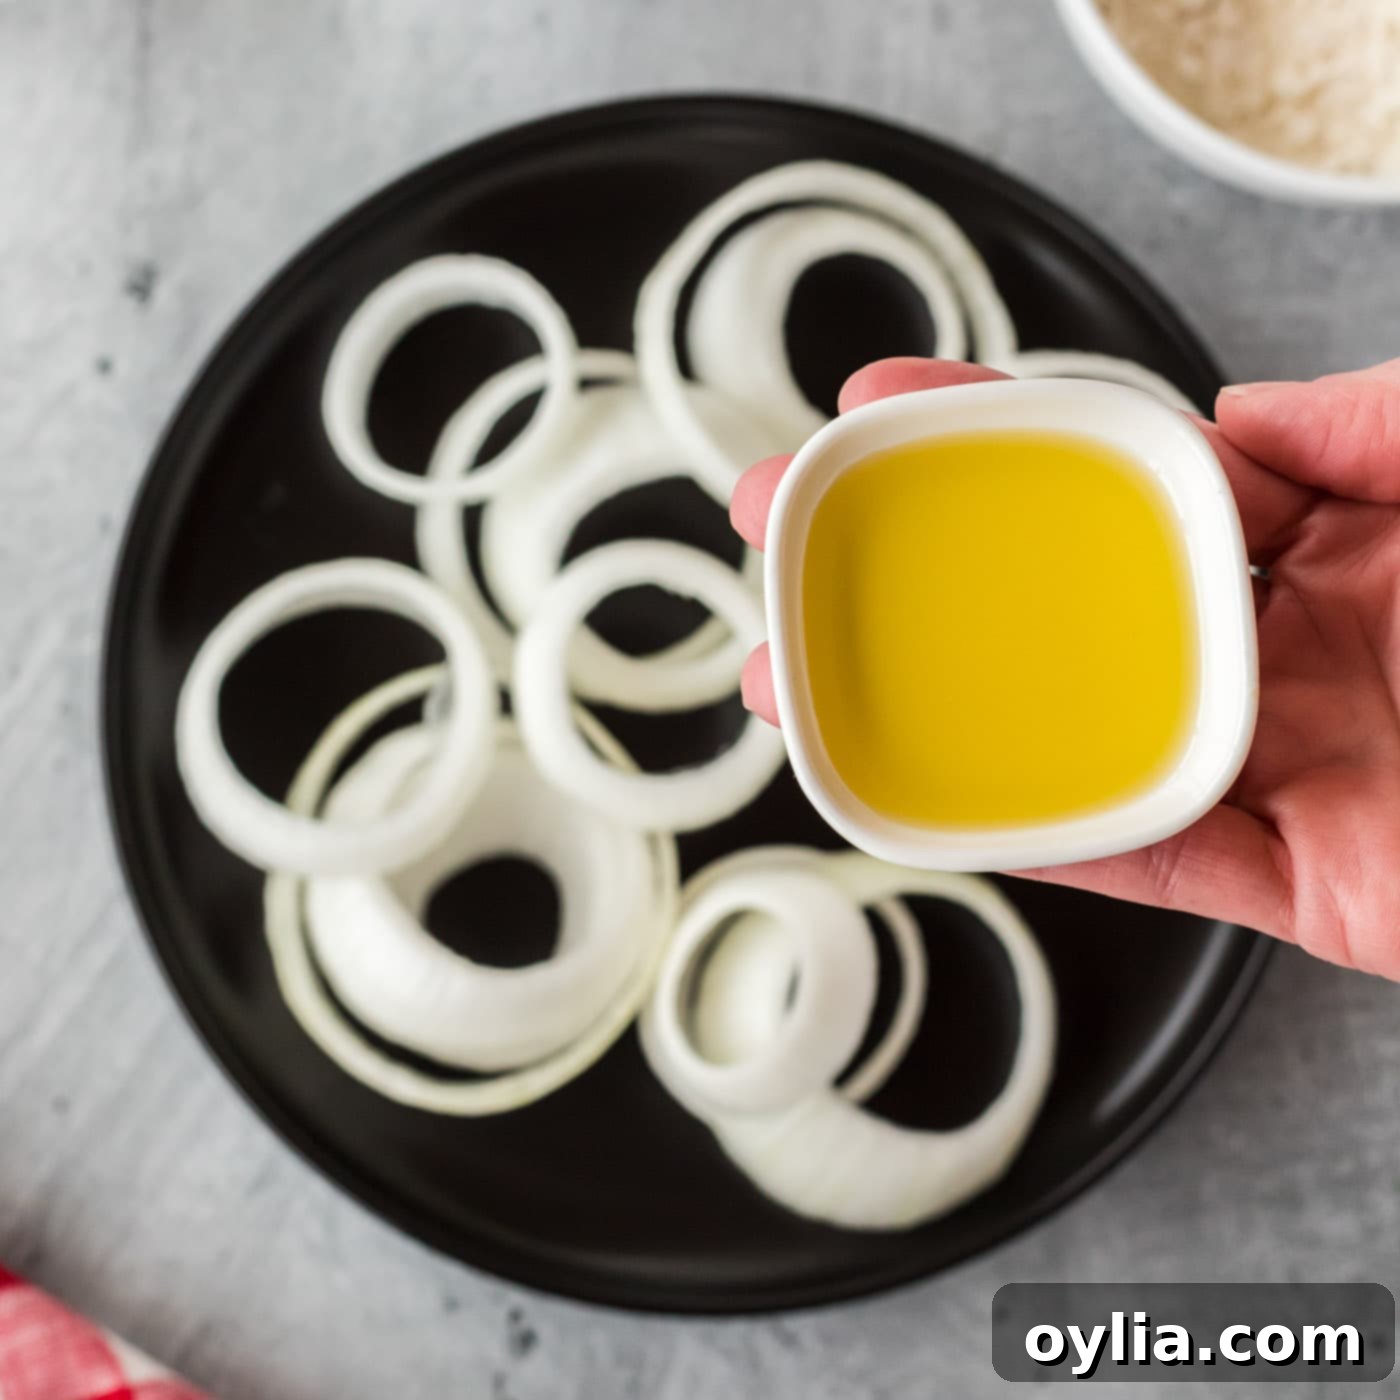
OLIVE OIL (for tossing) – A small amount of olive oil is used to lightly coat the onion rings before the initial flour dredge. This step isn’t for flavor in the final fry, but rather to help the dry flour adhere better to the onion slices, creating a more robust base for the subsequent batter and breadcrumbs. This ensures a consistent and complete coating.
VEGETABLE OIL (for frying) – For deep frying, choose an oil with a high smoke point, such as **vegetable oil**, **canola oil**, **peanut oil**, or **sunflower oil**. These oils can withstand the high temperatures required for frying without breaking down and imparting off-flavors. Ensure you use enough oil to fully submerge the onion rings, allowing them to cook evenly and achieve that desired golden crispness.
How to Make Perfectly Crispy Onion Rings
Crafting these delicious onion rings is a fun and rewarding process. Follow these detailed steps to achieve restaurant-quality results at home. These step-by-step photos and instructions are here to help you visualize how to make this recipe. You can Jump to Recipe to get the printable version of this recipe, complete with measurements and instructions at the bottom.
- Prepare the Onions: Begin by carefully slicing your chosen onion into uniform rings, aiming for a thickness of 1/2-inch to 1-inch. Consistent thickness is key for even cooking. After slicing, gently separate the rings.
- Lightly Oil the Rings: In a large bowl, toss the separated onion rings with a tablespoon of olive oil. This light coating helps the initial flour dredge adhere more effectively, creating a better base for your crispy crust.

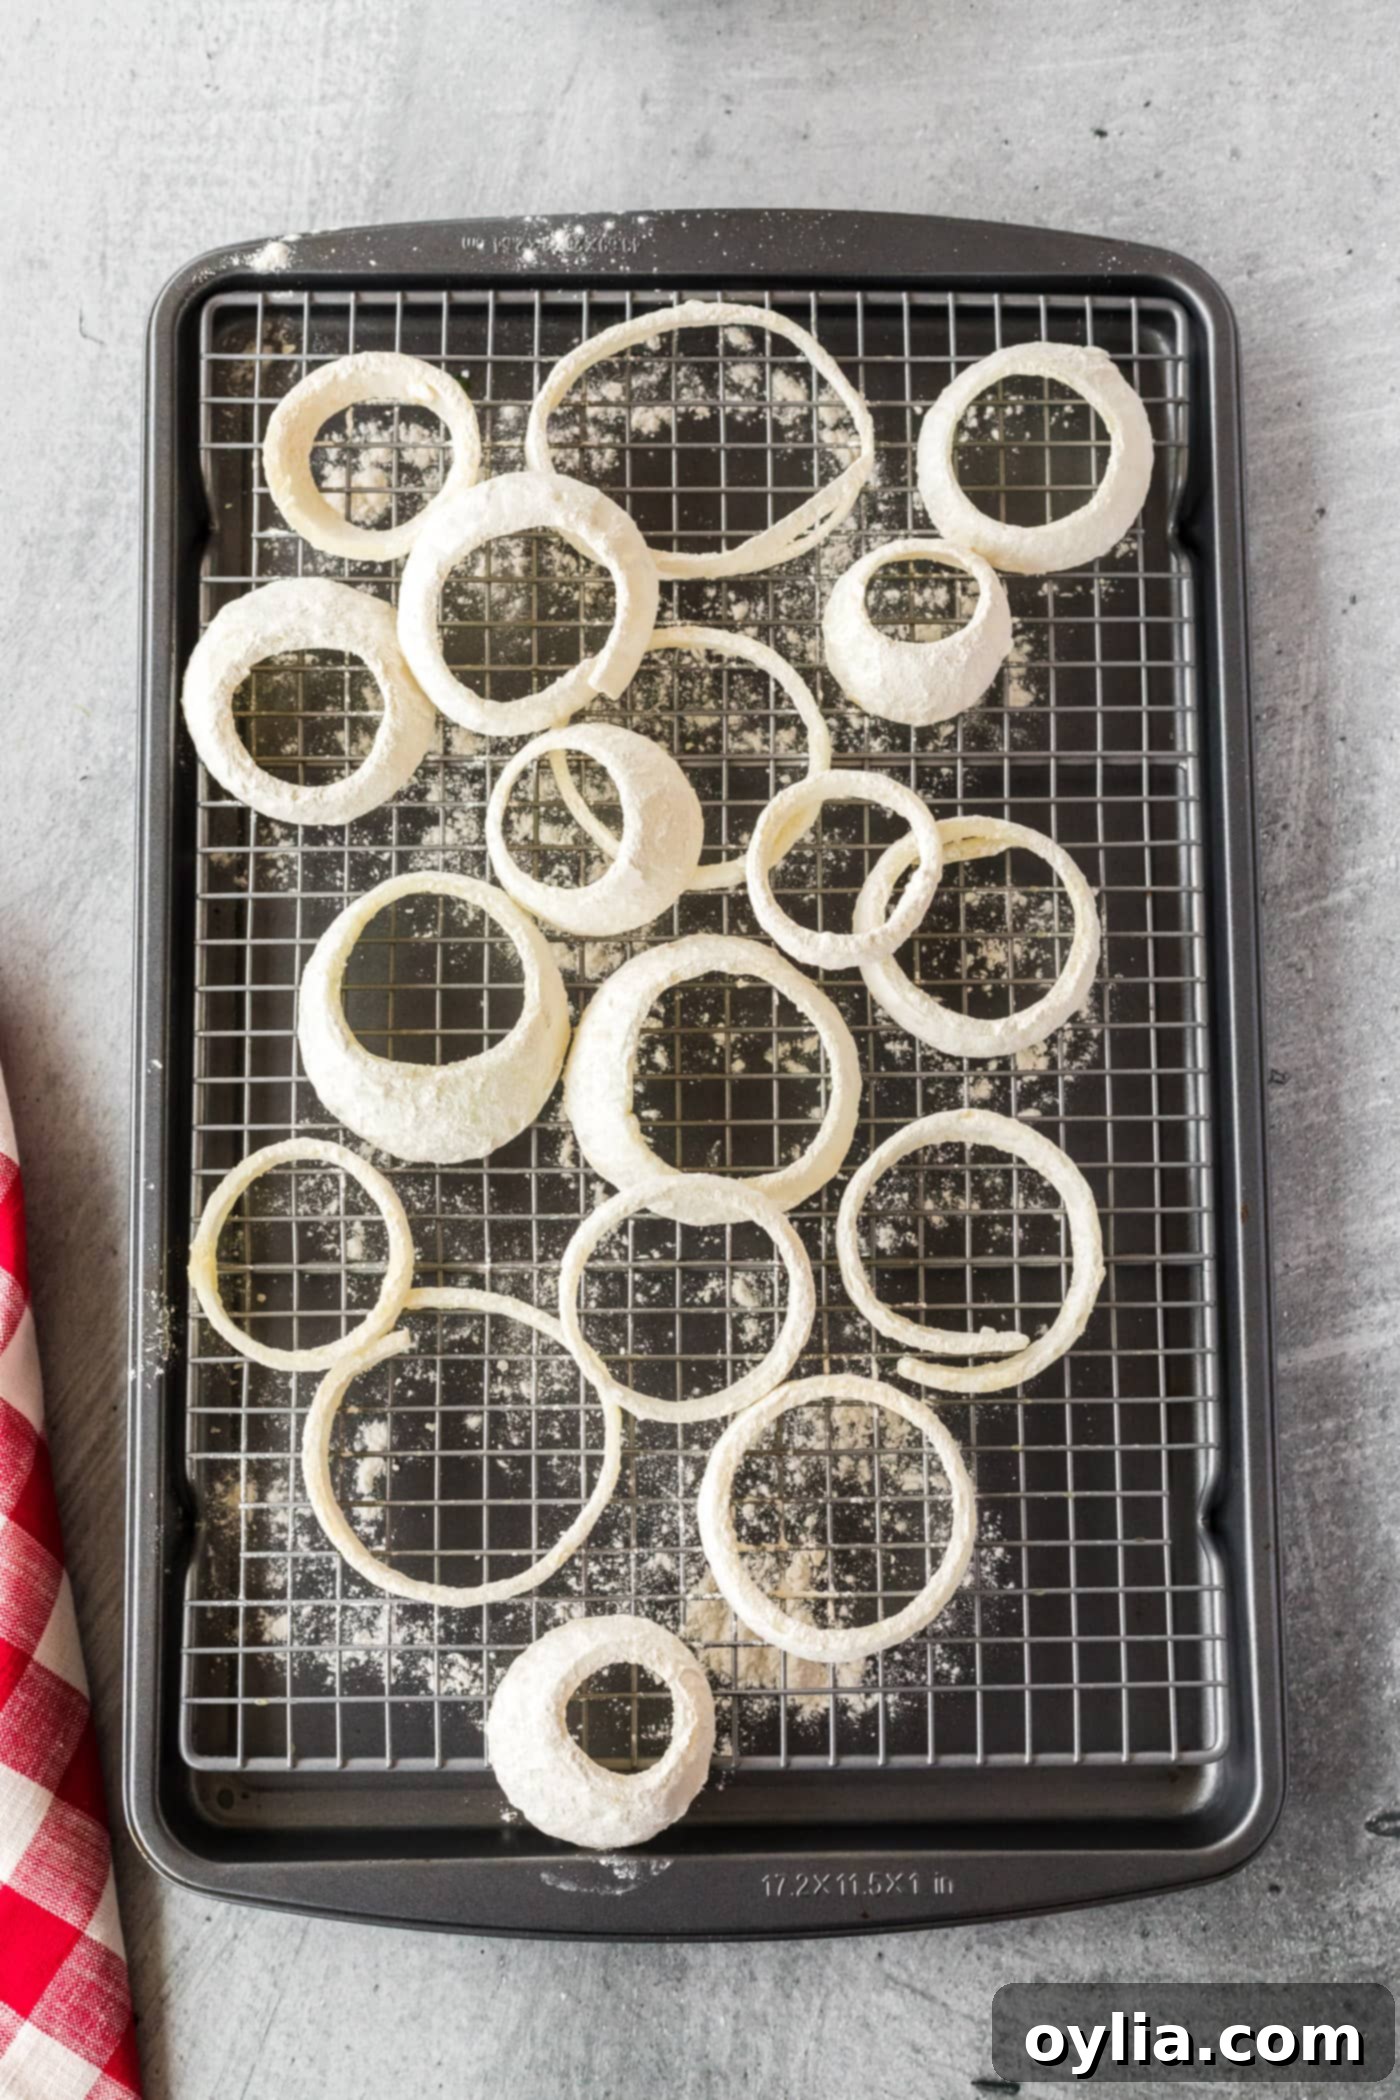
- First Flour Dredge: In a medium bowl, whisk together the all-purpose flour and baking powder. This dry mix provides the initial layer that will cling to the oiled onions. Take each oiled onion ring, one at a time, and thoroughly coat it in the flour mixture, turning to ensure all surfaces are covered. Gently shake off any excess flour. Place the coated rings on a clean wire rack set over a baking sheet, which will catch any drips and help air circulate.

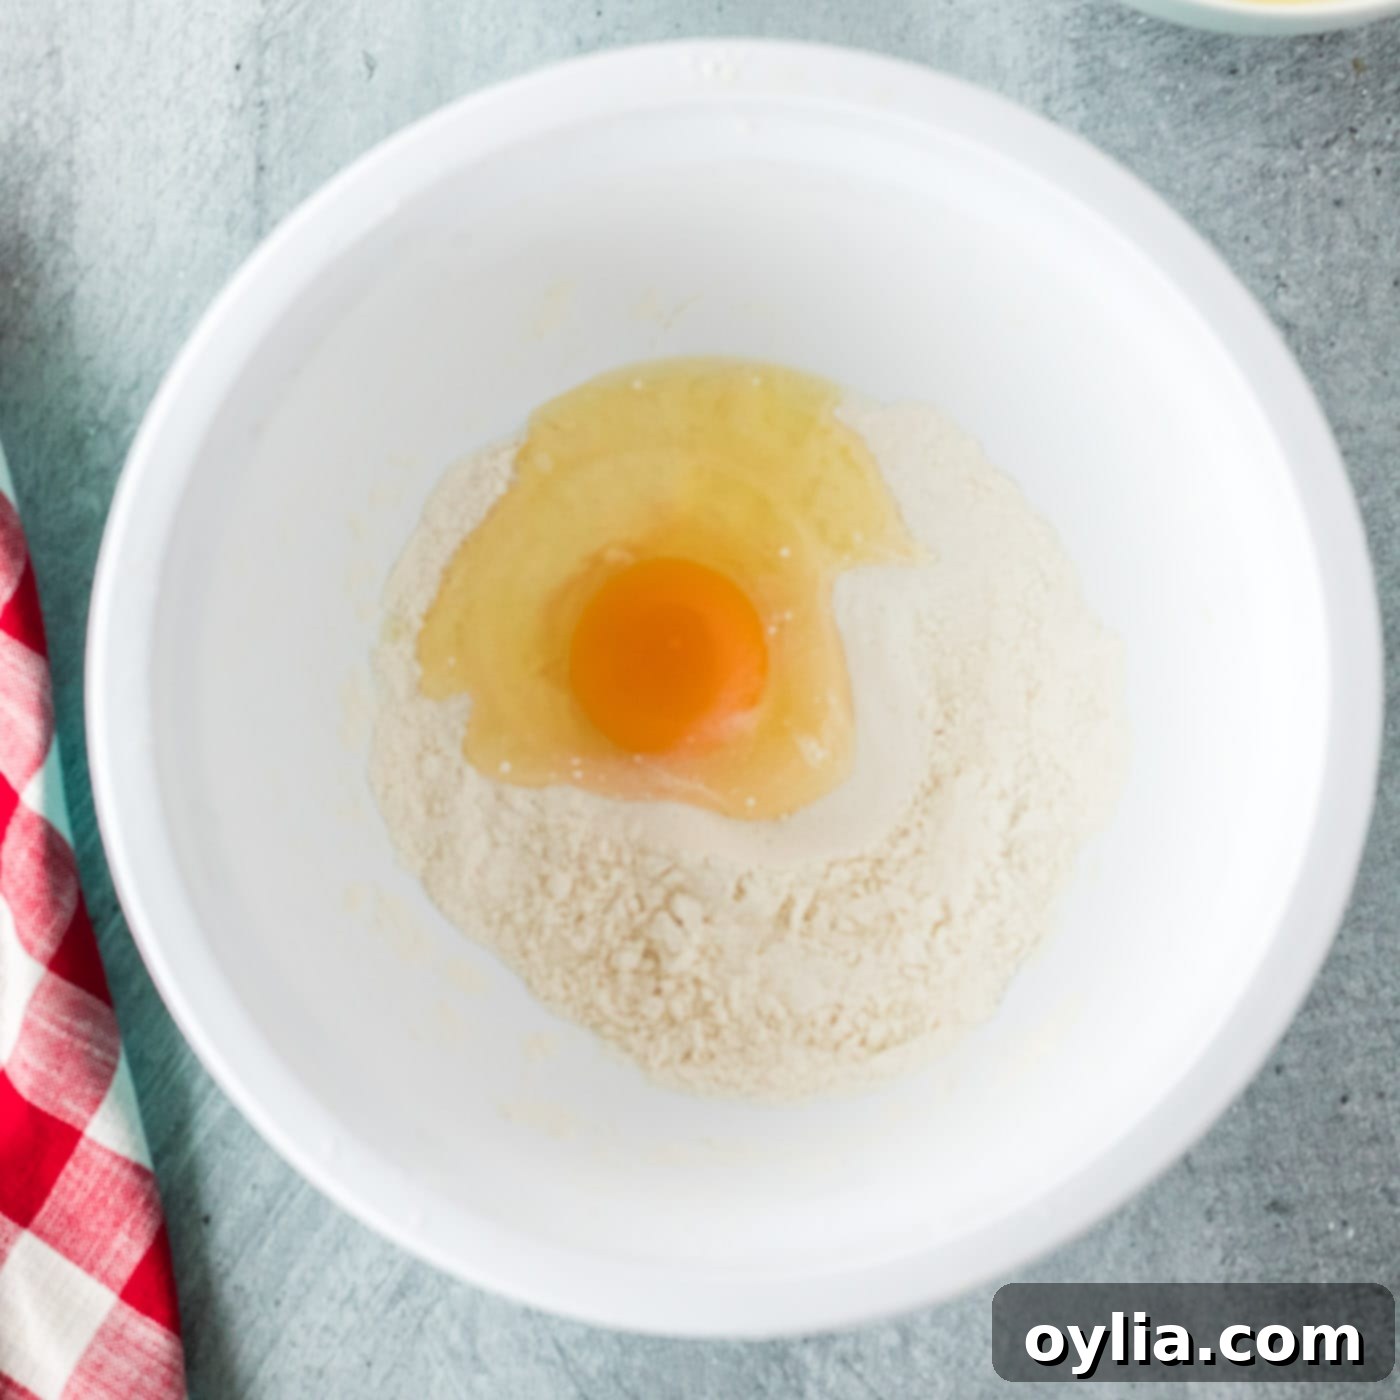
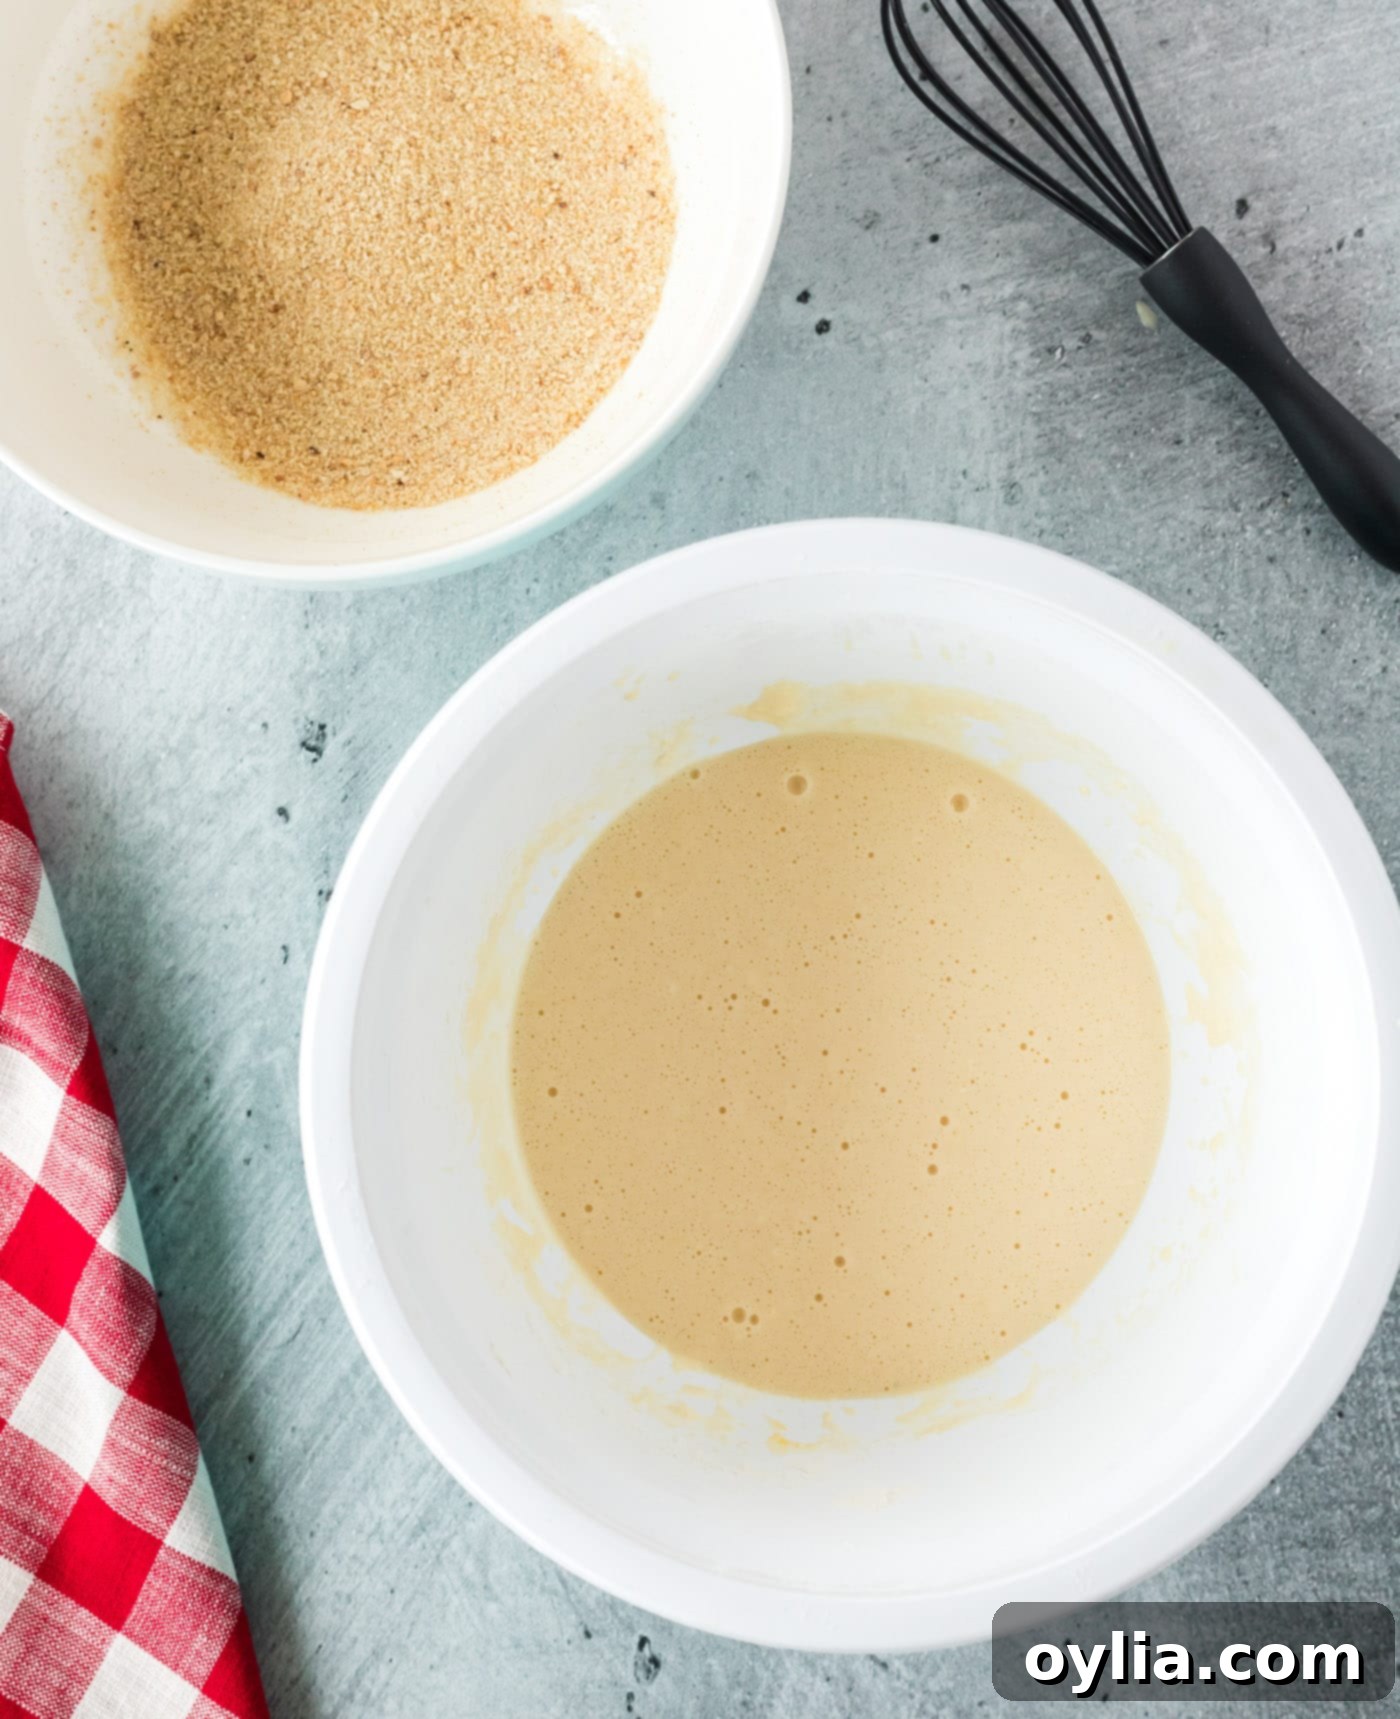
- Prepare the Batter: To the remaining flour and baking powder mixture in the medium bowl, add the egg and milk. Whisk until a smooth, somewhat thick batter forms. The consistency should be enough to coat the onion rings without being too thin or too gloopy.


- Set Up Breading Station: Pour the breadcrumbs into a separate medium bowl. This bowl should be wide enough to easily toss and coat the onion rings.
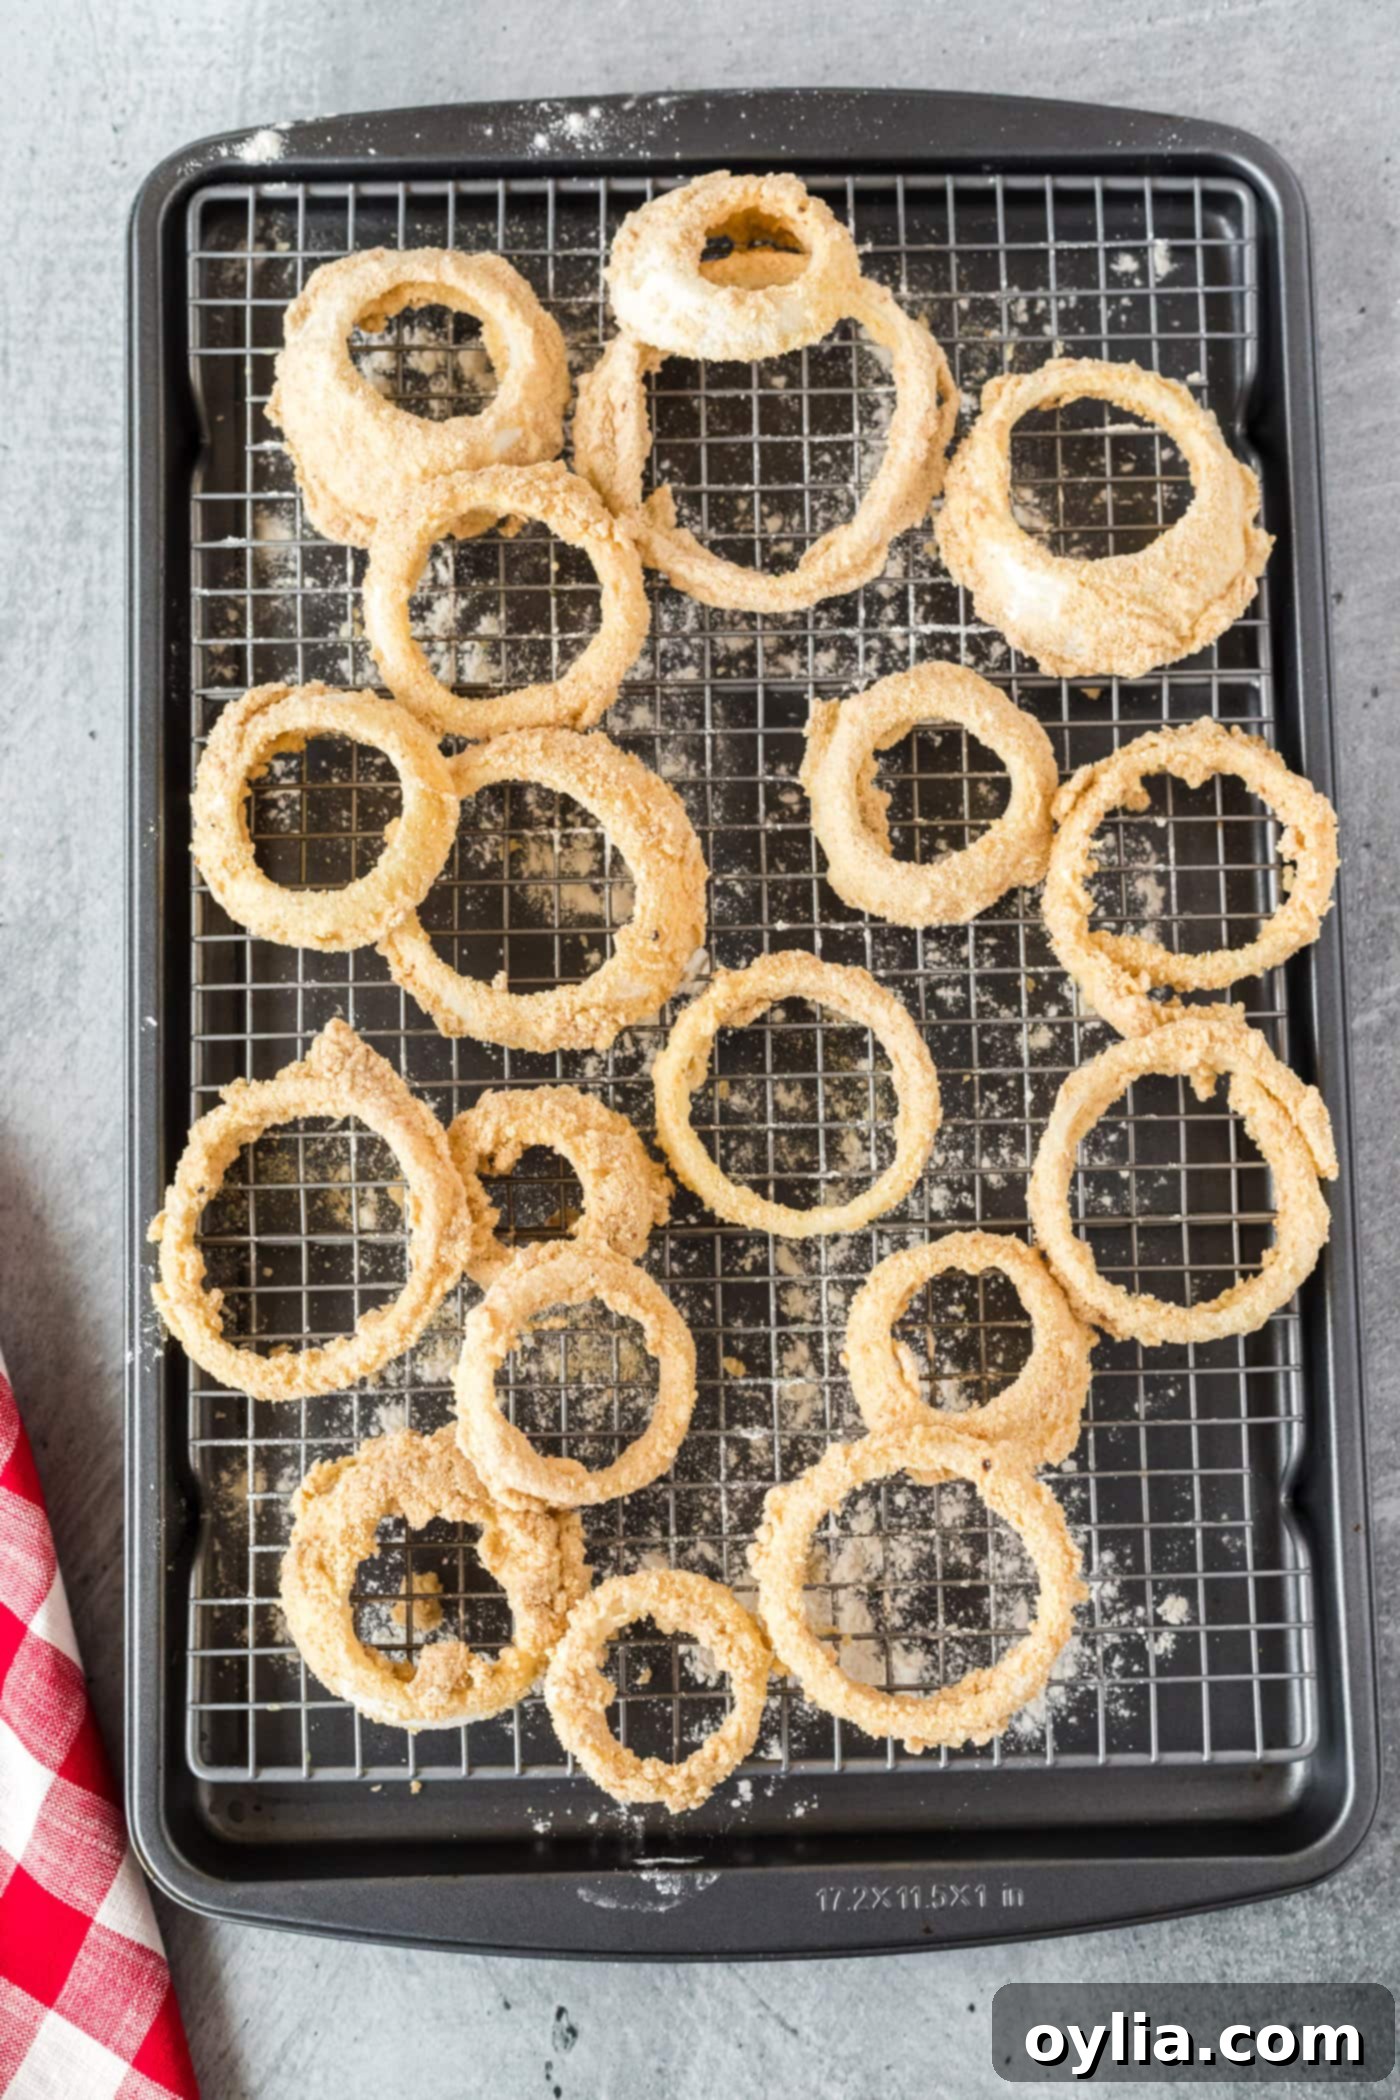
- Batter and Bread: Using one hand for wet ingredients and another for dry (a common chef’s trick to keep things cleaner!), dip each floured onion ring into the batter, ensuring it’s completely coated. Lift it, allowing any excess batter to drip off back into the bowl. Immediately transfer the battered ring into the breadcrumbs. Toss and turn it a few times, gently pressing the breadcrumbs onto the surface to ensure a thorough and even coating. Place the fully coated ring back on the wire rack and continue with the remaining rings.
EXPERT TIP – Halfway through the breading process, it can be very helpful to stop and sift out any clumps that have formed in the breadcrumbs due to contact with the wet batter. This ensures a consistent, even coating for all your onion rings.

- Heat the Oil: Pour about 2 inches of vegetable oil (or your preferred frying oil) into a large, heavy-bottomed skillet or Dutch oven. Heat the oil over medium-high heat until it reaches 350°F (175°C). Use a candy thermometer to accurately monitor the temperature. Once it hits 350°F, you may need to reduce the heat slightly to maintain this temperature and prevent it from getting too hot, which can burn the breading before the onion cooks.
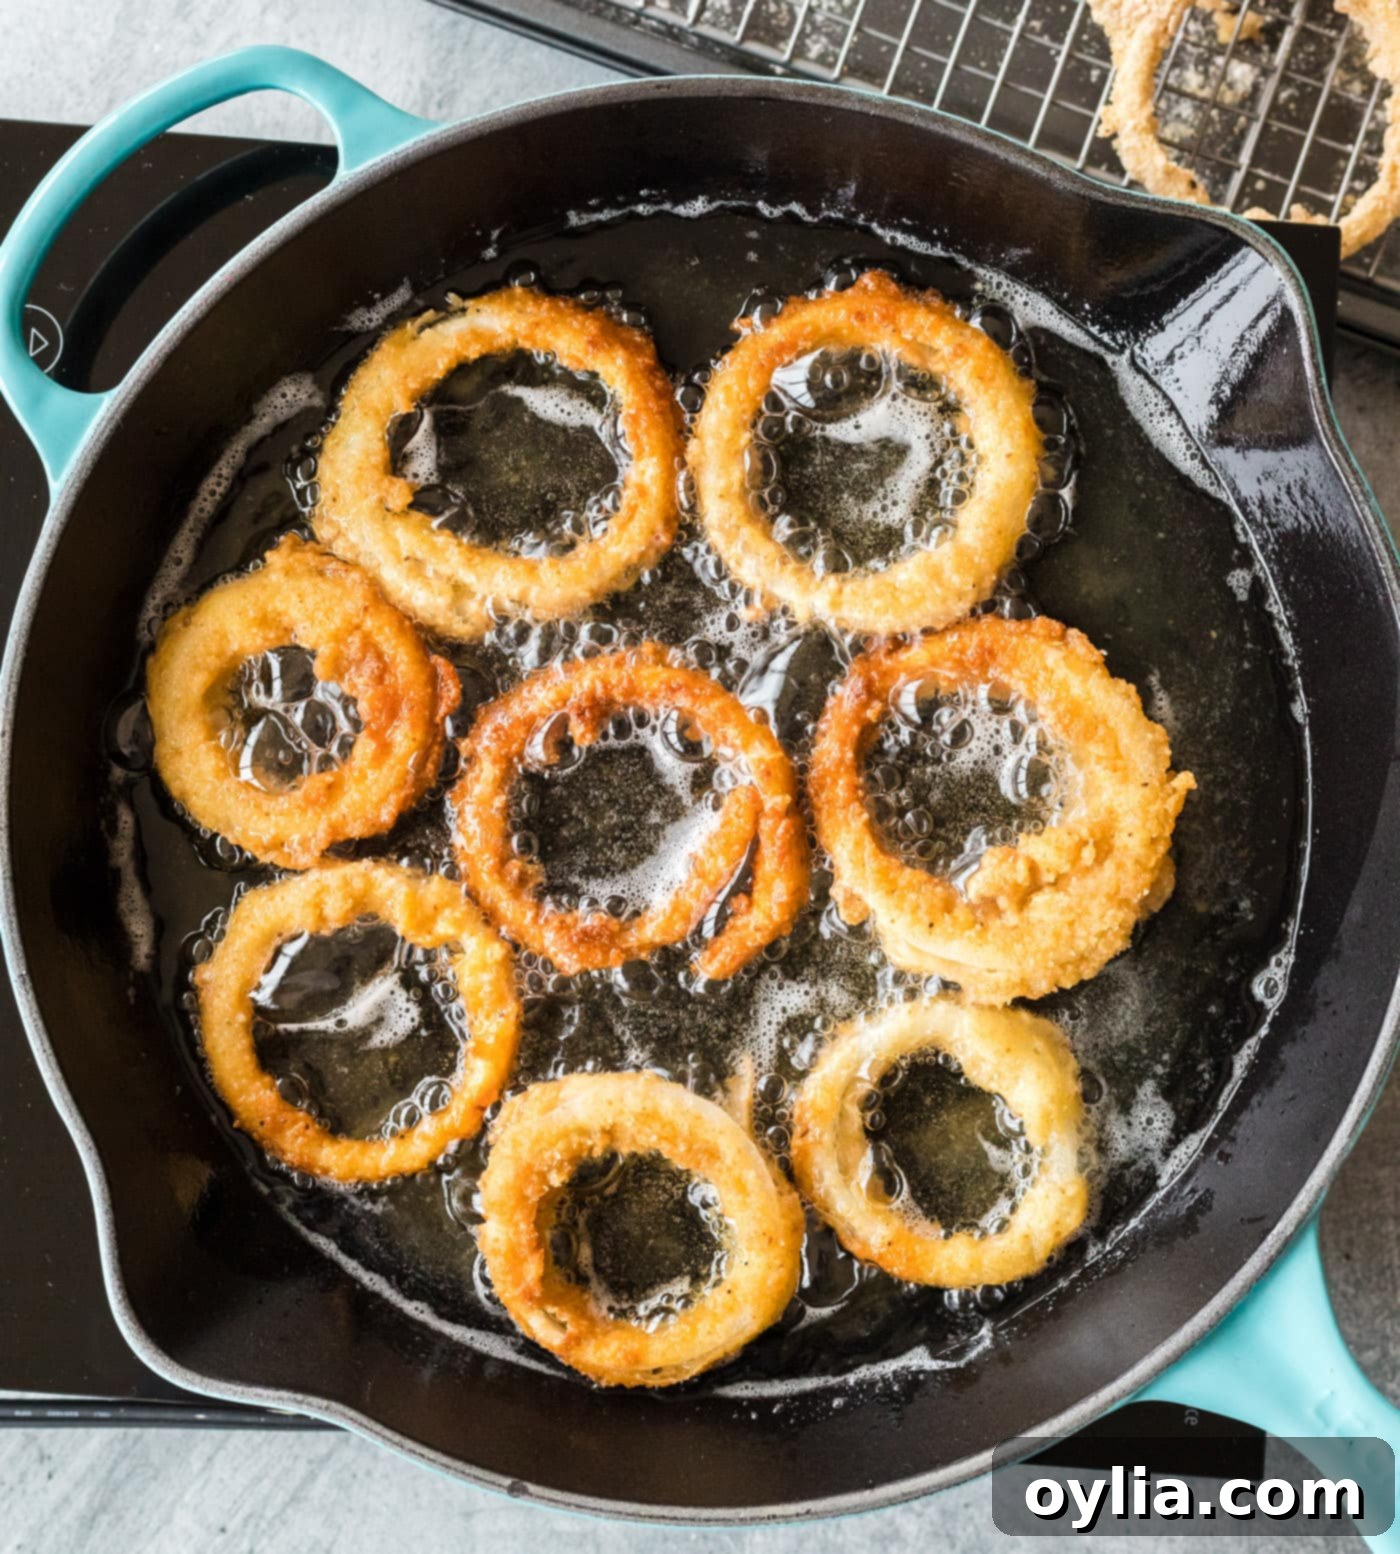
- Fry the Onion Rings: Carefully place a few coated onion rings into the hot oil, ensuring not to overcrowd the pan. Frying in batches is crucial for maintaining oil temperature and achieving even crispness. Cook for about 2 minutes, or until the visible edges begin to turn a beautiful golden brown.
- Flip and Finish Frying: Using tongs, gently turn the onion rings over and cook for another 2 minutes, or until they are uniformly golden brown and wonderfully crispy.

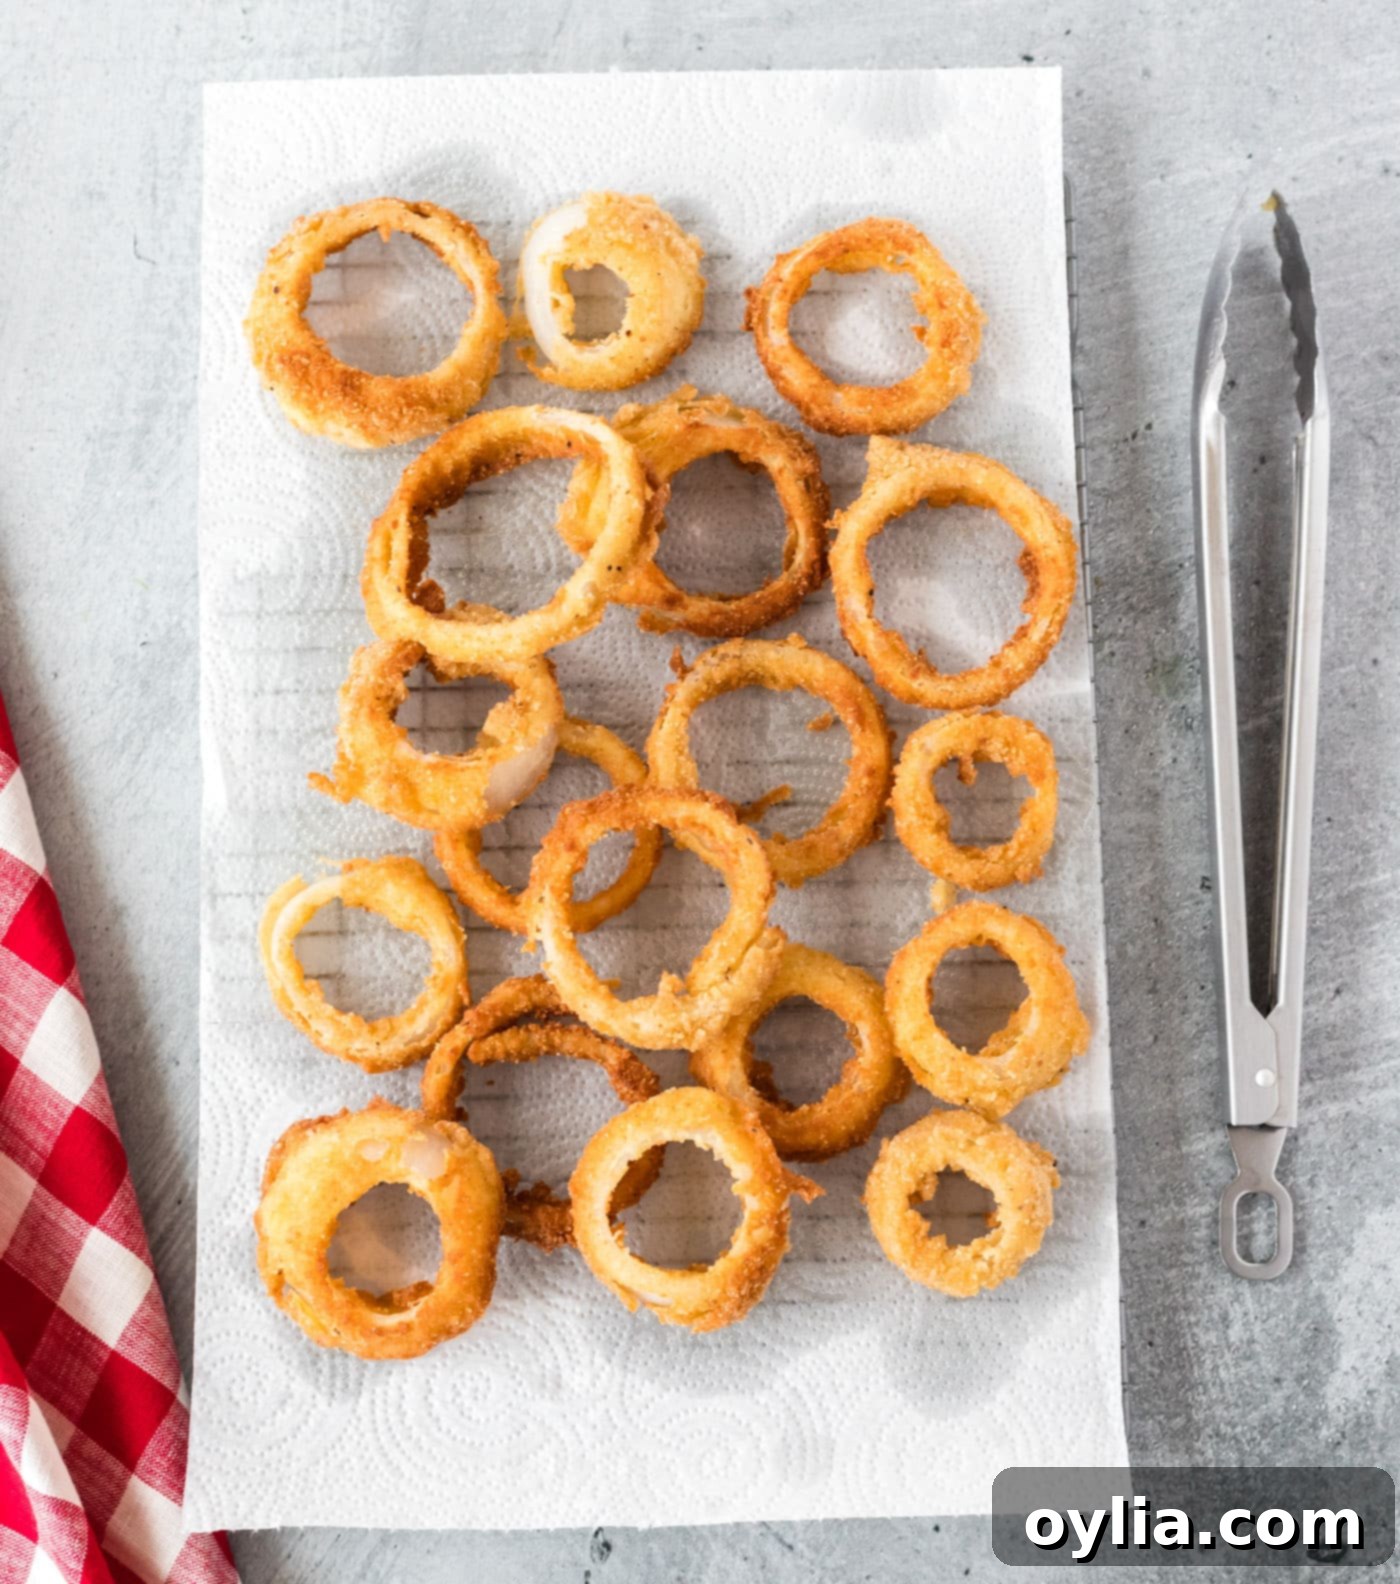
- Drain and Serve: Once perfectly golden, remove the onion rings from the oil and place them on a plate lined with paper towels to absorb any excess oil. For maximum crispness, transfer them to a fresh wire rack after a minute or two of draining. Season lightly with salt immediately after removing from the oil. Serve hot with your favorite dipping sauces and enjoy your perfectly crispy homemade onion rings!

Frequently Asked Questions & Expert Tips for Onion Rings
Yes, you absolutely can freeze your fried onion rings to enjoy later. To do so, first, allow the onion rings to cool completely to room temperature. Then, place them in a single layer on a baking sheet and flash freeze for about 30 minutes to an hour until firm. Once firm, transfer the frozen onion rings to a large zip-top freezer bag or an airtight container, pressing out any excess air to prevent freezer burn. They can be frozen for up to 3 months. To reheat, you can use an oven preheated to 375°F (190°C) for 10-15 minutes, or an air fryer at 350°F (175°C) for 5-8 minutes, until heated through and re-crisped. For best results, consider slightly undercooking the onion rings before freezing, which allows them to finish cooking and crisping up perfectly when reheated.
While the choice ultimately comes down to personal preference, sweet onions like Vidalia or Walla Walla are often considered ideal for onion rings due to their mild, slightly sugary flavor that caramelizes beautifully when fried. Yellow onions are a great all-around choice, offering a classic onion flavor that isn’t too overpowering. White onions can be used for a stronger, more pungent taste, and even red onions can add a unique color and a touch of peppery flavor. Experiment to find your favorite!
Several factors contribute to crispy onion rings. First, ensure your oil is at the correct temperature (350°F / 175°C) and maintained throughout frying. Overcrowding the pan lowers the oil temperature, leading to soggy rings. Second, drain them on paper towels immediately after frying, then transfer them to a wire rack so air can circulate, preventing steam buildup that causes sogginess. For serving, try to enjoy them as soon as possible after frying, as they are at their peak crispness when hot.
Yes, you can easily adapt this recipe to be gluten-free. Simply substitute the all-purpose flour with a good quality gluten-free all-purpose flour blend (one that contains xanthan gum works best) and use gluten-free breadcrumbs. The rest of the ingredients and steps remain the same, allowing you to enjoy delicious crispy onion rings regardless of dietary restrictions.
For deep frying, it’s crucial to use an oil with a high smoke point to prevent it from burning and imparting unpleasant flavors. Excellent choices include vegetable oil, canola oil, peanut oil, or sunflower oil. These oils can withstand the necessary high temperatures (around 350°F / 175°C) required for golden, crispy results. Avoid using olive oil for deep frying, as it has a lower smoke point.
Top Tips for Perfect Onion Rings Every Time:
- Uniform Slicing: Slice your onions to a consistent thickness (1/2 to 1 inch). This ensures they cook evenly and prevents some rings from burning while others are still raw.
- Maintain Oil Temperature: Use a kitchen thermometer to keep your frying oil consistently at 350°F (175°C). Too low, and the rings will be greasy; too high, and the coating will burn before the onion softens.
- Don’t Overcrowd the Pan: Fry in small batches. Overcrowding drops the oil temperature, leading to soggy onion rings. Give them space to sizzle and crisp up.
- Double-Dredge for Maximum Crunch: The three-step process (flour, wet batter, breadcrumbs) is key. The initial flour helps the batter stick, and the breadcrumbs provide the ultimate crispy exterior.
- Season Your Breading: Don’t just rely on salt after frying. Mix in some paprika, garlic powder, or your favorite spices with the breadcrumbs for an extra layer of flavor.
- Drain Properly: After frying, immediately transfer onion rings to a plate lined with paper towels to absorb excess oil. For best results, move them to a wire rack within a minute or two to ensure air circulation, which prevents them from getting soggy from trapped steam.
- Serve Immediately: Onion rings are best enjoyed fresh and hot. Prepare your dipping sauces and plates beforehand so you can serve them right out of the fryer.
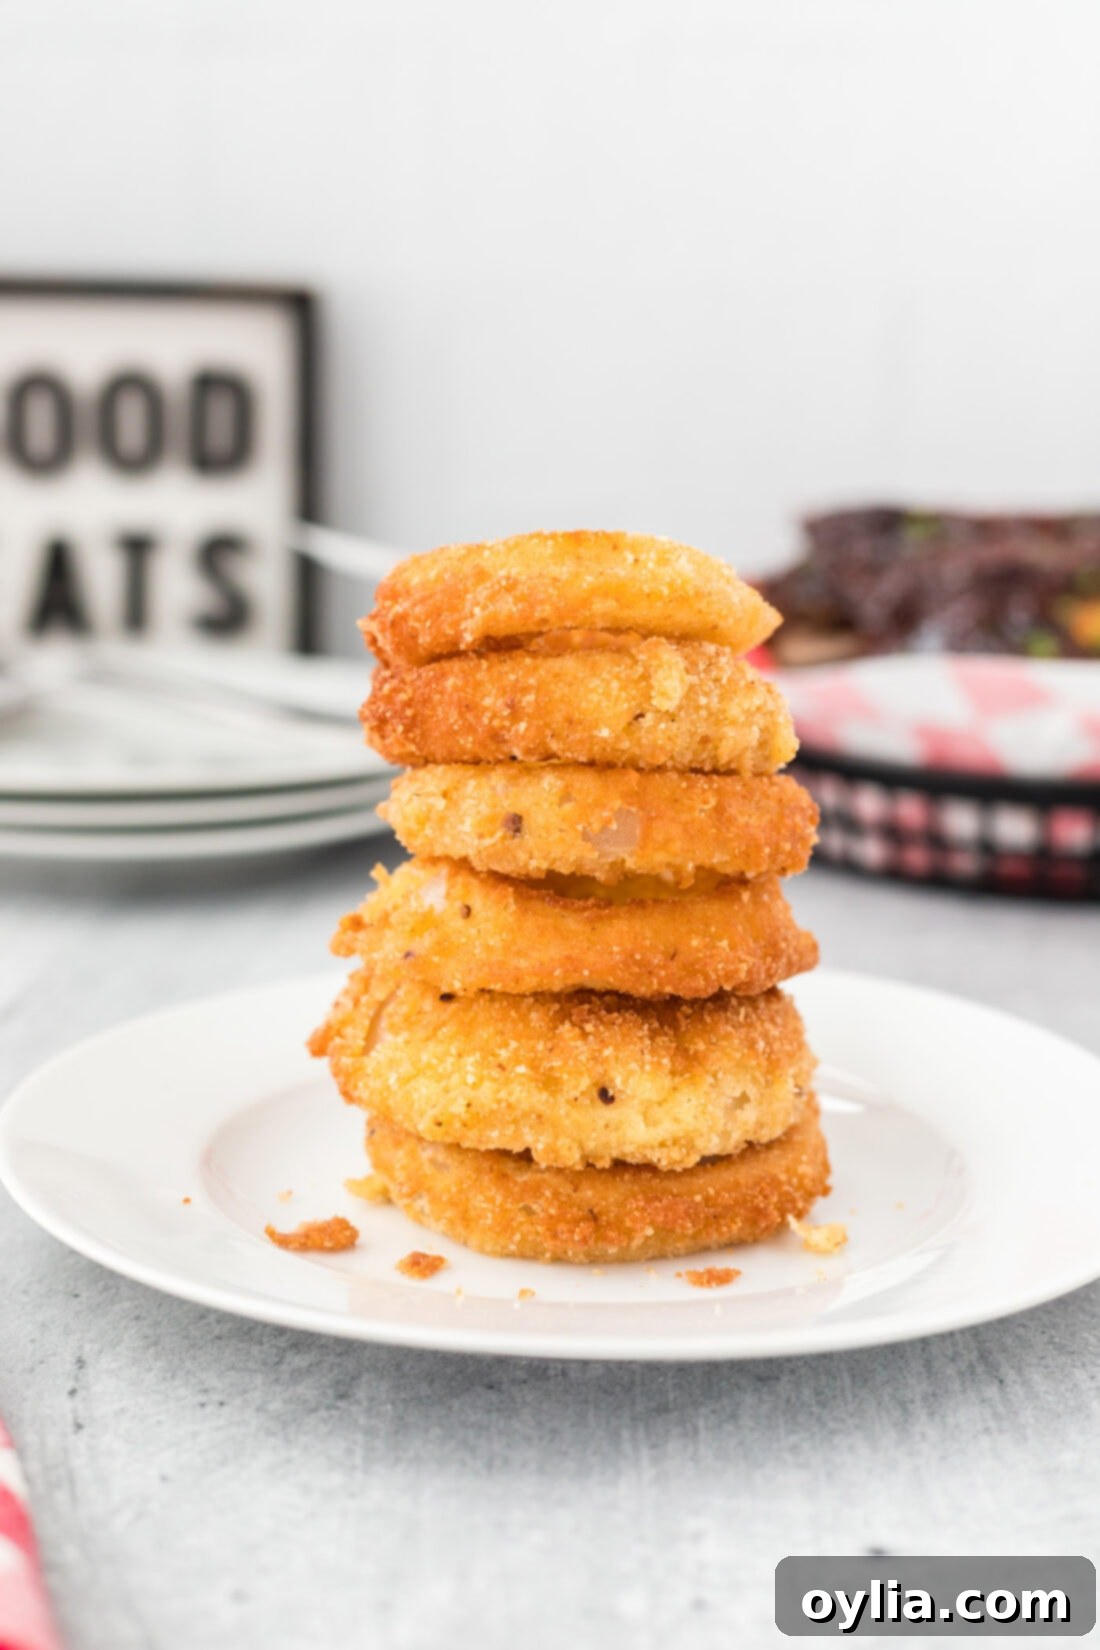
Serving Suggestions for Your Crispy Onion Rings
These crispy homemade onion rings are incredibly versatile and pair wonderfully with a variety of dishes and dipping sauces. They’re not just a side; they can elevate a simple meal into a delightful feast!
Pair Them with Classic American Fare:
- Burgers: A natural pairing! Whether it’s a juicy classic beef burger, a gourmet turkey burger, or a savory veggie patty, onion rings are the perfect crunchy accompaniment. You can even pile them directly onto your burger for an extra layer of flavor and texture!
- Sandwiches & Wraps: From pulled pork sandwiches and grilled chicken wraps to classic deli subs, onion rings add a satisfying crunch that complements almost any handheld meal.
- Hot Dogs & Sausages: Elevate your backyard BBQ with a side of these golden rings alongside your favorite hot dogs or grilled sausages.
- Beef Ribs & Steaks: For a heartier meal, serve them alongside tender beef ribs or a perfectly cooked steak. The richness of the meat is beautifully balanced by the crispy, sweet onion.
Dipping Sauce Delights:
No onion ring experience is complete without a fantastic dipping sauce! Here are some tried-and-true favorites and creative options:
- French Fry Sauce: A creamy, tangy blend that’s perfect for both fries and rings.
- BBQ Sauce: The smoky, sweet, and tangy notes of BBQ sauce create a delicious contrast with the savory onion.
- Alabama White Sauce: A unique, zesty, and peppery mayonnaise-based sauce that offers a surprising twist.
- Honey Mustard: A sweet and tangy classic that’s a hit with kids and adults alike.
- Ranch Dressing: The cool, herbaceous creaminess of ranch provides a refreshing counterpoint to the fried rings.
- Spicy Mayo/Aioli: Mix mayonnaise with sriracha, a dash of lime juice, and garlic powder for a creamy dip with a zesty kick.
- Ketchup: Sometimes, simple is best! A good quality ketchup is always a reliable choice.
- Garlic Aioli: A rich, garlicky mayonnaise that adds a gourmet touch.
Perfect for Any Occasion:
Onion rings are a classic appetizer and side dish that shine at any gathering. They’re fantastic when you’re entertaining guests on game nights, during special occasions, for festive game days, or simply as a tasty, comforting snack for whenever a craving strikes. Their universal appeal makes them a guaranteed crowd-pleaser!
More Appetizer Recipes You’ll Love
If you enjoyed these crispy onion rings, you’re sure to love these other delicious appetizer recipes:
- Blooming Onion
- Jalapeno Poppers
- French Bread Pizza
- Cheesy Garlic Bread
- Air Fryer Fried Pickles
- Air Fryer Green Bean Fries
I love to bake and cook and share my kitchen experience with all of you! Remembering to come back each day can be tough, that’s why I offer a convenient newsletter every time a new recipe posts. Simply subscribe and start receiving your free daily recipes!
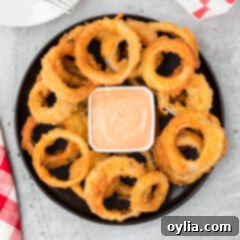
Onion Rings
IMPORTANT – There are often Frequently Asked Questions within the blog post that you may find helpful. Simply scroll back up to read them!
Print It
Pin It
Rate It
Save ItSaved!
Ingredients
- 1 large onion yellow or sweet onion
- 1 Tablespoon olive oil
- 1 large egg
- ½ cup all-purpose flour
- 1 Tablespoon baking powder
- ½ cup milk
- 2 cups breadcrumbs
- 2 cups vegetable oil for frying
Things You’ll Need
-
Large skillet
-
Wire cooling rack
-
Baking sheet for placing under the wire cooling rack
-
Candy thermometer
Before You Begin
- You can add seasoning to the bread crumbs if you like. Some suggestions would be paprika, garlic powder, onion powder, and pepper, or whatever your favorite seasonings are. For an extra crisp texture, consider using Panko breadcrumbs.
- We show 2 eggs in the ingredient photo in our post, however we only used one large egg for the batter, which was sufficient. You can use 2 eggs if you like, it won’t affect anything negatively and may provide a slightly thicker batter.
- You can use white, yellow, or sweet onions depending on your preference. In this recipe, we use sweet onion for its mild flavor. You can also use red onion for a unique color and subtle peppery note, or Vidalia (which is a mild yellow) onion. White onion is on the stronger side and not as sweet as the other options, however, they still make great onion rings. It really boils down to individual preference.
- For extra crispness and to reduce pungency, soak sliced onion rings in ice water for 15-30 minutes before tossing with olive oil. Pat them very dry before proceeding.
Instructions
-
Slice onion into rings, 1/2-inch to 1-inch thick. Separate the rings gently.
-
Toss rings with olive oil in a large bowl, ensuring each ring is lightly coated.
-
In a medium bowl, mix together flour and baking powder. Place oiled rings, one at a time, in the flour mixture and turn to coat completely. Shake off excess flour and place on a wire rack set over a baking sheet.
-
To make the batter, add egg and milk to the remaining flour mixture in the same bowl. Whisk until smooth.
-
Place breadcrumbs in a separate medium bowl.
-
Dip floured rings, one at a time, into the batter, coating them completely. Let excess drip off, but be careful not to lose all your batter.
-
Immediately dredge the battered ring in bread crumbs. Toss and turn a few times, gently pressing the crumbs, to coat well. Place on a wire rack and continue with the rest of the rings. TIP: It can be helpful to stop halfway through and sift out any clumps in the bread crumbs caused by the batter for a consistent coating.
-
Pour vegetable oil into a large, heavy-bottomed skillet and heat to 350°F (175°C) over medium-high heat. Use a candy thermometer to ensure accuracy. You may need to reduce the heat a bit once the temp reaches 350°F in order to keep it from getting hotter.
-
Carefully place onions into the hot oil, do not crowd the pan. Fry in batches to maintain oil temperature. Allow to cook until the visible edges begin to turn golden brown, about 2 minutes. Turn over and cook another 2 minutes, or until uniformly golden brown and crispy.
-
Remove fried onion rings with tongs or a slotted spoon and drain on paper towels to absorb excess oil. For maximum crispness, transfer to a clean wire rack after a minute or two. Season immediately with a pinch of salt if desired. Serve hot and enjoy!
Nutrition
The recipes on this blog are tested with a conventional gas oven and gas stovetop. It’s important to note that some ovens, especially as they age, can cook and bake inconsistently. Using an inexpensive oven thermometer can assure you that your oven is truly heating to the proper temperature. If you use a toaster oven or countertop oven, please keep in mind that they may not distribute heat the same as a conventional full sized oven and you may need to adjust your cooking/baking times. In the case of recipes made with a pressure cooker, air fryer, slow cooker, or other appliance, a link to the appliances we use is listed within each respective recipe. For baking recipes where measurements are given by weight, please note that results may not be the same if cups are used instead, and we can’t guarantee success with that method.
