Homemade Restaurant-Style Blooming Onion: The Ultimate Crispy Appetizer Recipe
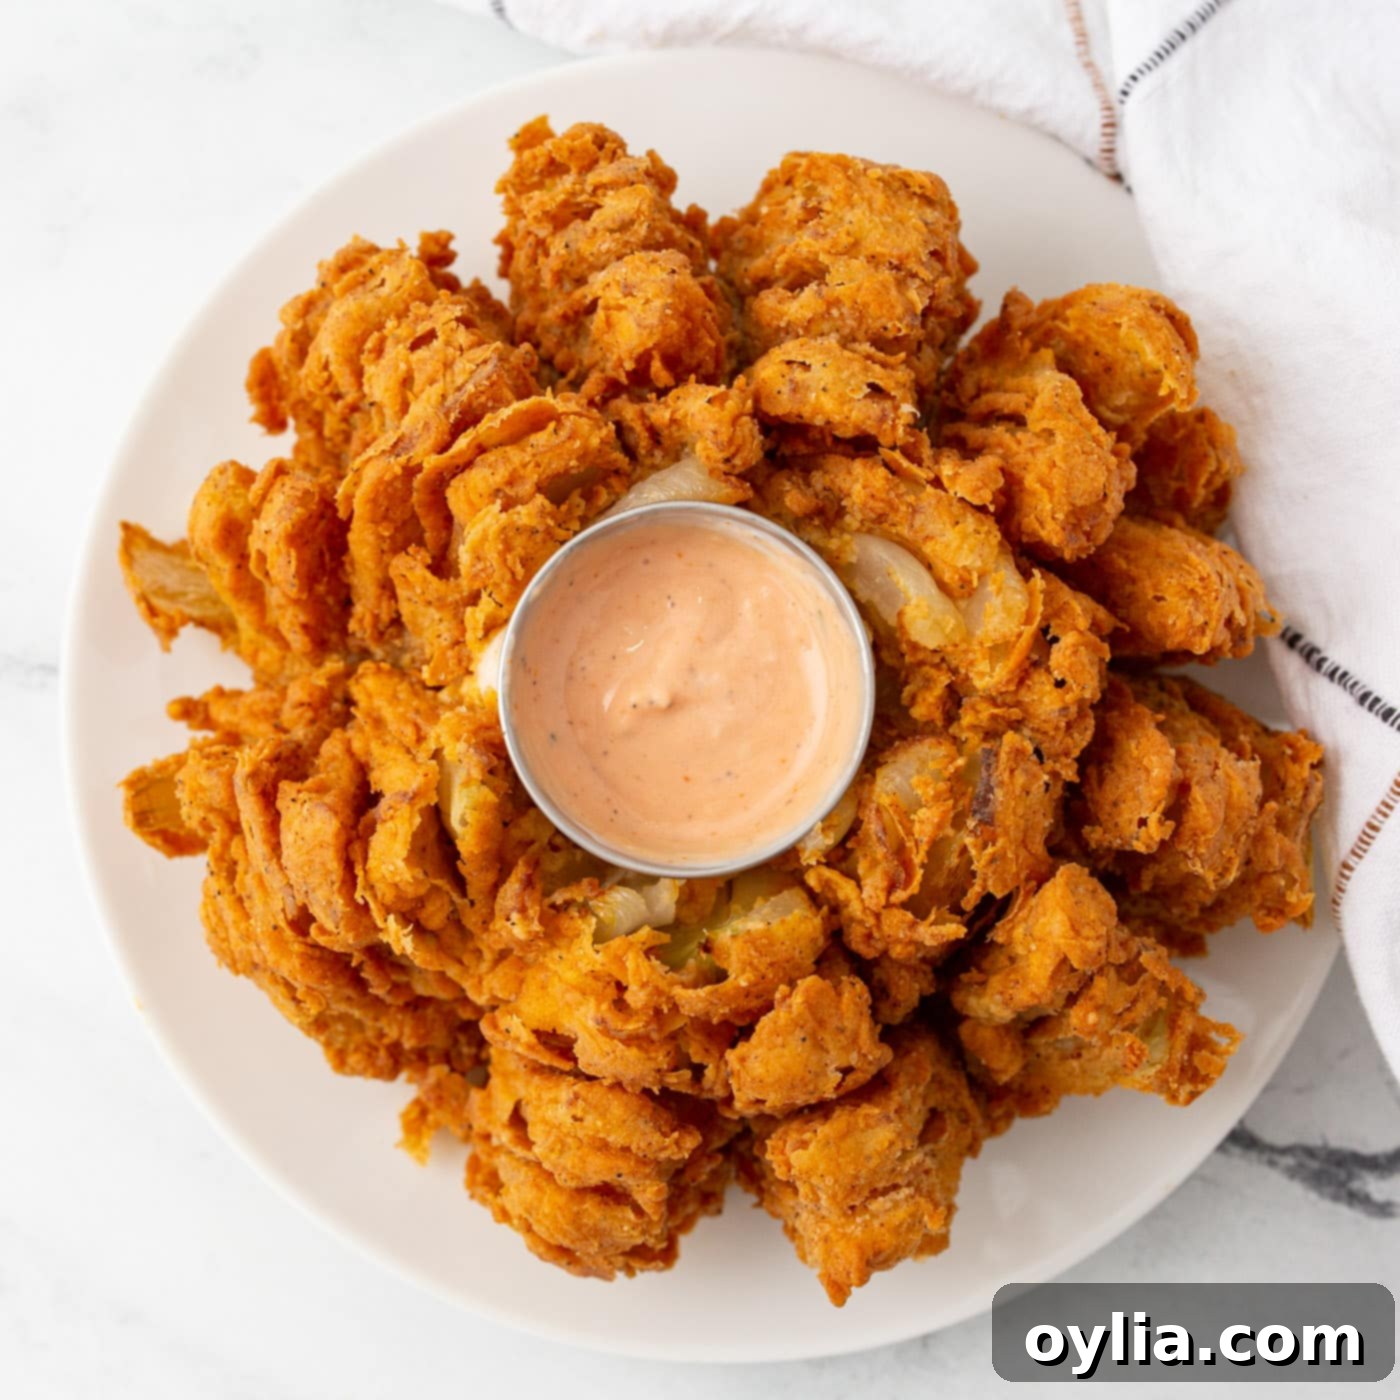
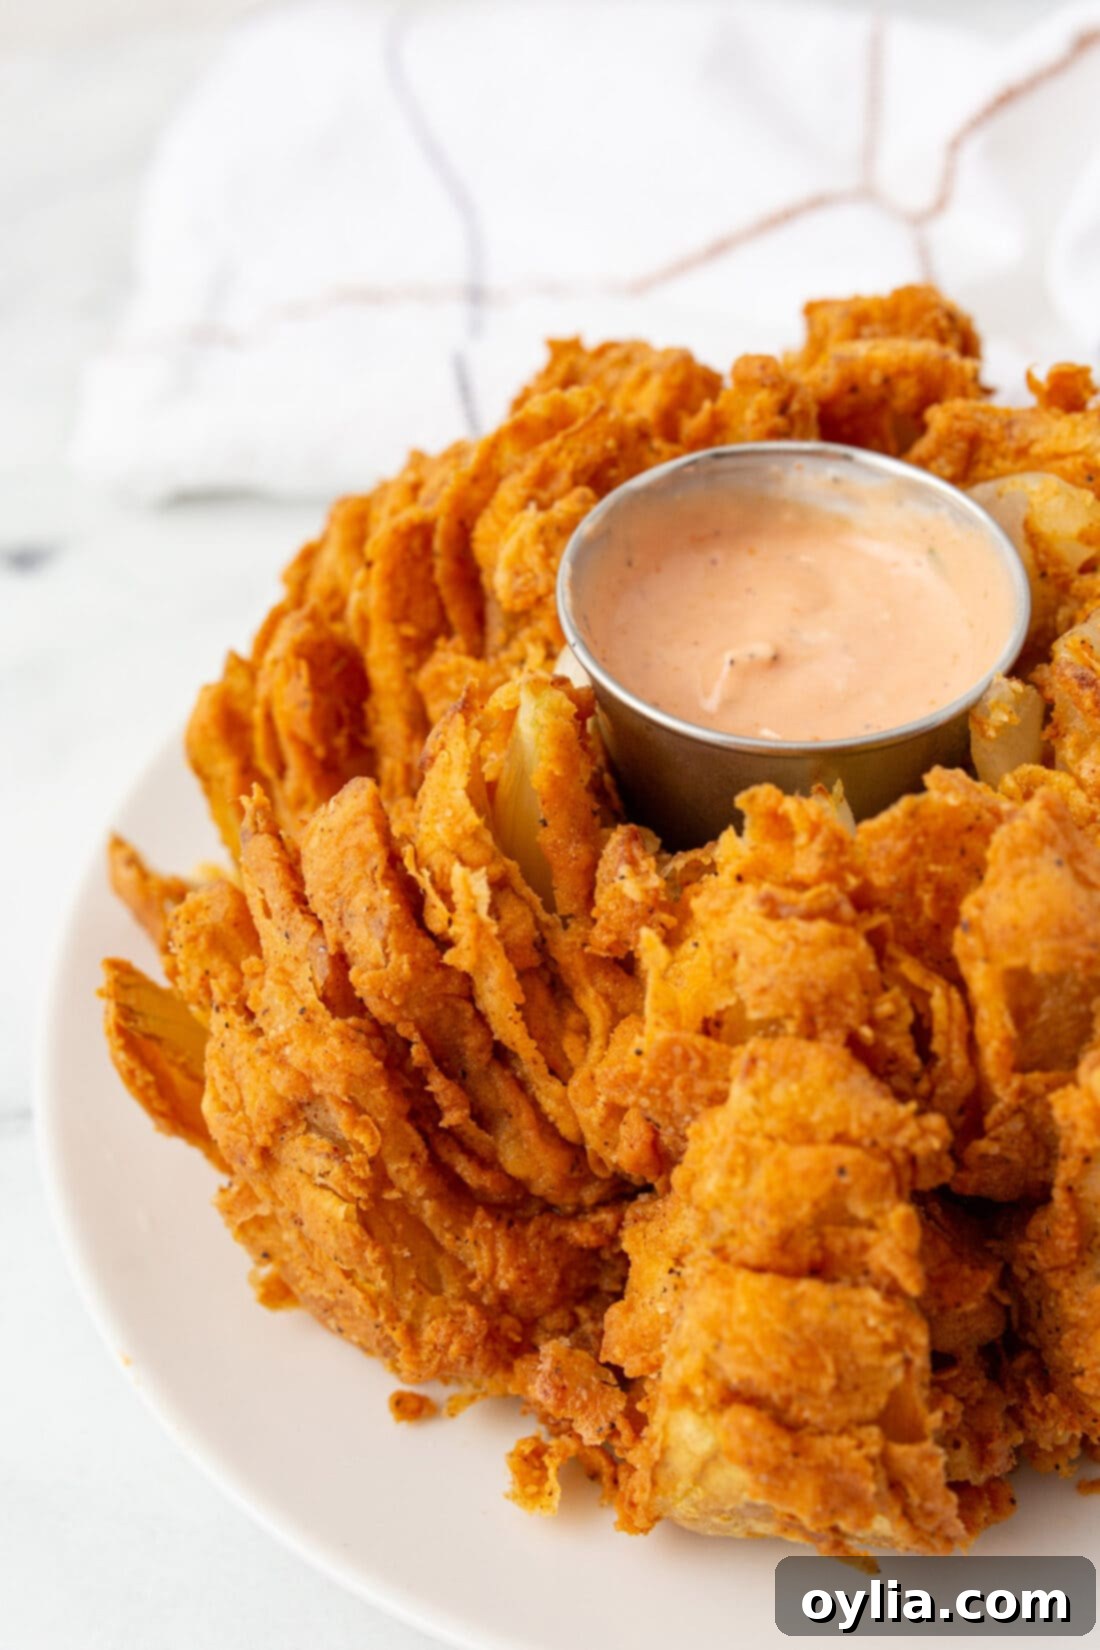
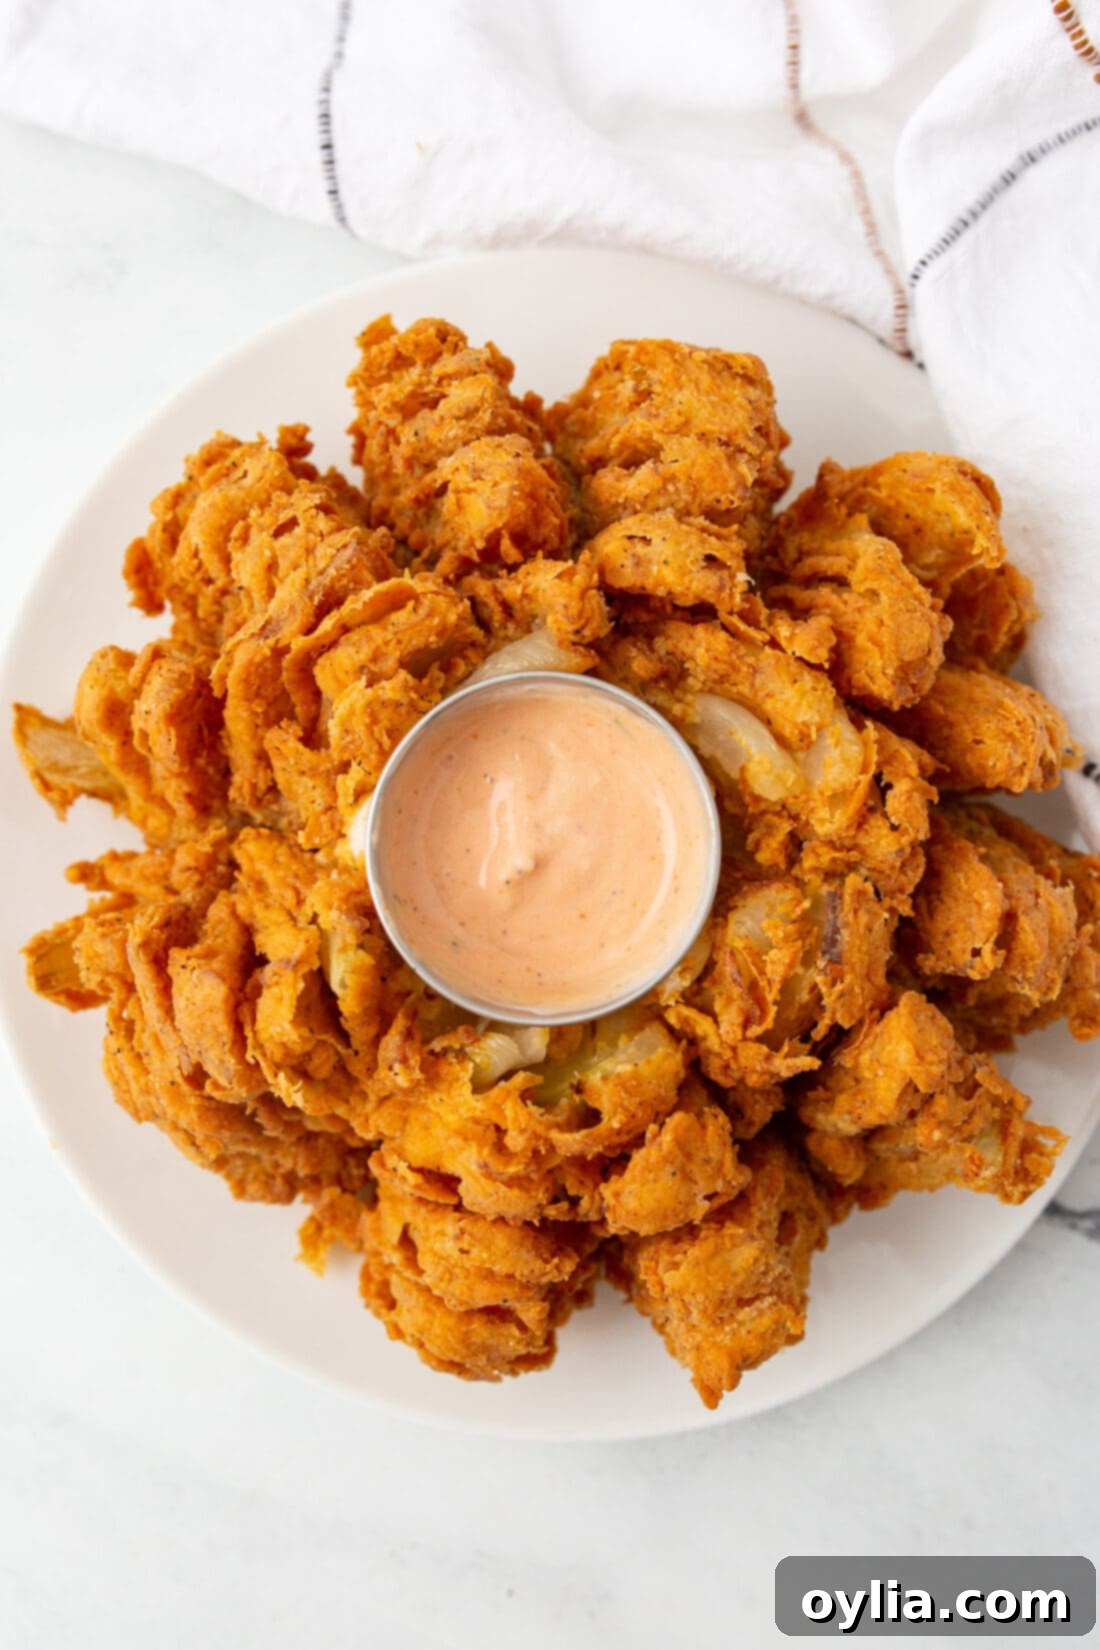
There’s nothing quite like the theatrical presentation and irresistible taste of a perfectly made blooming onion. This iconic restaurant-style appetizer, with its signature “petals” and golden-brown crunch, has charmed diners for decades. Imagine it: a large, sweet onion, artfully sliced to unfurl like a magnificent flower, double-dipped in a savory egg mixture and seasoned flour, then fried to absolute crispy perfection. It’s a show-stopping dish that’s incredibly satisfying to pull apart and dunk into your favorite dipping sauce. Ideal for football parties, family gatherings, or simply a fun indulgence, this homemade blooming onion recipe brings that beloved restaurant experience right to your kitchen, proving it’s much easier to master than you might think.
Why This Blooming Onion Recipe is a Must-Try
Recreating your favorite restaurant appetizers at home can be incredibly rewarding, and this homemade blooming onion recipe is a prime example. While it might look complex, the process is surprisingly straightforward, yielding results that rival those from famous chain restaurants like Outback Steakhouse. Here’s why this recipe stands out:
- Perfect Texture Every Time: The secret lies in the double-dipping method. First, the onion petals are coated in a milk and egg mixture, which helps tenderize the onion and provides a sticky base. Then, a generous layer of seasoned flour creates that incredible crispy, golden-brown crust. The result is a delightful contrast between the crunchy exterior and the tender, sweet onion within.
- Flavorful Seasoning: Our carefully balanced seasoning blend ensures every bite is packed with savory goodness, perfectly complementing the natural sweetness of the onion. This isn’t just a plain fried onion; it’s an explosion of flavor designed to make your taste buds sing.
- Easier Than You Think: The slicing technique might seem intimidating at first, but with clear instructions and a little practice, you’ll be creating beautiful blooming onions in no time. The deep-frying process is also simpler than perceived, primarily focusing on maintaining the right oil temperature.
- Interactive & Fun: More than just an appetizer, a blooming onion is an experience. It’s a fun, shareable dish that encourages everyone to dig in, pull off a petal, and enjoy with their favorite dip. It’s a fantastic conversation starter and a guaranteed crowd-pleaser that adds excitement to any table.
- A Unique Twist on Classics: While similar to classic onion rings, the blooming onion offers a distinctive presentation and a different eating experience, making it a fresh and exciting alternative to traditional fried snacks.
RELATED: Enhance your fried favorites with our delicious French Fry Sauce or explore other great sides like Roasted Carrots.
Essential Ingredients for Your Homemade Blooming Onion
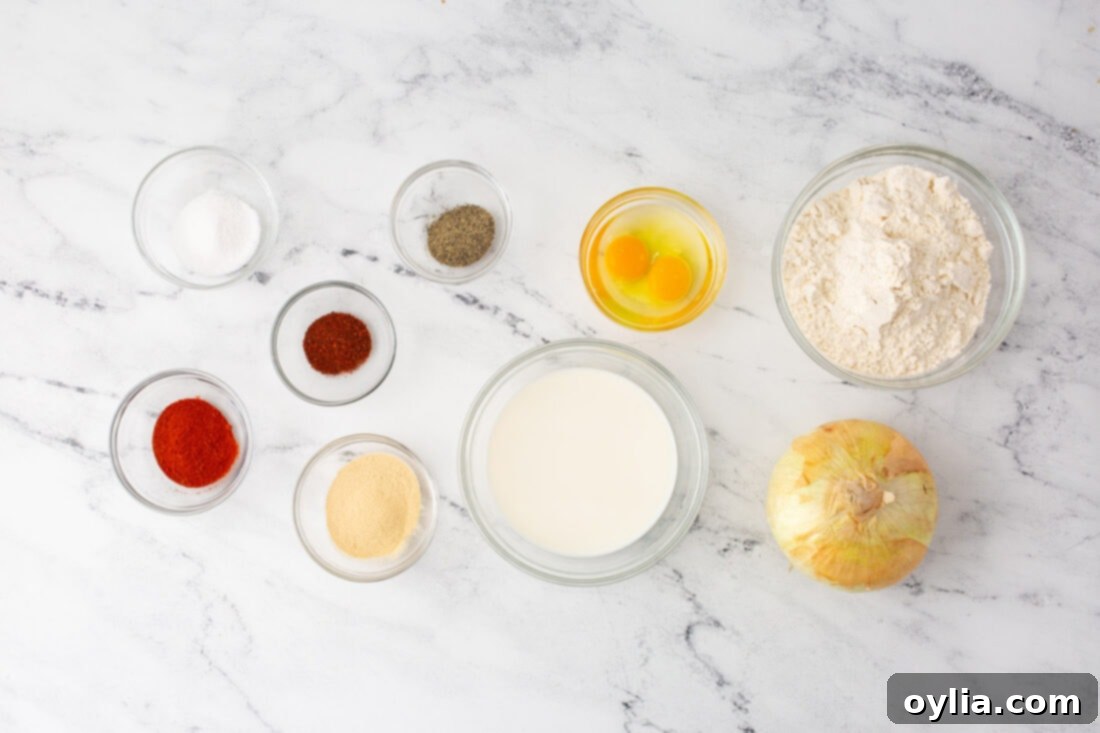
Crafting the perfect crispy blooming onion requires a few key ingredients, most of which you likely already have in your pantry. For precise measurements and step-by-step instructions, be sure to check the printable recipe card at the end of this post.
Ingredient Info and Substitution Suggestions for Best Results
The quality of your ingredients plays a big role in the final taste and texture of your blooming onion. Here’s a breakdown of what you’ll need and some helpful tips:
- ONION: For an exceptional blooming onion, I highly recommend a large Vidalia onion. These onions are renowned for their sweet, mild flavor and tender texture when cooked, making them perfect for frying. Their natural sweetness caramelizes beautifully, creating a delicious contrast with the savory coating. If Vidalia onions aren’t available, other sweet onion varieties like Walla Walla or Maui onions make excellent substitutes. Always choose a large, firm onion to ensure you have enough “petals” and a stable base for slicing.
- MILK & EGGS: This combination forms the wet batter, essential for creating a cohesive coating that adheres well to the onion. The milk helps tenderize the onion while the eggs act as a binder, ensuring the seasoned flour sticks properly. Whole milk works best for richness, but any dairy or even a non-dairy alternative like almond milk can be used.
- ALL-PURPOSE FLOUR & SEASONINGS: The dry coating is where much of the flavor comes from. Our blend includes:
- All-Purpose Flour: Forms the crispy base of the batter.
- Garlic Powder: Adds a savory depth that pairs wonderfully with onion.
- Salt: Enhances all the flavors.
- Paprika: Contributes a mild sweetness and a beautiful reddish hue to the finished blooming onion. For a smokier flavor, try smoked paprika.
- Chili Powder: Gives a subtle kick and warmth, without being overly spicy. Adjust to your preference.
- Black Pepper: A foundational spice that complements the other flavors.
Feel free to experiment with other spices! A pinch of cayenne pepper for extra heat, onion powder for more oniony flavor, or a touch of dried oregano can all be great additions to customize your homemade blooming onion.
- FRYING OIL: A neutral-flavored oil with a high smoke point is crucial for deep frying. Vegetable oil, canola oil, and peanut oil are all excellent choices. You’ll need enough to fill your Dutch oven halfway, typically 5-6 cups depending on the size of your pot. Maintaining the correct oil temperature is paramount for a crispy, non-greasy result.
How to Make a Restaurant-Quality Blooming Onion at Home
These step-by-step photos and detailed instructions are designed to help you visualize each stage of making this impressive appetizer. For a convenient printable version of this recipe, complete with precise measurements and instructions, simply Jump to Recipe at the bottom of this page.
Creating a beautiful and delicious blooming onion involves a few key steps, from careful slicing to expert frying. Follow these instructions to achieve that perfect crispy texture and tender interior.
- Prepare Your Frying Station: Begin by filling a sturdy 5.5 quart Dutch oven or a similar heavy-bottomed pot halfway with your chosen vegetable or frying oil. Place it over medium-high heat and preheat the oil to 375°F (190°C). Using a deep-fry thermometer is highly recommended for accuracy.
- Prepare the Onion: Take your large Vidalia or sweet onion. Trim about 1 inch off the top (stem end). Carefully remove the papery outer layers of the onion. Flip the onion upside down so the root end faces up. This intact root will hold the petals together.
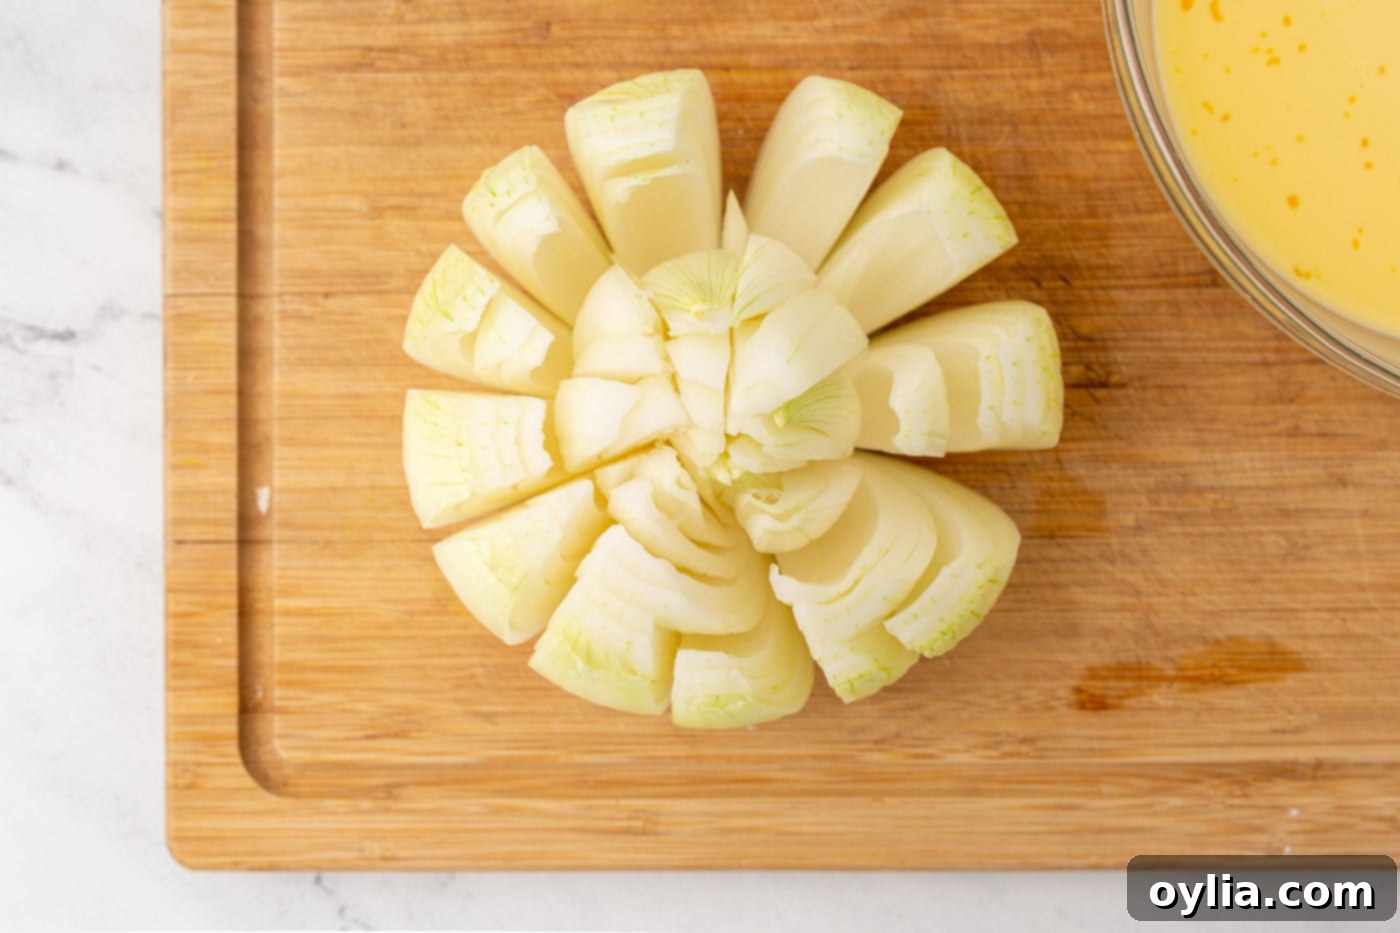
- Initial Slices (The Compass Method): With the root end facing up, make four even cuts through the onion, from the top (root end) almost to the cutting board, but leaving the very center base (about ½ to ¾ inch) intact. Imagine cutting it like the four points of a compass – North, South, East, West. These are your primary cuts.
- Secondary Slices for Petals: Between each of your primary cuts, make two more even slices, again going almost all the way through but leaving the center base intact. You should now have approximately 12-16 sections or “petals.” The key here is to keep the root base completely intact to prevent the onion from falling apart during the cooking process.
- Fan Out the Petals: Gently flip the onion back over. Using your fingers, carefully separate and fan out the petals. You can run your fingers between the layers to help them open up without breaking. This creates the signature “blooming” effect.

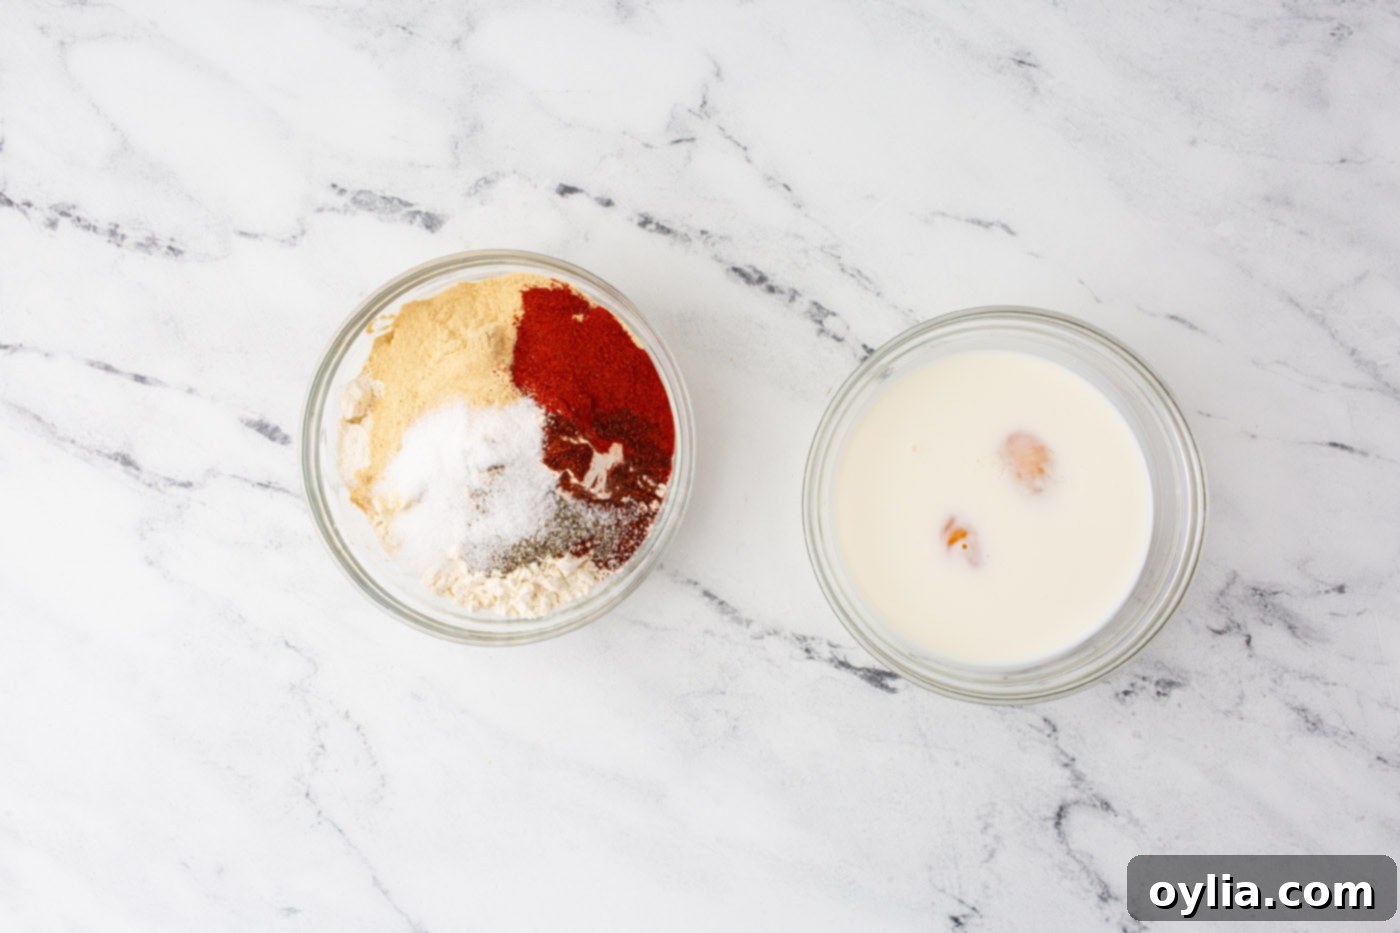
- Prepare the Wet Batter: In a large bowl, whisk together the milk and eggs until well combined. This is your wet mixture.
- Prepare the Dry Batter: In a separate large bowl, combine the all-purpose flour, garlic powder, salt, paprika, chili powder, and black pepper. Whisk thoroughly until all the dry ingredients are evenly distributed.

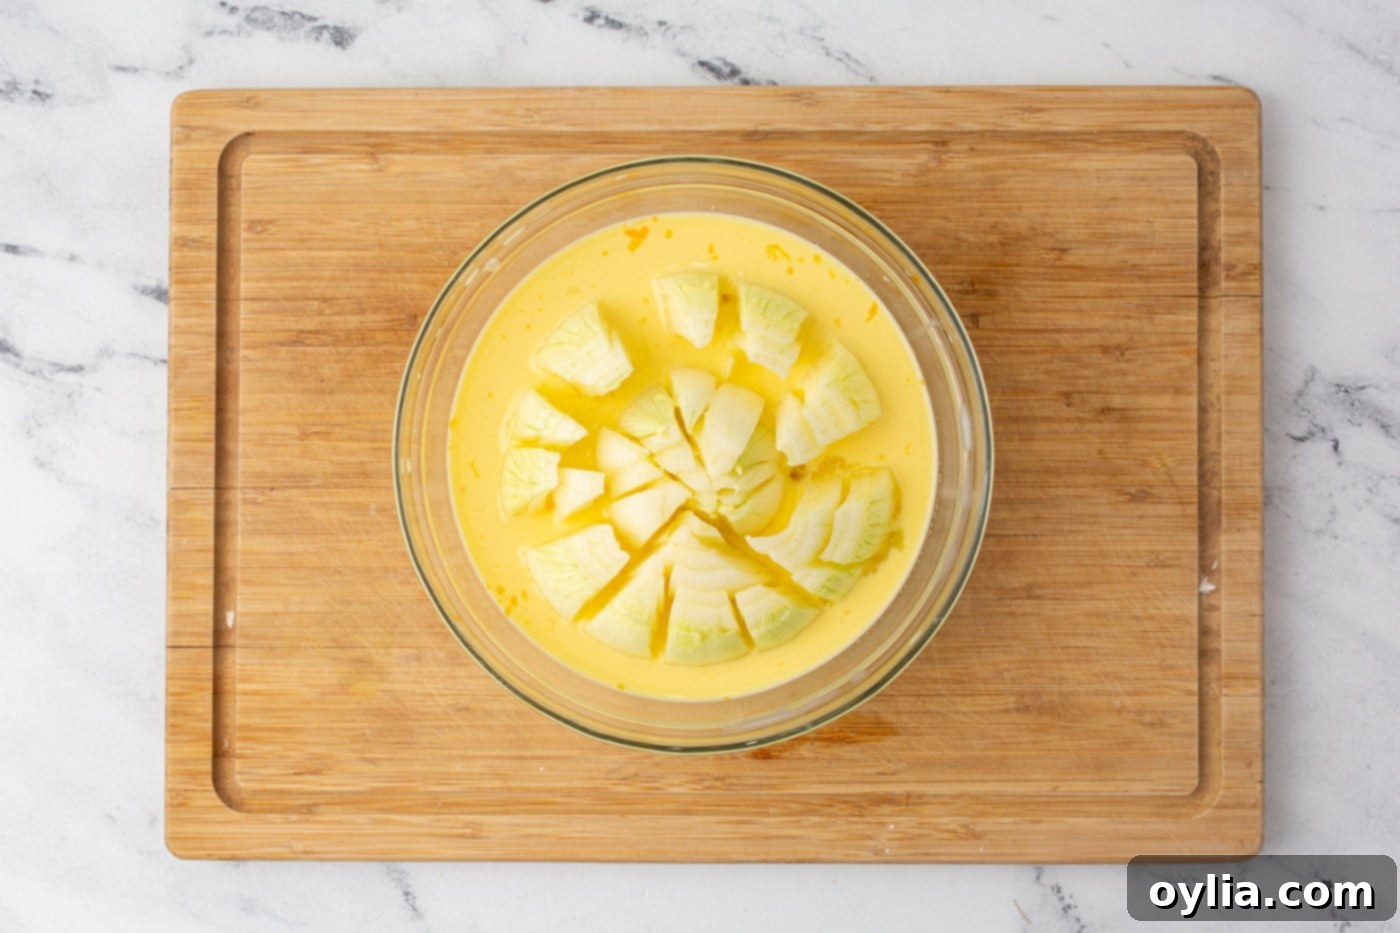
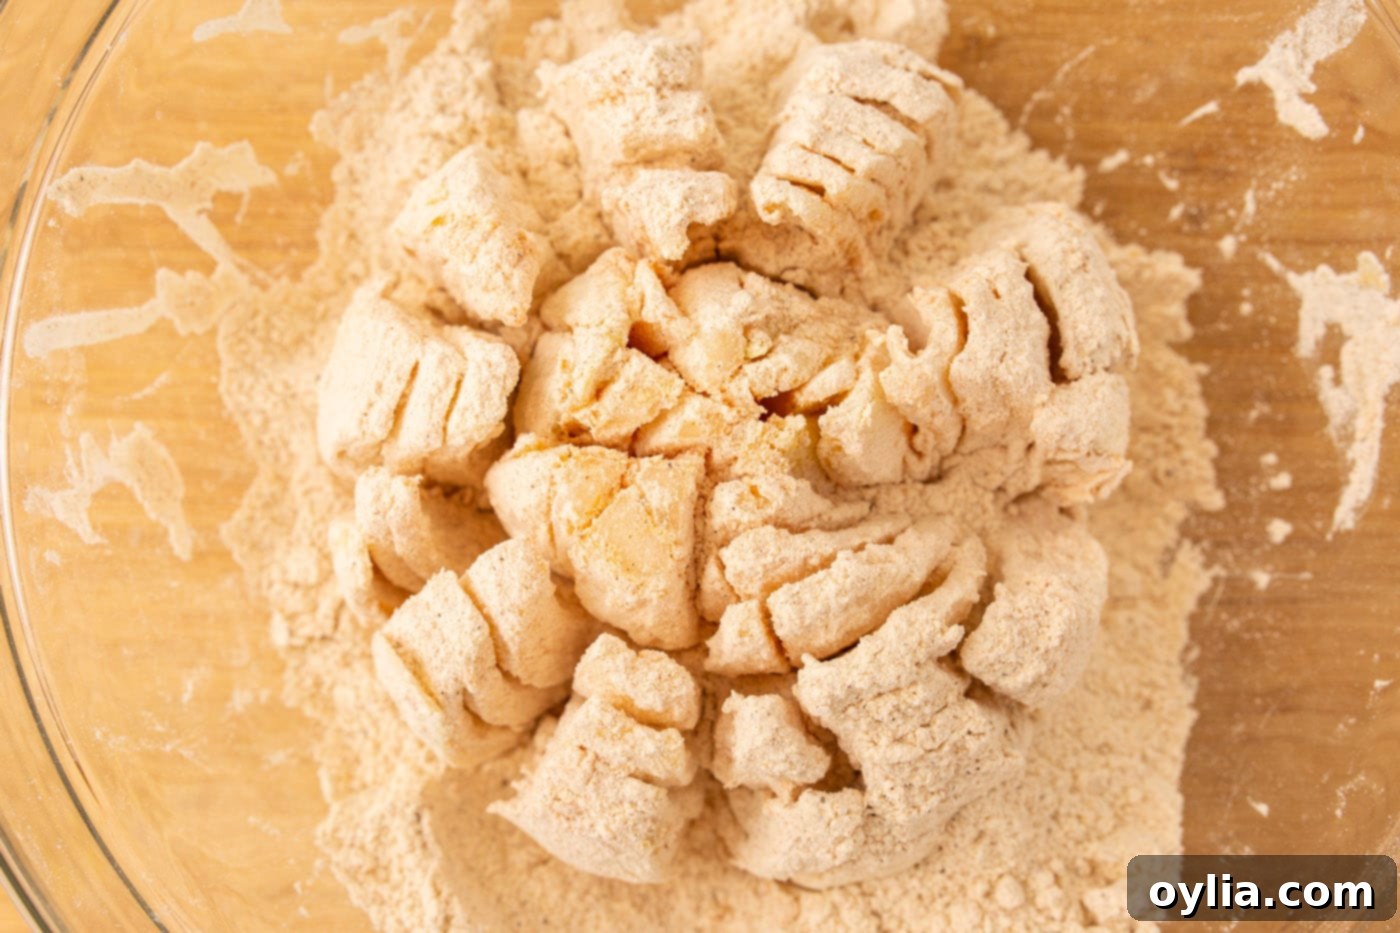
- Double-Dip for Maximum Crispness: Carefully immerse the fanned-out onion into the egg mixture, ensuring all petals are thoroughly coated. Gently lift it out, allowing excess liquid to drip off. Immediately transfer the onion to the bowl with the dry ingredients. Sprinkle the dry mixture over and into all the petals, fanning them out as needed to ensure every crevice is covered. Repeat this entire process – dip in egg, then dip in dry ingredients – for a thick, crispy batter. This double-dip is crucial for that restaurant-style crunch!


- Deep Fry to Golden Perfection: Carefully use a spider strainer or large tongs to gently lower the coated onion into the preheated oil. Fry for approximately 10 minutes, or until the blooming onion is beautifully golden brown and crispy all over. Ensure the oil temperature remains around 375°F (190°C) throughout the frying process; if it drops too low, the onion will absorb too much oil and become greasy.
- Drain and Serve: Once golden, carefully remove the blooming onion from the oil using the spider strainer. Place it on a wire rack set over paper towels to drain any excess grease. Serve immediately with your favorite dipping sauce.
Expert Tips & Frequently Asked Questions
Achieving a truly spectacular homemade blooming onion is all about a few key details. Here are our expert tips and answers to common questions to ensure your appetizer is a resounding success:
The key to a perfect bloom is to leave the root end intact. After trimming the top, flip the onion over so the root is at the top. Use a very sharp knife to make deep cuts, radiating from the center, leaving about half an inch of the root core uncut. This forms the base that holds the petals together. For a stable onion, a good rule of thumb is 12-16 cuts, like spokes on a wheel.
The double-dipping method is your best friend here. Ensure the onion is completely submerged in the wet mixture first, allowing it to get into all the crevices. When moving to the dry mixture, gently open the petals and sprinkle the seasoned flour thoroughly, pressing it onto every surface. Don’t be shy – a generous and even coating is essential for that signature crisp.
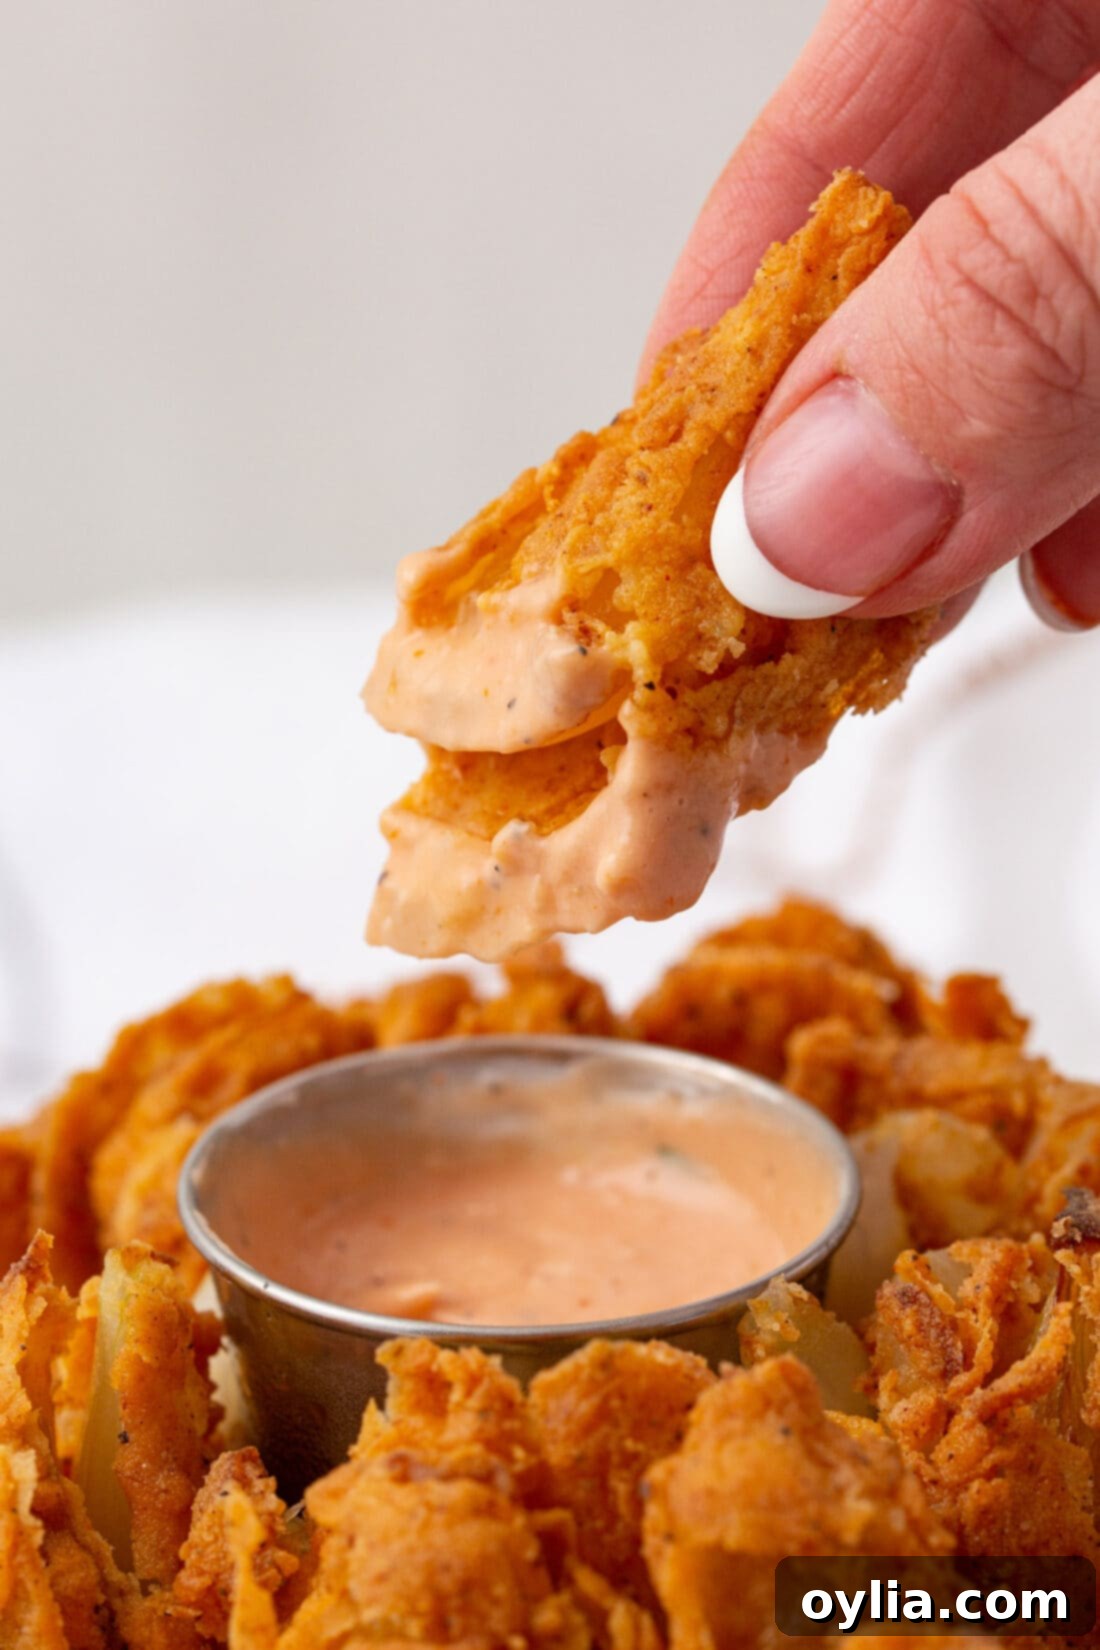
The dipping sauce is half the fun! This crispy blooming onion pairs wonderfully with a variety of sauces. Classic choices include creamy ranch dressing, zesty garlic aioli, tangy BBQ sauce, or a spicy southwest ranch. For those who love a bit of heat, chipotle sauce is fantastic. You can also opt for simple ketchup, sweet honey mustard, or a unique fry sauce. For a taste similar to the famous Outback Steakhouse blooming onion dipping sauce, try a good quality Sweet Baby Ray’s Special Sauce, or make your own copycat by mixing mayonnaise, ketchup, horseradish, paprika, and a dash of cayenne. Many recipes for “blooming onion sauce” are available online if you prefer a homemade version.
Like most fried foods, a blooming onion is best enjoyed fresh and warm for optimal crispness. It tends to get soggy the longer it sits. If you do have leftovers, you can store them in an airtight container in the refrigerator for 2-3 days. To reheat, avoid the microwave as it will make it rubbery. Instead, reheat in an air fryer at 350°F (175°C) for 5-7 minutes or in a conventional oven at 375°F (190°C) for 10-15 minutes, until it crisps back up. This method helps restore some of its original texture.
While deep frying yields the most authentic and crispy results, you can attempt an air-fried or oven-baked version for a slightly healthier alternative. For an air fryer, preheat to 375°F (190°C), spray generously with oil, and cook for 15-20 minutes, flipping halfway, until golden and tender. For baking, preheat your oven to 400°F (200°C), spray with oil, and bake for 30-40 minutes, flipping once. Note that these methods may not achieve the same level of crispness and uniform coating as deep frying.
Serving Suggestions for Your Blooming Onion
The blooming onion is a versatile appetizer that shines in many settings. While it’s famously a go-to for football parties and game day gatherings, its impressive appearance and delicious flavor make it suitable for almost any occasion. Consider serving it as the star appetizer at a casual dinner party, a backyard BBQ, or even just as a special treat for your family on a weeknight. It’s truly an indulgence that needs no specific reason!
Always serve your blooming onion warm and fresh, straight from the fryer. The heat helps keep the petals tender and the crust incredibly crisp. As mentioned, fried foods tend to lose their optimal texture if left sitting too long, so gather your guests (and your favorite dipping sauces!) and enjoy this spectacular dish immediately.
More Irresistible Appetizer Recipes to Try
If you love this blooming onion, you’re sure to enjoy these other fantastic appetizer ideas that are perfect for sharing and pleasing a crowd:
- Creamy Beer Cheese Dip
- Easy Pinwheel Sandwiches
- Sweet & Savory Grape Jelly Meatballs
- Crispy Air Fryer Fried Pickles
- Zesty Air Fryer Jalapeno Fries
- Classic Homemade Onion Rings
- Southern Fried Green Tomatoes
I love to bake and cook and share my kitchen experience with all of you! Remembering to come back each day can be tough, that’s why I offer a convenient newsletter every time a new recipe posts. Simply subscribe and start receiving your free daily recipes!
Blooming Onion
IMPORTANT – There are often Frequently Asked Questions within the blog post that you may find helpful. Simply scroll back up to read them!
Print It
Pin It
Rate It
Save ItSaved!
Ingredients
- 1 Vidalia onion large
- 1 cup milk
- 2 eggs
- 2 cups all-purpose flour
- 2 Tbsp garlic powder
- 1 Tbsp salt
- 1 Tbsp paprika
- ½ Tbsp chili powder
- ½ Tbsp pepper
- frying oil as needed. like vegetable or canola
Things You’ll Need
-
5 qt Dutch oven
-
Spider strainer
Before You Begin
- You can pair this blooming onion with ranch, garlic aioli, BBQ, southwest ranch, ketchup, honey mustard, chipotle sauce, fry sauce, and Sweet Baby Ray’s Special Sauce which tastes similar to the blooming onion dipping sauce from Outback Steakhouse.
- Be sure to coat the onion in between each petal with the dry ingredients.
Instructions
-
Fill a 5-5.5 quart dutch oven half way with vegetable or other frying oil. Preheat to 375F.
-
Trim the top of the onion by about 1 inch. Remove the outer layer of the onion. Flip upside down and make four cuts, leaving the center in tact, across from each other as a compass.
-
Make two additional cut between each of the primary cuts. Be sure to keep the center base of the onion in tact.
-
Flip the onion back over and use fingers to help fan out the petals.
-
In a large bowl combine the milk and eggs.
-
In another large bowl combine the dry ingredients with a whisk.
-
Dip the onion in the egg mixture, followed by the dry ingredients. Repeat. Be sure to fan the petals of the onion during the process to get as much coverage as possible with the batter.
-
Use a spider strainer to lower the onion into the frying oil. Fry for 10 minutes.
-
Remove and drain excess grease from onion on a paper towel. Serve with dipping sauce.
Nutrition
The recipes on this blog are tested with a conventional gas oven and gas stovetop. It’s important to note that some ovens, especially as they age, can cook and bake inconsistently. Using an inexpensive oven thermometer can assure you that your oven is truly heating to the proper temperature. If you use a toaster oven or countertop oven, please keep in mind that they may not distribute heat the same as a conventional full sized oven and you may need to adjust your cooking/baking times. In the case of recipes made with a pressure cooker, air fryer, slow cooker, or other appliance, a link to the appliances we use is listed within each respective recipe. For baking recipes where measurements are given by weight, please note that results may not be the same if cups are used instead, and we can’t guarantee success with that method.
