Homemade Fried Ice Cream: Your Guide to Crispy, Creamy Perfection
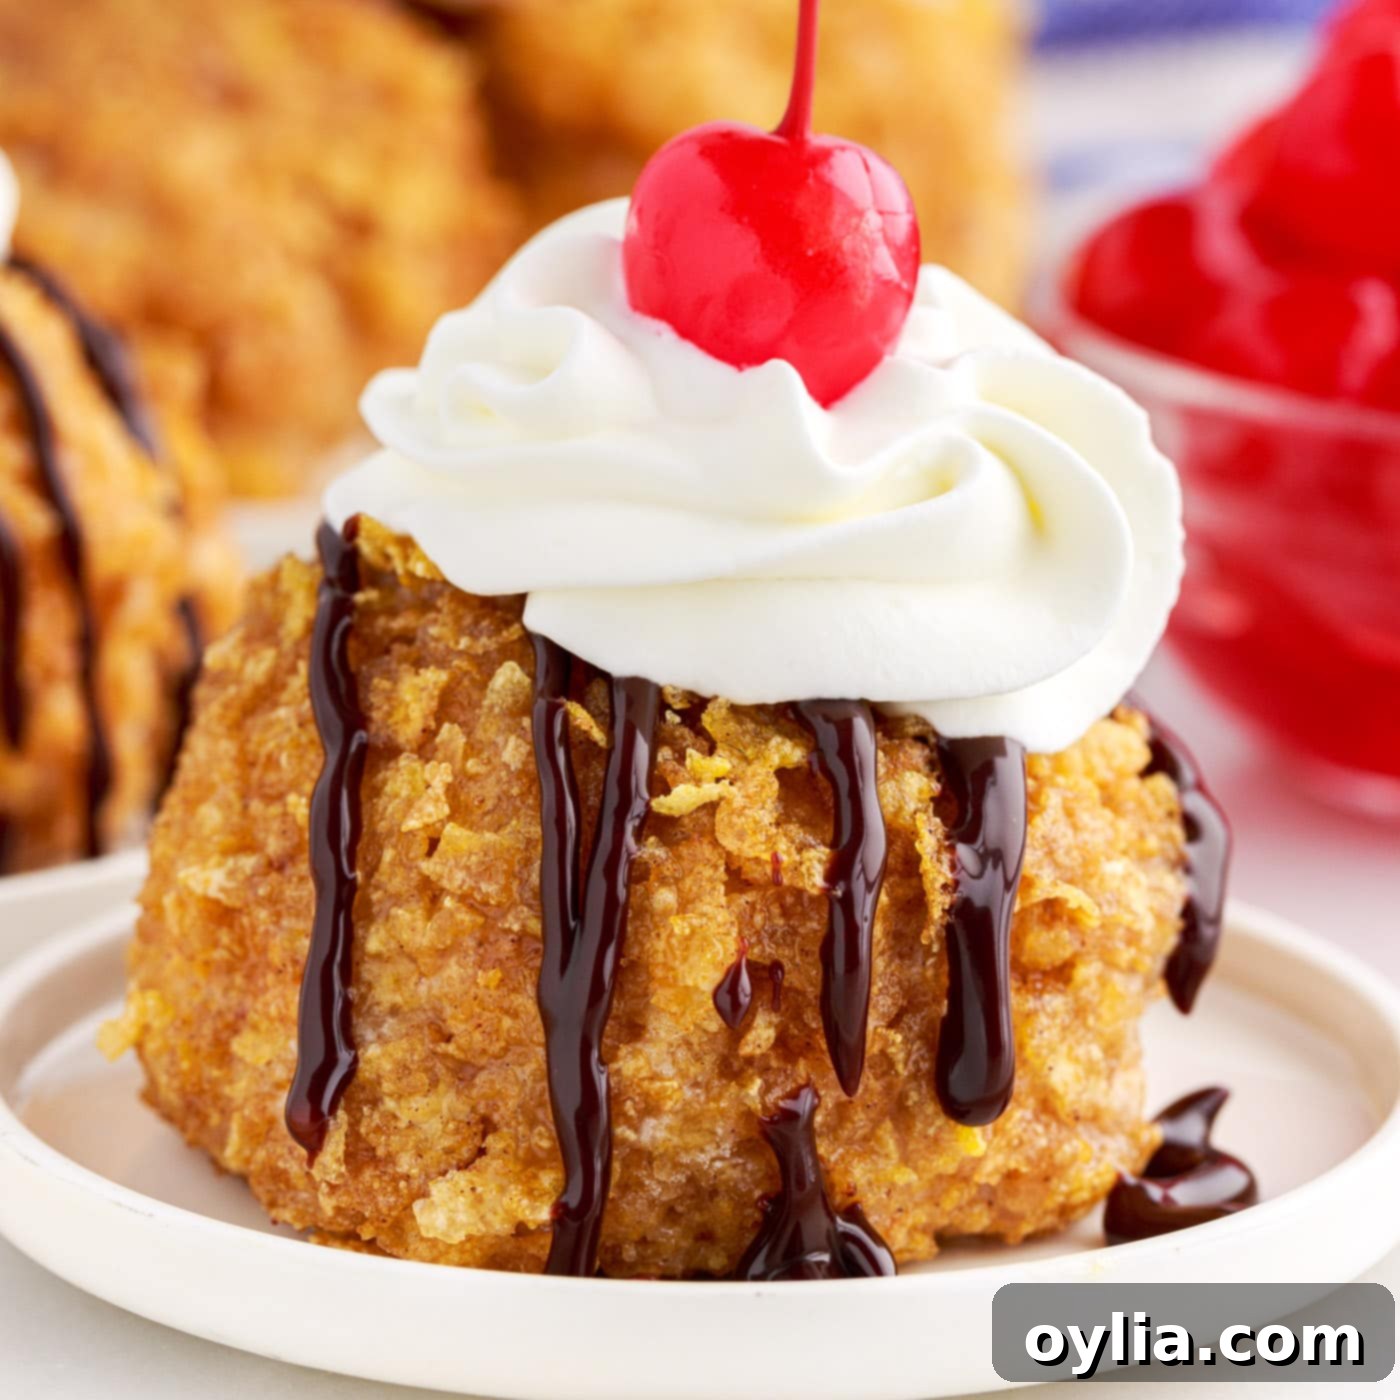
Imagine a dessert that defies expectations: a warm, incredibly crispy shell giving way to a rich, cold, and creamy center. This isn’t magic, it’s homemade fried ice cream! Our detailed recipe shows you how to transform sweet vanilla ice cream balls into golden-brown perfection, rolled in a tantalizingly crunchy cinnamon and cornflake coating, then quickly fried to create an unforgettable treat. Get ready to impress your family and friends with this unique and delicious dessert that’s surprisingly easy to make at home.
The “Magic” Behind Delicious Fried Ice Cream
For many, fried ice cream is a staple dessert when dining at a local Mexican restaurant. That delightful contrast of a warm, crispy exterior and a super cold, creamy interior is truly a culinary marvel. It might seem impossible to deep-fry ice cream without it melting instantly into a puddle of sugary liquid, but there’s a clever technique at play. The secret lies in a carefully constructed insulating layer and precise timing. By rolling thoroughly frozen ice cream balls first in frothy egg whites, and then in a generous coating of crushed cornflakes mixed with cinnamon and sugar, we create a barrier. This protective shell is designed to insulate the ice cream from the intense heat of the frying oil, allowing it to become golden and crisp on the outside while preserving its frozen state within. It’s a delicate balance of temperature and coating, but the result is nothing short of amazing!
With just a few essential tips and a handful of common ingredients, you can effortlessly replicate this restaurant-quality cinnamon crunchy coated ice cream at home. No need to wait for a special occasion; once you master this recipe, you’ll be making this incredible dessert whenever that craving hits.
Key Ingredients for Homemade Fried Ice Cream
Before diving into the frying process, gather your ingredients. You’ll find all precise measurements and detailed instructions in the printable recipe card located at the end of this post. For now, let’s explore the components that bring this Mexican-inspired dessert to life.
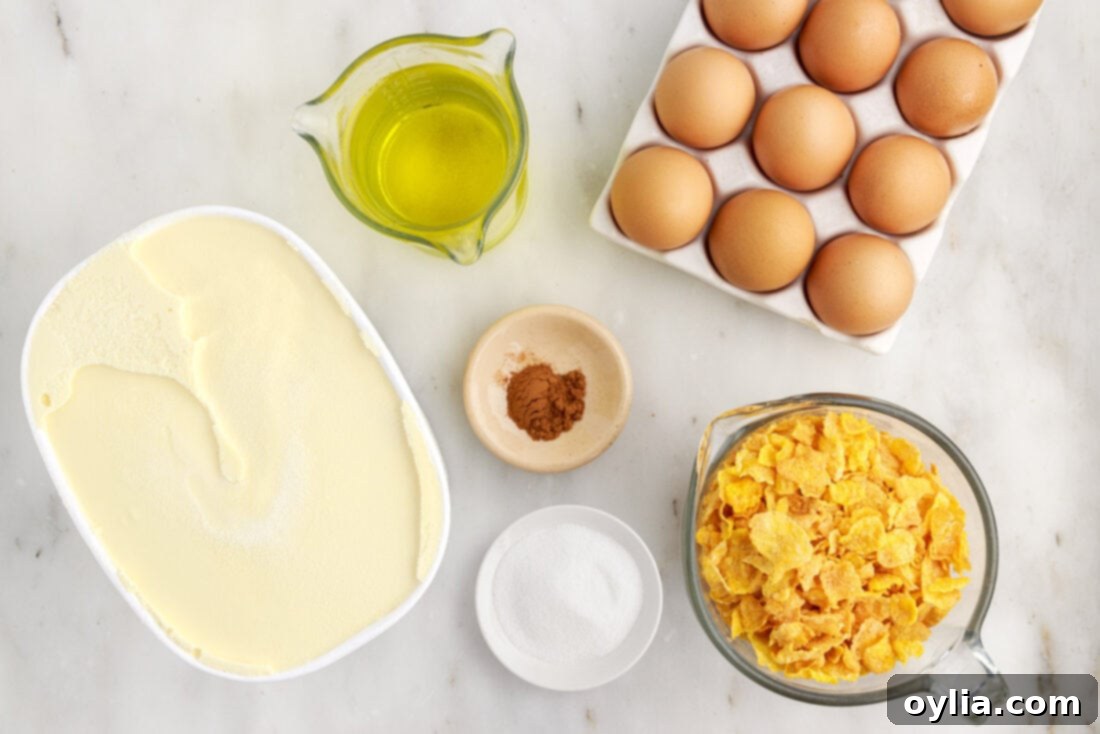
Ingredient Spotlight & Smart Substitutions
Ice Cream Selection
For this fried ice cream recipe, the choice of ice cream flavor is entirely up to you. While classic vanilla is a popular and delicious option, don’t hesitate to experiment! We often switch between creamy vanilla and a richer homemade Mexican chocolate ice cream for an extra layer of flavor. Regardless of your choice, the key to success lies in keeping the ice cream as cold and solid as possible throughout the preparation. It’s crucial to freeze the ice cream thoroughly between each step, ensuring it doesn’t soften too much. The ice cream balls need to be firm enough to endure the 375°F oil for those precious few seconds. Additionally, aim for larger ice cream balls; if they are too small, they will melt too quickly before the protective shell can properly fry and set.
The Crispy Cornflake Coating
Cornflakes are the traditional choice for creating that signature crispy, crunchy coating on fried ice cream. When crushed, they provide an ideal texture that becomes golden and satisfying when fried. To elevate the flavor, you’ll mix the crushed cornflakes with a touch of ground cinnamon and granulated sugar. This combination adds a wonderful aromatic warmth and a hint of sweetness that complements the cold ice cream perfectly. If cinnamon isn’t your preference, feel free to omit it or substitute with other spices like a pinch of nutmeg or even some cocoa powder for a chocolatey twist.
Egg Whites for Adhesion
Frothy egg whites play a vital role in this recipe. They act as the “glue” that binds the cornflake mixture to the ice cream, creating a robust, insulating layer. Whisking the egg whites until they are frothy creates a light, airy texture that adheres better and helps prevent the ice cream from melting too quickly during frying. Ensure they are well-whisked and re-whisk if they deflate during the coating process.
Frying Oil
When it comes to frying, select a neutral-flavored oil with a high smoke point. Vegetable oil or canola oil are excellent choices. You’ll need enough oil to fill your skillet or Dutch oven to a depth of 4-5 inches, ensuring the ice cream balls can be fully submerged for even cooking. Maintaining the correct oil temperature is paramount for a successful fry; a candy thermometer will be your best friend here.
How to Make Homemade Fried Ice Cream: Step-by-Step Guide
These step-by-step photos and detailed instructions are here to guide you through making this incredible dessert. For a convenient printable version of this recipe, complete with precise measurements and full instructions, you can Jump to Recipe at the bottom of this page.
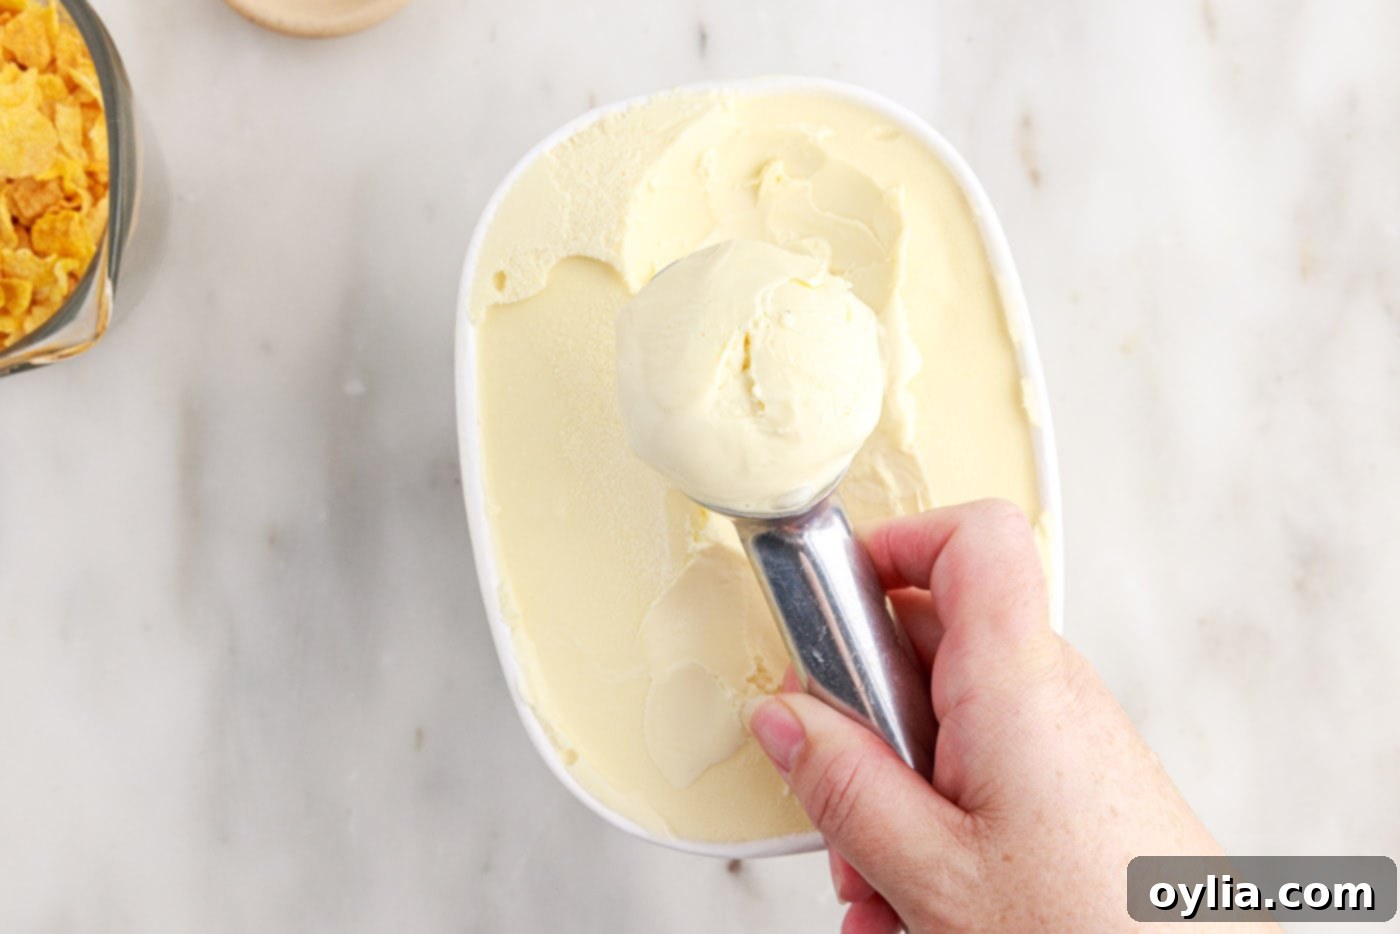
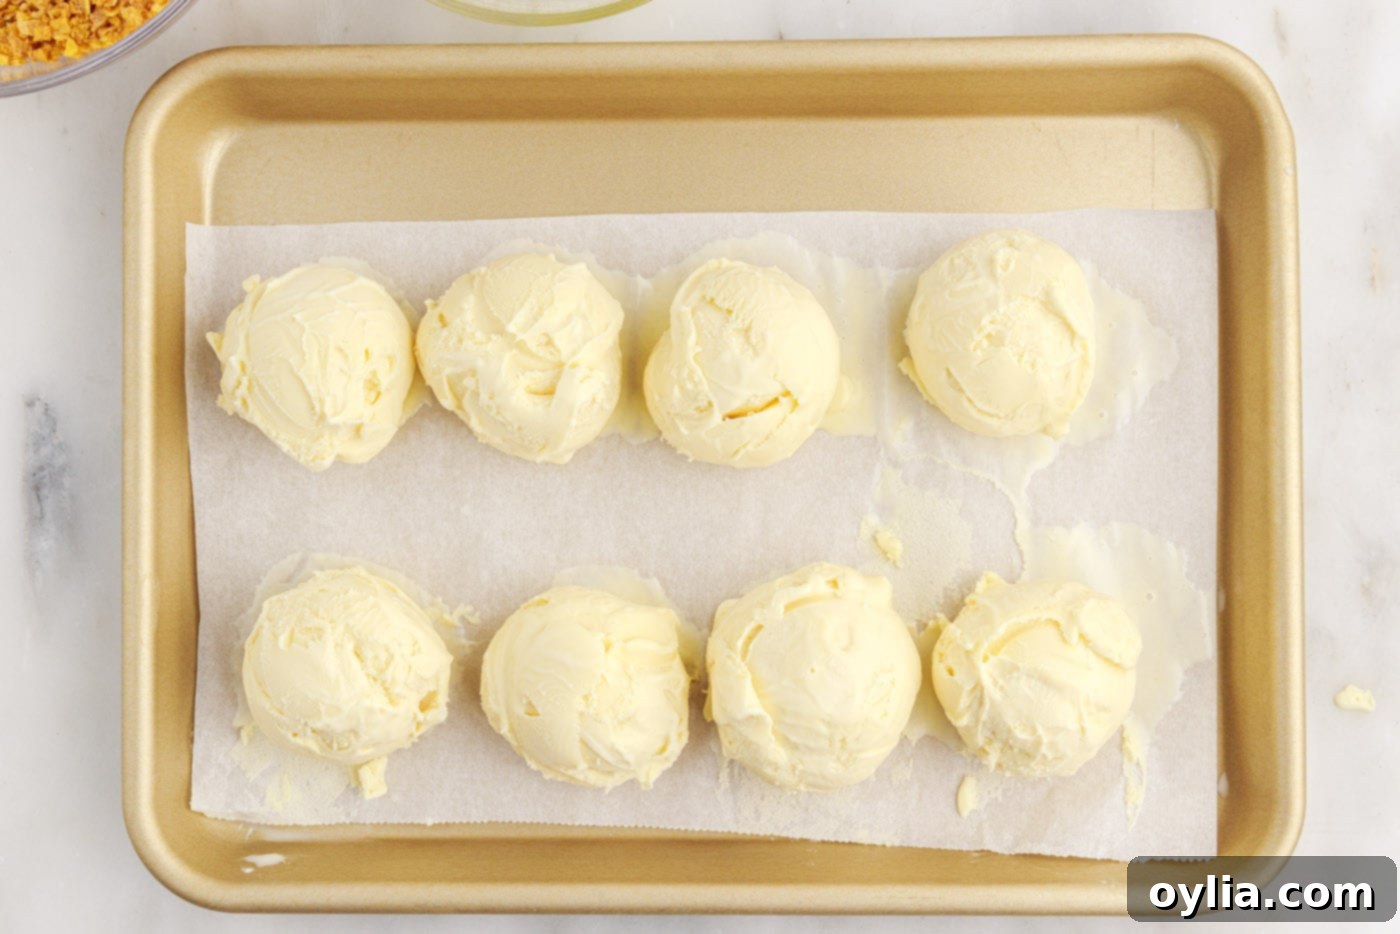
- Prepare the Ice Cream Balls: Begin by scooping the vanilla ice cream (or your chosen flavor) into 8 uniform 1/2-cup round balls. Achieving a good, solid spherical shape is important for even frying. Place these ice cream balls onto a quarter sheet pan that has been lined with a sheet of parchment paper. Immediately transfer the pan to the freezer for 30 minutes to 1 hour to allow the ice cream to re-solidify thoroughly. This initial freezing step is crucial for the structural integrity of your fried ice cream.


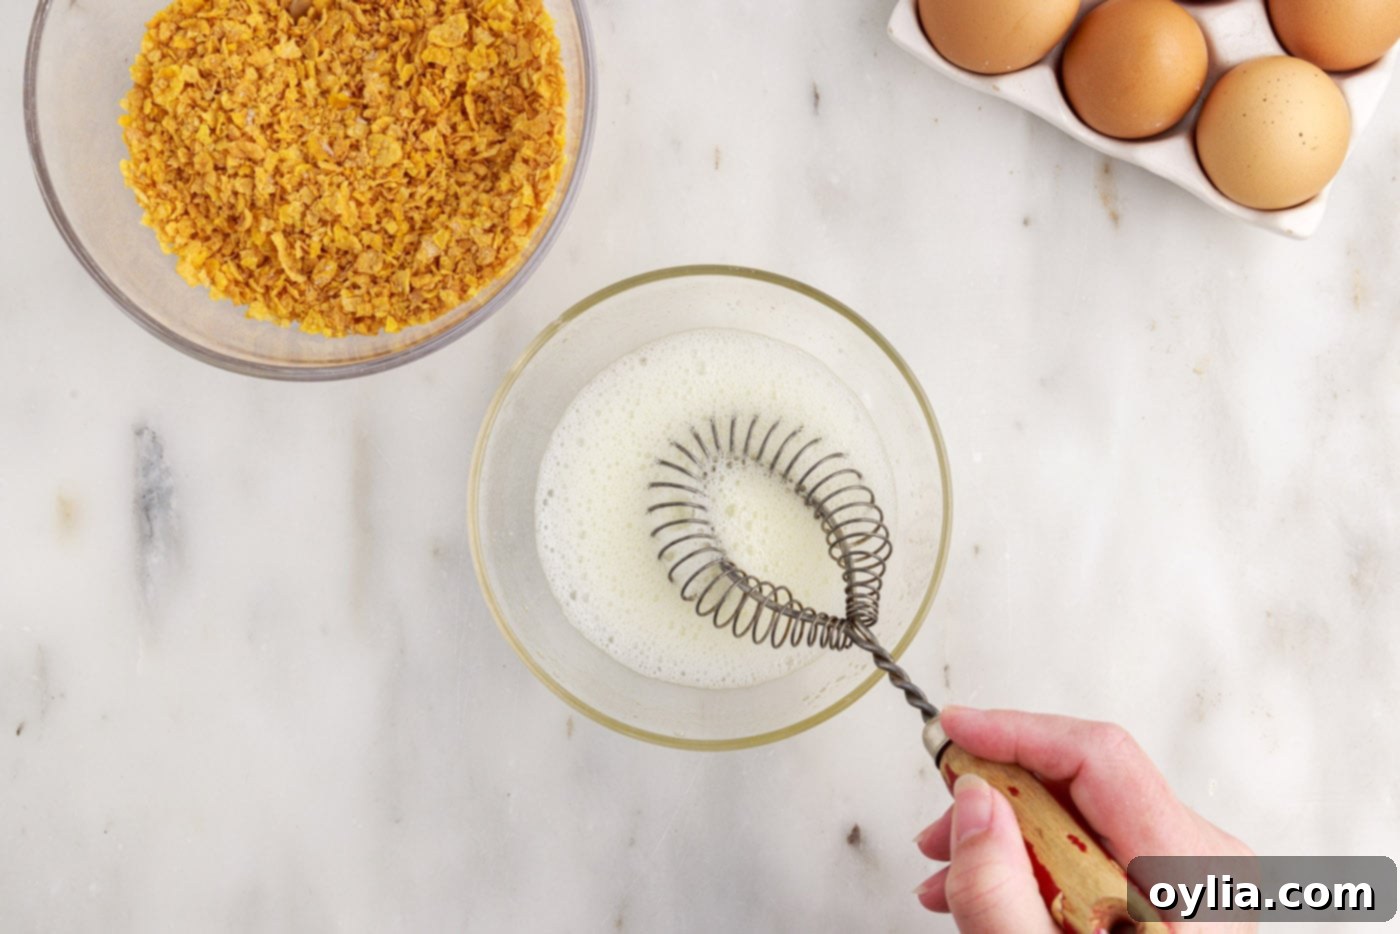
- Whisk the Egg Whites: While the ice cream is firming up in the freezer, prepare your egg whites. Crack four large eggs, separating the whites into a shallow bowl. Using a whisk or a hand beater, vigorously beat the egg whites until they become frothy and light. This frothy texture is essential for the cornflake mixture to adhere properly and create a good insulating layer.

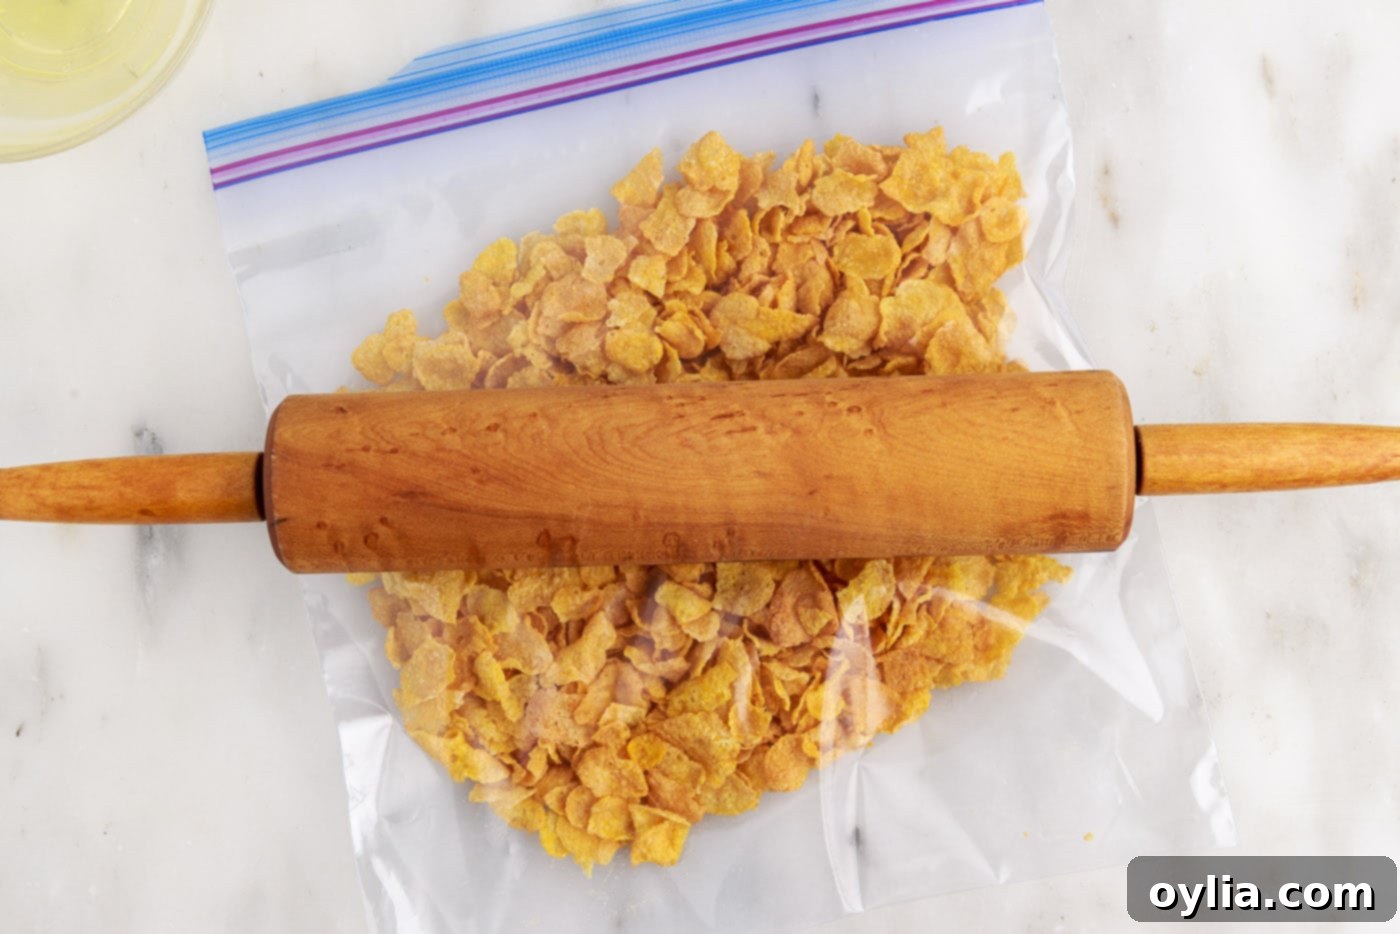
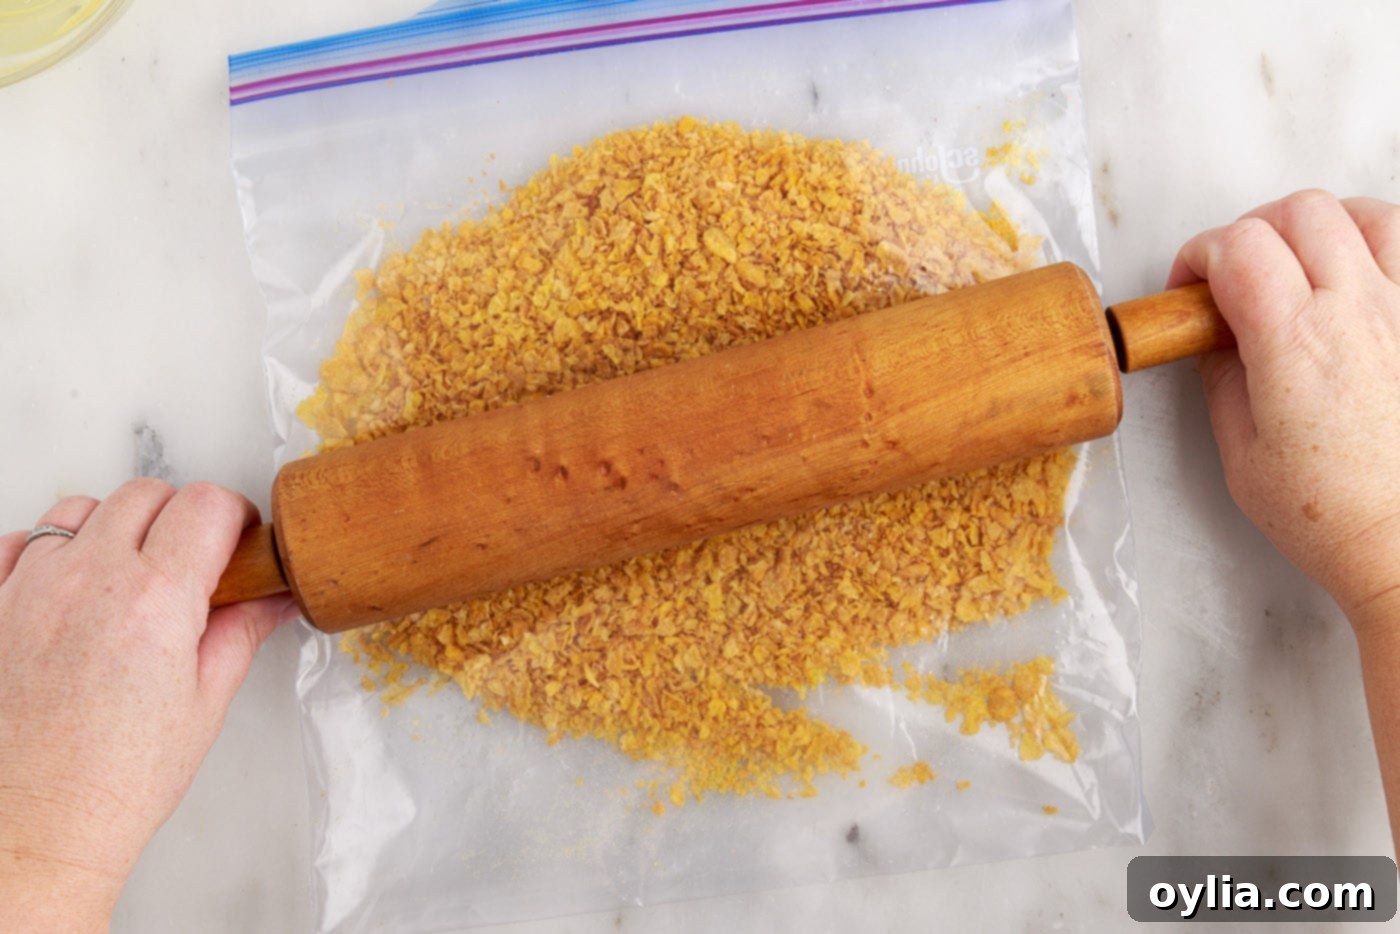
- Crush the Cornflakes: Next, prepare your crispy coating. Place 4 cups of cornflakes cereal into a gallon-sized ziptop bag. Seal the bag, pressing out as much air as possible. Using a rolling pin, gently roll over the bag to crush the cereal into small, manageable pieces. You can crush them finely for a smoother coating or leave some larger pieces for a more varied texture, similar to “Rice Krispie” size. Avoid turning them into powder; you still want a distinct crunch.


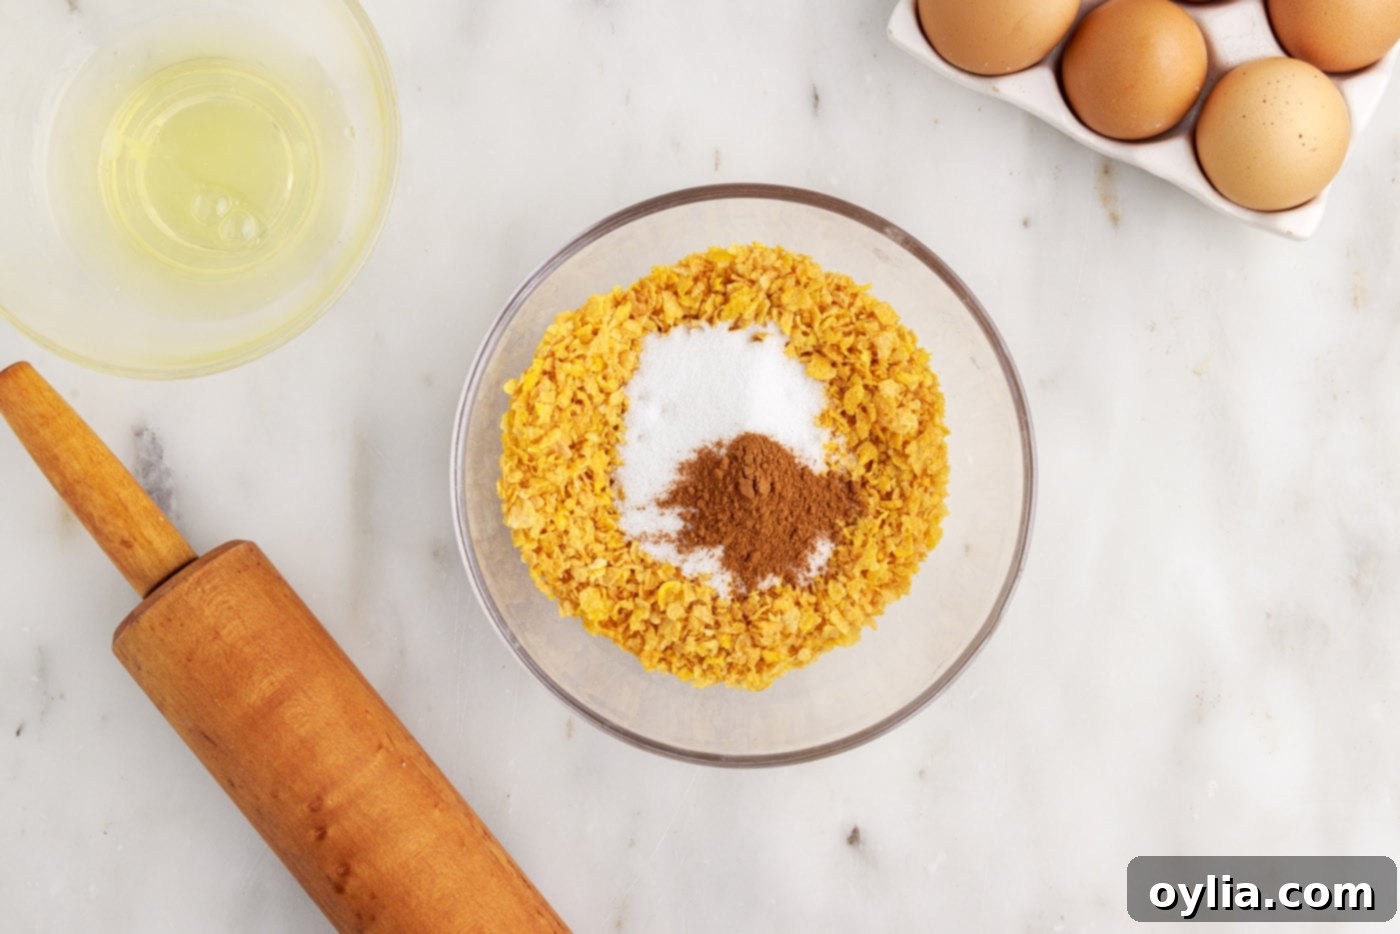
- Season the Coating: Transfer the crushed cereal to another shallow bowl. Add 1/2 teaspoon of ground cinnamon and 2 tablespoons of granulated sugar. Stir these ingredients together thoroughly, ensuring the cinnamon and sugar are evenly distributed throughout the cornflake mixture. This creates the delicious cinnamon sugar cornflake coating.

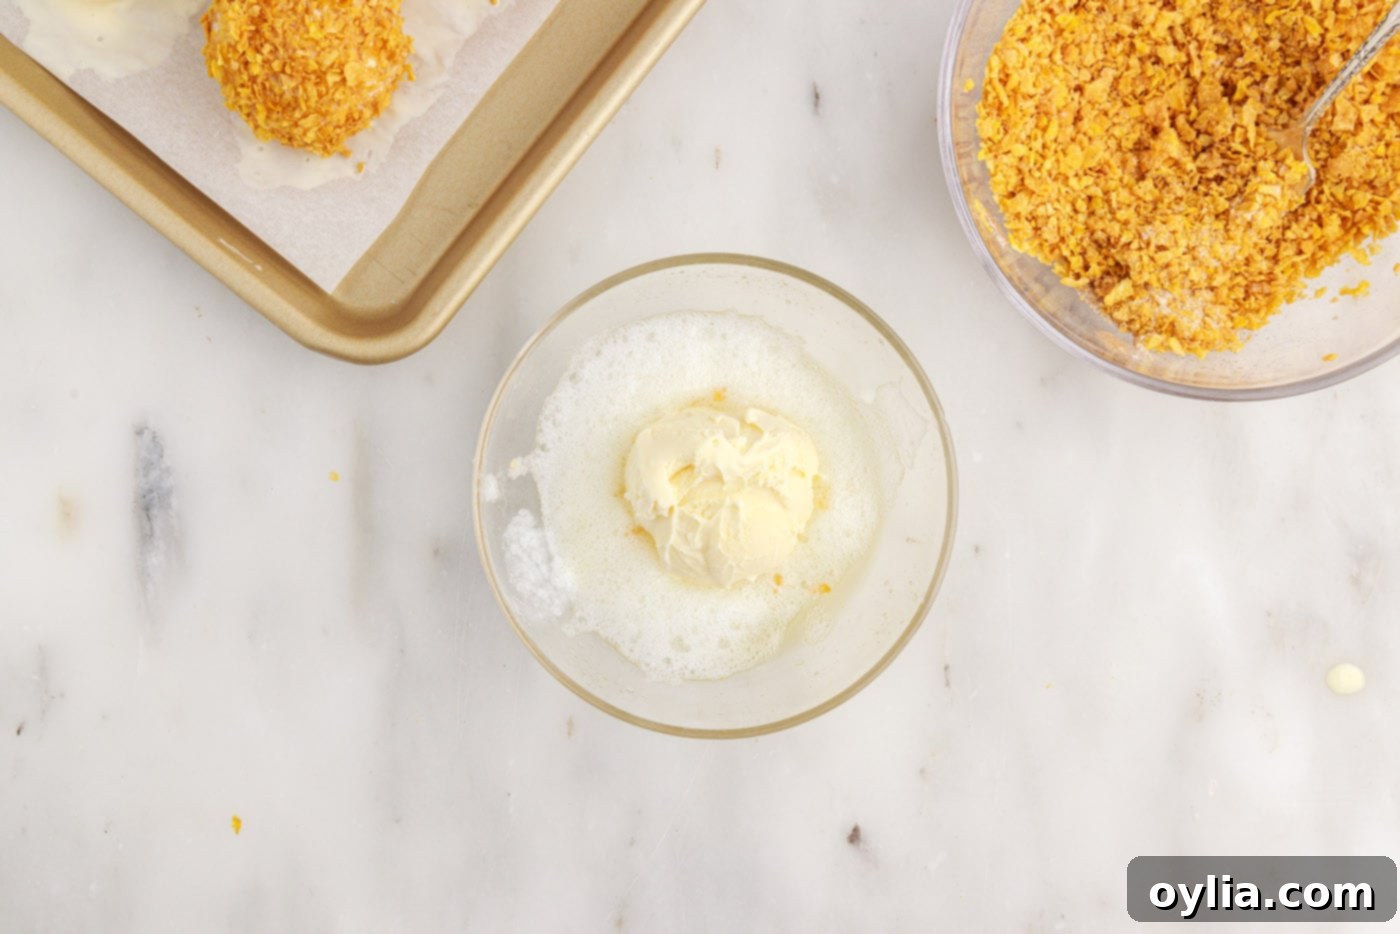
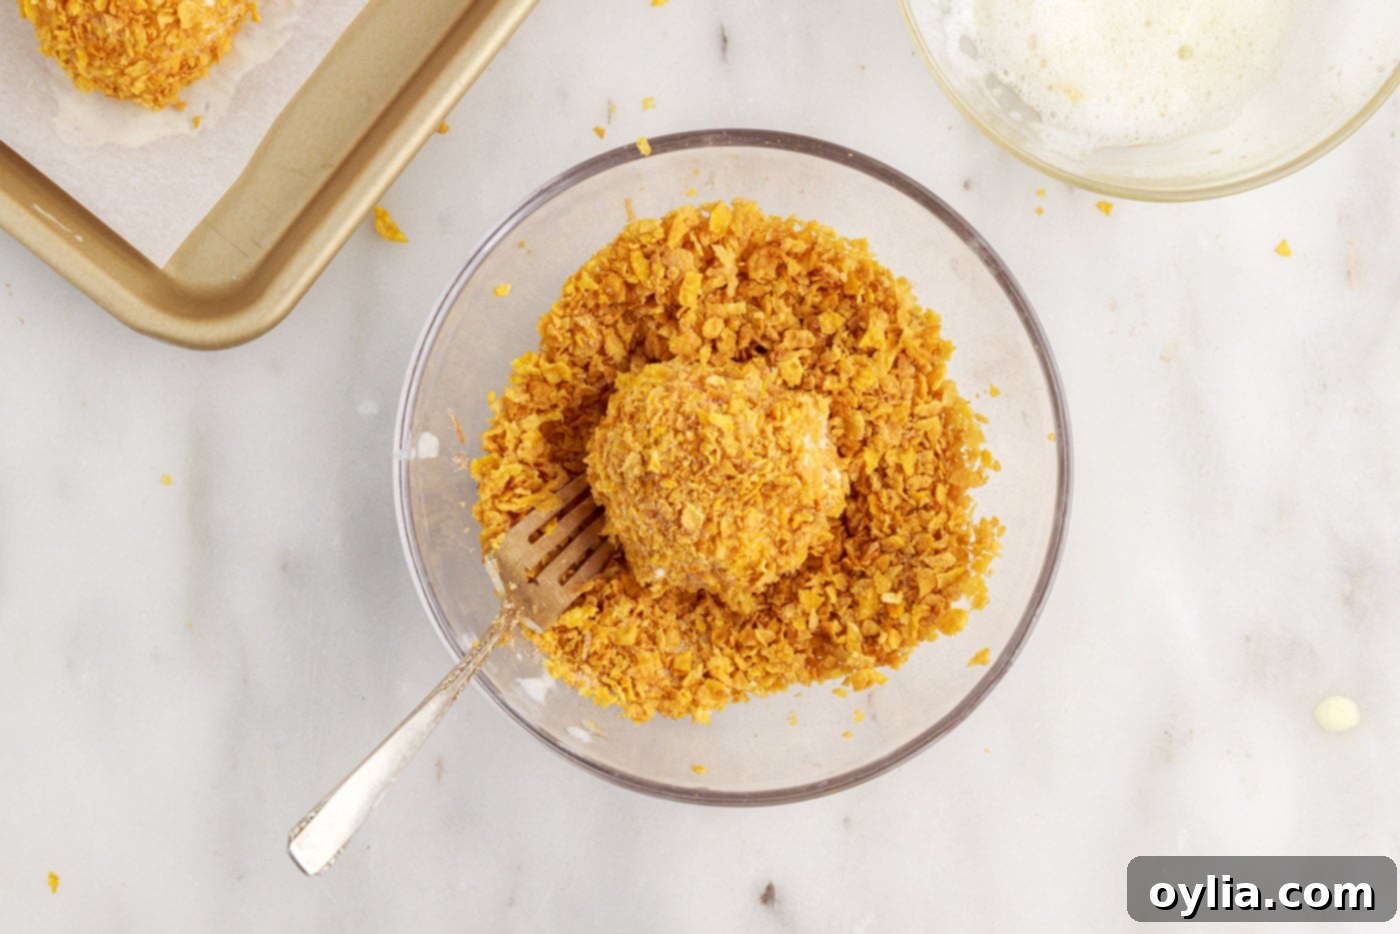
- First Coating Layer: Working quickly and with one ice cream ball at a time, retrieve a ball from the freezer. Dip it into the frothy egg whites, ensuring it’s fully coated. Immediately transfer the egg-white-coated ball into the cinnamon cornflake mixture. Toss and roll the ice cream ball until it’s completely and thoroughly coated. Any bare spots could lead to melting during frying. As soon as it’s coated, return the ball to the freezer without delay. This rapid freezing between steps is essential for maintaining its solid state. A few cornflakes may dislodge during frying, so a robust first coat is vital.


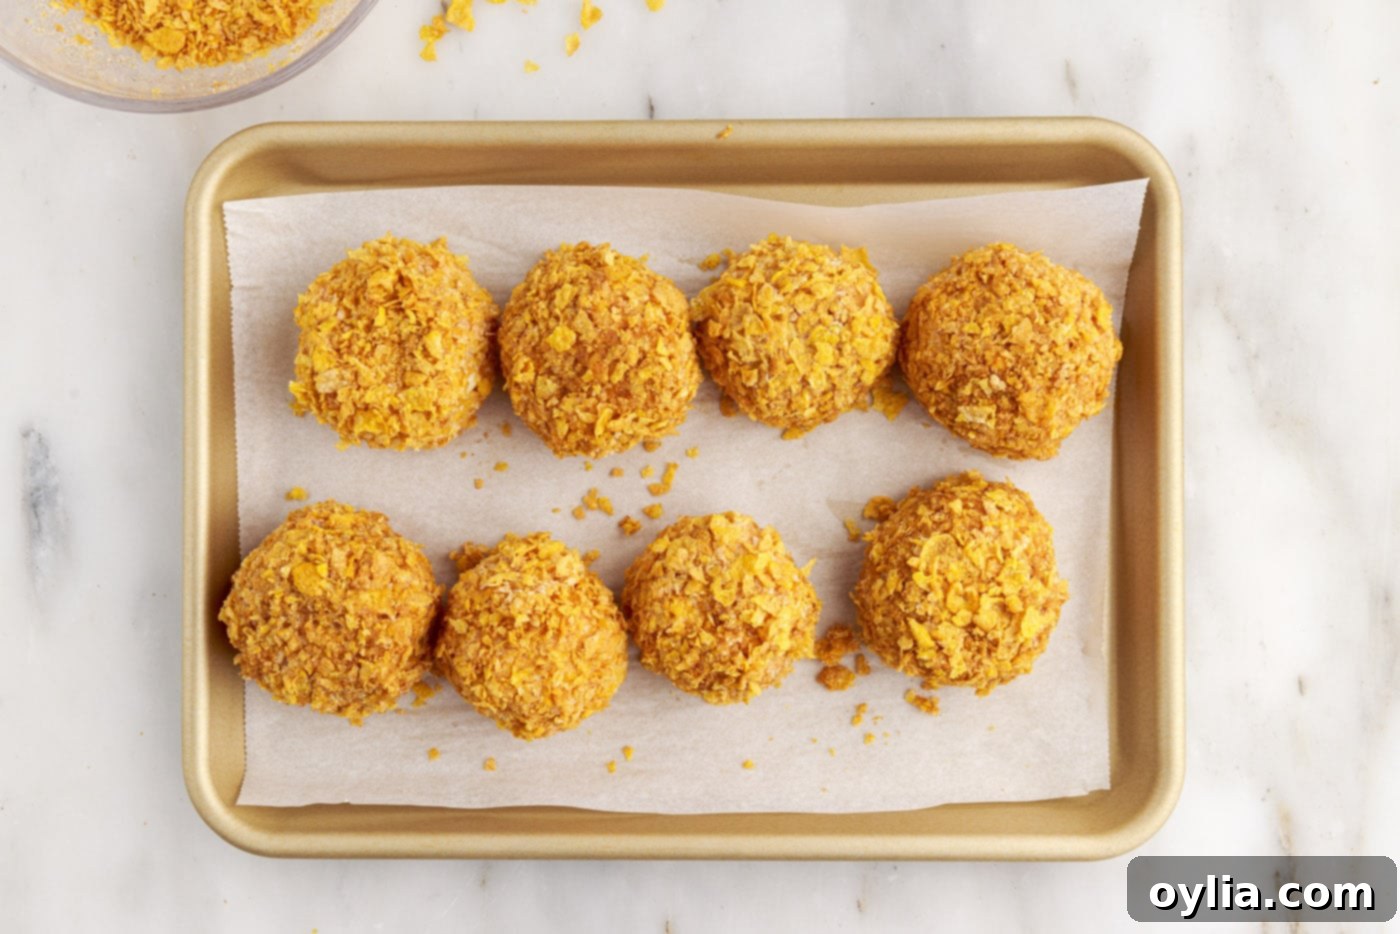
- Second Coating Layer & Deep Freeze: Continue to coat the remaining ice cream balls with the first layer, returning each to the freezer promptly. Once all balls have their first coat, chill them in the freezer for about 30 minutes. Then, repeat step 5 to apply a second, equally thorough layer of frothy egg whites and cereal to each ball. This double coating provides superior insulation and crunch. After the second coating, leave the prepared ice cream balls in the freezer for at least 3 more hours, or even longer, until they are absolutely rock solid. This extended freezing time is crucial for preventing melt-down when they hit the hot oil.

- Prepare for Frying: When you’re ready to fry, fill a deep skillet or a Dutch oven with 4-5 inches of cooking oil (such as vegetable or canola oil). Attach a candy thermometer to the side of the pan to accurately monitor the oil temperature. Heat the oil until it reaches a precise 375°F (190°C). It’s vital to maintain this temperature consistently, keeping it between 370°F and 375°F throughout the entire frying process. Too cool, and the coating will be greasy; too hot, and it might burn before crisping.
- Frying the Ice Cream (One at a Time!): This is the quickest step! Take one ice cream ball directly from the freezer. Using a large, flat slotted spoon or a spider strainer, carefully lower the frozen ball into the hot oil. Ensure it dunks completely under the oil to cook evenly. Fry for approximately 10 seconds – no more! The goal is a quick crisp, not a melt. Immediately lift the golden-brown ball out of the oil and gently blot any excess oil on a paper towel. The ice cream beneath the coating will become super soft, so handle with care to avoid dents or smushing.
- Serve Immediately: For the best experience, serve your crispy fried ice cream immediately, garnished with your favorite toppings. The contrast of hot and cold is at its peak right out of the fryer.
- Batch Frying Tip: To ensure each ball remains perfectly frozen until its turn, always fry the ice cream balls one at a time. Retrieve each ball from the freezer only when you are ready to immerse it into the hot oil. This strategy guarantees maximum frozen core integrity.
Frequently Asked Questions & Expert Tips for Success
While you can prepare the ice cream balls with their cornflake coating ahead of time and store them in the freezer, it’s important to note that the coating might not be as perfectly crisp if fried after extended storage. This recipe is genuinely best when the frying occurs right before serving. If you want to serve a batch all at once, you can put the coated ice cream balls back into the freezer for a few extra minutes while you prep the remaining ones. For optimal crispness, aim to fry and serve fresh.
For deep frying homemade fried ice cream, it’s best to use a neutral-flavored oil with a high smoke point. Vegetable oil, canola oil, or peanut oil are excellent choices. These oils won’t impart any unwanted flavors to your dessert and can withstand the high temperatures required for a quick, crisp fry without burning.
Preventing melt-down is the key! The most critical factors are ensuring your ice cream balls are rock solid frozen (at least 3-4 hours in the freezer after the second coating), having a thick, even double coating of cornflakes, and maintaining the oil at precisely 375°F. Frying for only about 10 seconds is also vital. Any longer, and the heat will penetrate the protective barrier. Work quickly, one ball at a time, and return unused balls to the freezer immediately.
Unfortunately, an air fryer or conventional oven will not yield the same results for fried ice cream. The intense, rapid heat of deep frying is what creates the instant crispy shell while keeping the interior frozen. Air fryers and ovens cook more slowly and with circulating hot air, which would likely melt the ice cream before the coating could properly crisp and brown. For this particular dessert, traditional deep frying is the recommended method.
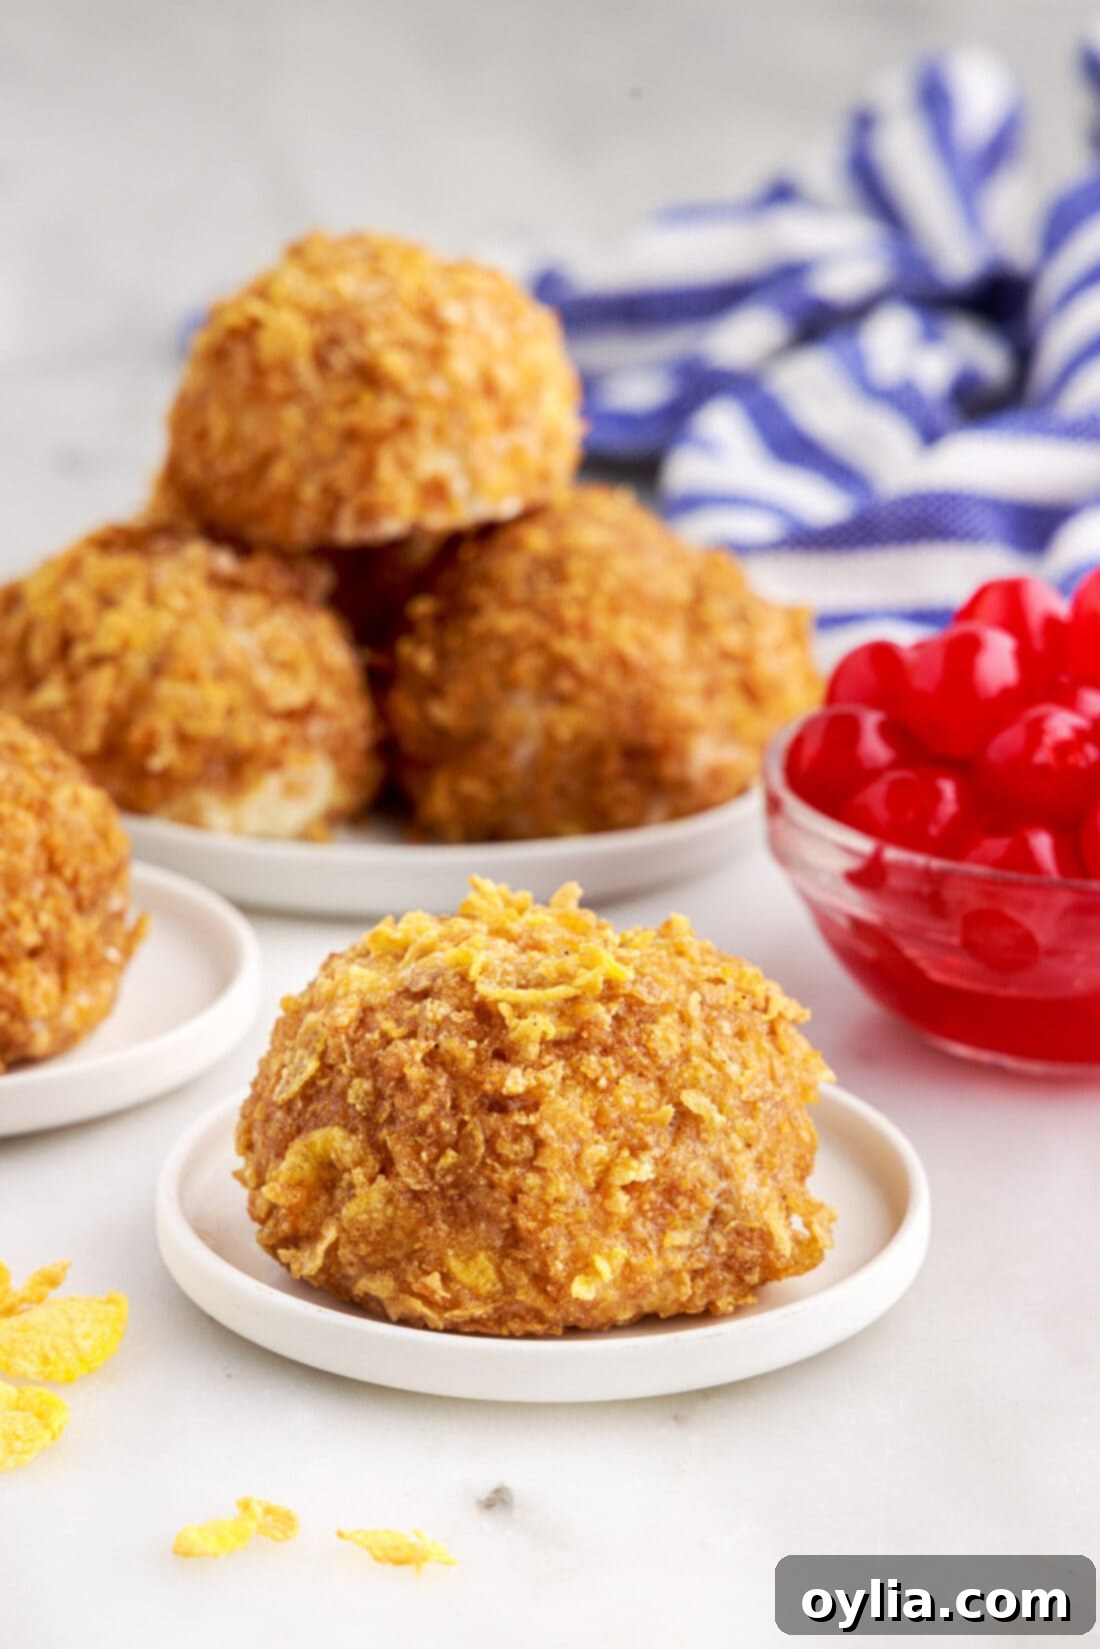
Delicious Serving Suggestions for Fried Ice Cream
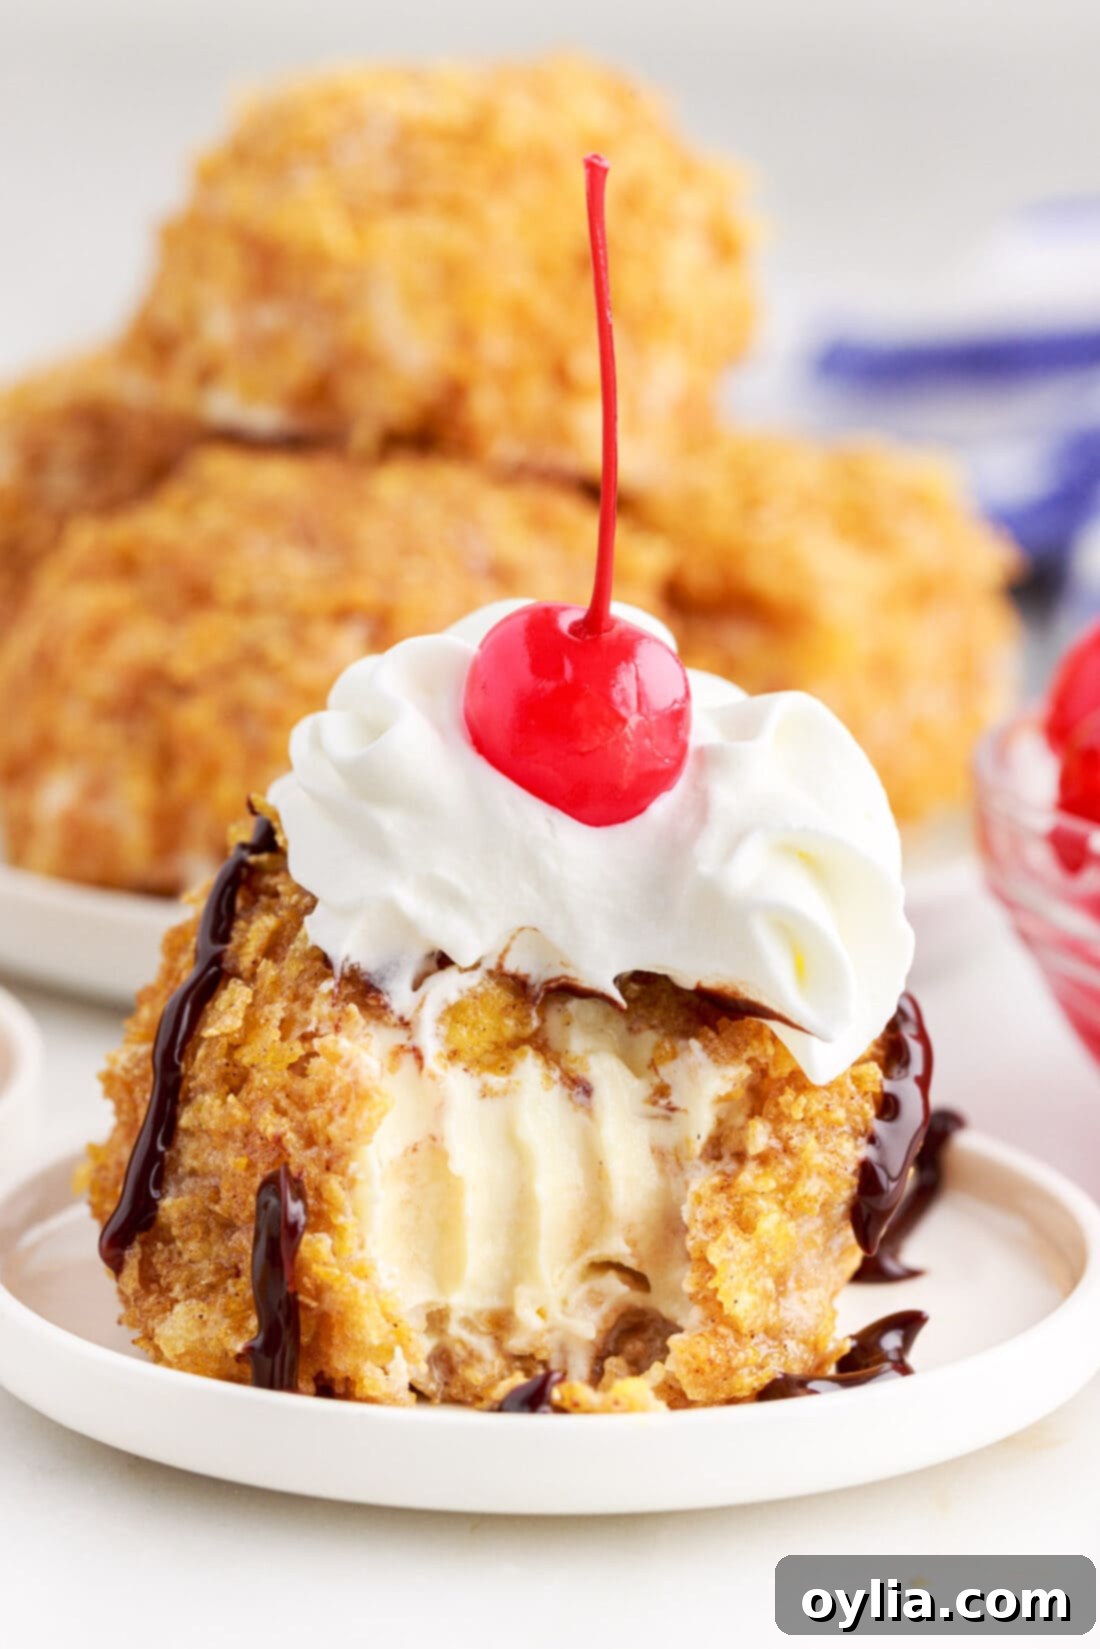
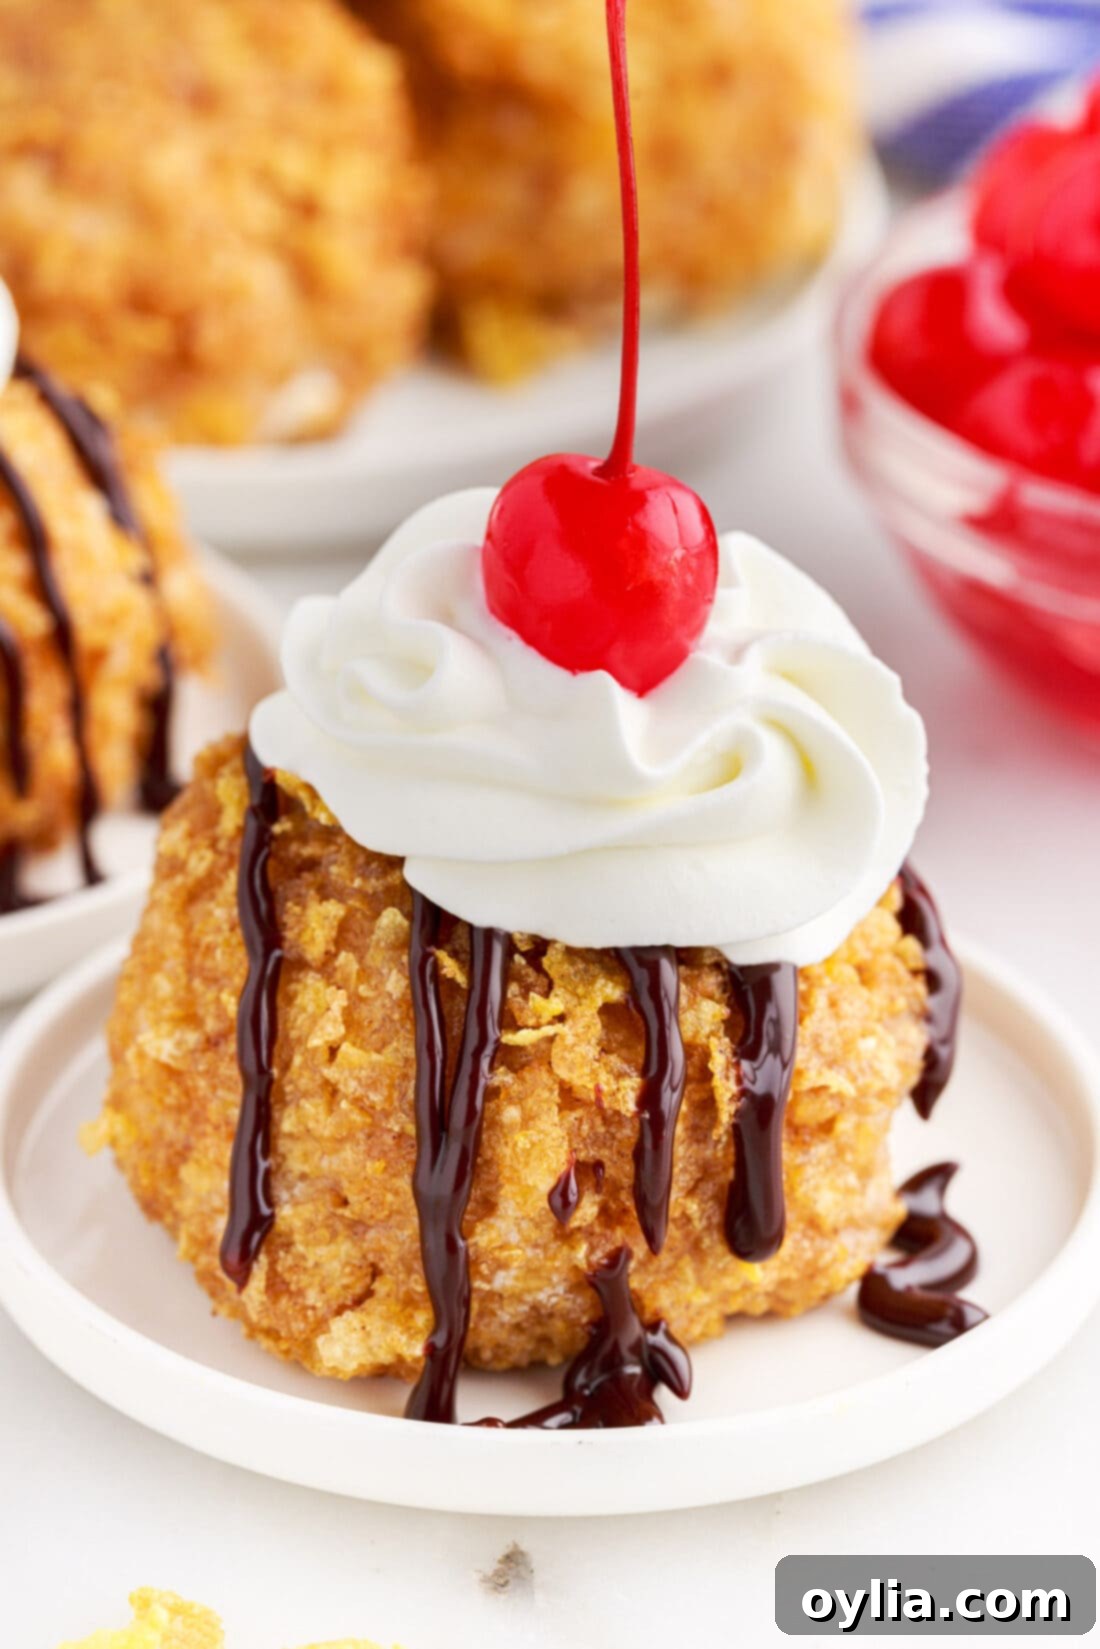
Once your fried ice cream is beautifully golden and crisp, the fun doesn’t stop there! Enhance this already incredible dessert with an array of delightful toppings. Classic choices include a generous dollop of whipped cream, a drizzle of rich chocolate syrup, or a smooth caramel sauce. For a fruity touch, add some fresh berries like sliced strawberries or raspberries, or a bright fruit-flavored drizzle. A maraschino cherry on top adds a pop of color and sweetness. Get creative with miniature chocolate chips, finely chopped nuts (pecans, walnuts, or almonds work wonderfully), or colorful sprinkles for a festive look. The possibilities are truly endless, allowing you to customize each serving to individual preferences and make your homemade fried ice cream experience even more special!
More Delightful Mexican Recipes to Try
If you’ve enjoyed making this Mexican-inspired fried ice cream, you might love exploring more flavors from this vibrant cuisine. Here are some other fantastic Mexican recipes to add to your culinary repertoire:
- Champurrado (Thick Mexican Hot Chocolate): A warm, comforting beverage perfect for chilly evenings.
- Mexican Corn (Esquites): A flavorful street food staple, bursting with savory goodness.
- Mexican Cookies: Sweet, buttery cookies perfect with coffee or as a light dessert.
- Mexican Chocolate Ice Cream: A spicy and rich twist on a classic, which can even be used in this fried ice cream recipe!
- Mexican Chocolate Cupcakes with Dulce De Leche Frosting: Indulgent cupcakes with a unique flavor profile.
I genuinely love to bake and cook, and sharing my kitchen experiences and perfected recipes with all of you brings me immense joy! Remembering to come back each day for new recipe inspiration can be tough, which is why I offer a convenient newsletter delivered directly to your inbox every time a new recipe posts. Simply subscribe today and start receiving your free daily recipes, making delicious cooking easier than ever!
Fried Ice Cream
IMPORTANT – There are often Frequently Asked Questions within the blog post that you may find helpful. Simply scroll back up to read them!
Print It
Pin It
Rate It
Save It
Saved!
Ingredients
- 4 cups vanilla ice cream
- 4 large egg whites
- 4 cups cornflakes cereal
- ½ teaspoon ground cinnamon
- 2 Tablespoons granulated sugar
- vegetable oil or canola oil for frying
Things You’ll Need
-
Spider strainer or large flat slotted spoon
-
Candy thermometer
Expert Tips & Notes for Perfection
- The Freeze is Your Friend: The absolute most critical element for successful fried ice cream is keeping your ice cream as cold and solid as possible at every stage. Freeze the scooped balls, then freeze after the first coating, and most importantly, deep-freeze for at least 3-4 hours after the second coating. This extreme cold is what prevents immediate melting in the hot oil.
- Timing is Everything: A quick 10-second fry is genuinely all it takes to achieve that perfectly crisp exterior. Any longer, and the ice cream directly beneath the coating will start to melt too much, potentially compromising the integrity of your dessert.
- Gentle Frying Technique: When placing the ice cream ball into the hot oil, use your slotted spoon or spider strainer to gently dunk it completely and then lift it straight back out. Avoid tossing, turning, or fishing for the ball in the oil, as the very soft ice cream under the coating can easily dent or smush, leading to a break in the protective shell. The balls are heavy and will sink, so simply keep your utensil underneath for support.
- Frothy Egg Whites are Key: Don’t just dip in plain egg whites! Use a whisk or even a hand mixer to beat the egg whites until they are genuinely frothy and foamy. This creates a much better adhesive layer for the cornflakes. If your egg whites deflate while you’re coating multiple balls, give them a quick re-whisk to re-froth them.
- Double the Coating, Double the Protection: The two layers of egg whites and cornflake mixture are not optional. This double layer significantly enhances the insulation, providing a more robust barrier against the hot oil and ensuring a superior crunch.
- Serve Immediately for Best Results: The optimal experience of hot and cold dessert is when fried ice cream is served right out of the fryer. While you can hold them in the freezer for a few minutes if you’re serving a small batch at once, prolonged storage in the freezer after frying will cause the coating to lose some of its initial crispness.
Instructions
-
Scoop ice cream into 8 – 1⁄2 cup round balls. Place on a quarter sheet pan lined with a sheet of parchment paper and immediately place in the freezer for the ice cream to re-solidify (30 minutes – 1 hour).
-
Meanwhile, place four egg whites into a shallow bowl and whisk until frothy.
-
Place Corn Flakes in a gallon size ziptop bag, seal the bag, and roll with a rolling pin to crush the cereal into small pieces (you can crush them completely or leave them about “Rice Krispie” size.
-
Transfer the crushed cereal to another shallow bowl and stir together with the cinnamon and granulated sugar.
-
Taking one ice cream ball from the freezer at a time, dip the ice cream into the frothy egg whites and toss to coat. Immediately place the ice cream ball into the cereal mixture and toss it until well coated. Return the coated ball back to the freezer as quickly as possible.
A few of the corn flakes may break away when you place the ice cream into the oil, so be sure that you have coated the ice cream well. Once the corn flakes pop off the ice cream, there will be nothing left to prevent the ice cream from melting right into the oil.
-
Coat the remaining ice cream balls. Chill the balls for about 30 minutes. Then, repeat step 5 to coat all of the balls in a second layer of frothy egg whites and cereal.
-
Leave the prepared ice cream in the freezer for at least 3 more hours, longer if desired.
-
When you are ready to fry the ice cream, fill a deep skillet or Dutch oven with 4-5 inches of cooking oil, such as vegetable oil or canola oil. Use a candy thermometer to monitor the temperature of the oil. Heat until the oil reaches 375°F; maintain the oil temperature between 370°F and 375°F throughout cooking.
-
Use a large, flat slotted spoon or frying simmer to dip an ice cream ball into the hot oil. Be sure the ice cream dunks all the way under the oil and is completely covered so that it cooks evenly. Cook for about 10 seconds and then immediately lift it out of the oil and blot on a paper towel.
-
Serve immediately or return the fried ice cream to the freezer.
-
Fry the ice cream balls one at a time, taking each one out of the freezer only when you are ready to put it in the fryer.
Nutrition
The recipes on this blog are tested with a conventional gas oven and gas stovetop. It’s important to note that some ovens, especially as they age, can cook and bake inconsistently. Using an inexpensive oven thermometer can assure you that your oven is truly heating to the proper temperature. If you use a toaster oven or countertop oven, please keep in mind that they may not distribute heat the same as a conventional full sized oven and you may need to adjust your cooking/baking times. In the case of recipes made with a pressure cooker, air fryer, slow cooker, or other appliance, a link to the appliances we use is listed within each respective recipe. For baking recipes where measurements are given by weight, please note that results may not be the same if cups are used instead, and we can’t guarantee success with that method.
