The Ultimate Crispy Fried Shrimp Recipe: Your New Go-To Seafood Dish
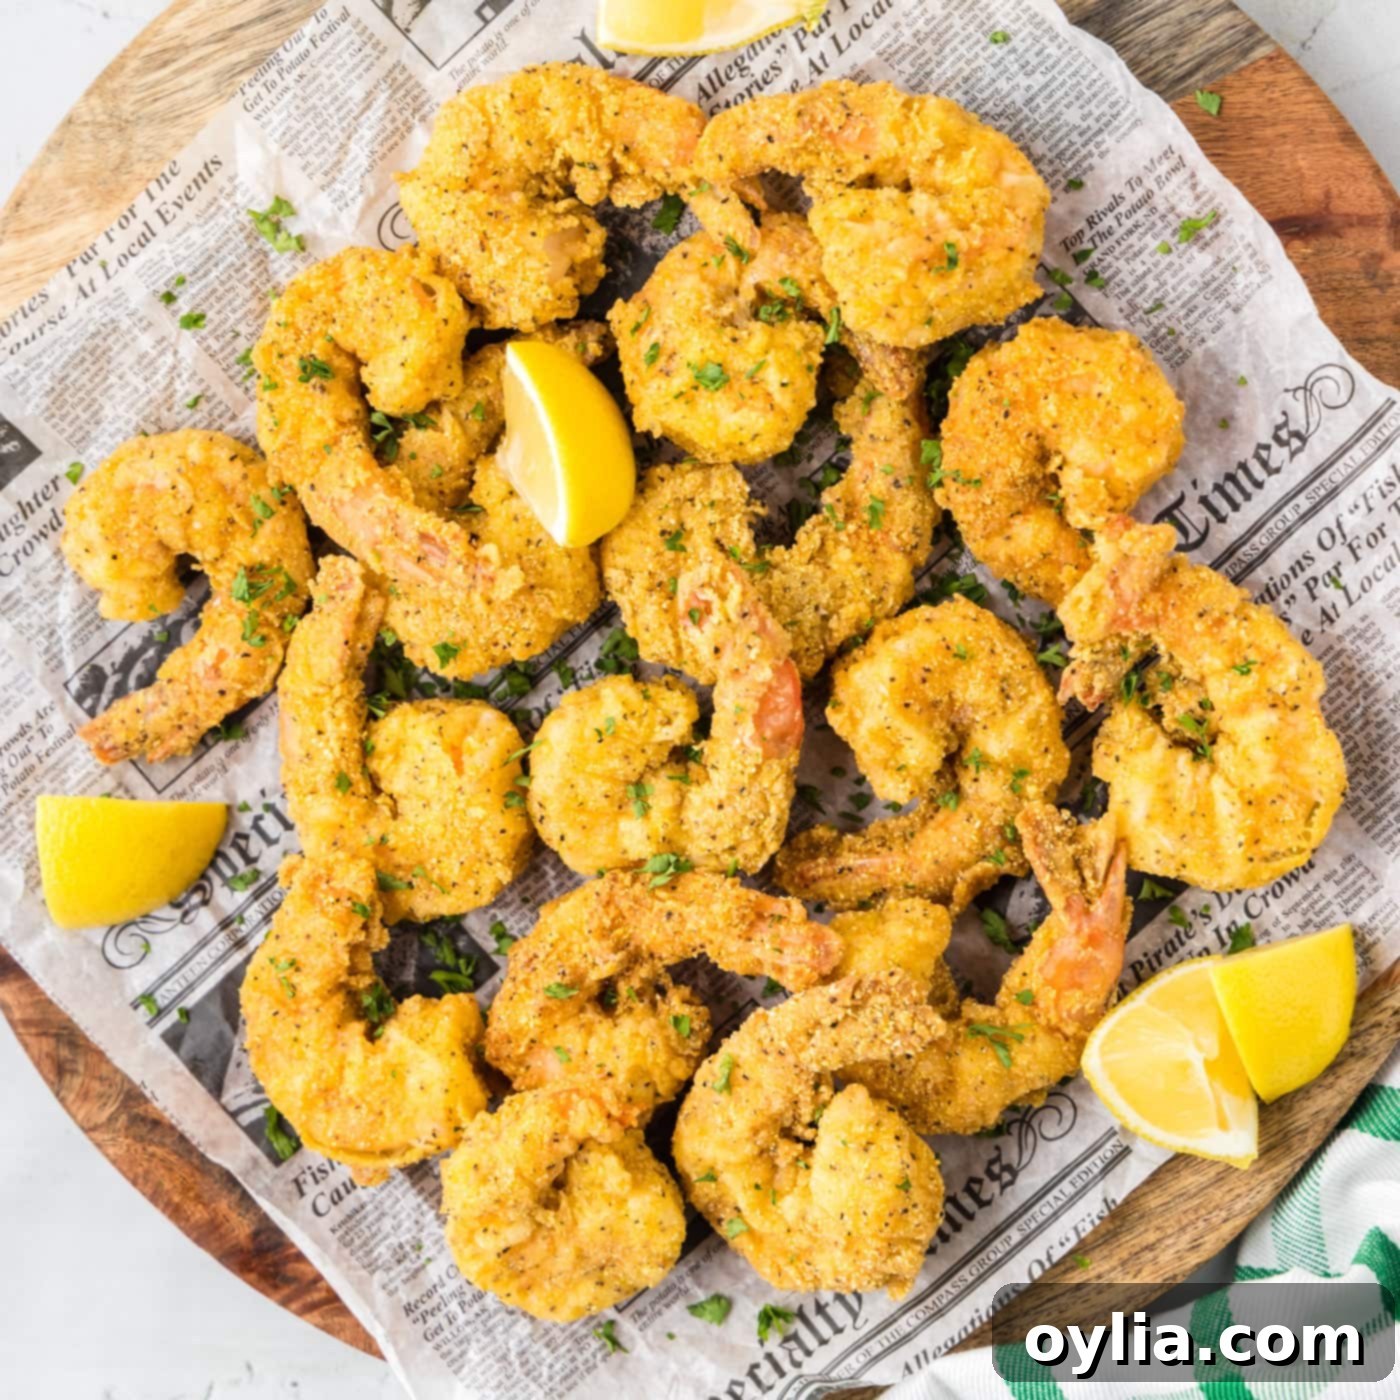
Imagine biting into a perfectly golden, intensely crispy fried shrimp, tender and juicy on the inside, bursting with flavor. This isn’t just a dream; it’s a reality you can achieve in your own kitchen! Our ultimate crispy fried shrimp recipe uses a special blend of flour, cornmeal, and aromatic seasonings to create an irresistible coating. Pan-fried to a beautiful golden brown, these delectable morsels are ready to delight your taste buds in a mere 20 minutes from start to finish. Say goodbye to takeout and hello to your new favorite homemade seafood sensation.
Why This Crispy Fried Shrimp Recipe is a Must-Try
This isn’t just another fried shrimp recipe; it’s a carefully crafted method designed to deliver exceptional results every single time. With just one crunchy bite of these juicy, perfectly cooked shrimp, you’ll instantly recognize why this will become your new favorite. It’s reminiscent of your go-to restaurant appetizer, but elevated with the fresh taste and satisfaction of a homemade meal. The secret to its unparalleled crispiness and depth of flavor lies in our signature breading.
What truly sets this recipe apart from other crispy shrimp preparations? The key difference is the thoughtful addition of cornmeal to our breading mixture. While many recipes rely solely on flour, cornmeal introduces a coarser texture that translates into an extra layer of satisfying crunch that flour alone simply cannot achieve. This subtle yet impactful ingredient creates a more robust and delightful crust, making each bite incredibly addictive. Both variations of crispy shrimp are undeniably excellent, but if you crave that distinct, hearty crunch, this cornmeal-infused breading is precisely what you need. It truly comes down to your preferred texture, and for us, the cornmeal makes all the difference.
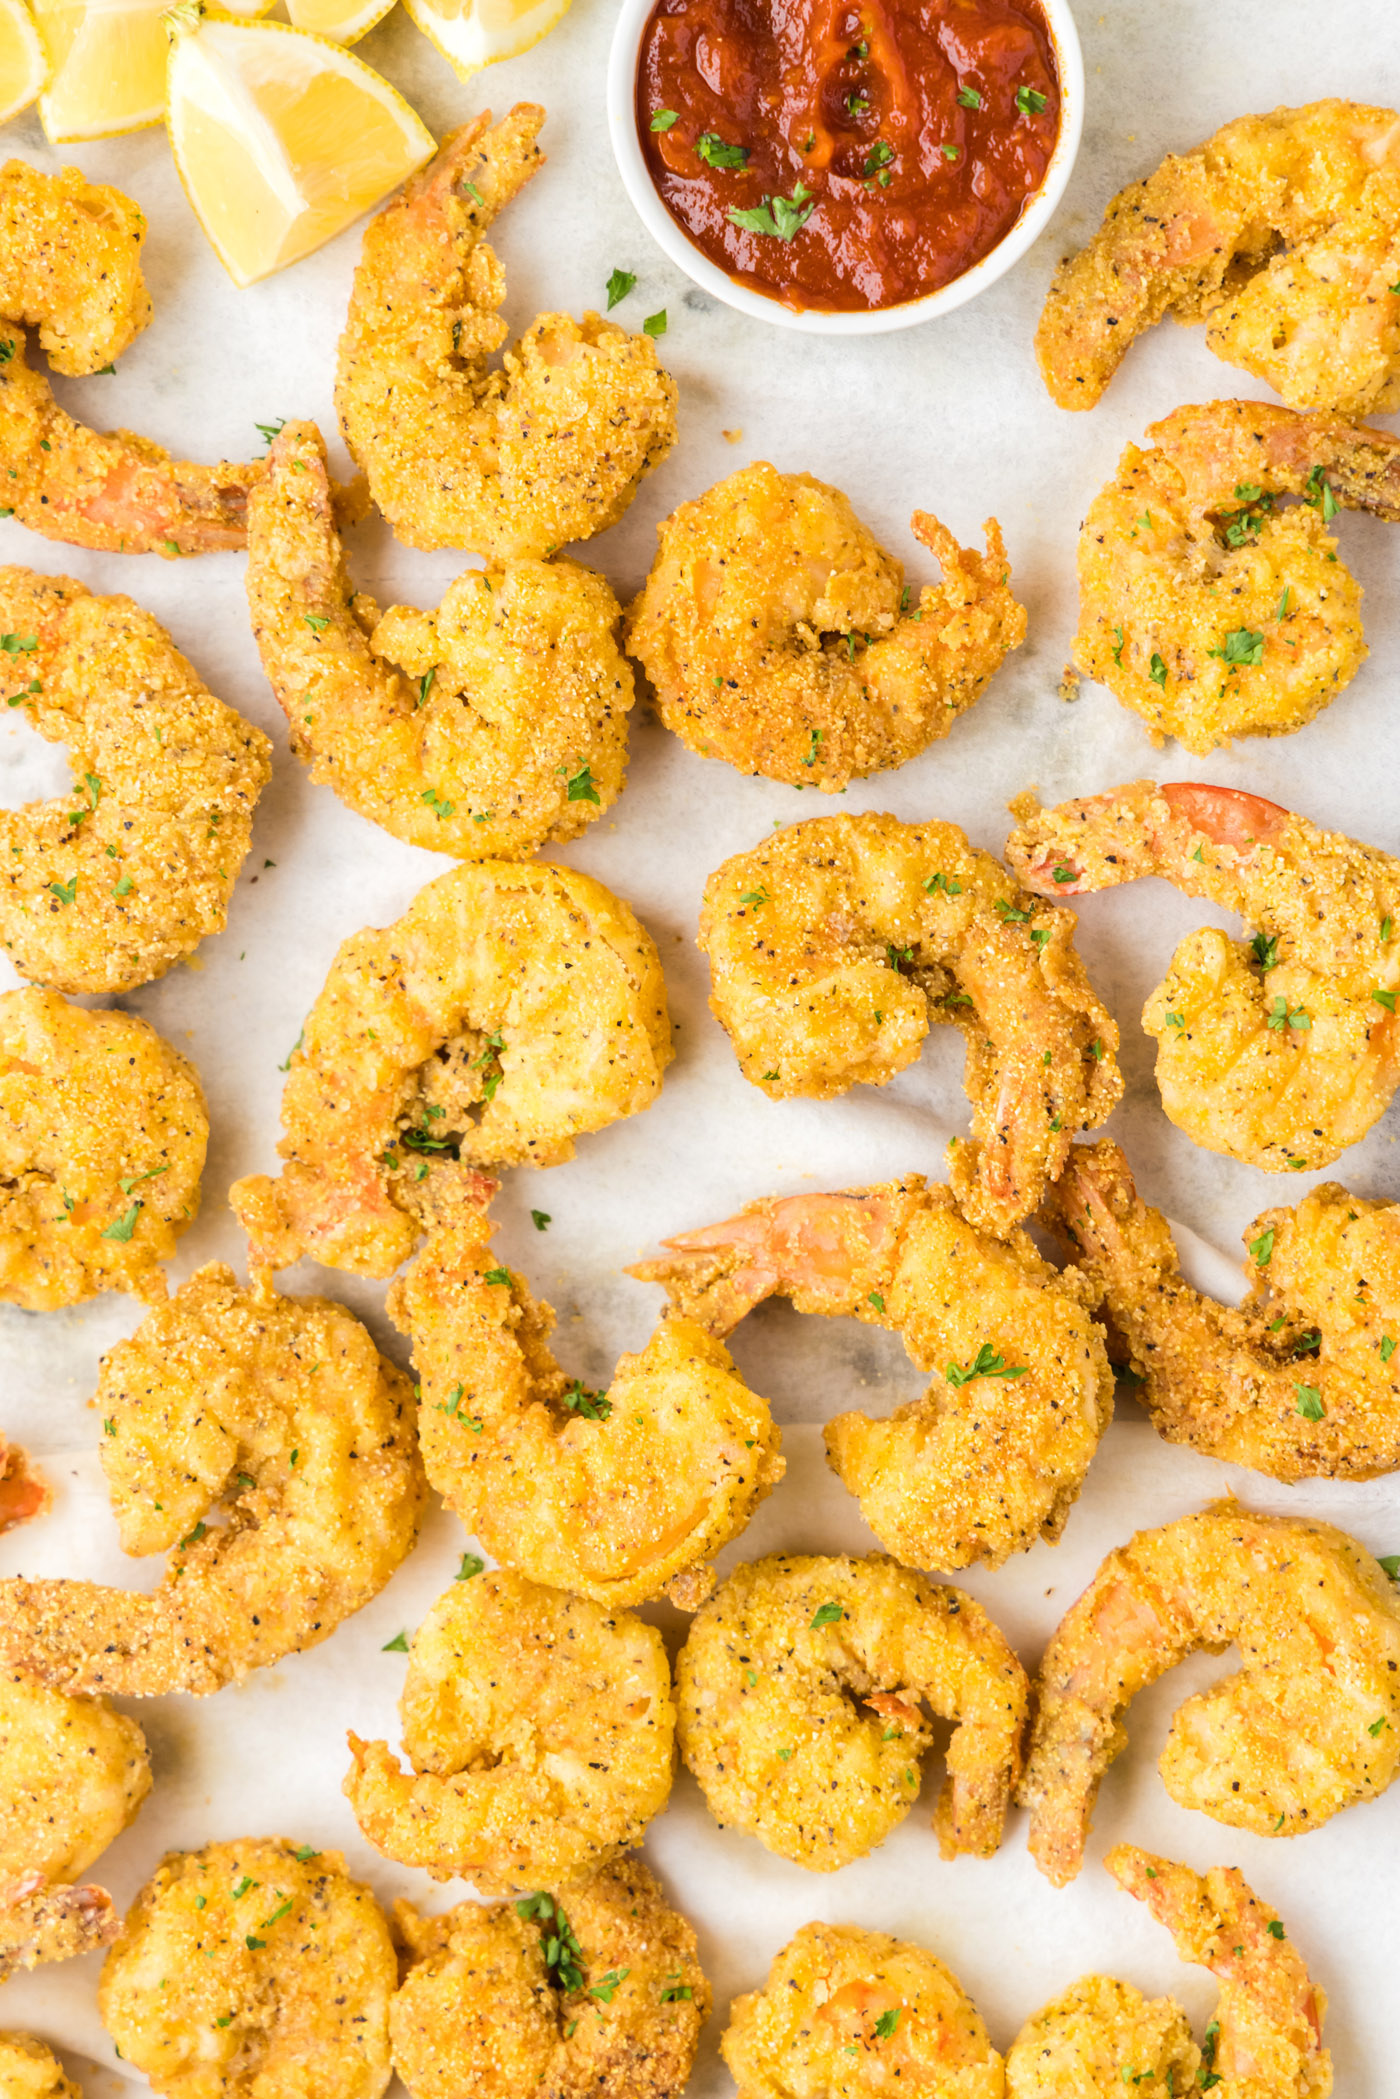
Essential Ingredients for Your Crispy Fried Shrimp
Gathering your ingredients is the first step to creating these phenomenal fried shrimp. This recipe uses common pantry staples alongside fresh shrimp to build layers of flavor and that signature crispiness. You’ll find a detailed list of all measurements, ingredients, and instructions in the printable recipe card at the very end of this post, but let’s dive into the core components here.
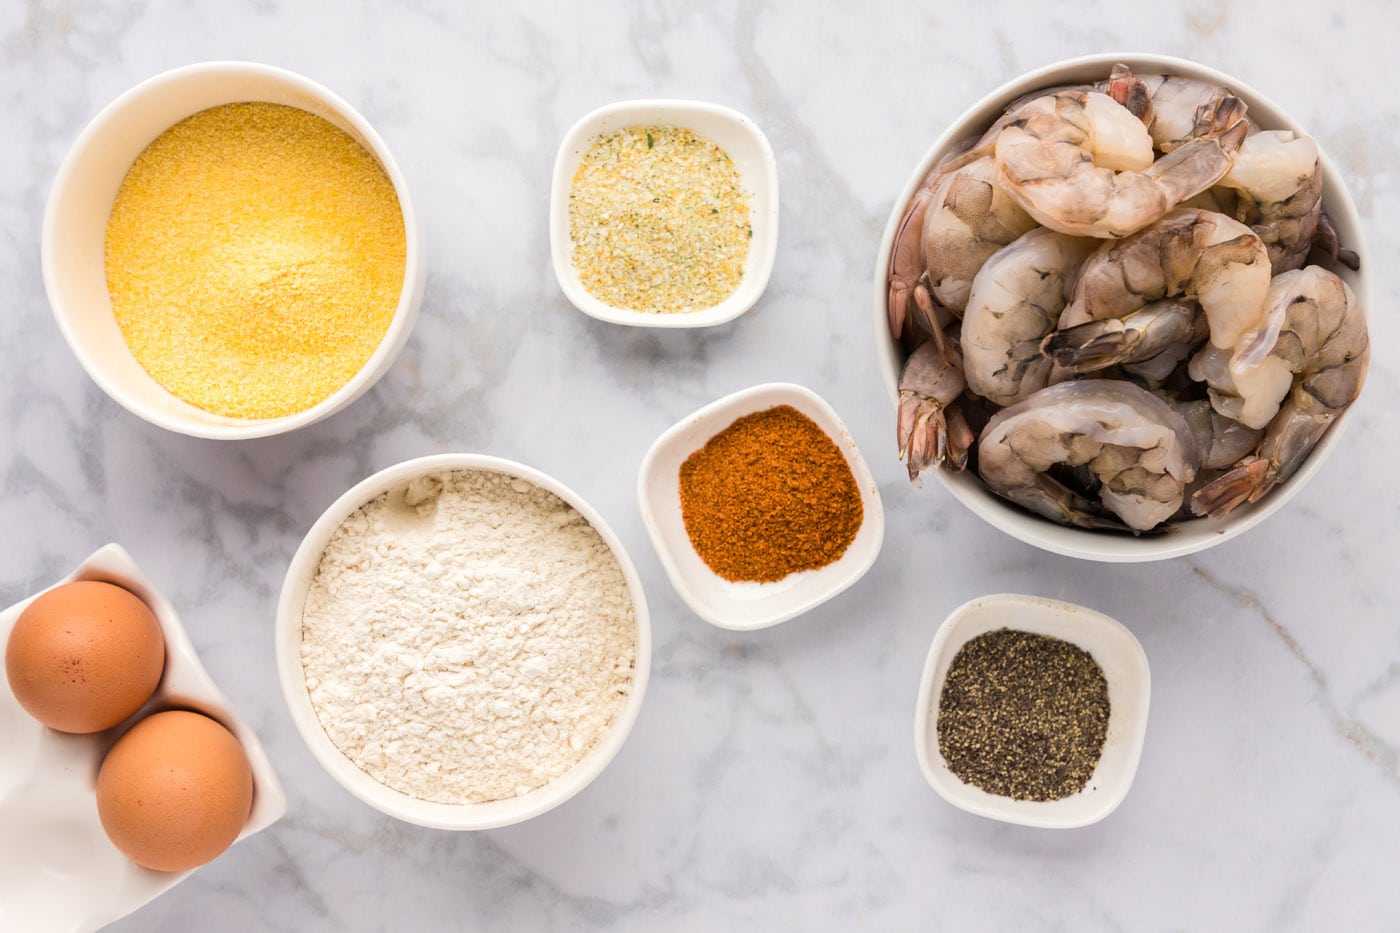
Ingredient Breakdown & Smart Substitutions
Understanding each ingredient’s role and knowing what alternatives you can use will empower you to make this recipe your own. Here’s a closer look:
- SHRIMP: We highly recommend using fresh grilling shrimp for their optimal texture and flavor when fried. However, the beauty of this recipe is its versatility; almost any kind of fresh shrimp will yield delicious results. If you’re using frozen shrimp, which is perfectly acceptable, ensure you allow them to thaw completely before proceeding. Crucially, pat them thoroughly dry with paper towels. Excess moisture is the enemy of crispy breading, preventing it from adhering properly and leading to a soggy crust. When selecting shrimp, consider the size: smaller shrimp will cook faster, while larger shrimp offer a more substantial bite. Regardless of size, always remove the shells and devein them for the best experience. You can leave the tails on for a classic presentation and an easy handle for dipping, or remove them if preferred.
- CORNMEAL: This is the superstar ingredient that gives our fried shrimp its signature, wonderful crunchy coating. Unlike flour, cornmeal, particularly a medium-ground yellow cornmeal, provides a slightly gritty texture that crisps up beautifully in hot oil, creating that satisfying bite we adore. If you don’t have cornmeal, you can try using finely crushed cornflakes or panko breadcrumbs for a similar crunch, though the flavor profile will be slightly different. Avoid coarse cornmeal, as it might result in a too-heavy or uneven coating.
- ALL-PURPOSE FLOUR: Flour forms the initial base layer for our breading, helping the egg wash adhere to the shrimp. It also contributes to the overall crispiness and golden color. For a gluten-free option, a good 1:1 gluten-free all-purpose flour blend can be used.
- EGGS & WATER: The whisked egg and water mixture acts as the binder, creating a sticky surface that allows the dry breading to cling to the shrimp. This is a crucial step for achieving an even and consistent coating.
- SEASONINGS (Garlic Salt, Black Pepper, Old Bay Seasoning): These spices are carefully chosen to infuse our shrimp with incredible flavor.
- Garlic Salt: Provides a savory, pungent note that complements seafood perfectly, along with the necessary saltiness.
- Black Pepper: Adds a hint of subtle spice and depth.
- Old Bay Seasoning: This iconic blend is a game-changer for seafood. It typically includes a mix of celery salt, paprika, black pepper, red pepper, and other spices, delivering a distinct, zesty, and slightly spicy flavor that screams “seafood shack.” If you don’t have Old Bay, you can create a similar flavor profile with a mix of paprika, celery salt, a pinch of cayenne pepper, and additional garlic powder.
- VEGETABLE OIL: Essential for frying. Choose an oil with a high smoke point, such as vegetable oil, canola oil, peanut oil, or sunflower oil. These oils can withstand the high temperatures needed for frying without burning and imparting off-flavors.
Step-by-Step: How to Make Perfect Crispy Fried Shrimp
These step-by-step photos and instructions are here to help you visualize how to make this recipe. You can Jump to Recipe to get the printable version of this recipe, complete with measurements and instructions at the bottom.
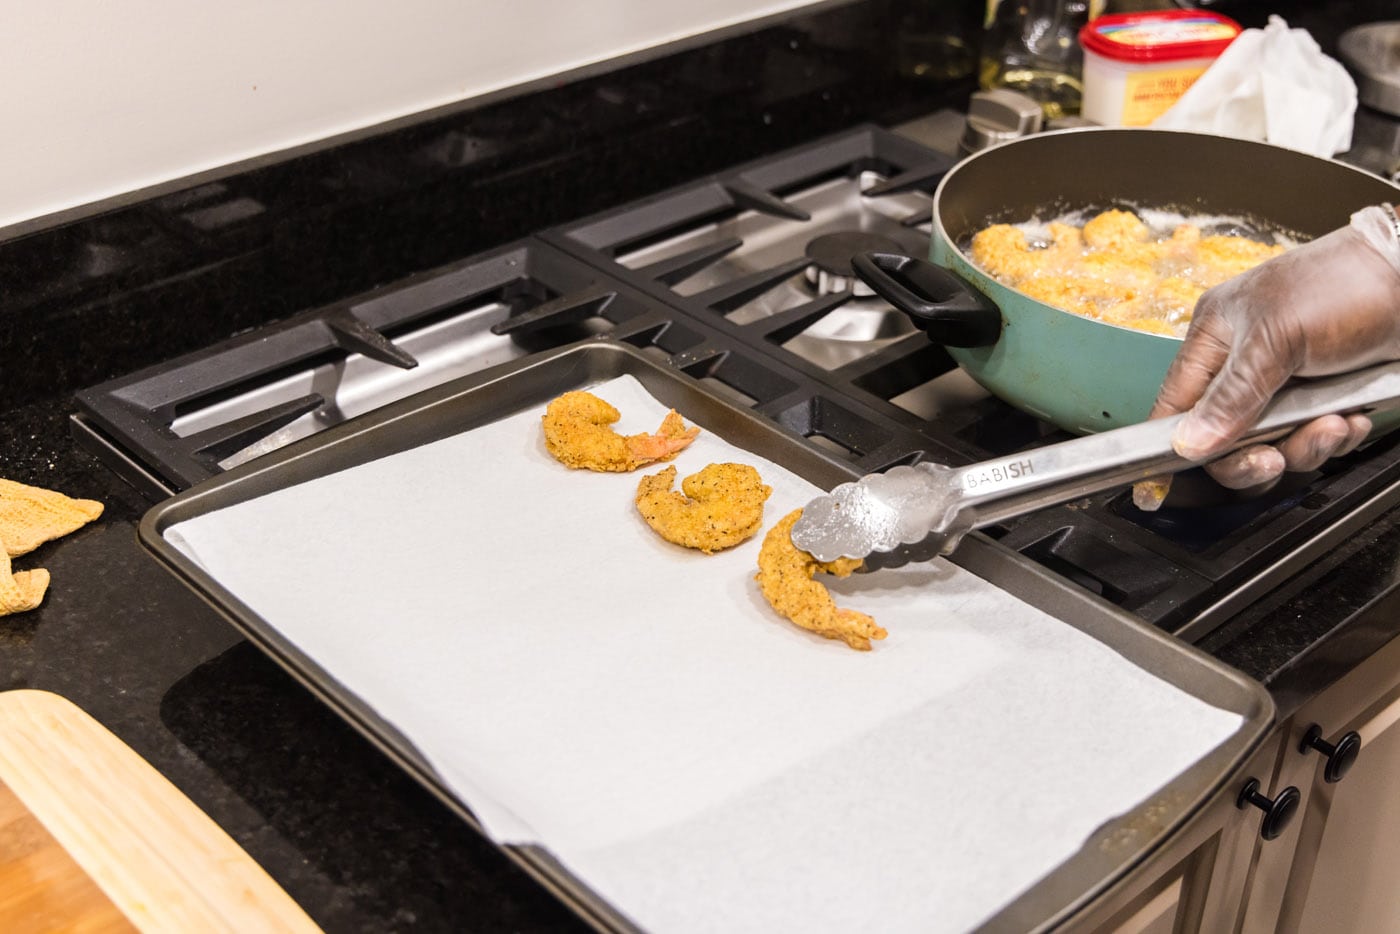
- Prepare Your Workspace: Begin by lining a large baking sheet with several layers of paper towels. This will be where your freshly fried shrimp will rest, allowing any excess oil to drain off, which is crucial for maintaining their crispiness.
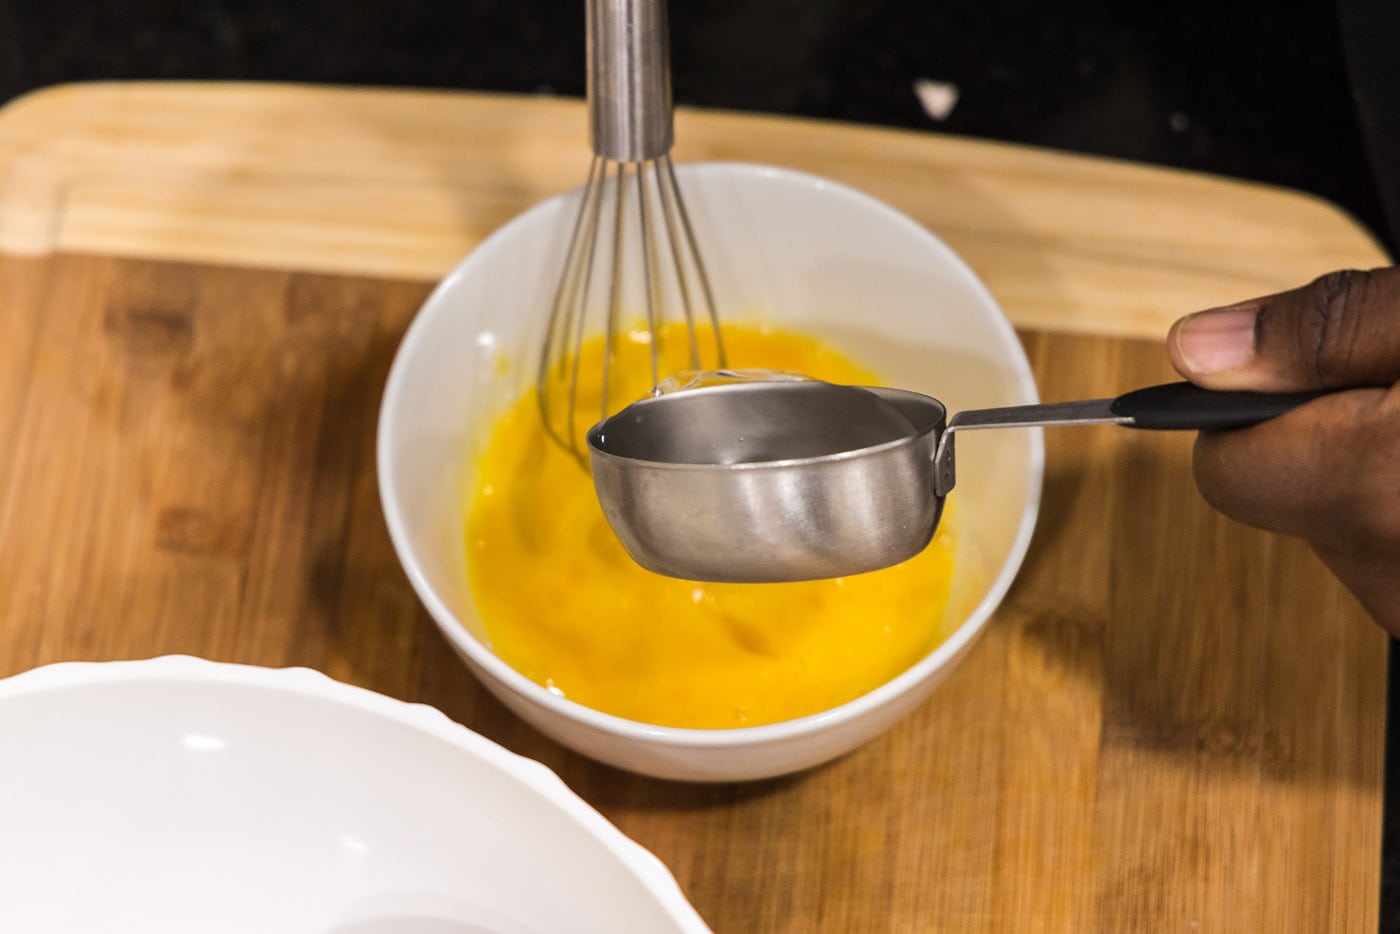
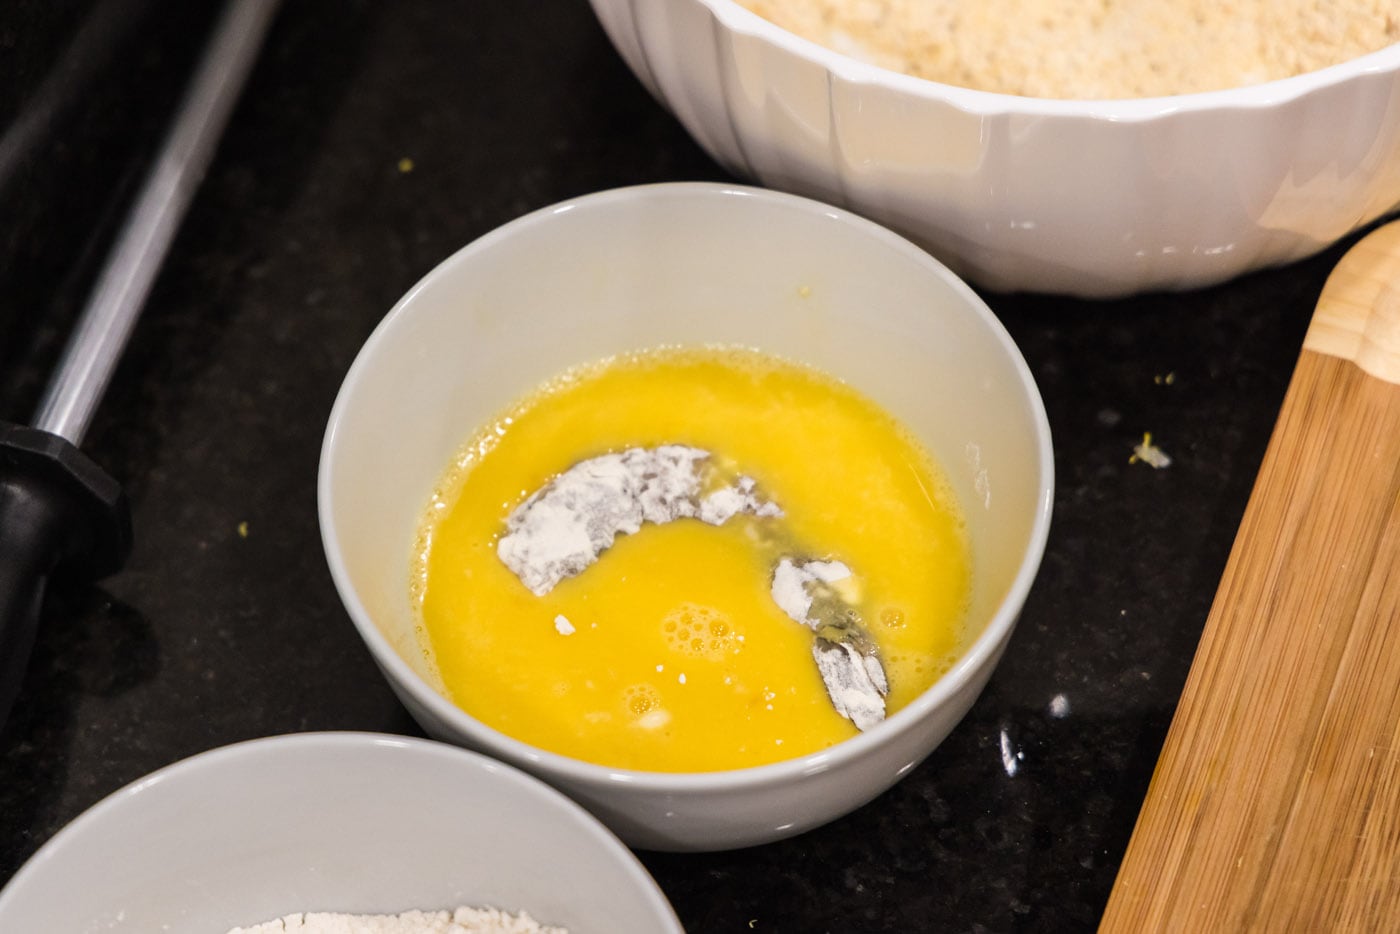
- Create the Egg Wash: In a medium-sized bowl, whisk together the eggs and water until well combined. This mixture acts as the binding agent for our breading, ensuring it adheres beautifully to each shrimp.

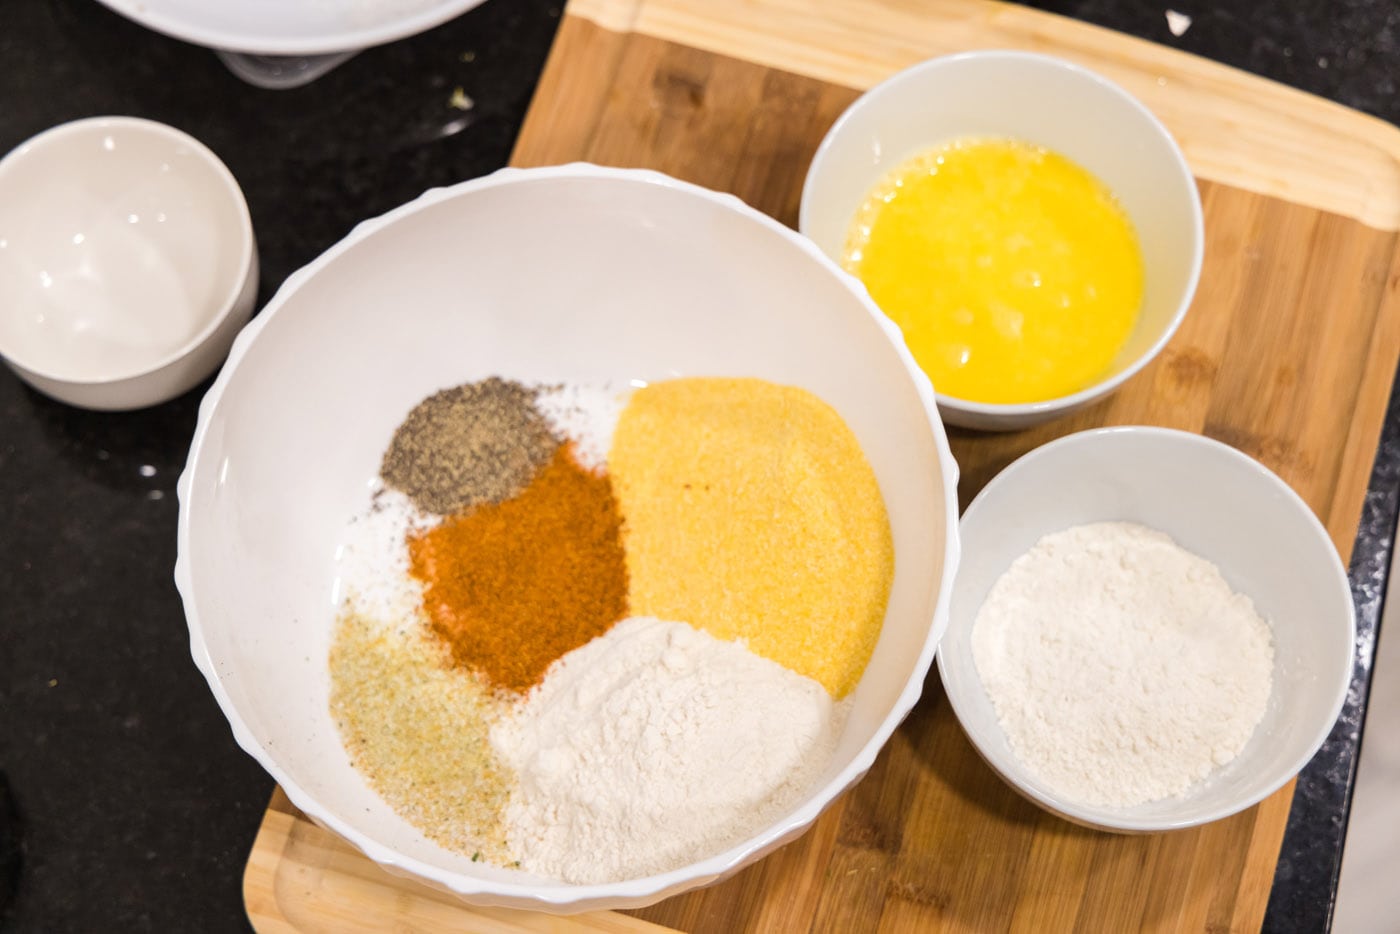
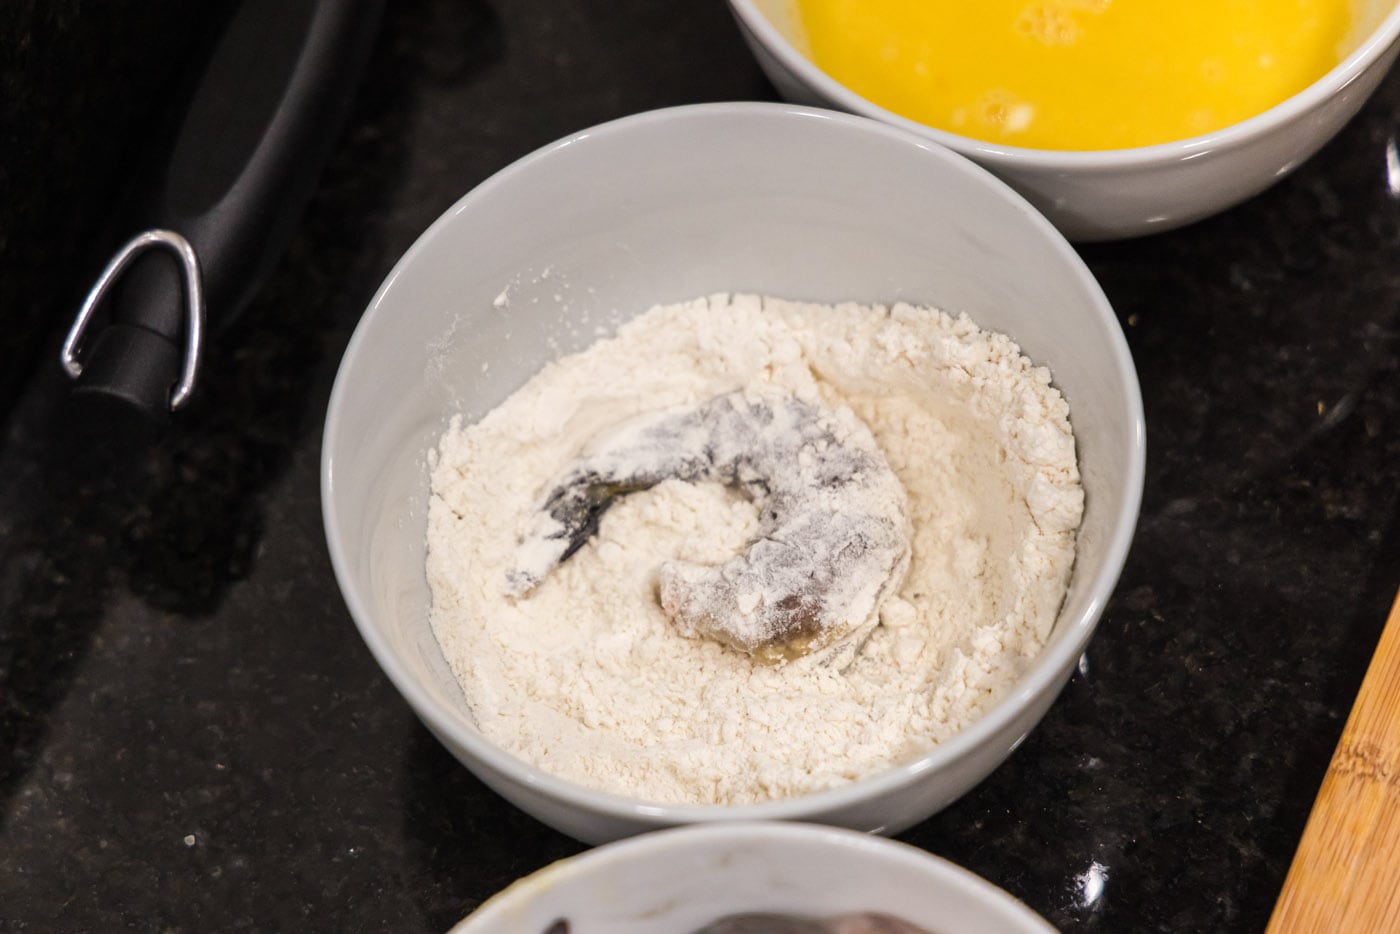
- Set Up Breading Stations: Take your all-purpose flour and divide it. Pour half into one medium bowl. Then, pour the remaining half into a larger bowl. This two-bowl setup ensures you have a dedicated station for the seasoned flour mixture.
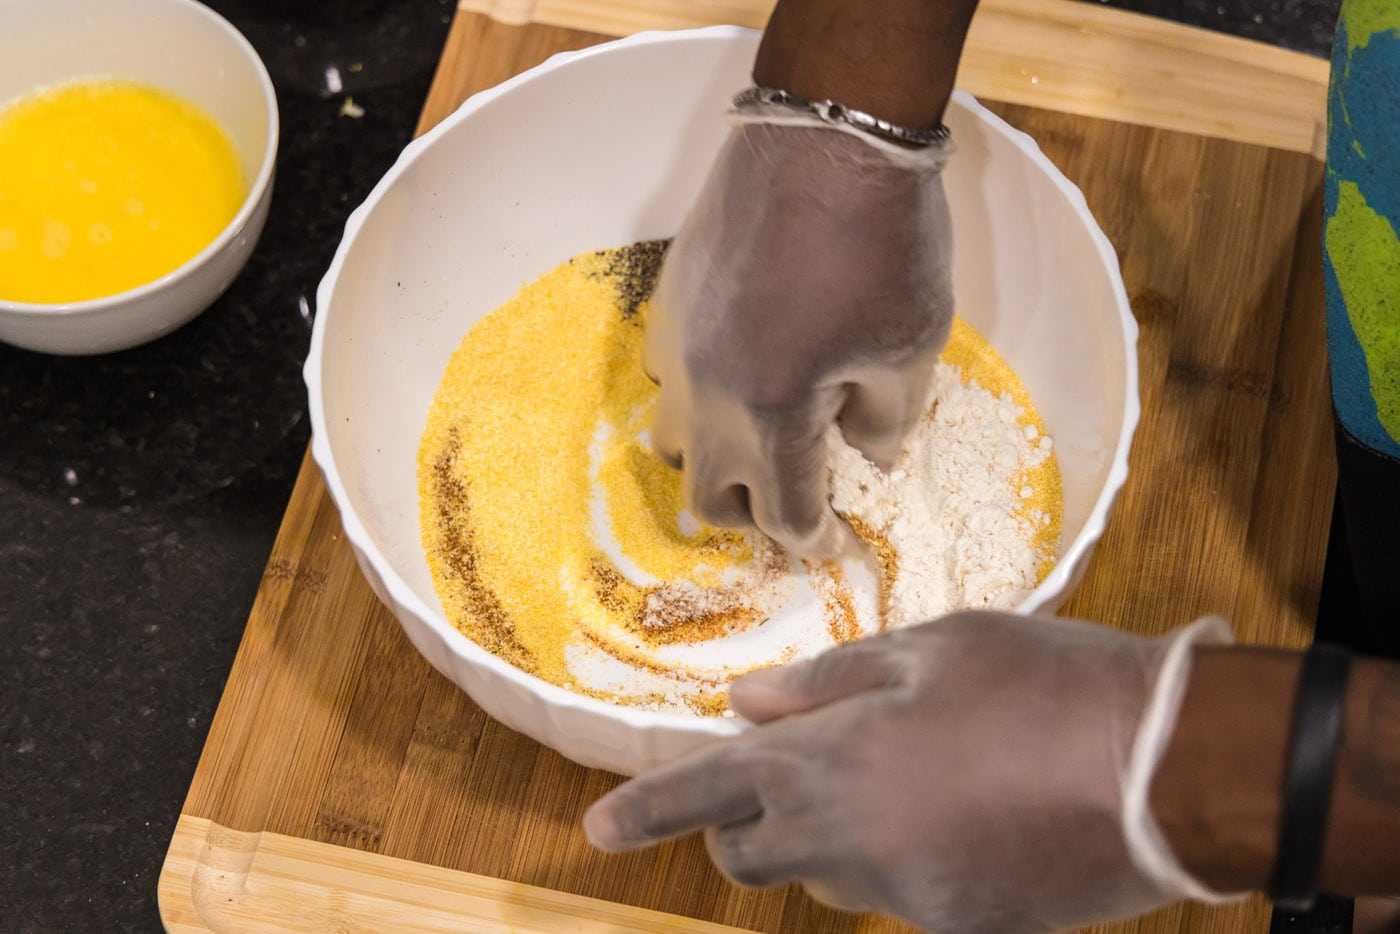
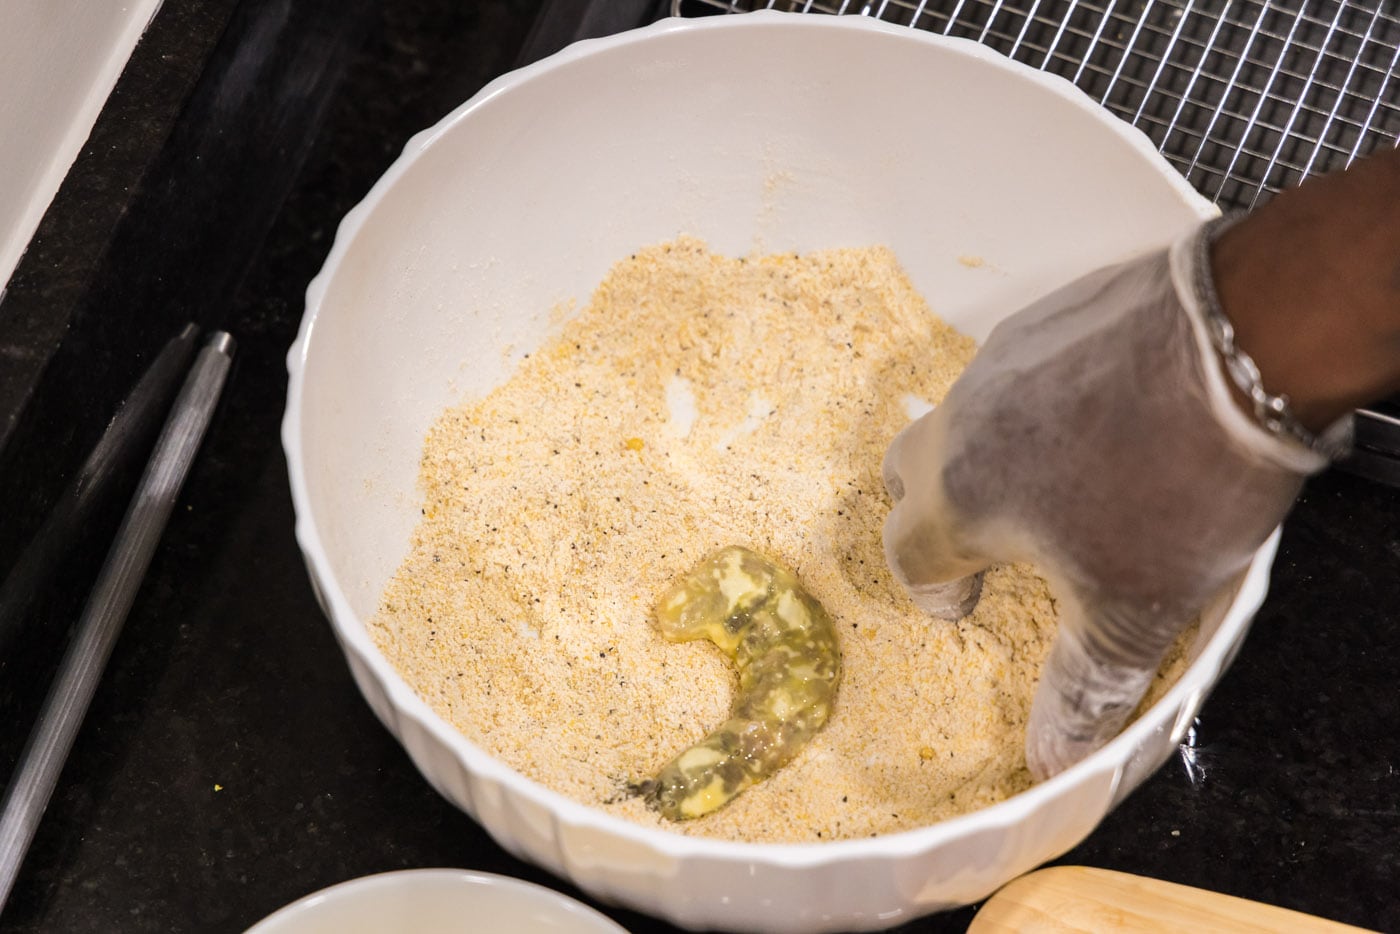
- Season the Cornmeal Mixture: To the large bowl containing the second half of the flour, add the yellow cornmeal, garlic salt, black pepper, and Old Bay seasoning. Using gloved hands (to keep your hands clean and prevent clumping) or a whisk, thoroughly combine all the flour, cornmeal, and seasonings. This seasoned blend is the key to our crispy, flavorful crust.


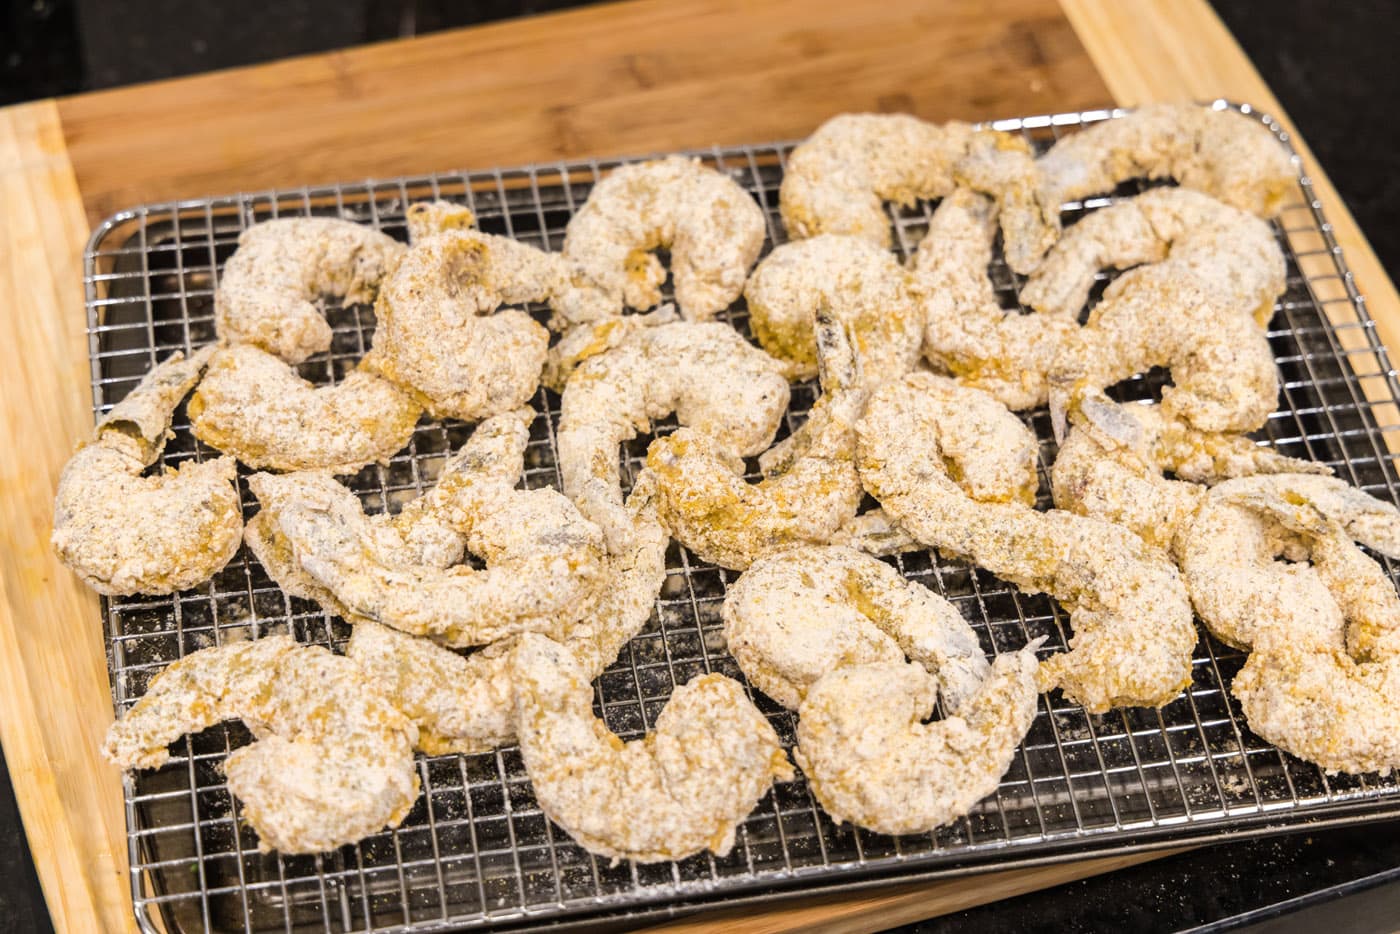
- Breading the Shrimp: Now it’s time to coat your shrimp! Take each shrimp and first dredge it completely in the medium bowl of plain flour. Shake off any excess. Next, dip it into the egg mixture, ensuring it’s fully coated. Finally, transfer it to the large bowl with the cornmeal and seasoning blend, pressing gently to make sure the breading adheres well. As each shrimp is coated, move it to a clean wire rack. This allows for air circulation, preventing the breading from becoming soggy while you coat the rest.


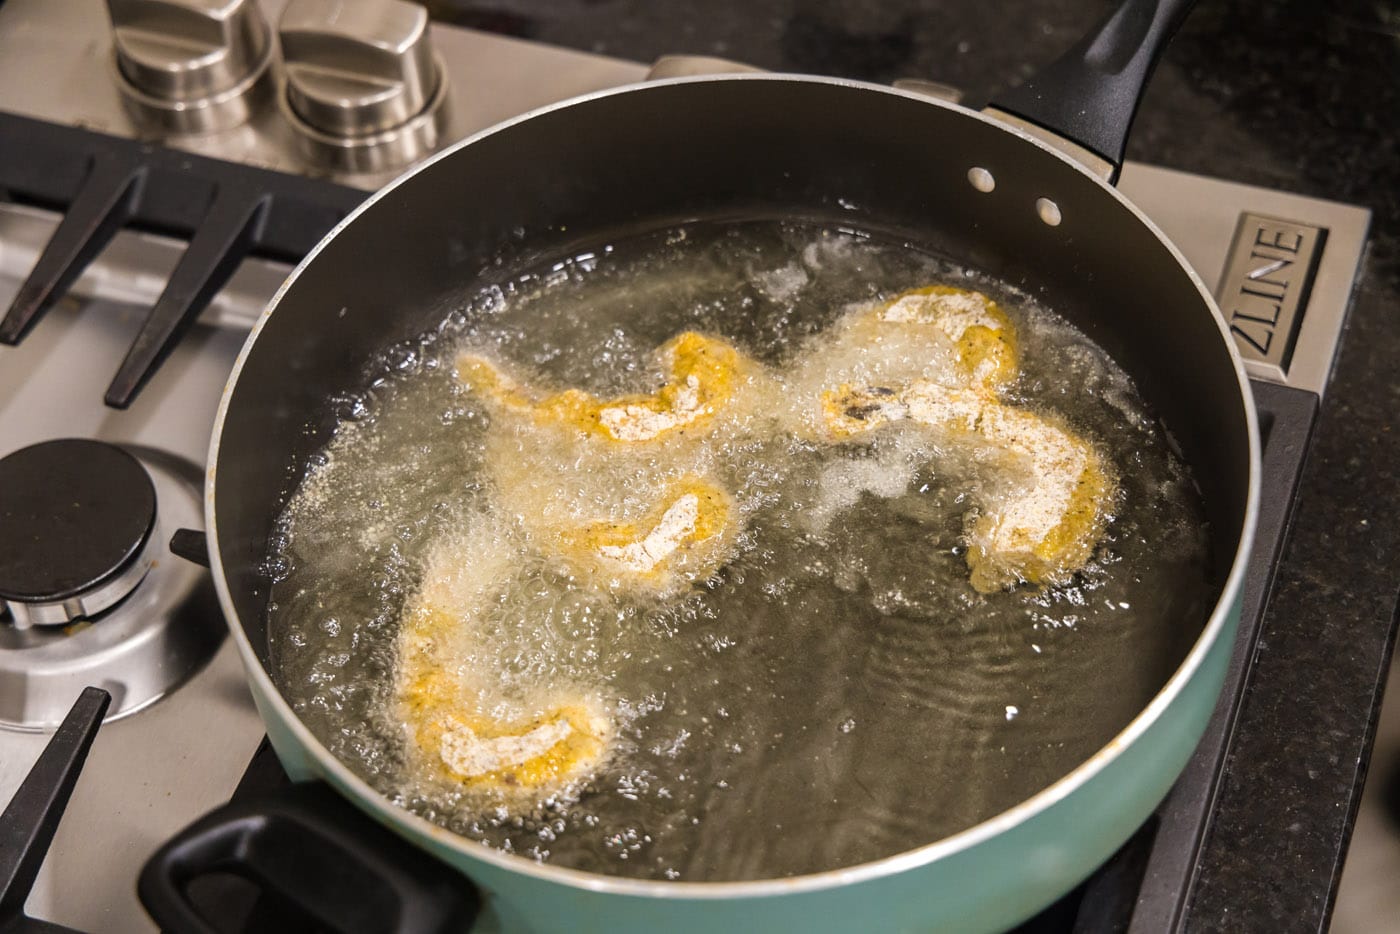
- Heat the Oil: Pour enough vegetable oil into a large, deep skillet to reach about 1/2-inch up the sides of the pan. Place the skillet over medium-high heat. Allow the oil to heat thoroughly until it’s shimmering, indicating it’s hot enough for frying. An oil thermometer should read between 350-375°F (175-190°C) for optimal frying.
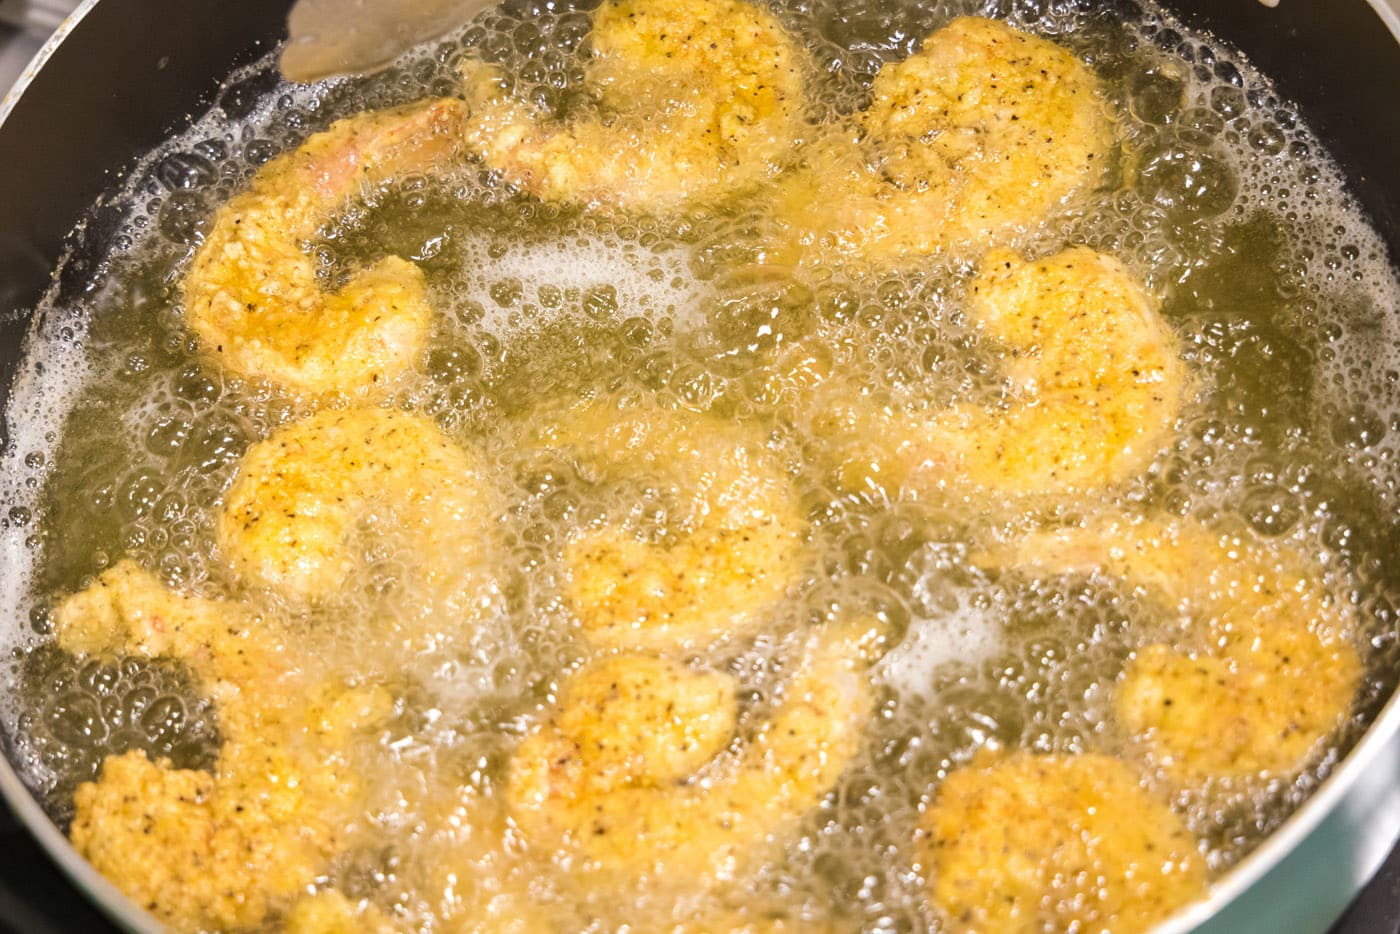
- Fry the Shrimp: Carefully place each breaded shrimp into the hot oil. It’s crucial not to overcrowd the pan; this will lower the oil temperature and result in greasy, rather than crispy, shrimp. Work in batches if necessary. Cook the shrimp for 2-3 minutes per side until they turn a beautiful golden brown and are cooked through. Shrimp cooks quickly, and overcooking will make them tough.


- Flip and Finish: Using tongs, carefully turn the shrimp over to cook the other side for another 2-3 minutes. Once both sides are golden and the shrimp are opaque and curled into a C-shape, they’re done.
- Drain and Serve: Remove the cooked shrimp from the oil and immediately transfer them to the paper towel-lined baking sheet to drain any excess oil. Serve immediately for the best crispy texture and flavor.

Expert Tips for Unforgettable Fried Shrimp
Achieving perfect fried shrimp is easier than you think, especially with a few insider tips:
- Don’t Overcrowd the Pan: This is arguably the most important rule for frying. Adding too many shrimp at once drastically lowers the oil’s temperature, leading to greasy, soggy breading instead of a crisp, golden crust. Fry in batches to maintain a consistent oil temperature and ensure even cooking.
- Maintain Optimal Oil Temperature: Aim for an oil temperature between 350-375°F (175-190°C). If the oil isn’t hot enough, the breading will absorb too much oil. If it’s too hot, the exterior will burn before the shrimp cooks through. A kitchen thermometer is your best friend here.
- Pat Shrimp Dry: Always ensure your shrimp are as dry as possible after thawing (if frozen) and before breading. Moisture creates steam, which can prevent the breading from sticking and getting truly crispy.
- Even Breading is Key: Take your time to thoroughly coat each shrimp in every step of the breading process. An even coating guarantees a consistent crunch and flavor in every bite.
- Don’t Overcook: Shrimp cooks very quickly, typically turning opaque and curling into a loose ‘C’ shape in just 2-3 minutes per side. Overcooked shrimp become rubbery and tough, so keep a close eye on them.
- Seasoning Variations: While Old Bay is classic, feel free to experiment with other seasonings. A pinch of cayenne pepper for a spicy kick, smoked paprika for depth, or a lemon pepper blend can all add exciting twists.
- Use a Wire Rack: After frying, transfer the shrimp to a wire rack placed over paper towels. This allows air to circulate around them, preventing the bottoms from steaming and becoming soggy, which can happen if they sit directly on paper towels.
Storage and Reheating for Best Results
To maintain freshness and prevent spoilage, store any leftover fried shrimp in an air-tight container. Place the container in the refrigerator, where the shrimp will remain delicious for 3-4 days. While the crispiness might diminish slightly, the flavor will still be fantastic.
Reheating fried shrimp without making it tough or soggy is an art! To bring back that glorious crisp, avoid the microwave. Instead, add the fried shrimp to a skillet over medium-low heat with a small amount of oil. Reheat for about 1-2 minutes per side, just until warmed through. Be very careful not to reheat them for too long, as shrimp can quickly become tough and chewy. Another excellent method for reheating is using an air fryer. Preheat your air fryer to 350°F (175°C), arrange the shrimp in a single layer, and cook for 3-5 minutes, shaking the basket halfway through, until crispy and heated through. This method often yields results very close to freshly fried!
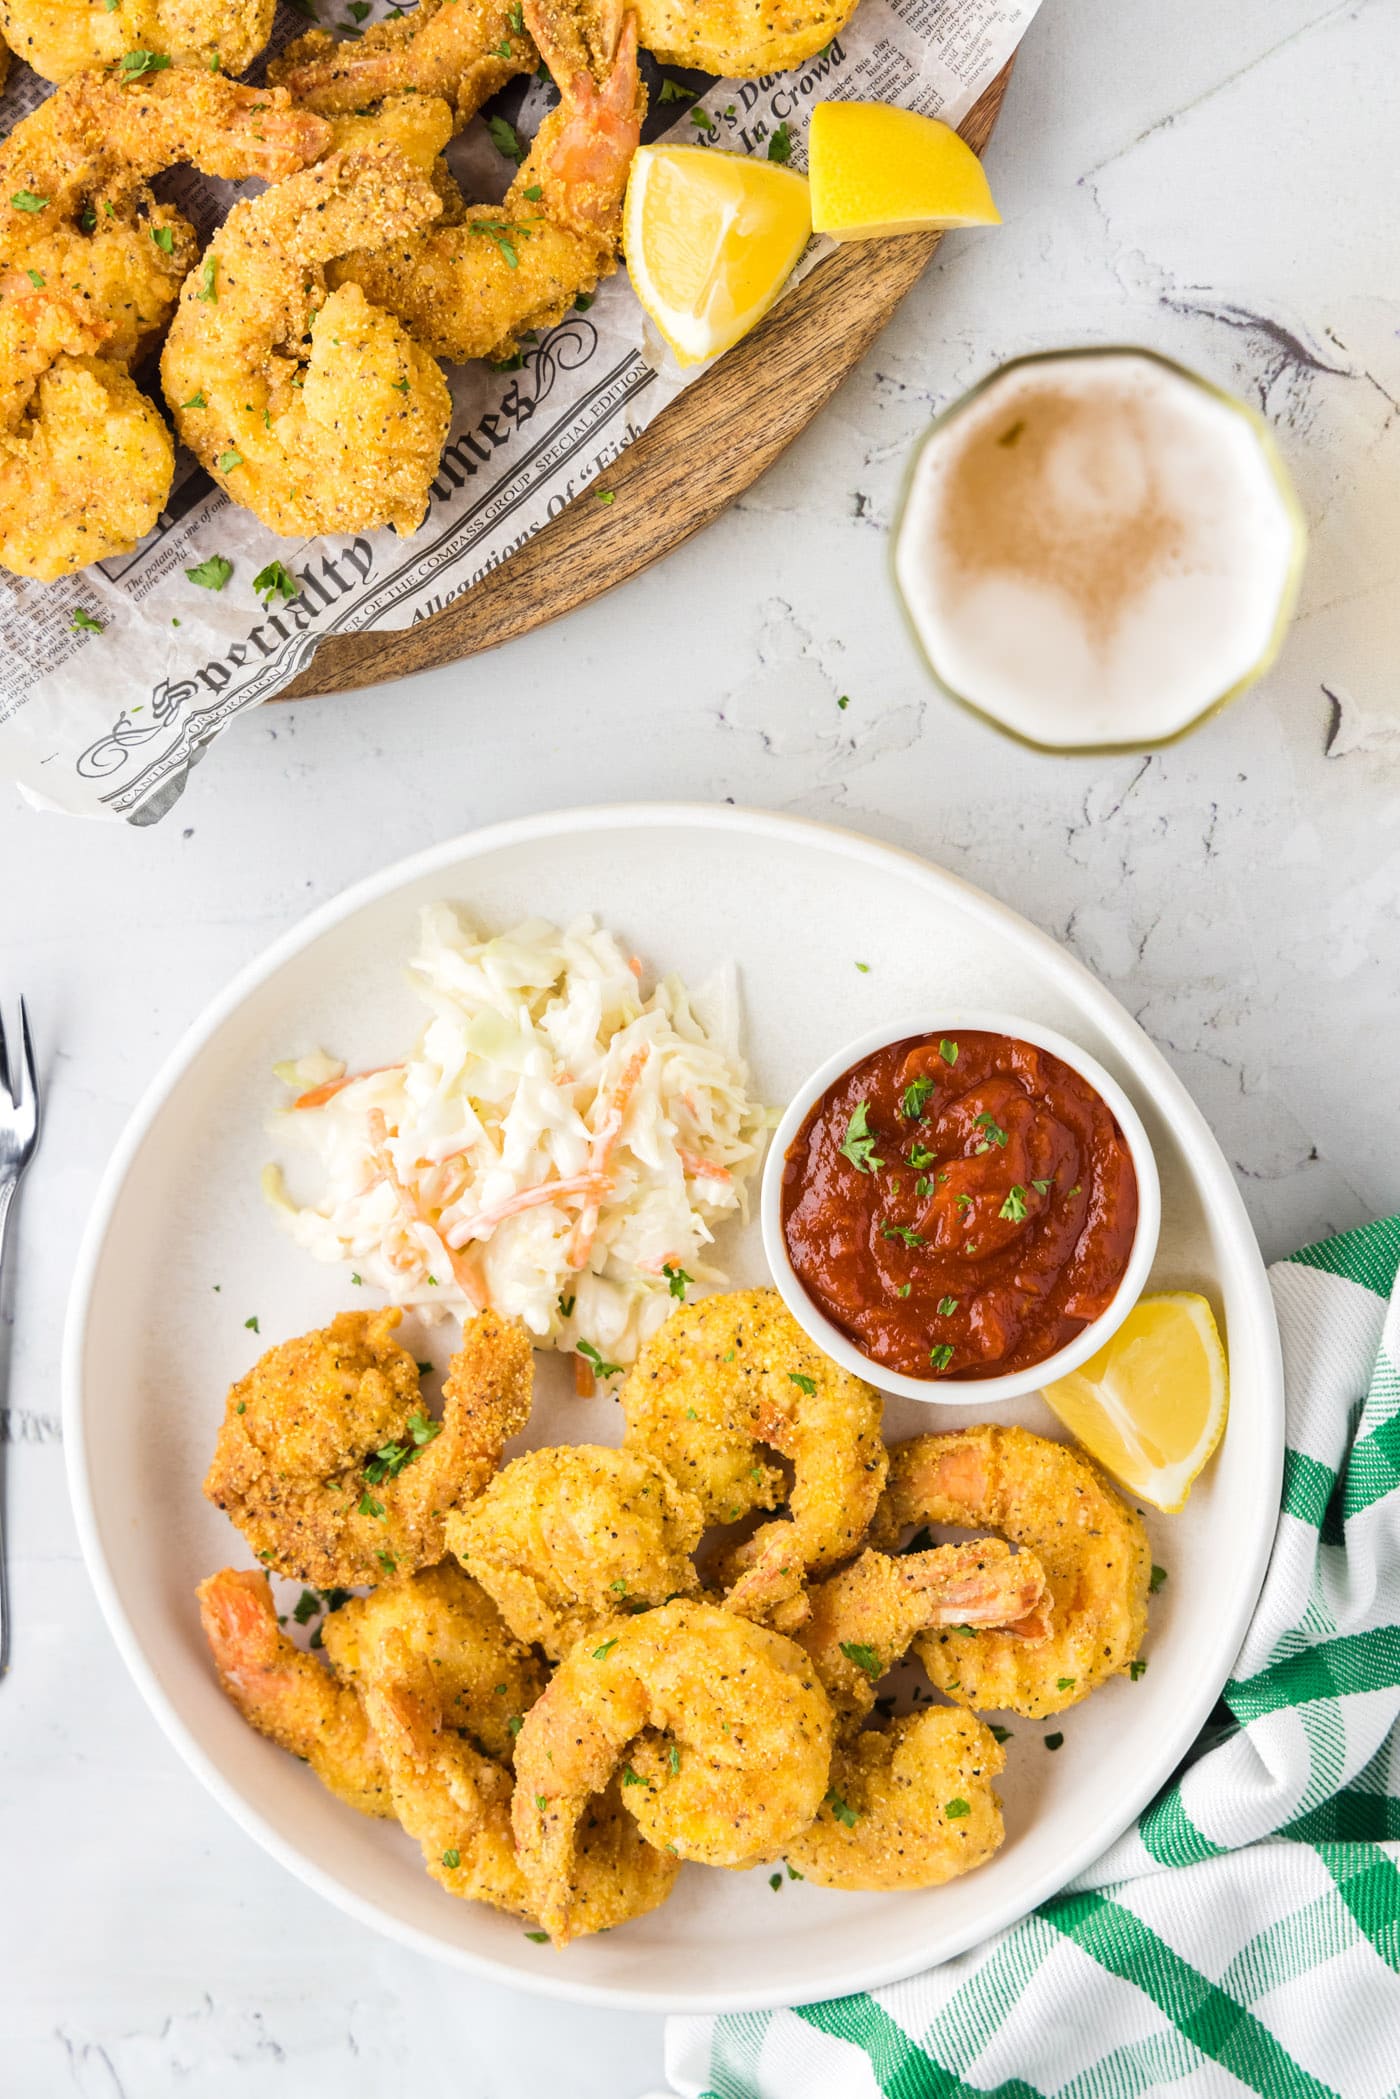
Delicious Serving Suggestions for Fried Shrimp
Crispy fried shrimp are incredibly versatile and pair wonderfully with a variety of sides and sauces, making them perfect for any occasion, from a casual weeknight dinner to a festive gathering. For classic side dishes that complement the rich flavor and texture of fried shrimp, try serving them alongside creamy coleslaw, perfectly crisp french fries, or even some fluffy hush puppies. These sides add balance and make for a complete, satisfying meal.
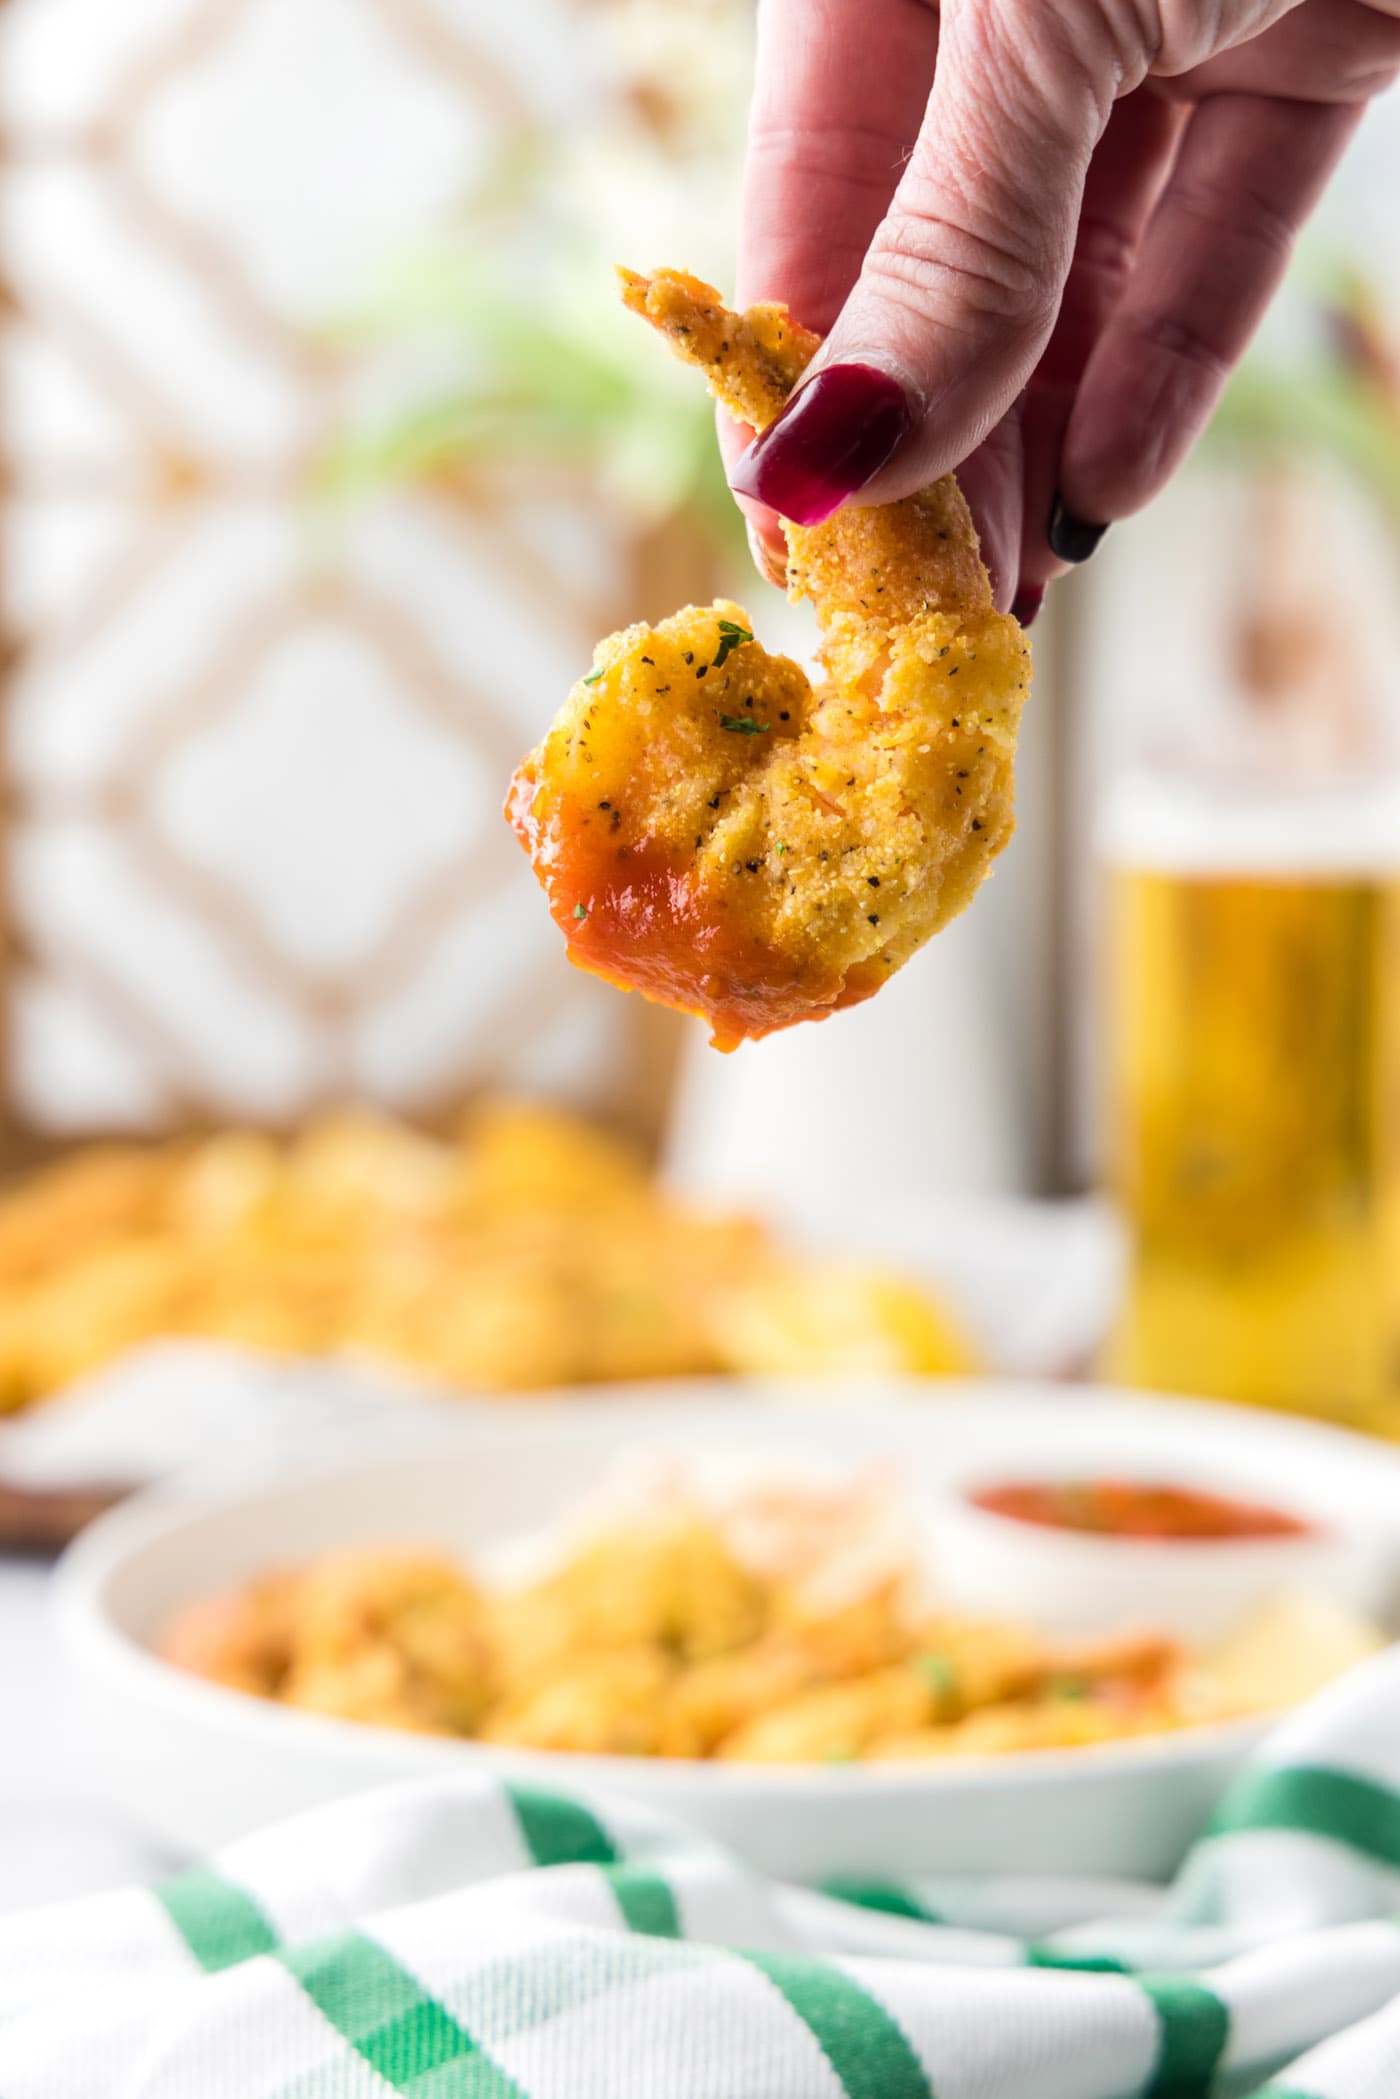
However, the real magic of fried shrimp often lies in the dipping sauce! They are truly the perfect vehicle for a good sauce, allowing you to customize each bite. Classic cocktail sauce, with its tangy and zesty kick, is always a crowd-pleaser. For a richer, more indulgent option, a side of warm garlic butter adds an incredible depth of flavor. If you’re looking to explore something a bit different and uniquely delicious, our Alabama white sauce offers a creamy, tangy, and slightly spicy contrast that is surprisingly addictive with seafood. Of course, the best choice is always your personal favorite sauce – whether it’s a remoulade, tartar sauce, sweet chili, or even just a squeeze of fresh lemon, don’t hesitate to choose what you love most!
Explore More Irresistible Shrimp Recipes
If you’ve fallen in love with these crispy fried shrimp, you’re in for a treat! Shrimp is an incredibly versatile ingredient, perfect for quick and delicious meals. Here are more fantastic shrimp recipes to expand your culinary repertoire:
- Sauteed Shrimp: A quick and elegant dish, perfect for a light meal or as an addition to pasta.
- Popcorn Shrimp: Bite-sized, crispy delights that are perfect for snacking or entertaining.
- Butterfly Shrimp: Beautifully presented and easy to cook, often with a delicate breading.
- Blackened Shrimp: A flavorful and spicy option, seared to perfection.
- Air Fryer Coconut Shrimp: A healthier twist on a tropical favorite, delivering crunch without deep frying.
I absolutely adore spending time in the kitchen, experimenting with new flavors and sharing my passion for cooking and baking with all of you! Remembering to come back each day to check for new recipes can be tough, which is why I offer a convenient newsletter every time a fresh recipe posts. Simply subscribe today and start receiving your free daily recipes directly to your inbox!
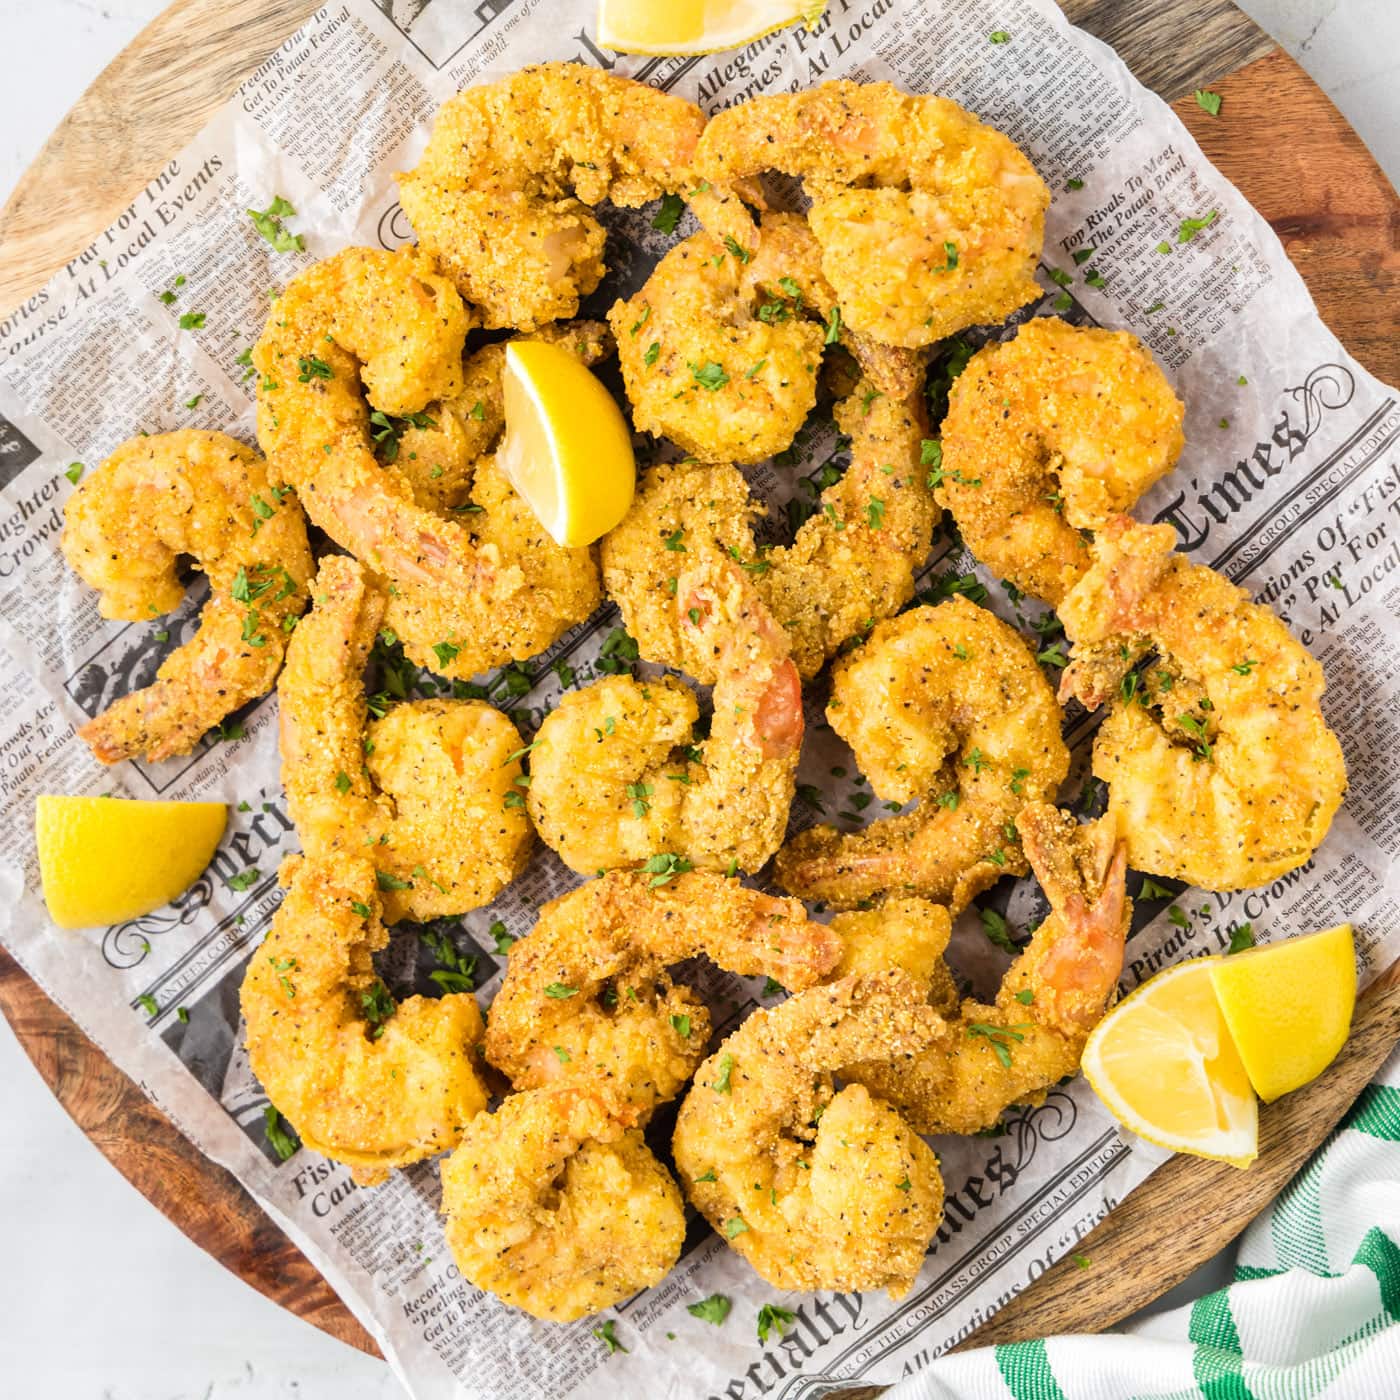
Fried Shrimp
IMPORTANT – There are often Frequently Asked Questions within the blog post that you may find helpful. Simply scroll back up to read them!
Print It
Pin It
Rate It
Save It
Saved!
Course: Dinner
Cuisine: American
Ingredients
- 1 ¼ pounds grilling shrimp
- 2 large eggs
- ¼ cup water
- 1 cup all-purpose flour divided
- ½ cup yellow cornmeal
- 1 Tablespoon garlic salt
- 2 teaspoons black pepper
- ½ Tablespoon Old Bay seasoning
- vegetable oil for frying
Things You’ll Need
-
Large skillet
-
Tongs
-
Vinyl gloves
Before You Begin
- We used fresh grilling shrimp, though you can use almost any kind of fresh shrimp for this recipe. Frozen shrimp will also work, but be sure you allow them to thaw then pat them dry so the breading can stick. The smaller the shrimp you use, the less time it will take them to fry in the oil. Shrimp cooks quickly; once they begin to turn golden and curl up, they should be finished cooking.
- Store leftovers in an air-tight container kept in the refrigerator for 3-4 days.
- To reheat, add the fried shrimp to a skillet over medium-low heat with a small amount of oil. Reheat until warmed through, about 1-2 minutes. Be careful not to reheat them too long as the shrimp can become tough and chewy. You can also reheat them in the air fryer.
Instructions
-
Line a large baking sheet with paper towels.
-
In a medium bowl, whisk together eggs and water.
-
In another medium bowl add half of the flour. Pour the remaining half into a large bowl.
-
In the large bowl with the flour, add cornmeal, garlic salt, black pepper, and Old Bay seasoning. Using gloved hands or a whisk, combine flour, cornmeal, and seasonings.
-
Dredge each shrimp in flour then dip into egg mixture, and finally in the cornmeal mixture. Move each breaded shrimp to a wire rack until all shrimp are coated.
-
Pour enough vegetable oil into a large, deep skillet to come about 1/2-inch up the sides of the pan. Heat over medium-high until oil is shimmering.
-
Being careful not to crowd the shrimp (you may need to work in batches), place each piece into the hot oil and cook for 2-3 minutes. Using tongs, turn shrimp over and cook another 2-3 minutes. Remove to paper towel lined baking sheet.
Nutrition
Tried this Recipe? Pin it for Later!Follow on Pinterest @AmandasCookin or tag #AmandasCookin!
The recipes on this blog are tested with a conventional gas oven and gas stovetop. It’s important to note that some ovens, especially as they age, can cook and bake inconsistently. Using an inexpensive oven thermometer can assure you that your oven is truly heating to the proper temperature. If you use a toaster oven or countertop oven, please keep in mind that they may not distribute heat the same as a conventional full sized oven and you may need to adjust your cooking/baking times. In the case of recipes made with a pressure cooker, air fryer, slow cooker, or other appliance, a link to the appliances we use is listed within each respective recipe. For baking recipes where measurements are given by weight, please note that results may not be the same if cups are used instead, and we can’t guarantee success with that method.
