Homemade Rock Candy: A Delicious Science Experiment & Easy DIY Treat
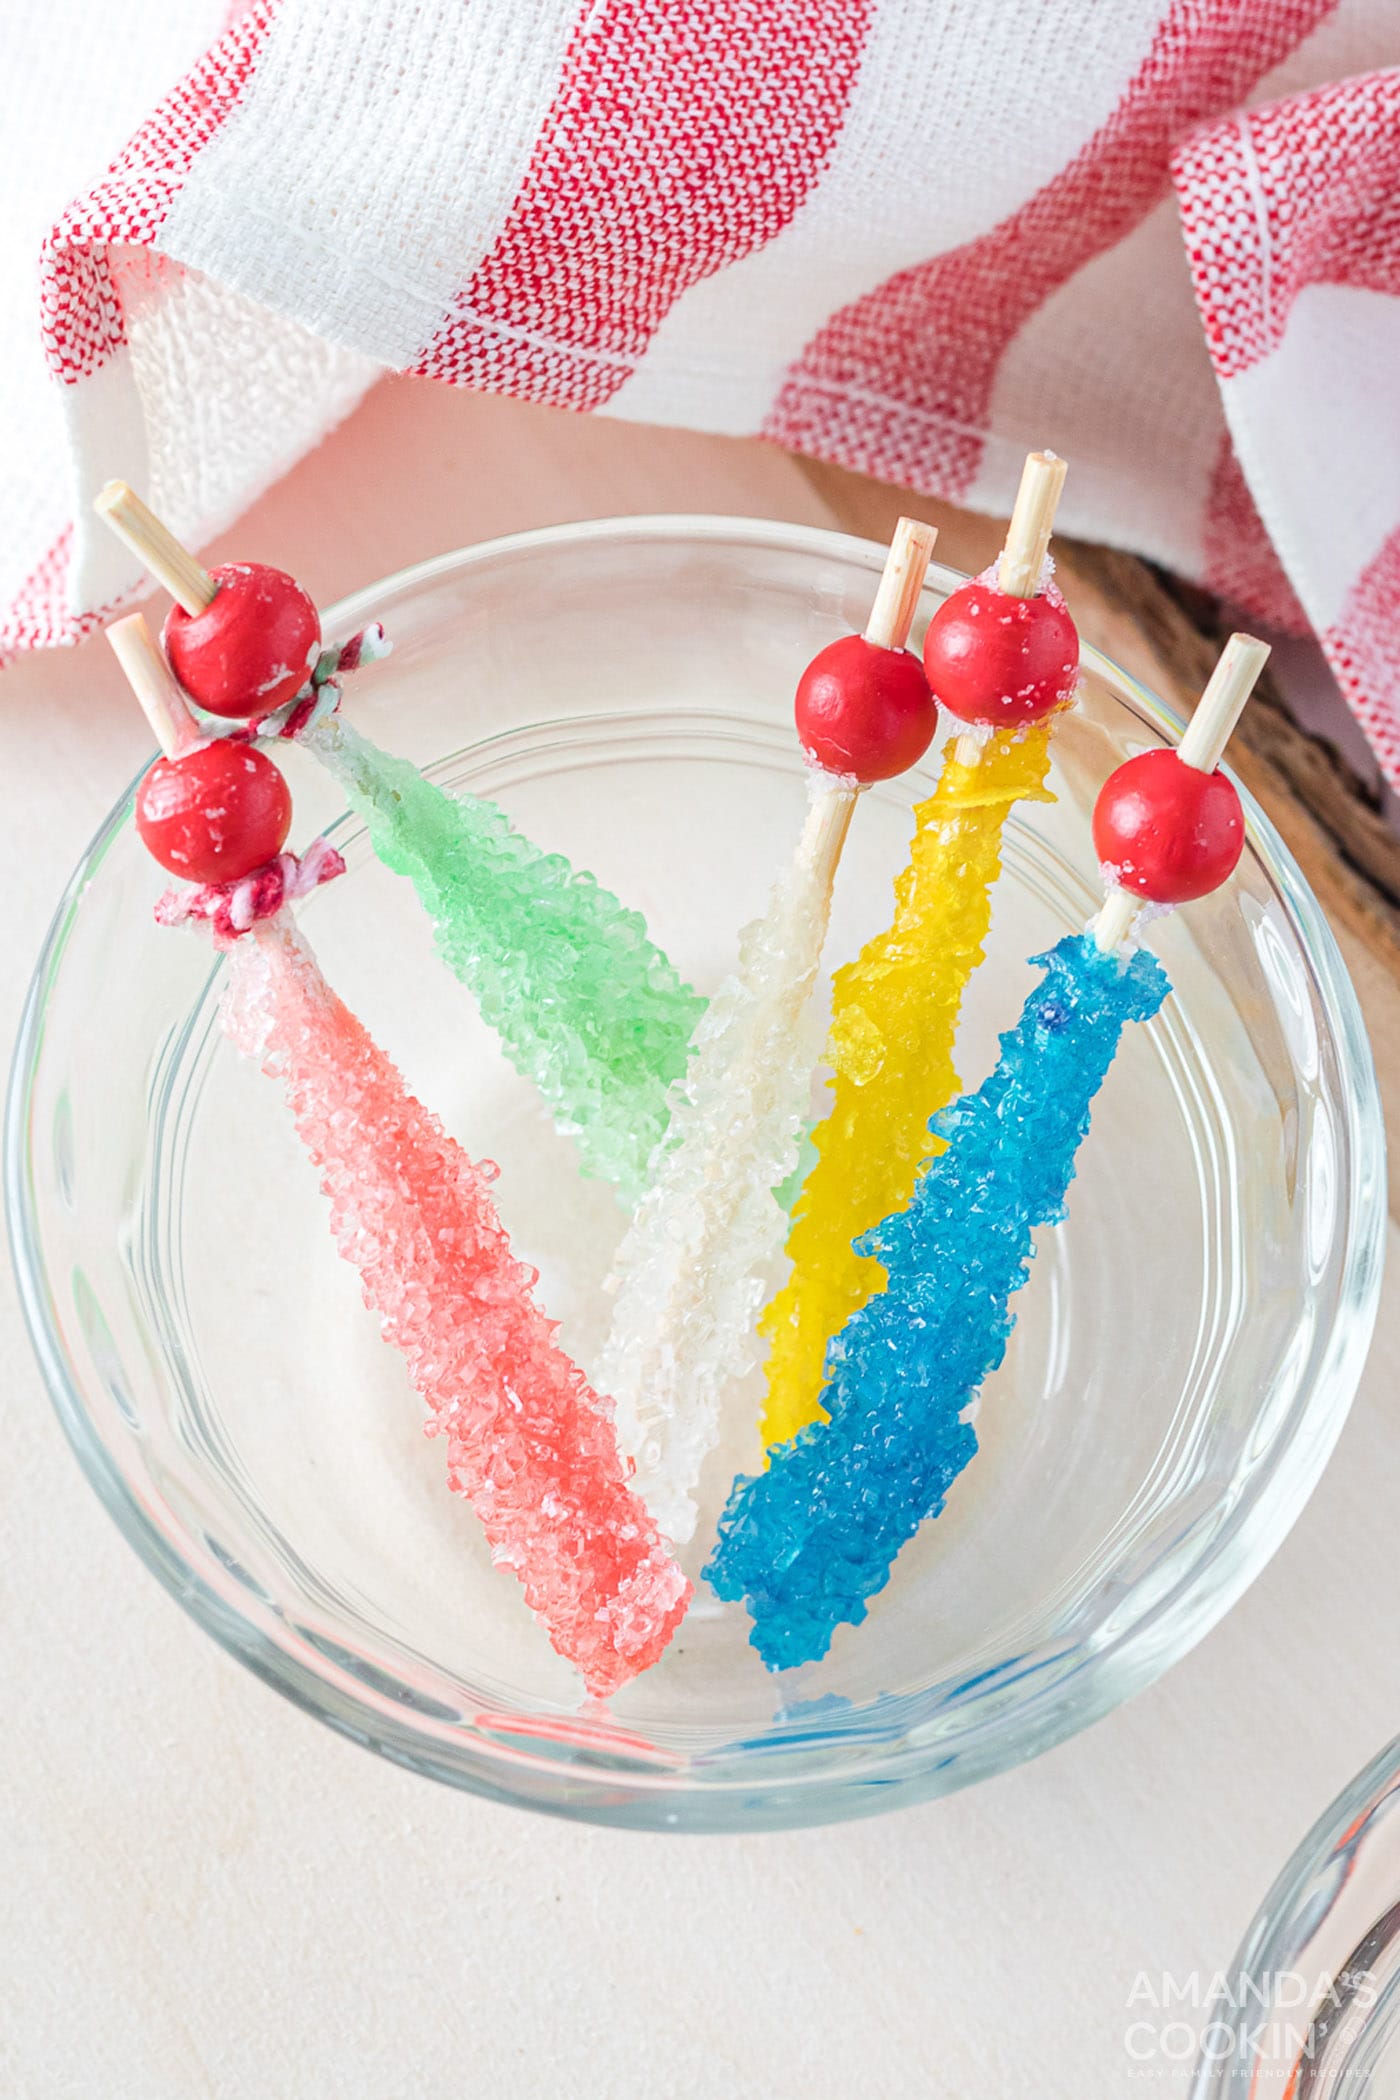
Making homemade rock candy is an incredibly rewarding and fun activity that doubles as an exciting science experiment, perfect for engaging kids and adults alike. There’s something truly magical about watching sugar crystals slowly form into beautiful, edible gems right before your eyes. These dazzling rock candy sticks are not only a sweet treat to enjoy but also make fantastic party favors, unique gifts, or even enchanting decorations for a themed event. This simple rock candy recipe utilizes a mason jar, allowing you to observe the captivating process of crystal growth day by day, transforming everyday sugar into a glittering masterpiece.
Why This Homemade Rock Candy Recipe Works So Well
This isn’t just a recipe; it’s a fascinating journey into the world of chemistry and crystal formation, making it an ideal educational project for children and a delightful craft for adults. The magic of this recipe lies in its simplicity and the clear demonstration of how a supersaturated solution, given time and a starting point, can yield spectacular results.
The process of growing rock candy crystals naturally takes time, typically ranging from a few days to up to ten days for the crystals to fully develop into their desired size and shape. This extended timeframe offers a fantastic opportunity for observation and learning. We highly recommend taking a daily photograph with your phone at the same time each day to create a visual log of the crystal growth. This not only allows you to track the progress and see the subtle changes but also deepens the understanding of the scientific principles at play. It’s a wonderful way to teach patience, observation, and the wonders of natural processes.
ANOTHER DELICIOUS TREAT YOU MIGHT LIKE: Saltine Toffee
Essential Ingredients for Your Rock Candy Project
To embark on your rock candy journey, you’ll need just a few simple ingredients and basic kitchen tools. All precise measurements, a full list of ingredients, and detailed instructions are available in the printable recipe card at the conclusion of this comprehensive guide.
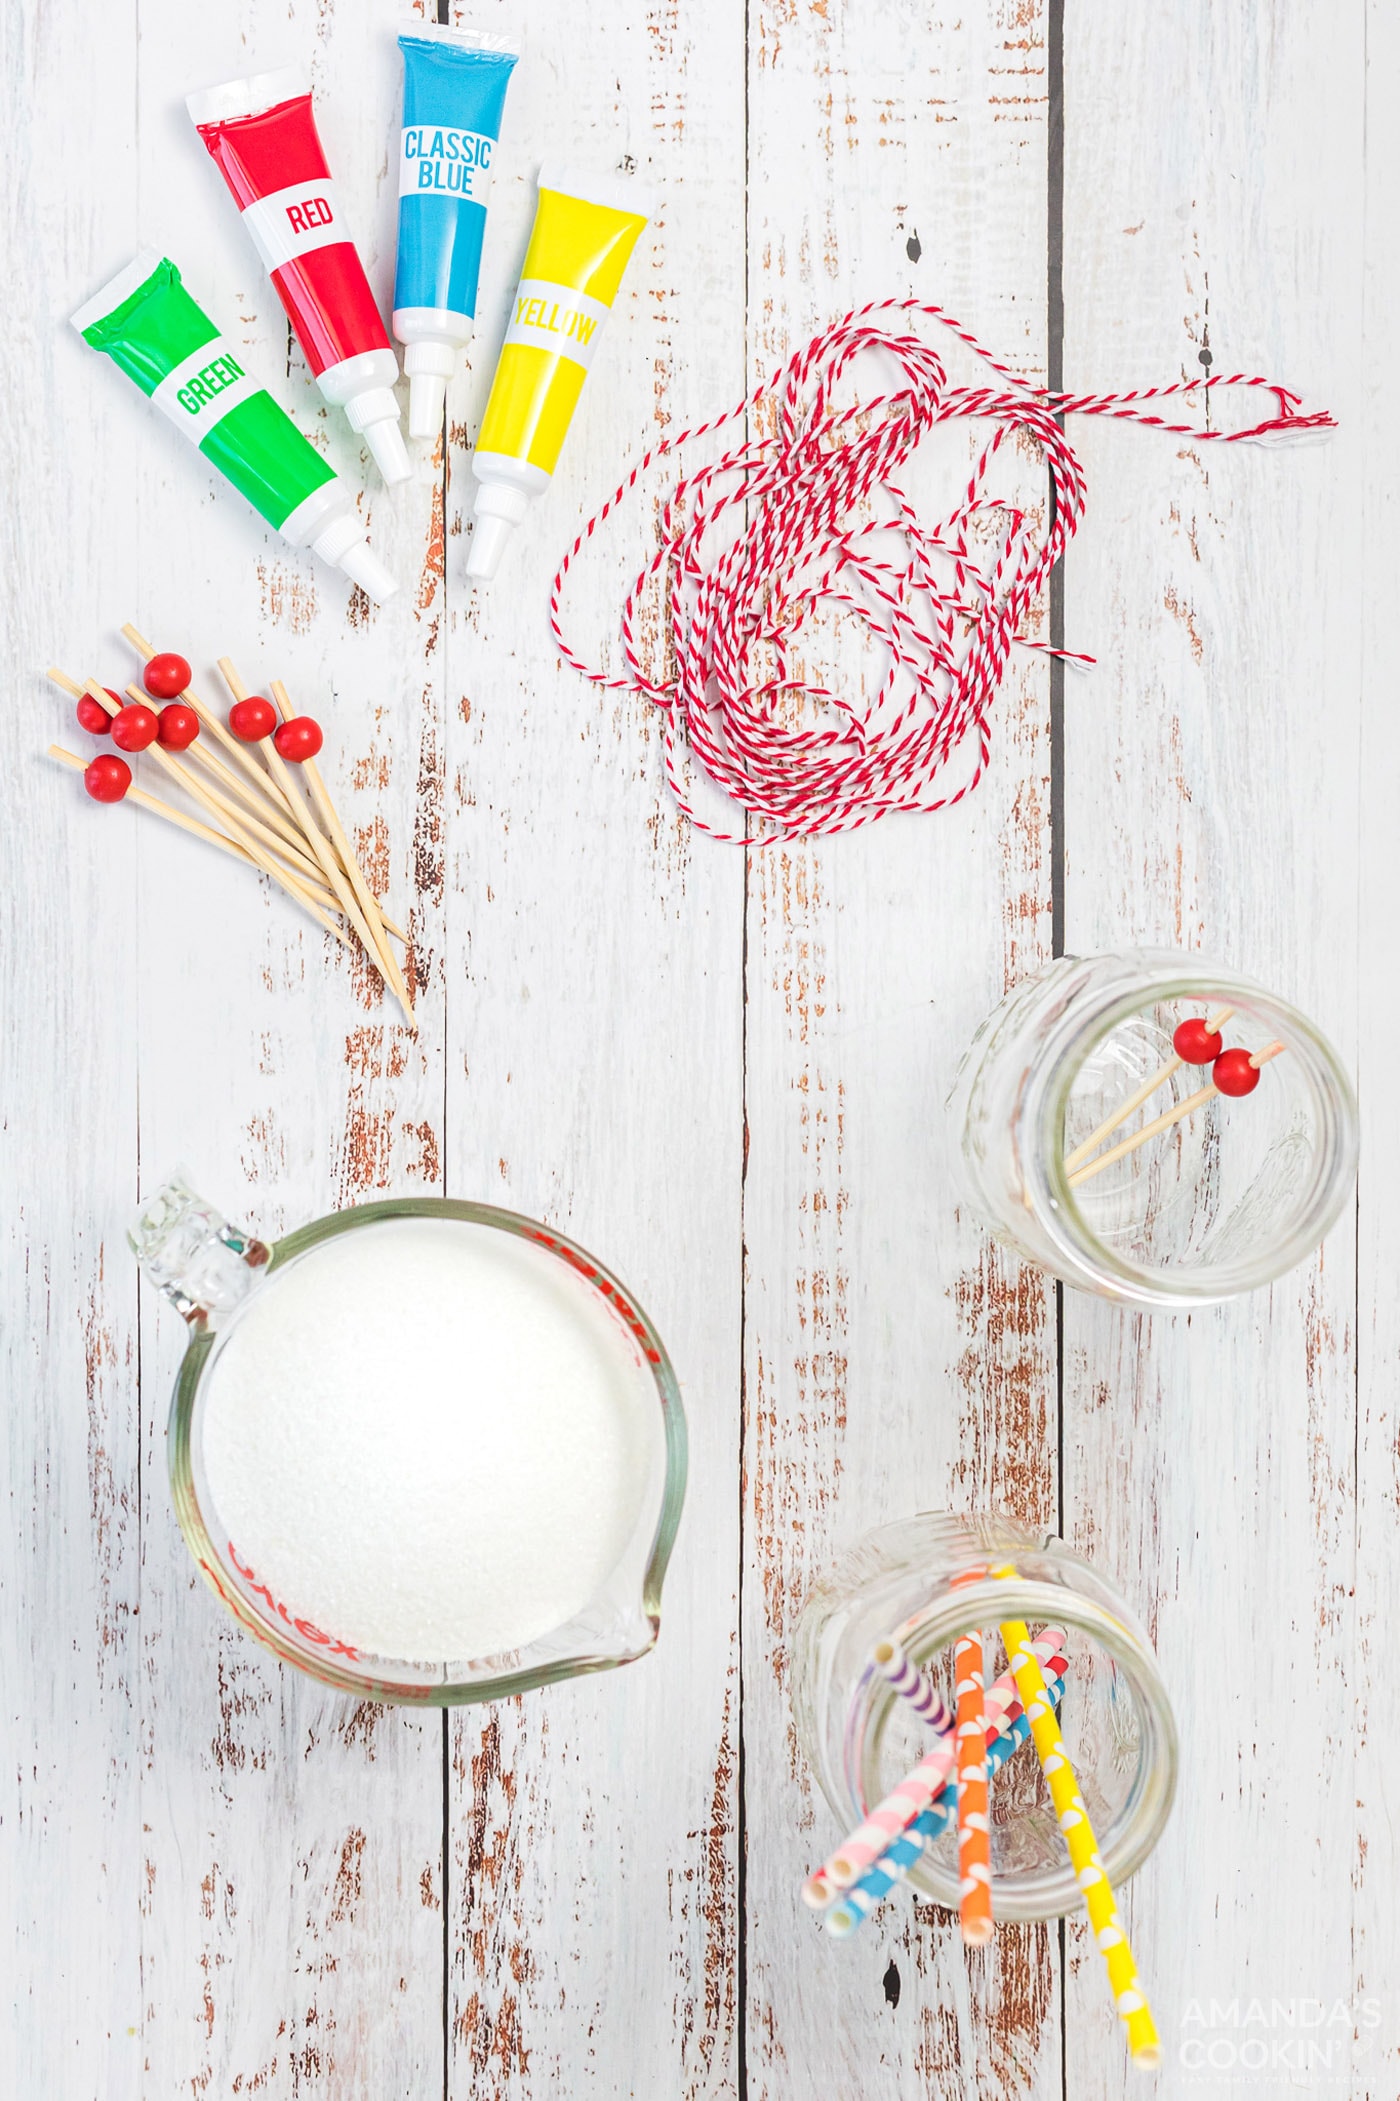
TYPE OF SUGAR – The type of sugar you choose plays a significant role in the outcome of your rock candy. While it’s possible to experiment with brown sugar or even organic sugar for different flavors and textures, plain white granulated sugar is highly recommended for achieving the largest, most visually stunning, and perfectly formed crystals. This is primarily because white granulated sugar is very pure, allowing the crystals to grow without interference from impurities. Fortunately, this is a staple ingredient found in nearly every pantry, making this experiment easily accessible.
WATER – Simple tap water is all you need. Its role is to act as a solvent for the sugar, creating the supersaturated solution from which your crystals will grow.
COLORING & FLAVORING (Optional) – Rock candy is inherently sweet and delicious on its own, but you can customize it to your heart’s content! If you desire a different flavor profile, a few drops of food-grade flavored extracts (such as vanilla, peppermint, cherry, or lemon) can be added to the sugar solution. For vibrant and colorful rock candy, food coloring is your best friend. You can opt to skip the food coloring entirely for classic, sparkling white rock candy, or use various food dyes to create a beautiful rainbow of colors, perfect for themed parties or visual appeal. Gel food coloring often provides more intense colors with less liquid.
How to Make Dazzling Rock Candy: Step-by-Step Guide
These step-by-step photos and detailed instructions are designed to help you visualize each stage of making this delightful recipe. For a convenient printable version of this recipe, complete with precise measurements and instructions, you can Jump to Recipe at the bottom of this post.
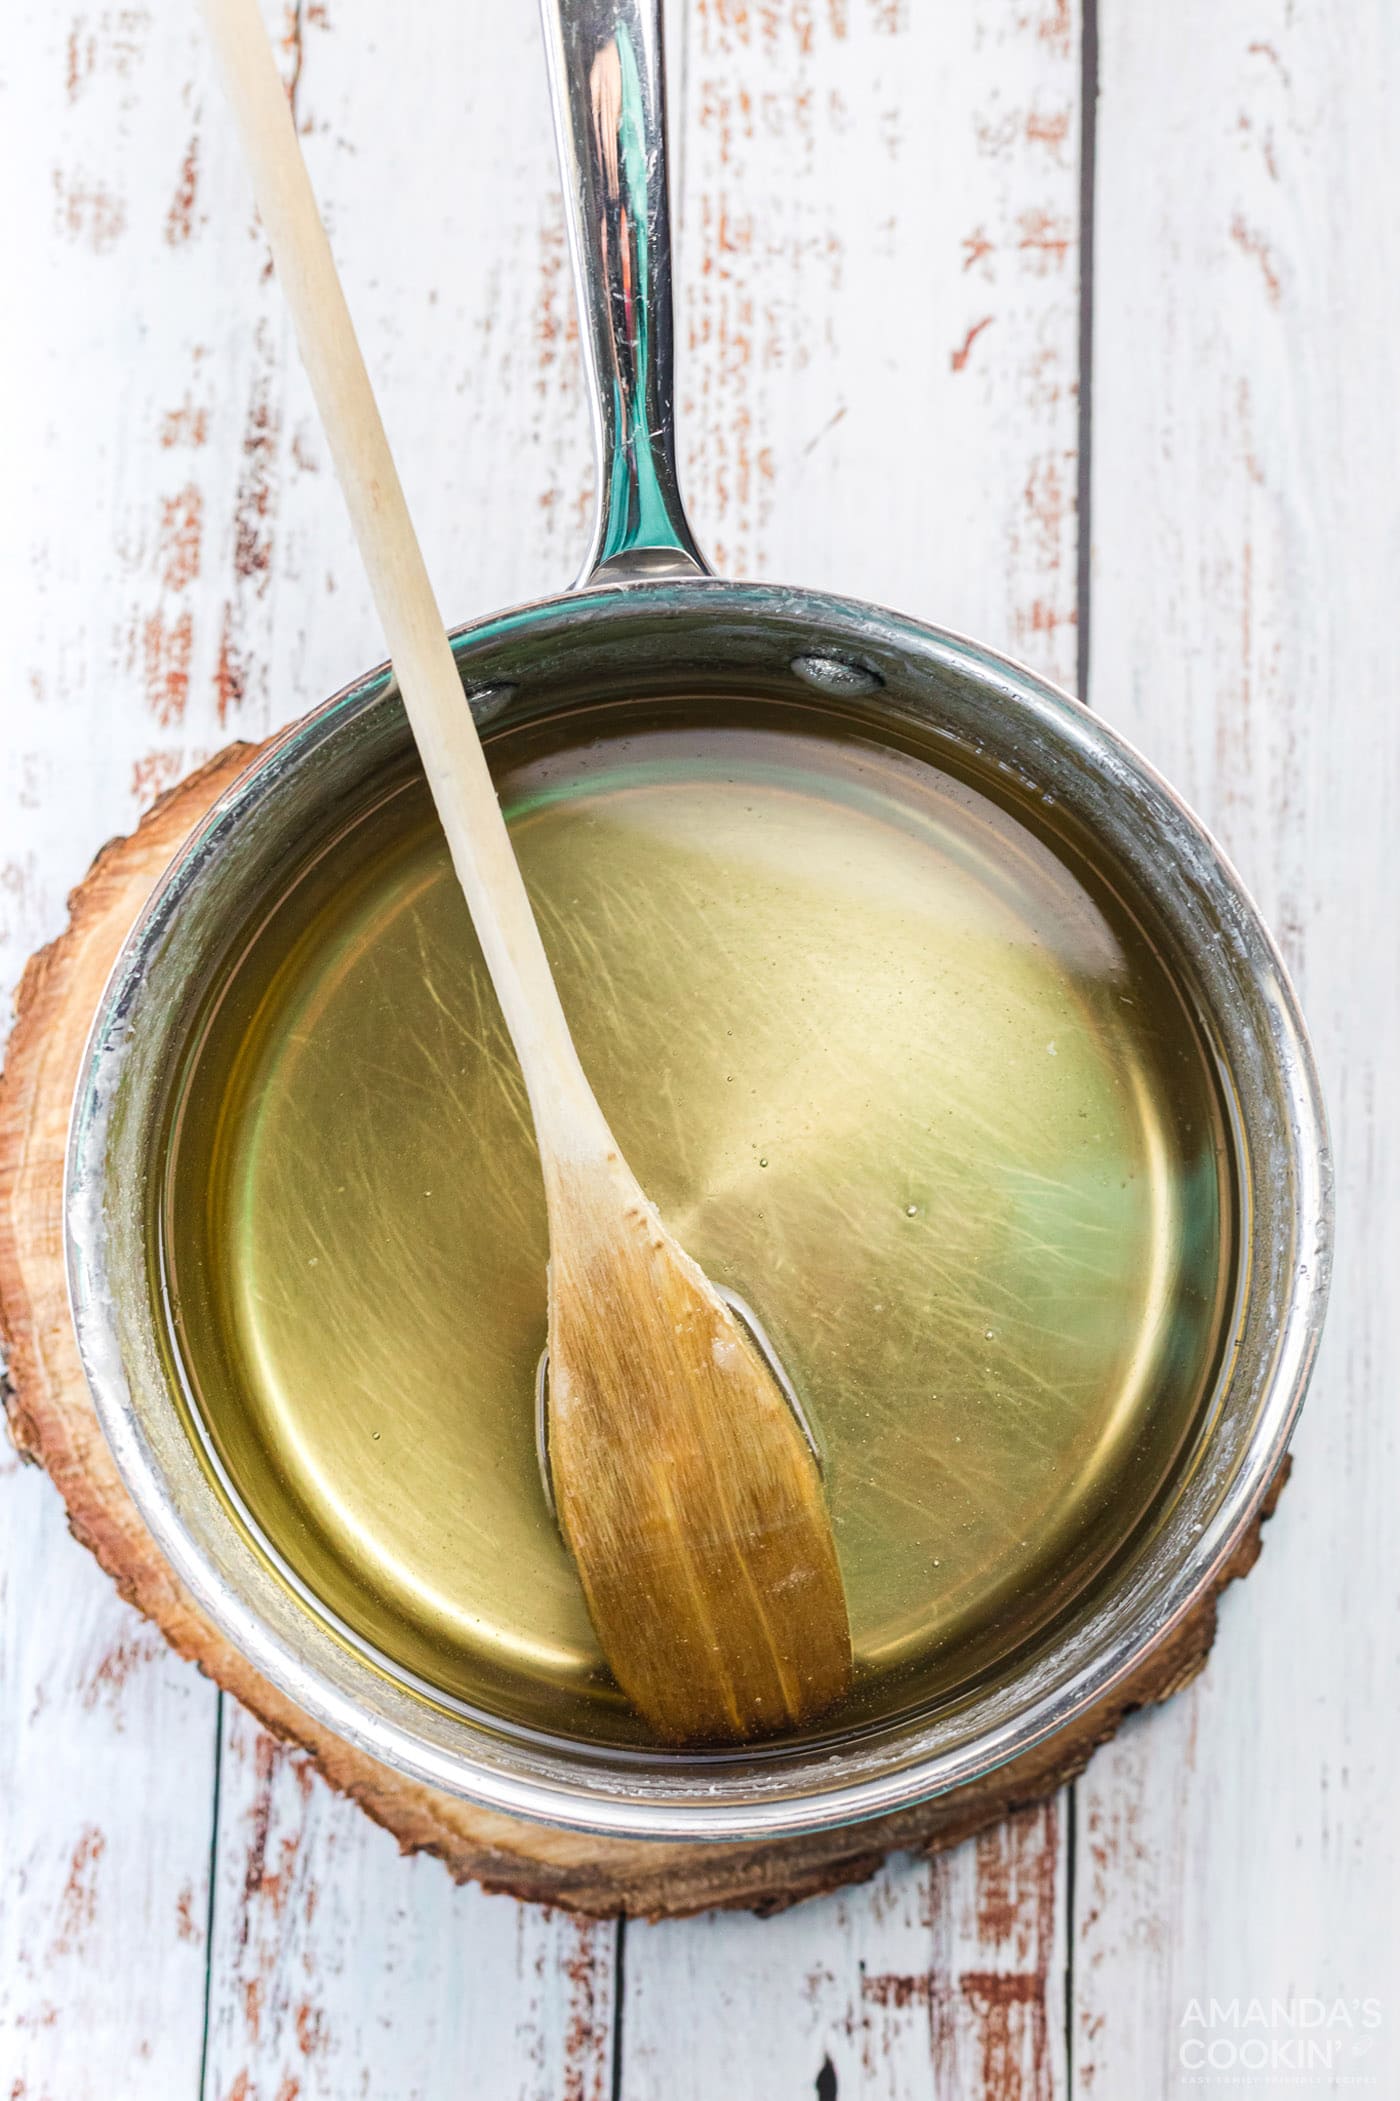
- Prepare the Sugar Syrup: Begin by combining your granulated sugar and water in a sturdy saucepan. Place the saucepan over high heat and stir the mixture continuously. Your goal is to dissolve as much sugar as possible into the water to create a supersaturated solution. Continue stirring until the mixture reaches a vigorous, rolling boil. It’s crucial not to boil the mixture for too long after it reaches this point, as excessive boiling can cause the candy to harden prematurely, forming a thick syrup or even caramelizing, which isn’t ideal for crystal growth. Keep that stirring motion consistent!

- Ensure Complete Dissolution: Once the mixture reaches a boil, immediately remove it from the heat. Continue stirring diligently. You’ll notice a distinct change as all the sugar granules completely dissolve: the syrup will suddenly become noticeably clearer and more transparent. This indicates that you’ve successfully created the supersaturated solution necessary for crystal formation.
- Prepare and Cool the Jars: To prevent the glass from cracking when the hot syrup is poured, hold the outside of each clean jar under hot tap water for a few seconds to warm them gently. Carefully pour the hot sugar mixture into your prepared jars. Now, place the jars in the refrigerator to cool down slightly. This cooling process typically takes about 30 minutes to an hour, depending on the size and thickness of your jars. The goal is not to chill the mixture completely, but rather to bring it down to approximately room temperature. This gradual cooling is essential for optimal crystal growth, as it allows the sugar molecules to arrange themselves more slowly and orderly.
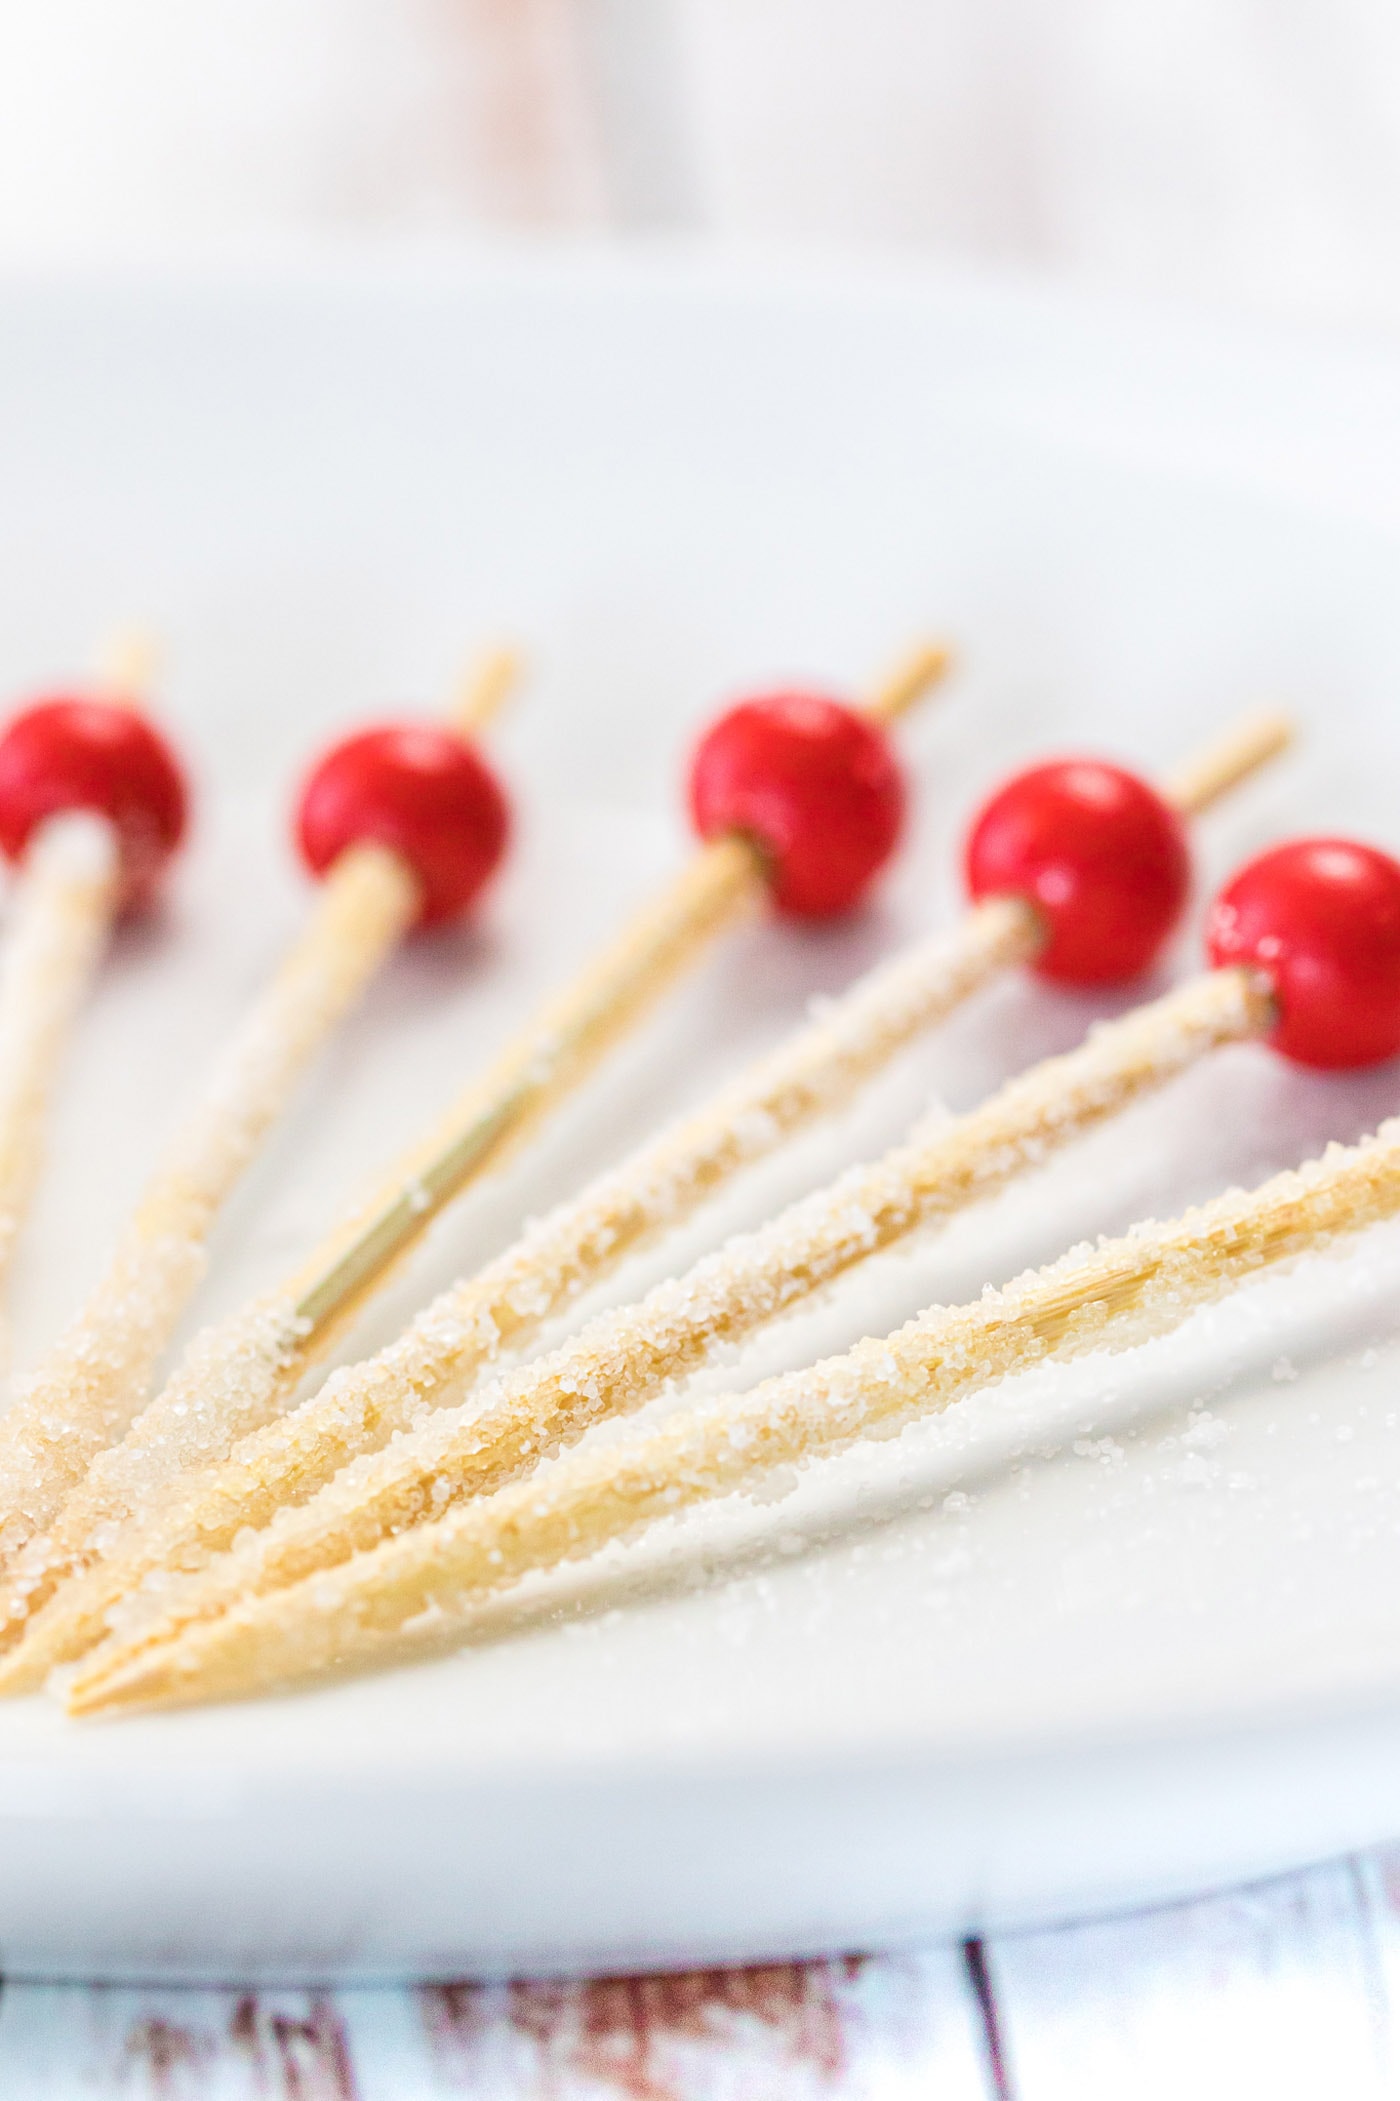
- Prepare Your Crystal Seeds (Skewers): While your sugar syrup cools, it’s time to prepare your wooden skewers. These skewers will act as the nucleation sites, or “seeds,” for your rock candy crystals. Dampen each skewer slightly with water, then roll them generously in granulated sugar until they are thoroughly coated. Once coated, set them aside on a piece of parchment paper to dry completely. This initial sugar coating is vital: it provides existing sugar crystals for the dissolved sugar in the syrup to attach to, significantly encouraging and aiding in the formation of larger, more uniform rock candy crystals.

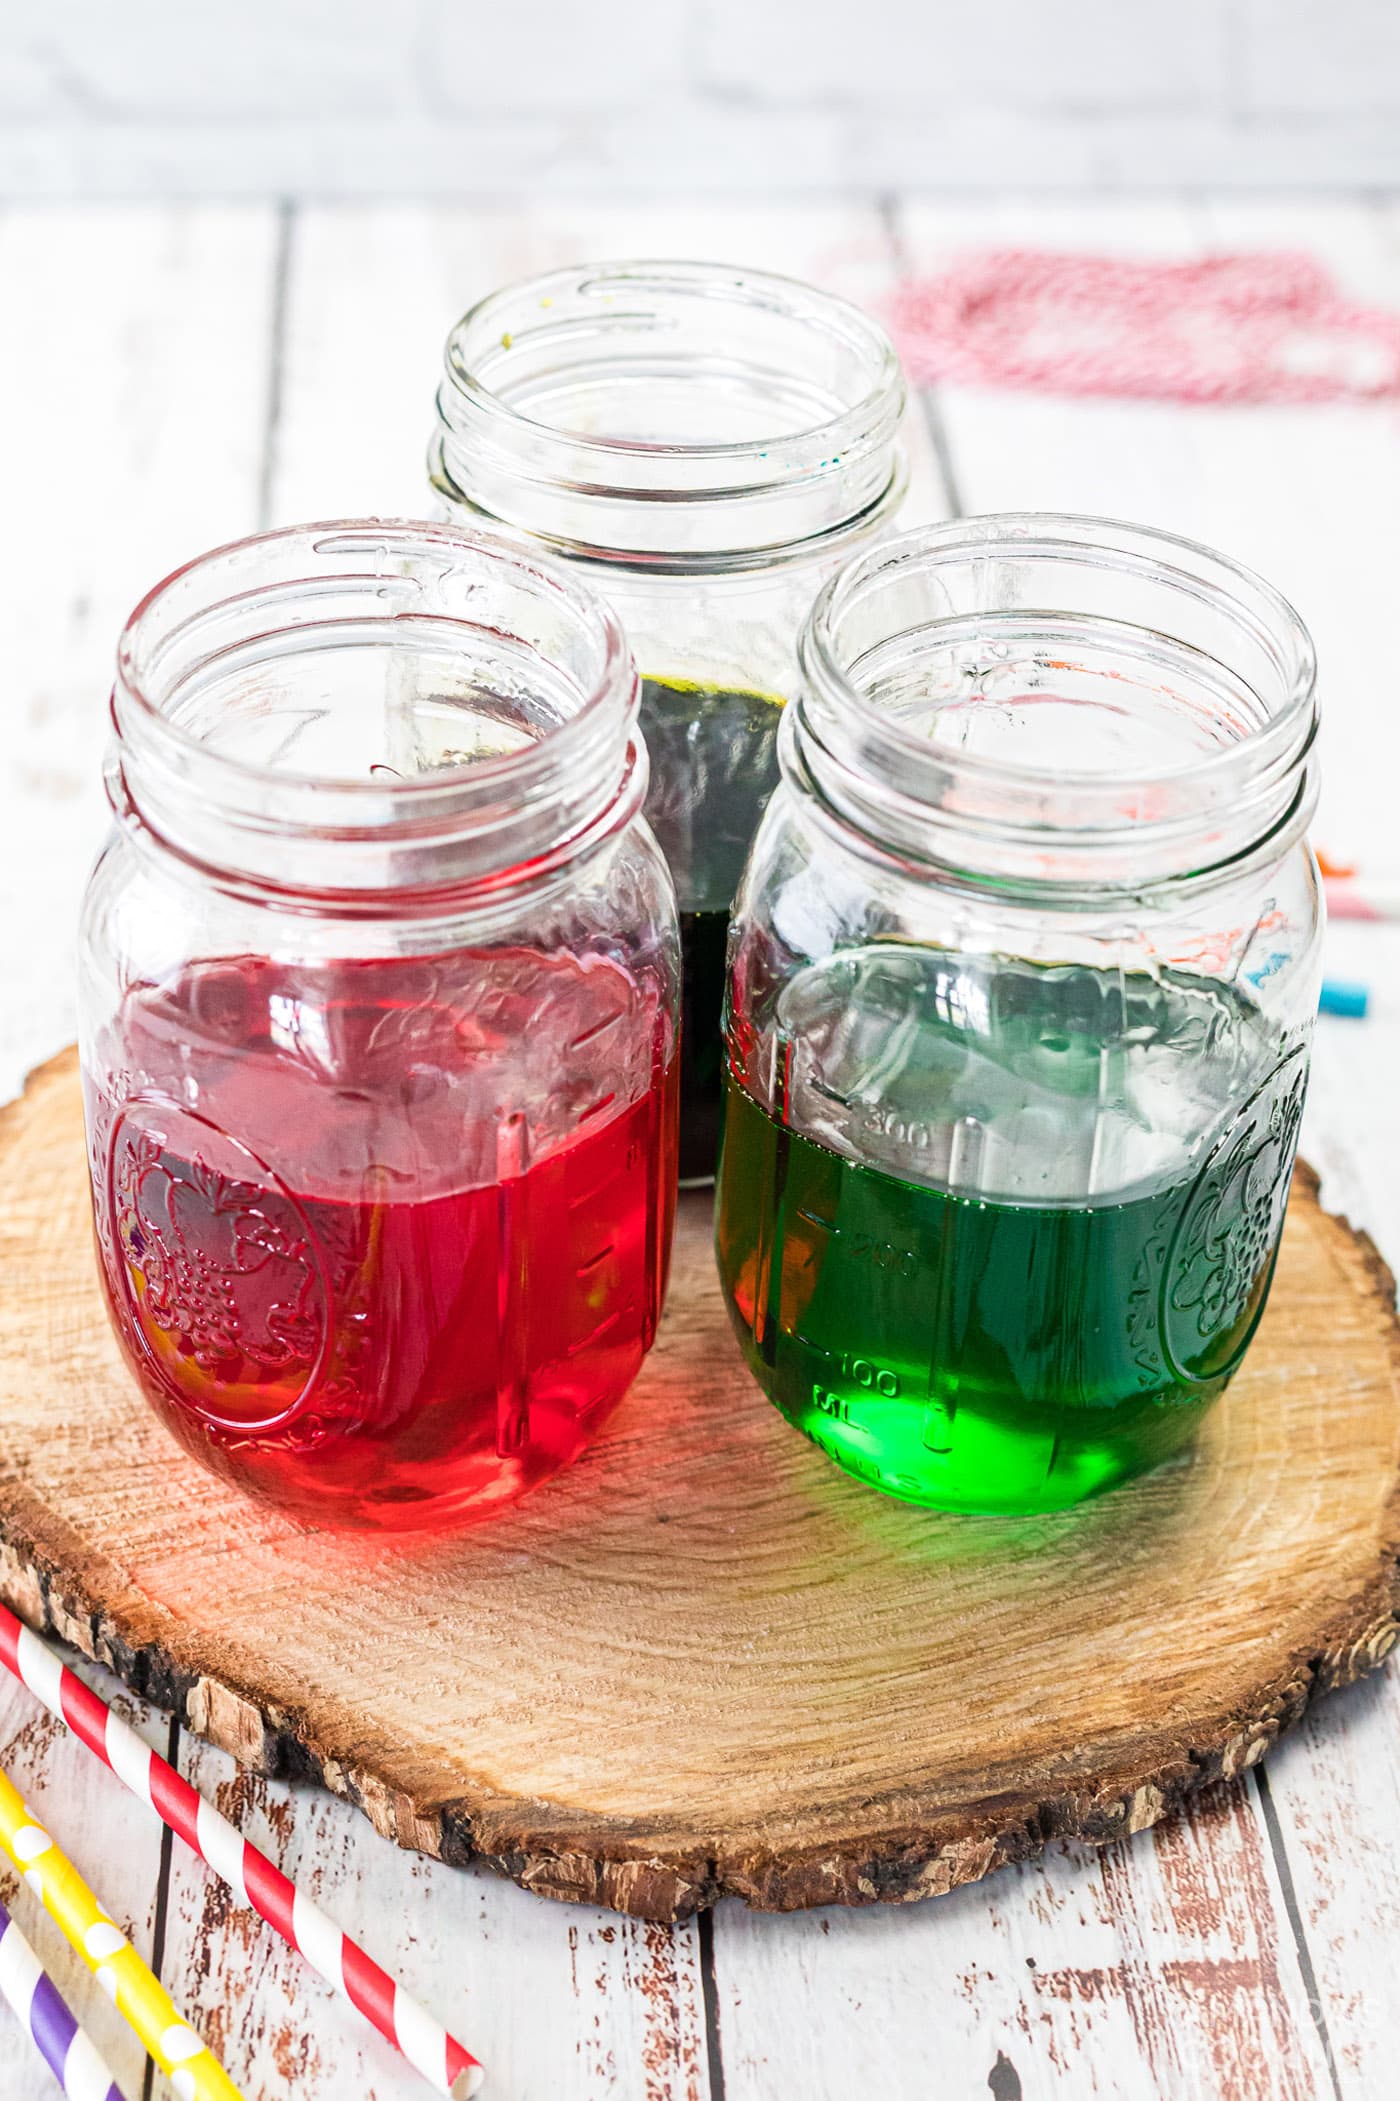
- Add Color and Flavor (Optional): Once your sugar mixture has cooled to near room temperature, retrieve the jars from the refrigerator. This is the perfect moment to add any desired flavoring oils, extracts, or food coloring. Stir gently to evenly distribute the color and flavor without reintroducing too much air or disturbing the solution.

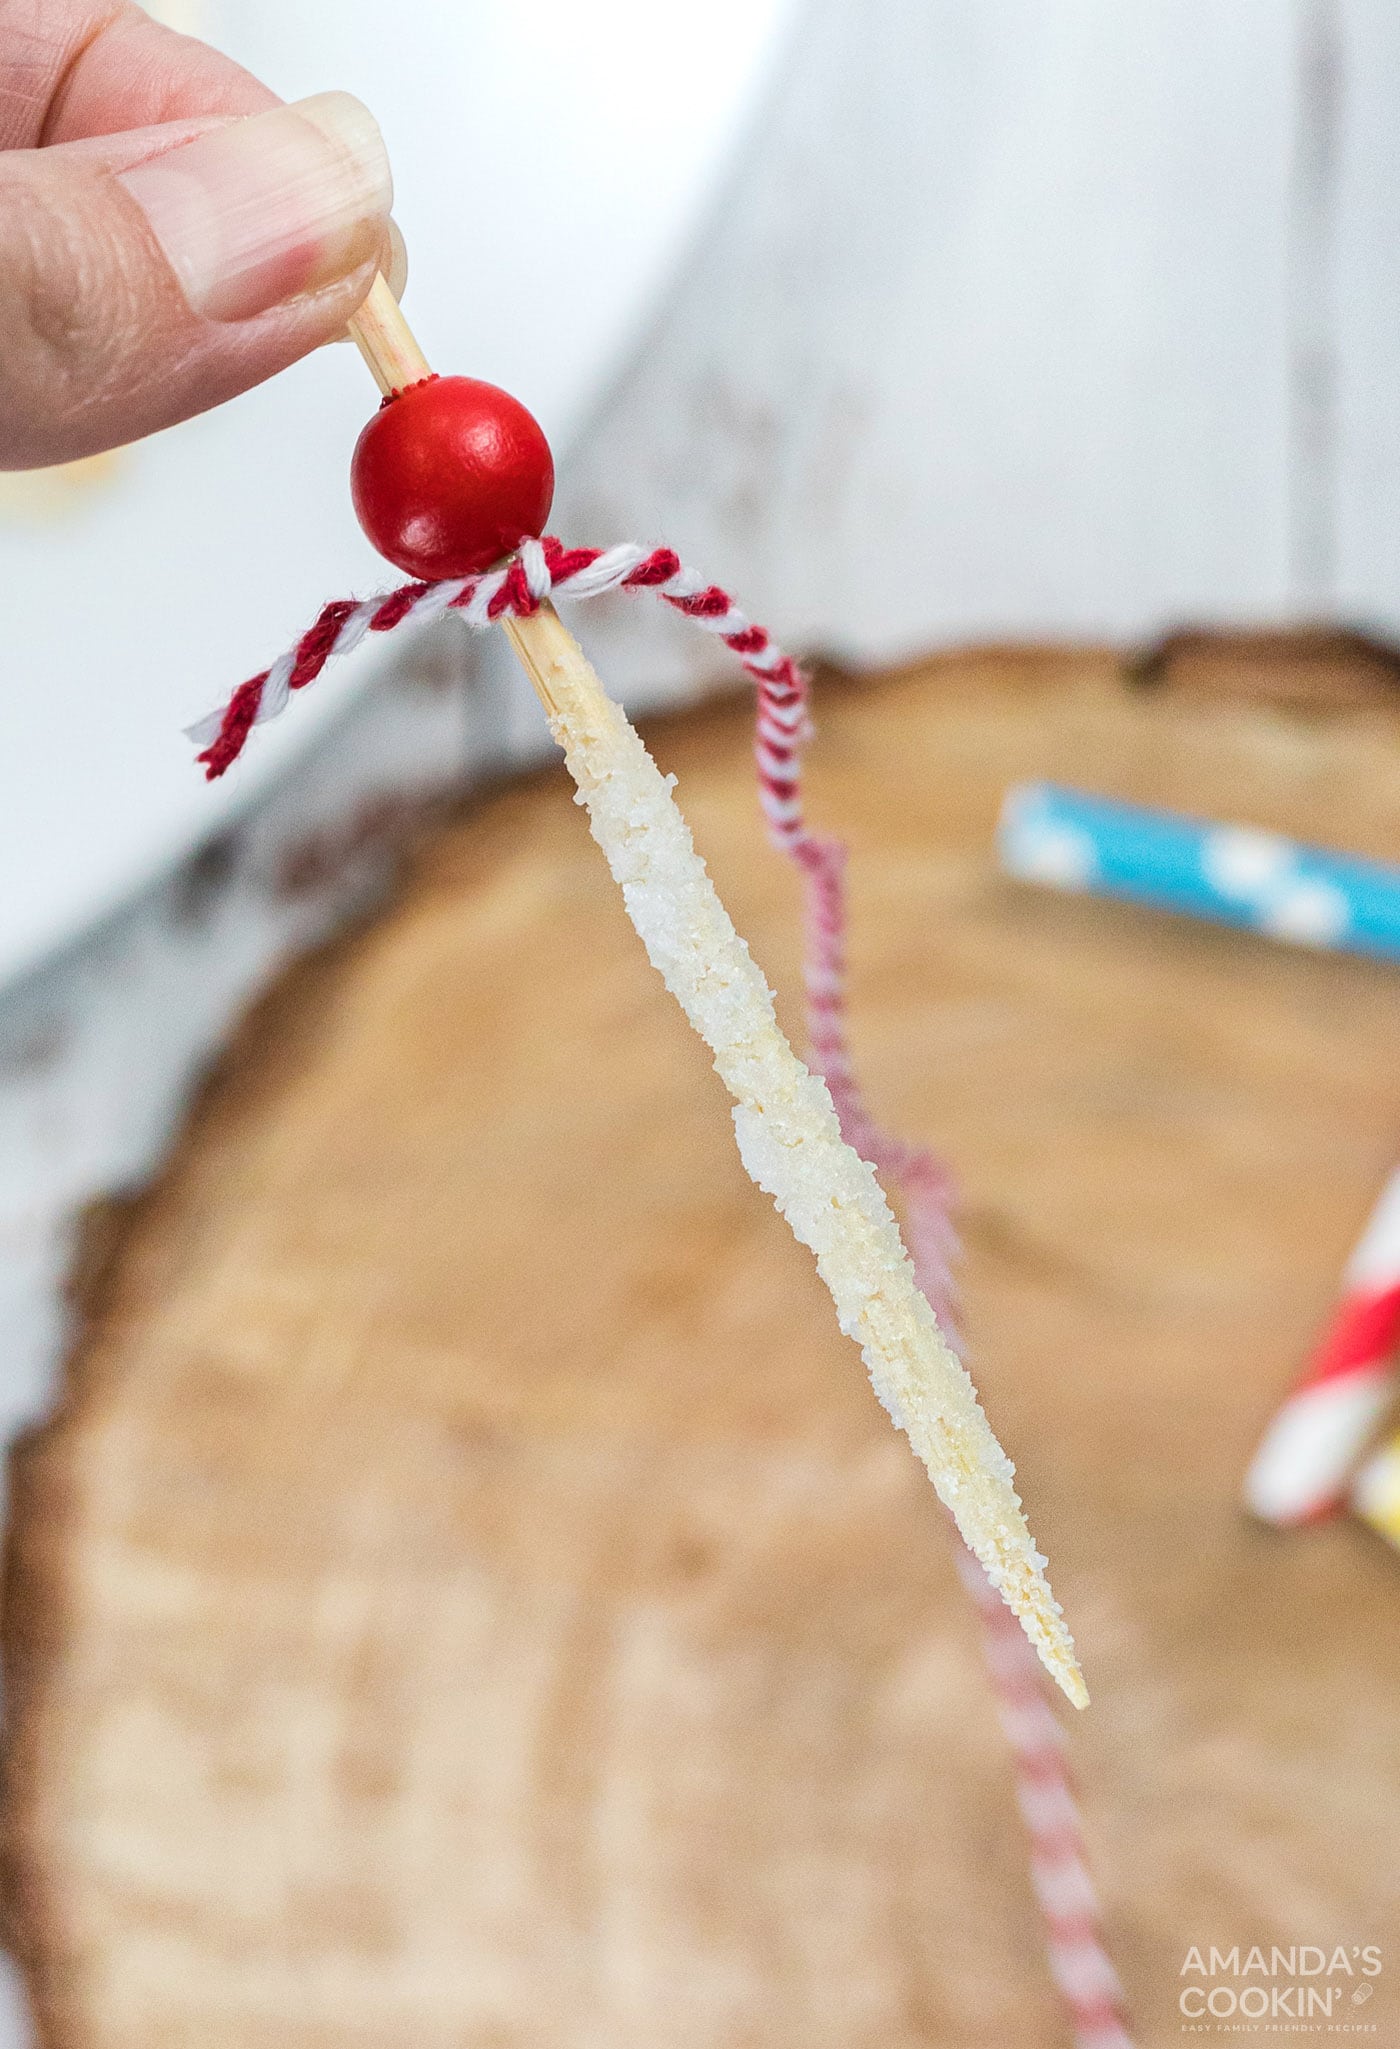
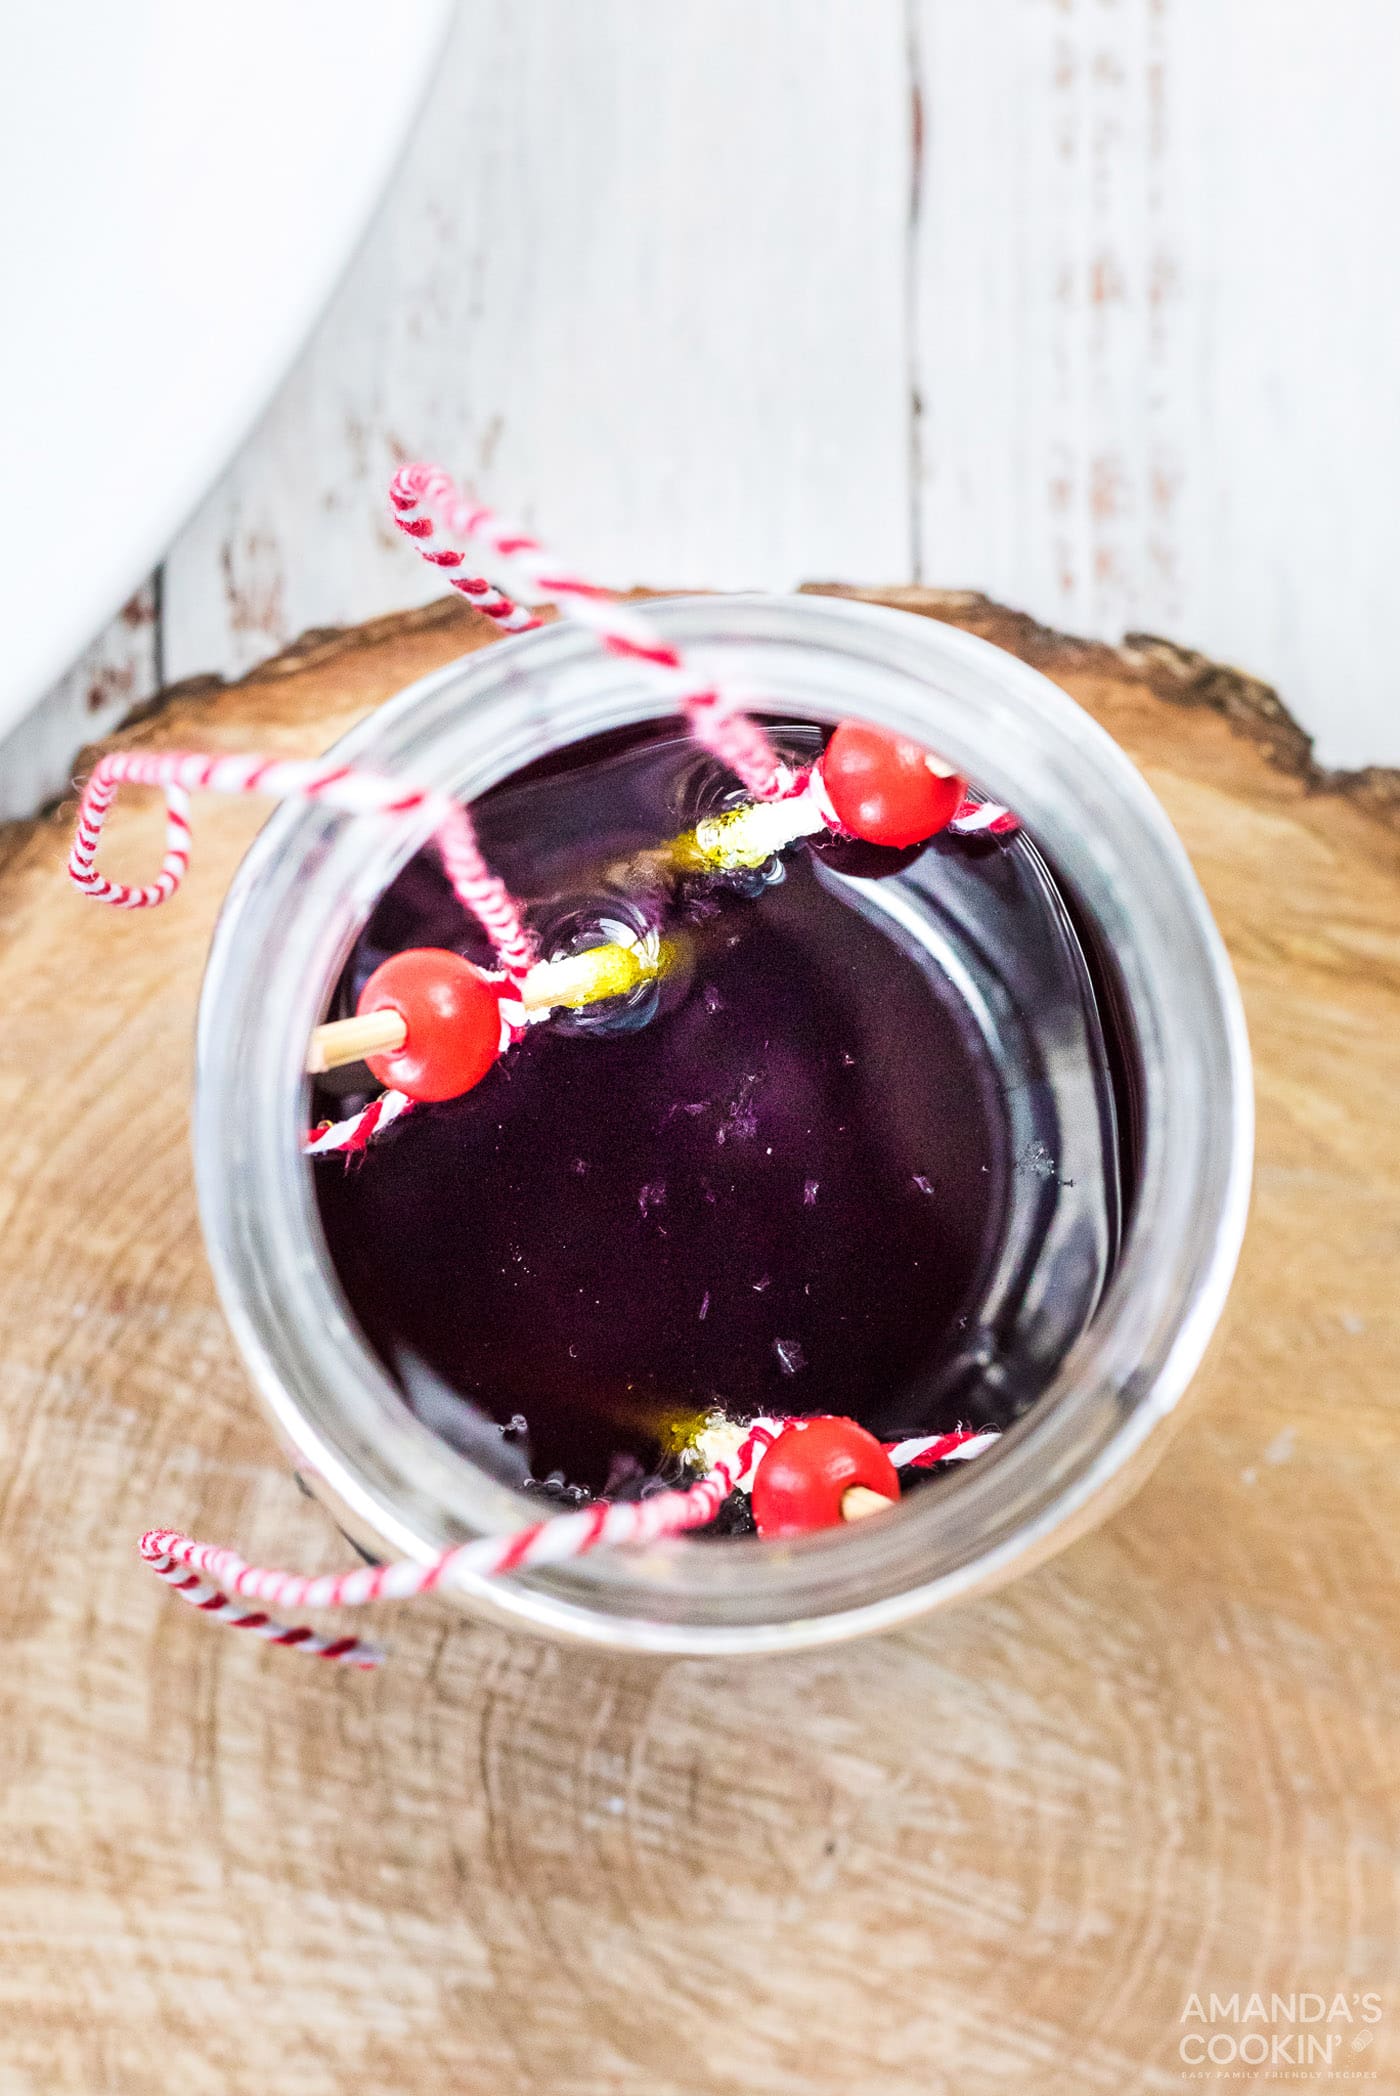
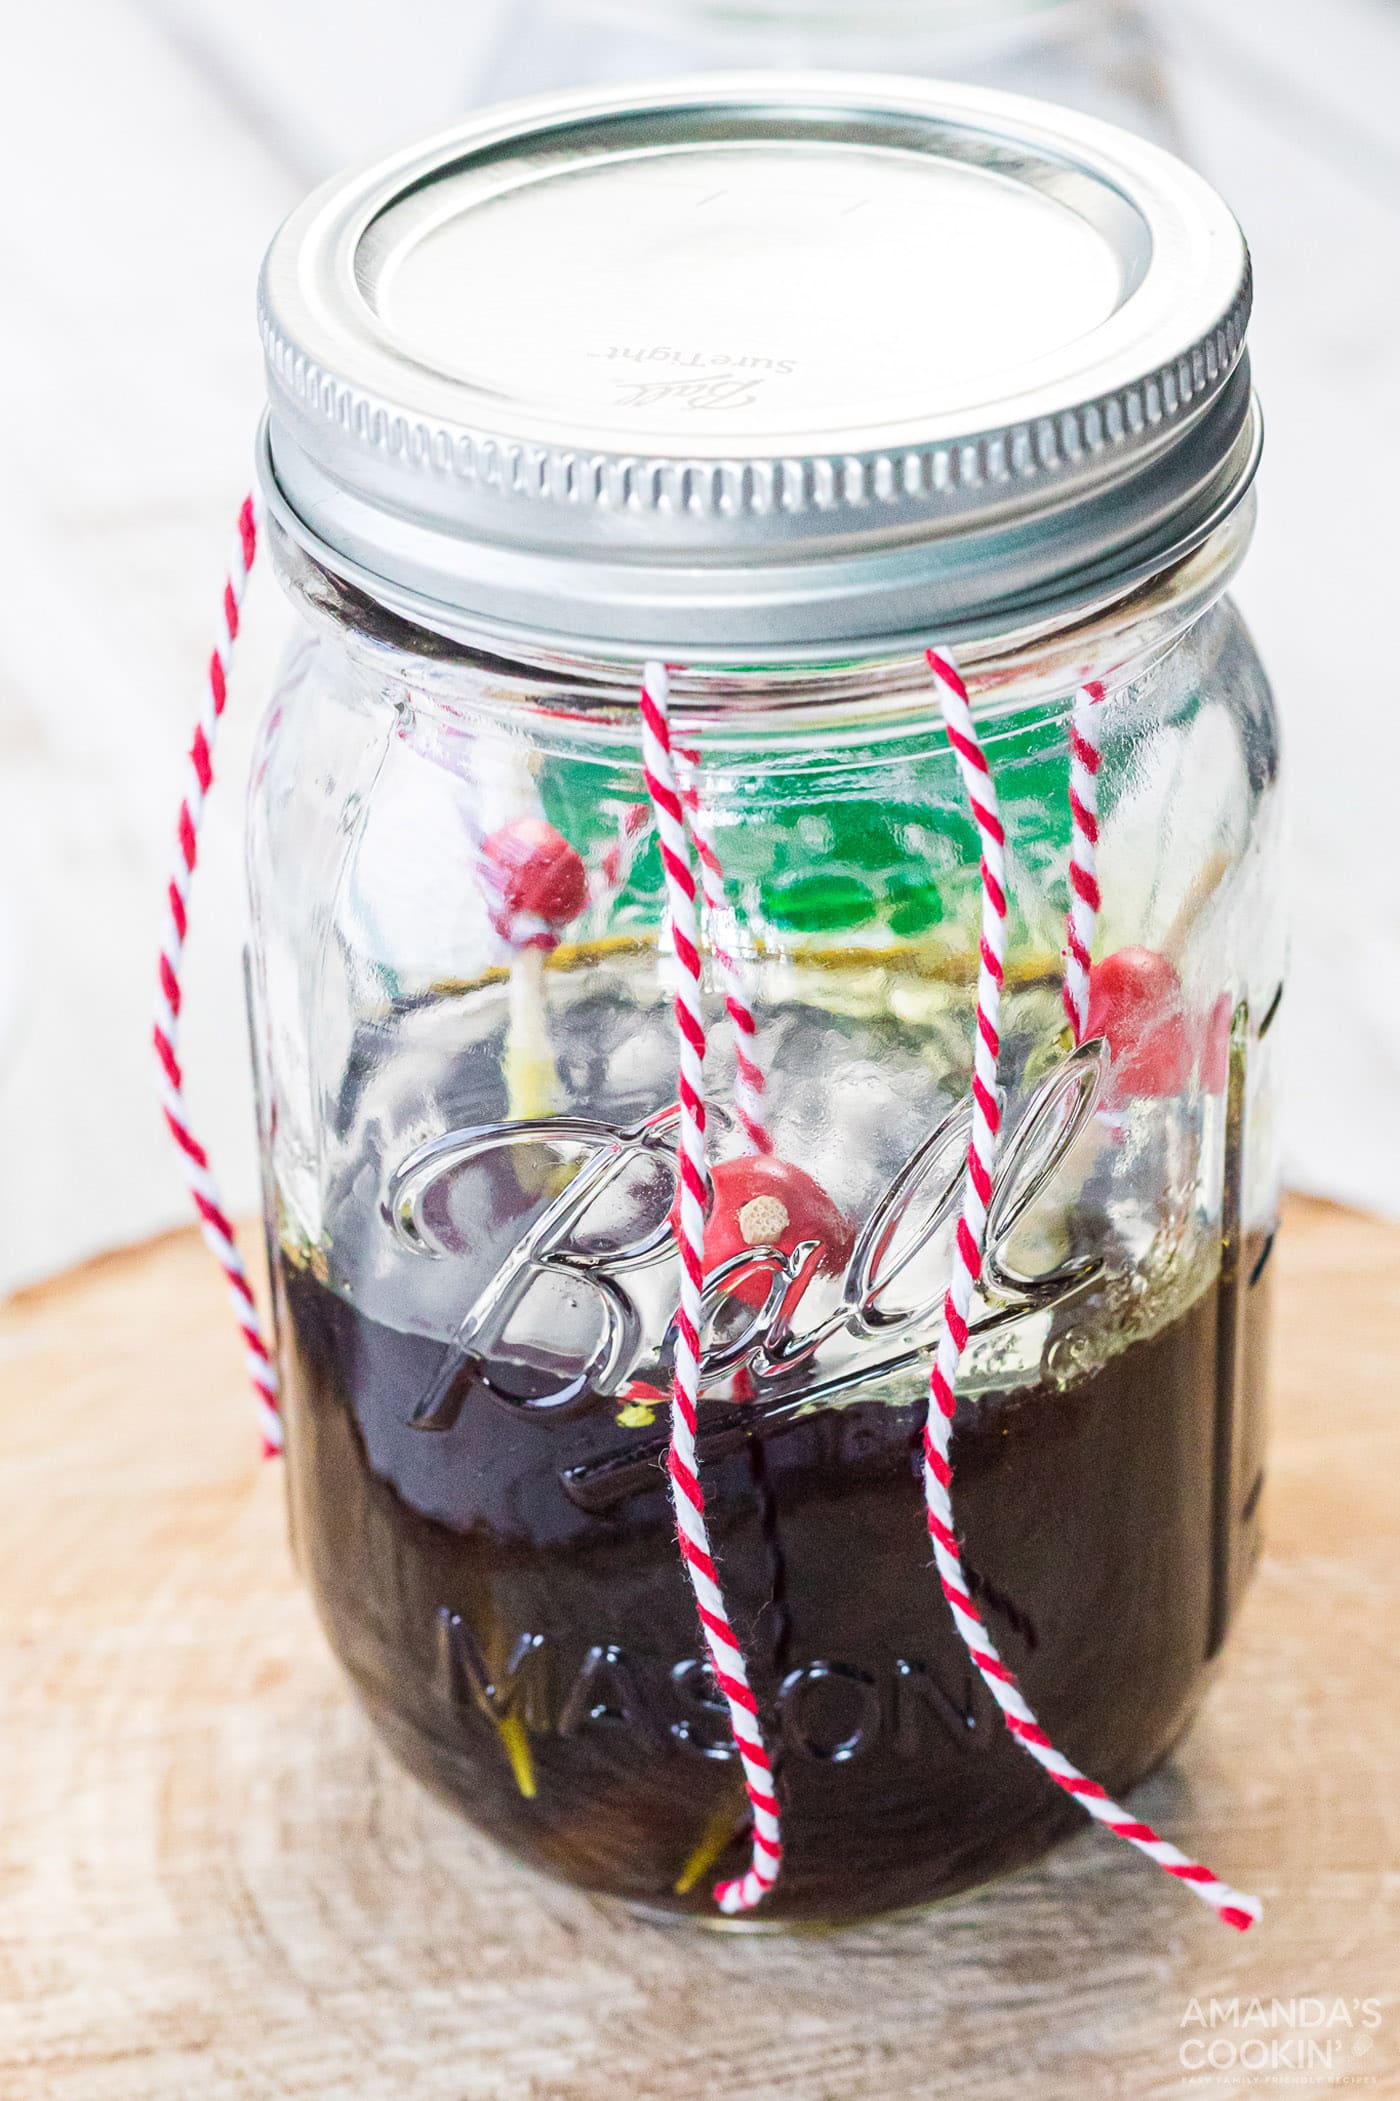
- Position the Skewers: Take a length of baker’s twine and tie one end securely to the top of your prepared wooden skewers (the end you won’t be dipping). Gently lower the skewer into the sugar mixture in the jar, ensuring it hangs freely. It’s crucial that the skewer does not touch the bottom or the sides of the jar, nor should it touch any other skewers if you have multiple in one jar. Once the skewer is perfectly positioned, carefully hold the loose end of the twine along the side of the jar and screw the lid on tightly. The lid will pinch the string, holding the skewer firmly in place and preventing it from moving or falling. This setup ensures even crystal growth around the skewer.


- Patiently Wait for Crystal Growth: Now comes the test of patience, and perhaps the most exciting part of the experiment! Place the sealed jar in a quiet spot where it won’t be disturbed. Avoid moving or shaking the jar, as this can interrupt the delicate crystal formation process. Over the next 3 to 10 days, the sugar crystals will gradually begin to grow on your skewers. The longer you allow the crystals to grow, the larger and more pronounced they will become. Observe daily and enjoy the slow, mesmerizing transformation.
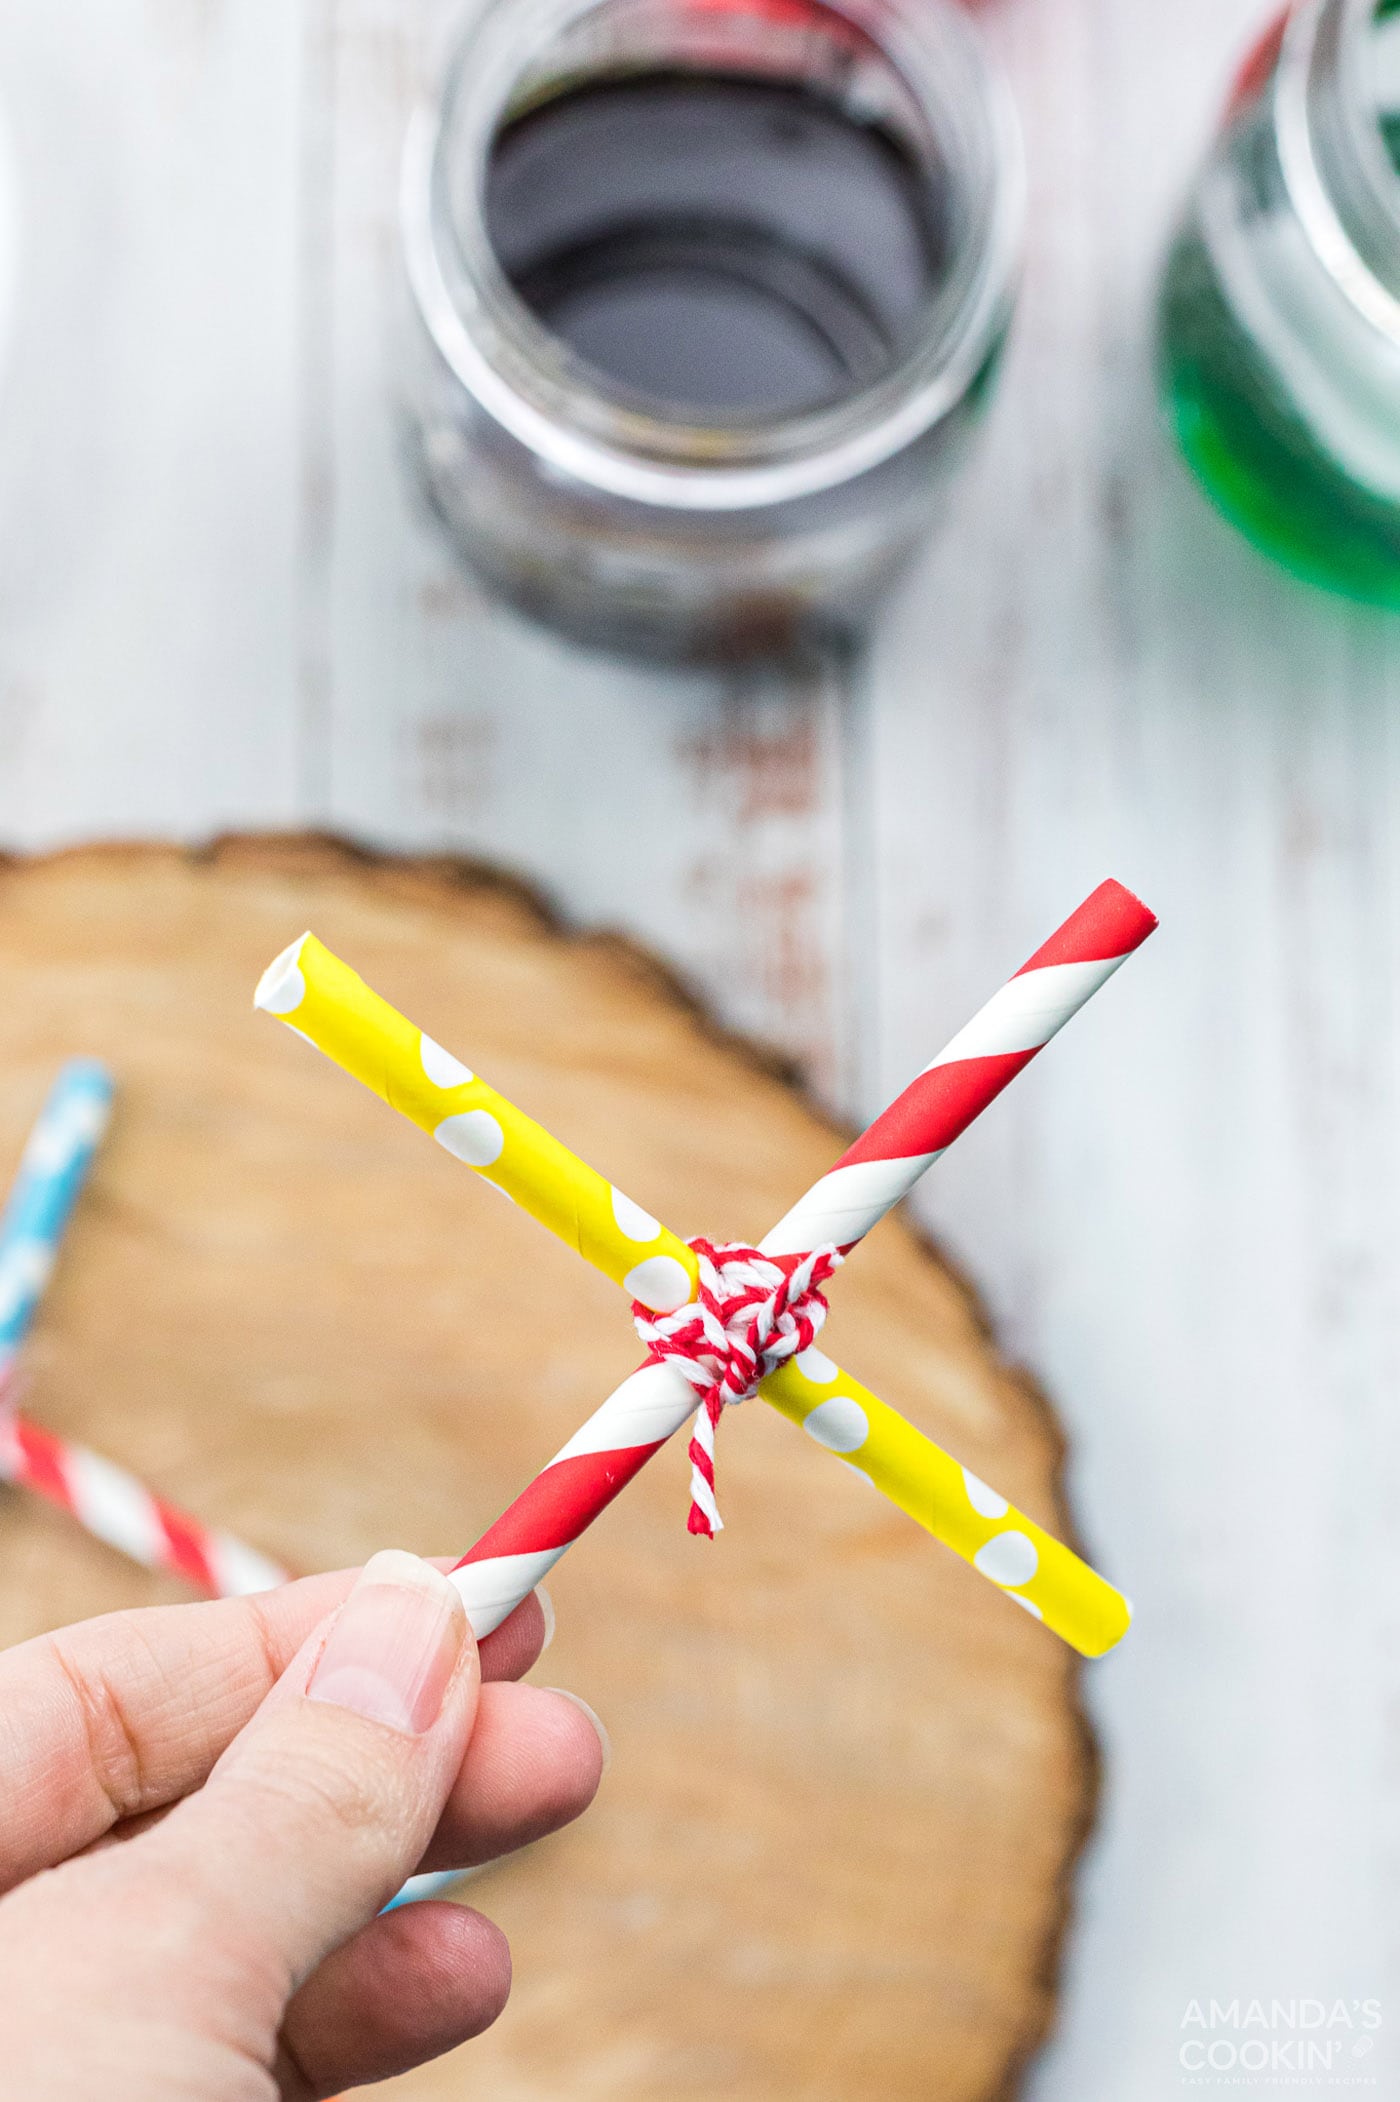
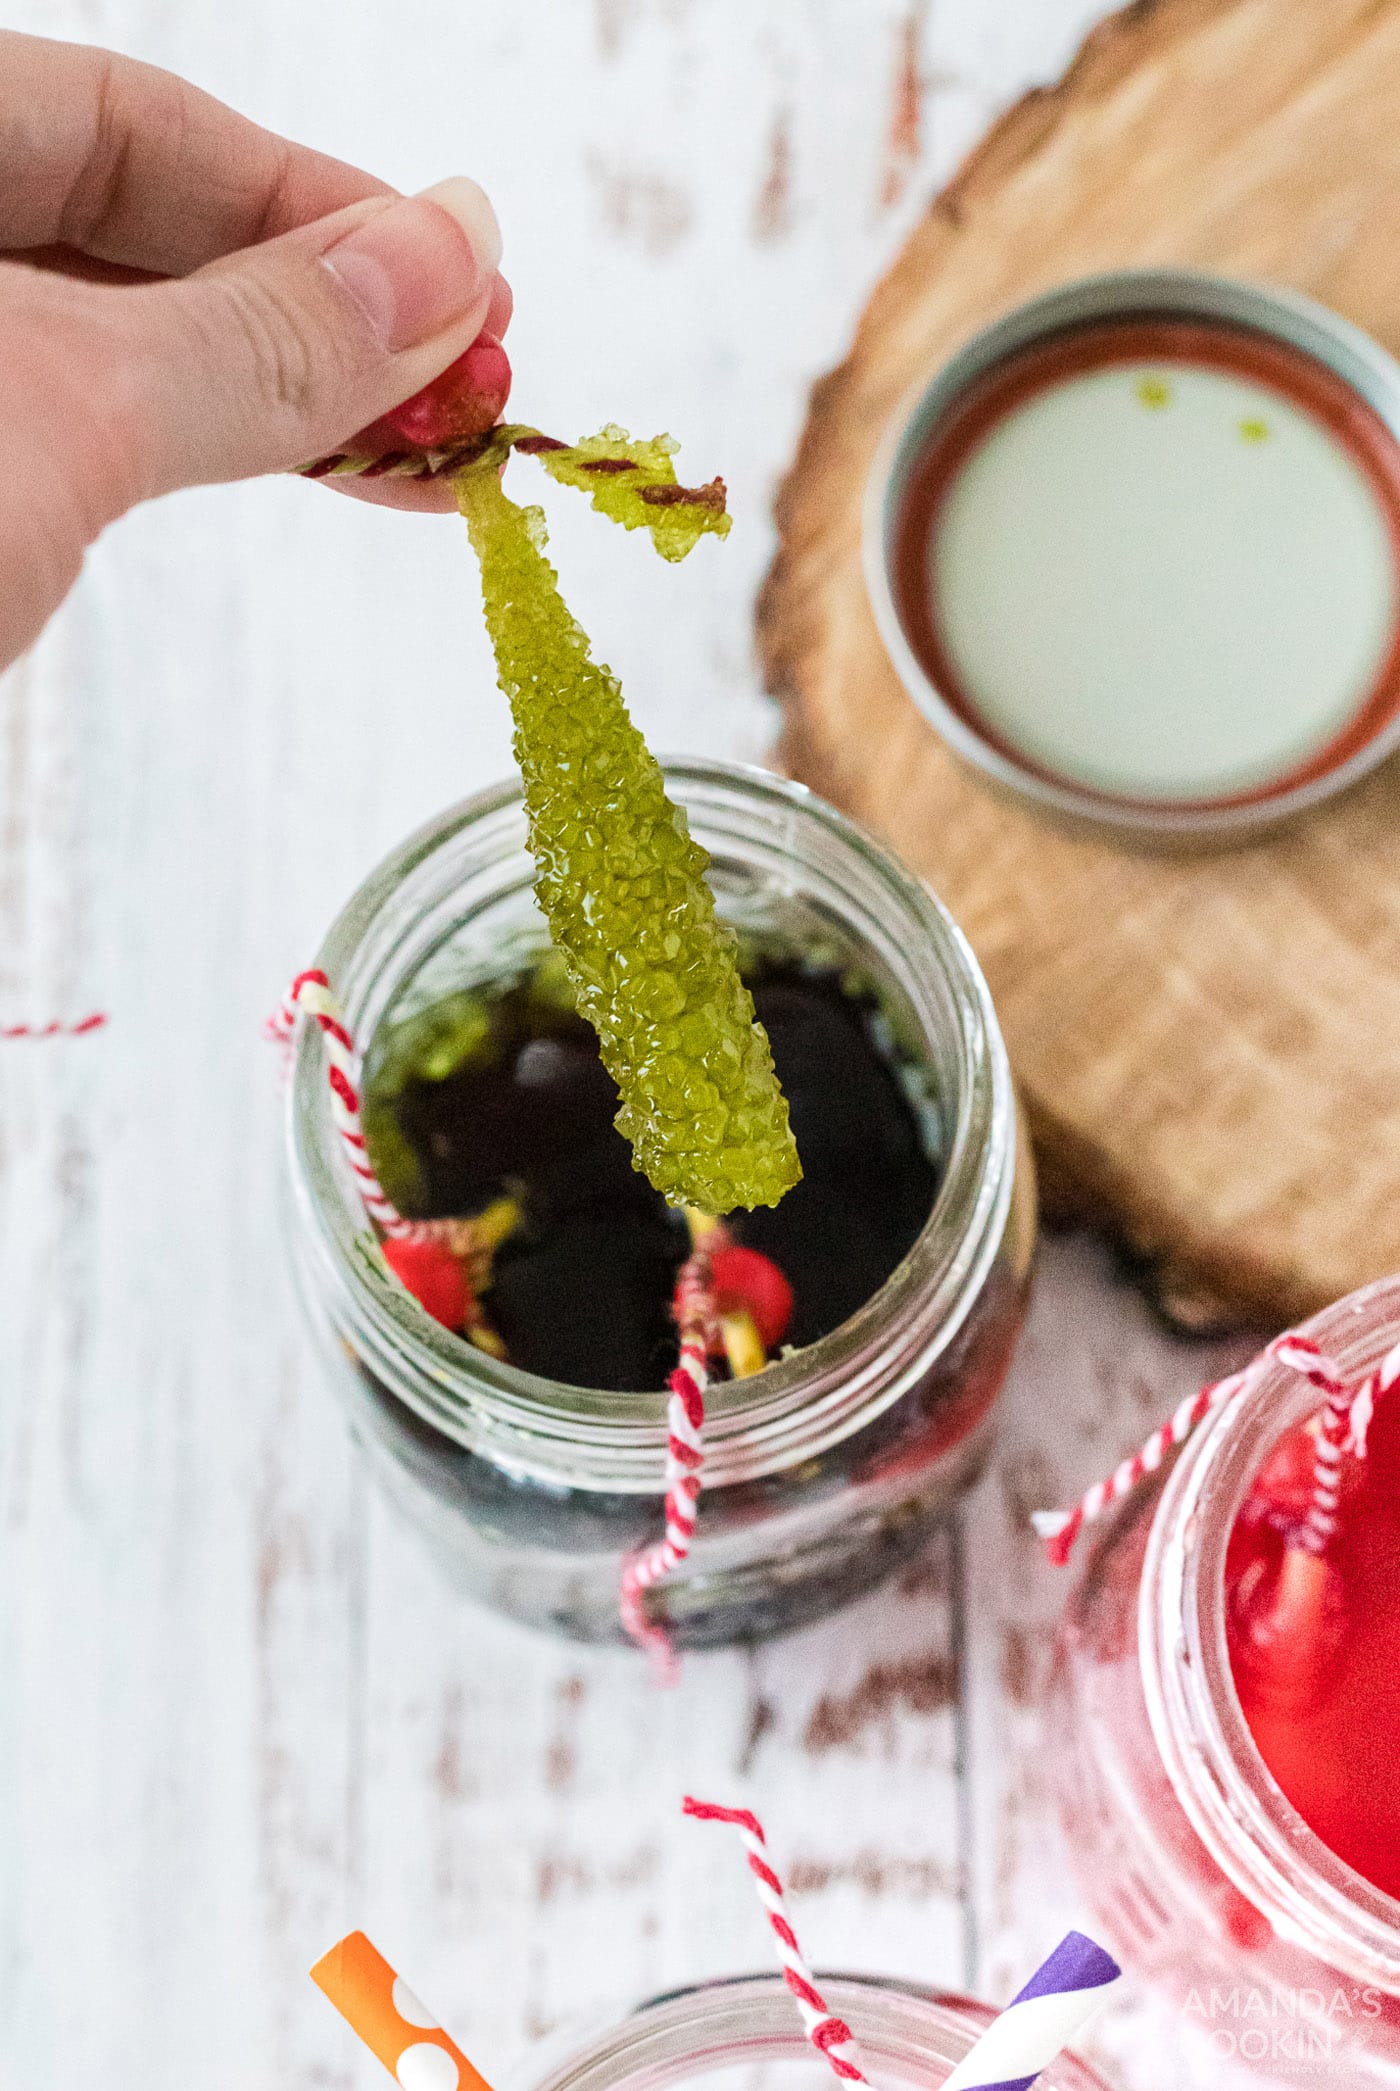
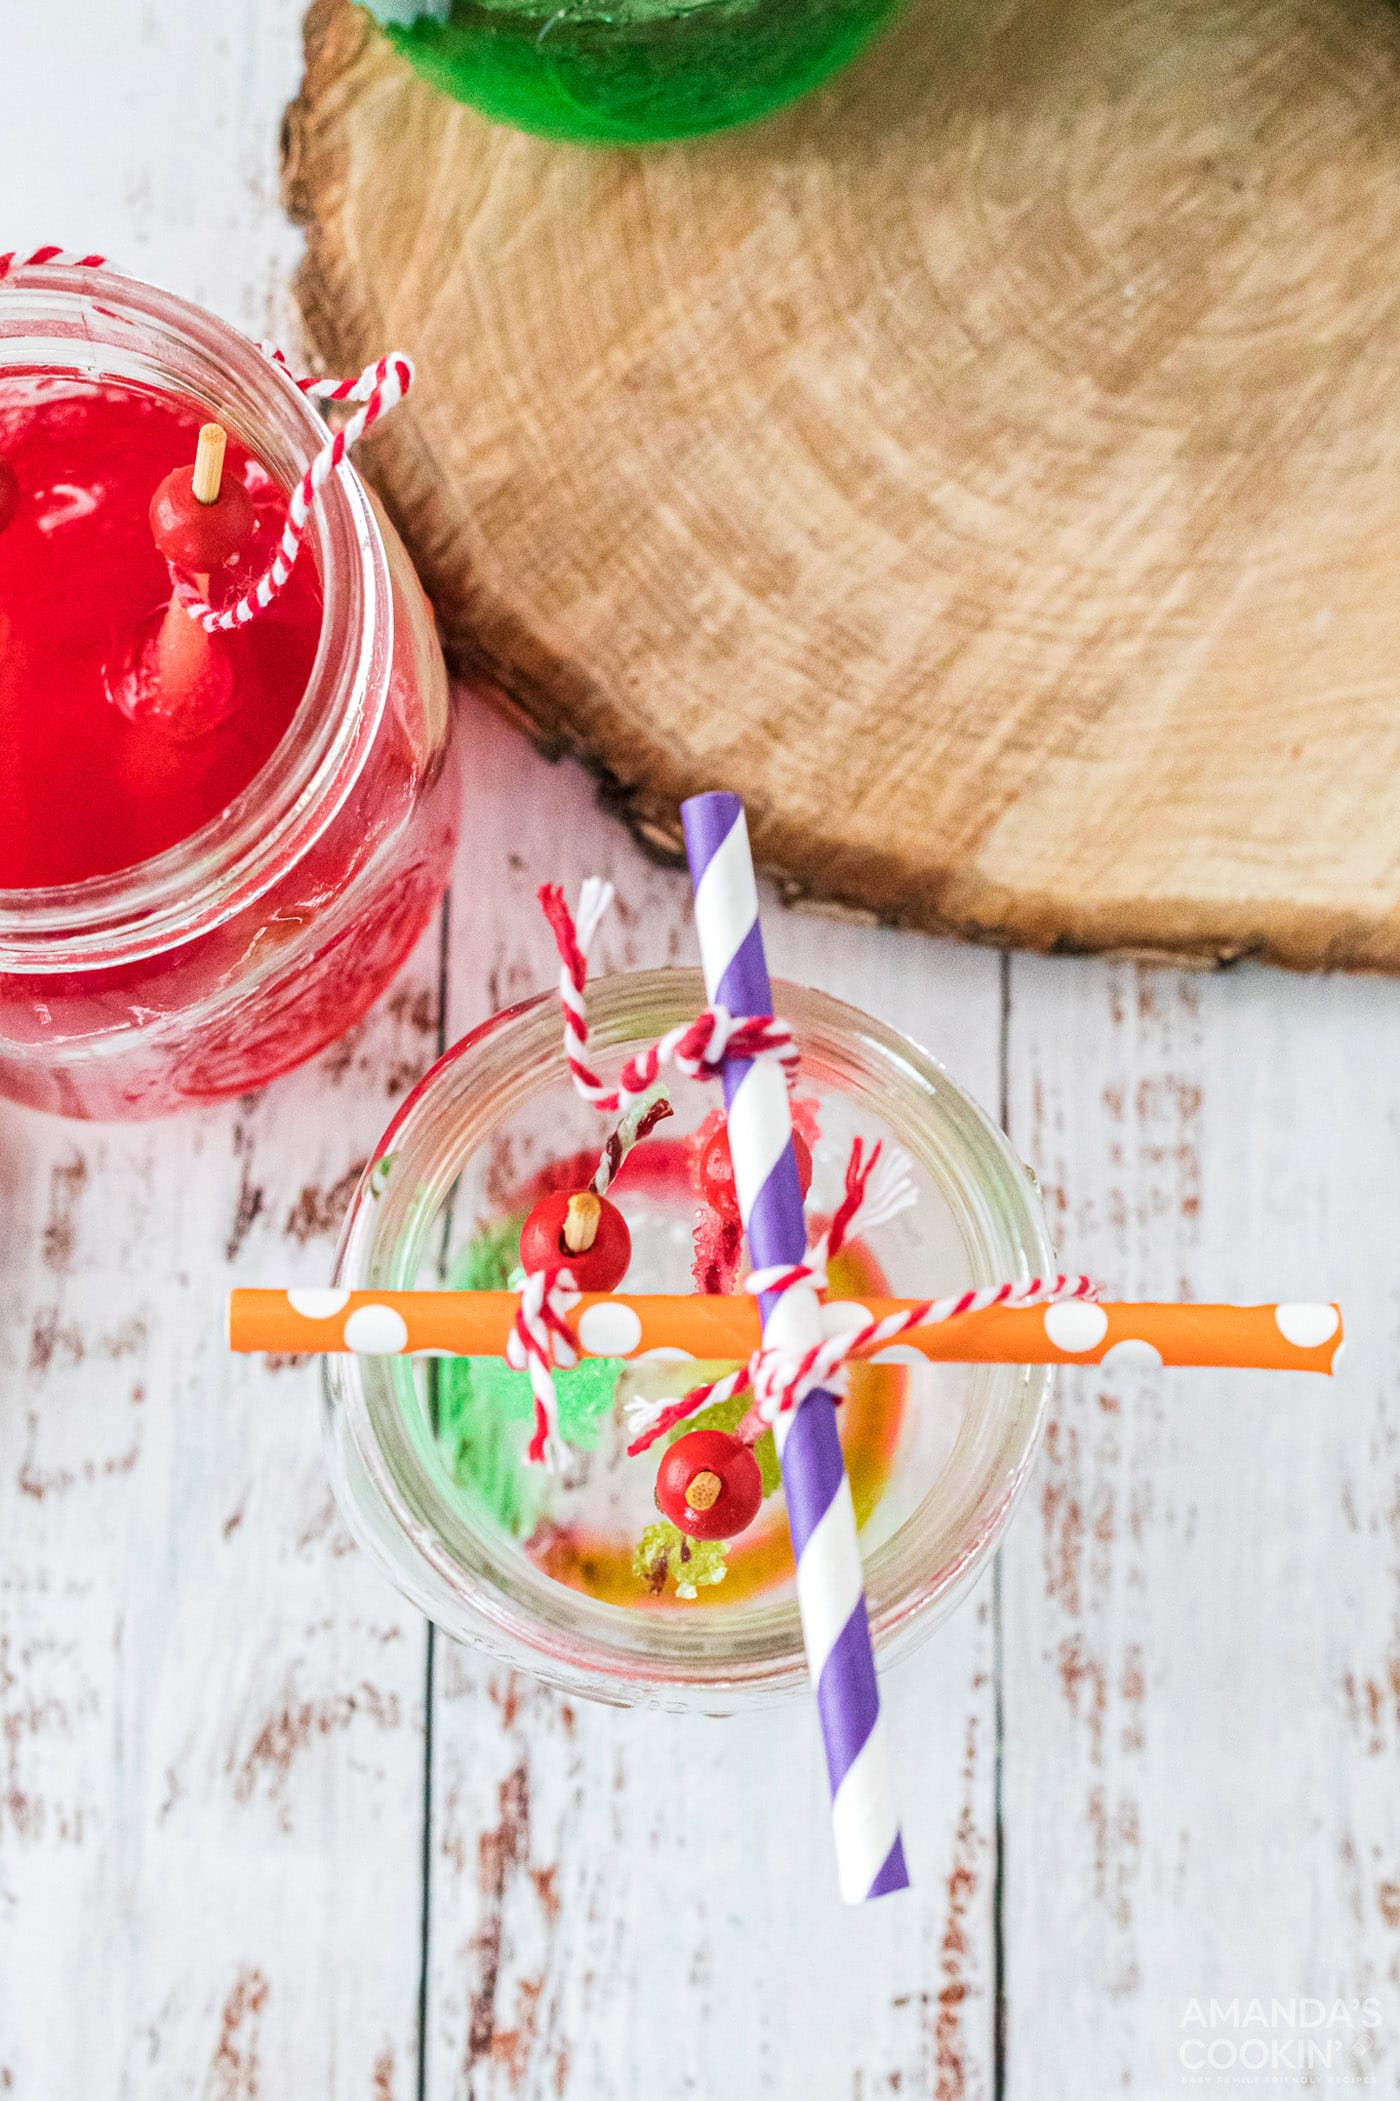
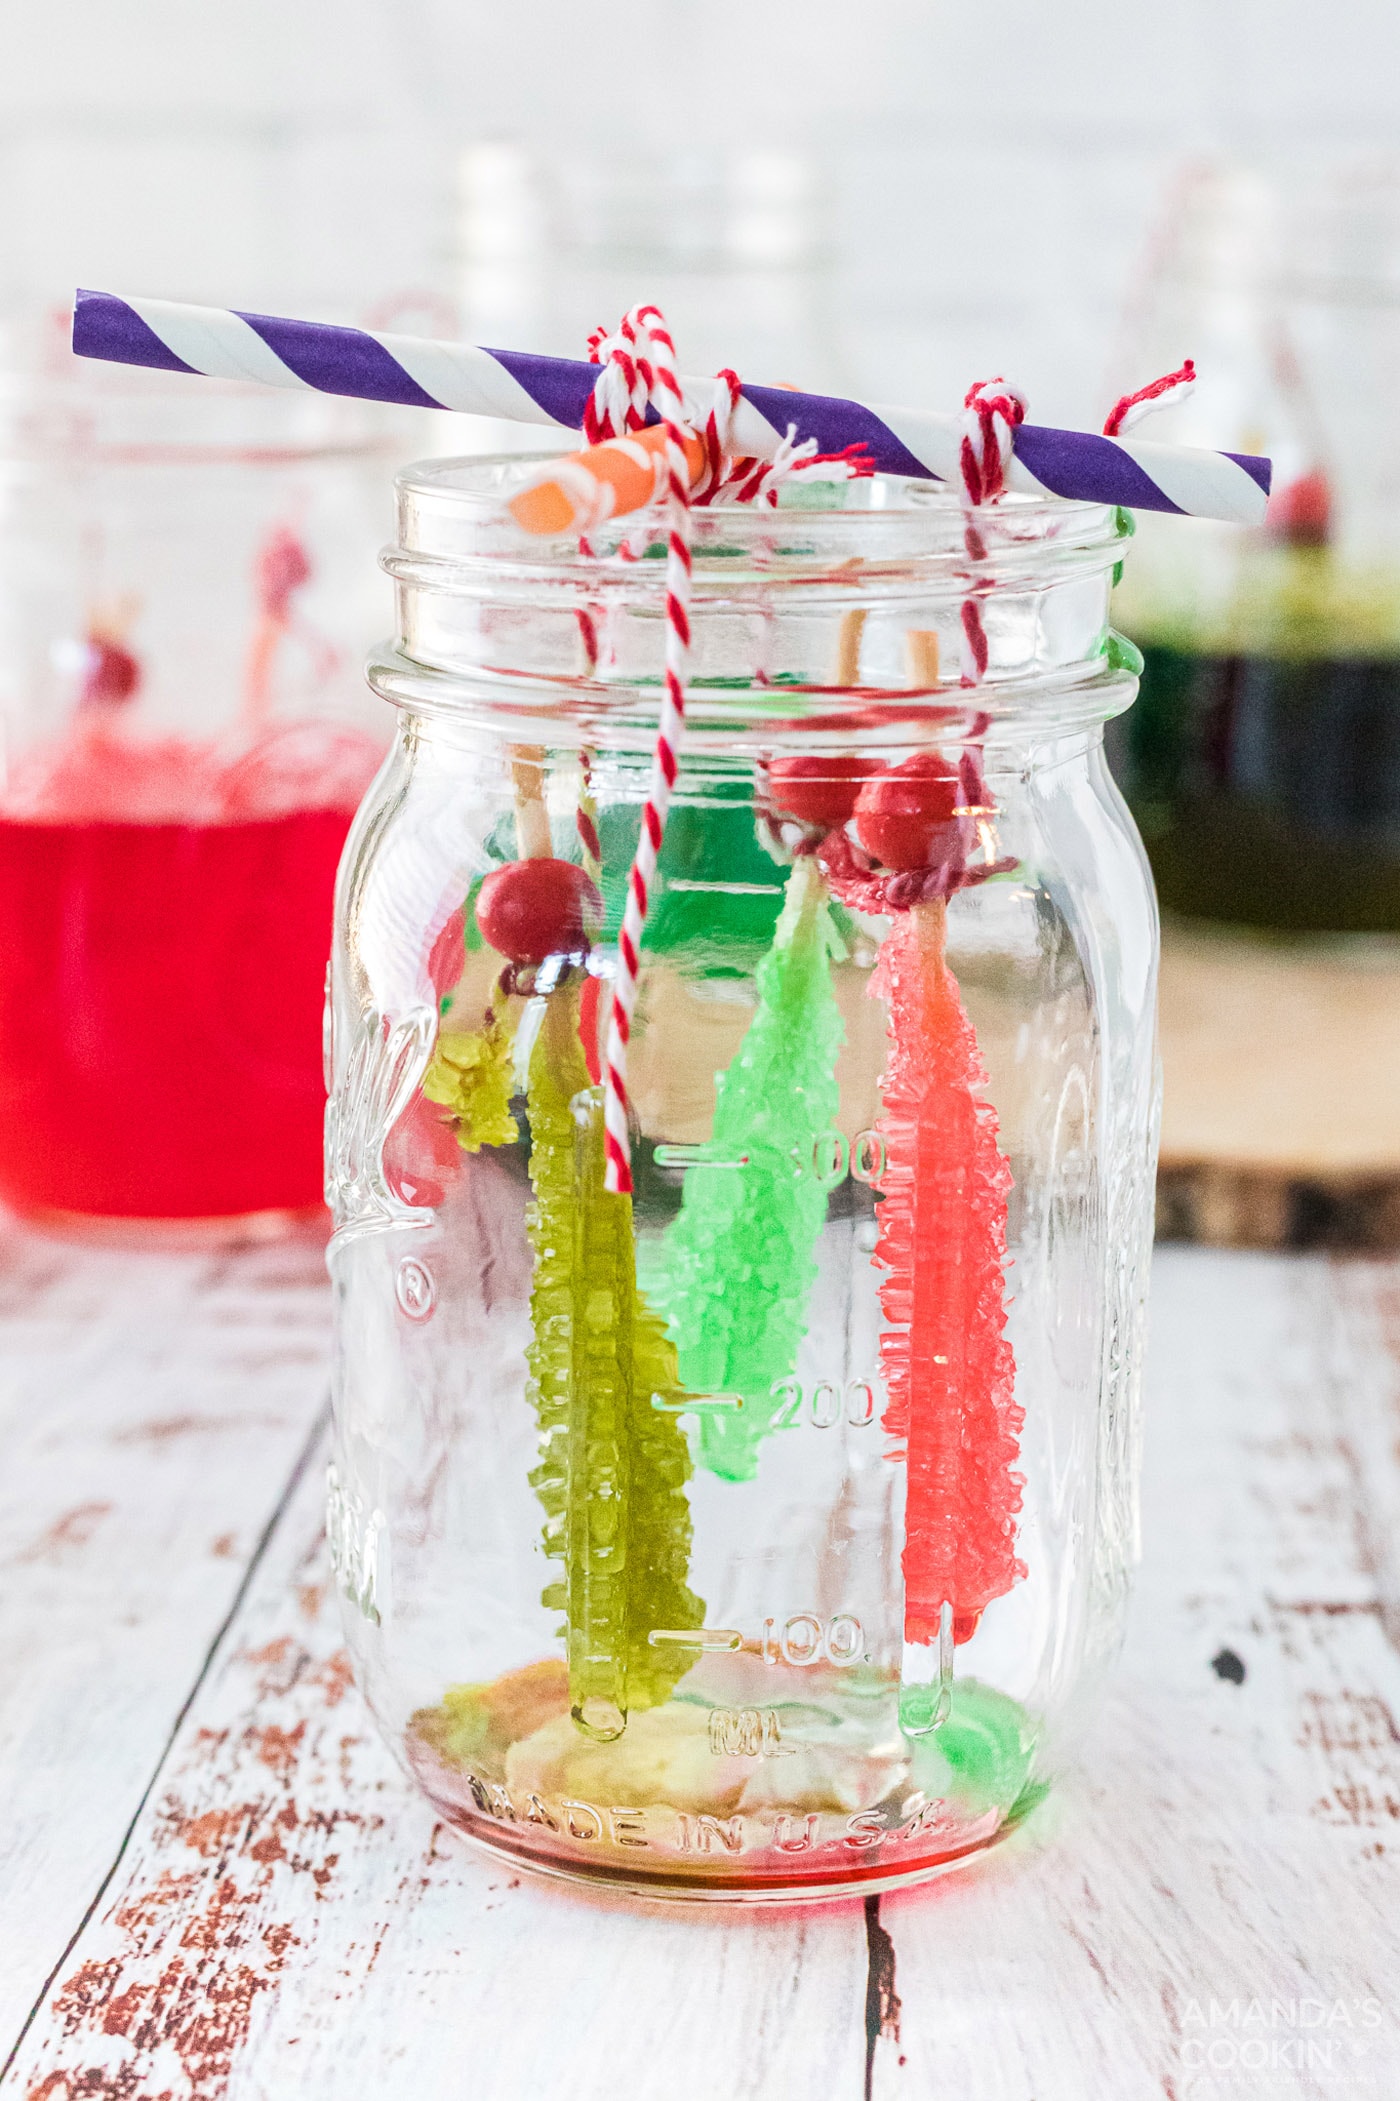
- Drying Your Rock Candy: Once the sugar crystals have grown to your desired size and appearance, they are ready for the final drying stage. To prepare a drying rack, tie two straws together in the middle to form an ‘X’ shape. Carefully balance this ‘X’ on top of a clean, empty jar. Gently remove the rock candy sticks from their original jars, carefully breaking any sugar crust that might have formed on the surface to free them. Tie the strings of your rock candy sticks onto the straw ‘X,’ allowing them to hang suspended in the empty jar. Ensure they are not touching each other or the sides of the jar. Let them hang there until they are completely dry, which helps them harden and prevents stickiness.


The Science Behind Your Sweet Creation
At its heart, making rock candy is a captivating chemistry experiment that demonstrates the principles of solubility, supersaturation, and crystallization. When you heat water and dissolve a large amount of sugar into it, you create a supersaturated solution. This means the water is holding more sugar than it normally could at room temperature. As the solution slowly cools, the sugar molecules can no longer stay dissolved and begin to come out of the solution.
These excess sugar molecules look for a surface to attach to and start forming crystals. This process is called nucleation. By coating your skewers with sugar beforehand, you provide numerous “seed crystals” for the dissolved sugar to latch onto, making the crystal growth more efficient and resulting in larger, more beautiful rock candy. The slow cooling and undisturbed environment allow the sugar molecules to arrange themselves in an organized, crystalline structure, creating the characteristic facets of rock candy.
Tips for Growing Perfect Rock Candy Crystals
- Cleanliness is Key: Ensure all your equipment, especially the jars and skewers, are spotless. Any dust or impurities can interfere with crystal growth, causing them to form unevenly or not at all.
- Don’t Overcook the Syrup: Boiling the sugar syrup for too long can cause it to caramelize or become too thick, hindering proper crystal formation. Just bring it to a rolling boil and then remove it from the heat.
- Proper Cooling Temperature: Cooling the syrup to room temperature (or just slightly above) before adding the skewers is crucial. If the syrup is too hot, the crystals might not form properly; if it’s too cold, too many crystals might form on the bottom of the jar instead of on your skewers.
- Seed Your Skewers: The sugar coating on your skewers acts as the starting point for crystal growth. Don’t skip this step! It provides the initial “seeds” for the dissolved sugar to build upon.
- No Disturbances: Once your skewers are in the jars, find a quiet spot where the jars won’t be moved, bumped, or shaken. Any disturbance can disrupt the delicate crystal formation and cause fewer or smaller crystals.
- Patience, Patience, Patience: Crystal growth is a slow process. While you might see small crystals forming within a day or two, larger, more impressive crystals take time. Allow at least 5-7 days for significant growth, and up to 10 days for truly spectacular results.
Frequently Asked Questions About Homemade Rock Candy
Yes, you absolutely can! While wooden skewers are our preferred method for growing large, uniform crystals on a stick, baker’s twine can be effectively used as an alternative. To do this, simply tie a small weight, such as a clean lifesaver candy or a metal washer (ensure it’s food-safe and clean), to one end of the baker’s twine. This weight will help submerge the string into the sugar mixture. Suspend the string into the sugar solution in the jar, making sure it doesn’t touch the bottom or sides, and secure the other end with the jar’s lid. Although this method works well and you’ll still get beautiful crystals, our experience has shown that the wider surface area of wooden skewers generally provides a more robust foundation for larger and more abundant crystal growth.
For achieving the largest, clearest, and most well-defined sugar crystals, scientific experiments and home trials consistently show that regular granulated white sugar yields the best results. Its fine, uniform particles and lack of impurities allow for optimal crystal formation. However, if you prefer a different flavor profile or a slightly less translucent appearance, you can certainly experiment with other sugars. Brown sugar will produce a darker, caramel-flavored rock candy with a slightly different crystal structure, and organic sugar can also be used, though the crystal size might vary compared to white granulated sugar.
Once fully dried, homemade rock candy has an impressive shelf life! You can store your beautiful creations in an airtight container in a cool, dry place for up to a year, or even longer. It’s essential to keep it away from warm areas, direct sunlight, and humidity, as these conditions can cause the crystals to melt, become sticky, or lose their structure. Proper storage ensures your rock candy remains sparkling and delicious for many months, making it perfect for making ahead as gifts or party favors.
There are a few common reasons why rock candy crystals might not form as expected. Firstly, ensure your sugar solution was truly supersaturated – did you add enough sugar, and did it all dissolve completely? If not, there might not be enough excess sugar to crystallize. Secondly, your skewers need to be properly “seeded” with a layer of dry sugar; this provides the starting points for crystal growth. Thirdly, the solution needs to cool slowly and remain undisturbed. Rapid cooling or movement can inhibit crystal formation. Lastly, ensure your jars were very clean, as impurities can interfere. Give it enough time; sometimes, patience is the key!
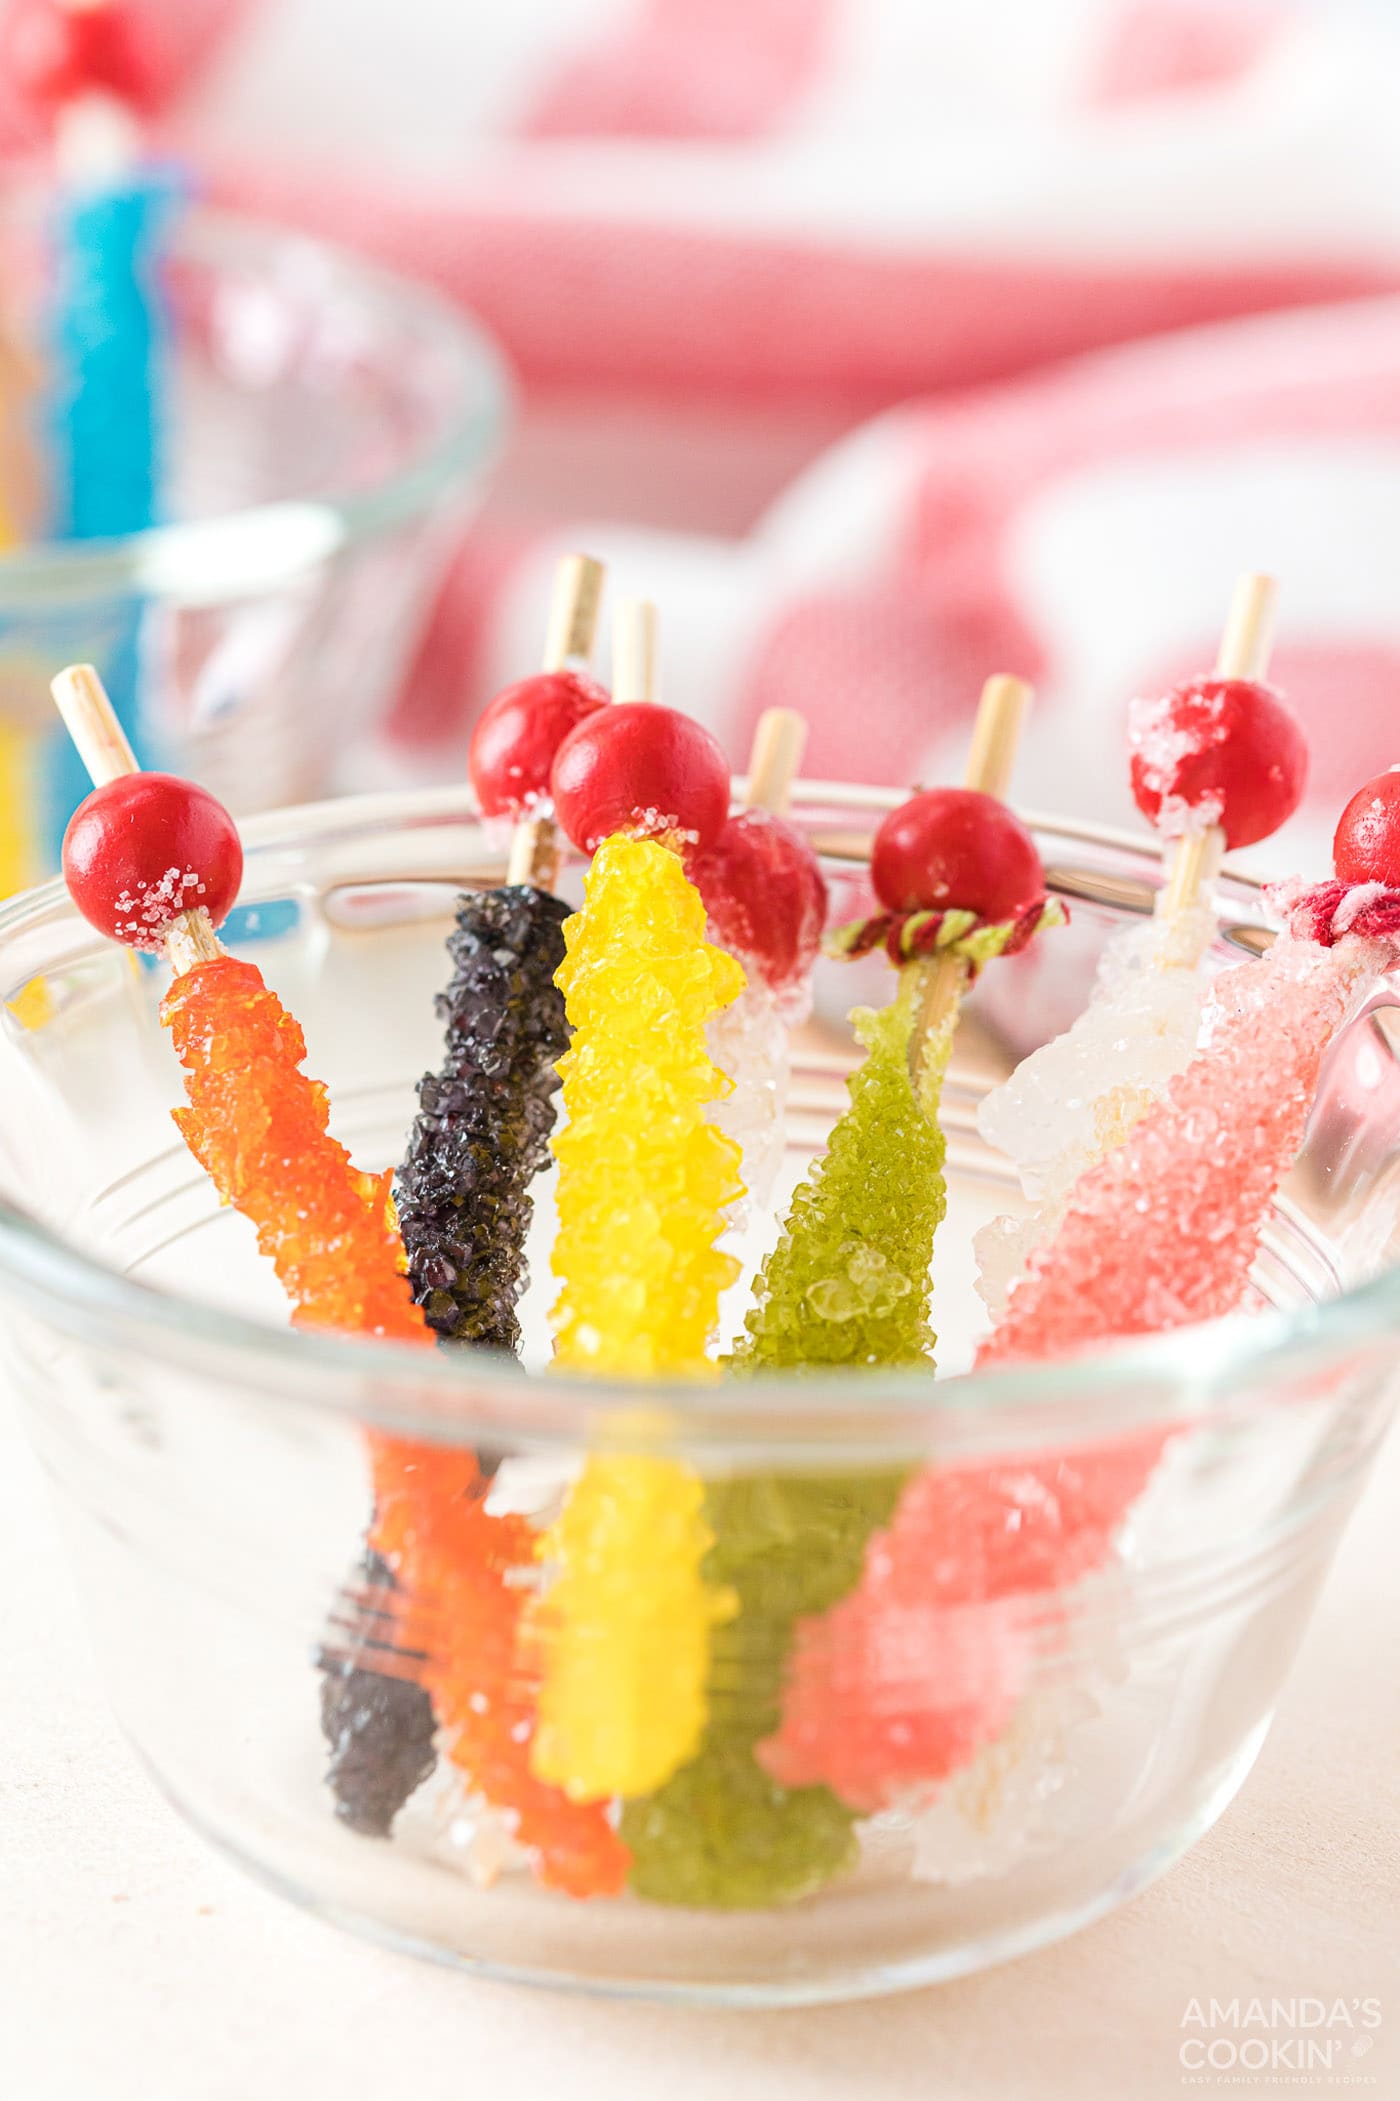
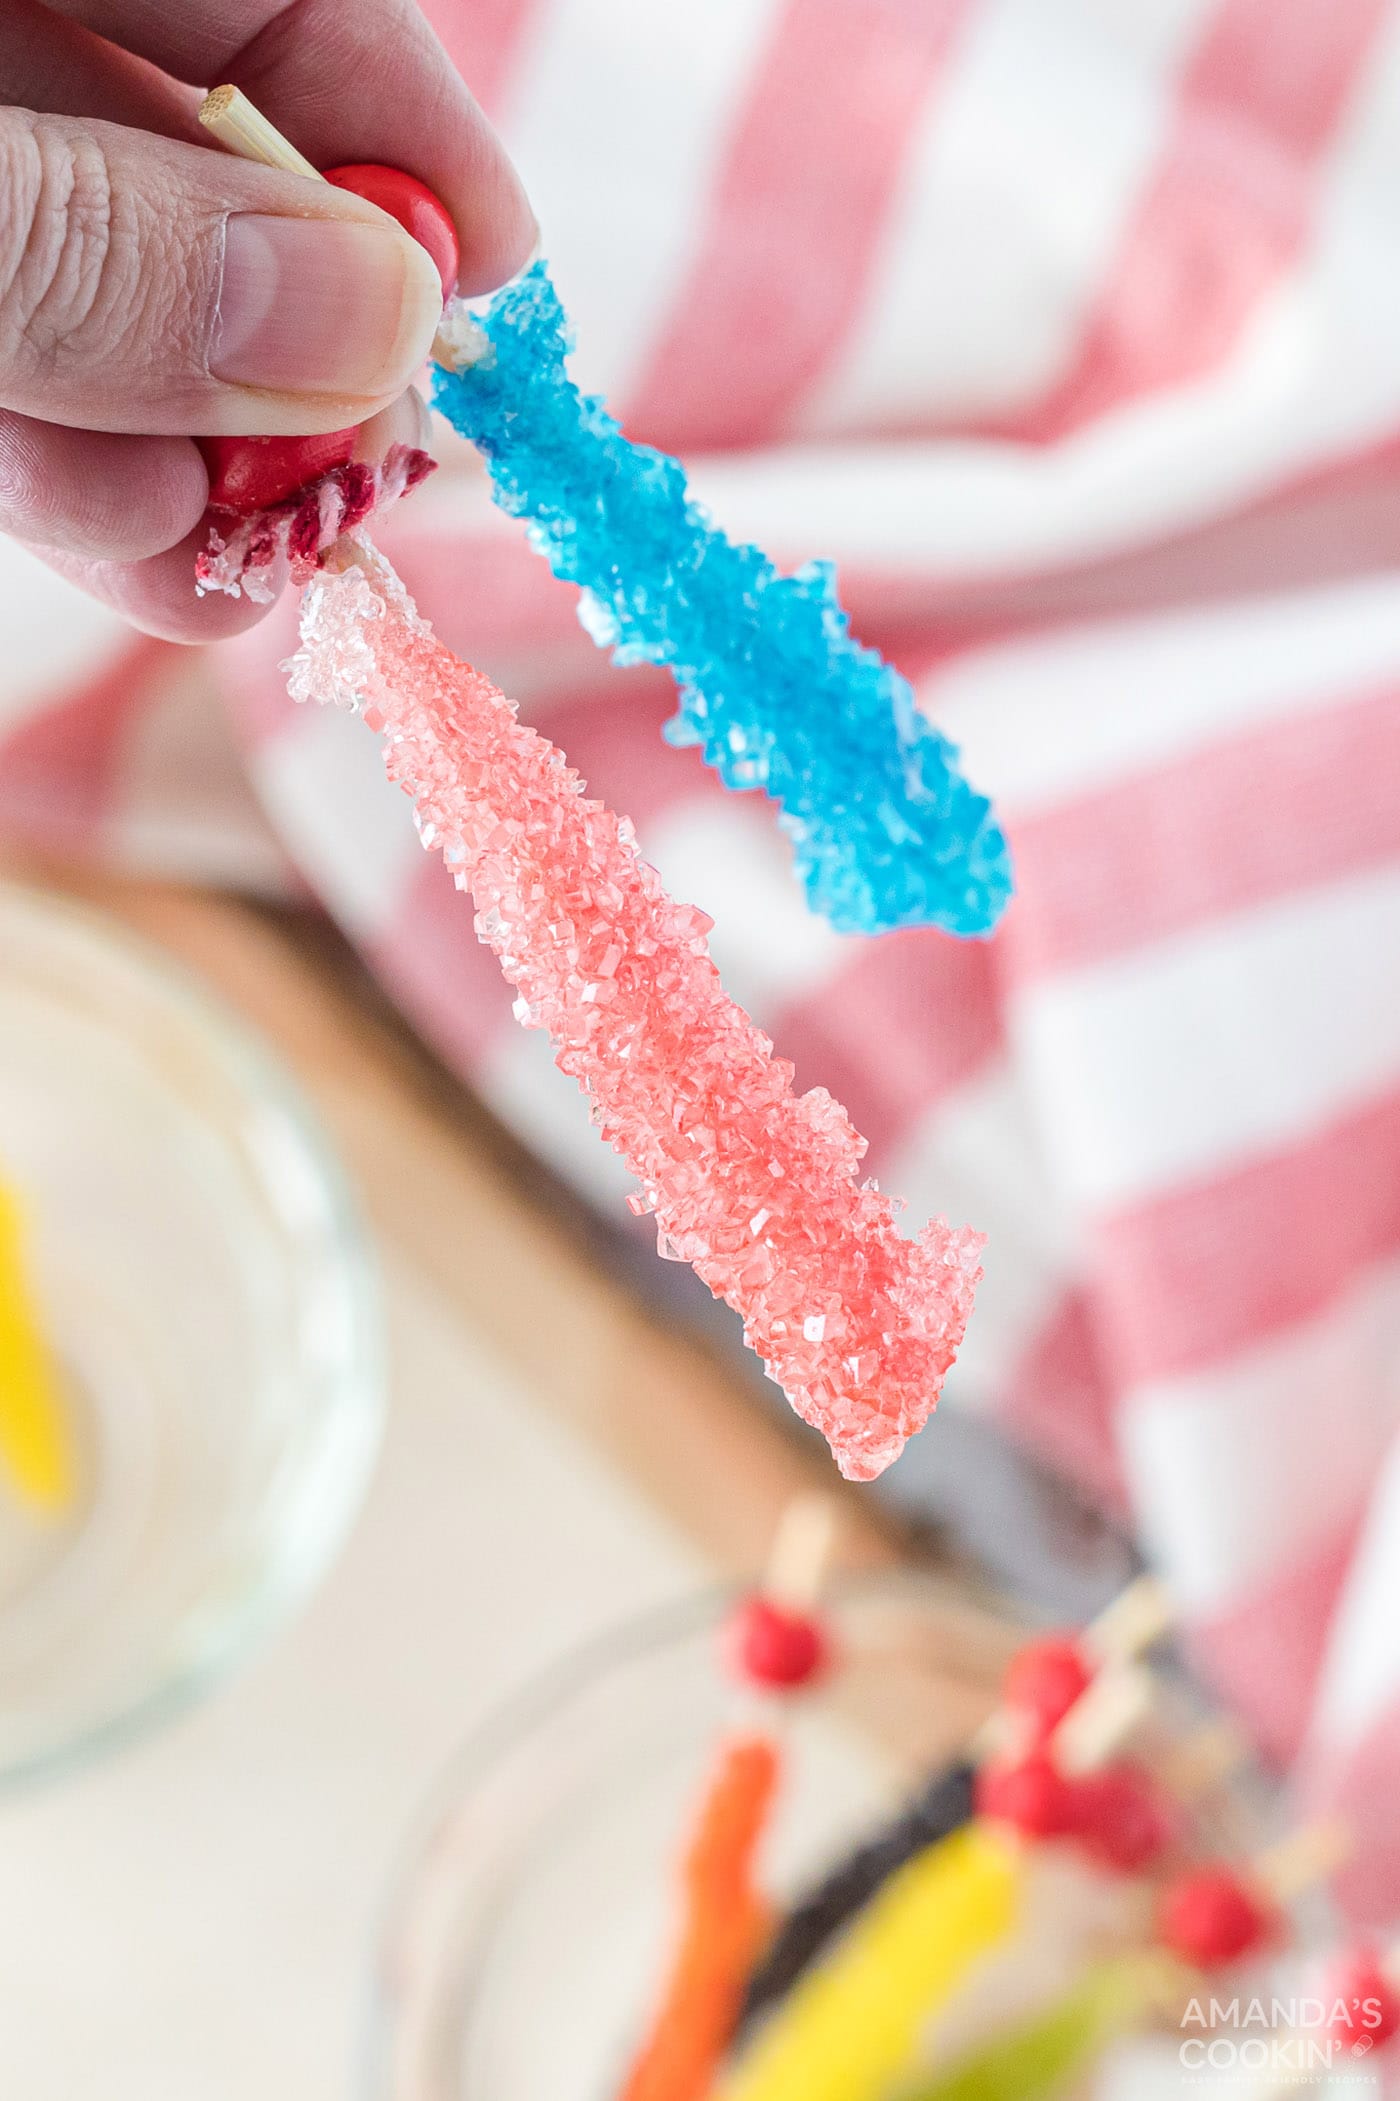
The experience of creating your own rock candy is truly unforgettable, offering both a delicious reward and a memorable educational journey. You and your children will cherish the glittering results of this fascinating experiment. Whether you choose to savor your homemade rock candy yourself, save them for delightful goody bags at birthday parties, include them with a heartfelt Valentine’s card, or use them to add a whimsical touch atop a Christmas present, these shimmering treats are sure to bring joy and wonder. Enjoy the sweet taste of science!
Explore More Delicious Candy Recipes
- Mocha Truffles
- Chocolate Turtles
- Orange Creamsicle Gummies
- Easy Homemade Candy Bars
- Crunchy Popcorn Chocolate Bark
- White Chocolate Candy Cane Pretzel Sticks
- Candied Citrus Peel
- Homemade Lollipops
I love to bake and cook and share my kitchen experience with all of you! Remembering to come back each day can be tough, that’s why I offer a convenient newsletter every time a new recipe posts. Simply subscribe and start receiving your free daily recipes!

Rock Candy
IMPORTANT – There are often Frequently Asked Questions within the blog post that you may find helpful. Simply scroll back up to read them!
Print It
Pin It
Rate It
Save ItSaved!
Ingredients
- 3 cups granulated sugar
- 1 cup water
- Food coloring optional
- ½ teaspoon flavoring oil or extract optional
Things You’ll Need
-
Wooden skewers
-
Clean glass jars with a lid (canning jars work well for this)
-
straws
-
Baker’s twine
Before You Begin
- You might notice sugar crystals forming on the sides of your jars or even across the top of the solution. This is a natural part of the process! Feel free to gently break this crust to retrieve your rock candy sticks. However, be extremely careful not to knock off any precious crystals from your skewer sticks during this process.
- For easy cleanup of the jars once your rock candy is harvested, simply let them soak in hot water for a while. Sugar is water-soluble, so the crystals will naturally dissolve, making the jars much easier to clean.
- As an alternative to wooden skewers, you can use baker’s twine. To implement this method, tie a small weight (like a clean lifesaver candy or a small, food-safe washer) to one end of the string to help it sink. Suspend the weighted twine into the sugar mixture instead of the skewers. While this technique does work, our tests have shown that wooden skewers generally provide a larger surface area and a more stable base, leading to better crystal formation.
Instructions
-
Combine sugar and water in a saucepan. Heat over high heat, stirring constantly, until the mixture reaches a vigorous rolling boil. Be careful not to boil it too long, or the candy may begin to harden prematurely.
-
Remove the saucepan from the heat and continue stirring until all the sugar granules have completely dissolved. The syrup will become noticeably clearer when this happens.
-
Warm the outside of each clean jar under hot tap water for a few seconds. Carefully pour the hot sugar mixture into the jars, then place them in the refrigerator to cool to approximately room temperature (about 30-60 minutes). Avoid chilling the mixture completely.
-
While the mixture cools, dampen wooden skewers slightly and roll them thoroughly in granulated sugar. Set them aside to dry completely. This sugar coating will serve as seed crystals for larger rock candy formation.
-
Once the sugar mixture has cooled to near room temperature, remove the jars from the refrigerator. If desired, add your choice of flavoring or food coloring at this step and stir gently.
-
Tie baker’s twine to the top of each prepared skewer. Gently lower the skewers into the sugar mixture, ensuring they hang freely without touching the bottom or sides of the jar, or each other. Secure the twine along the side of the jar by screwing the lid on tightly.
-
Place the jars in an undisturbed location and allow the sugar crystals to grow over the next 3 to 10 days. The longer you wait, the larger your crystals will become.
-
Once crystals reach a good size, they are ready for drying. Tie two straws into an ‘X’ shape and balance it on top of a clean, empty jar. Carefully remove the rock candy sticks from their growth jars, breaking any surface crust if necessary. Tie their strings onto the straw ‘X,’ allowing them to hang and dry completely in the empty jar, ensuring they don’t touch each other.
The recipes on this blog are tested with a conventional gas oven and gas stovetop. It’s important to note that some ovens, especially as they age, can cook and bake inconsistently. Using an inexpensive oven thermometer can assure you that your oven is truly heating to the proper temperature. If you use a toaster oven or countertop oven, please keep in mind that they may not distribute heat the same as a conventional full sized oven and you may need to adjust your cooking/baking times. In the case of recipes made with a pressure cooker, air fryer, slow cooker, or other appliance, a link to the appliances we use is listed within each respective recipe. For baking recipes where measurements are given by weight, please note that results may not be the same if cups are used instead, and we can’t guarantee success with that method.

