Easy & Spooky Fun: How to Make Vibrant Monster Cupcakes for Halloween & Parties
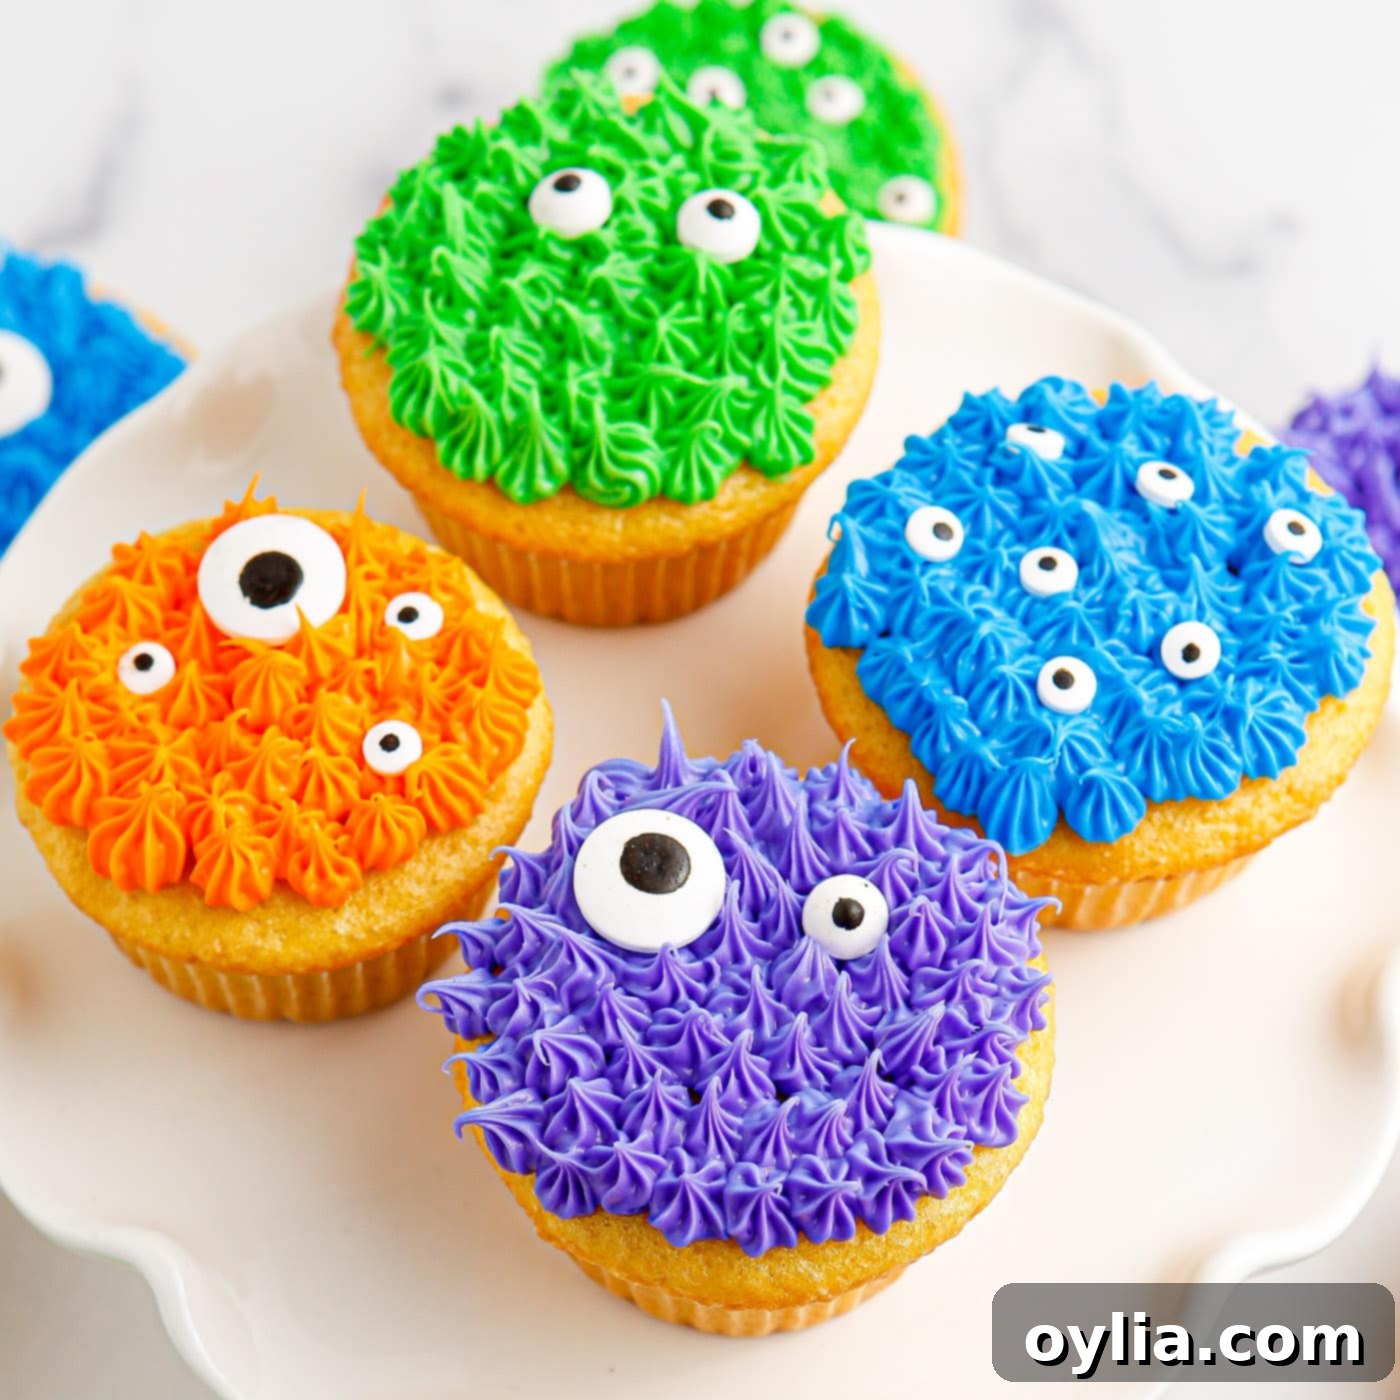
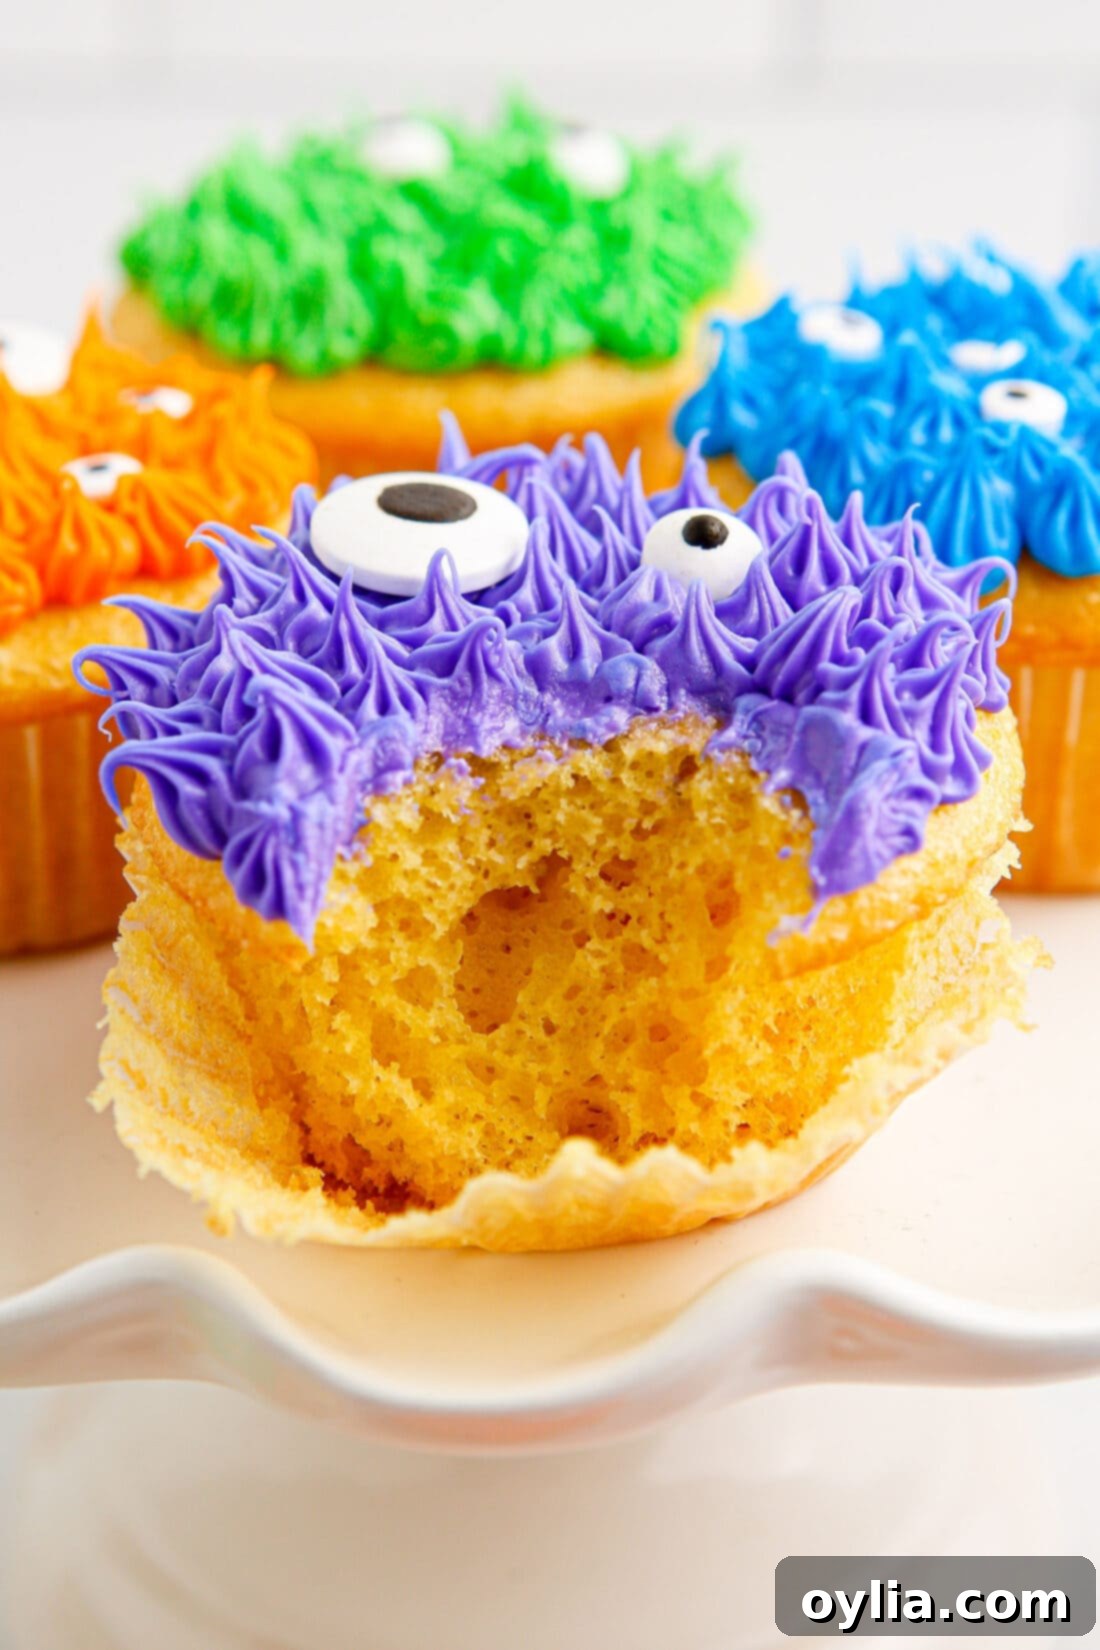
Get ready to unleash some delightful culinary creativity with these not-so-spooky monster cupcakes! Decked out in vibrant, electrifying Halloween-colored frosting and whimsical candy eyeballs, these treats are guaranteed to be the star of any seasonal gathering. What makes them even better? You can whip up these adorably eerie cupcakes in a snap, relying on the convenience of a classic box of cake mix, a tub of creamy vanilla frosting, and a splash of vibrant gel food coloring.
Why This Monster Cupcake Recipe is a Must-Try
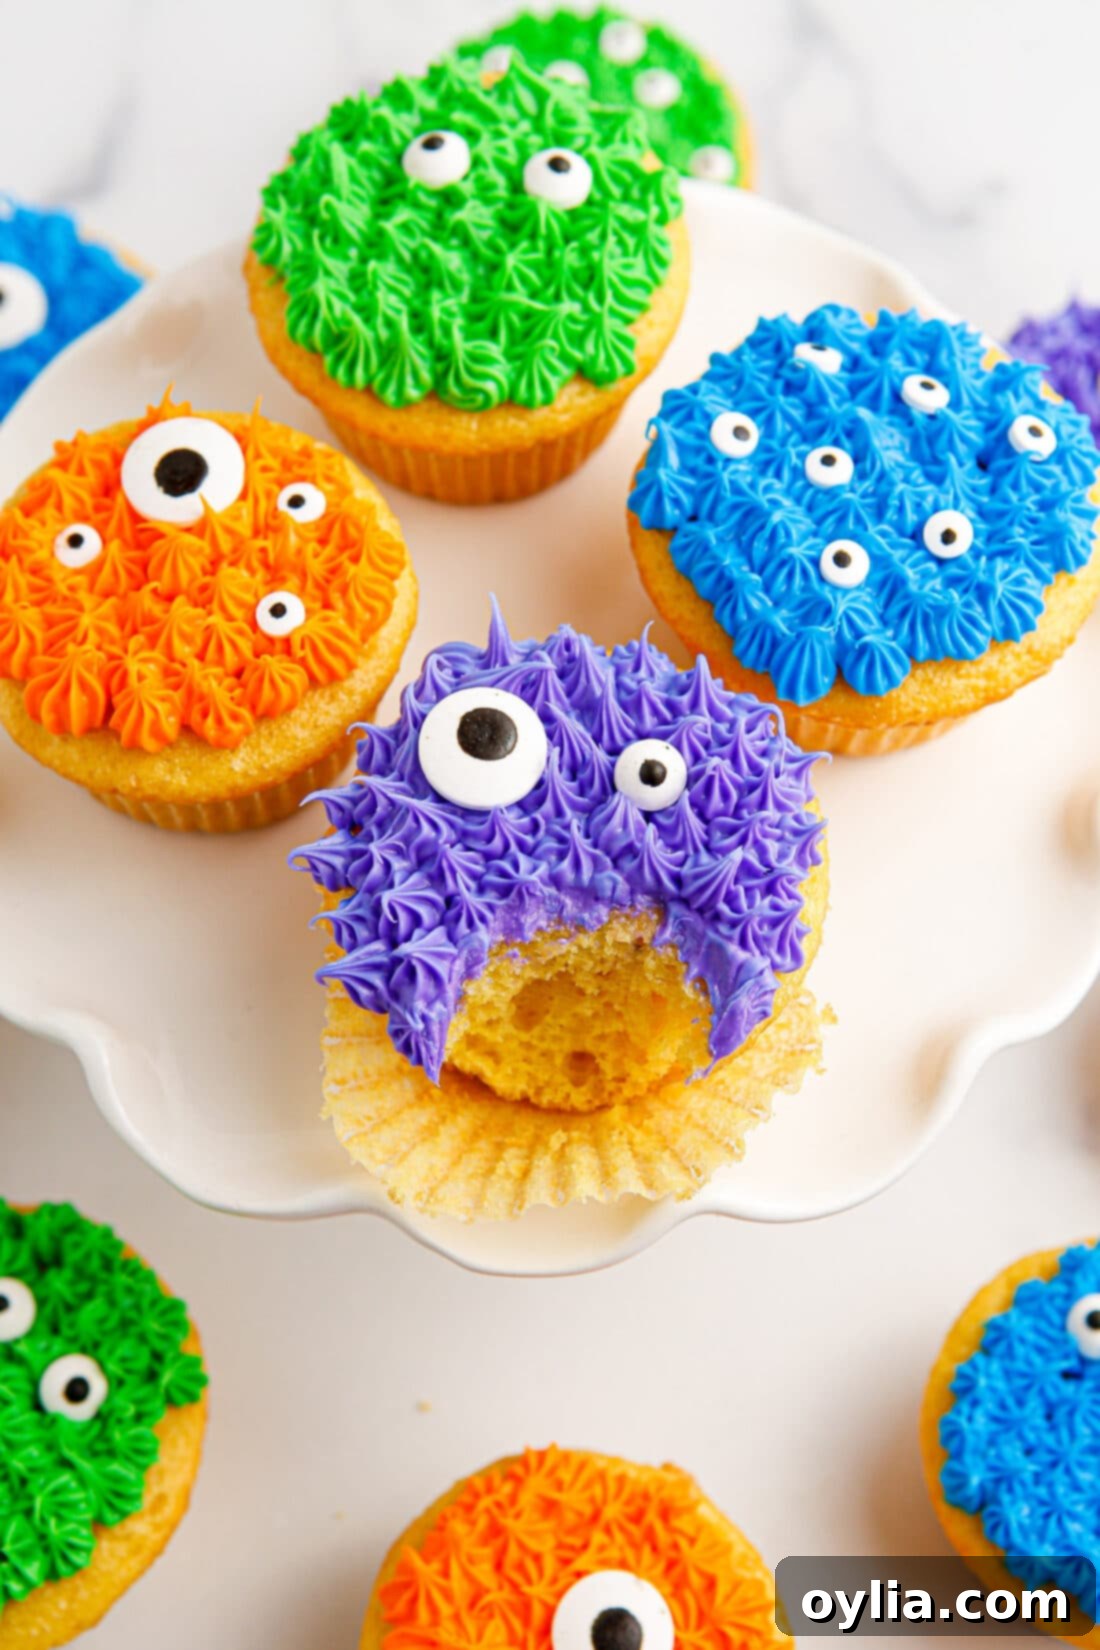
If you’re on the hunt for a super easy, incredibly fun, and utterly charming Halloween dessert idea, look no further! These monster cupcakes are not only a breeze to make but also incredibly versatile, making them perfect for spooky get-togethers, costume parties, or even monster-themed birthday celebrations any time of year. The beauty of this recipe lies in its simplicity and accessibility. You simply bake the cupcakes using a convenient cake mix, then transform a tub of vanilla frosting into a kaleidoscope of colors with gel food coloring. Once colored, pipe the fluffy “monster hair” onto the cooled cupcakes and adorn them with an assortment of quirky candy eyeballs. It’s a creative process that’s as enjoyable as the eating!
Beyond cupcakes, this monster design is incredibly adaptable. Imagine applying the same vibrant frosting and candy eyeball concept to sugar cookies, much like our adorable mummy cookies. Or, for a larger crowd, bake an entire 13×9 cake, cover it with a colorful, textured frosting to resemble monster fur, and scatter candy eyeballs all over for a truly monstrous centerpiece. The possibilities are endless when it comes to bringing these friendly monsters to life in your kitchen!
Key Ingredients for Your Monster Cupcakes
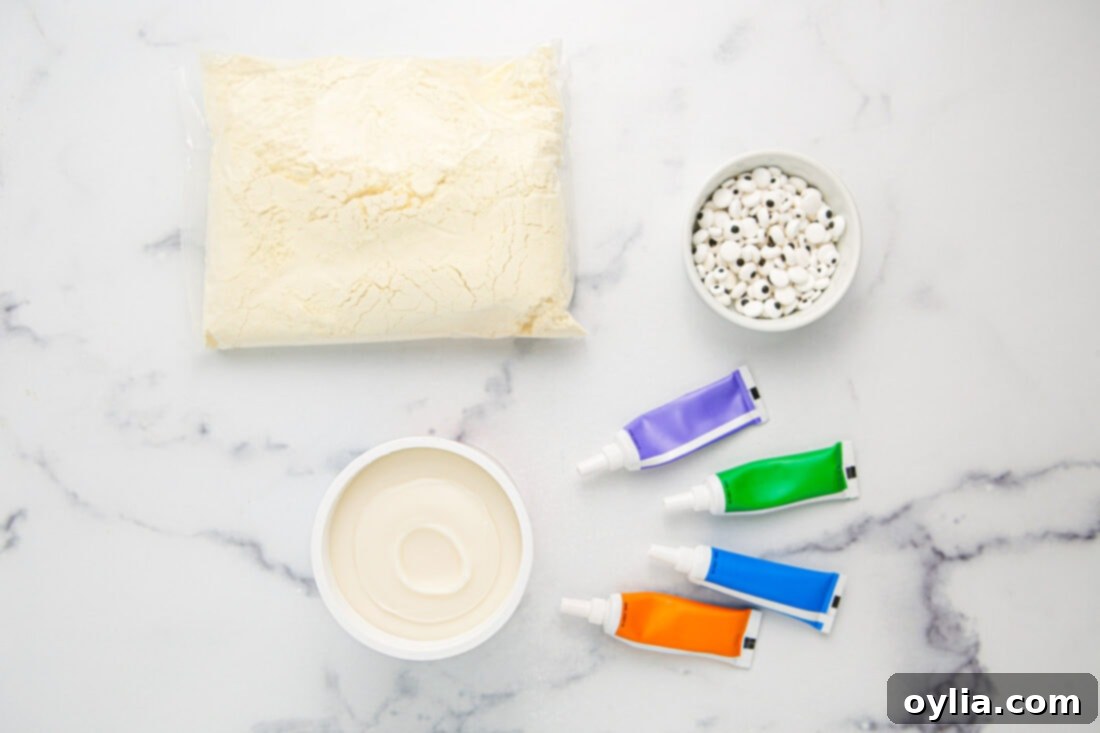
Crafting these adorable monster cupcakes requires just a few readily available ingredients, making this recipe perfect for last-minute party preparations or a spontaneous baking session. We lean into convenience without sacrificing fun or flavor! Below is a quick overview of what you’ll need. For precise measurements and detailed instructions, remember to scroll to the printable recipe card at the end of this post.
Ingredient Spotlight & Smart Substitutions
One of the best aspects of this recipe is its flexibility, allowing you to easily adapt it to your preferences or what you have on hand. Let’s dive deeper into each ingredient:
CUPCAKES – While the charm of these monster cupcakes often starts with the convenience of a prepared box cake mix, don’t hesitate to get creative with your base. Yellow cake mix provides a classic canvas, but feel free to experiment with other flavors. You could absolutely whip up a batch of homemade double chocolate, rich vanilla, or even fun Oreo cupcakes if you desire a more gourmet touch. Whichever you choose, ensure your cupcakes are completely cooled before frosting to prevent a melty, messy situation!
FROSTING – For ultimate ease, we’re recommending a tub of store-bought vanilla buttercream frosting. Its smooth consistency and mild flavor are perfect for taking on vibrant colors. However, if you’re a fan of homemade goodness, our tried-and-true homemade buttercream frosting recipe is an excellent choice. Making your own frosting gives you more control over sweetness and texture, which can be a delightful addition if you have the time.
FOOD COLOR – To achieve those stunning, eye-popping vibrant colors that truly make these monster cupcakes come alive, I highly recommend using gel food coloring. Unlike liquid food coloring, gel colors are much more concentrated, meaning a little goes a very long way. Start with just a few drops and mix thoroughly, gradually adding more until you reach your desired intense shade. This method prevents thinning out your frosting and ensures brilliant, rich hues like electric blues, spooky purples, lively greens, and glowing oranges for your monstrous creations.
CANDY EYEBALLS – These are the secret to bringing your monsters to life! You can readily purchase candy eyeballs in various sizes and expressions in the baking aisle of most grocery stores, especially around Halloween. They’re also widely available online. Having an assortment of sizes can add more character to your monsters, allowing you to create one-eyed cyclops or multi-eyed creatures. Don’t be afraid to mix and match!
Step-by-Step: Crafting Your Cute Monster Cupcakes
These step-by-step photos and instructions are here to help you visualize how to make this recipe successfully. You can Jump to Recipe to get the printable version of this recipe, complete with precise measurements and instructions at the bottom.
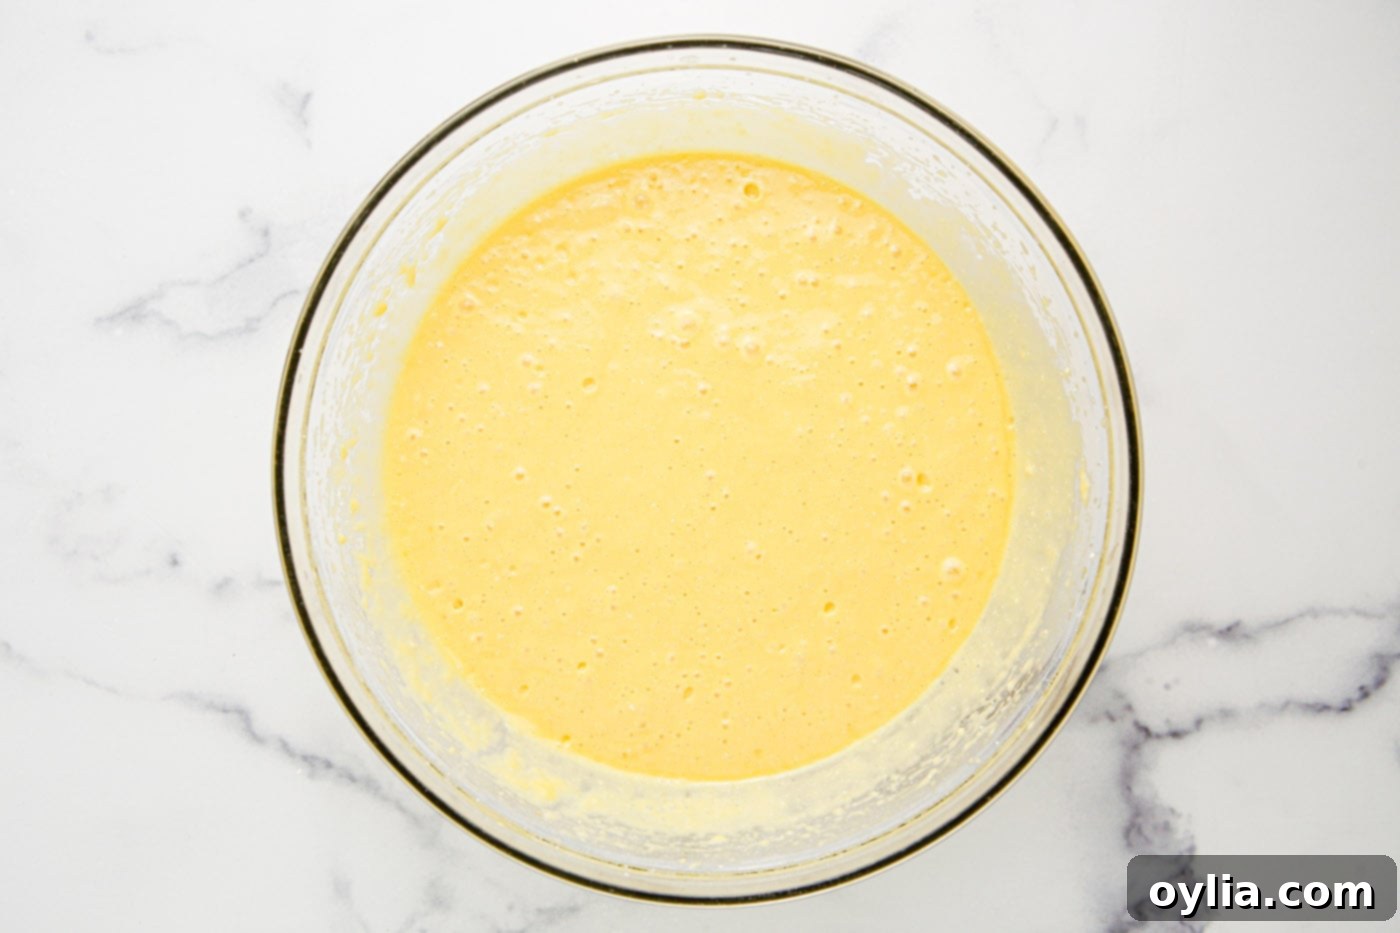
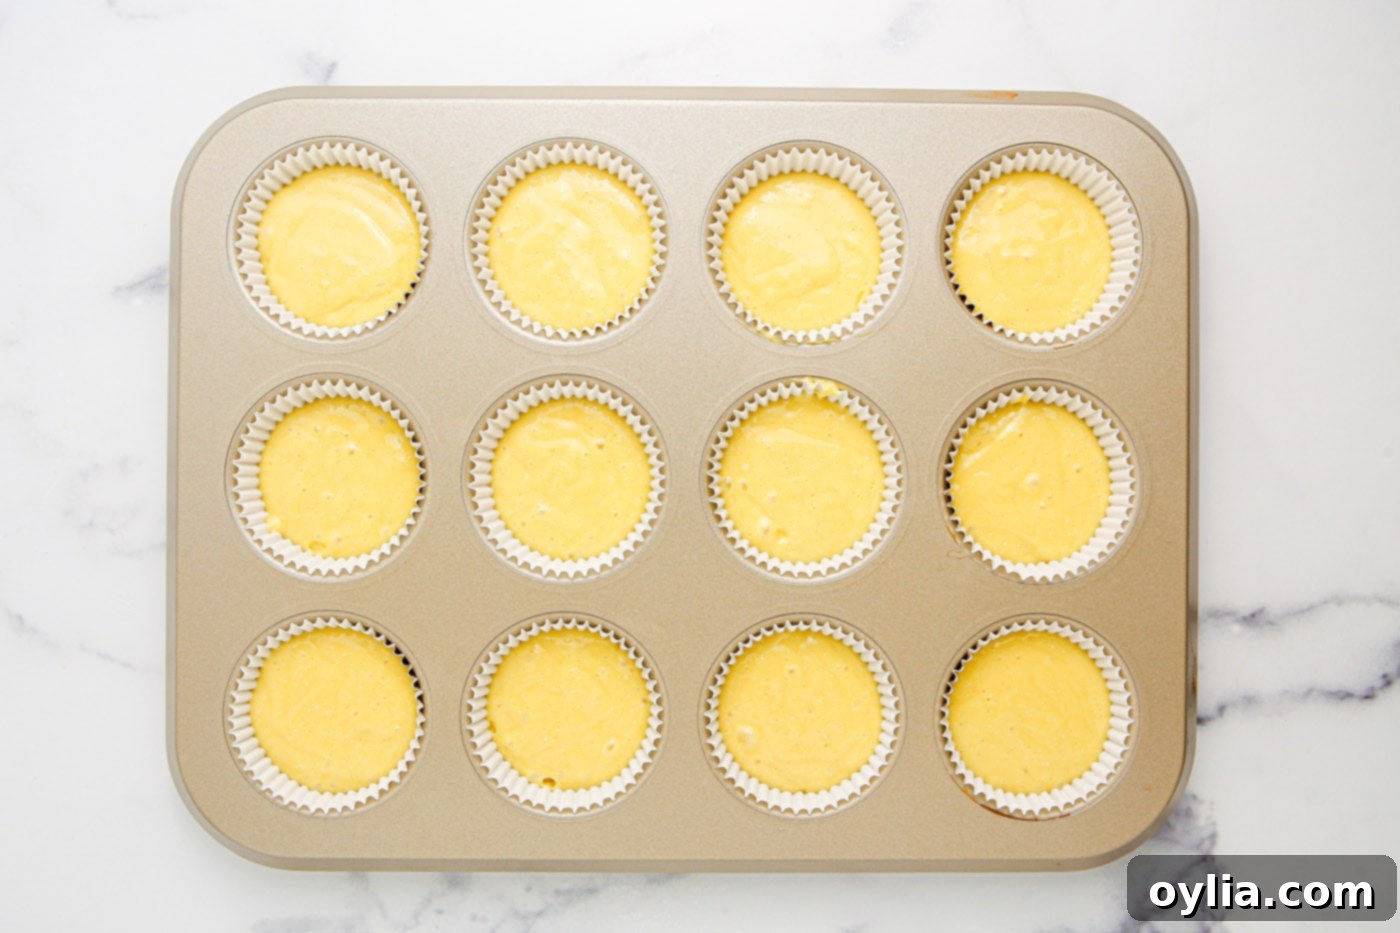
- Prepare your chosen yellow cake mix according to the package instructions specifically for cupcakes. This usually involves adding eggs, oil, and water. Mix until just combined to ensure tender cupcakes.

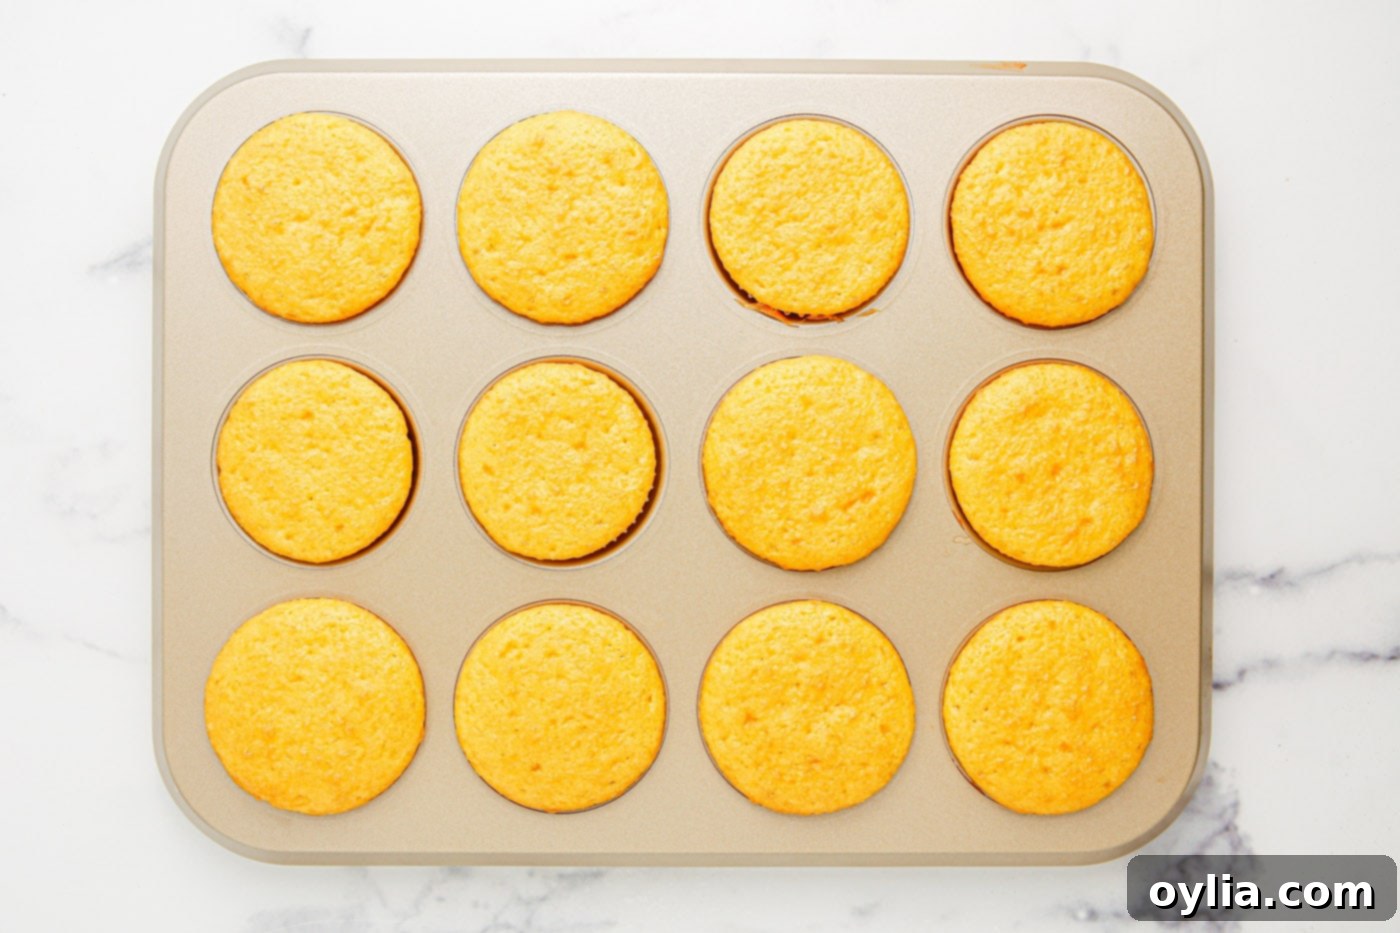
- Bake the 24 cupcakes following the package directions. Once baked, remove them from the oven and allow them to cool completely on a wire rack. This step is crucial for preventing your frosting from melting and sliding off!


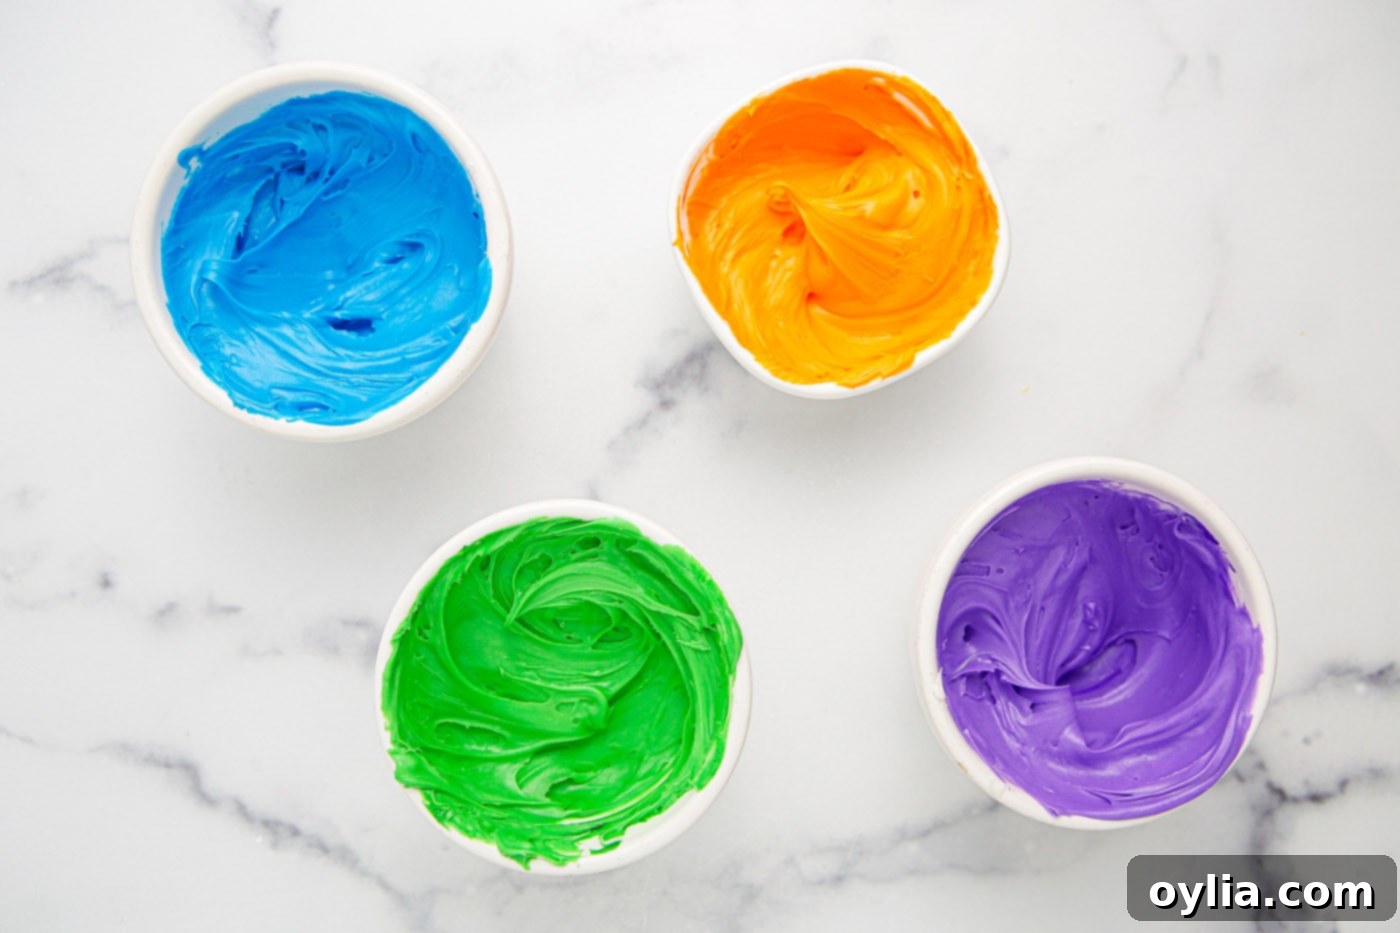
- While the cupcakes are cooling, prepare your monster frosting. Divide the tub of vanilla buttercream frosting into four separate small bowls. Add a few drops of your chosen gel food coloring (blue, purple, green, orange are great Halloween choices!) to each bowl. Mix thoroughly until you achieve your desired vibrant shades. Remember, start small with gel colors!

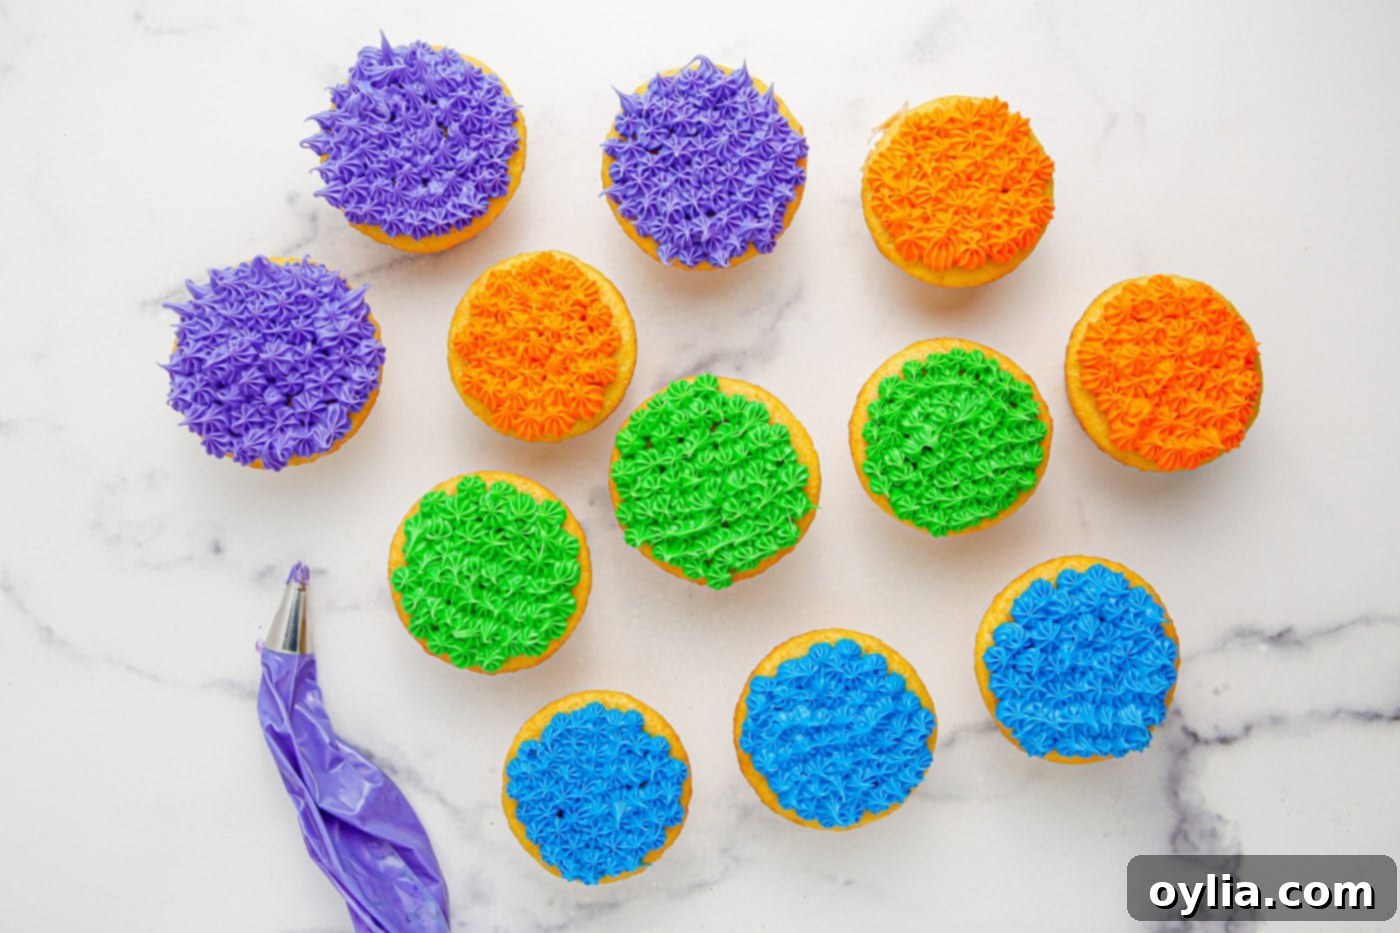
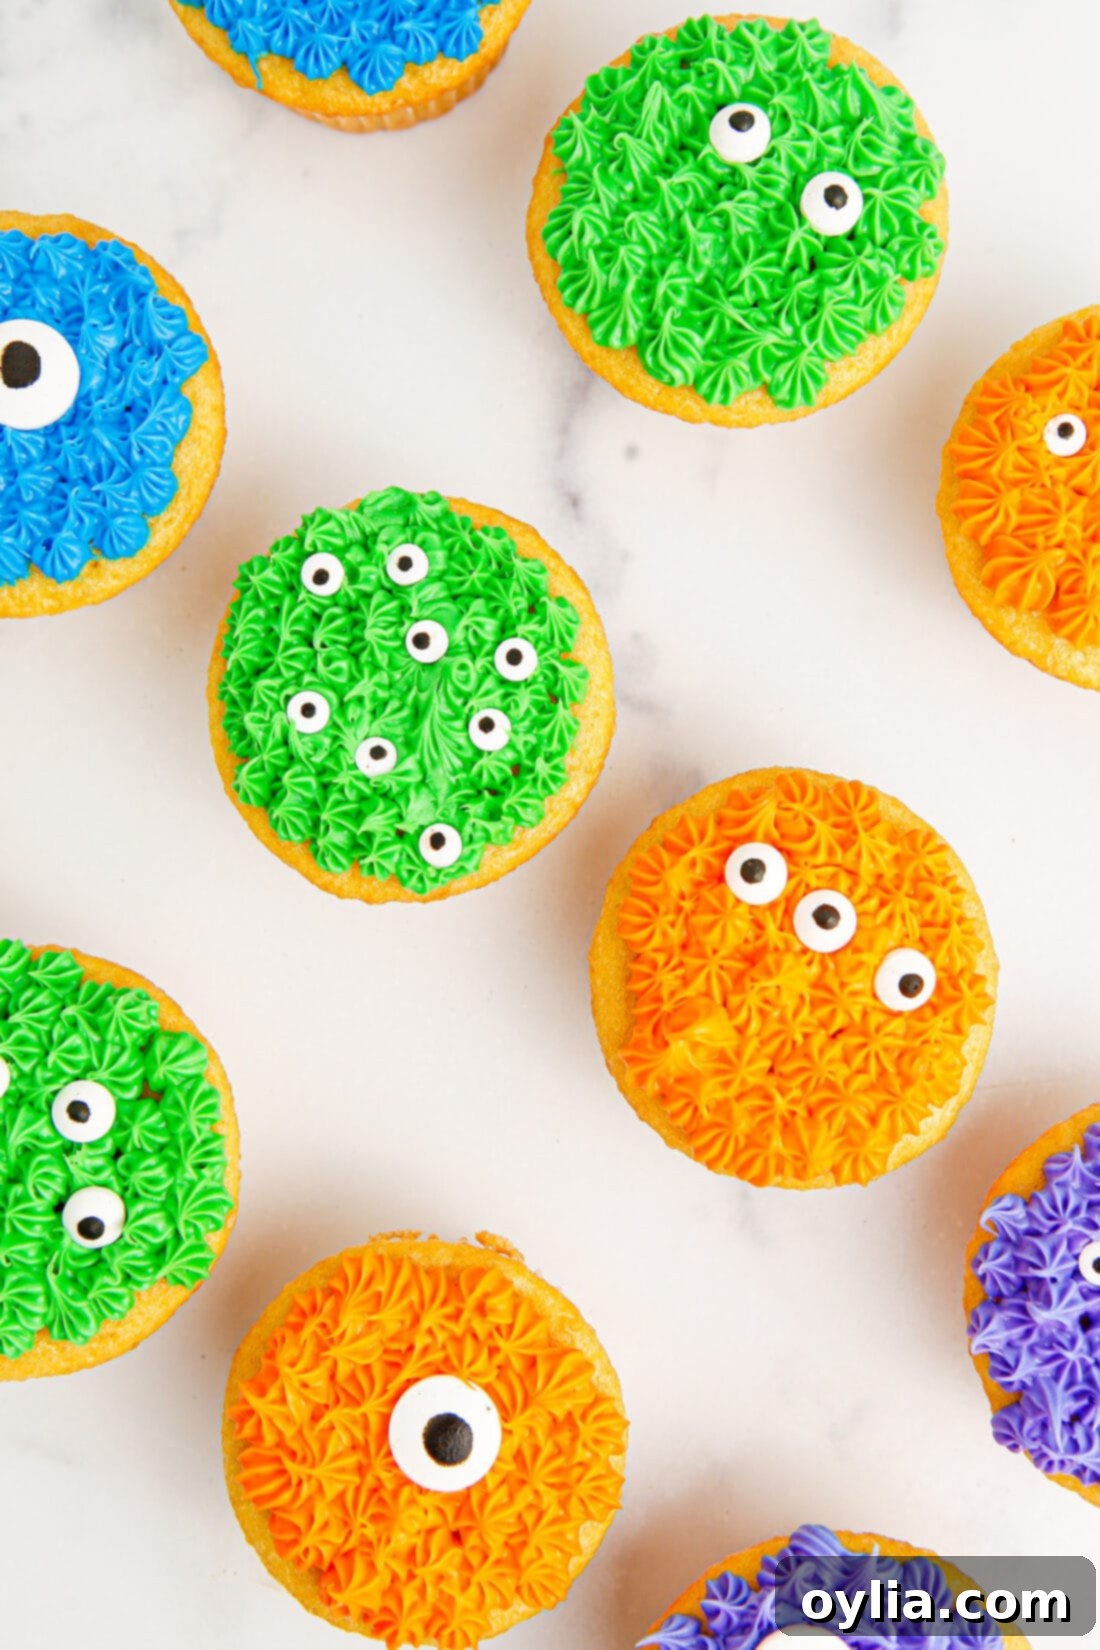
- Once the cupcakes are completely cool, it’s time to frost! You can use a frosting knife for a smoother finish or get creative by piping the frosting onto the cupcakes with a fun tip to create “monster fur” or “hair.” For a furry effect, I used Wilton Star Tip #18, which creates lovely, textured peaks.

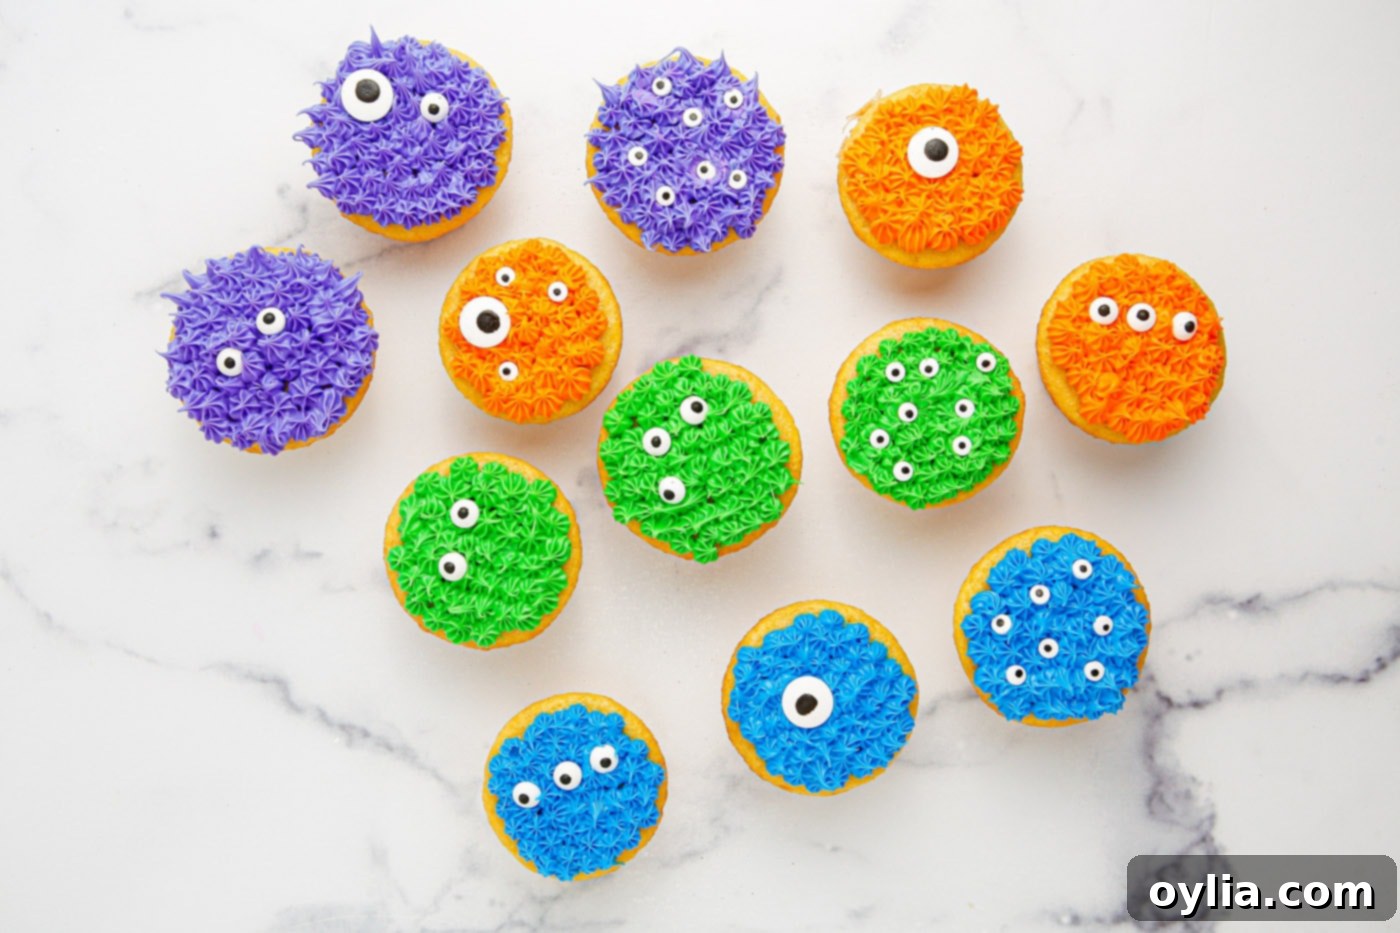
- The final, and perhaps most fun, step is to decorate! Personalize each cupcake by placing various sized eyeball candy onto the tops of the frosted cupcakes. Give them one eye, two, or even three for truly unique monsters! Once decorated, serve these delightful monster cupcakes and enjoy the smiles they bring!

Frequently Asked Questions & Expert Tips for Perfect Monster Cupcakes
To maintain their freshness and vibrant appearance, store your monster cupcakes in an air-tight container or a dedicated cupcake carrier. This prevents them from drying out and protects the delicate frosting. They can be kept at room temperature for up to 2-3 days, or in the refrigerator for 4-5 days. If refrigerating, allow them to come to room temperature for about 30 minutes before serving for the best flavor and texture.
Absolutely! These monster cupcakes are an excellent make-ahead dessert, which is perfect for busy party planning. You can prepare and bake the cupcakes a day or two in advance. Once fully cooled, store them in an airtight container. The frosting can also be prepared (or colored if using store-bought) a day ahead and stored in an airtight container in the refrigerator. On the day of your event, simply bring the frosting to room temperature (you might need to whip it lightly again if homemade) and then pipe and decorate your cupcakes. This strategy helps distribute the workload and keeps stress low on party day!
For that signature fluffy monster look, star tips are your best friend! A Wilton 1M open star tip creates beautiful rosettes and swirls, while a smaller closed star tip like Wilton #18 (as used in this recipe) or #21 makes delightful, textured fur. You can also use a grass tip (like Wilton #233) for a truly hairy monster effect. Experiment with different tips to create a variety of monster textures and personalities!
Absolutely! While this recipe highlights the ease of a box mix, any of your favorite homemade cupcake recipes (vanilla, chocolate, funfetti) can serve as the delicious base for these monsters. Just ensure your homemade cupcakes are completely cooled before frosting, just as you would with a box mix, to prevent the frosting from melting.
Creative Serving Ideas for Your Monster Cupcakes
These monster cupcakes are fantastic on their own, but they truly shine when served as part of a larger Halloween-themed spread or a festive monster party. To elevate their spook factor even further, consider adding some extra decorative touches: a sprinkle of Halloween-themed nonpareils or sprinkles can add texture and sparkle, or use black decorator gel to pipe on a whimsical monster mouth, jagged teeth, or silly eyebrows. You can even drizzle a contrasting color of frosting for extra visual appeal. Whether you prefer to enjoy your cupcakes chilled from the refrigerator or at room temperature, the choice is entirely yours! They’re delicious either way.
If you’re crafting these for a monster-themed birthday party, why not extend the fun beyond the treats? Head over to my craft blog, where I offer a plethora of monster crafts that you can create with the kids. Pairing these delicious cupcakes with a fun craft activity makes for an unforgettable party experience!
More Spooktacular Halloween Recipes to Try
Looking to round out your Halloween feast with more delicious and thematic treats? Here are some of our other favorite recipes that are sure to delight your ghoulish guests:
- Ghost Brownies: Fudgy brownies topped with adorable, hauntingly good ghost meringues.
- Halloween Dirt Cups: A classic kid-friendly dessert reimagined with gummy worms and crushed cookies for a graveyard effect.
- Spider Web Taco Dip: A savory and creepy appetizer, perfect for balancing out all the sweet treats.
- Witch Finger Cookies: Uncannily realistic and surprisingly delicious shortbread cookies that are a Halloween staple.
- Frankenstein Rice Krispies: A playful and easy no-bake treat that brings the iconic monster to life.
- Halloween Oreo Truffles: Decadent, bite-sized chocolate treats dressed up for the spooky season.
I love to bake and cook and share my kitchen experience with all of you! Remembering to come back each day can be tough, that’s why I offer a convenient newsletter every time a new recipe posts. Simply subscribe and start receiving your free daily recipes, delivered right to your inbox!
Monster Cupcakes
IMPORTANT – There are often Frequently Asked Questions within the blog post that you may find helpful. Simply scroll back up to read them!
Print It
Pin It
Rate It
Save It
Saved!
Prevent your screen from going dark
Course:
Dessert
Cuisine:
American
24
cupcakes
30 minutes
158
Amanda Davis
Ingredients
-
1
box
yellow cake mix
prepared using ingredients on the back of the box -
16
ounces
vanilla buttercream frosting
1 tub, or homemade -
blue, purple, green, and orange gel food coloring -
candy eyeballs
in varying sizes
Things You’ll Need
-
13×9 baking dish -
Mixing bowls -
Wilton Star Tip #18
optional for piping
Before You Begin
- The beauty of these cupcakes lies within the convenient ingredients, however, you can definitely mix up a batch of homemade chocolate, vanilla, or oreo cupcakes if you wish.
- Again, we’re opting for store-bought here by using a tub of vanilla buttercream frosting. But of course, we have homemade buttercream frosting for you to use as well!
- I highly suggest using gel food coloring if you want to achieve beautiful vibrant colored frosting. A little goes a long way with gel food coloring, so start small with the amount you add to the frosting until the desired color is reached.
- You can purchase candy eyeballs in the baking section at the grocery store. You can also purchase them online in varying sizes and colors.
Instructions
-
Prepare yellow cake mix according to the package instructions for cupcakes.
-
Bake 24 cupcakes according to package directions and allow them to cool completely on a wire rack.
-
While the cupcakes cool, divide the vanilla buttercream frosting into four small bowls. Add a few drops of food coloring to each bowl until you reach your desired shades.
-
Frost the fully cooled cupcakes with a frosting knife or pipe the frosting onto the cupcakes with a fun tip. I used Wilton Star tip #18 for these.
-
Decorate the cupcakes by placing various sized eyeball candy onto the tops. Serve and enjoy!
Nutrition
Serving:
1
cupcake
|
Calories:
158
cal
|
Carbohydrates:
31
g
|
Protein:
1
g
|
Fat:
4
g
|
Saturated Fat:
1
g
|
Polyunsaturated Fat:
2
g
|
Monounsaturated Fat:
1
g
|
Trans Fat:
0.05
g
|
Sodium:
192
mg
|
Potassium:
17
mg
|
Fiber:
0.3
g
|
Sugar:
21
g
|
Calcium:
46
mg
|
Iron:
0.5
mg
Tried this Recipe? Pin it for Later!
Follow on Pinterest @AmandasCookin or tag #AmandasCookin!
The recipes on this blog are tested with a conventional gas oven and gas stovetop. It’s important to note that some ovens, especially as they age, can cook and bake inconsistently. Using an inexpensive oven thermometer can assure you that your oven is truly heating to the proper temperature. If you use a toaster oven or countertop oven, please keep in mind that they may not distribute heat the same as a conventional full sized oven and you may need to adjust your cooking/baking times. In the case of recipes made with a pressure cooker, air fryer, slow cooker, or other appliance, a link to the appliances we use is listed within each respective recipe. For baking recipes where measurements are given by weight, please note that results may not be the same if cups are used instead, and we can’t guarantee success with that method.
