Irresistible Homemade Cake Balls & Cake Pops: Your Ultimate Guide to Sweet Perfection
Prepare to delight your taste buds with these incredibly moist and utterly delicious cake balls! Made from crumbled cake mixed with rich frosting and dipped in a smooth candy coating, these bite-sized treats are a true crowd-pleaser. With a simple addition of a lollipop stick, you can easily transform them into charming cake pops, perfect for any celebration or just a sweet craving. This comprehensive guide will walk you through everything you need to know to create these delightful confections, from ingredient selection to expert decorating tips.
Why This Cake Ball Recipe Is a Must-Try
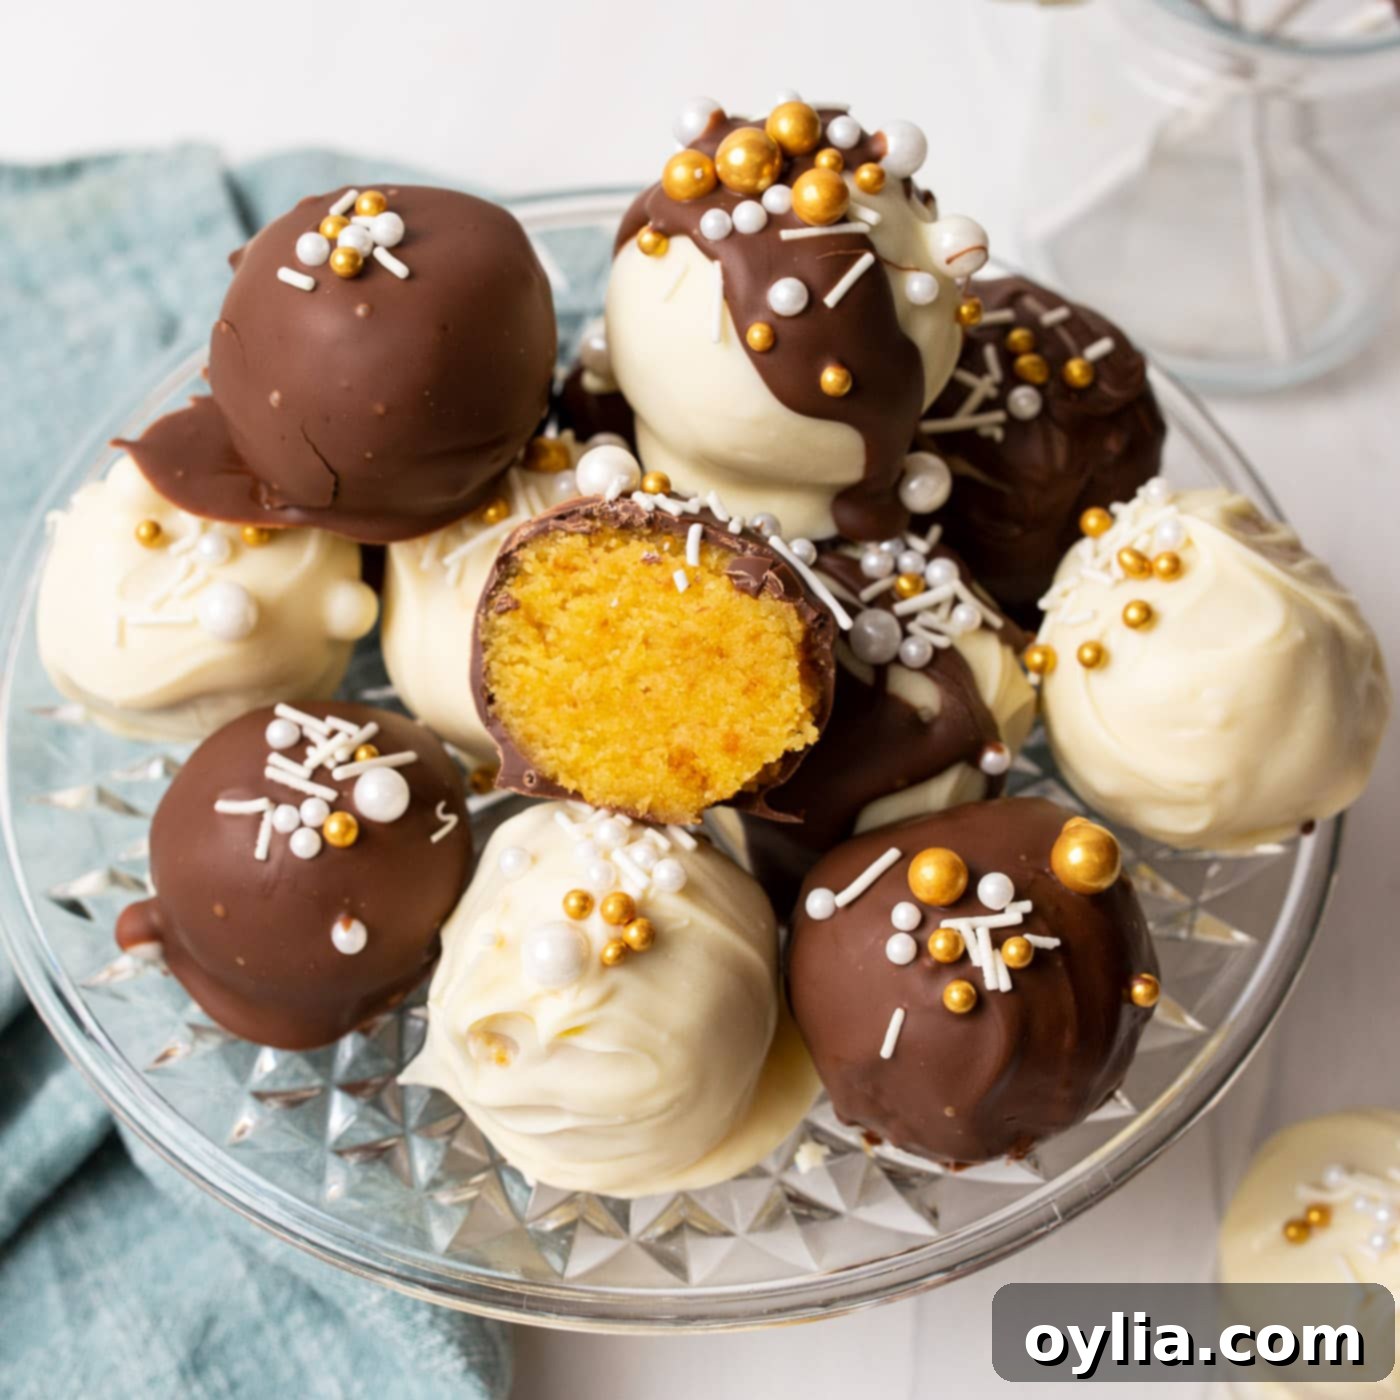
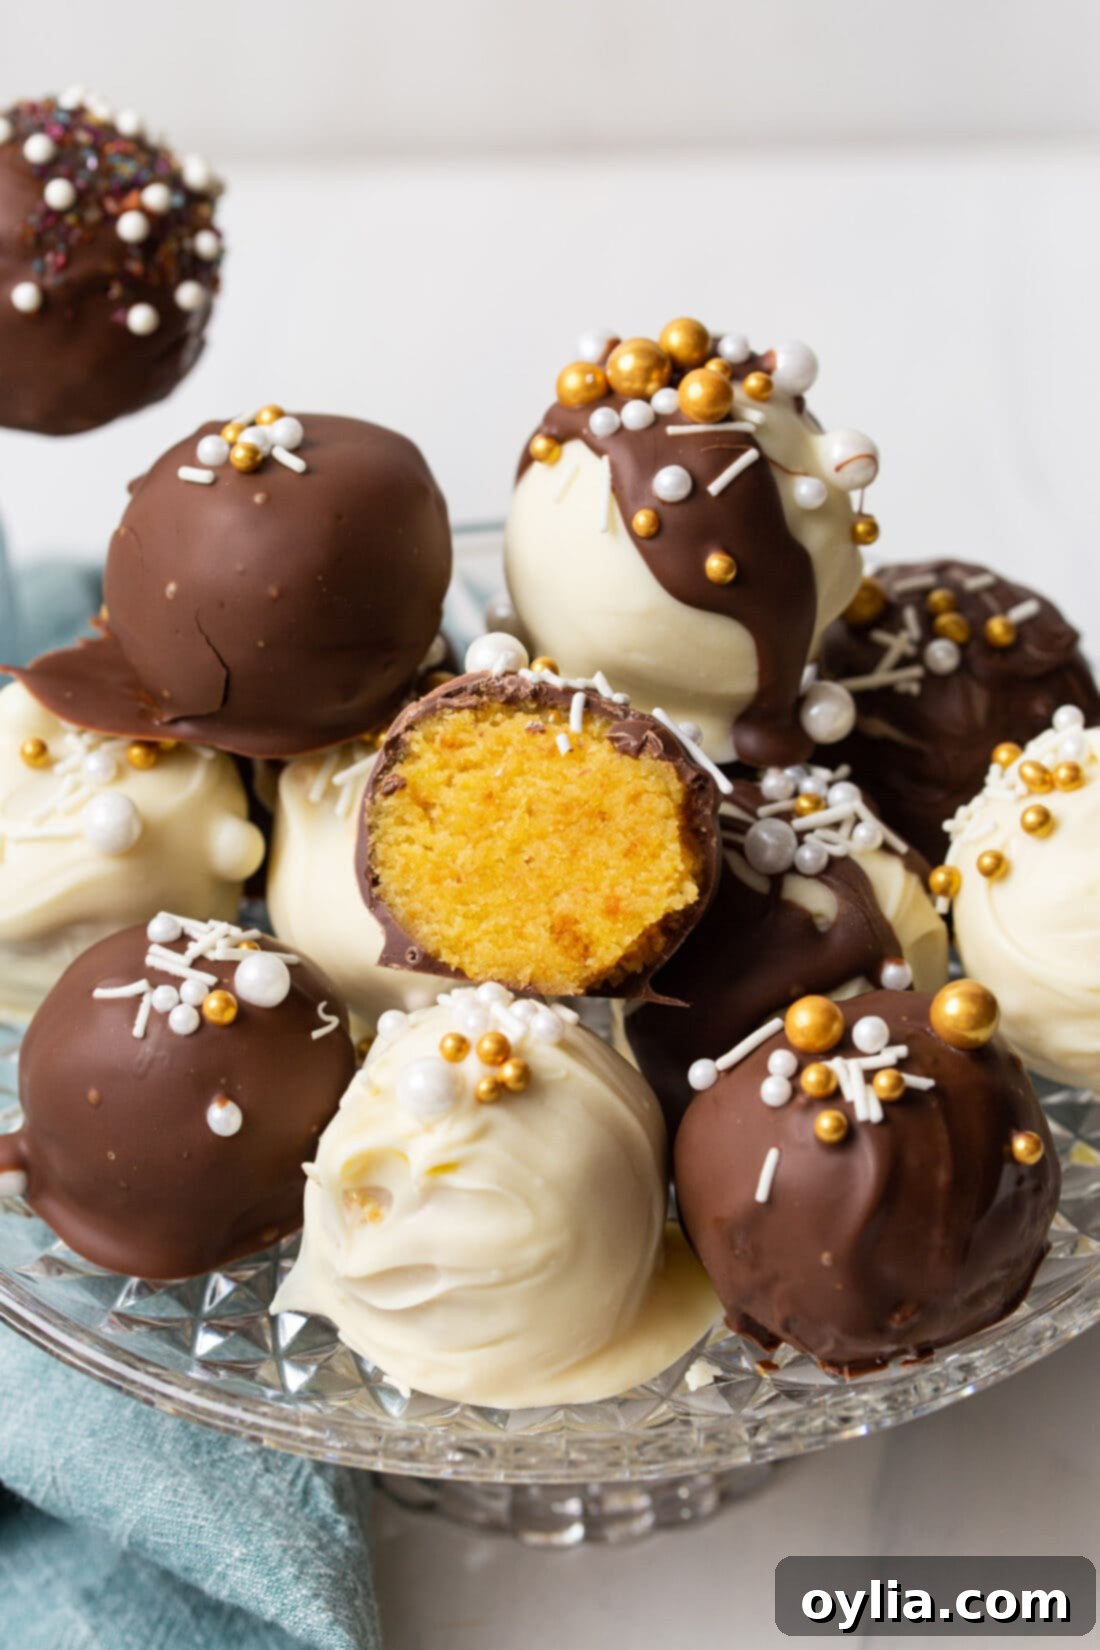
This cake ball recipe is truly a winner for several compelling reasons. These little morsels are a testament to confectionery ingenuity, boasting a soft, moist interior that practically melts in your mouth, enveloped by a delicate yet firm chocolate coating. Their compact size makes them ideal for parties and gatherings, offering a convenient, no-mess dessert option that guests adore. Beyond their delightful texture and flavor, cake balls are incredibly versatile. You can effortlessly customize them to match any theme, color scheme, or flavor preference simply by swapping out a few key ingredients. Whether it’s a birthday, holiday, or a simple get-together, these homemade cake balls will undoubtedly be the star of your dessert table.
Technically speaking, cake balls are a type of truffle, crafted from a simple trio of ingredients: cake, frosting, and candy coating. They share a similar delightful concept with other popular treats like chocolate peanut butter balls and Oreo truffles, making them a familiar and comforting indulgence with a unique cake twist. Their simplicity and impressive outcome make them a favorite among both novice and experienced bakers.
Essential Ingredients for Perfect Cake Balls
Crafting these delectable cake balls requires just a few key components. While the full recipe card at the end of this post provides all precise measurements and instructions, here’s a quick overview of what you’ll need to get started. You’ll be surprised how simple the ingredient list is for such an impressive dessert!
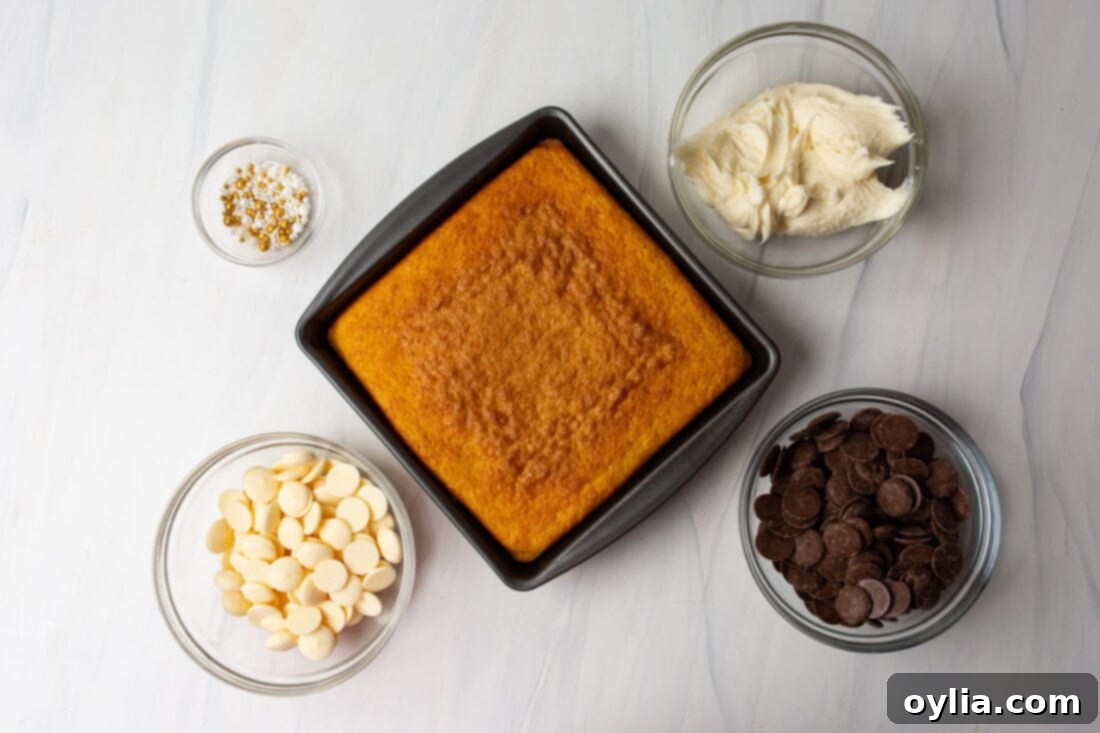
Ingredient Insights & Clever Substitutions
One of the best aspects of making cake balls is their incredible flexibility. You can easily tailor this recipe to suit your preferences or what you have on hand. Here’s a deeper dive into the ingredients and how you can get creative:
CAKE BASE: The foundation of your cake balls! Any boxed cake mix will work beautifully. Feel free to experiment with a wide array of flavors: classic chocolate, vibrant red velvet, sunny yellow, pristine white, funfetti for a festive touch, or even carrot cake for a spiced option – the possibilities are truly endless! While making a cake from scratch is certainly an option and yields a wonderful result, using a boxed cake mix is a fantastic time-saver without compromising on flavor or moisture. Just ensure your cake is fully cooled before crumbling to achieve the best consistency.
FROSTING BINDER: The frosting is what binds your cake crumbs together, creating that signature moist, dense texture. Again, variety is key here. We often opt for vanilla frosting to complement a yellow cake, but consider pairing chocolate frosting with chocolate cake for a double chocolate delight, or cream cheese frosting for red velvet or carrot cake. Funfetti frosting adds an extra pop of color, while a seasonal peppermint frosting can make your cake balls perfect for the holidays. Aim for a canned frosting, typically 8-10 oz, as its consistency is generally ideal for mixing into the cake crumbs. You want just enough frosting to make the mixture pliable and formable, not overly sticky or wet.
CANDY COATING: This outer shell not only adds a beautiful finish but also locks in moisture and provides a delightful crunch. Chocolate and vanilla candy wafers (also known as candy melts) are the go-to classics due to their smooth melting properties and ability to set quickly at room temperature. You can also find candy wafers in a rainbow of colors, allowing you to match your cake balls to any event or theme. I highly recommend the Ghirardelli brand for its superior quality and smooth finish. Candy melts are preferred over regular chocolate chips for dipping because they contain a small amount of edible wax, which helps them solidify faster and prevents cracking. If you only have chocolate chips on hand, I suggest adding a teaspoon or two of coconut oil or vegetable oil per cup of chocolate as you melt it. This addition will thin the chocolate, making it smoother and easier to dip and ensuring a more even, professional-looking coating.
Step-by-Step Guide: Crafting Your Perfect Cake Balls
These step-by-step photos and detailed instructions are here to help you visualize how to make this recipe. For the complete printable version of this recipe, including all measurements and full instructions, please Jump to Recipe at the bottom of this post.
- Bake the Cake: Begin by preparing your chosen cake mix according to the package instructions. Baking the cake is the first and most straightforward step. Once baked, it’s crucial to allow the cake to cool completely, ideally to room temperature or even slightly chilled, before moving on. This prevents the frosting from melting prematurely and helps achieve the desired texture.
- Crumble the Cake: Once the cake is fully cooled, break it apart into a large mixing bowl. Use your hands to crumble it into fine, even pieces. Take care to remove any harder crust pieces from the edges or bottom of the cake, as these can create an inconsistent texture in your cake balls. The goal is a uniform, fluffy crumb.
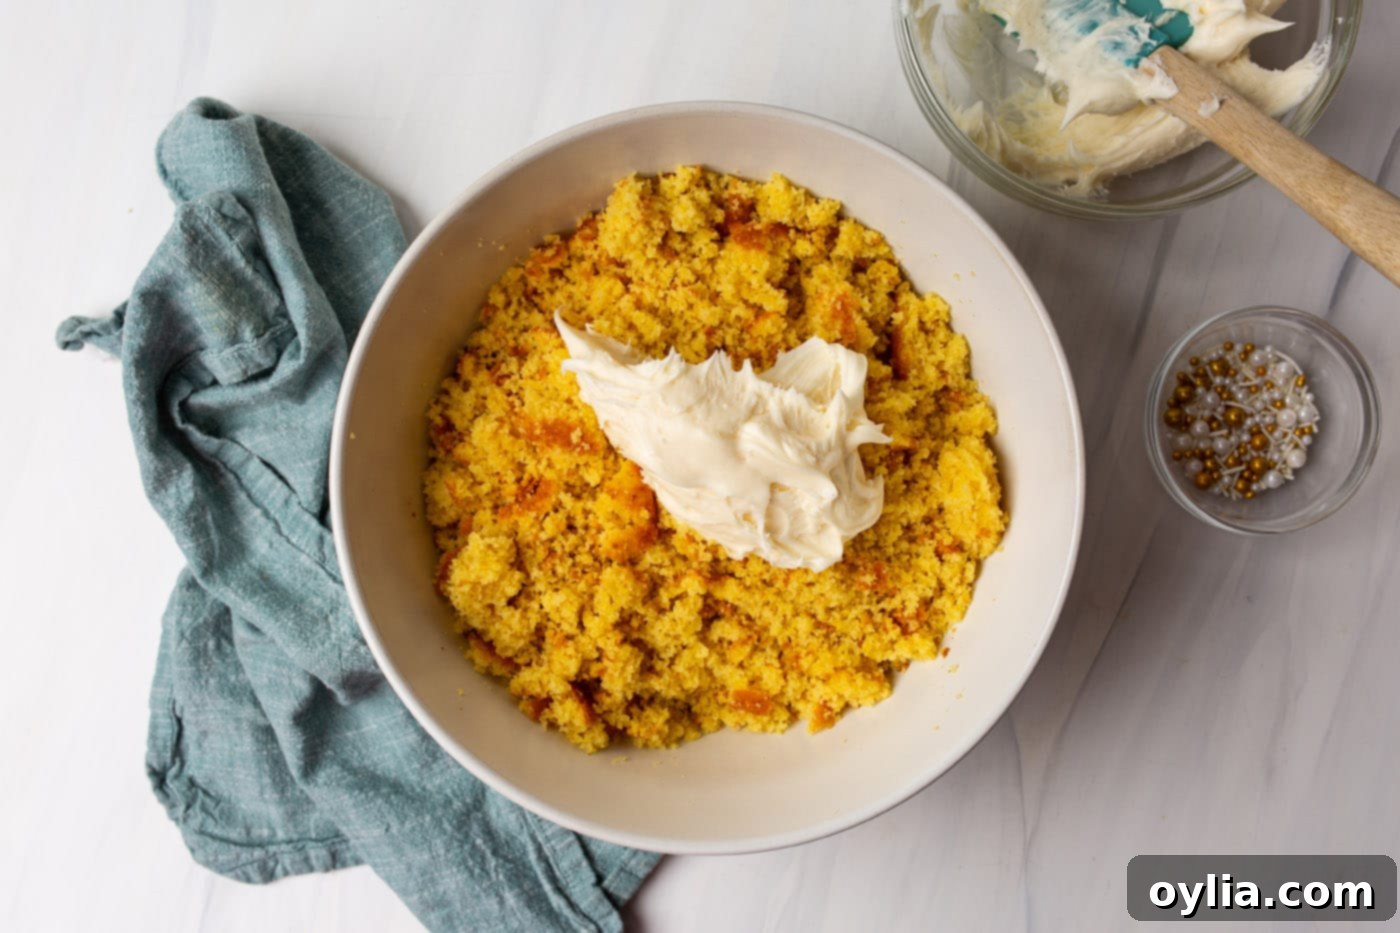
- Mix with Frosting: Add the frosting to the crumbled cake. Using a rubber spatula or, even better, your clean, gloved hands, mix the cake and frosting together. The mixture should be thoroughly combined until it’s uniform in color and texture. You’ll know there’s enough frosting when the cake mixture can be easily squeezed and formed into a ball with little to no cracks. If it’s too dry, add a tiny bit more frosting; if it’s too wet, you might need to add a few more cake crumbs (if you have them) or chill it longer.

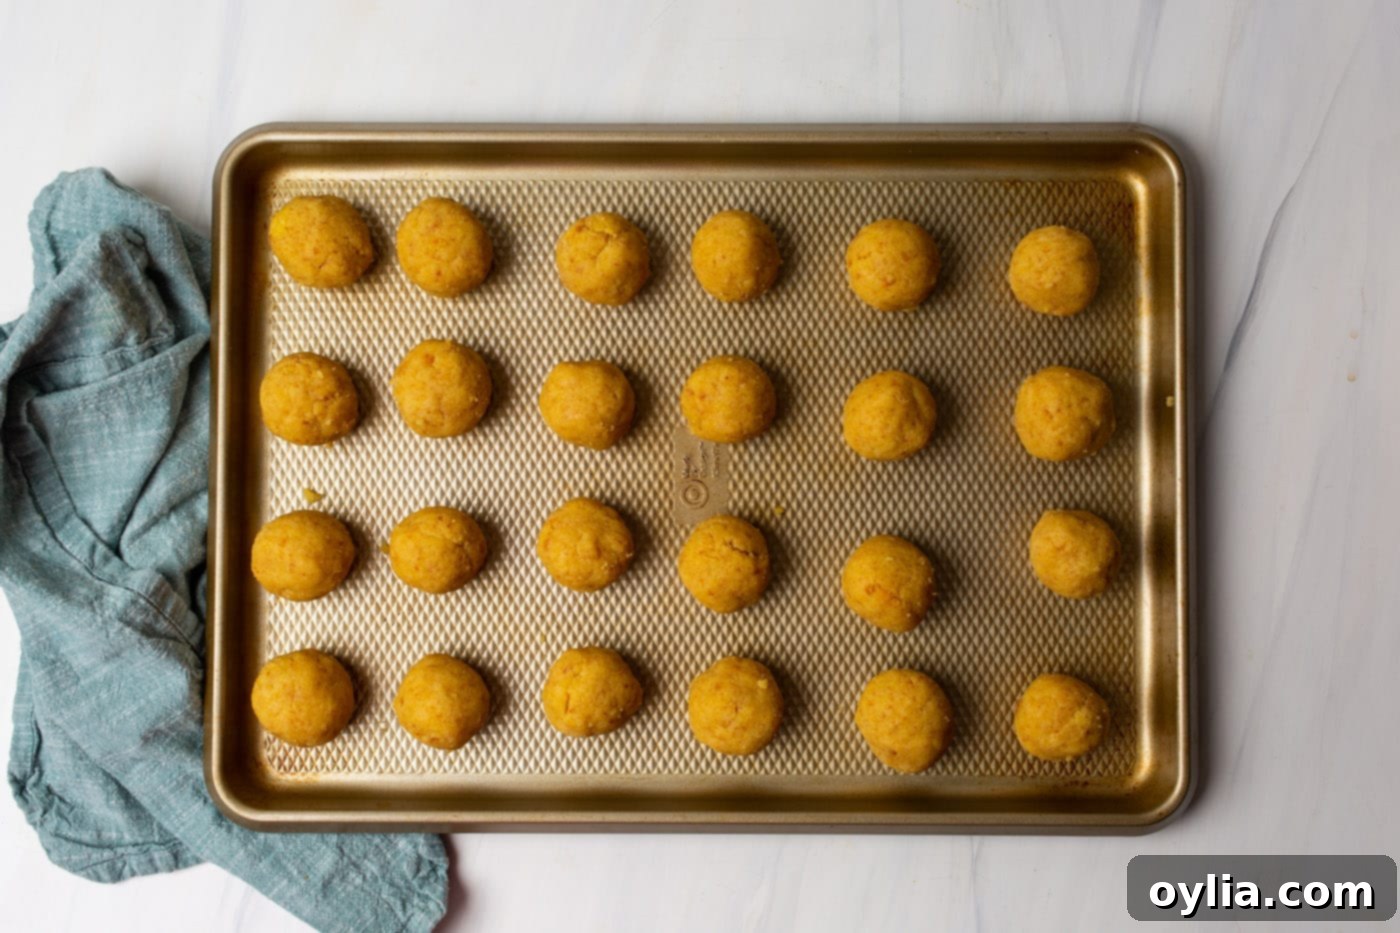
Mixing crumbled cake with creamy vanilla frosting to form the perfect base. - Form and Chill the Balls: Roll the mixture into approximately 24 even-sized balls. Each ball should be about 2 tablespoons in size. Using a cookie scoop can help ensure consistent sizing. Roll them smoothly between your palms and place them onto a parchment-lined baking sheet. Once all balls are formed, place the baking sheet in the refrigerator for at least 1 hour. Chilling is a critical step, as it helps the balls firm up, making them much easier to dip and preventing them from falling apart in the warm coating.

Chilling the cake balls ensures they hold their shape during dipping. - Melt the Coating: In two separate medium-sized microwave-safe mixing bowls, melt your chocolate and white candy melts. Heat them in the microwave in 30-second increments, stirring thoroughly after each interval. Continue this process until the coating is completely smooth and fluid, with no lumps remaining. Be careful not to overheat the chocolate, as it can seize or burn. If using chocolate chips, remember to add a bit of coconut or vegetable oil to aid in smoothness.

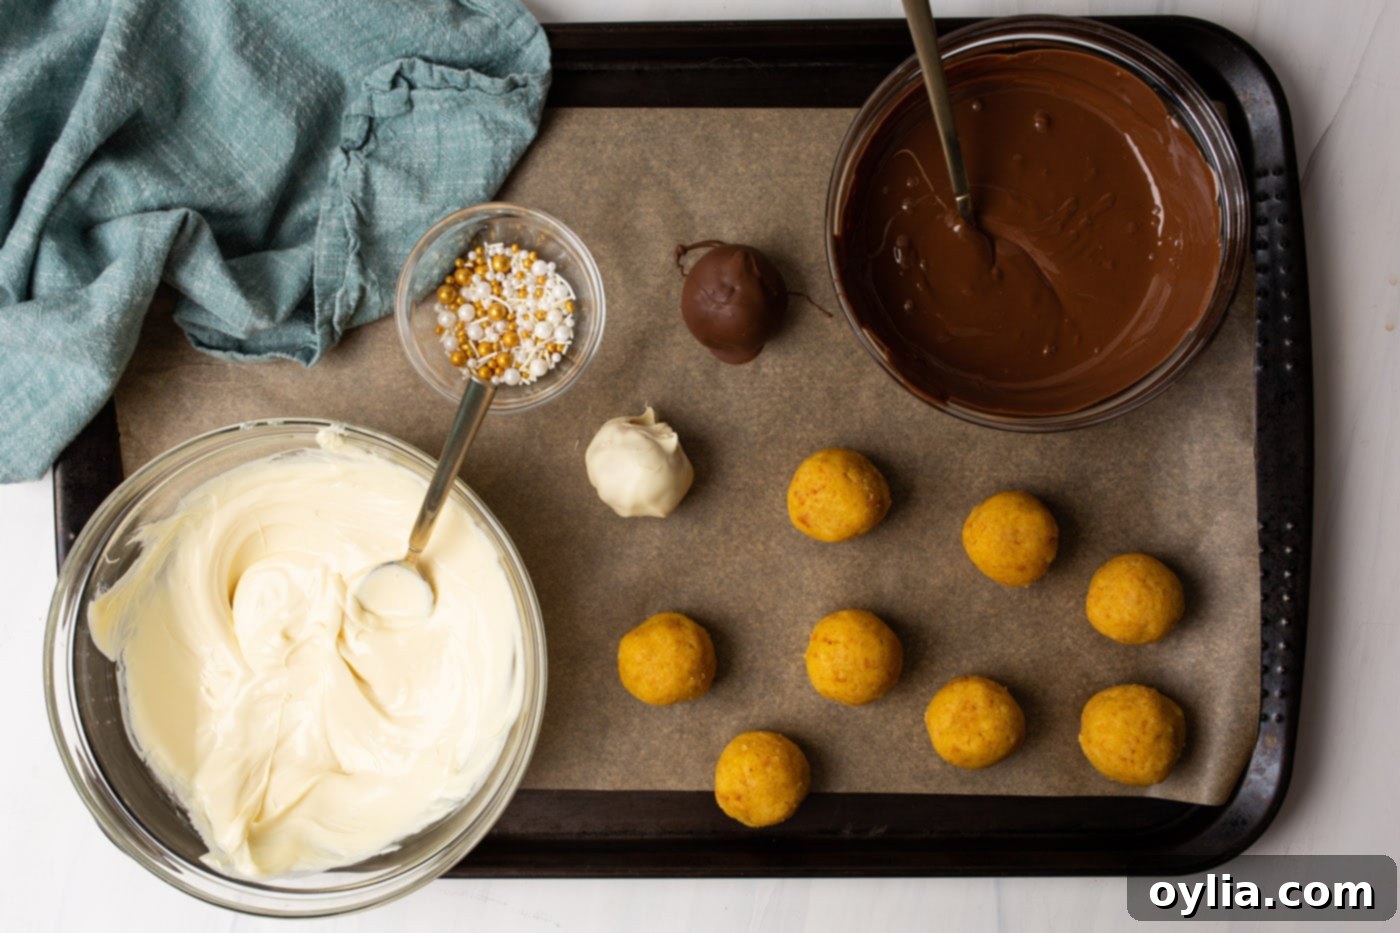
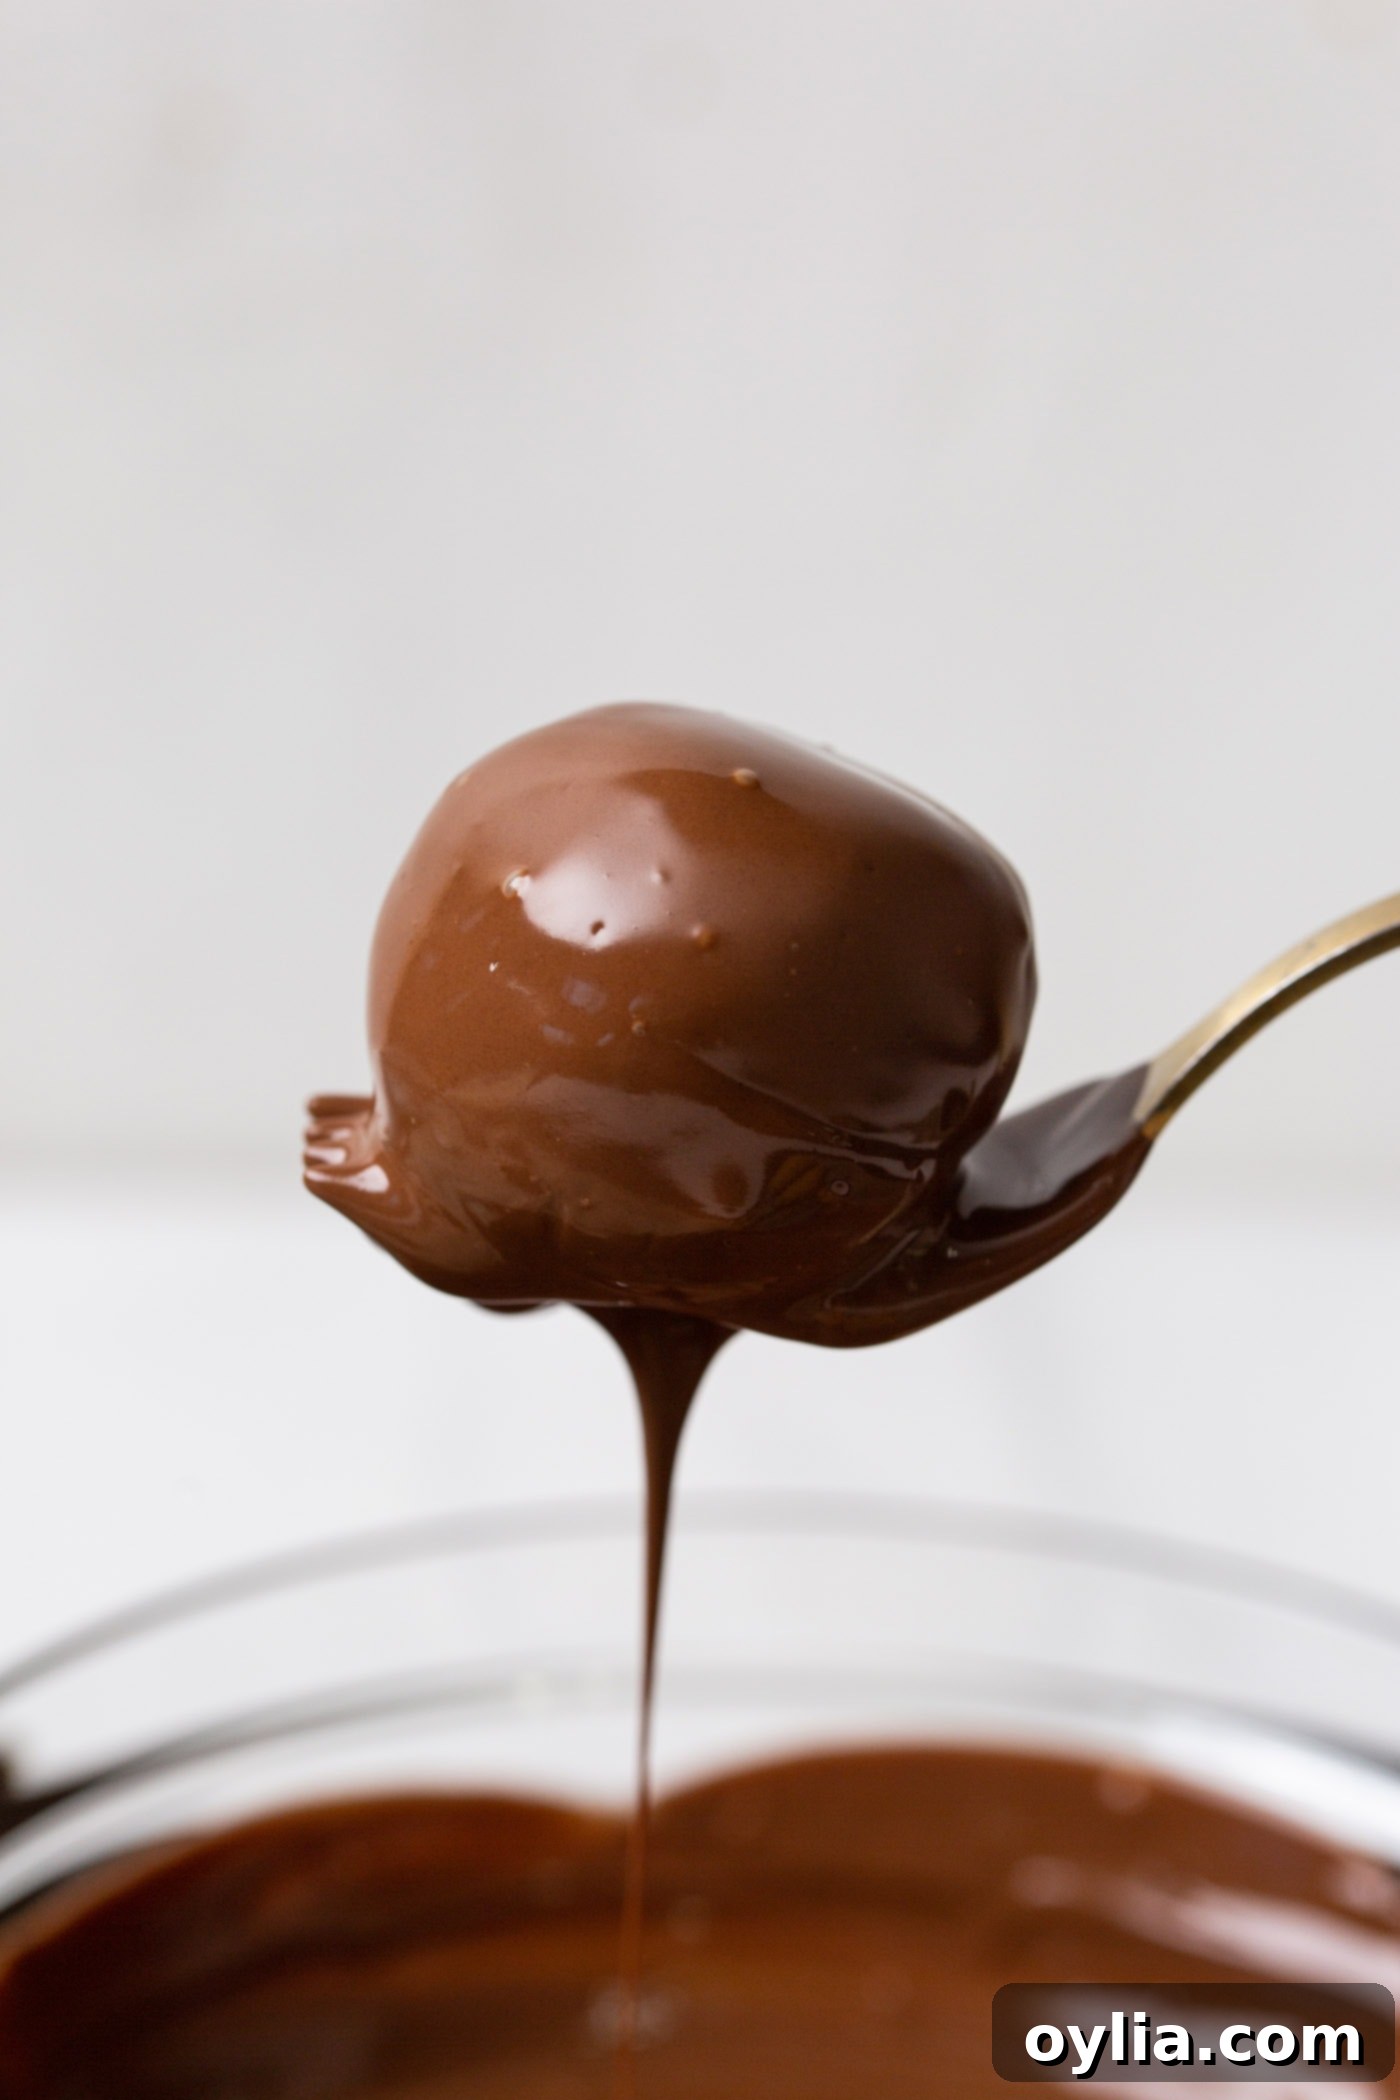
Two bowls of melted coating, ready for dipping. - Dip and Decorate: Using a fork (or a special dipping tool), carefully roll each chilled cake ball into your desired melted chocolate coating. Ensure the entire ball is covered. Gently lift the cake ball, tapping the fork against the side of the bowl to allow any excess chocolate to drip off. This creates a smooth, even coating. Immediately place the dipped cake ball onto a parchment-lined baking sheet. This is the moment to add your desired sprinkles or other décor, as the candy coating dries very quickly. Work swiftly for the best results!

Dipping a cake ball for a perfectly smooth coating. - Repeat and Enjoy: Continue the dipping and decorating process for all the remaining cake balls. Once all are coated and decorated, allow them to set completely at room temperature or in the refrigerator until the coating is firm.

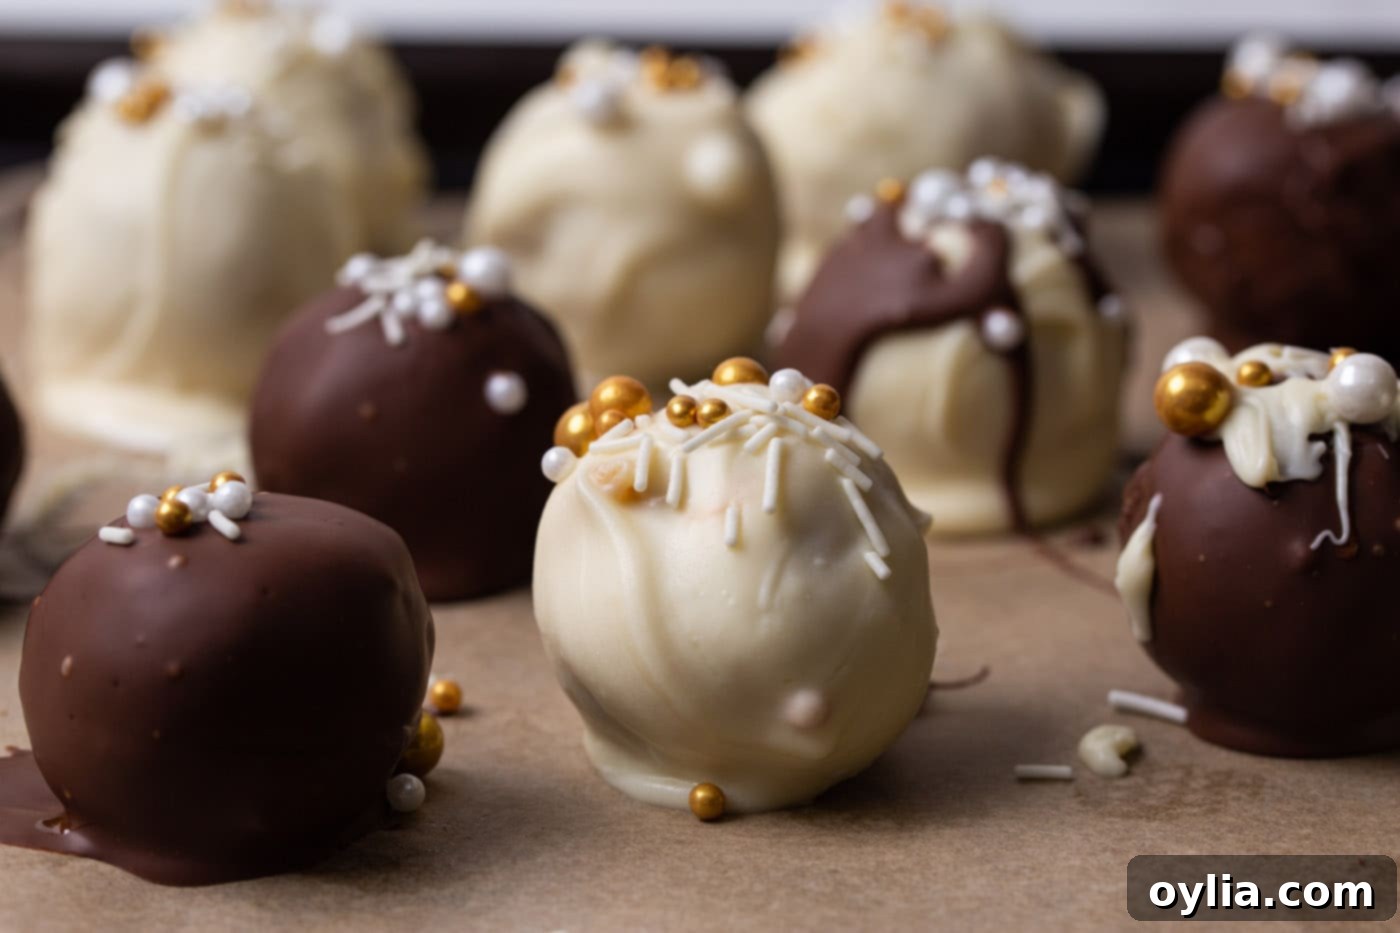
A delicious batch of finished cake balls ready to be devoured!
Frequently Asked Questions & Expert Tips
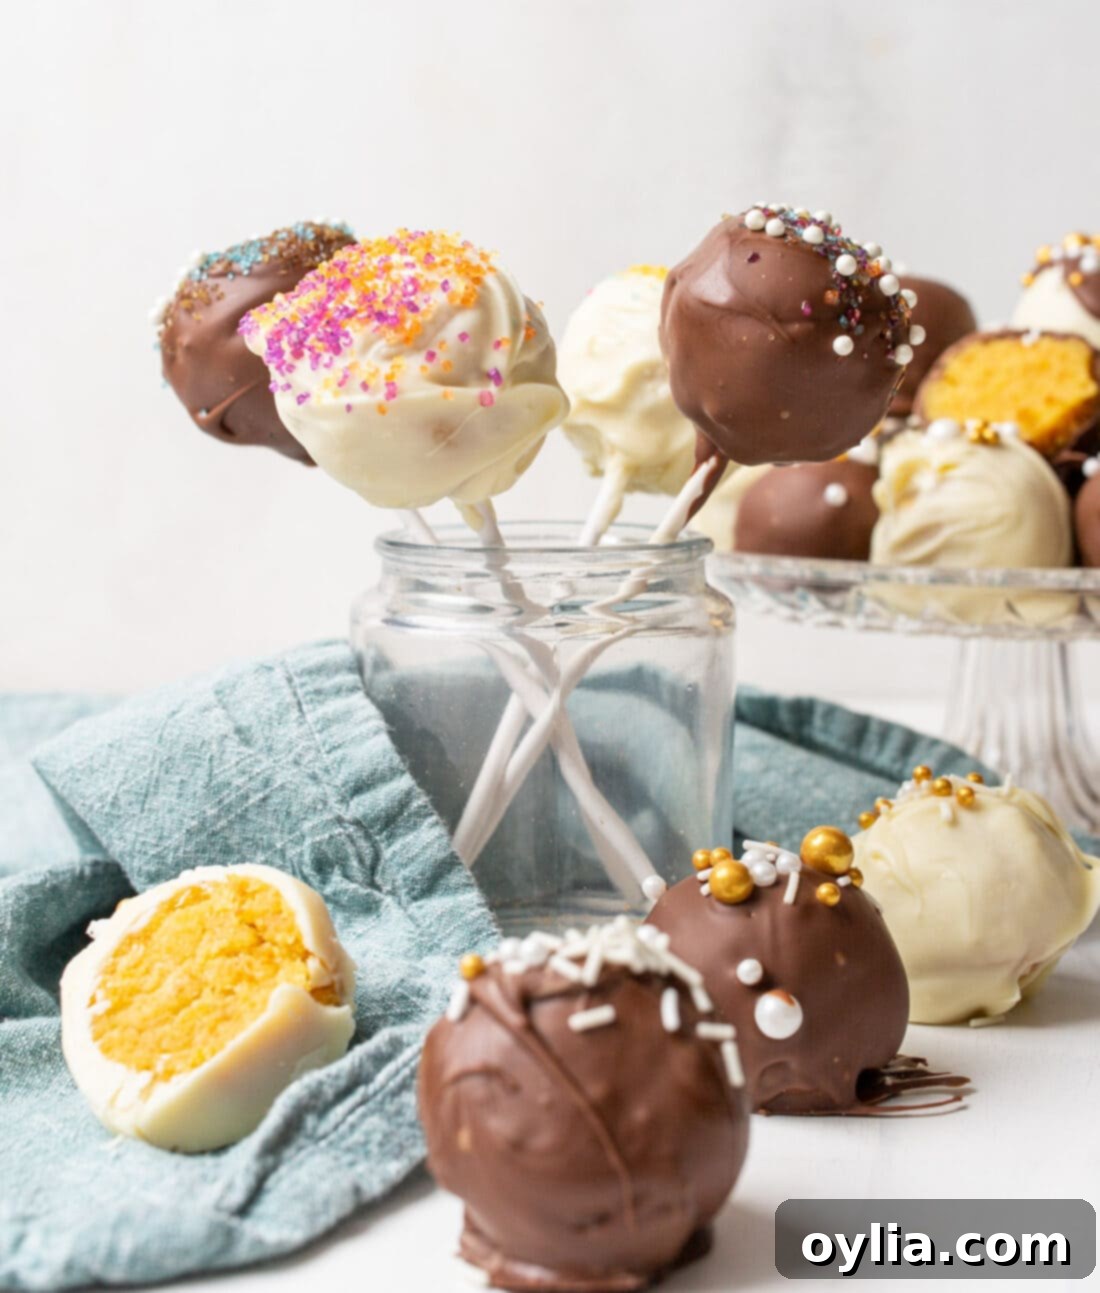
Transforming your cake balls into festive cake pops is quite simple! After your cake balls have been thoroughly chilled and are firm, take a lollipop stick and gently insert it into the center of a cake ball. For easier dipping, place the stick-inserted ball upside down on your tray. Before dipping the entire pop, use your finger or a small spoon to apply a tiny bit of melted chocolate where the stick meets the cake ball. Let this “glue” set for about 2 minutes. This crucial step prevents the stick from twisting or detaching while you coat the rest of the cake pop. Once set, dip the entire cake pop into your melted coating. After coating, gently rotate the stick to encourage any excess chocolate to drizzle off, ensuring a smooth finish. Place them stick-side down into a styrofoam block or a tall glass to dry completely.
Absolutely! Cake balls are excellent for making ahead and freezing. For best results, freeze them before they’ve been dipped in any chocolate coating. Arrange the naked cake balls on a baking sheet and flash freeze them for about 30 minutes until firm. Then, transfer them to a large, airtight freezer-safe ziptop bag or container. They can be stored in the freezer for up to 2 months. When you’re ready to use them, remove them from the freezer and allow them to thaw in the refrigerator or at room temperature until they are soft enough to dip. Once thawed, proceed with the dipping and decorating steps as usual.
Once your cake balls are dipped and decorated, they can be stored at room temperature in an airtight container for up to 2-3 days, especially if your frosting doesn’t contain cream cheese. If your frosting does contain cream cheese or if your kitchen is particularly warm, it’s best to store them in the refrigerator. In the fridge, they will last up to a week. Just be sure to bring them to room temperature for about 15-20 minutes before serving for the best flavor and texture.
Cracking or clumping in your chocolate coating usually happens for a few reasons. First, ensure your cake balls are sufficiently chilled but not frozen solid when dipping. A drastic temperature difference between the cold cake ball and warm chocolate can cause the coating to crack. Second, avoid overheating your candy melts. Overheated chocolate can seize or become thick and clumpy. Heat in short bursts and stir frequently. If your chocolate seems too thick, you can thin it out with a small amount of coconut oil or vegetable shortening (not water or milk, as this will cause it to seize). Lastly, ensure no water gets into your melted chocolate, as even a tiny drop can cause it to seize instantly.
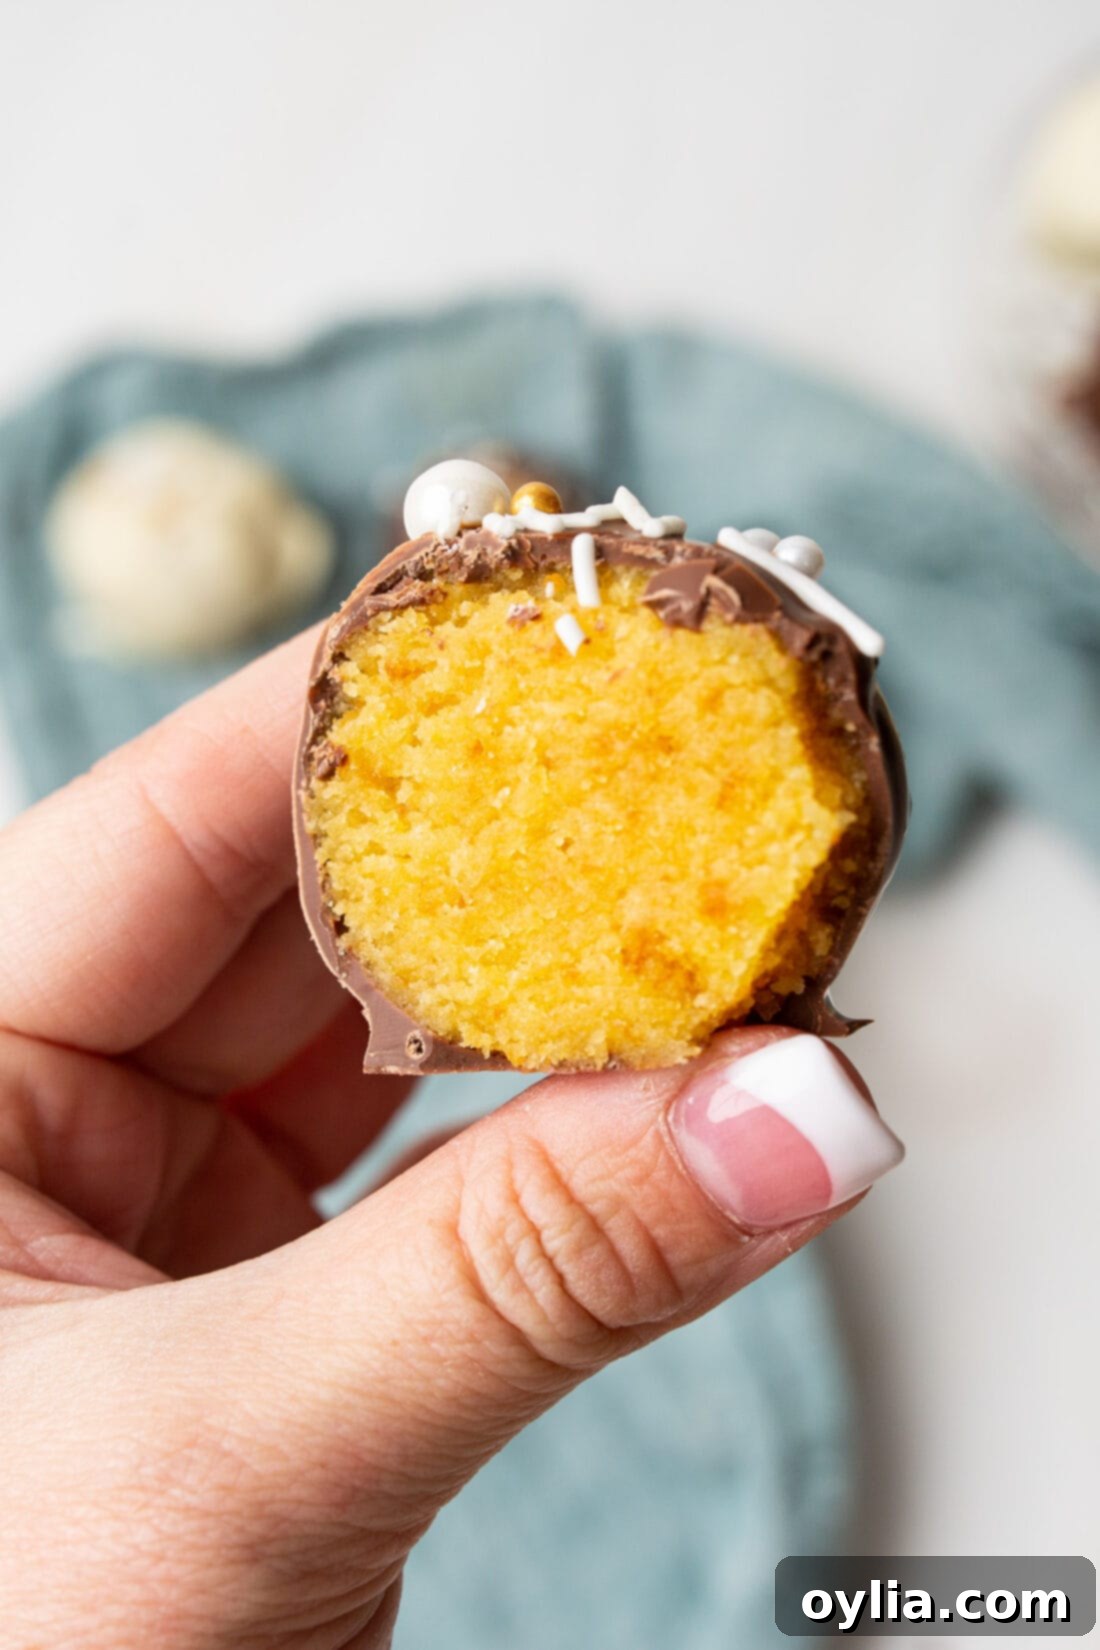
Creative Serving & Customization Ideas
The beauty of cake balls lies in their endless potential for customization. Seriously, the variations are truly limitless! Between selecting different colored candy coatings, experimenting with various cake flavors, and choosing from an array of sprinkles, you can perfectly tailor these treats for any holiday or special occasion. Imagine festive red and green cake balls for Christmas, autumnal orange and brown for Thanksgiving, spirited team colors for game day, vibrant pastels for Easter, or patriotic red, white, and blue for the Fourth of July. They’d even be a delightful and unique addition to gender reveal parties!
Beyond sprinkles, don’t hesitate to get creative with other toppings. While the chocolate coating is still wet, consider a delicate drizzle of contrasting chocolate, a sprinkle of crushed pretzels for a sweet and salty crunch, or finely chopped nuts for added texture and flavor. Cake balls also make incredibly thoughtful and delicious edible gifts. Package them in small decorative boxes or bags for a homemade present that everyone will appreciate. And as mentioned, simply add a lollipop stick to the base when dipping to effortlessly transform them into charming cake pops, adding another layer of fun and elegance to your dessert spread.
More Irresistible Dessert Creations
If you’ve enjoyed making these cake balls, you’ll love exploring these other delightful dessert recipes:
- Decadent Mocha Truffles
- Warm & Cozy Caramel Hot Cocoa Bombs
- Classic Chocolate Peanut Butter Balls
- Exquisite Chocolate Covered Fruit Truffles
- Sweet Strawberry White Chocolate Hot Cocoa Bombs
- Fun Donut Hole Cake Pops
- Silky Smooth Homemade Buttercream Frosting
I genuinely love to bake and cook, and it brings me immense joy to share my kitchen experiences and favorite recipes with all of you! Remembering to come back each day for new inspiration can sometimes be tough, which is why I offer a convenient newsletter delivered straight to your inbox every time a new recipe posts. Simply subscribe here and start receiving your free daily recipes, ensuring you never miss a delicious update!
Classic Cake Balls
These bite-sized morsels are soft and moist on the inside with a delicate chocolate coating on the outside. Perfect for any occasion!
IMPORTANT – There are often Frequently Asked Questions within the blog post that you may find helpful. Simply scroll back up to read them!
Print It
Pin It
Rate It
Dessert
American
24 cake balls
2 hours
10 minutes
254
Amanda Davis
Ingredients
- 15.25 oz yellow cake mix (1 box cake mix of your choice)
- 8 oz vanilla frosting (canned, 8-10 oz)
- 12 oz chocolate candy melts (aka candy wafers)
- 12 oz white chocolate candy melts
- sprinkles (optional)
Things You’ll Need
-
Baking sheets
Before You Begin
- To make these into cake pops, place a pop stick into the chilled cake ball so it is upside down on the tray. Use your finger or a spoon to place a small amount of melted chocolate where the stick and the ball meet. Let it set for 2 minutes. This will act as a glue to keep the pop stick in place while you coat the rest of the cake ball in additional chocolate. Turn the stick after coating the ball fully to encourage excess chocolate to drizzle off.
- Chocolate melts solidify quickly. You will need to work quickly or have multiple batches of chocolate that you keep reheating in the microwave for about 10 seconds each time to ensure it’s runny enough to get the excess off of the cake ball.
Instructions
-
Bake the cake according to package instructions. Allow to cool fully.
-
Break apart the cake in a large bowl until crumbled. Remove any harder crust pieces from the bowl.
-
Add frosting and mix with a rubber spatula or by gloved hand. There is enough frosting once the cake can be squeezed and formed into a ball with little to no cracks.
-
Roll the mixture into 24 even sized balls, about 2 Tablespoons, between hands and place onto a baking sheet. Place the baking sheet in the refrigerator for at least 1 hour.
-
In two medium sized mixing bowls, melt the chocolate in their own bowl in the microwave in 30 second increments. Stirring and reheating as needed until smooth.
-
Roll each cake ball into the desired chocolate using a fork. Lift the cake ball for excess to drip off. Set onto a parchment lined baking sheet and immediately top with desired sprinkles or décor as the chocolate dries quickly.
-
Repeat the process for the remaining cake balls.
Nutrition Information
Calories: 254cal |
Carbohydrates: 38g |
Protein: 2g |
Fat: 11g |
Saturated Fat: 6g |
Polyunsaturated Fat: 1g |
Monounsaturated Fat: 3g |
Trans Fat: 1g |
Cholesterol: 3mg |
Sodium: 164mg |
Potassium: 93mg |
Fiber: 1g |
Sugar: 29g |
Vitamin A: 4IU |
Vitamin C: 1mg |
Calcium: 70mg |
Iron: 1mg
Tried this Recipe? Pin it for Later!
Follow on Pinterest @AmandasCookin or tag #AmandasCookin!
The recipes on this blog are tested with a conventional gas oven and gas stovetop. It’s important to note that some ovens, especially as they age, can cook and bake inconsistently. Using an inexpensive oven thermometer can assure you that your oven is truly heating to the proper temperature. If you use a toaster oven or countertop oven, please keep in mind that they may not distribute heat the same as a conventional full sized oven and you may need to adjust your cooking/baking times. In the case of recipes made with a pressure cooker, air fryer, slow cooker, or other appliance, a link to the appliances we use is listed within each respective recipe. For baking recipes where measurements are given by weight, please note that results may not be the same if cups are used instead, and we can’t guarantee success with that method.
We hope this detailed guide inspires you to create your own batches of delightful cake balls and cake pops. Their ease of preparation, combined with endless customization possibilities, makes them a perfect dessert for any occasion, big or small. Happy baking!
