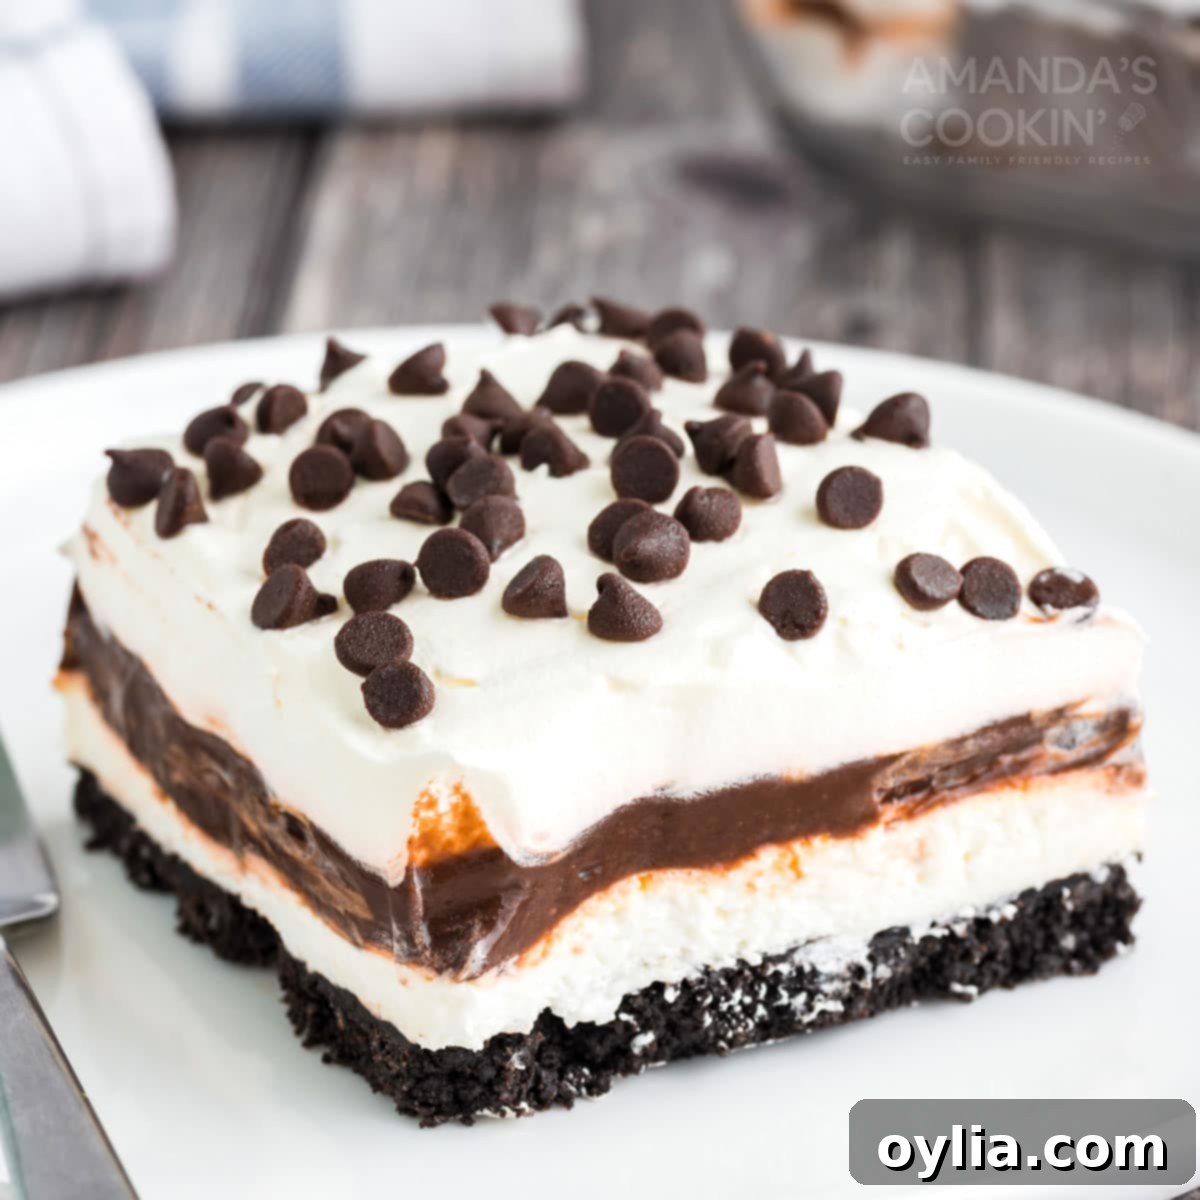
Easy No-Bake Chocolate Lasagna Recipe: Layers of Creamy, Dreamy Chocolate Goodness
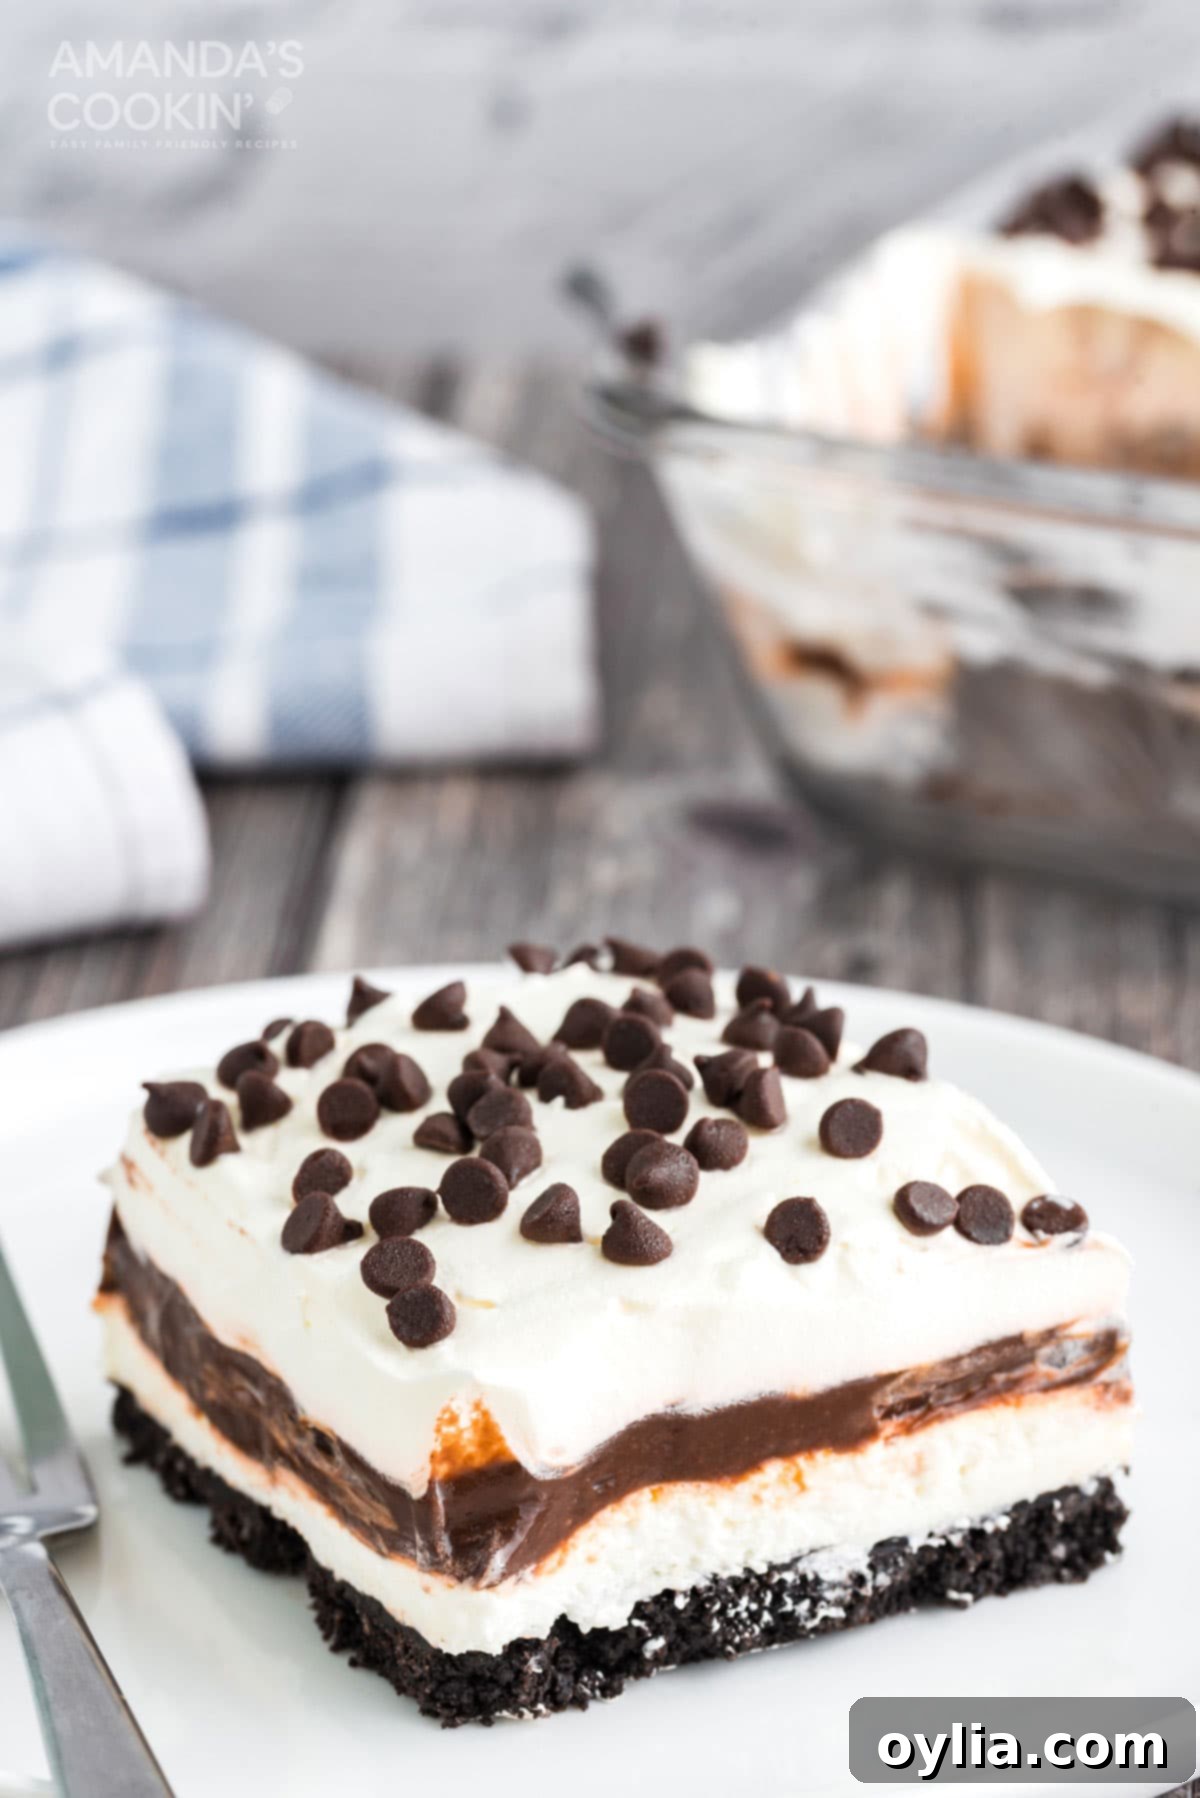
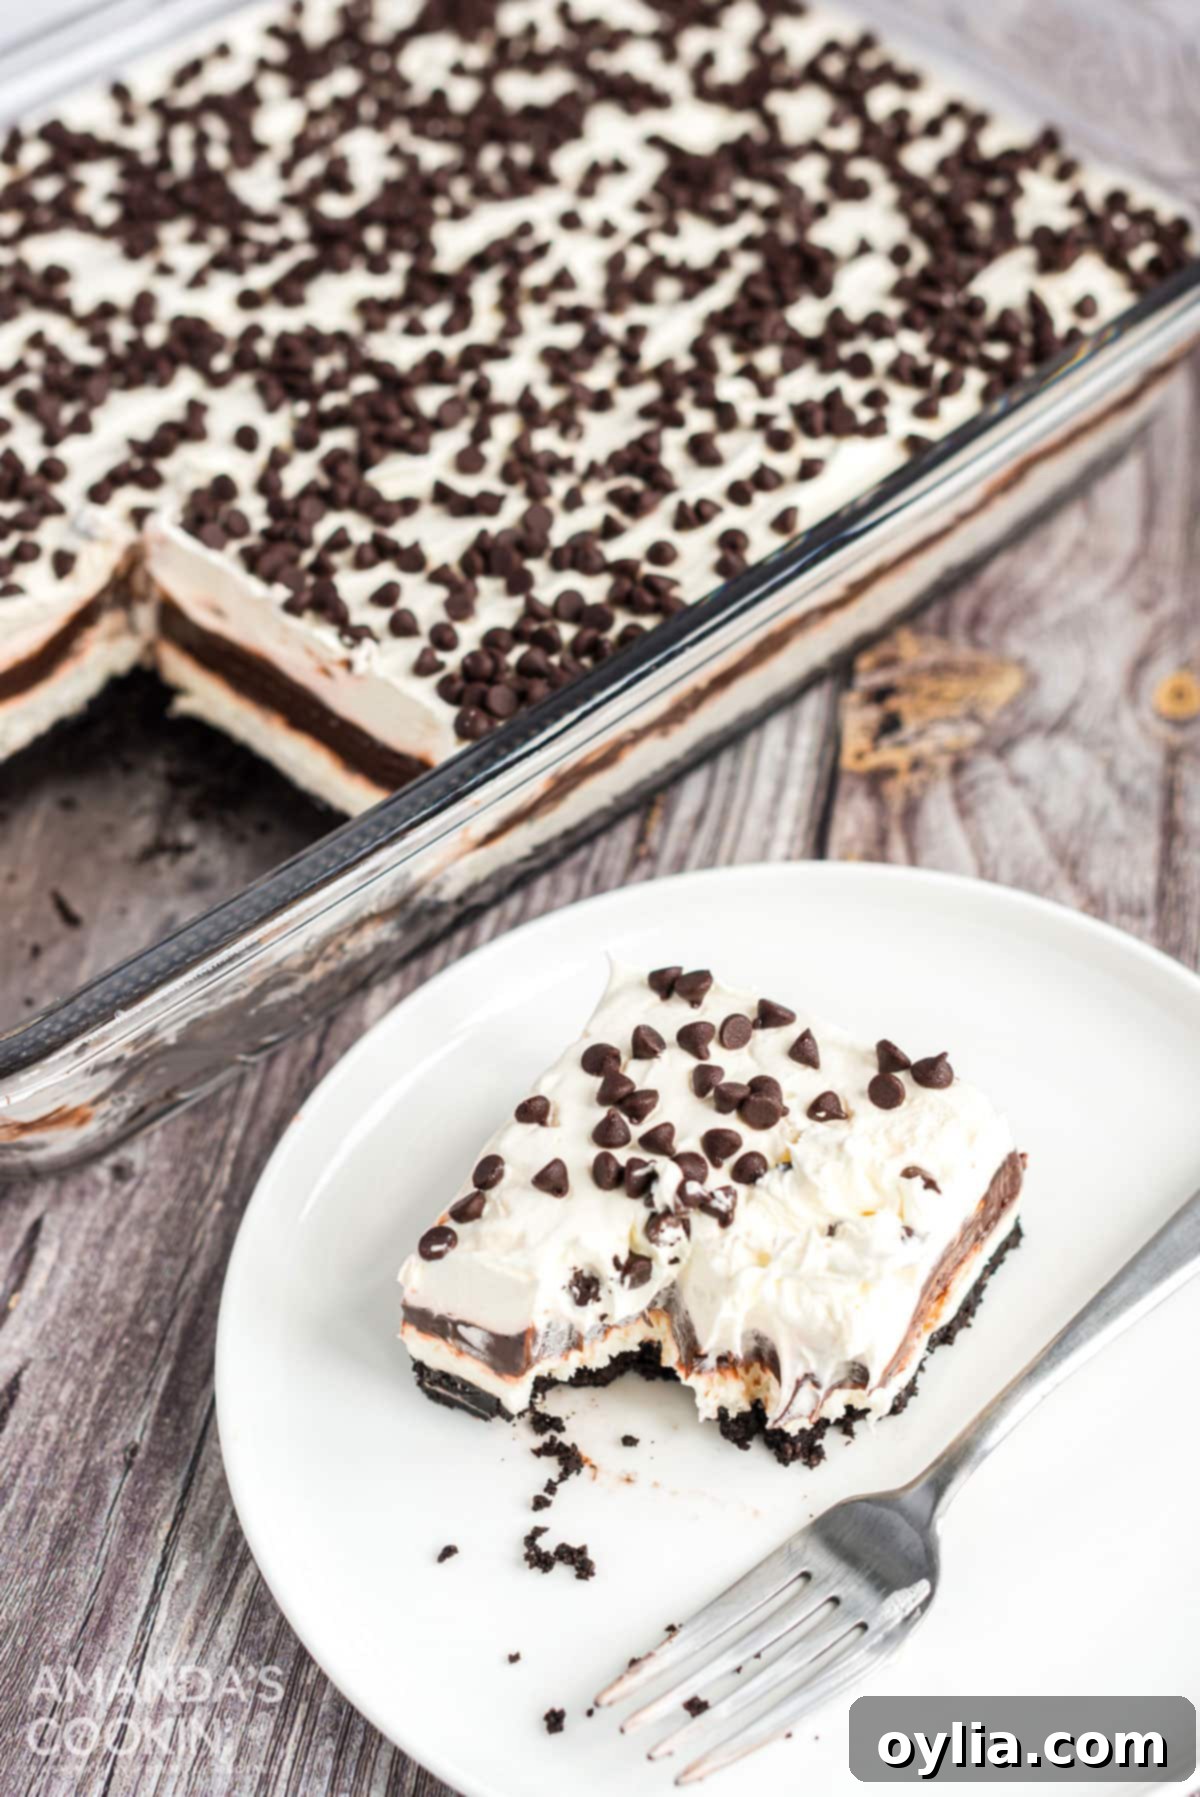
Prepare to be enchanted by this extraordinary No-Bake Chocolate Lasagna, a dessert that truly lives up to its name. Imagine a symphony of textures and flavors: a sturdy, dark Oreo cookie crust forms the foundation, generously topped with a rich, tangy cream cheese layer. Next comes a silky smooth chocolate pudding, followed by a light and airy whipped cream topping, all crowned with delightful mini chocolate chips. This is not just a dessert; it’s an experience, a delightful journey for your taste buds. If you’ve never had the pleasure of tasting chocolate lasagna, you are in for an incredibly delicious and surprisingly simple treat that will quickly become a household favorite.
Why This No-Bake Chocolate Lasagna is a Must-Try
This chocolate lasagna recipe isn’t just delicious; it’s incredibly practical and versatile, making it a go-to dessert for any occasion. Its layered structure in a single pan means it’s exceptionally easy to transport, making it the perfect contribution for potlucks, family gatherings, and holiday celebrations. You won’t have to worry about complex plating – simply slice and serve!
One of its most appealing features is that there’s absolutely no baking involved. This makes it an ideal dessert for warmer months, such as summer barbecues, when the last thing you want to do is turn on your oven and heat up your kitchen. Even in colder weather, the convenience of a no-bake dessert means less time in the kitchen and more time enjoying your guests or relaxing. The simplicity of assembly combined with its impressive presentation guarantees it will be a crowd-pleaser every single time. It’s truly a dessert that works for every season and every event.
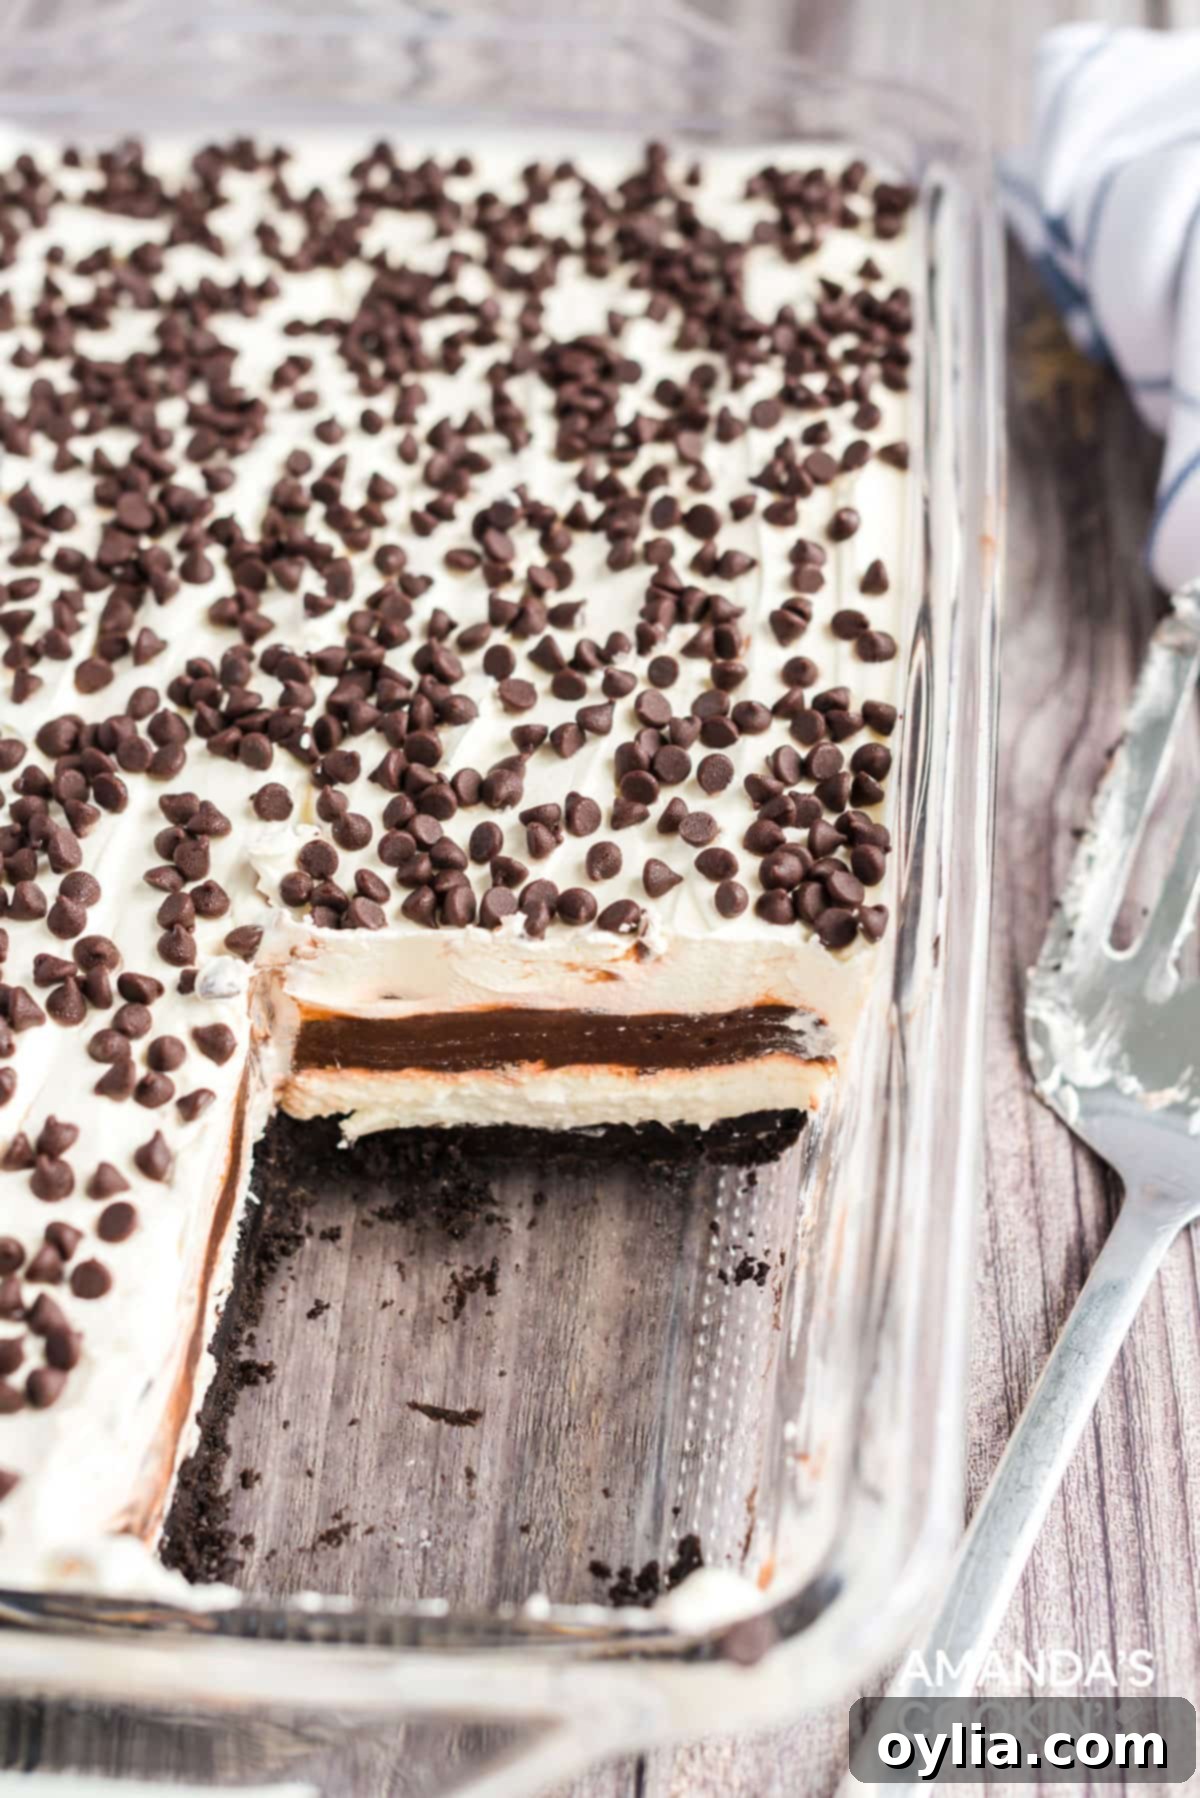
For other delicious dessert lasagna recipes, be sure to check out: Chocolate Peanut Butter Lasagna, Mint Chocolate Lasagna, or Lemon Lush (also known as Lemon Lasagna)! These variations offer a delightful twist on the classic layered dessert format.
Key Ingredients for Your Decadent Chocolate Lasagna
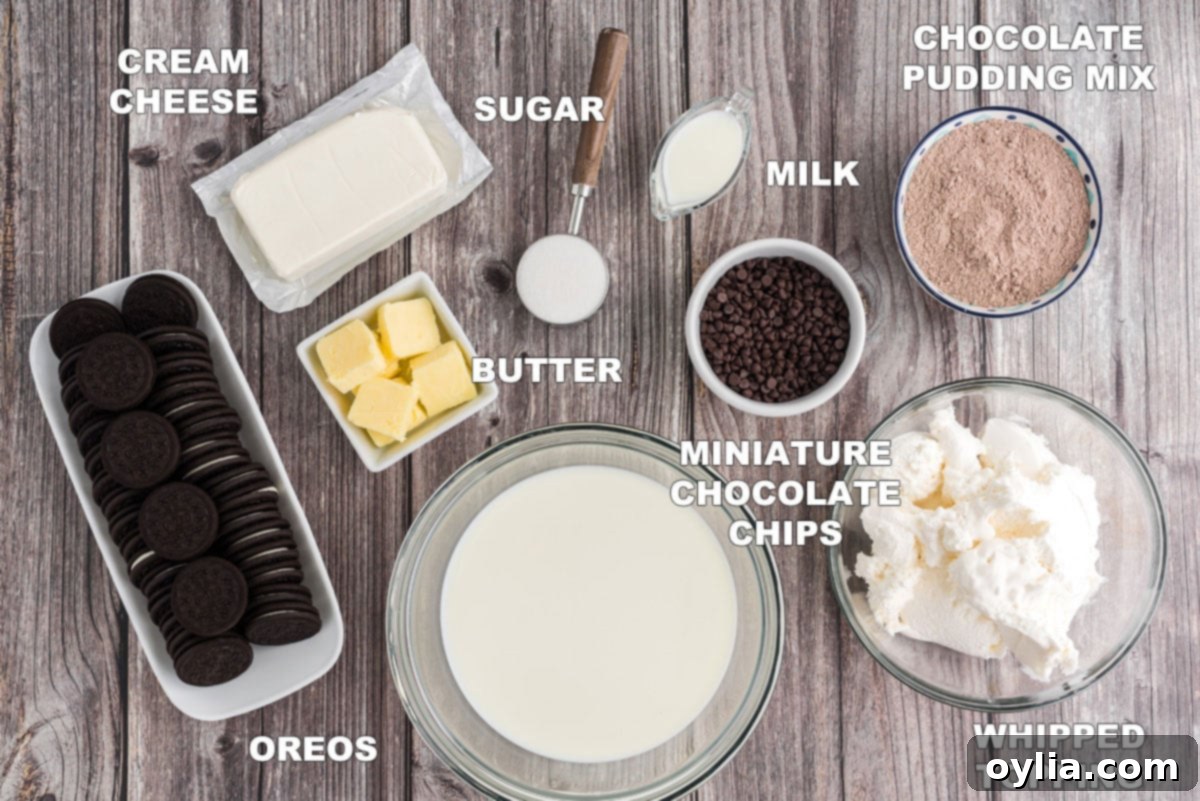
Crafting this incredible dessert requires a few simple, readily available ingredients. The quality of your ingredients can truly elevate the final taste, so choose wisely!
- Oreo Cookies: You’ll need one standard package (approximately 36 cookies) of regular Oreo cookies. It’s crucial to use the regular variety, not Double Stuff, as the cream filling contributes to the crust’s texture and binding without making it too rich or oily. And yes, you absolutely do NOT remove the cream centers – they’re part of the magic!
- Melted Butter: This binds the Oreo crumbs together to form that perfect, pressable crust. Unsalted butter is usually preferred for baking, but for a crust like this, salted can also work to balance the sweetness.
- Cream Cheese: For the creamy, tangy layer, a block of full-fat cream cheese (softened to room temperature) is essential. Room temperature cream cheese mixes smoothly without lumps.
- Granulated Sugar & Milk: These are combined with the cream cheese to create a subtly sweet and smooth base for the cheesecake layer. We recommend 1% milk, but any milk will do.
- Cool Whip: This is a key component, used in both the cream cheese layer and as the top layer. You’ll need two 8-ounce containers, separated for different steps. For a homemade touch, you can substitute with an equal amount of homemade stabilized whipped cream.
- Instant Chocolate Pudding Mix: Two 3.9 oz boxes of UNPREPARED instant chocolate pudding mix are required. Make sure it’s ‘instant’ and not ‘Cook n Serve,’ as the latter will not set correctly for this recipe.
- Milk (for pudding): This is combined with the pudding mix to create the smooth, thick chocolate layer.
- Miniature Chocolate Chips: These are the perfect finishing touch, adding a delightful visual appeal and an extra burst of chocolate flavor and texture to the top layer.
Step-by-Step Guide: How to Make the Perfect Chocolate Lasagna
These step-by-step photos and detailed instructions are provided to help you visualize each stage of this recipe. For a concise, printable version of the recipe, please scroll down to the dedicated recipe card!
Creating the Perfect Oreo Crust
- Crush the Oreos: Begin by crushing the entire package of regular Oreo cookies (cream centers included!) into very fine crumbs. A food processor works best for achieving a uniform, fine crumb texture, essential for a firm crust. If you don’t have one, place the cookies in a sturdy zip-top bag and crush them with a rolling pin or the bottom of a heavy pan until no large pieces remain. Aim for about 3 cups of fine crumbs.
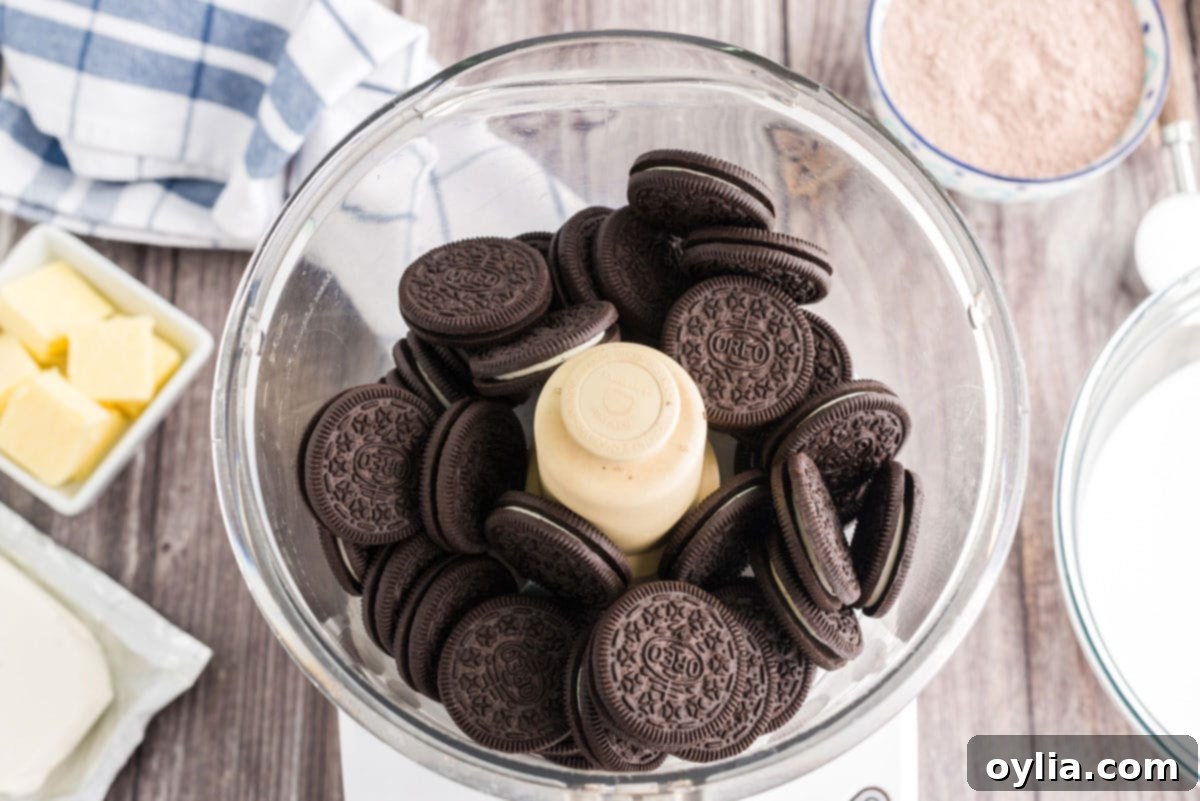
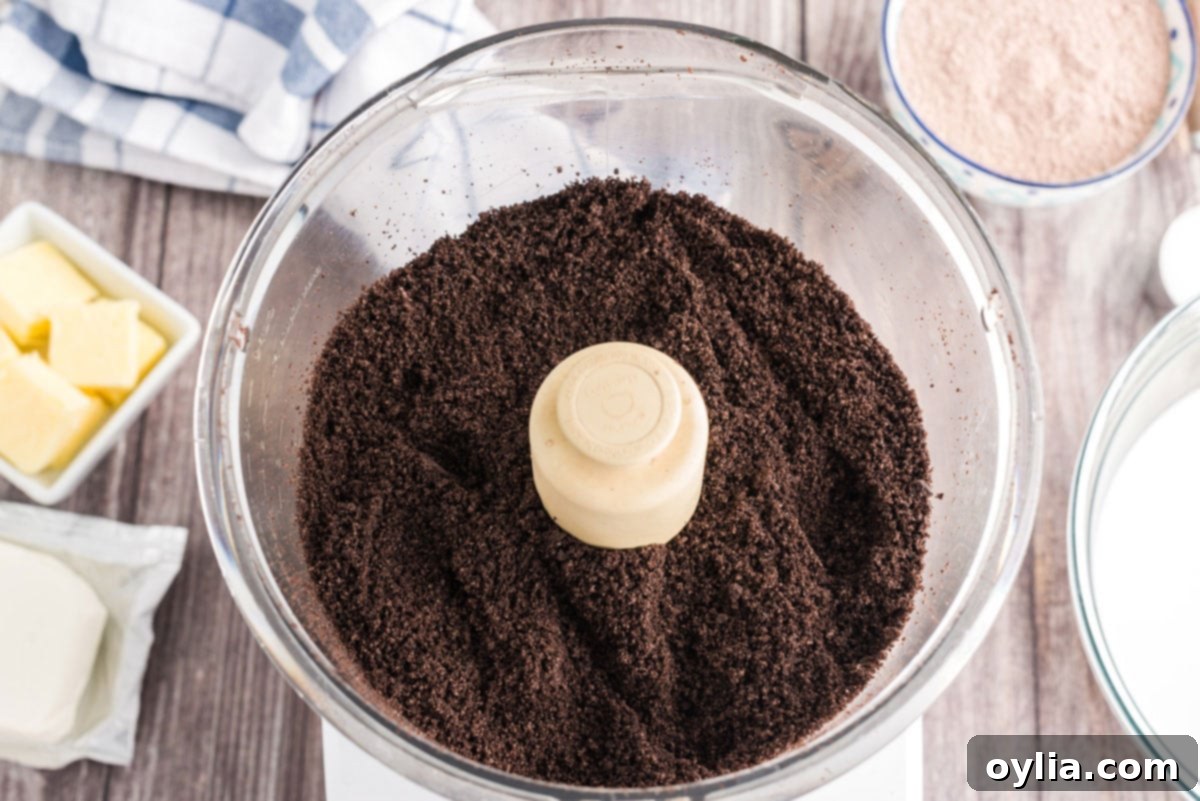
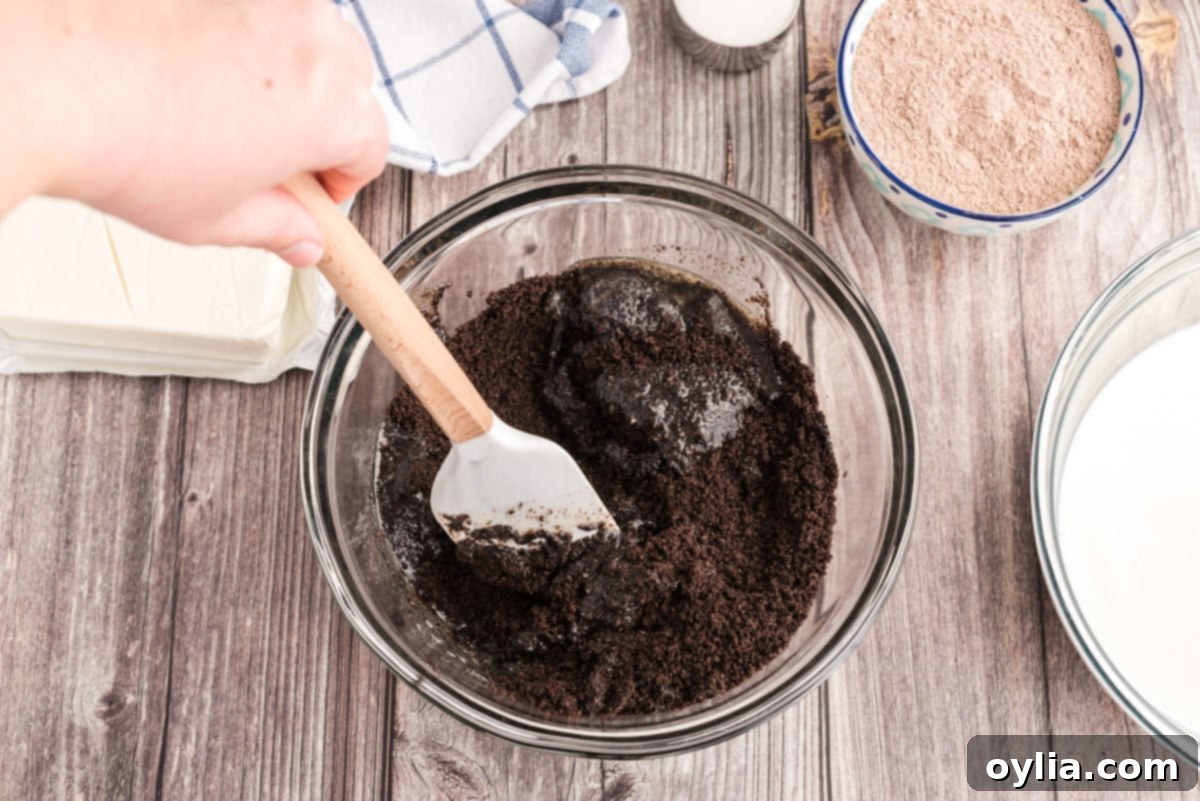
- Combine with Butter: In a medium-sized bowl, pour the fine cookie crumbs. Add the melted butter and stir vigorously until the crumbs are thoroughly coated and resemble wet sand. This ensures that your crust will hold together beautifully once pressed.
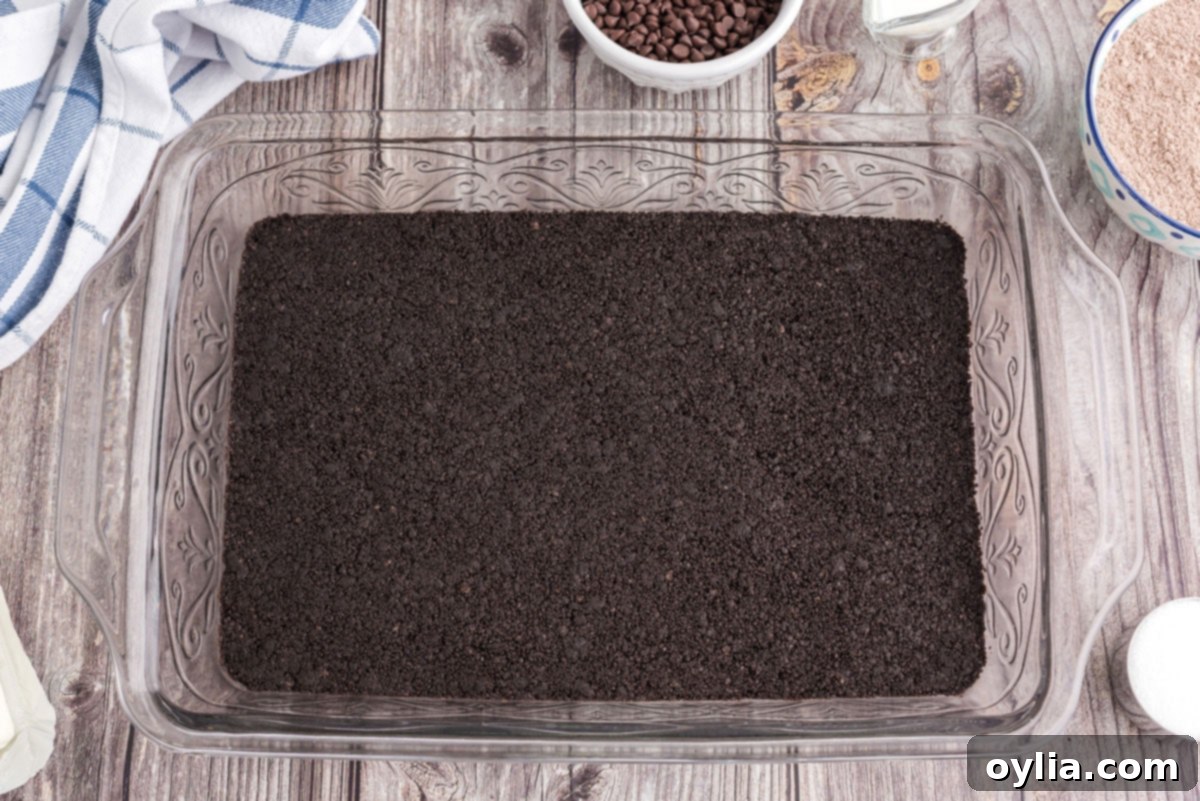
- Press the Crust: Transfer the buttered crumbs into a 13×9 inch baking dish. Using a spatula or the flat bottom of a measuring cup, press the crumbs down firmly and evenly across the bottom of the dish. A well-pressed crust is key to preventing crumbling when slicing.
Crafting the Creamy Cheesecake Layer
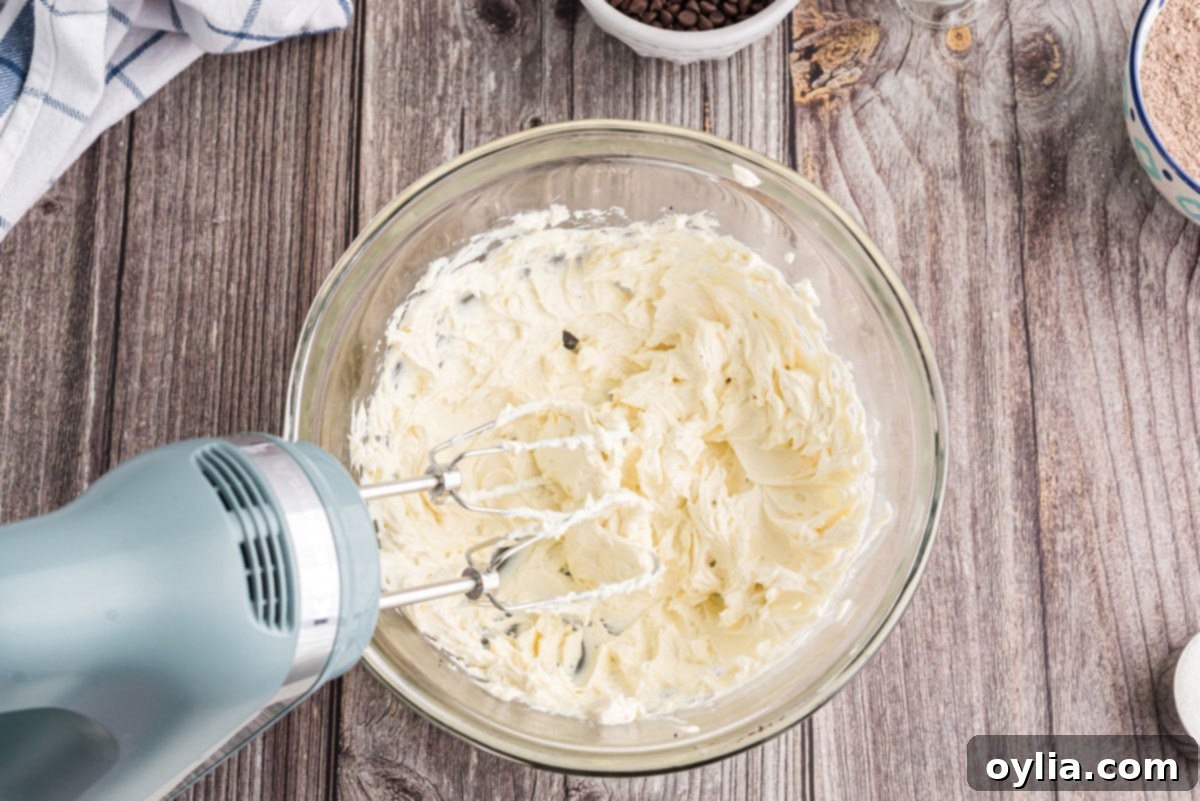
- Whip Cream Cheese: In a clean medium bowl, add the softened cream cheese. Beat it with a hand mixer on medium speed until it’s light, fluffy, and completely smooth. This step is crucial for preventing a lumpy cheesecake layer.
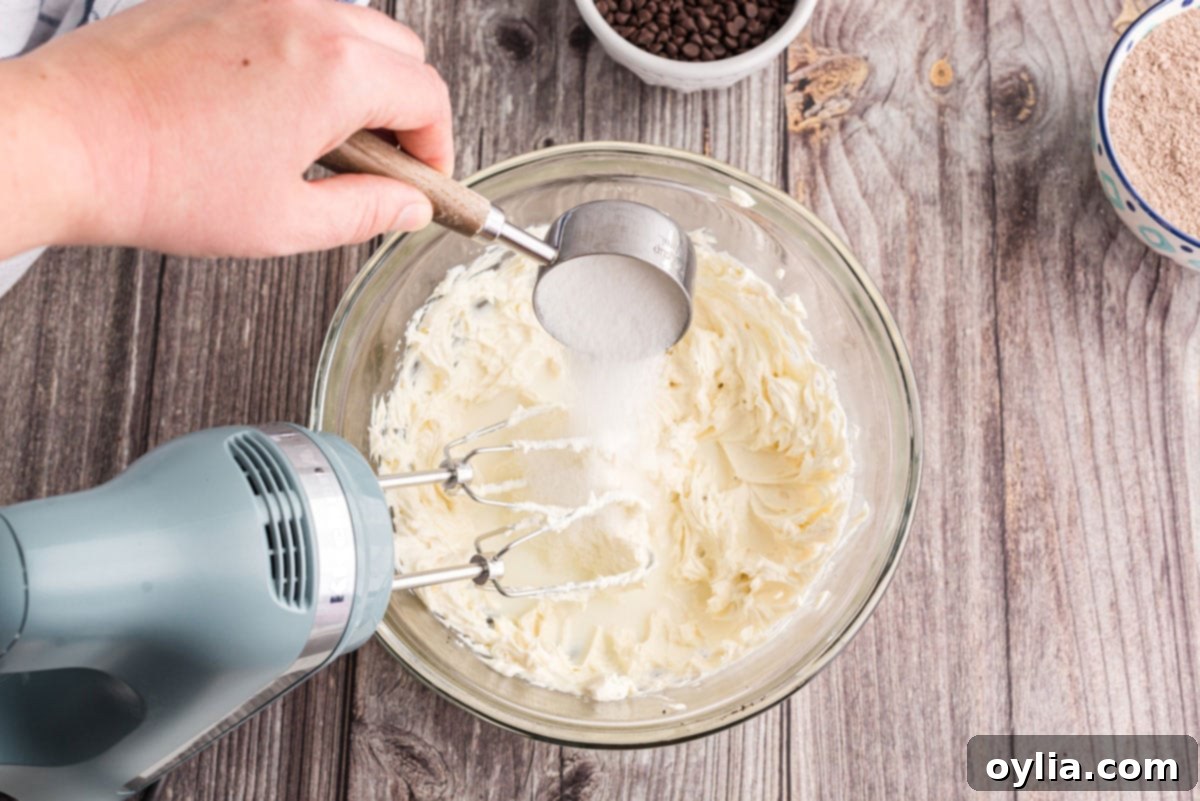
- Sweeten and Combine: Add the 2 tablespoons of milk and the granulated sugar to the fluffy cream cheese. Mix well until everything is thoroughly incorporated and the mixture is smooth and creamy.
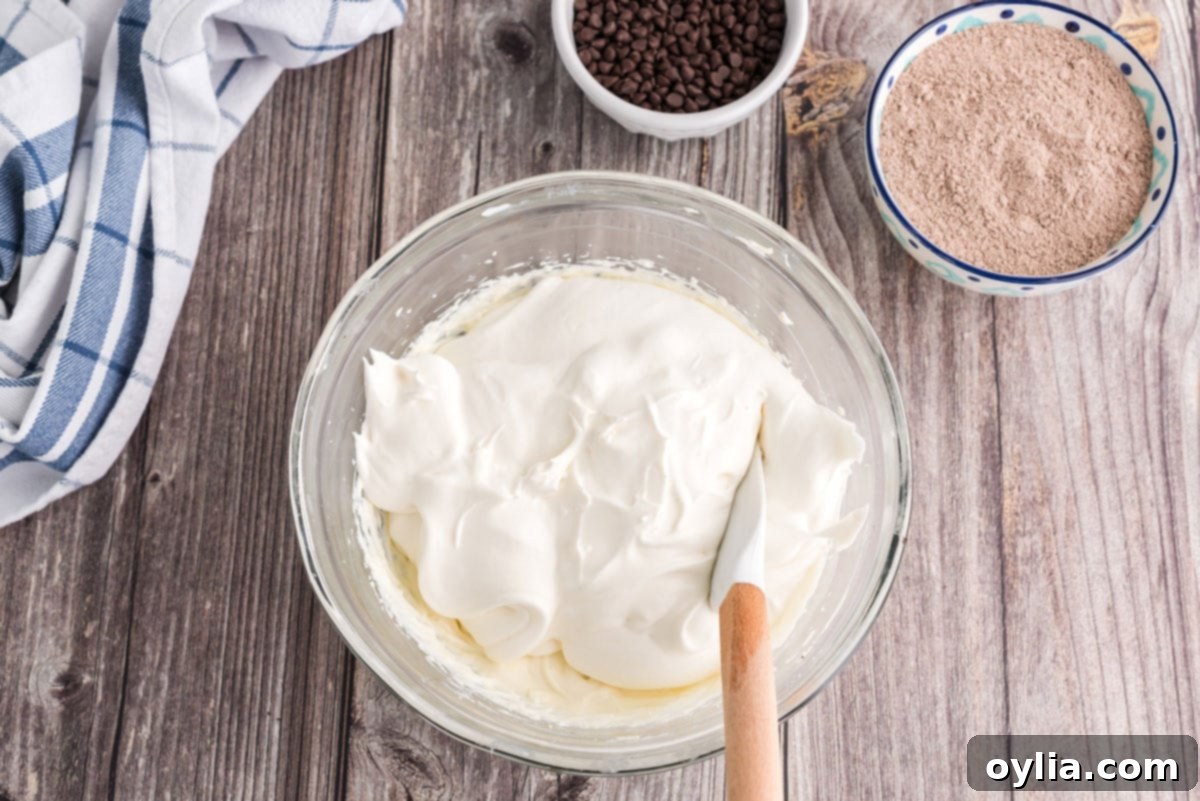
- Fold in Cool Whip: Gently fold the contents of one 8 oz container of Cool Whip into the cream cheese mixture using a rubber spatula. Be careful not to overmix, as this will deflate the whipped topping. The goal is a light, airy, and uniform mixture.
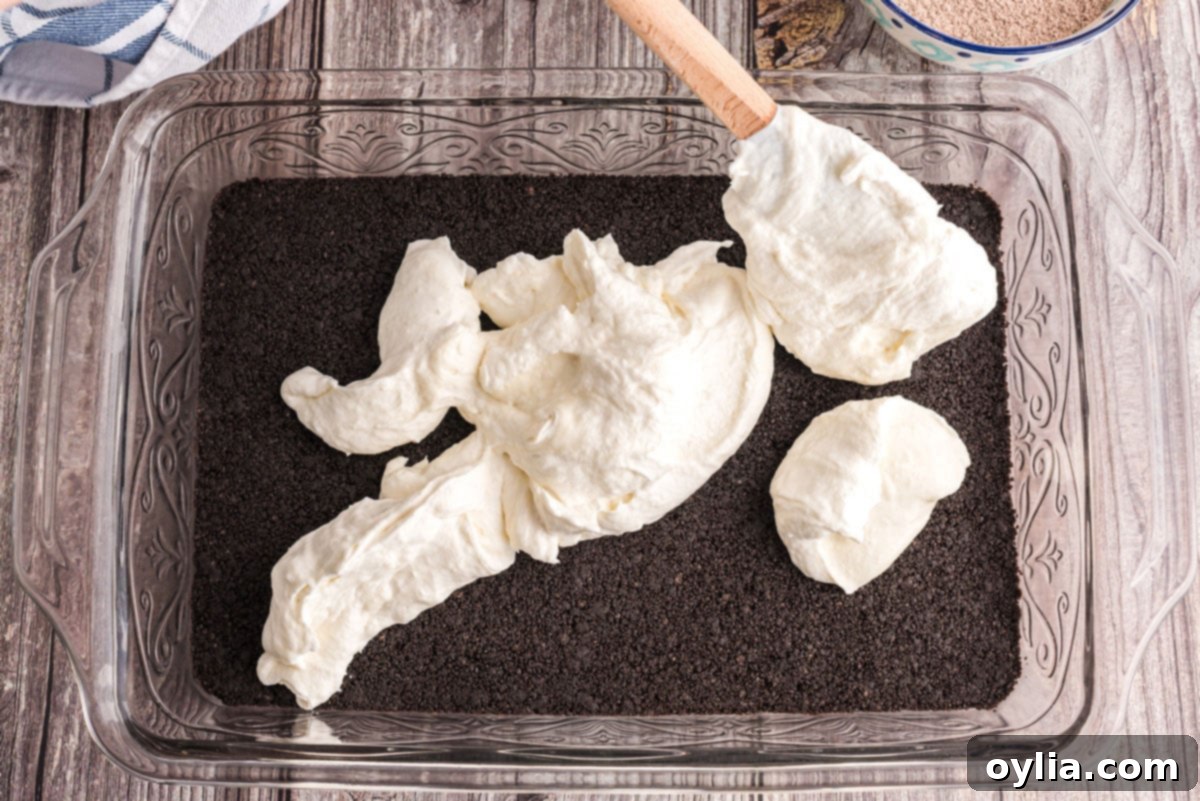
- Spread and Chill: Carefully spread the cream cheese mixture evenly over the prepared Oreo cookie crust. Once spread, place the dish in the refrigerator for about 10 minutes to allow the layer to firm up slightly. This makes the next layer easier to spread without mixing.
Adding the Rich Chocolate Pudding Layer
- Prepare the Pudding: While the cheesecake layer is chilling, in a large bowl, combine the instant chocolate pudding mixes with 2 ¾ cups of milk. Beat on medium speed with your hand mixer until the mixture begins to thicken. It should be thick enough to spread but still smooth.
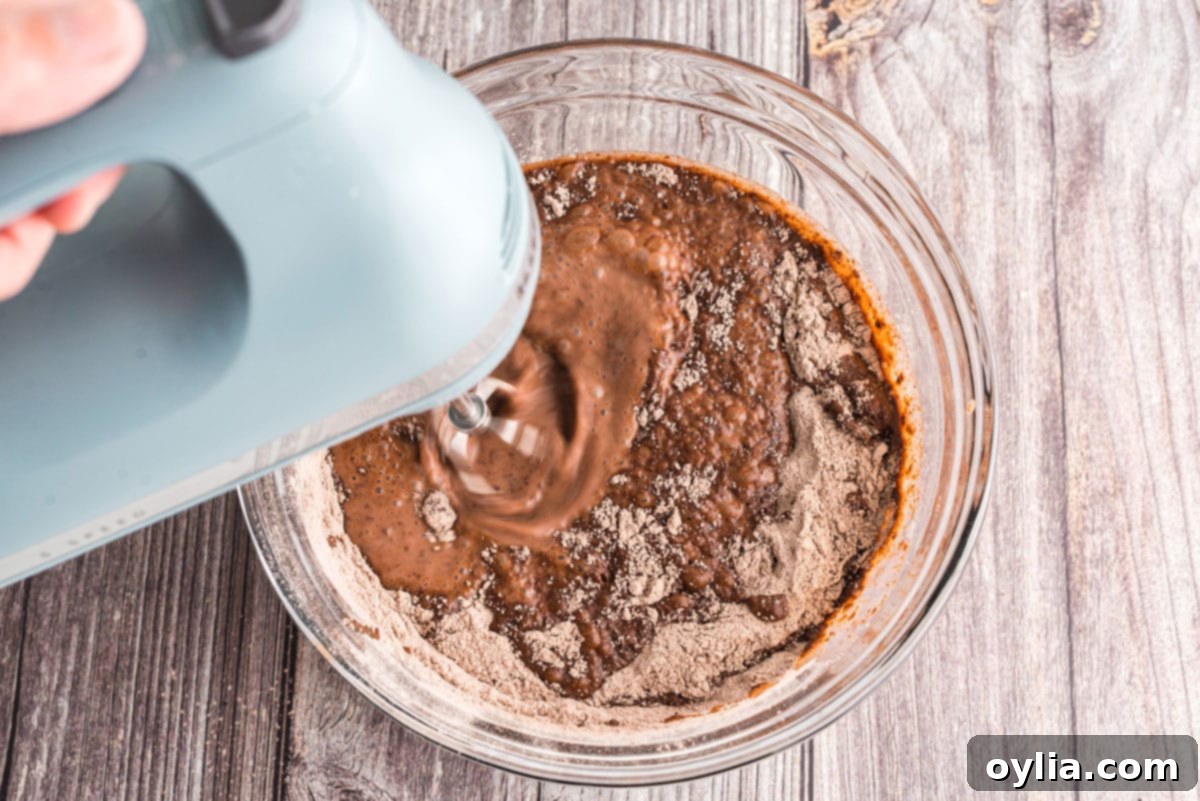
- Spread Pudding and Chill Again: Gently spread the thickened pudding mixture over the cream cheese layer. Take your time to ensure an even coating. Return the dish to the refrigerator for another 10 minutes to allow the pudding layer to set. This repeated chilling ensures clean, distinct layers in your final dessert.
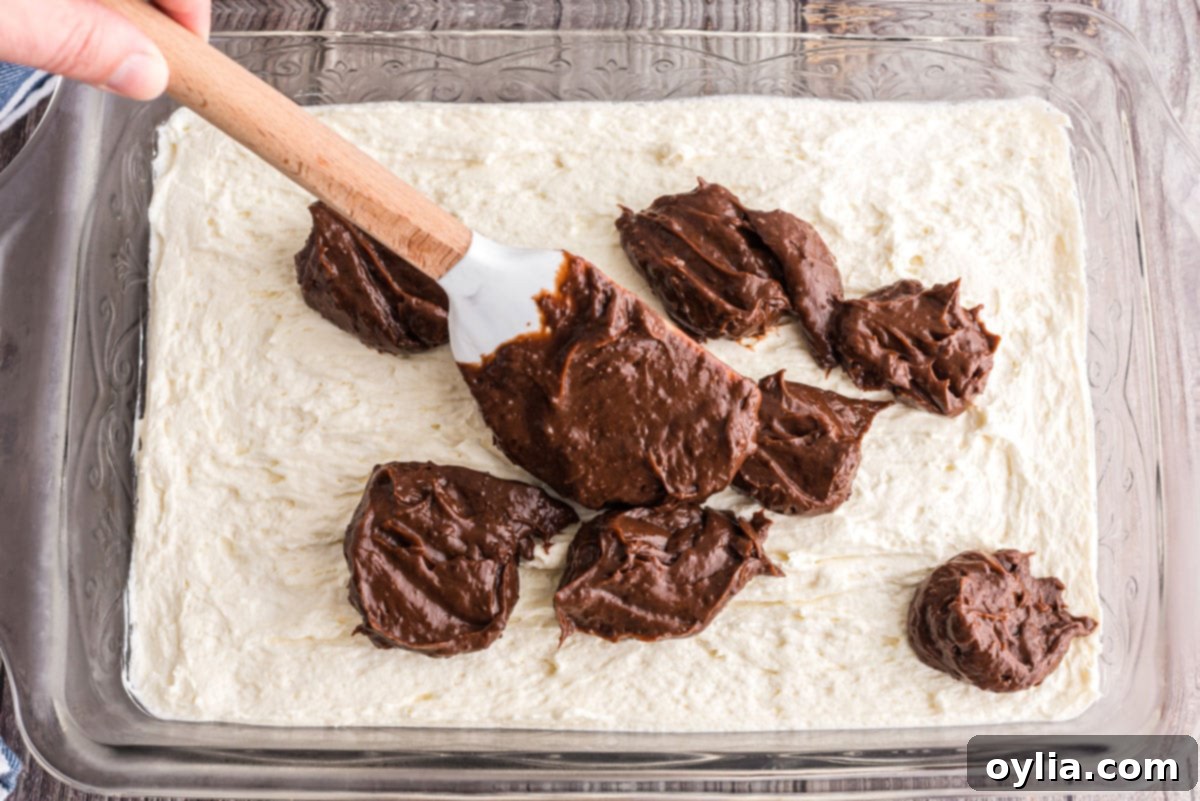
Finishing Touches: Whipped Cream and Chocolate Chips
- Top with Whipped Cream & Chips: Once all layers are set, gently spread the remaining 8 oz of Cool Whip over the top of the chocolate pudding layer. For a visually appealing finish, sprinkle generously with miniature chocolate chips. This adds a lovely texture and a final burst of chocolate flavor.
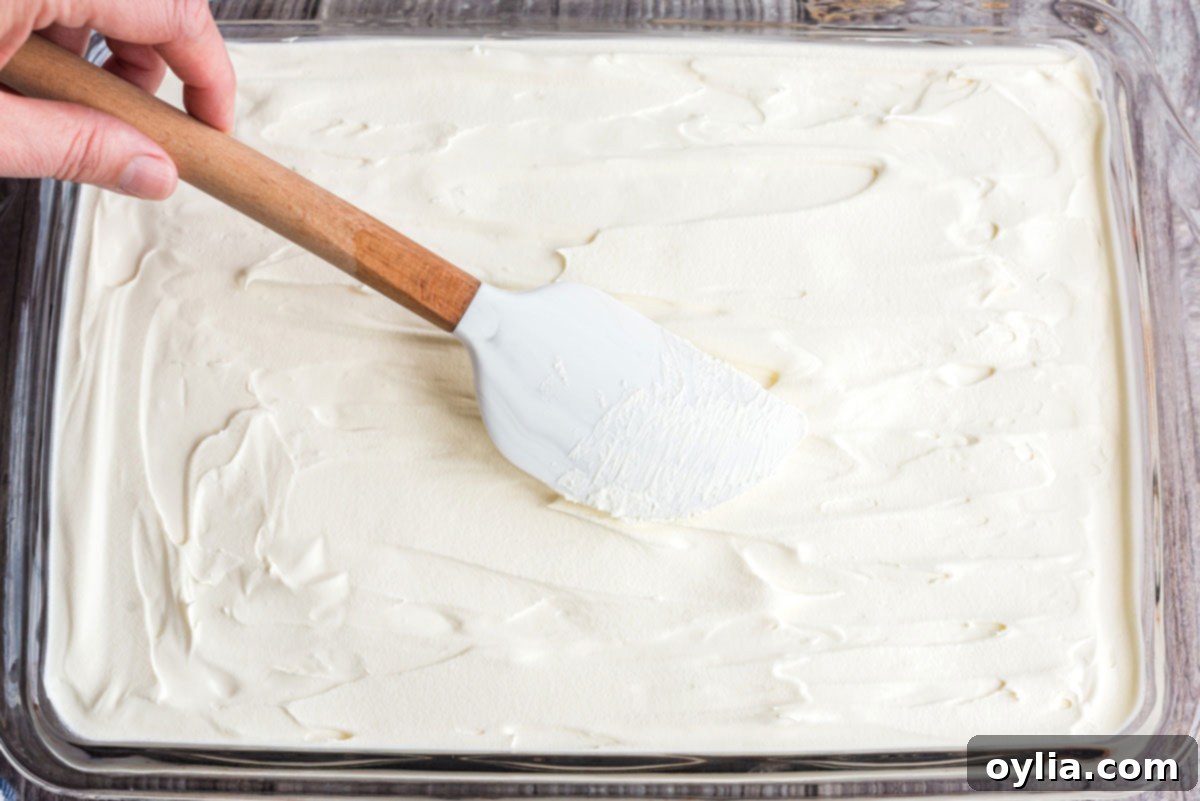
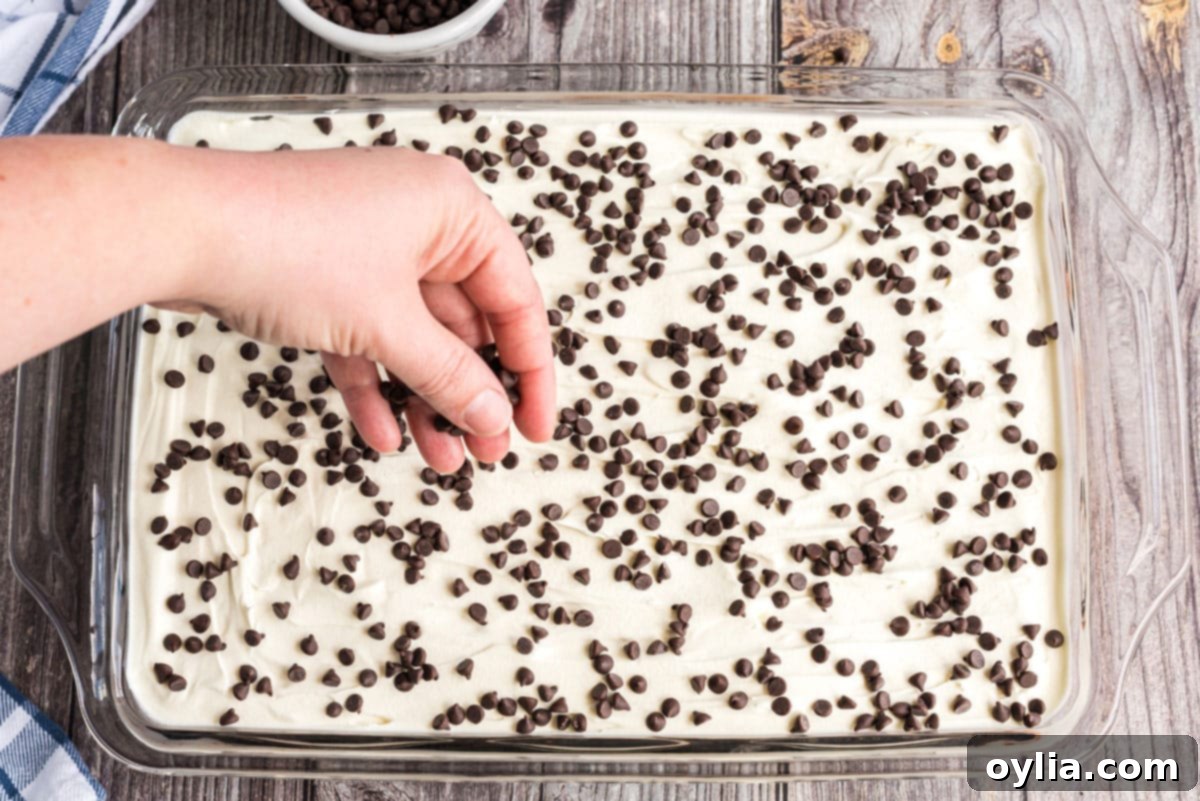
- Final Chill: Cover the dish tightly with plastic wrap and refrigerate for at least 4 hours. For a faster set, you can chill it in the freezer for about 1 hour. This extended chilling time is vital for all the layers to fully set, ensuring clean slices and maximum flavor integration.
Expert Tips for Chocolate Lasagna Success & Common Questions
- Oreo Selection: Always use regular Oreo cookies for the crust, not Double Stuff. The extra cream in Double Stuff can make the crust too soft and greasy. There’s no need to remove the cream centers; they are integral to the crust’s binding and flavor. Roughly 36 cookies will yield about 3 cups of fine crumbs.
- Pudding Type: Stick to instant pudding mix (two 3.9 oz boxes). “Cook n Serve” pudding will not set correctly for this no-bake application and will result in a runny layer.
- Achieving Smooth Layers: For the neatest layers, ensure your cream cheese is at room temperature before beating. Also, chilling the dessert in the refrigerator for 10-15 minutes after each layer (crust, cream cheese, pudding) will help firm it up, making it easier to spread the subsequent layers without them mixing or disturbing the layer below. If you have extra time, popping it into the freezer for 10-15 minutes between layers is even more effective for a super clean presentation.
- Fancy Presentation: Elevate the look by substituting shaved chocolate for mini chocolate chips. Use a vegetable peeler to shave a bar of bittersweet chocolate, creating delicate short or long ribbons. Bittersweet chocolate not only offers a sophisticated flavor contrast but also shaves more beautifully, producing prettier curls.
- Whipped Topping Alternatives: While Cool Whip is convenient, you can certainly use homemade whipped topping. To substitute, whisk 3 cups of cold heavy whipping cream with 3 tablespoons of powdered sugar until medium peaks form. This will provide a richer, fresher flavor.
- Make-Ahead & Storage: This dessert is perfect for preparing in advance. You can make it up to 3 days ahead of time. Keep it covered tightly with plastic wrap and refrigerated to maintain freshness and prevent it from drying out or absorbing refrigerator odors.
- Slicing Tips: For clean slices, use a sharp knife that has been run under hot water and wiped dry between each cut. This will help glide through the layers smoothly.
If you consider yourself a true chocolate aficionado, then this layered dessert is absolutely made for you. It’s packed with creamy, dreamy flavors and satisfying textures that are guaranteed to bring a smile to your face. Prepare for rave reviews and be sure to have extra copies of the recipe on hand, because everyone will want to recreate this masterpiece!
More Irresistible No-Bake Desserts to Explore
If you’re a fan of easy, delicious no-bake treats, you’ll love these other recipes that follow a similar theme of simplicity and maximum flavor:
- Sex in a Pan (Mississippi Mud Pie): Another decadent layered dessert that’s rich and satisfying.
- Strawberry Lasagna: A fruity, refreshing twist on the classic lasagna dessert.
- Pineapple Dream Dessert: A light and tropical no-bake option perfect for summer.
- Chocolate Lasagna Trifle: All the flavors of chocolate lasagna, presented beautifully in a trifle dish.
- Strawberry Jello Pretzel Salad: A unique sweet and salty combination that’s always a hit.
- S’mores Lasagna: Recreate the campfire favorite in a convenient layered dessert form.
Oreo cookies are truly a marvel for no-bake recipes, offering a perfect base for countless creations (like Melissa’s Reese’s Peanut Butter Cup Oreo Bon Bons). With the vast array of Oreo flavors available today, you could easily experiment and entirely switch up the flavor profile of this no-bake chocolate lasagna. Imagine a mint Oreo crust for a refreshing twist, or a peanut butter Oreo crust for an even richer experience!
I genuinely love to bake, cook, and share my favorite recipes with you! I understand it can be tough to remember to come back and search for new ideas, so I’ve made it super easy with my weekly newsletter! You can subscribe for free, and I’ll send you a collection of delicious, easy-to-make recipes every single week, delivered straight to your email inbox. Don’t miss out on your next culinary adventure!
Chocolate Lasagna
IMPORTANT – There are often Frequently Asked Questions and expert tips within the blog post that you may find incredibly helpful. Simply scroll back up to read them for additional insights and troubleshooting!
Print It
Pin It
Rate It
Save ItSaved!
Ingredients
- 36 Oreo cookies 1 package regular cookies (do not remove cream centers)
- 6 Tablespoons butter melted
- 8 ounces cream cheese room temp
- ¼ cup granulated sugar
- 2 tablespoons milk 1%
- 16 ounces Cool Whip non-fat, 2 (8-oz) containers, separated
- 7.8 ounces instant chocolate pudding 2 (3.9 oz) boxes UNPREPARED
- 2 ¾ cups milk 1%
- ¾ cup miniature chocolate chips
Things You’ll Need
-
Hand mixer
-
Food processor
-
13×9 baking dish
-
Rubber spatula
Before You Begin
- Do not remove the cream centers from the cookies. Use regular Oreos, not Double Stuff. 36 cookies = 3 cups of crumbs, which is essential for a firm crust.
- Use 2 boxes of instant pudding mix. Ensure it’s ‘instant’ and not ‘Cook n Serve’ for proper setting in a no-bake recipe.
Instructions
-
Use a food processor (or a zip-top bag and a rolling pin) to crush the Oreos into very fine crumbs. This ensures a solid and even crust.36 Oreo cookies
-
Into a medium bowl, pour in the cookie crumbs and melted butter. Stir thoroughly until all crumbs are moistened.6 Tablespoons butter
-
Pour the mixture into a 9×13 baking dish and use a spatula (or the bottom of a measuring cup) to evenly press the crumbs across the bottom to form a firm crust.
-
In the same medium bowl (no need to wash), add the room-temperature cream cheese and beat with a hand mixer until light and fluffy. Add in the 2 Tablespoons of milk and granulated sugar, mixing until well combined and smooth.8 ounces cream cheese, 1/4 cup granulated sugar, 2 tablespoons milk
-
Gently fold the contents of one of the 8 oz Cool Whip containers into the cream cheese mixture using a spatula until just combined.
-
Spread the cream cheese mixture evenly over the cookie crust. Place the dish into the fridge to set for approximately 10 minutes.
-
While the previous layer is setting, to a large bowl, add both instant pudding mixes and 2 3/4 cups milk. Beat on medium speed with a hand mixer until the mixture begins to thicken to a spreadable consistency.7.8 ounces instant chocolate pudding, 2 3/4 cups milk
-
Carefully spread the pudding mixture over the cream cheese layer. Return the dish to the fridge for another 10 minutes to allow this layer to set.
-
Once all layers are adequately set, gently spread the remaining 8 oz of Cool Whip over the top. Sprinkle generously with mini chocolate chips for garnish.3/4 cup miniature chocolate chips
-
Cover the finished chocolate lasagna tightly with plastic wrap and let it chill in the fridge for at least 4 hours (or 1 hour in the freezer) before slicing and serving. This final chill is crucial for the dessert to fully set and for clean cuts.
Expert Tips & FAQs
- For a fancier presentation, substitute shaved chocolate for the chocolate chips. Use a vegetable peeler to shave a bar of bittersweet chocolate, creating short or long elegant ribbons to sprinkle on top. There’s less sugar in a bittersweet bar, and it simply shaves better, creating prettier chocolate garnishes.
- If you have extra time and want super crisp layers, I highly recommend popping the dessert into the freezer for 10-15 minutes after spreading each layer. This significantly helps each layer set firmly and makes spreading the next one much easier without mixing.
- If you prefer a homemade touch, you can use an equal amount of homemade whipped topping instead of Cool Whip. To substitute, whisk 3 cups of cold heavy whipping cream and 3 tablespoons of powdered sugar (or to taste) until medium peaks form, ensuring it’s stabilized for best results.
- This dessert is an excellent make-ahead option! You can prepare it up to 3 days in advance. Just ensure it’s kept tightly covered with plastic wrap and refrigerated to maintain its freshness and prevent it from drying out or absorbing other food odors.
- To get clean, professional-looking slices, use a sharp, thin knife. Dip the knife in hot water and wipe it clean before each cut. This will help the knife glide through the cold, creamy layers without sticking.
Nutrition
The recipes on this blog are tested with a conventional gas oven and gas stovetop. It’s important to note that some ovens, especially as they age, can cook and bake inconsistently. Using an inexpensive oven thermometer can assure you that your oven is truly heating to the proper temperature. If you use a toaster oven or countertop oven, please keep in mind that they may not distribute heat the same as a conventional full sized oven and you may need to adjust your cooking/baking times. In the case of recipes made with a pressure cooker, air fryer, slow cooker, or other appliance, a link to the appliances we use is listed within each respective recipe. For baking recipes where measurements are given by weight, please note that results may not be the same if cups are used instead, and we can’t guarantee success with that method.
