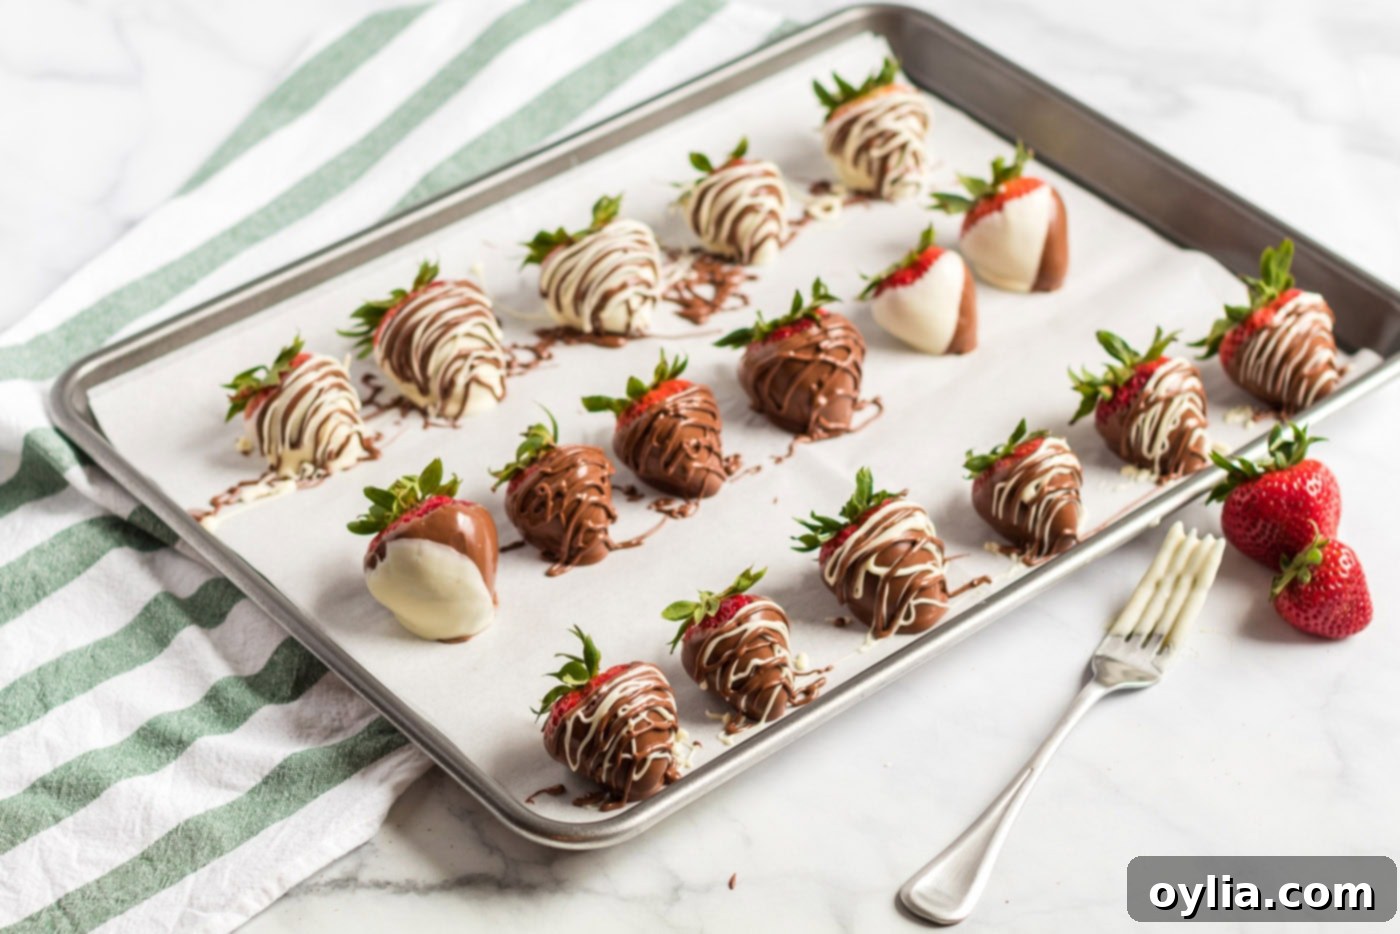
Easy Homemade Chocolate Covered Strawberries: Your Guide to Decadent Dipped Delights
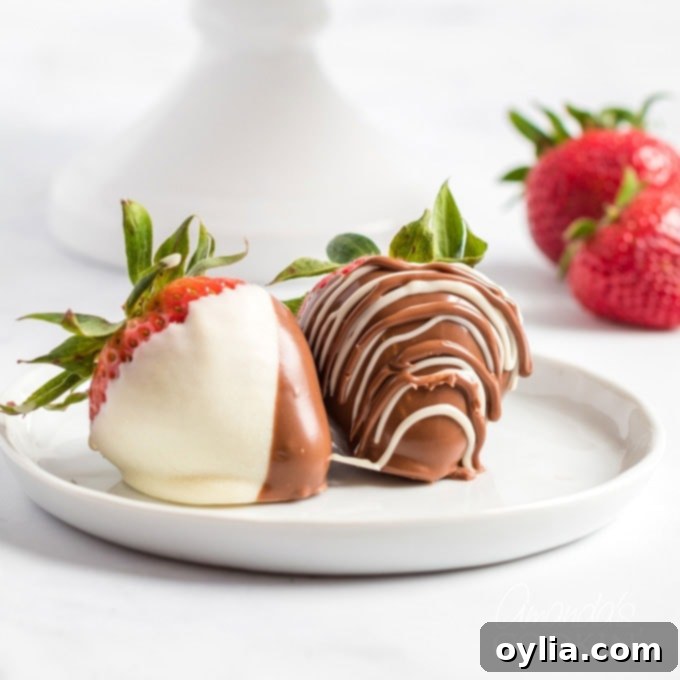
Indulge in the simple luxury of homemade chocolate covered strawberries! This comprehensive guide reveals how to create stunning, delicious chocolate-dipped fruit that rivals any confectionary shop. Perfect for gifting, special occasions, or a luxurious treat for yourself, this recipe is surprisingly easy to master and guarantees impressive results every time.
Looking for more delightful chocolate and fruit combinations? Don’t forget to explore our Chocolate Covered Fruit Truffles for another exquisite dessert idea!
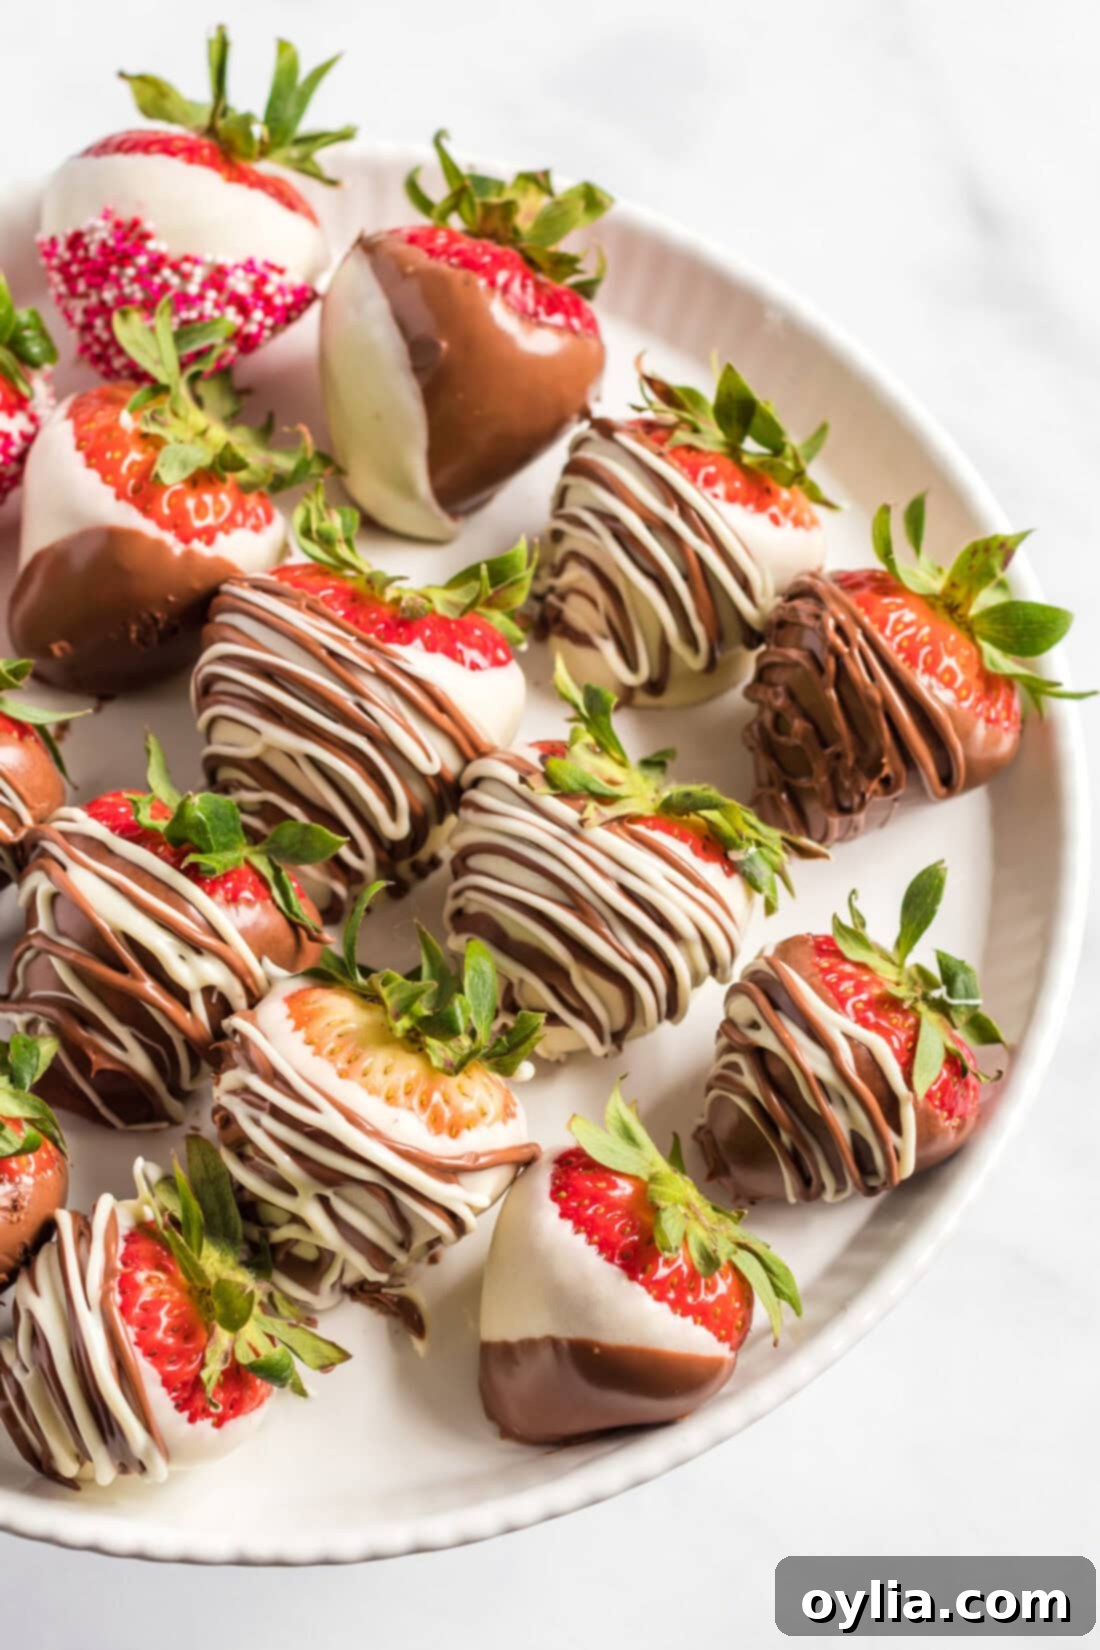
Why This Easy Recipe for Chocolate Covered Strawberries Will Become Your Favorite
There’s a universal charm to the combination of a ripe, juicy strawberry and rich, melting chocolate. It’s a pairing that feels both decadent and fresh, making it a guilt-free indulgence. This recipe truly shines because it simplifies the process without compromising on quality or appearance. You’ll learn the techniques to create glossy, perfectly coated strawberries that look professionally made, right in your own kitchen.
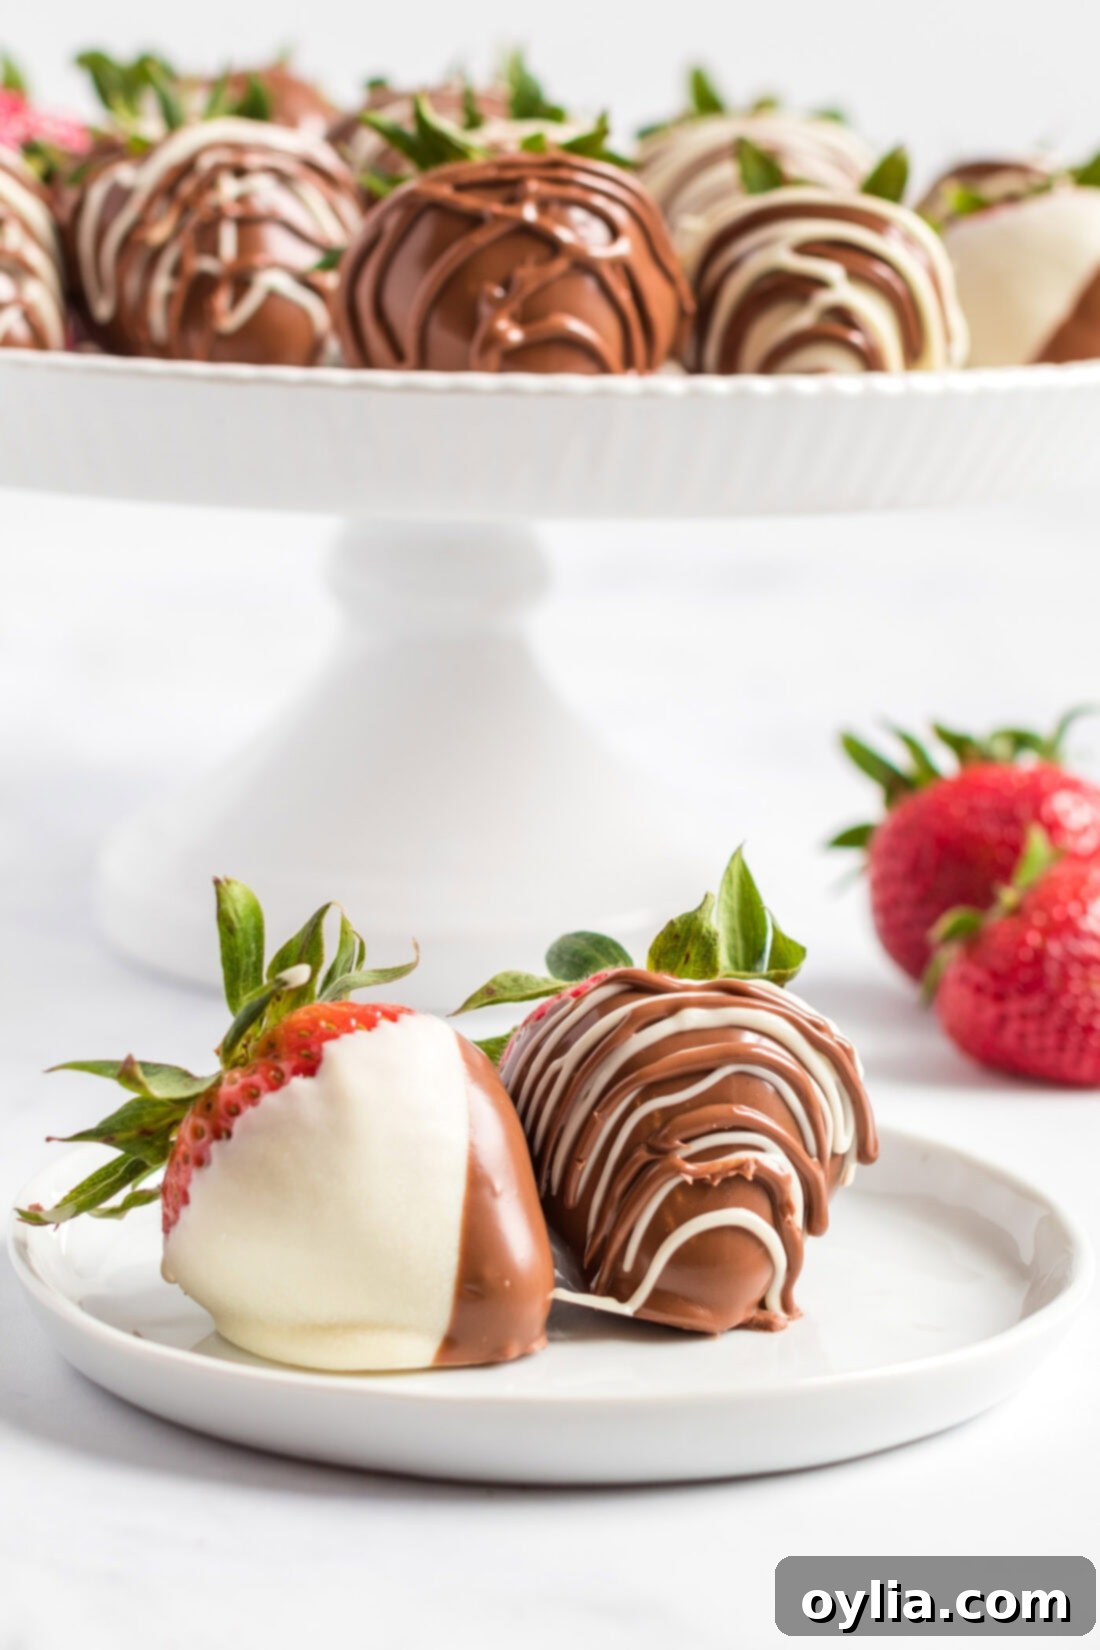
Beyond their irresistible taste, homemade chocolate covered strawberries are incredibly versatile. They make an exquisite and thoughtful gift for friends, family, or as a charming addition to a baby or bridal shower. Their elegant appearance makes them a natural fit for romantic holidays like Valentine’s Day or Sweetest Day, transforming an ordinary evening into a special celebration for two. Plus, making them yourself means you can customize them exactly to your taste, choosing your favorite chocolate and decorations, and ensuring the freshest ingredients.
Essential Ingredients for Your Perfect Chocolate Dipped Strawberries
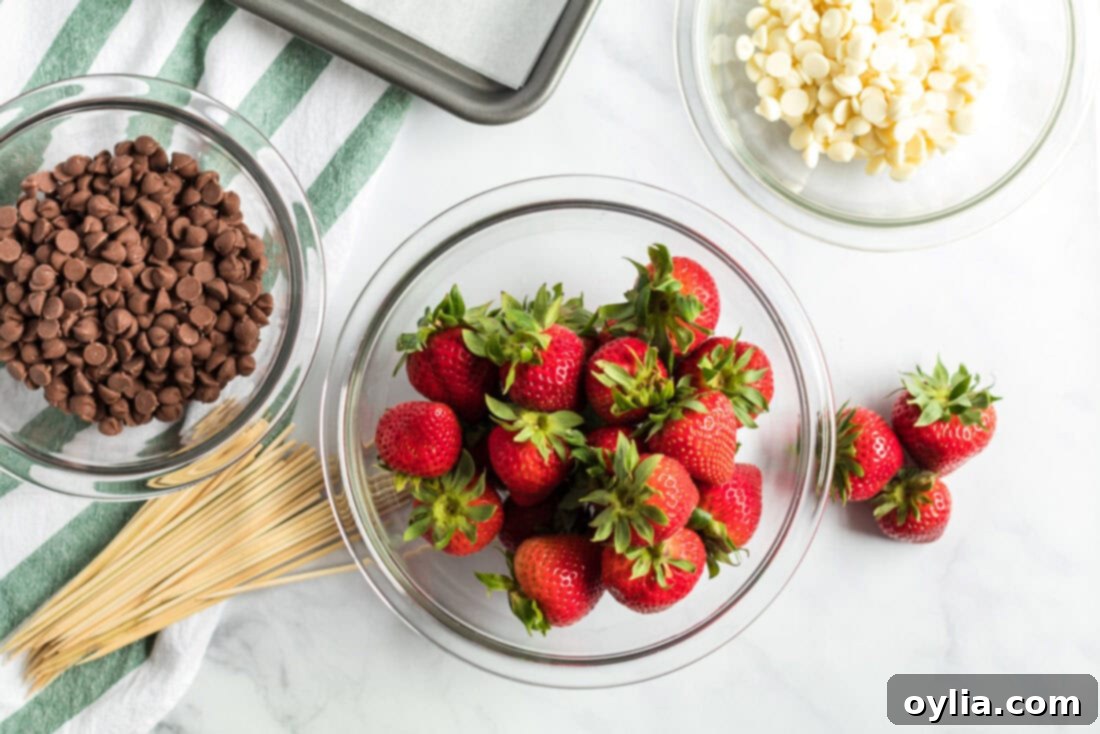
The beauty of this recipe lies in its simplicity, requiring just a few key ingredients to achieve spectacular results. While you can find the exact measurements and detailed instructions in the printable recipe card at the end of this post, let’s dive into some insights about selecting the best components.
Ingredient Spotlight: Choosing the Best for Your Decadent Treat
STRAWBERRIES – The foundation of this dessert! Always opt for strawberries that are firm, plump, and vibrantly red, indicating peak ripeness. Avoid any that are soft, bruised, or show signs of mold. For this recipe, aim for about 2 pounds, which typically yields 18-20 large, evenly-sized strawberries. Uniformity in size helps ensure consistent dipping and a beautiful presentation. After washing, it is absolutely crucial to dry them thoroughly. Any residual moisture can cause the chocolate to seize or not adhere properly. Wooden skewers are highly recommended as they provide a clean, easy handle for dipping, keeping your fingers chocolate-free.
CHOCOLATE – The star coating! High-quality chocolate makes a significant difference in both taste and meltability. Chocolate chips are perfectly suitable, and you have the freedom to choose your favorite: rich dark chocolate for a sophisticated flavor, classic semi-sweet for balance, or creamy milk chocolate for a sweeter profile. My personal favorite is Ghirardelli’s dark chocolate chips for their smooth texture and deep flavor. The key to success here is the melting process – ensure you follow the notes carefully to prevent the chocolate from seizing, which turns it into a thick, unworkable paste. Tempering isn’t strictly necessary for a home recipe, but proper melting is vital.
WHITE CHOCOLATE – Ideal for both dipping and decorative drizzles, white chocolate adds a beautiful contrast and another layer of flavor. Like dark or milk chocolate chips, white chocolate chips work wonderfully. Alternatives such as CandiQuik or almond bark are also viable, especially if you’re looking for an even easier melt. However, I often find that good quality white chocolate chips offer a superior flavor and smoother finish. Ensure it’s true white chocolate (containing cocoa butter) for the best results, rather than confectionery coating.
DECORATIONS – This is where you can unleash your creativity! Beyond elegant drizzles of contrasting melted chocolate, a myriad of decorative options awaits. Consider colorful sprinkles, sparkling decorator sugar for a festive touch, or classic nonpareils. For themed treats, candy melts come in a rainbow of colors and can be used for full dips or intricate designs. From edible glitter to finely chopped nuts or even miniature chocolate chips, the possibilities are endless. Let your imagination guide you to create unique and personalized chocolate covered strawberries!
Step-by-Step Guide: Crafting Your Own Chocolate Dipped Strawberries
These step-by-step photos and instructions are here to help you visualize how to make this recipe. For the printable version complete with measurements and instructions, you can Jump to Recipe at the bottom of the post.
Creating these beautiful treats is a rewarding process, and following these steps will ensure a smooth, successful experience. The key is in the preparation and the gentle handling of your chocolate.
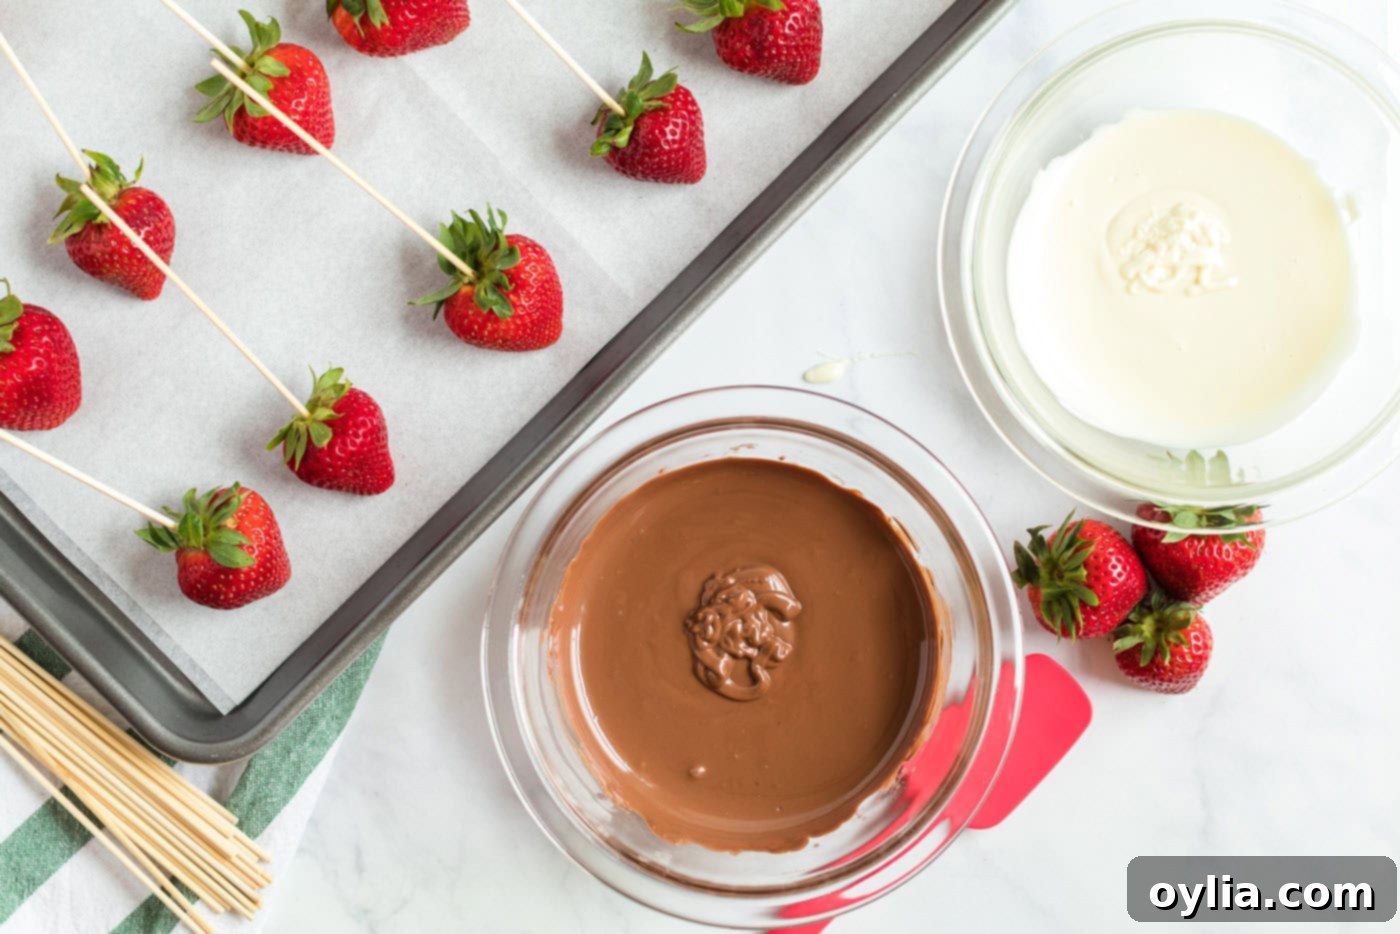
- **Prepare Your Workspace and Strawberries:** Begin by lining a sheet pan with waxed paper or parchment paper. Place this sheet pan in the freezer to chill while you prepare your chocolate – a cold surface helps the chocolate set faster when the berries are placed on it. Thoroughly wash your strawberries and, most importantly, dry them completely with paper towels. Any water residue can ruin your chocolate. Once dry, insert a wooden skewer into the stem end of each strawberry, leaving enough room to comfortably hold it as a handle.
- **Mastering the Melt: Double Boiler Method:** Place your chosen chocolate varieties (milk, dark, or white) into separate glass or heat-proof bowls. Fill two saucepans with about 2 inches of water and bring them to a gentle simmer over medium heat. Crucially, turn off the heat once simmering. Then, carefully place the bowls of chocolate over the warm water (ensuring the bottom of the bowl does not touch the water). The residual heat from the water will gently melt the chocolate. Stir continuously until the chocolate is perfectly smooth and free of lumps. This method prevents overheating and seizing.

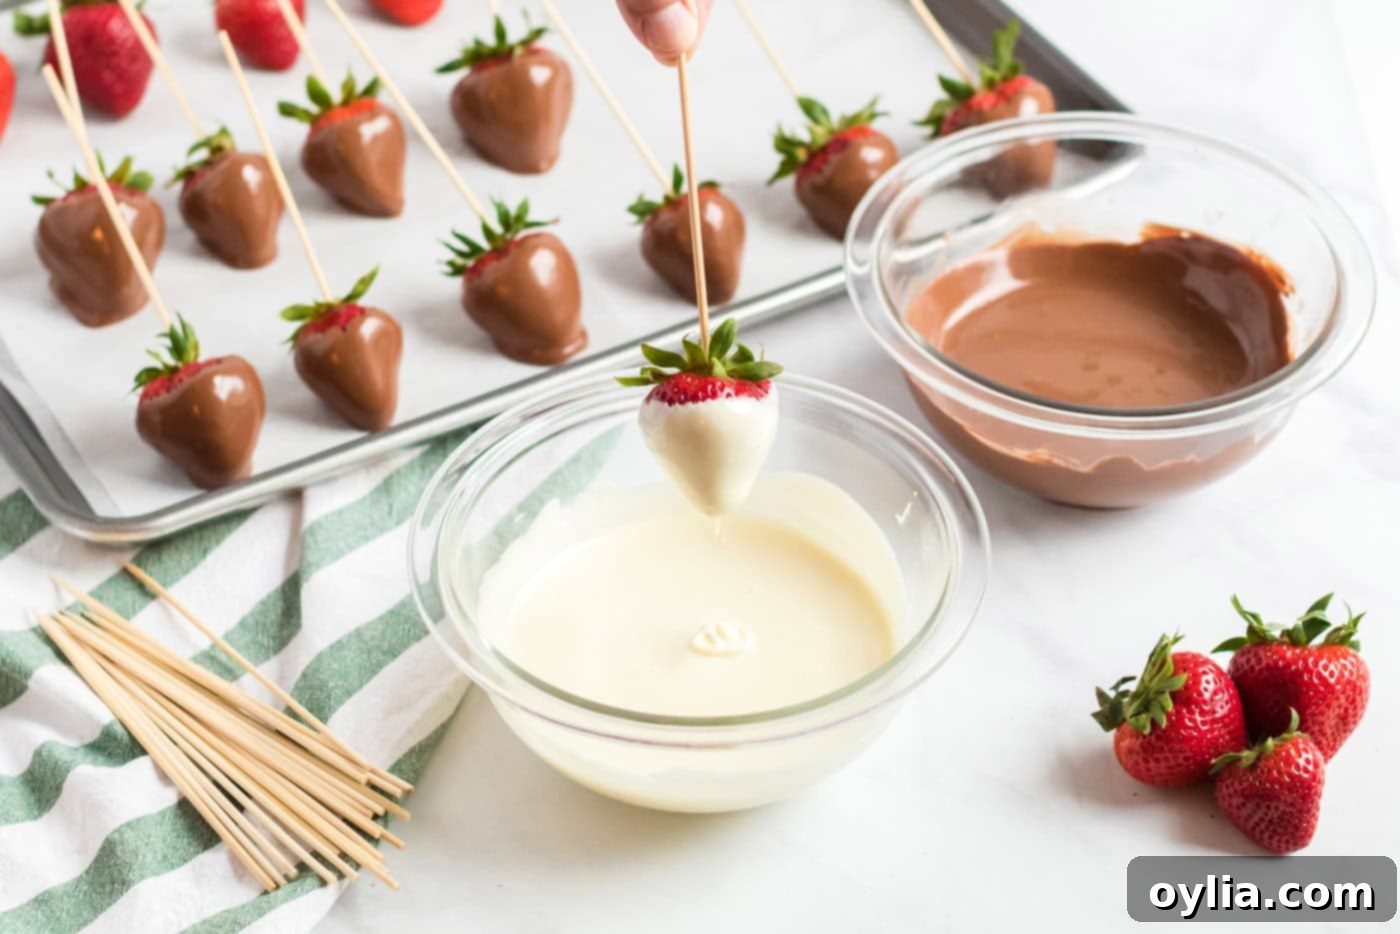
- **The Art of Dipping:** Retrieve your chilled, lined sheet pan from the freezer. Holding a strawberry by its skewer, gently dip the fruit into the melted chocolate. Rotate and lift the strawberry, allowing any excess chocolate to drip back into the bowl. This ensures an even, thin coating without globs.

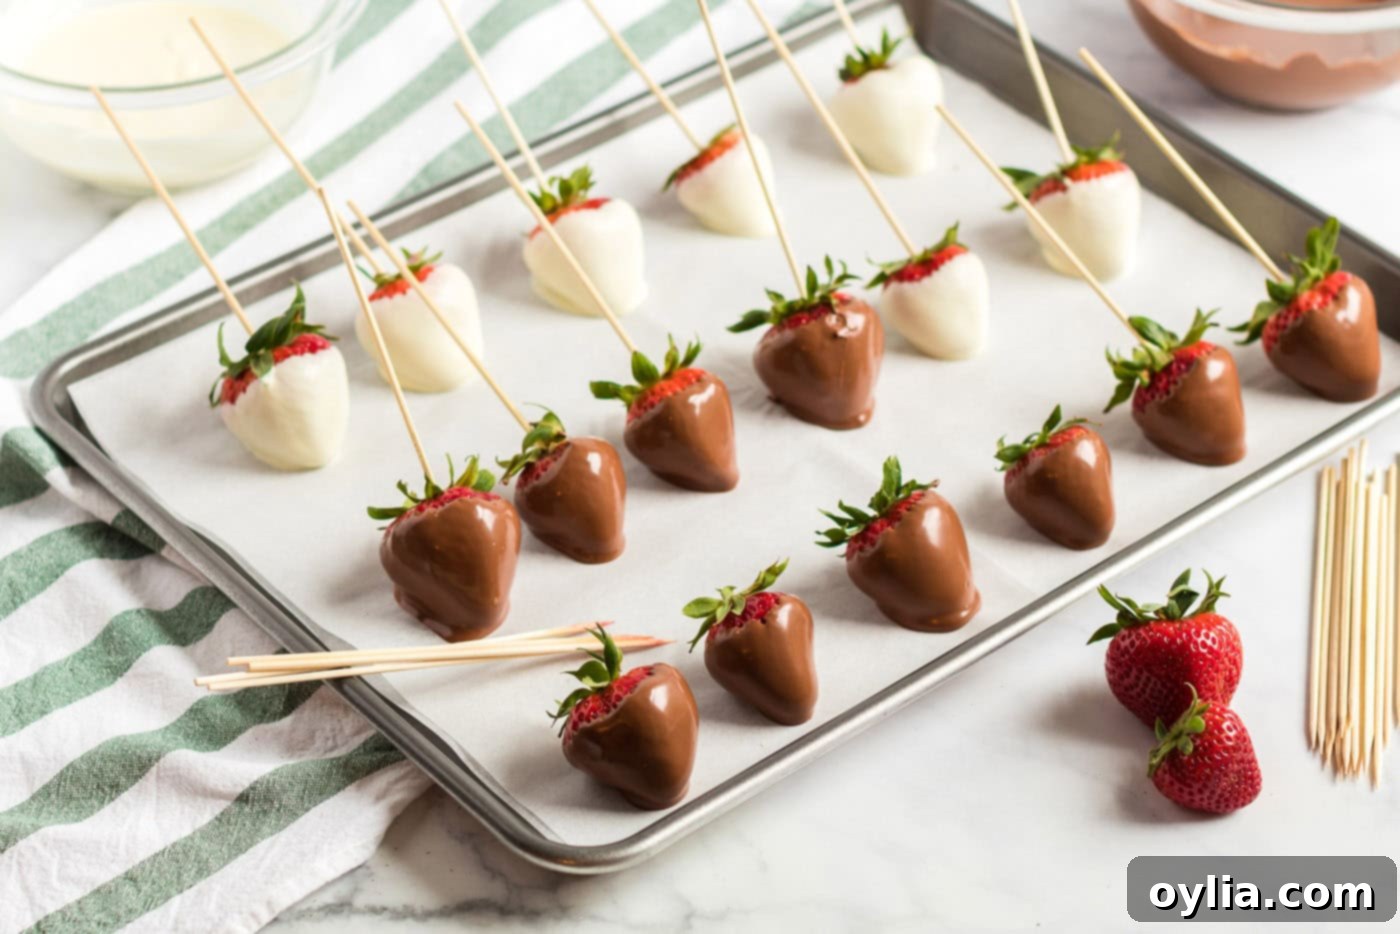
- **Setting Up for Success:** Carefully place each dipped strawberry onto your prepared, chilled sheet pan. The cold surface will help the chocolate begin to set immediately, preventing it from pooling around the base. Repeat this process with all remaining strawberries, placing them neatly on the pan, allowing them space to cool without touching.

- **Decorate and Chill (Briefly):** For an elegant finish, dip a fork into a contrasting melted chocolate (e.g., white chocolate over dark chocolate) and wave it back and forth over the chocolate-covered berries to create a beautiful drizzle pattern. Alternatively, roll still-wet dipped strawberries into sprinkles, chopped nuts, or decorator sugar for a festive look. Once decorated, place the entire sheet pan of berries into the refrigerator for just 15 minutes. This quick chill helps the chocolate solidify rapidly, securing your decorations and ensuring a firm coating.

- **Final Set and Storage:** After 15 minutes, remove the strawberries from the refrigerator. Prolonged refrigeration can cause the chocolate to “sweat” or develop a dull bloom due to condensation. Allow them to air dry at room temperature for another 30-45 minutes until the chocolate is fully set and firm. Once completely dry, transfer them to a covered container and store them in a cool, dry place, away from direct sunlight. Do not store them in the refrigerator for extended periods.
Frequently Asked Questions & Expert Tips for Perfect Chocolate Covered Strawberries
Even though this recipe is straightforward, a few common questions and expert tips can help you achieve perfection every time.
This is a very common issue, almost always caused by moisture. Ensure your strawberries are absolutely, completely dry before dipping. Even a tiny drop of water can prevent the chocolate from adhering. Another reason could be that your chocolate is too thick; if it’s too viscous, it won’t coat smoothly. You can thin it out slightly by adding a very small amount of coconut oil or vegetable oil (a teaspoon at a time) and stirring until it reaches a more fluid consistency.
Chocolate-covered strawberries are best enjoyed within 24 hours of preparation for optimal freshness and appearance. The strawberries will naturally start to release moisture over time, which can affect the chocolate coating. Store them in a single layer in an airtight container at room temperature in a cool, dry place. Avoid storing them in the refrigerator for extended periods, as the humidity can cause the chocolate to “sweat” or develop a white, dull film known as “bloom.” If you must refrigerate them for a short time, bring them to room temperature before serving to enhance flavor and texture.
Seizing occurs when chocolate comes into contact with even a tiny amount of water or is overheated. To prevent this, use a double boiler method (as described in step 2) for gentle, indirect heat. If using a microwave, heat in short bursts (15-20 seconds), stirring thoroughly between each interval, and remove it just before it’s completely melted, allowing residual heat to finish the job. Ensure all your utensils and bowls are completely dry.
For the best results, use high-quality chocolate chips or baking bars. Compound chocolate (like candy melts or almond bark) is often easier to work with as it doesn’t require tempering and is less prone to seizing, making it a great option for beginners or vibrant colors. However, couverture chocolate (true chocolate with a higher cocoa butter content) will provide the finest flavor and gloss if melted carefully. Choose a type you enjoy eating on its own!
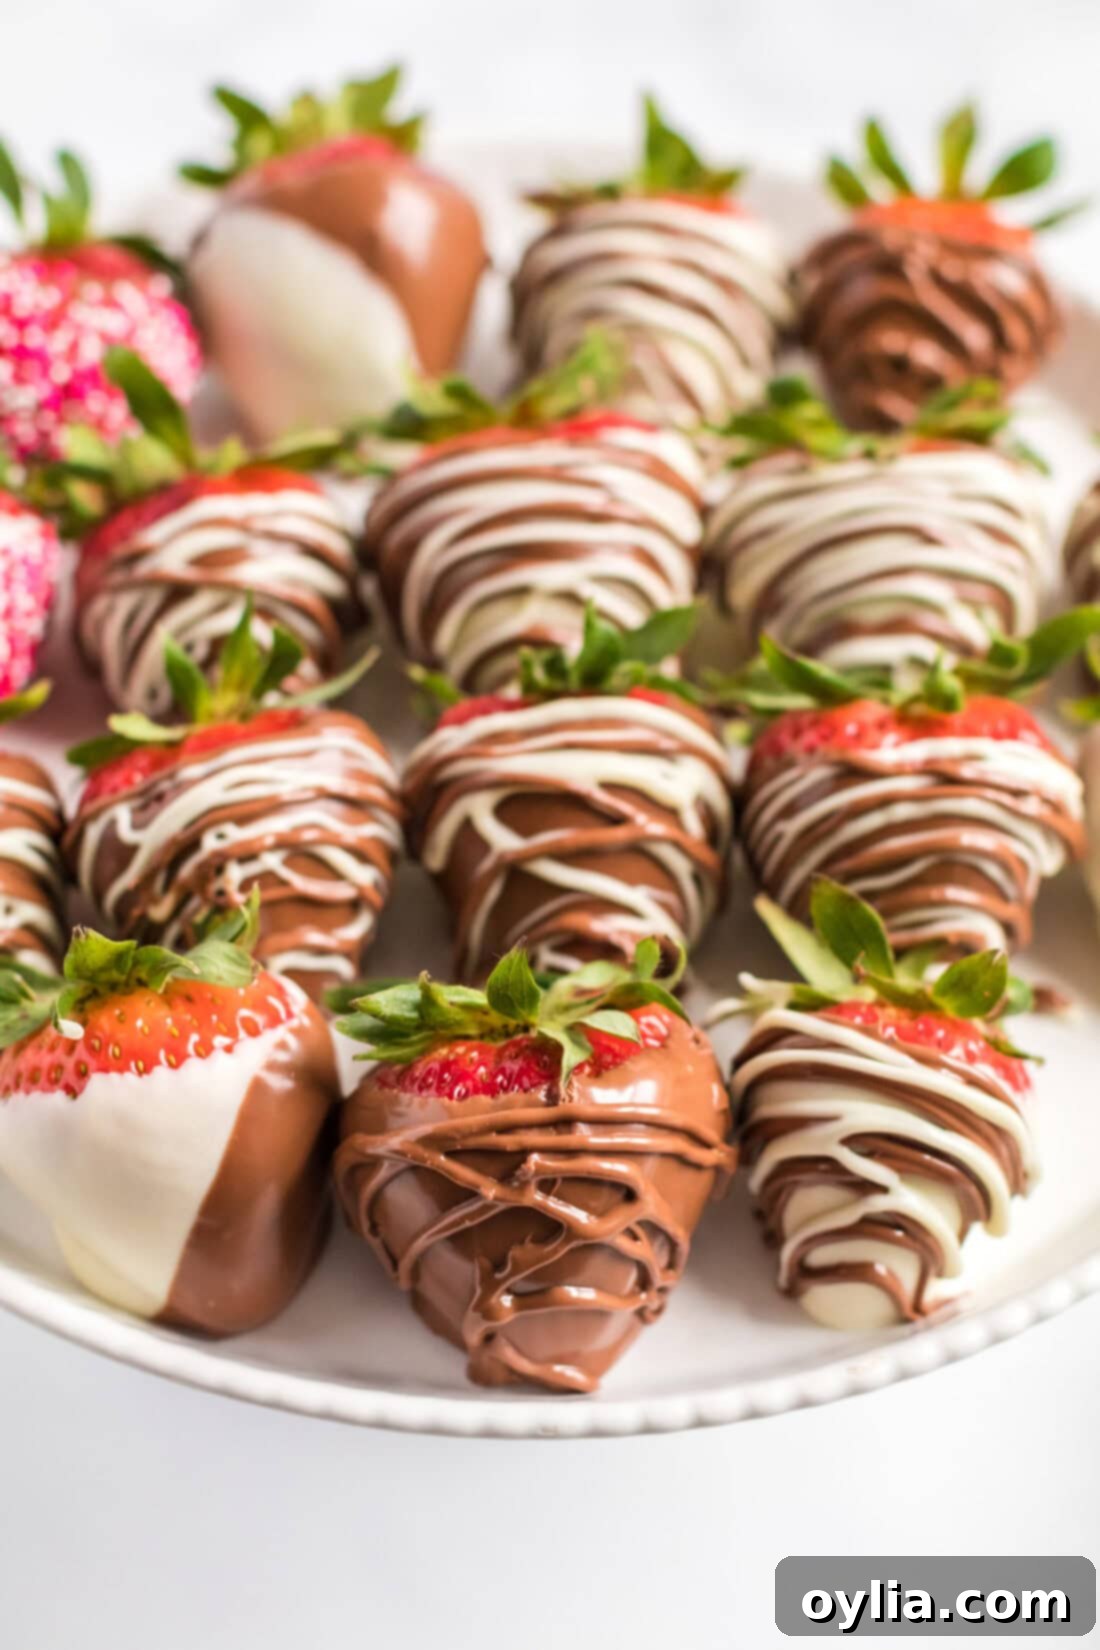
Holiday & Seasonal Variations: Chocolate Covered Strawberries for Every Occasion
While strawberries are traditionally a summer fruit, modern agriculture allows us to enjoy plump, juicy fruit year-round. This means you can whip up this decadent treat for any holiday or season! Here are some creative ideas to inspire your chocolate-dipped strawberry creations throughout the year:
January: Winter Wonderland Berries
Embrace the chill of winter by using elegant white chocolate or soft light blue candy melts for dipping. Decorate with glistening white or silver decorator sugar, adding a touch of frosty magic, or drizzle blue-dipped berries with pristine white chocolate for a beautiful contrast.
February: Love-Infused Treats for Valentine’s Day
Valentine’s Day is the quintessential holiday for chocolate covered strawberries! Classic dark or milk chocolate dips are always a hit. For a romantic flair, consider white chocolate or vibrant pink candy melts. Adorn your berries with an assortment of fun sprinkles in shades of pink, white, and red, and keep an eye out for adorable heart-shaped sprinkles to truly capture the spirit of love. For more inspiration, see our Valentine Chocolate Covered Strawberries here.
March: Lucky Charms for St. Patrick’s Day
Bring the luck of the Irish to your St. Patrick’s Day celebration! Green candy melts are perfect for a festive dip, complemented by elegant white chocolate or rich dark chocolate. Decorate with a sprinkle of gold, yellow, or green sugar or sprinkles. You could even create a whimsical “rainbow” of chocolate-dipped strawberries, with different colored candy melts for each berry.
April & May: Springtime Delights and Easter Elegance
These months signify the beauty of spring, and Easter often falls in early April. Pastel colors are the ideal choice for this season, and candy melts are readily available in a vast array of soft, beautiful hues. Think lavender, mint green, baby blue, and pale yellow for truly charming Easter or spring-themed berries.
June to August: Summer Celebrations & Patriotic Bites
While June marks the peak season for fresh strawberries, the summer heat can be challenging for chocolate. Always keep your finished berries in an air-conditioned environment until ready to serve to prevent melting. July is the perfect time for creating stunning patriotic chocolate covered strawberries! White chocolate-dipped berries, rolled in blue and/or red decorator sugar, are a very popular and festive choice for Independence Day.
September: Autumn Harvest Fun
Transition into fall by making your berries resemble adorable miniature pumpkins! Dip them in vibrant orange candy melts, then drizzle with classic milk or dark chocolate to create realistic pumpkin ridges. These are a delightful addition to any harvest festival or autumn gathering. Discover more ideas with our simple Fall Chocolate Covered Strawberries here.
October: Spooky & Sweet Halloween Treats
October brings us Halloween, a holiday bursting with creative potential! White chocolate strawberry ghosts are an absolute rage – simply dip in white chocolate and add two miniature chocolate chips for eyes. Other fantastic color ideas include spooky orange, blood red, eerie green, and mysterious purple. Get more inspiration from these Halloween chocolate covered strawberries.
November: Thanksgiving Flavors & Festive Feasts
Thanksgiving calls for colors associated with the rich hues of autumn. Brown (beautifully represented by milk chocolate), orange, deep red, and forest green are all perfect for decorating. You can even craft charming little turkeys by dipping berries in milk chocolate, adding small candy eyes, and creating tiny beaks by piping melted yellow candy melts onto waxed paper and letting them set.
December: Merry Christmas Masterpieces & New Year’s Sparkle
It’s Christmas, and the decorating possibilities are truly endless! One of my absolute favorite ideas is creating adorable little Christmas trees. Dip berries in green candy melts, carefully place them onto an Oreo cookie tree stand, and decorate with white sprinkles as “snow.” See our easy Christmas chocolate covered strawberries here. And although New Year’s Day is technically January 1st, we celebrate on December 31st, so whip up some festive and blingy strawberries to ring in the new year!
More Decadent Homemade Candy Recipes to Try
If you loved making these chocolate covered strawberries, you might enjoy exploring other homemade candy creations. Here are a few more delightful recipes to satisfy your sweet tooth:
- Heart Oreo Truffles
- Easy Homemade Candy Bars
- Red Velvet Fudge
I love to bake and cook and share my kitchen experience with all of you! Remembering to come back each day can be tough, that’s why I offer a convenient newsletter every time a new recipe posts. Simply subscribe and start receiving your free daily recipes!

Chocolate Covered Strawberries
IMPORTANT – There are often Frequently Asked Questions within the blog post that you may find helpful. Simply scroll back up to read them!
Print It
Pin It
Rate It
Save It
Saved!
Prevent your screen from going dark
Course:
Desserts
Cuisine:
American
18 berries
214
Amanda Davis
Ingredients
- 2 pounds strawberries 18-20 evenly sized strawberries
- 12 oz milk chocolate
- 12 oz white chocolate
- Wooden skewers
- Sprinkles and/or colored sugar optional
Before You Begin
- In order to prevent clumping and possible overcooking, I melt my chocolate in a homemade double boiler. That is to say in a glass bowl that has been placed over a saucepan of simmered water.
- If you are microwaving your chocolate, start with one minute on high, then stir. Then continue cooking in 20 second intervals on MEDIUM POWER until almost melted. Remove and stir, stir, stir until all the pieces have melted. The chocolate will continue to cook after you take it out. Therefore if you melt it in the microwave until it is completely melted, you run the risk of scorching it.
- Chill your sheet pan so that when you place your strawberries down, the chocolate will begin to set quicker. I place mine in the freezer while I am melting the chocolate.
Instructions
-
First, line a sheet pan with waxed or parchment paper and place it in the freezer to chill. Insert a skewer into the stem end of each strawberry.
-
Place the two types of chocolates into separate glass or heat proof bowls. Put about 2 inches of water into two saucepans and bring to a simmer over medium heat. Turn off the heat and set the bowls of chocolate over the water to melt. Stir chocolate until smooth.
-
Remove the sheet pan from the freezer.
-
Using the skewer as a handle, dip the fruit into the chocolate. Lift and turn, allowing excess chocolate to drip back into the bowl. Place dipped berries onto the chilled lined sheet pan.
-
Repeat with remaining strawberries.
To Decorate:
-
Dip a fork in the white chocolate and drizzle the white chocolate over the dipped strawberries.
-
Dip one half of the chocolate covered strawberry into white chocolate.
-
Roll dipped strawberries into colorful sprinkles or decorator sugar.
-
Place in the refrigerator to set for 15 minutes. Remove from the refrigerator after that so that the chocolate doesn’t sweat.
Nutrition
Tried this Recipe? Pin it for Later!Follow on Pinterest @AmandasCookin or tag #AmandasCookin!
The recipes on this blog are tested with a conventional gas oven and gas stovetop. It’s important to note that some ovens, especially as they age, can cook and bake inconsistently. Using an inexpensive oven thermometer can assure you that your oven is truly heating to the proper temperature. If you use a toaster oven or countertop oven, please keep in mind that they may not distribute heat the same as a conventional full sized oven and you may need to adjust your cooking/baking times. In the case of recipes made with a pressure cooker, air fryer, slow cooker, or other appliance, a link to the appliances we use is listed within each respective recipe. For baking recipes where measurements are given by weight, please note that results may not be the same if cups are used instead, and we can’t guarantee success with that method.
This post was originally published here on June 20, 2019.
