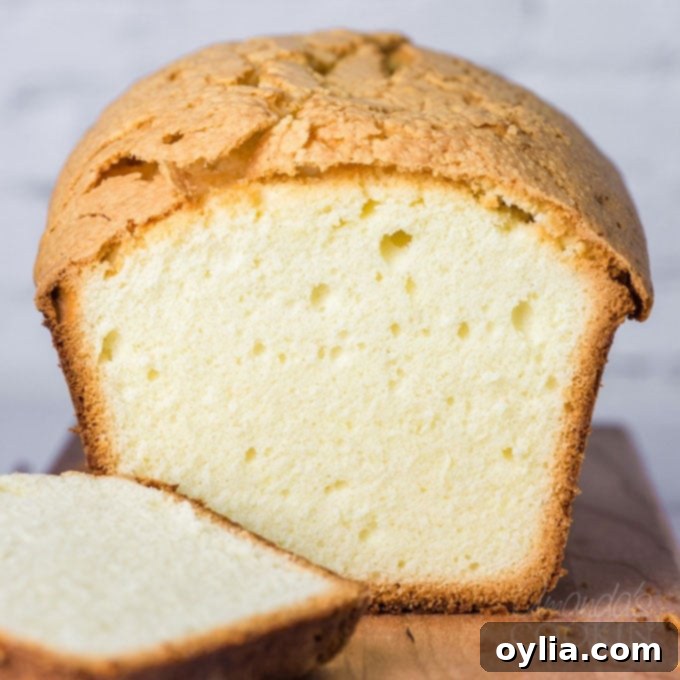
The Ultimate Whipping Cream Pound Cake: Elvis’s Favorite Classic Recipe
Pound cake holds a special place in the hearts of many, a nostalgic dessert that evokes memories of childhood and simpler times. Traditionally, a pound cake earned its name from using a pound each of butter, eggs, flour, and sugar. This classic formula delivers a dense, rich, and satisfying cake. However, some legends, like the one surrounding Elvis Presley’s rumored favorite recipe, suggest a delightful twist – the incorporation of whipping cream. This particular recipe, a true gem, elevates the traditional pound cake to new heights, resulting in a cake that is incredibly moist, tender, and deeply flavorful. It’s truly the best pound cake we’ve ever had the pleasure of baking and tasting.
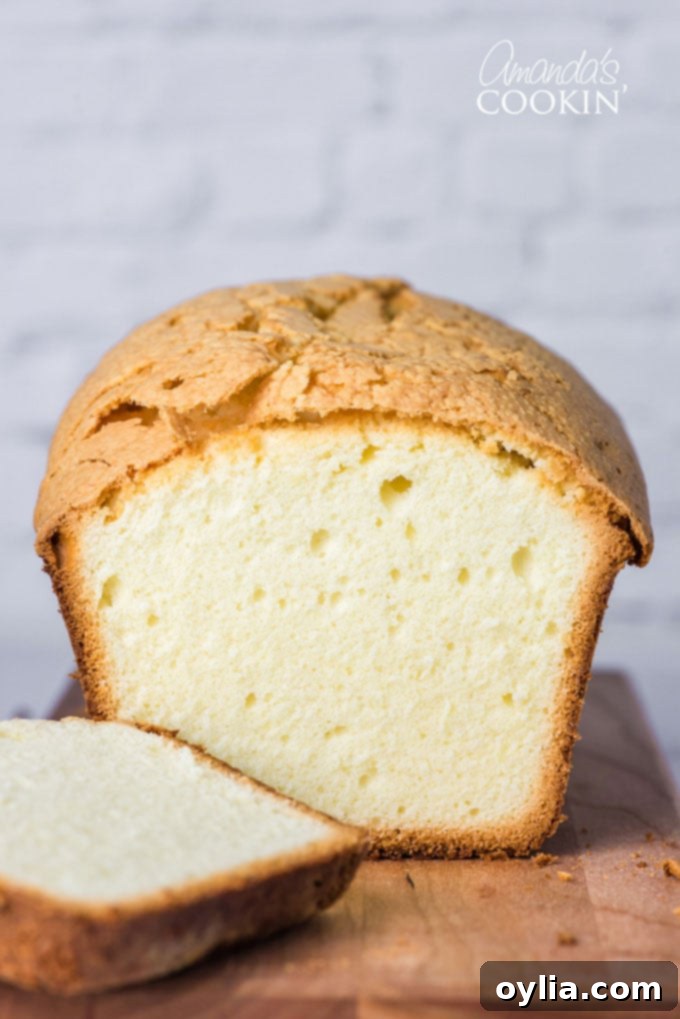
Why This Whipping Cream Pound Cake Recipe is a Must-Try
This whipping cream pound cake brings back cherished memories of the perfectly dense yet moist Sara Lee pound cakes I enjoyed as a child. It boasts a beautiful, fine crumb and a sweetness that is just right, making it utterly irresistible. For me, the ultimate way to savor a slice is either generously slathered with creamy, spreadable butter or with a bright, tangy smear of lemon curd or homemade berry jam. This particular recipe has been a staple in my kitchen for over a decade, and I’ve made it countless times, always with spectacular results. It’s a testament to its simple perfection and consistent deliciousness.
Expert Tips for a Perfectly Moist Homemade Pound Cake
Achieving that coveted dense yet tender crumb in a pound cake requires a few key techniques. Follow these expert tips for homemade pound cake success:
- Beat the Batter Thoroughly: The most crucial step for this recipe’s success is beating the batter for the full specified time. When the recipe calls for 5 minutes, literally set a timer for 5 minutes. This extended beating incorporates air, creating the light, fluffy texture that defines a great pound cake. Don’t rush this step!
- Sift Flour Precisely: Sifting the flour is not just a suggestion; it’s a critical step. The recipe directs you to sift the cake flour *before* measuring, and then to sift it three times in total (once by itself and twice more with the salt). This process aerates the flour, removes any lumps, and ensures a delicate, even texture in your final cake.
- Room Temperature Butter is Key: Softened butter is essential for proper creaming with sugar, which forms the foundation of the cake’s structure. Take your butter out of the refrigerator at least 20-30 minutes before you begin baking. It should be soft enough that you can make a slight indent with your finger, but not so soft that your finger sinks deep into it, as this would indicate it’s too warm and could lead to a greasy cake.
- Choose the Right Loaf Pan: We typically use 8×4 inch loaf pans for this recipe. If you opt to use larger 9×5 inch loaf pans, remember to reduce the baking time by approximately ten minutes to prevent over-baking. Adjusting for pan size is important for achieving the perfect golden-brown crust and moist interior.
- Bake in a Cold Oven: This recipe calls for placing the pans in a cold oven and then turning it on. This unconventional method allows the cake to rise more evenly as the oven slowly heats, often resulting in a beautifully domed top and preventing the cake from cracking excessively.
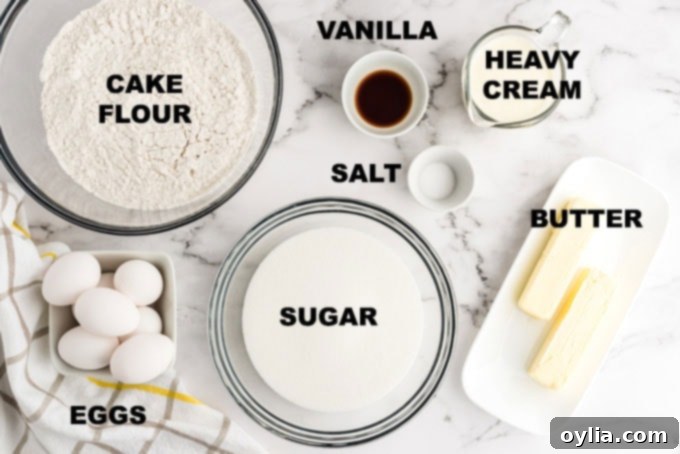
Understanding Your Pound Cake Ingredients
While pound cake recipes often seem straightforward, the quality and type of each ingredient can significantly impact the final texture and flavor. Here’s a closer look at what makes this recipe exceptional:
- Unsalted Butter: I always opt for unsalted butter in my baking. This gives me complete control over the salt content in the recipe. While using salted butter might not make a huge difference to most palates, highly sensitive taste buds might detect a slight saltiness. If you do use salted butter, consider slightly reducing the added salt.
- Sifted Cake Flour: This recipe specifically calls for sifted cake flour. It’s crucial to sift the flour *before* measuring it. Cake flour has a lower protein content than all-purpose flour, which contributes to a more tender and delicate crumb. The sifting process further aerates it, making the cake lighter.
- Salt: A small amount of table salt is essential to balance the sweetness and enhance the overall flavor profile of the cake. If you’re using salted butter, you might want to slightly reduce the amount of salt to avoid an overly salty taste.
- Granulated Sugar: Standard granulated sugar provides the primary sweetness and also helps with the cake’s structure and moisture retention.
- Large Eggs: Use large eggs, and ensure they are at room temperature. Room temperature eggs emulsify better with the butter and sugar, creating a smoother batter and a more consistent texture in the final cake.
- Pure Vanilla Extract: Do not compromise on vanilla! Pure vanilla extract offers a rich, complex flavor that imitation vanilla simply cannot replicate. Using imitation vanilla will noticeably alter the delicious taste of this pound cake.
- Heavy Whipping Cream: This is the star ingredient that sets this pound cake apart. Instead of relying solely on a large amount of butter, the heavy cream provides an incredible richness and moisture, resulting in a cake that is exceptionally tender and flavorful without being overly dense or greasy. It’s the secret to its superior texture.
Helpful Baking Tools
Having the right tools can make all the difference in your baking experience:
- Loaf pans (8×4 inches)
- Wire cooling rack
- Stand mixer (or a good quality handheld mixer)
- Sifter
How to Make Elvis Presley’s Whipping Cream Pound Cake: Step-by-Step
Follow these detailed steps to bake this magnificent pound cake:
Before you begin, place your oven rack in the middle position. Do NOT preheat your oven yet. Generously butter two 8×4 inch loaf pans and dust them with flour, making sure to tap out any excess flour. Proper pan preparation ensures your cake won’t stick.
IMPORTANT NOTE: This recipe is designed for a conventional oven. If you are using a toaster oven, preheat it first, but be aware that baking times and results may vary.
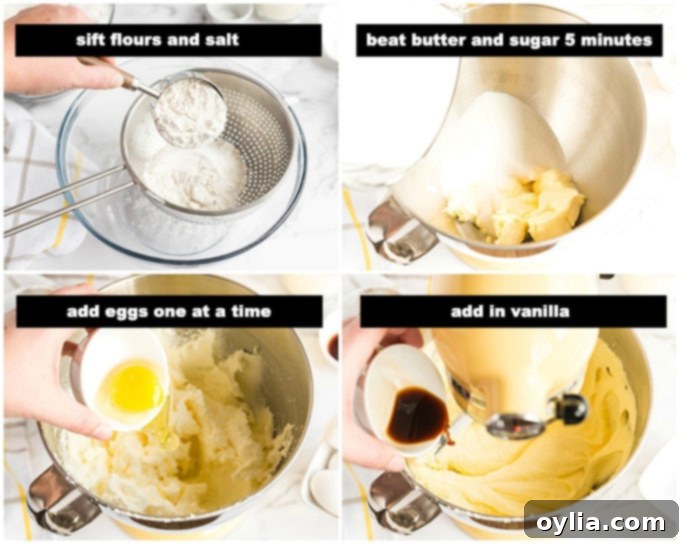
- First, sift together the measured cake flour and salt into a bowl. Then, repeat this sifting process into another bowl. This ensures the flour has been sifted a total of three times, creating a light and airy base.
- In a large mixing bowl, beat together the softened unsalted butter and granulated sugar with an electric mixer at medium-high speed. Continue beating until the mixture becomes pale and fluffy. This typically takes about 5 minutes if you’re using a stand mixer fitted with a paddle attachment, or 6 to 8 minutes with a handheld mixer. Don’t skip the full beating time!
- Add the large eggs one at a time, making sure to beat well after each individual addition to fully incorporate them into the batter.
- Once all the eggs are incorporated, beat in the pure vanilla extract.
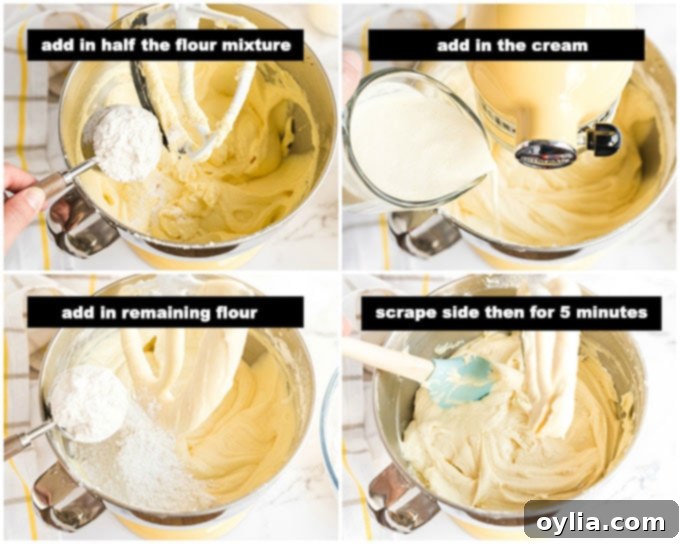
- Reduce the mixer speed to low. Gradually add half of the sifted flour mixture, followed by all of the heavy cream, and then the remaining flour. Mix well after each addition, ensuring everything is just combined. Scrape down the sides of the bowl to ensure no dry spots remain. Increase the speed to medium-high and beat for another 5 minutes. At this point, the batter will transform into a beautifully satiny and creamy consistency.
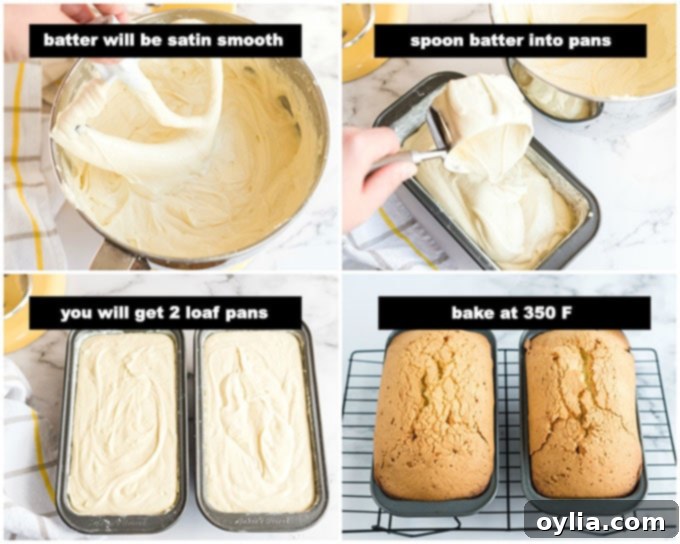
- Evenly spoon the creamy batter into your prepared loaf pans. Gently rap the pans against the counter surface once or twice. This helps to eliminate any trapped air bubbles, ensuring a smooth, even crumb.
- Place the filled loaf pans onto a baking sheet (this makes it easier to transfer them). Place the baking sheet into the cold oven, then immediately set the oven temperature to 350°F (175°C).
- Bake for approximately 75-85 minutes, or until the cakes are golden brown on top and a wooden pick or skewer inserted into the center comes out with just a few moist crumbs clinging to it. This indicates perfect doneness.
- Once baked, remove the pound cakes from the oven and allow them to cool in their pans on a wire rack for 30 minutes. After 30 minutes, run a thin knife around both the inner and outer edges of the cake to loosen it. Then, invert a wire rack over the pan and carefully flip the cake onto the rack to cool completely. This crucial cooling step prevents the cake from becoming soggy.
Serving and Storage Suggestions
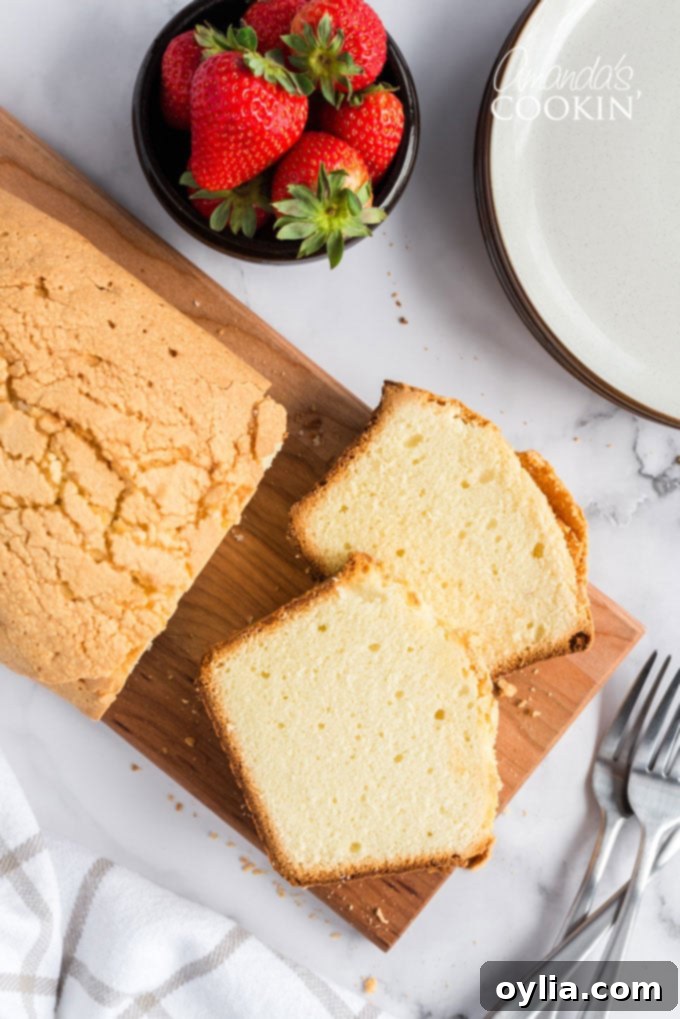
This Whipping Cream Pound Cake is wonderfully versatile. Serve it plain with a cup of coffee or tea for a simple, elegant treat. For something extra special, consider serving it with fresh berries, a dollop of homemade whipped cream, a scoop of vanilla bean ice cream, or a drizzle of chocolate sauce. Lemon curd or fruit jam also make fantastic accompaniments.
To store your pound cake, wrap it tightly in plastic wrap once it has completely cooled. It will stay fresh at room temperature for up to 3-4 days. For longer storage, you can freeze individual slices or whole loaves. Wrap them tightly in plastic wrap, then an additional layer of aluminum foil, and freeze for up to 3 months. Thaw at room temperature before serving.
Troubleshooting Common Pound Cake Issues
- Dry Cake: Ensure you’re measuring your flour correctly (sift before measuring!) and not over-baking. An oven thermometer can confirm your oven’s accuracy.
- Sunk in the Middle: This can happen from opening the oven door too early, overmixing the batter, or incorrect leavening (though this recipe uses no leavening beyond the air incorporated by beating). Make sure your oven temperature is stable.
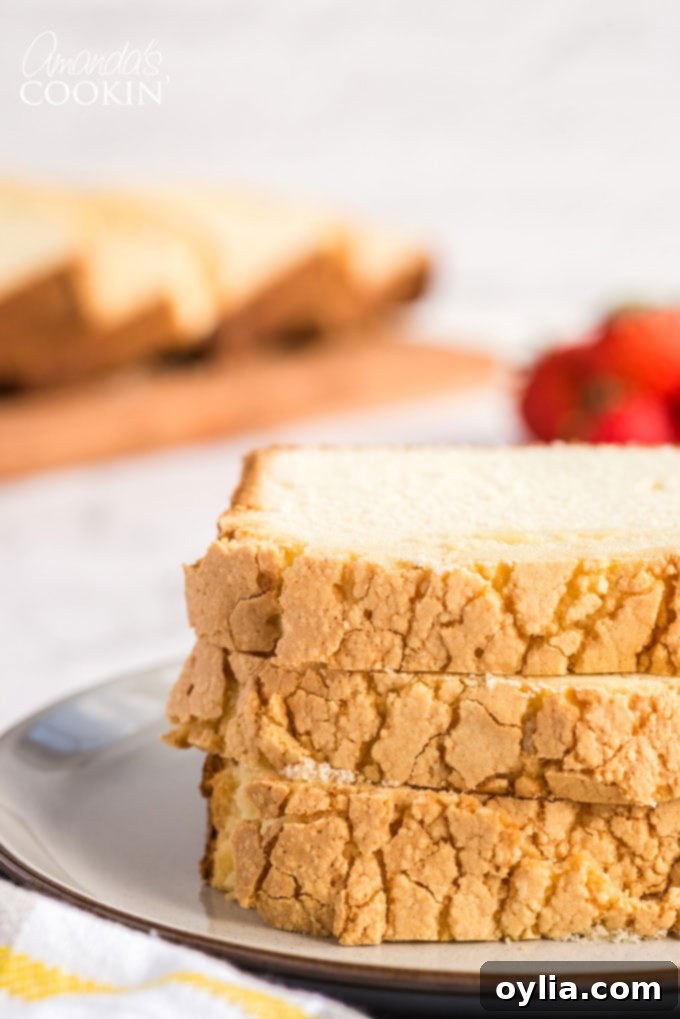
- Cracked Top: While a classic sign of a good pound cake, excessive cracking can be due to a too-hot oven or too much batter in the pan. Baking in a cold oven helps mitigate this.
- Can I use all-purpose flour? While cake flour is highly recommended for its tender crumb, you can substitute all-purpose flour. For every cup of all-purpose flour, remove 2 tablespoons of flour and replace it with 2 tablespoons of cornstarch, then sift thoroughly. Results may vary slightly.
Other Cake Recipes You Will Enjoy
- Lemon Curd Poke Cake
- Pistachio Cake
- Chocolate Texas Sheet Cake
- Pound Cake Cupcakes
- Orange Poppy Seed Pound Cake
- Chocolate Pound Cake
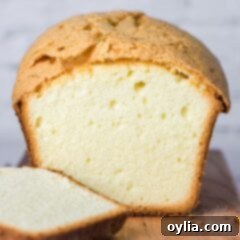
Elvis Presley’s Whipping Cream Pound Cake
This pound cake reminds me of the Sara Lee pound cakes I ate when I was a kid. Dense but moist, sweet and a perfect crumb.
IMPORTANT – There are often Frequently Asked Questions within the blog post that you may find helpful. Simply scroll back up to read them!
Print It
Pin It
Rate It
Course: Desserts
Cuisine: American
Servings: 20 slices (2 loaves)
Total Time: 1 hr 45 mins
Calories: 336
Author: Amanda Davis
Ingredients
- 1 cup unsalted butter softened, plus additional for buttering pan
- 3 cups sifted cake flour not self-rising; sift before measuring plus additional for dusting
- ¾ teaspoon salt
- 3 cups sugar
- 7 large eggs at room temperature (approx. 30 minutes)
- 2 teaspoons pure vanilla extract
- 1 cup heavy whipping cream
Things You’ll Need
-
8×4 loaf pan
-
Wire cooling racks
-
Stand mixer
-
Sifter
Before You Begin
- This recipe was developed and tested in a CONVENTIONAL oven. If you are using a toaster oven, we cannot be responsible for your results. If you are using a toaster oven, your best bet is to preheat it first.
- The trick to this batter is beating it the full length of time specified. So when it says 5 minutes, set a timer for 5 minutes.
- Be sure to sift the flours as indicated in the recipe. Sift them 3 times as directed.
- Butter should be softened to room temperature. This means take the butter out of the fridge 20 minutes before you will need it. You should be able to make a small indent in the butter, but your finger should not go “into” the butter.
- We use 8×4 sized loaf pans. If you want to make these in 9×5 loaf pans, reduce the baking time by ten minutes.
Instructions
- Put oven rack in middle position, but do not preheat oven.
- Generously butter two 8×4 loaf pans and dust with flour, knocking out excess flour. (Be sure to read NOTES if using 9×5 loaf pans)
- Sift together sifted flour and salt into a bowl. Repeat sifting into another bowl (flour will have been sifted 3 times total, once by itself and twice with the salt).
- Beat together butter and sugar in a large bowl with an electric mixer at medium-high speed until pale and fluffy, about 5 minutes in a stand mixer fitted with paddle attachment, or 6 to 8 minutes with a handheld mixer.
- Add eggs one at a time, beating well after each addition, then beat in vanilla.
- Reduce speed to low and add half of flour, then all of cream, then remaining flour, mixing well after each addition.
- Scrape down side of bowl, then beat at medium-high speed 5 minutes. Batter will become creamier and satiny.
- Spoon batter into pan and rap pan against work surface once or twice to eliminate air bubbles.
- Place pan in (cold) oven and turn oven temperature to 350°F. Bake until golden and a wooden pick or skewer inserted in middle of cake comes out with a few crumbs adhering, 75-85 minutes.
- Cool cake in pan on a rack 30 minutes. Run a thin knife around inner and outer edges of cake, then invert rack over pan and invert cake onto rack to cool completely.
Nutrition
Tried this Recipe? Pin it for Later!
Follow on Pinterest @AmandasCookin or tag #AmandasCookin!
The recipes on this blog are tested with a conventional gas oven and gas stovetop. It’s important to note that some ovens, especially as they age, can cook and bake inconsistently. Using an inexpensive oven thermometer can assure you that your oven is truly heating to the proper temperature. If you use a toaster oven or countertop oven, please keep in mind that they may not distribute heat the same as a conventional full sized oven and you may need to adjust your cooking/baking times. In the case of recipes made with a pressure cooker, air fryer, slow cooker, or other appliance, a link to the appliances we use is listed within each respective recipe. For baking recipes where measurements are given by weight, please note that results may not be the same if cups are used instead, and we can’t guarantee success with that method.
This post originally appeared here on Aug 24, 2009.
