Decadent Homemade French Silk Pie: A Baker’s Square Copycat Recipe
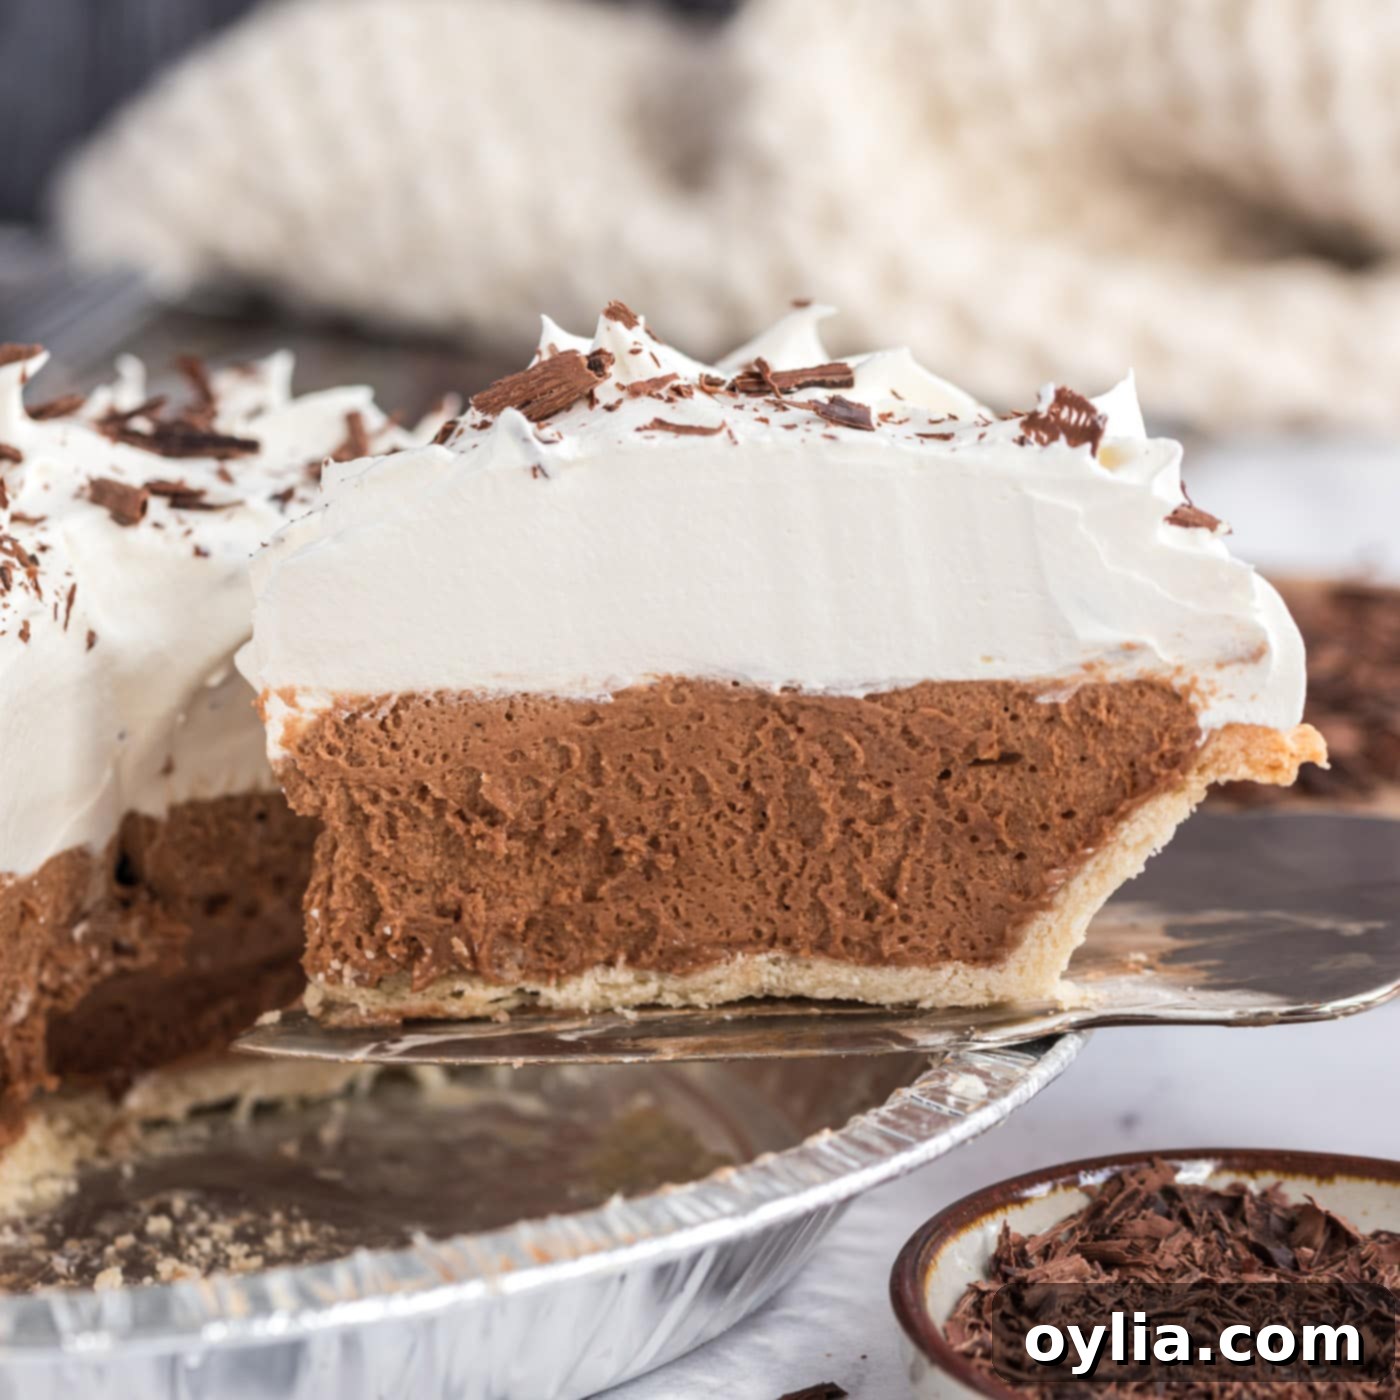
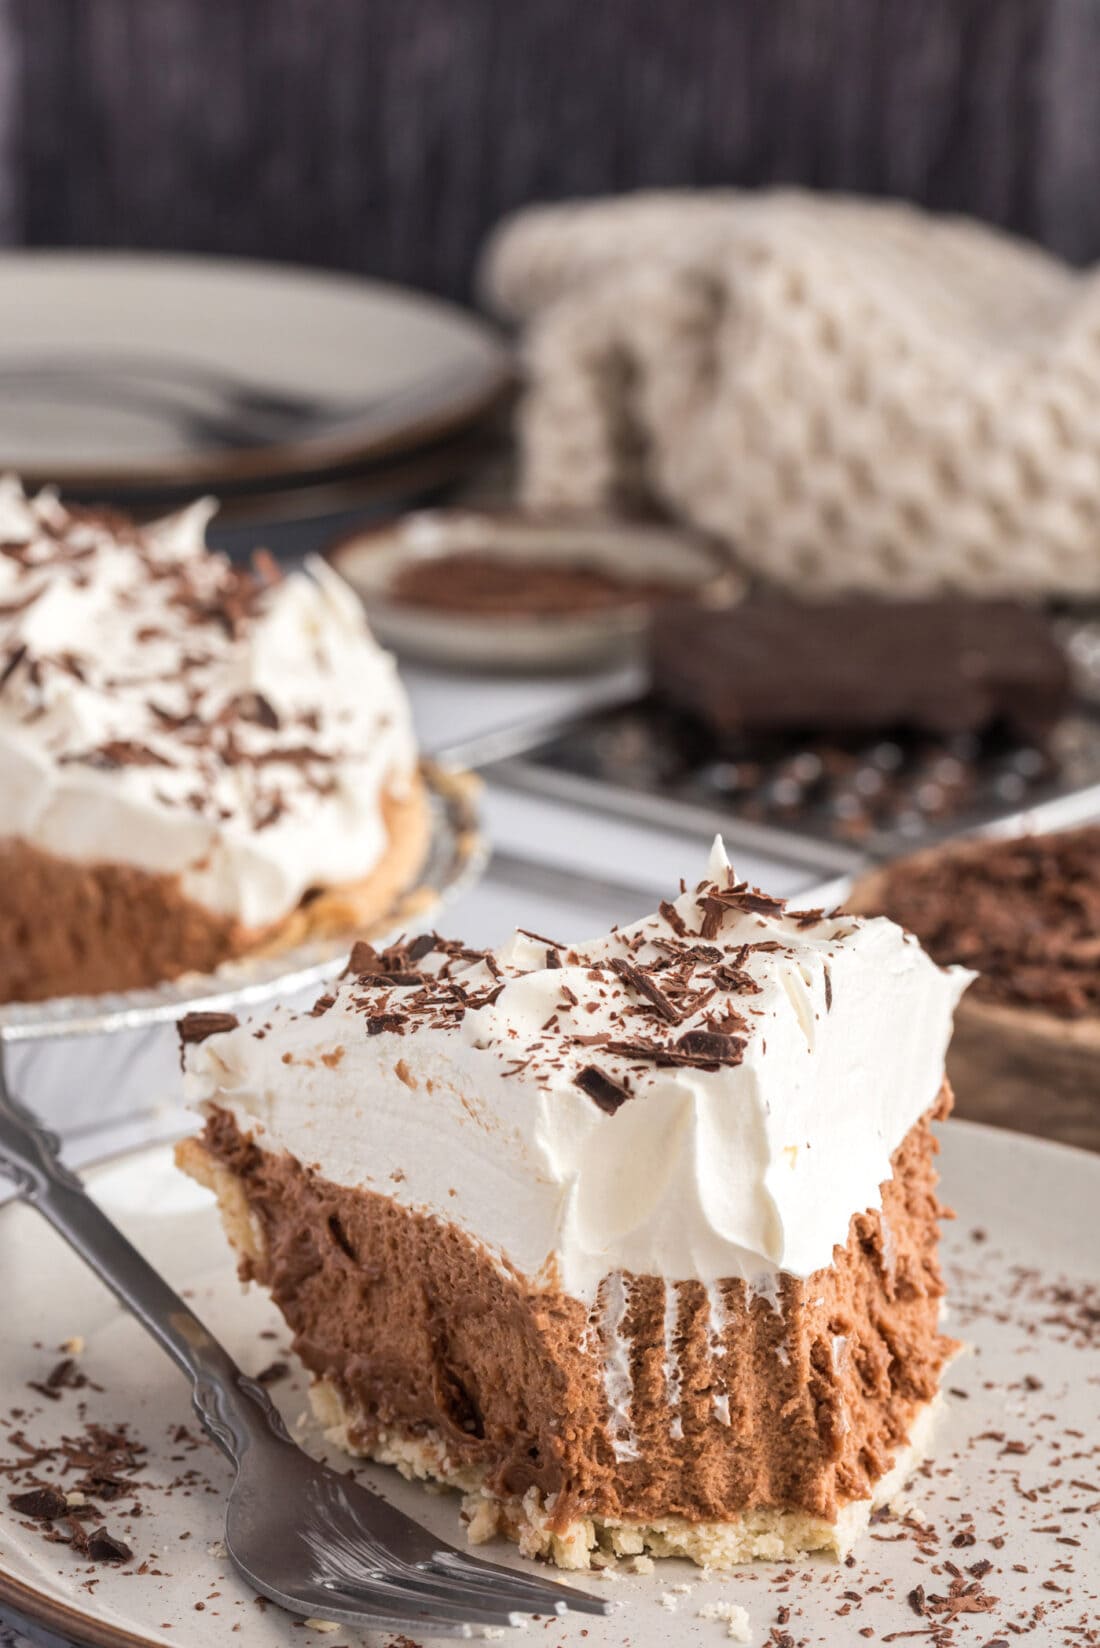
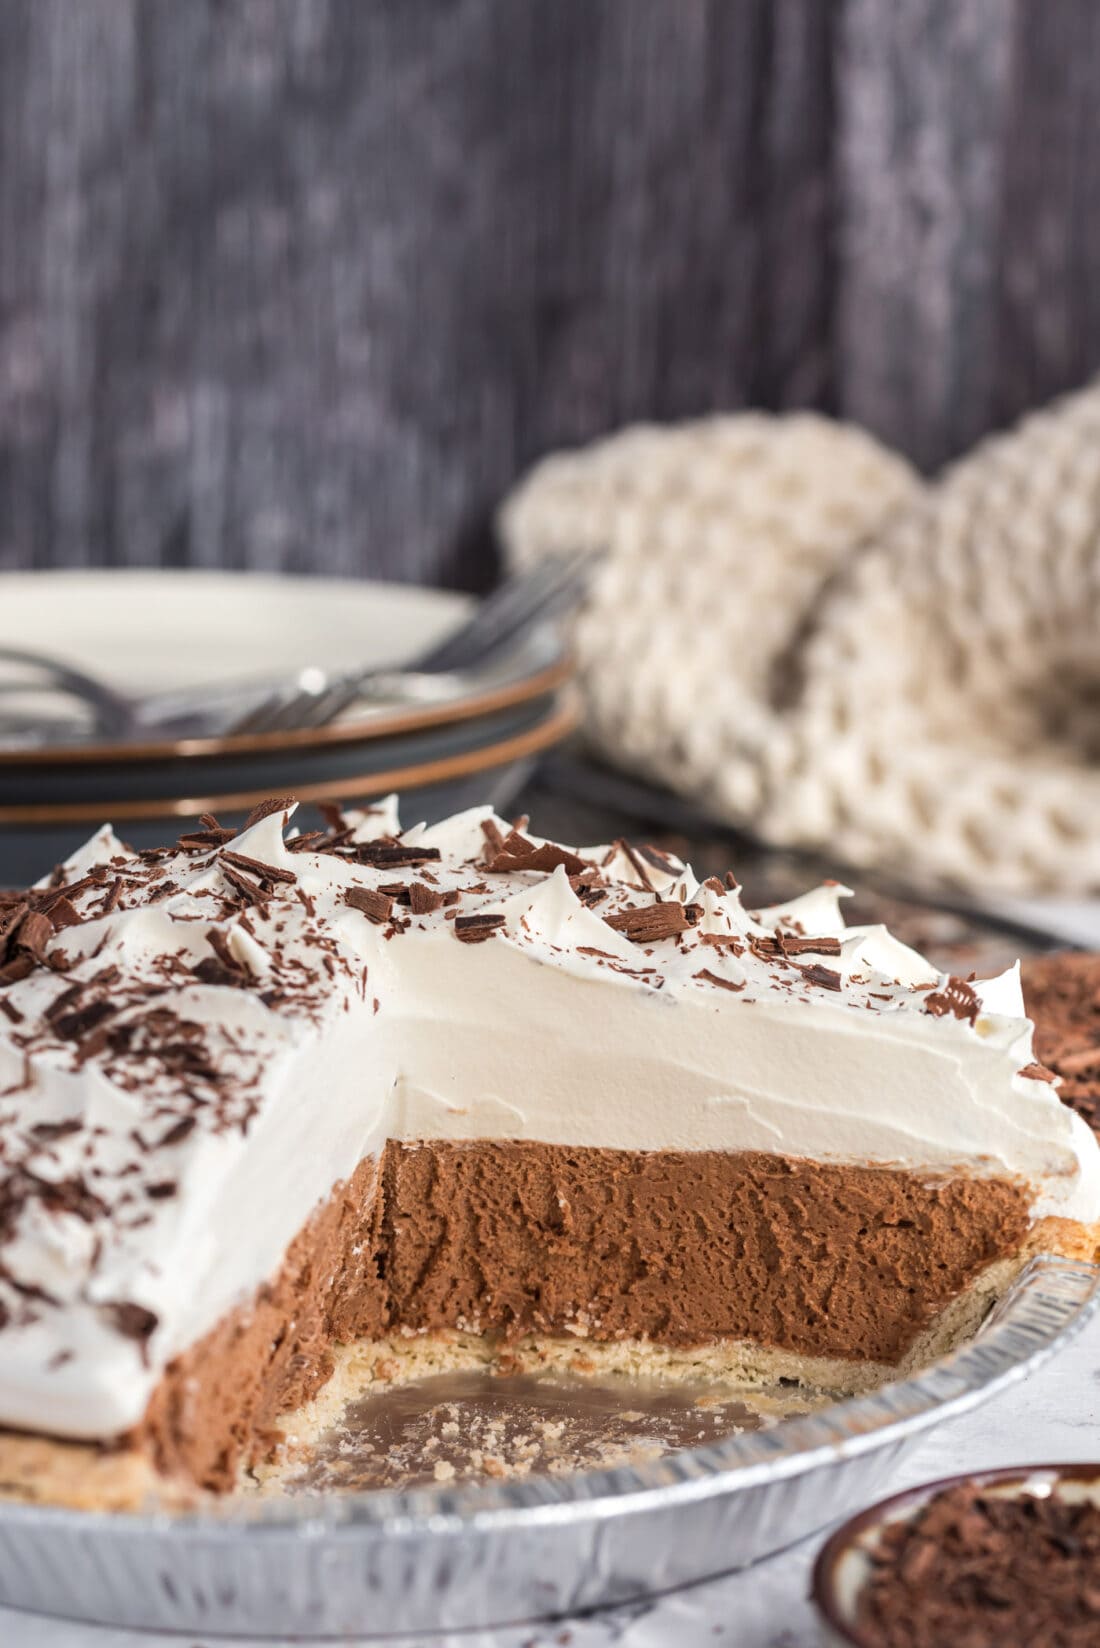
Prepare to be swept away by the luxurious taste of our homemade French Silk Pie. This incredible dessert features a rich, velvety chocolate mousse filling, generously topped with airy whipped cream and delicate chocolate shavings. Our meticulously crafted recipe aims to capture the essence of Baker’s Square’s famous pie, delivering a truly rich, decadent, and utterly delicious experience right in your own kitchen.
Why This French Silk Pie Recipe Is a Must-Try
This French Silk Pie isn’t just a dessert; it’s a culinary dream come true. The filling boasts an unparalleled silkiness and a depth of chocolate flavor that far surpasses any store-bought frozen pie. My inspiration for perfecting this recipe came from a childhood favorite, the iconic French Silk Pie from Baker’s Square. I am confident that this rendition hits every note perfectly, bringing that cherished taste directly to your table.
Despite its gourmet appeal, this French Silk Pie is surprisingly simple to prepare, especially with a few key techniques. Its adaptability is another reason we adore it; we’ve even scaled it down into delightful mini French silk pies, ideal for gatherings and parties. In my household, no holiday or special occasion is complete without this pie – it’s practically a tradition! Each generous bite offers a symphony of smooth, intense chocolate indulgence, crowned with a cloud of homemade whipped cream, making it an unforgettable treat for any dessert lover.
Essential Ingredients for Your French Silk Pie
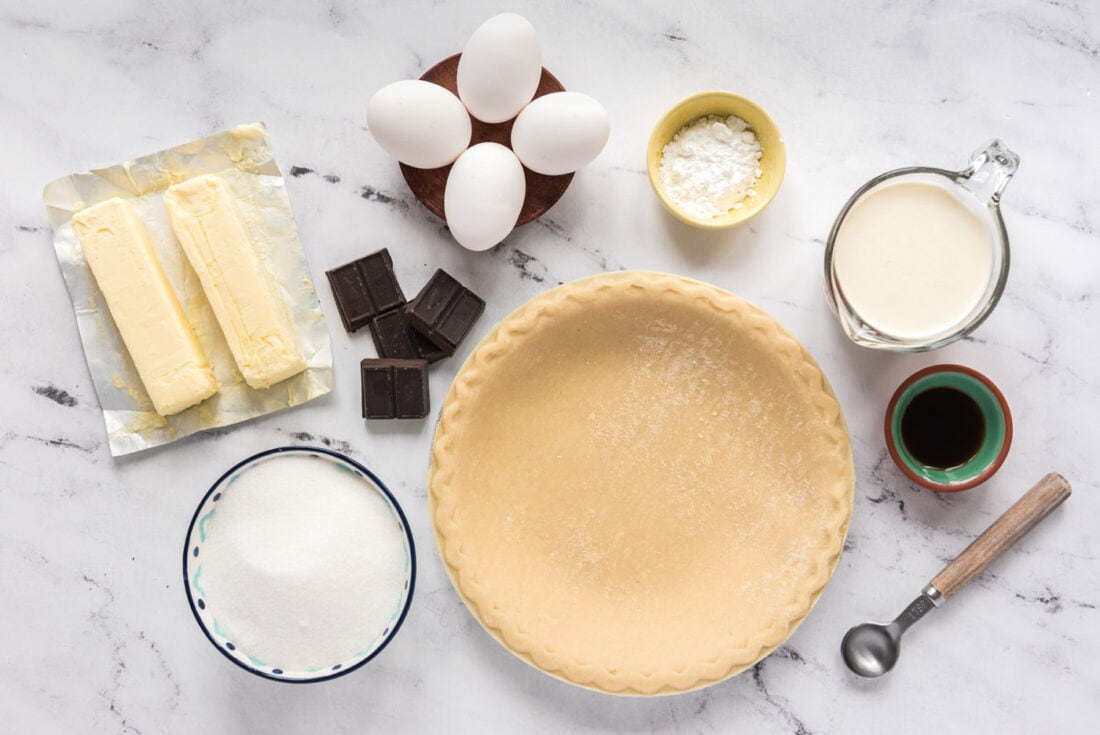
Crafting the perfect French Silk Pie begins with selecting the right ingredients. Below, you’ll find a list of everything you’ll need to create this dreamy dessert. For exact measurements and a printable version of the full recipe, please refer to the detailed recipe card at the conclusion of this post.
Ingredient Spotlight & Expert Substitution Tips
- CHOCOLATE – For that signature deep chocolate flavor, unsweetened chocolate is key in this recipe. After melting, it is absolutely crucial to allow it to cool completely before adding it to the mixture. Incorporating warm chocolate could curdle your filling, so patience is paramount here.
- EGGS – This recipe uses raw eggs, which contribute significantly to the pie’s famously silky texture. If consuming uncooked eggs is a concern for you or your guests, consider using pasteurized eggs. Alternatively, you can learn how to pasteurize eggs at home for peace of mind while still achieving the desired consistency.
- BUTTER – Always use real butter for this recipe; I have not tested it with margarine, and results may vary drastically. The butter must be properly softened, not melted. Softened butter means it’s been at room temperature for approximately 20-30 minutes, making it pliable enough to cream with sugar but still holding its shape. This is essential for achieving the light and fluffy base of your chocolate filling.
- CRUST – While a good quality store-bought pie crust makes preparation quick and easy, a homemade pie crust truly elevates this dessert. If you’re inclined to bake your own, check out our comprehensive how to make pie crust guide. For those who prefer a different flavor profile, an Oreo cookie crust is a fantastic and popular alternative, adding another layer of chocolatey goodness. You can find a reliable Oreo cookie crust recipe within our Bailey’s cheesecake recipe, or simply opt for a premade one from your grocery store.
- TOPPING – The choice between Cool Whip and homemade whipped cream is entirely yours and depends on personal preference and desired effort. Homemade whipped cream offers a fresher, richer taste and texture, while Cool Whip provides convenience and a reliably stable topping. Both work beautifully to crown this magnificent pie.
Crafting Your Own French Silk Pie: Step-by-Step Guide
These step-by-step photos and detailed instructions are designed to help you visualize each stage of making this delicious pie. For a quick jump to the full printable recipe, including all measurements and instructions, simply Jump to Recipe at the bottom of this page.
- **Prepare Your Pie Crust:** Begin by baking your chosen pie crust. If you’re using a homemade crust, follow its specific baking instructions to achieve a fully baked, golden-brown shell. For a convenient refrigerated crust like Pillsbury, adhere to the package directions. Once baked, set the crust aside on a wire rack to cool completely. A perfectly cooled crust prevents the warm filling from creating a soggy base.
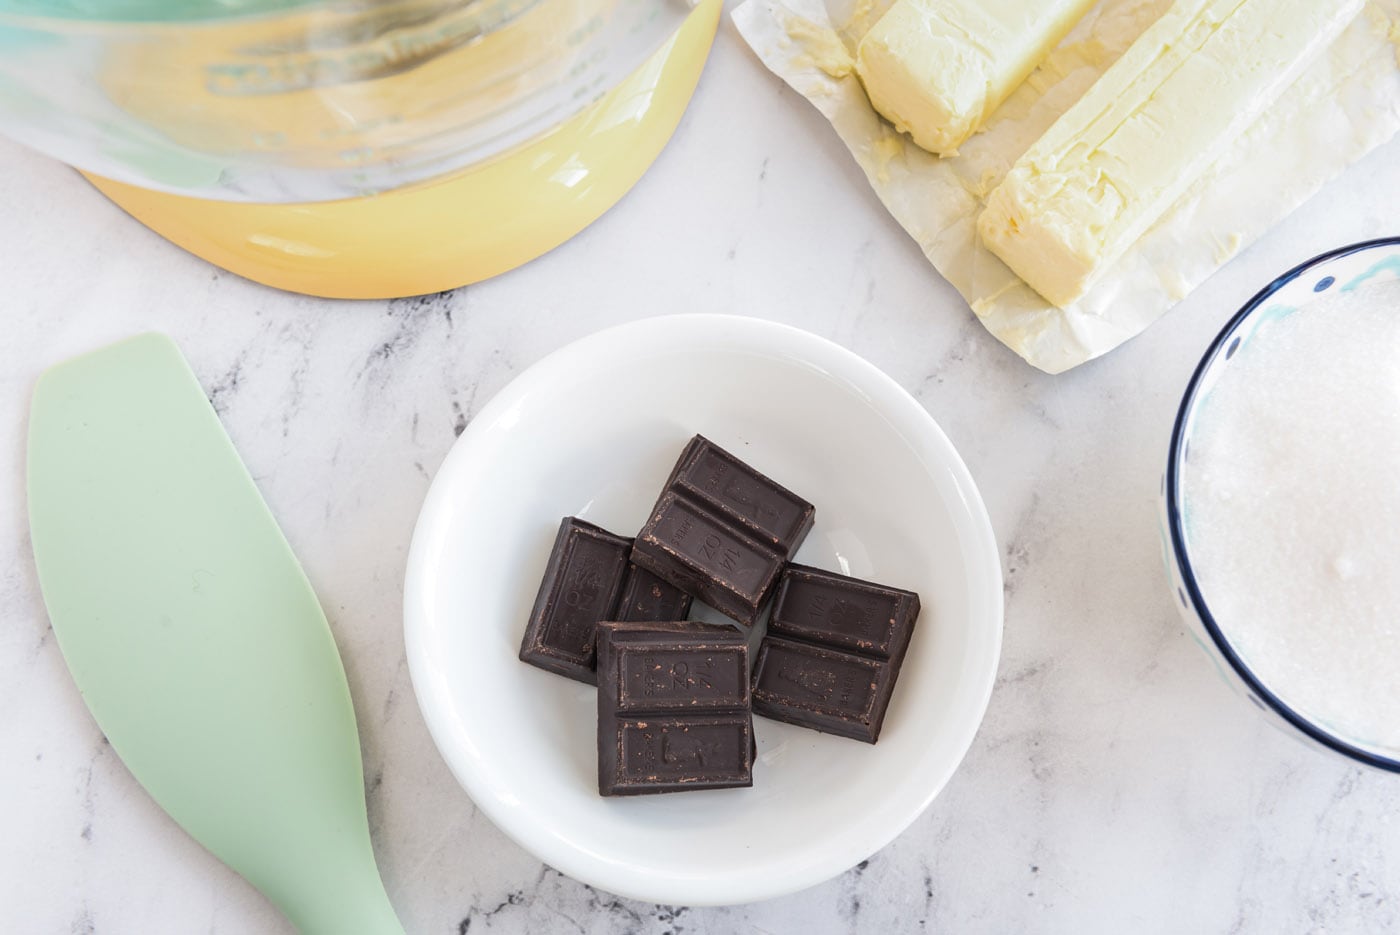
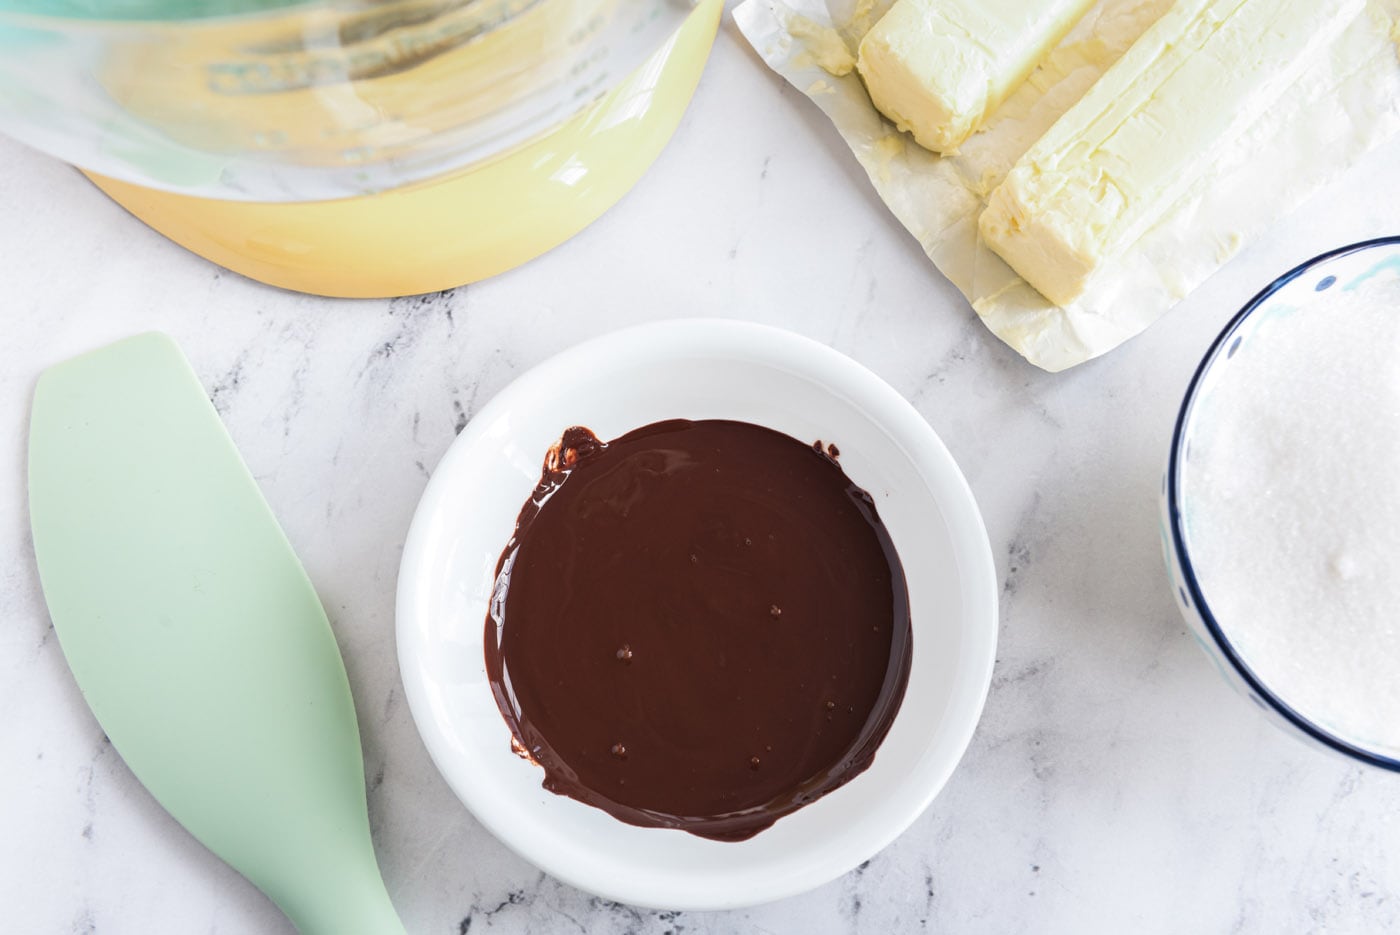
- **Melt and Cool the Chocolate:** Break your unsweetened chocolate into pieces and melt it using a double boiler or carefully in a microwave at short intervals, stirring frequently. The key here is to melt it smoothly without burning. After melting, immediately set the chocolate aside to cool down entirely to room temperature. This step is critical; adding warm chocolate to the butter mixture can cause it to seize or the butter to melt prematurely, affecting the pie’s texture.


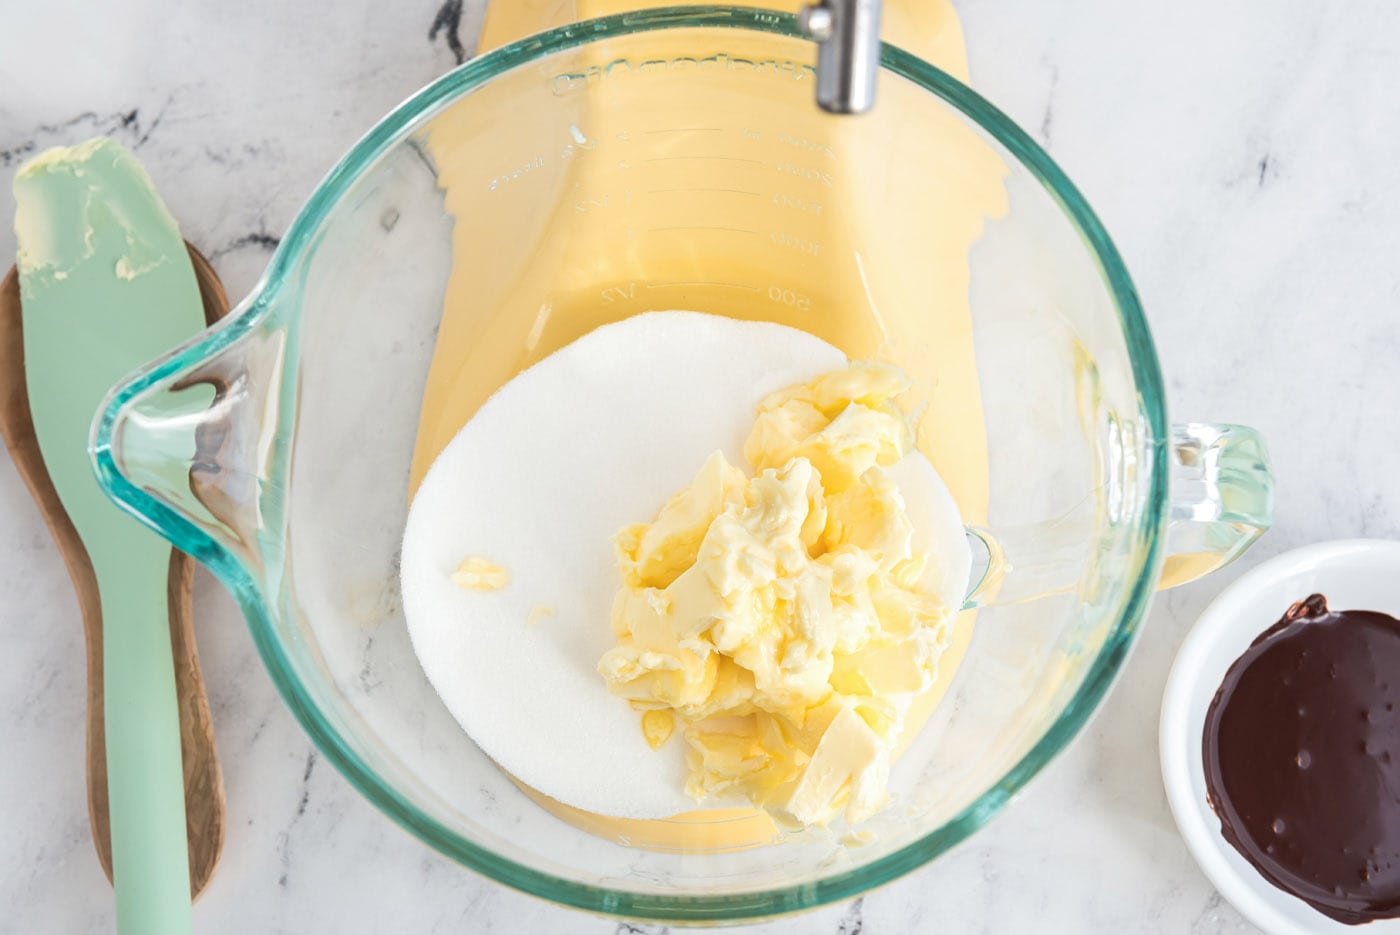
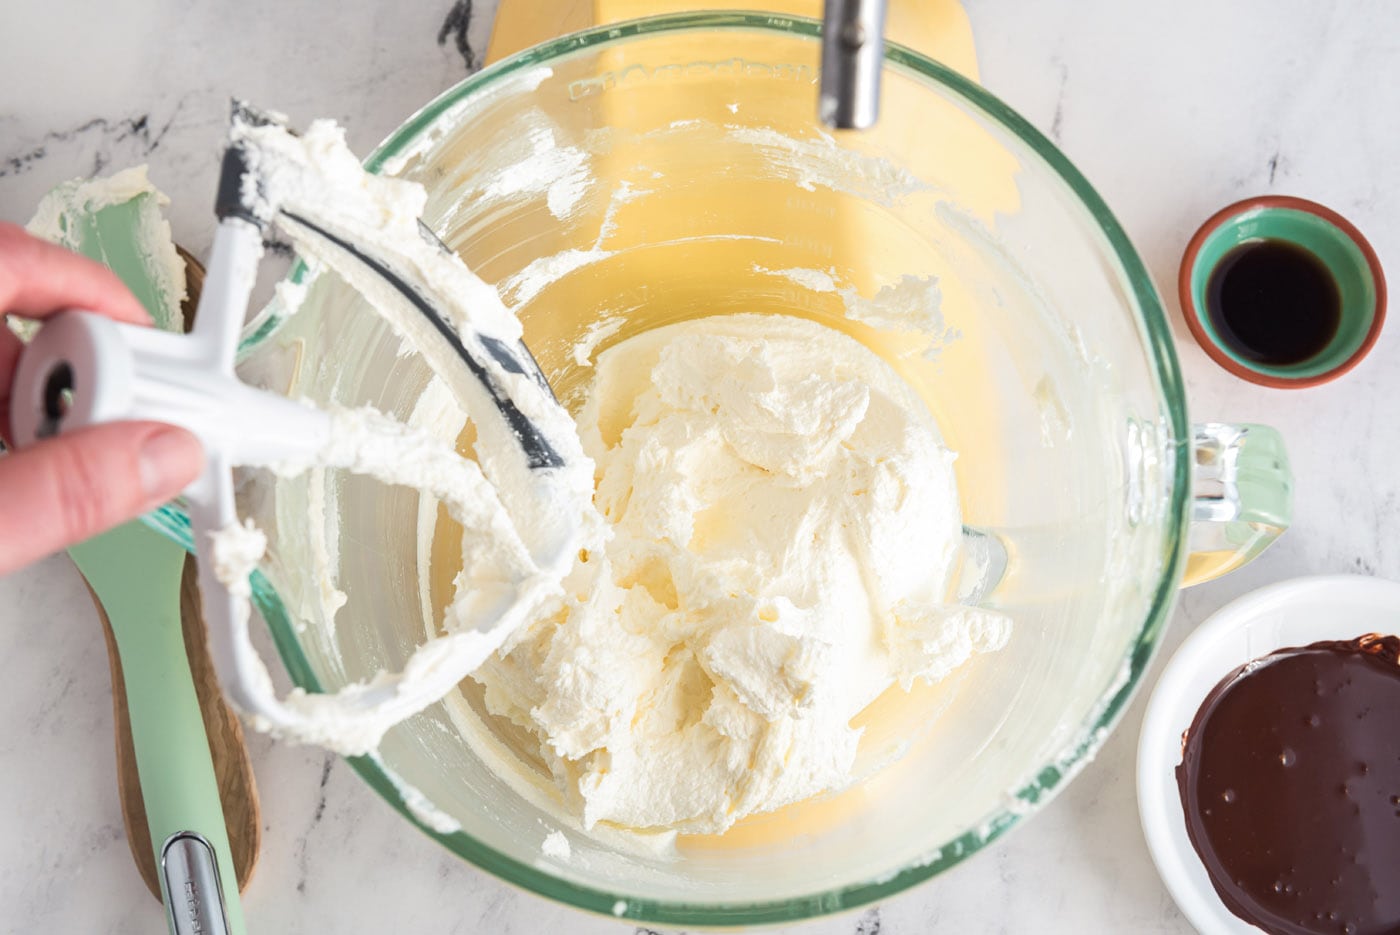
- **Cream Butter and Sugar:** In the bowl of a stand mixer fitted with the paddle attachment, combine the softened butter and granulated sugar. Beat on medium-high speed for a full 6-7 minutes. This lengthy beating process is crucial; it aerates the butter and sugar, making the mixture light and fluffy, and ensures the sugar crystals begin to dissolve, preventing a grainy texture in the final pie.


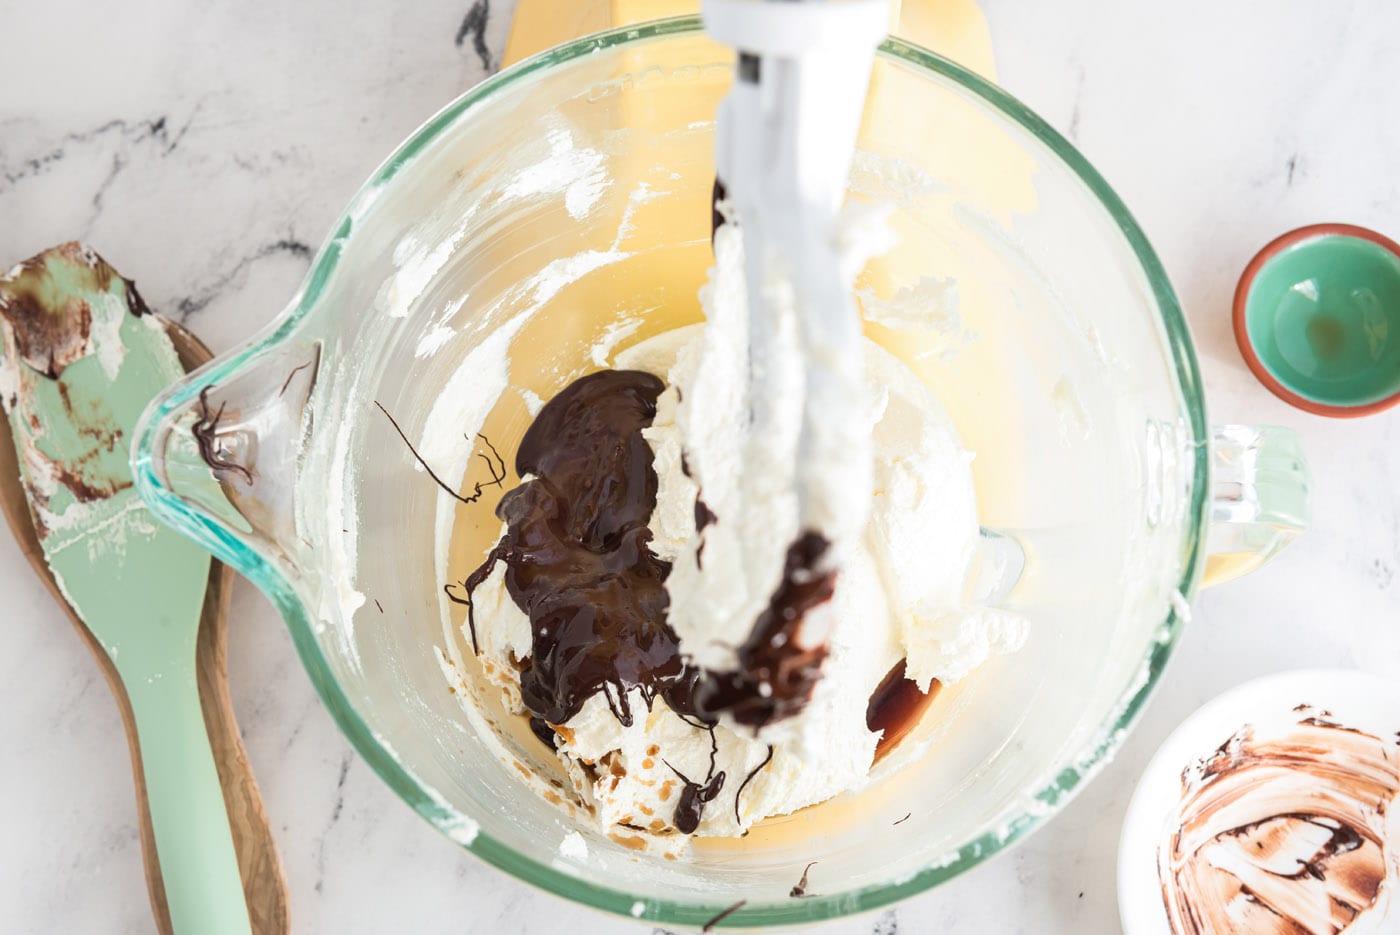
- **Incorporate Chocolate and Vanilla:** Reduce the mixer speed to low and gradually add the completely cooled melted chocolate and vanilla extract to the creamed butter and sugar. Beat until these ingredients are fully incorporated and the mixture is evenly colored and smooth. Scrape down the sides of the bowl as needed to ensure everything is well combined.

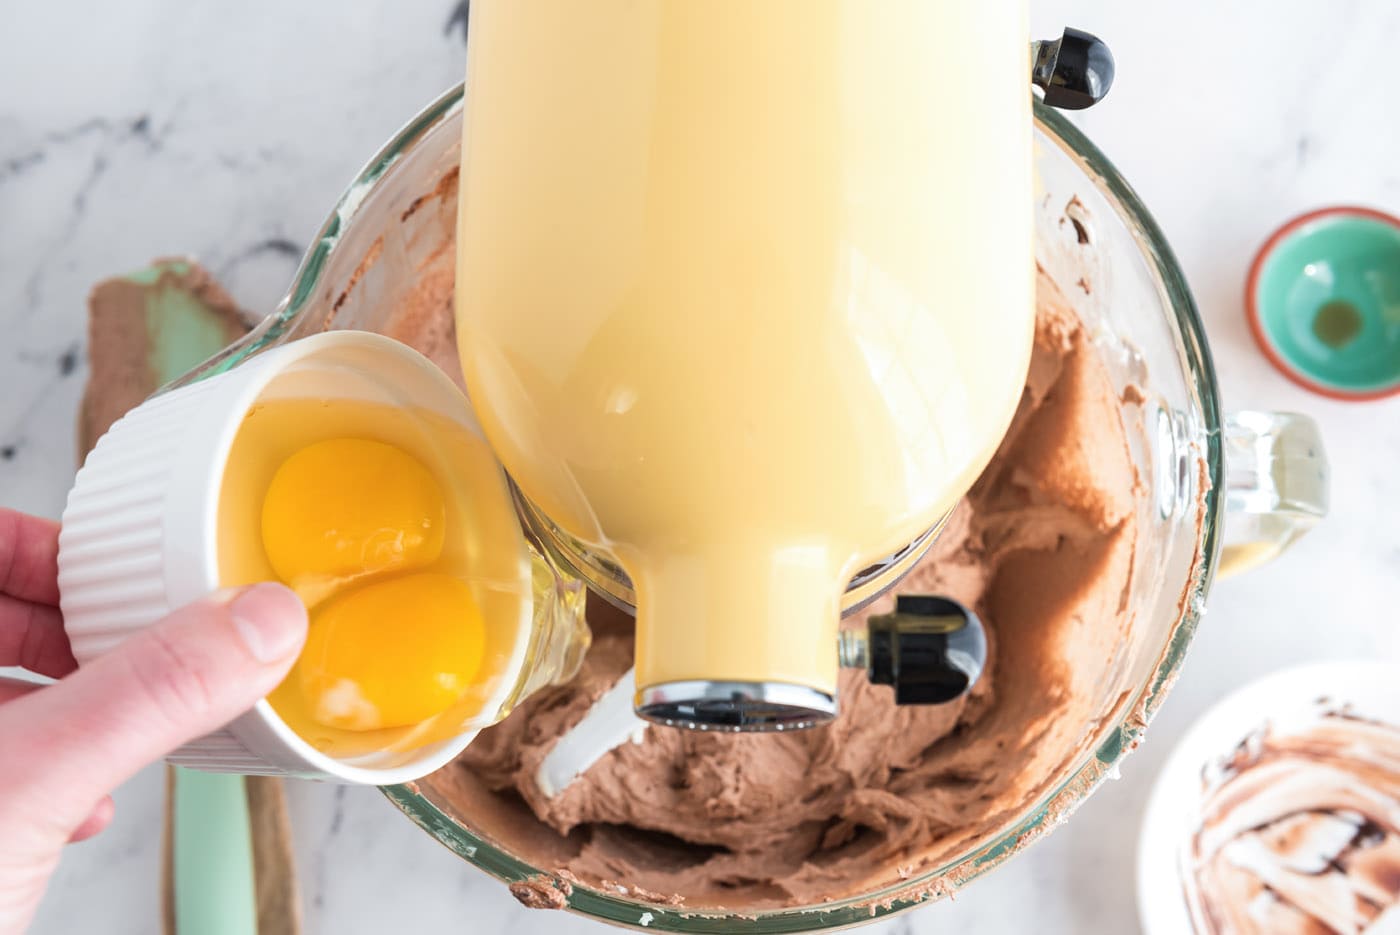
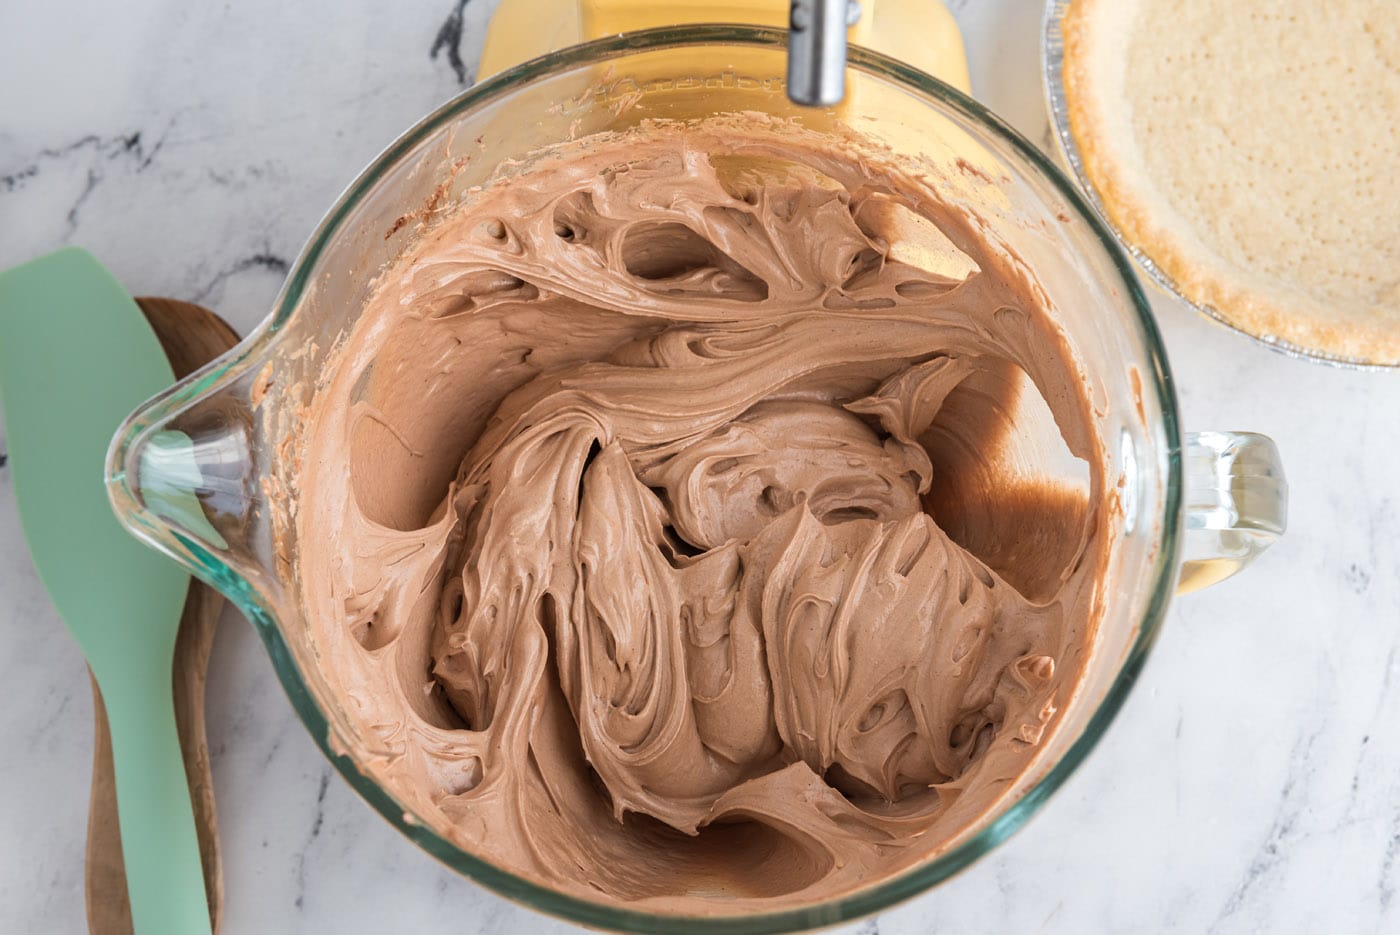
- **Add Eggs for Silkiness:** With the mixer still on low, add the large eggs, two at a time. After each addition of two eggs, increase the mixer speed to medium-high and beat for a full 5 minutes. This extended beating time is perhaps the most vital step for achieving the signature airy and silky texture of French Silk Pie. It thoroughly emulsifies the eggs, preventing a dense or greasy filling and ensures maximum aeration.


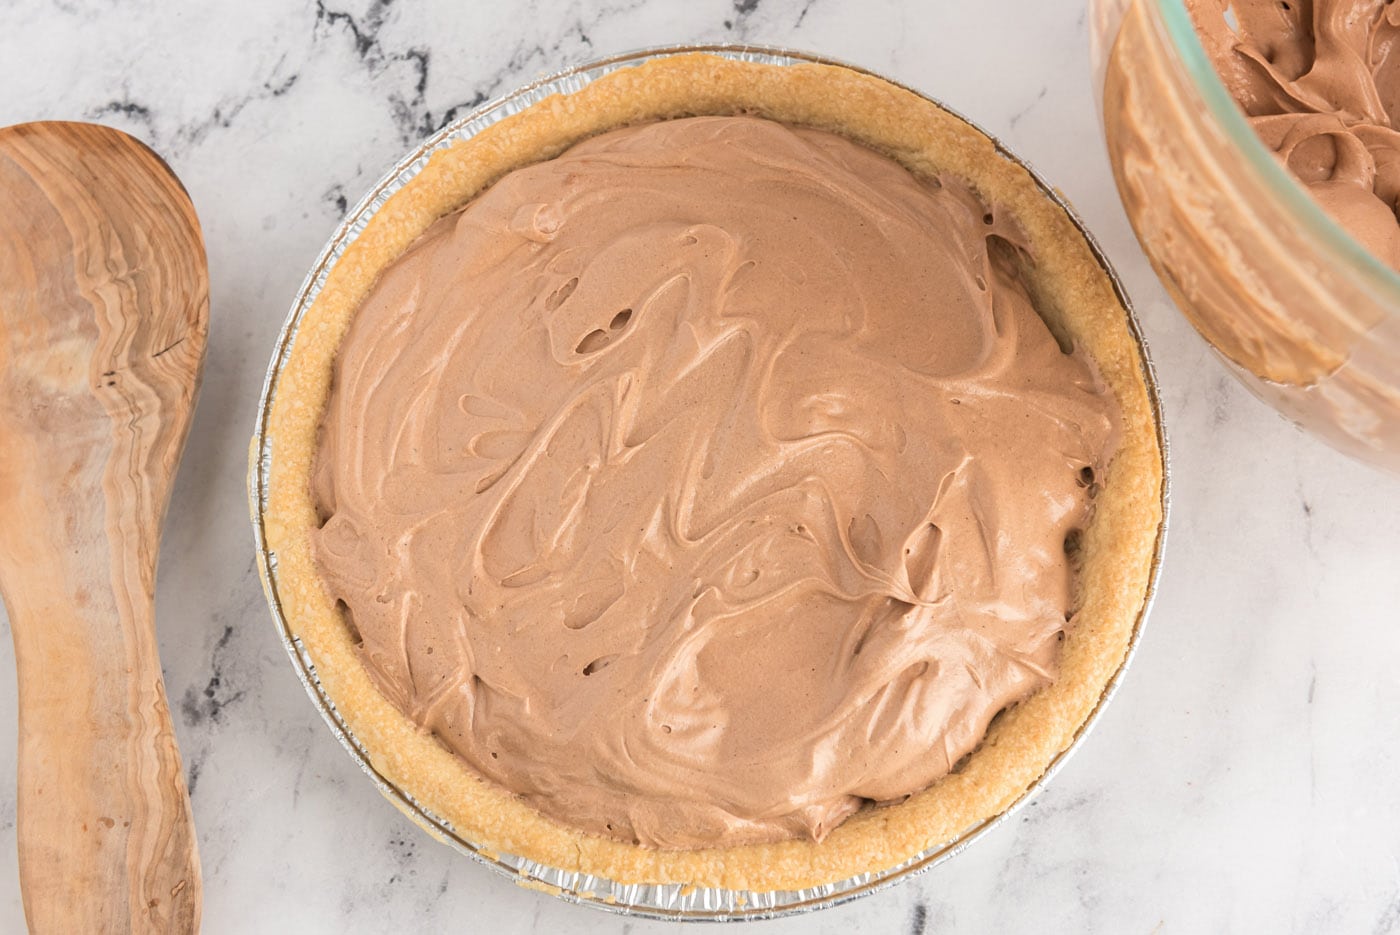
- **Fill the Pie Crust:** Once your chocolate filling is perfectly light and fluffy, carefully pour it into the cooled, baked pie crust. Use an offset spatula or the back of a spoon to gently smooth out the top, ensuring an even layer.

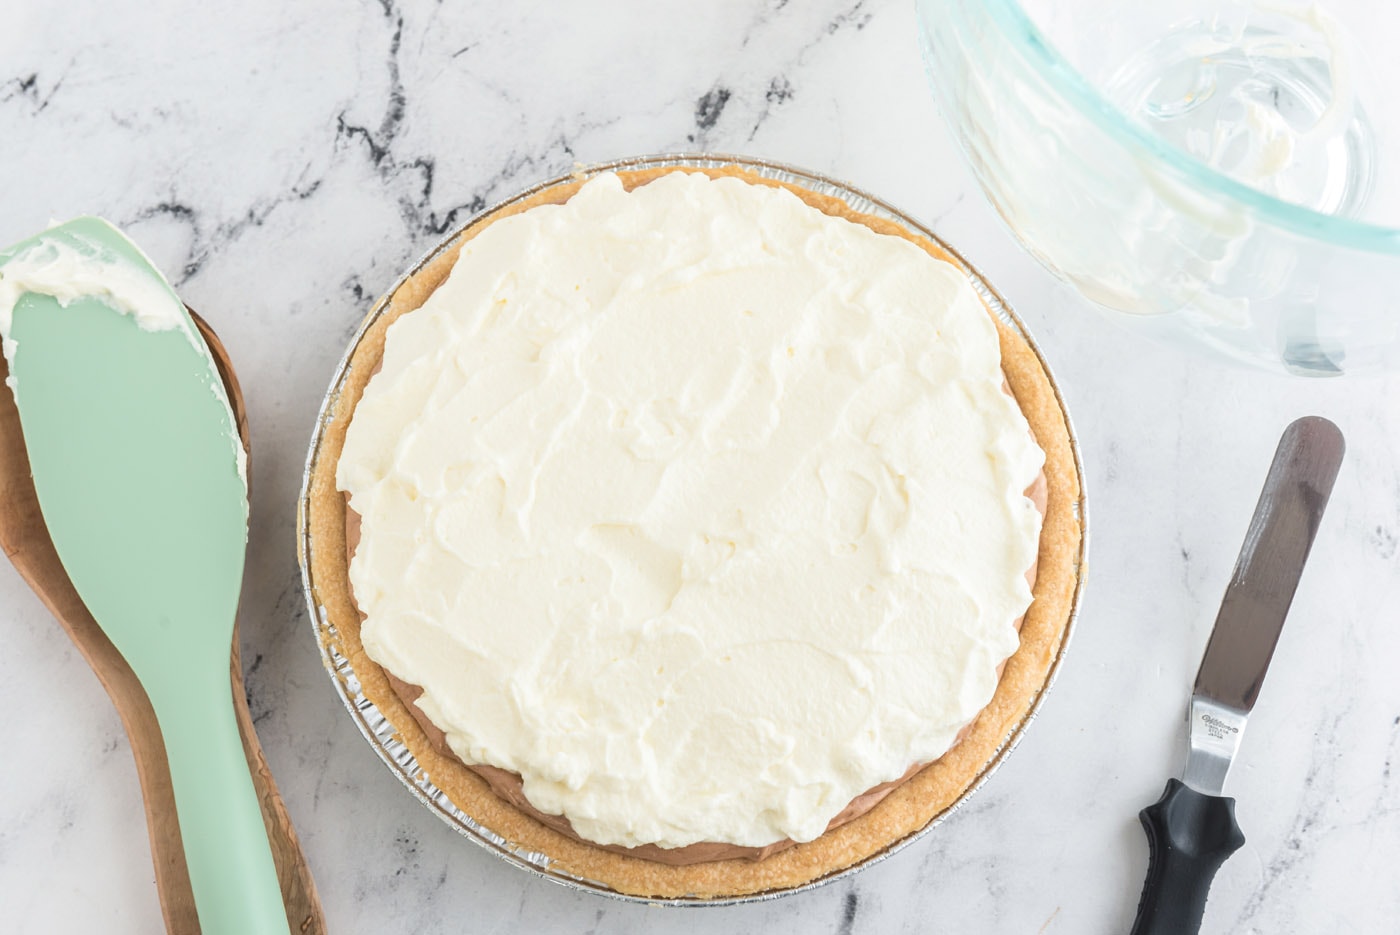
- **Chill and Top:** Place the filled pie in the refrigerator and chill for at least two hours. This initial chilling allows the filling to begin setting. After two hours, you can add the whipped cream topping. For optimal firmness and flavor, return the pie to the refrigerator and chill for an additional 6 hours, or ideally, overnight. Alternatively, if you prefer a fresher whipped topping, you can wait until about two hours before serving to add it.
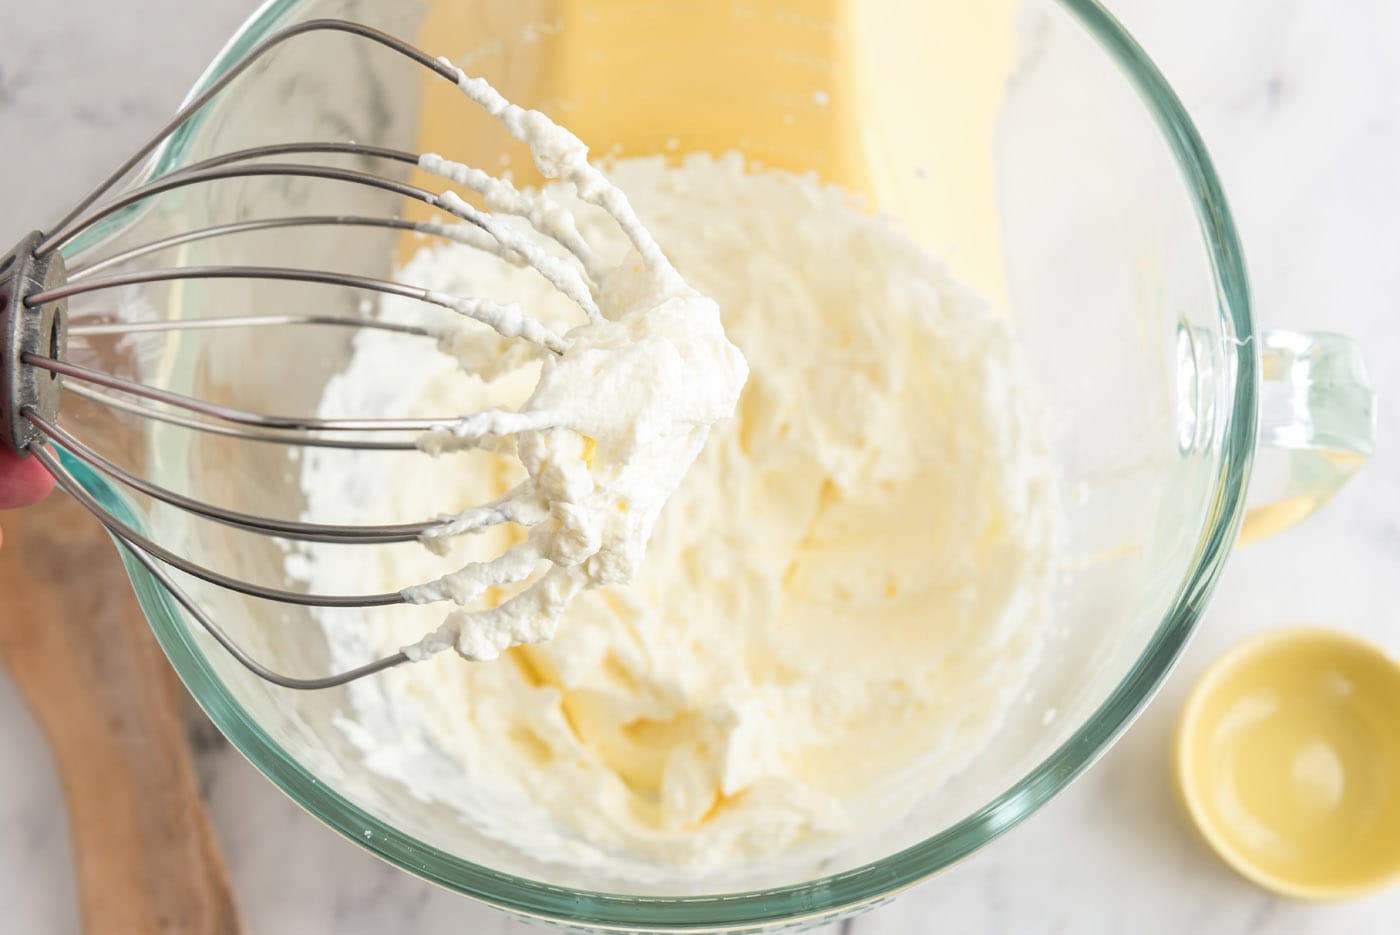
- **Prepare Whipped Topping:** If making homemade whipped cream, combine the heavy whipping cream and powdered sugar in a clean, cold mixing bowl (preferably from a stand mixer with a whisk attachment). Beat on medium-high speed until stiff peaks just begin to form. Be careful not to overbeat, or you’ll end up with butter! Gently spread or pipe the freshly prepared whipped topping over the chilled pie.


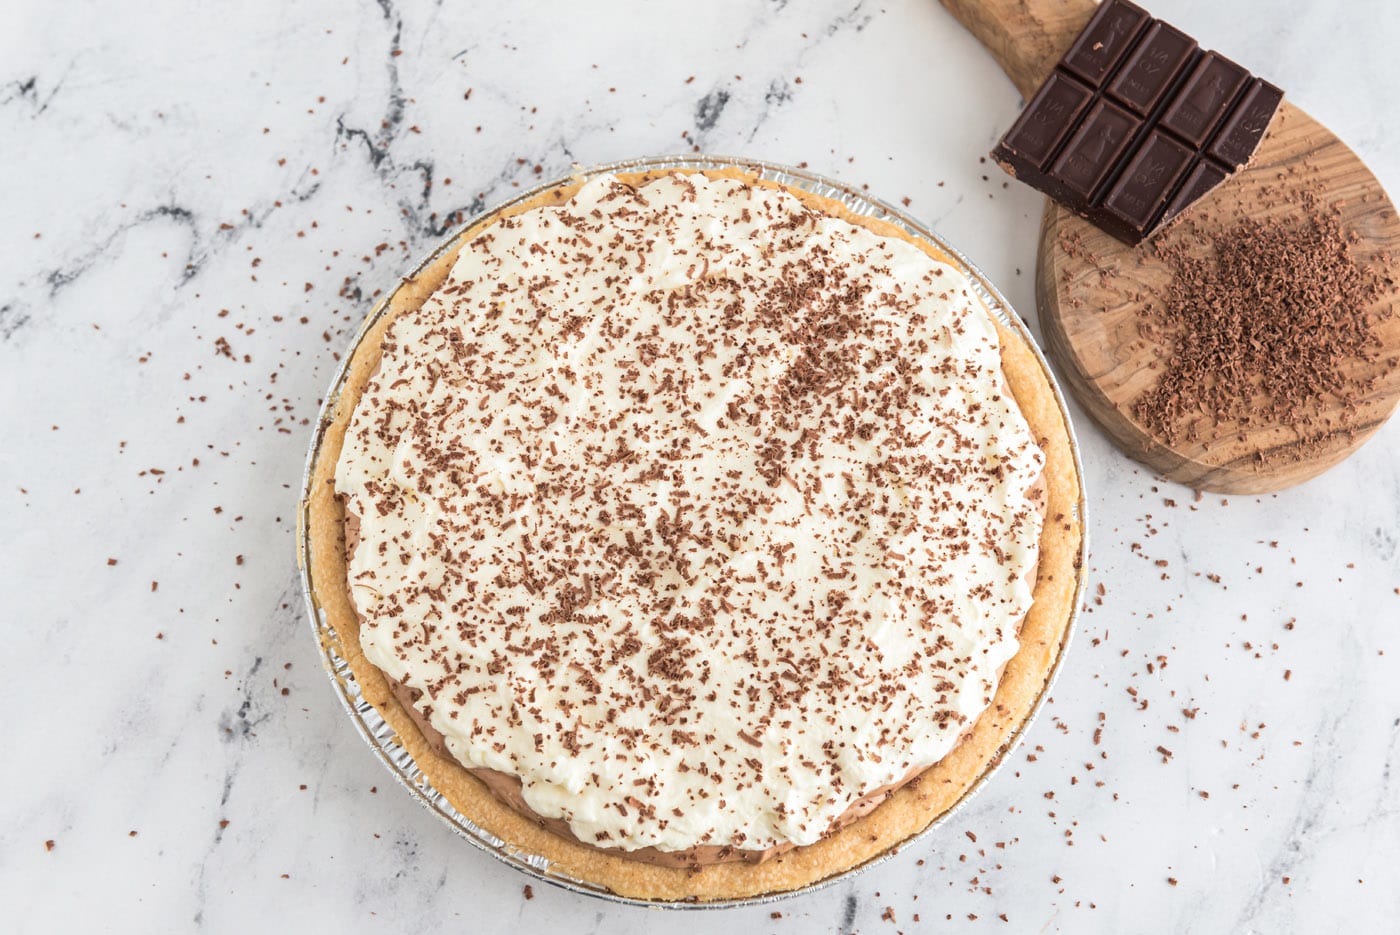
- **Garnish and Serve:** Just before serving, add the finishing touch! Optionally, garnish your French Silk Pie with delicate shavings of bittersweet chocolate. You can create these beautiful curls using a mandolin or a vegetable peeler. Serve chilled and enjoy the unparalleled richness.

Pro Tips for French Silk Pie Perfection
- Prepare the Filling in Advance: For the best results, it’s a great idea to make the chocolate filling first and let it chill slightly on its own. While the filling might appear pale initially, it will deepen in color as it cools. Transfer it to a bowl, cover it tightly with plastic wrap to prevent a skin from forming, and refrigerate it. This pre-chilling step helps the filling to firm up and thicken before it’s added to the pie shell, ensuring a more stable and perfectly set pie.
- Ensure Chocolate is Completely Cooled: The importance of completely cooling your melted chocolate cannot be overstated. I recommend melting the chocolate as the very first step in the preparation process, allowing ample time for it to reach room temperature. Adding even slightly warm chocolate to the butter and sugar mixture can cause the butter to melt, disrupting the emulsification and potentially leading to a greasy or runny filling. It can also cause vanilla extract to seize, so patience here is truly a virtue.
- Pre-Bake and Cool Your Pie Crust: If you’re using a homemade pie crust, follow your recipe’s instructions for a fully baked, blind-baked shell. Since this pie is no-bake, the crust won’t undergo any further cooking. It’s essential that the crust cools down completely before you add the filling. A warm crust can melt the delicate chocolate filling, leading to a soggy bottom and a less-than-perfect texture.
- Strategic Chilling and Whipped Topping Application: Once the chilled filling is poured into the cooled pie crust, return the pie to the refrigerator. While you can add the whipped topping after just two hours of chilling, we find that giving the pie more time to set before topping ensures a firmer foundation. Alternatively, to keep your whipped cream looking its freshest and most voluminous, you can prepare and add it just an hour or two before you plan to serve the pie. If opting for Cool Whip, you can top the pie immediately after filling and refrigerate.
- The Golden Rule: Chill Overnight! You might be tempted to dig into your French Silk Pie after just a few hours of chilling, but please, trust me on this: waiting until the next day will reward you immensely. The filling requires significant time to fully set and for the sugar granules to completely dissolve. Any slight graininess you might notice when tasting the fresh filling will vanish after a good night’s rest in the refrigerator, resulting in an impeccably smooth and rich dessert.
Frequently Asked Questions & Expert Tips
It’s common for French silk pie filling to appear slightly grainy when you’re still mixing it in the bowl. Don’t worry! This is typically due to sugar granules that haven’t fully dissolved yet. The solution is simple: continue beating the mixture for several minutes until it becomes noticeably light and fluffy, usually around 6-7 minutes. Most importantly, allow the pie to chill overnight in the refrigerator. The extended chilling time gives the sugar granules ample opportunity to fully melt and integrate into the filling, resulting in that perfectly smooth, silky texture this pie is famous for. This is truly not a “make-and-serve-immediately” kind of pie for the best results!
Absolutely, and in fact, I highly recommend it! French silk pie greatly benefits from being made at least a day in advance. This allows the filling sufficient time to firm up and for all the flavors to meld beautifully. You can even prepare it up to two days ahead, which can be a real time-saver, especially when entertaining or during busy holiday seasons. Since this is a no-bake pie, proper chilling is crucial for achieving the desired set and avoiding a grainy texture. Plan your preparation accordingly to enjoy the pie at its best.
To keep your French silk pie fresh and delicious, store it covered in the refrigerator. The best method is to use an airtight pie carrier, or carefully wrap the pie dish with several layers of plastic wrap to prevent it from absorbing any odors from the fridge and to keep the topping fresh. Stored properly, French silk pie will maintain its quality for 4-5 days.
Yes, French silk pie freezes beautifully, making it an excellent make-ahead dessert!
To freeze the whole pie: Place the pie (without any topping if possible, as it can get watery when thawing) in the freezer for a few hours until it is firm. Once firm, remove it and wrap the entire frozen pie tightly in several layers of plastic wrap, then an additional layer of aluminum foil for maximum protection against freezer burn. If space allows, place the wrapped pie in a large freezer bag.
To freeze individual slices: This is a fantastic option for portion control. Cut the pie into your desired slices and arrange them on a baking sheet lined with waxed paper or parchment paper, ensuring the slices do not touch each other. Place the sheet in the freezer for a few hours until the slices are solid. Once frozen, individually wrap each slice in plastic wrap, then place the wrapped slices into a freezer-safe bag or airtight container.
To thaw: For a whole pie, remove it from the freezer, unwrap immediately, and let it thaw in the refrigerator overnight. For individual slices, remove them from the freezer and unwrap. You can let them thaw at room temperature for about 1-2 hours for quicker enjoyment, or slowly thaw them in the refrigerator, which may take up to a day. Add fresh whipped cream and garnishes just before serving.
Serving Your French Silk Pie with Style
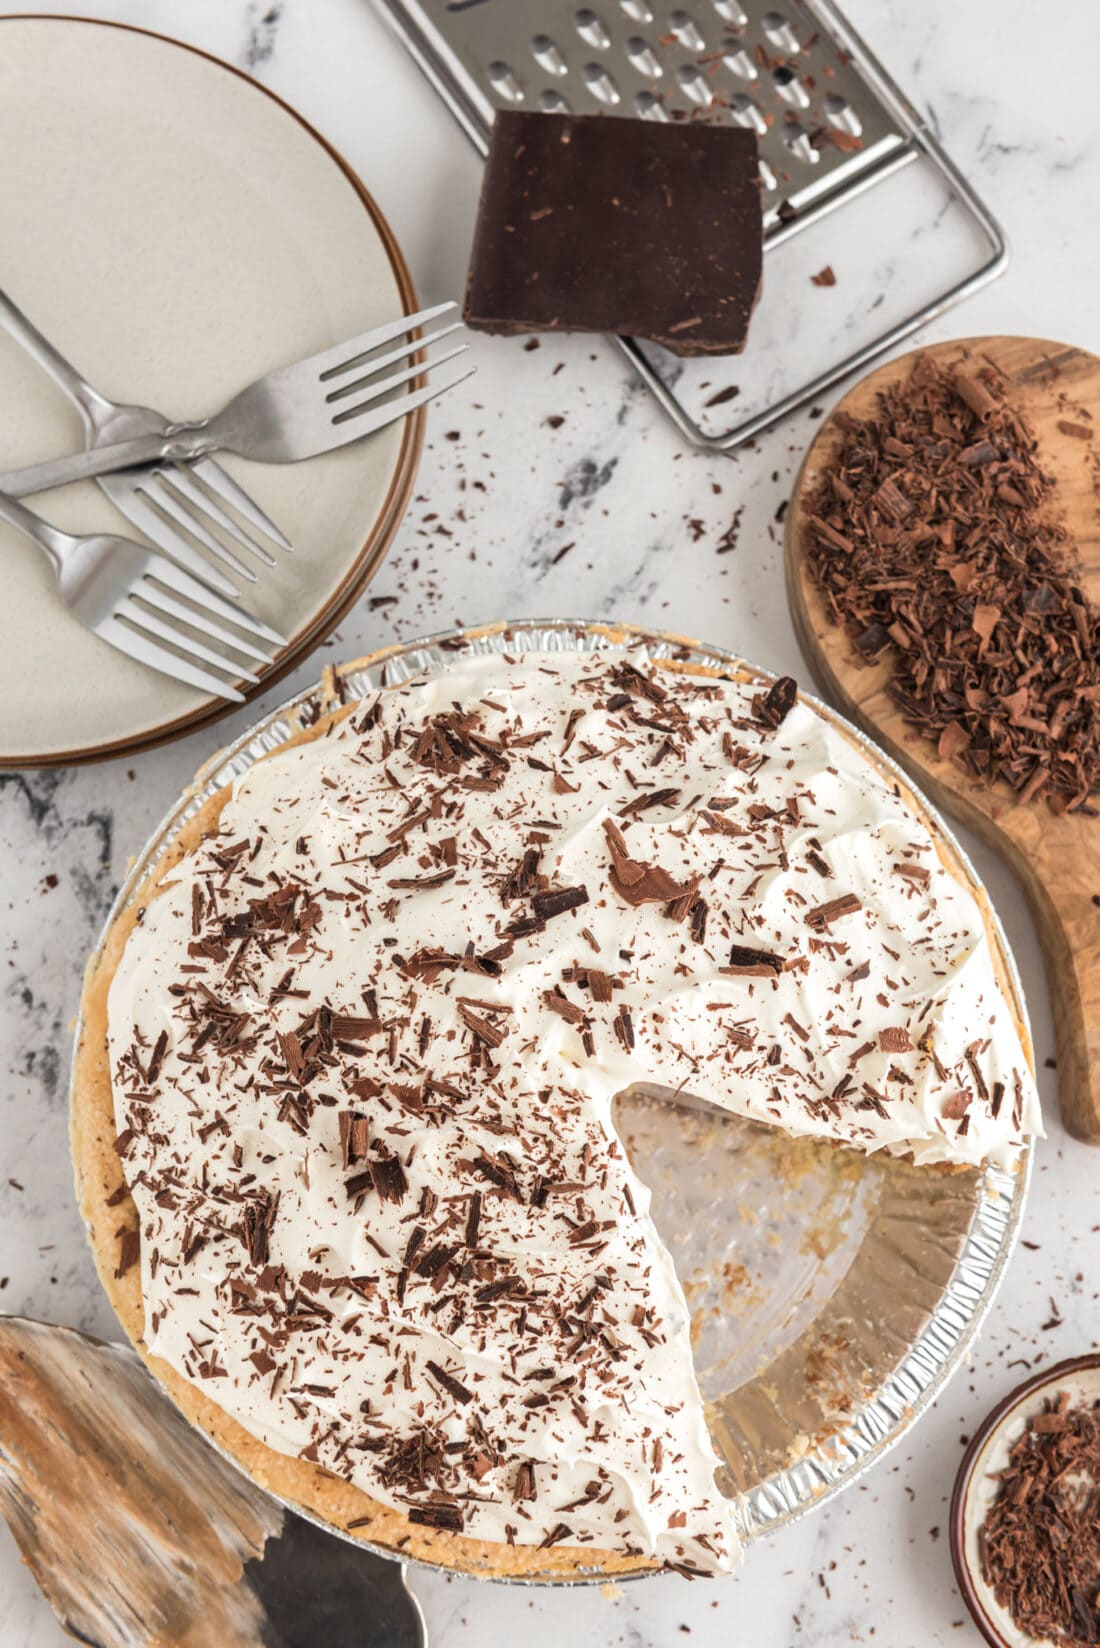
Presentation can truly enhance the enjoyment of your French Silk Pie. Beyond the luscious whipped cream, consider adding a sophisticated touch by shaving some bittersweet chocolate over the top. A mandolin or a simple vegetable peeler can create elegant, delicate curls that melt enticingly on the tongue. Alternatively, grating the chocolate provides a finer, dust-like garnish that adds a subtle visual appeal and a burst of intense cocoa flavor. Always remember to serve your French Silk Pie thoroughly chilled for the best texture and taste experience.
More Decadent Dessert Recipes to Explore
- Reese’s Pie: For peanut butter and chocolate lovers, this pie is pure bliss.
- Classic Chocolate Mousse: A lighter, yet equally rich and airy chocolate treat.
- Chocolate Peanut Butter Pie: Another fantastic no-bake option that combines two favorite flavors.
- No Bake Chocolate Cheesecake: Creamy, dreamy, and requires no oven time.
- French Silk Slab Pie: Perfect for feeding a crowd, this large-format pie delivers all the classic French Silk flavor.
I absolutely love sharing my passion for baking and cooking with all of you! To make it easy for you to keep up with new delicious recipes, I offer a convenient newsletter. Simply subscribe here and start receiving your free daily recipes directly in your inbox!
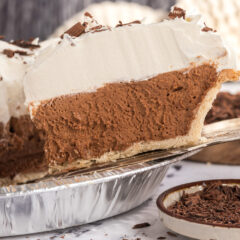
French Silk Pie
IMPORTANT – There are often Frequently Asked Questions within the blog post that you may find helpful. Simply scroll back up to read them!
Print It
Rate It
Course:
Desserts
Cuisine:
American
12
servings (1 pie)
8 hours
25 minutes
415
Amanda Davis
Ingredients
- 6 ounce deep dish frozen pie crust baked according to package
- 1 cup unsalted butter softened
- 1 ½ cups granulated sugar
- 2 ounces unsweetened chocolate melted and cooled COMPLETELY
- 2 teaspoons vanilla
- 4 large eggs
- 8 ounces heavy whipping cream or 8 ounce tub Cool Whip
- 1 Tablespoon powdered sugar
Things You’ll Need
-
Stand mixer
-
Measuring cups and spoons
-
Mixing bowls
-
Pie server
-
Pie plate
Before You Begin
- We highly recommend making this pie a day ahead to allow flavors to meld and the filling to fully set.
- The eggs in this recipe are not cooked. If this is a concern, opt for pasteurized eggs or learn how to pasteurize your own eggs.
- Do NOT use margarine; this recipe has only been tested with real butter. Ensure butter is softened, not melted, by leaving it at room temperature for 20-30 minutes.
- If using a homemade crust, bake it fully and allow it to cool completely before adding the filling, as the pie is not baked.
- You can chill the pie for two hours before adding whipped cream, or wait until an hour or two before serving for the freshest topping. Both methods work well.
- Feel free to use either Cool Whip or homemade whipped cream for the topping, based on your preference.
Instructions
-
Bake your pie crust (homemade or refrigerated) according to package directions until fully baked. Set aside to cool completely.
-
Melt the unsweetened chocolate and set it aside to cool completely to room temperature.
-
In a stand mixer, beat the softened butter and granulated sugar on medium-high speed for 6-7 minutes until light and fluffy.
-
Add the cooled melted chocolate and vanilla extract to the mixture and beat until fully incorporated.
-
Add the eggs, two at a time, beating for a full 5 minutes after each addition to achieve a silky texture.
-
Pour the prepared chocolate filling into the cooled pie crust, spreading evenly.
-
Chill the pie in the refrigerator for at least two hours before adding the whipped cream. For best results, chill for 6 hours or overnight after topping.
-
To make homemade whipped cream, beat heavy whipping cream and powdered sugar on medium-high speed with a whisk attachment until stiff peaks form. Top the pie with prepared whipped cream or Cool Whip.
-
When ready to serve, optionally garnish with shaved bittersweet chocolate for an elegant finish.
Expert Tips & FAQs
- Patience is a Virtue – Chill Overnight! While you can eat the pie after several hours, for the absolute best, silkiest texture, it is highly recommended to wait overnight. The filling truly needs this extended time to set perfectly and for any remaining sugar crystals to fully dissolve, eliminating any potential graininess.
- Store leftover pie securely covered with an airtight lid or tightly wrapped in plastic wrap in the refrigerator for up to 4-5 days.
- Freezing the whole pie: To freeze the entire pie for later enjoyment, first place it uncovered in the freezer for a few hours until firm. Then, remove and wrap the frozen pie tightly in plastic wrap, followed by a layer of aluminum foil. This dual wrapping protects against freezer burn. It can then be placed in a large freezer bag if it fits.
- Freezing individual slices: For convenient single servings, cut the pie into slices. Arrange them on a waxed paper-lined cookie sheet, ensuring they don’t touch. Freeze for a few hours until solid. Once frozen, wrap each slice individually in plastic wrap and store them in a freezer-safe bag or container.
- Thawing your frozen pie: To thaw, remove the pie (or slices) from the freezer and immediately unwrap. Allow it to thaw at room temperature for a few hours if you plan to eat it relatively soon. Alternatively, thaw in the refrigerator, which will take longer (approximately a full day for a whole pie).
Nutrition
Tried this Recipe? Pin it for Later!
Follow on Pinterest @AmandasCookin or tag #AmandasCookin!
The recipes on this blog are tested with a conventional gas oven and gas stovetop. It’s important to note that some ovens, especially as they age, can cook and bake inconsistently. Using an inexpensive oven thermometer can assure you that your oven is truly heating to the proper temperature. If you use a toaster oven or countertop oven, please keep in mind that they may not distribute heat the same as a conventional full sized oven and you may need to adjust your cooking/baking times. In the case of recipes made with a pressure cooker, air fryer, slow cooker, or other appliance, a link to the appliances we use is listed within each respective recipe. For baking recipes where measurements are given by weight, please note that results may not be the same if cups are used instead, and we can’t guarantee success with that method.
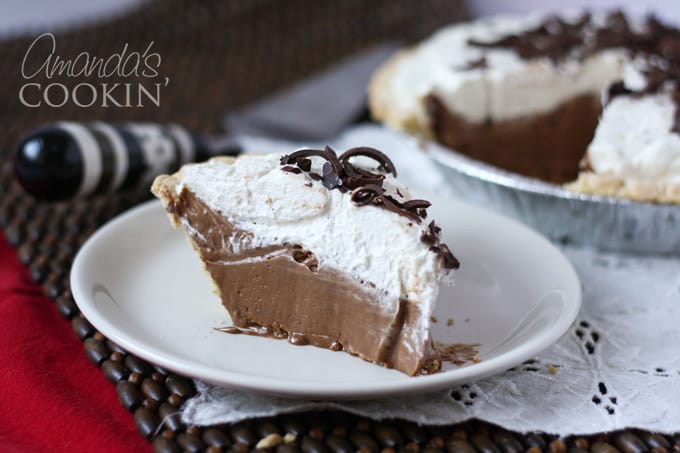
This post originally appeared on this blog on December 6, 2008, and has since been updated with new photos and expert tips. Pictured above is one of our old photos which you may recognize. This comprehensive guide has been expanded to provide even more value and detail to our beloved readers, ensuring your French Silk Pie is nothing short of perfect.
