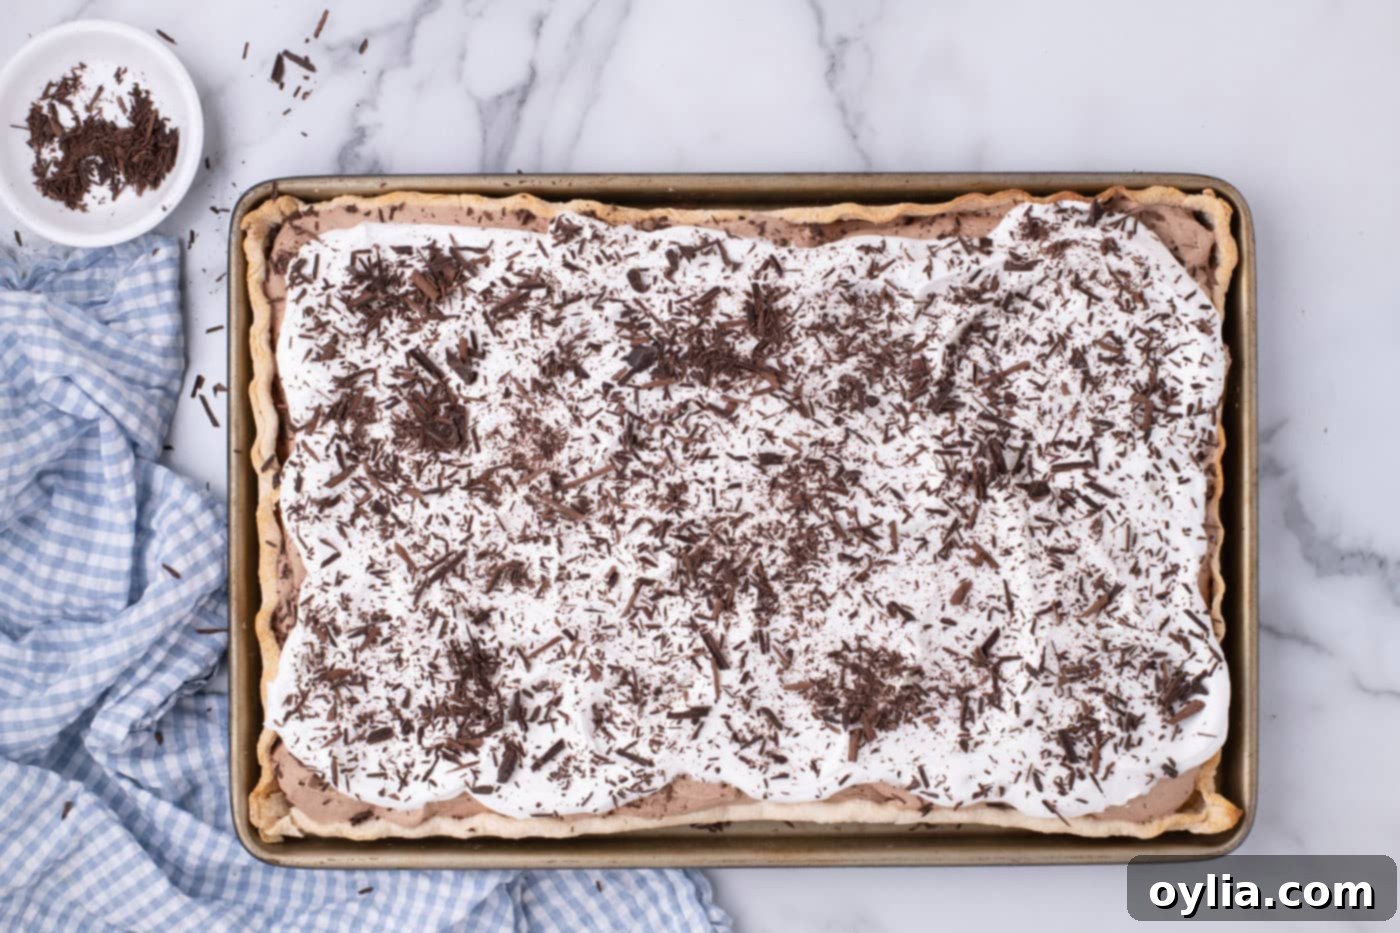
Decadent French Silk Slab Pie: The Ultimate Crowd-Pleasing Chocolate Dessert Recipe
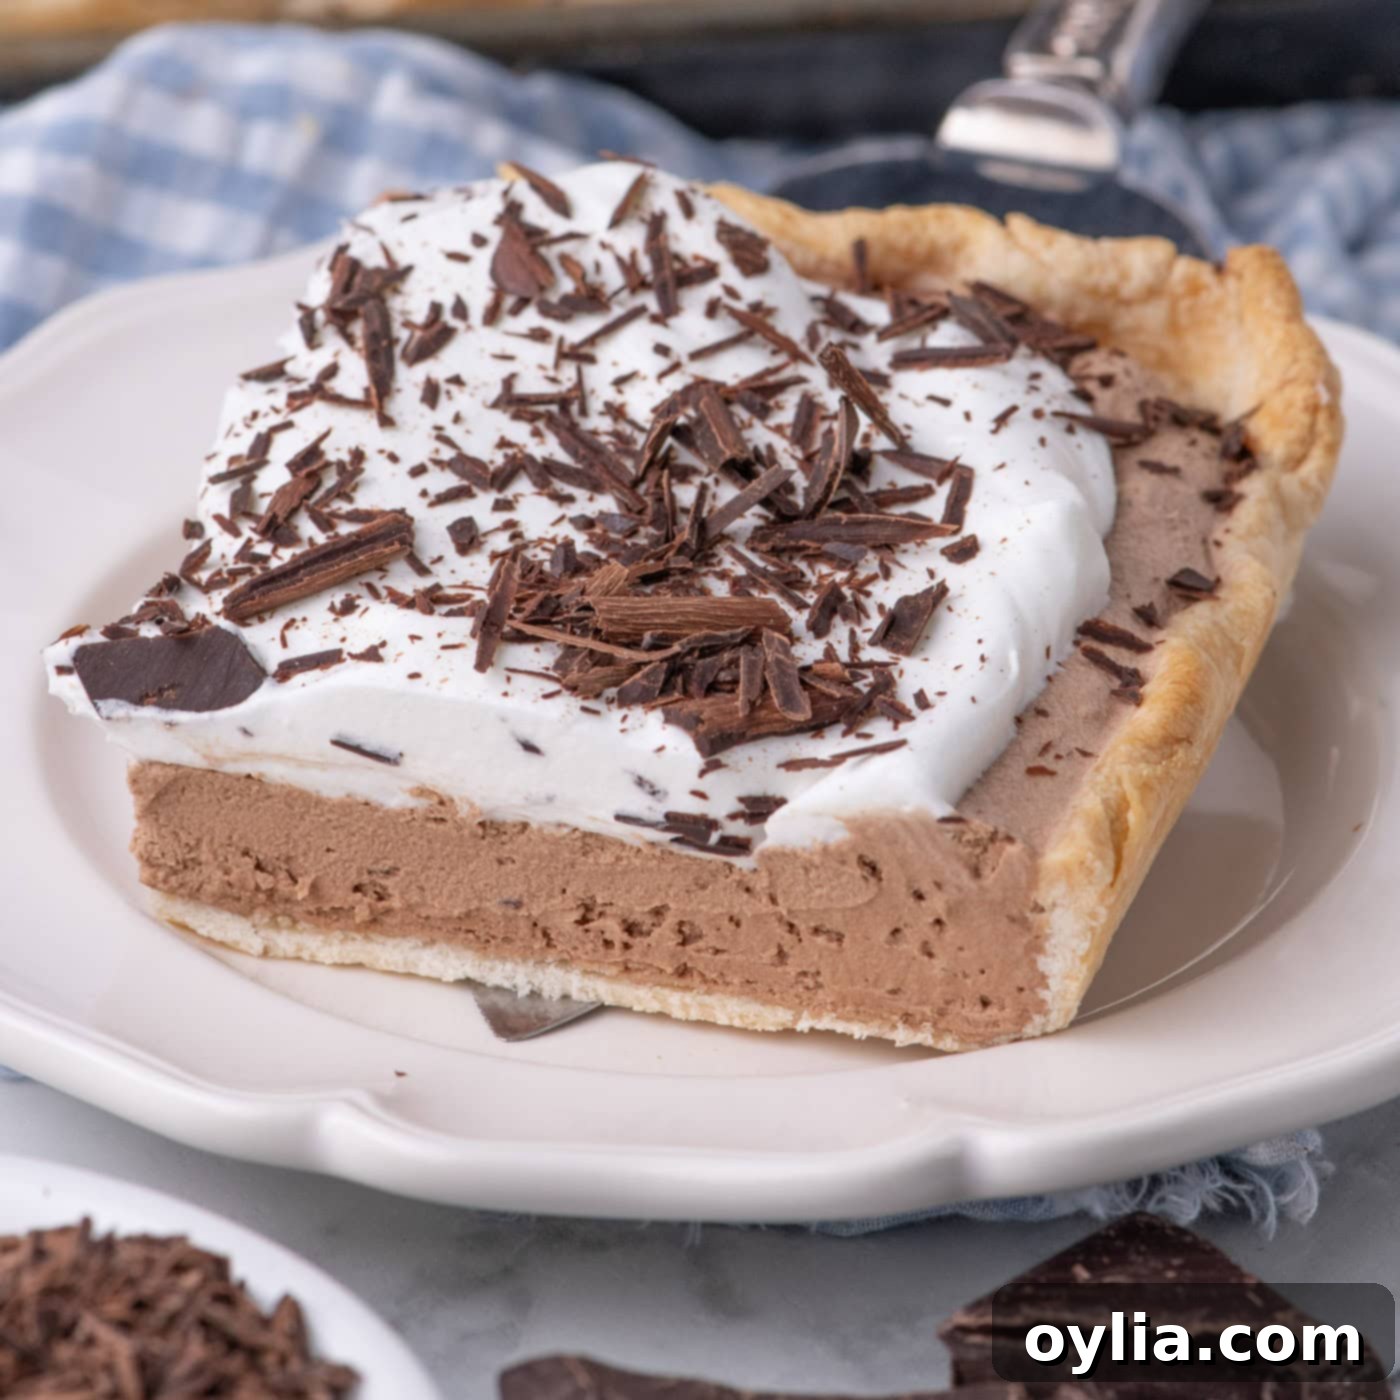
Prepare to impress all your guests with this incredible French Silk Slab Pie recipe – it’s the quintessential dessert for any large gathering! Imagine a luscious, dreamy chocolate filling, crowned with generous swirls of homemade whipped topping and delicate chocolate shavings, all nestled conveniently in a single sheet pan. This recipe transforms a beloved classic into an easy-to-serve party showstopper, ensuring every guest gets a taste of pure chocolate bliss. Forget the fuss of baking and serving multiple round pies; this large-format slab pie is designed for sharing, making it the ideal choice for holidays, potlucks, family reunions, or any occasion where you need to feed a crowd with an unforgettable sweet treat.
Why This French Silk Slab Pie Recipe is Your Next Favorite Dessert
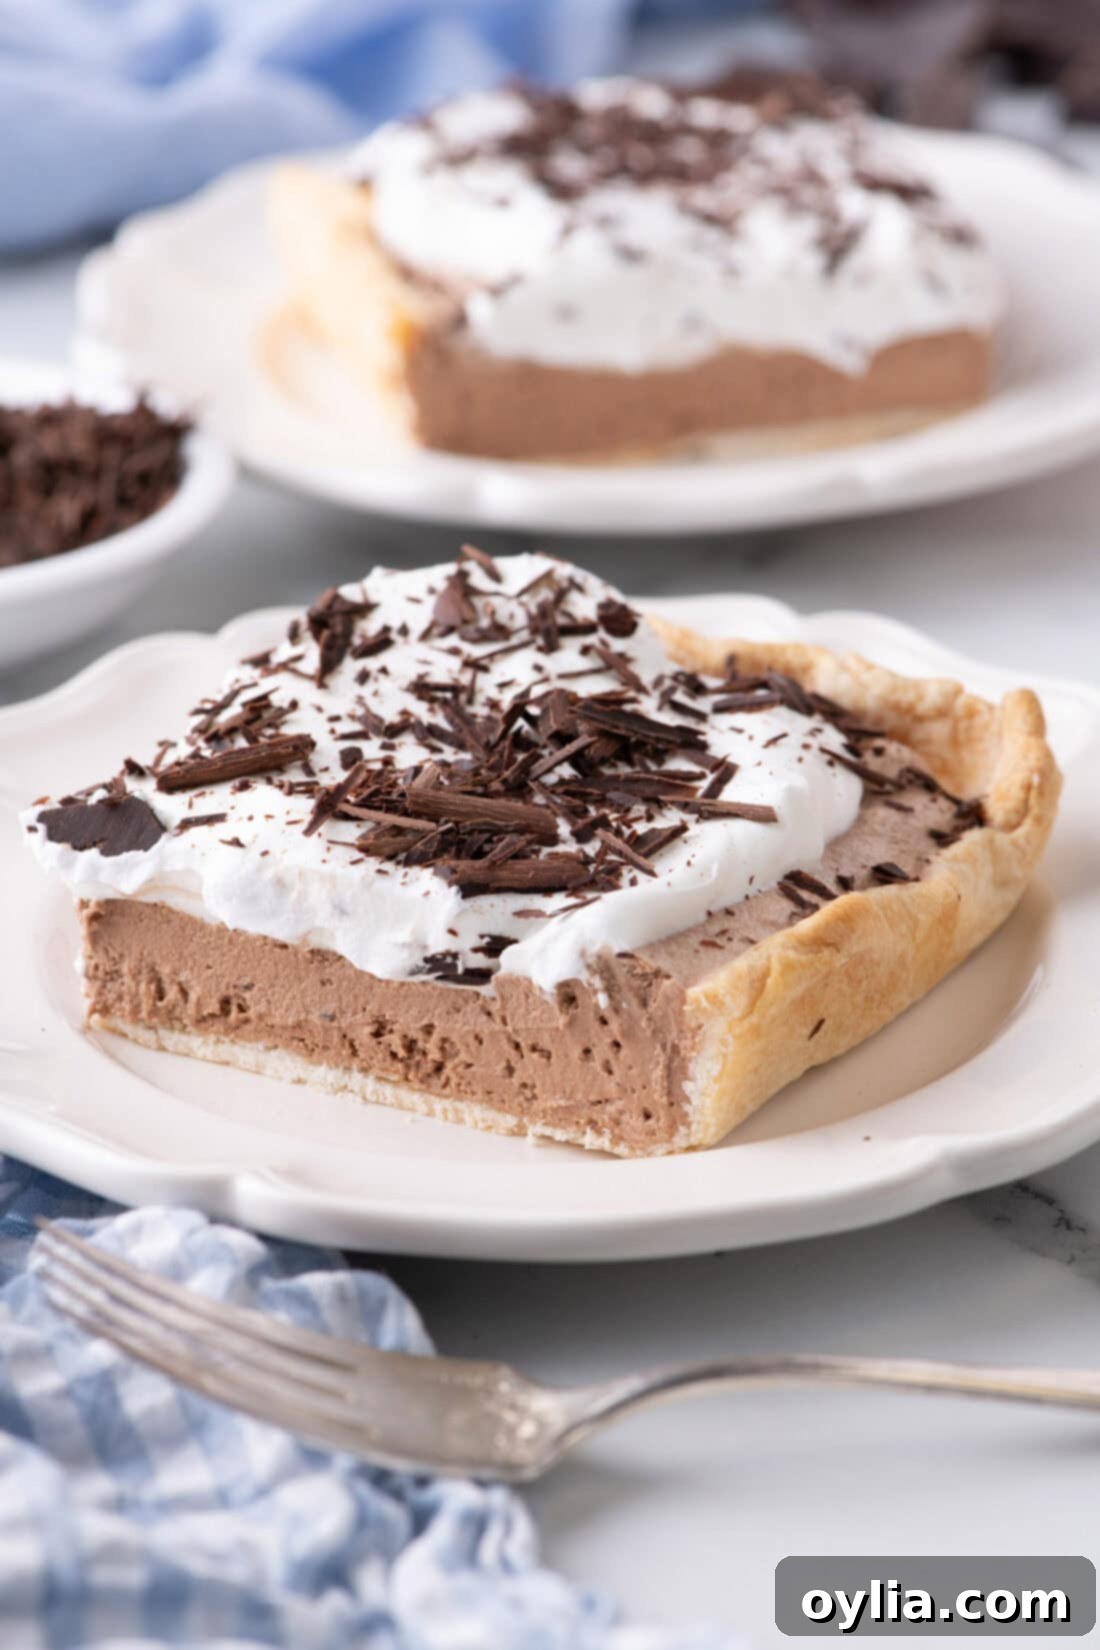
Pure chocolate bliss is the most accurate way to describe this French Silk Slab Pie. Topped with a mountain of cloud-like whipped cream, each bite is an experience of silky, dreamy chocolate that melts in your mouth. French silk pie holds a legendary status in many households, cherished for its rich, creamy chocolate and indulgent texture. It’s often a tradition, a special treat reserved for memorable occasions. However, when you’re faced with the delightful challenge of feeding a large crowd, a traditional round pie often presents a logistical hurdle.
This is where our gorgeous French Silk Slab Pie truly shines. It steps in as the ultimate party version of our beloved classic, offering more manageable portions for any get-together, big or small. Instead of struggling to slice a single pie into enough servings, this sheet pan format makes serving a breeze. Whether you’re hosting a holiday feast, a large family gathering, or a casual party, this slab pie ensures that everyone can enjoy a generous piece of this decadent dessert. While we adore our homemade French silk pie and even our adorable mini French silk pies for individual servings, this slab pie format scales up effortlessly, delivering the same incredible flavor and texture. One thing is for sure: you won’t have any leftovers!
This recipe truly works because it takes the irresistible flavor and luxurious texture of a classic French silk pie and marries it with the practicality and ease of a sheet pan dessert. It’s designed to minimize your stress and maximize your guests’ enjoyment. The combination of a tender, flaky crust, a rich, velvety chocolate filling, and a fresh, homemade whipped cream creates a harmonious symphony of flavors and textures that is simply unforgettable. It’s an impressive dessert that’s surprisingly simple to prepare, making it a win-win for any host.
Key Ingredients for Your Decadent French Silk Slab Pie
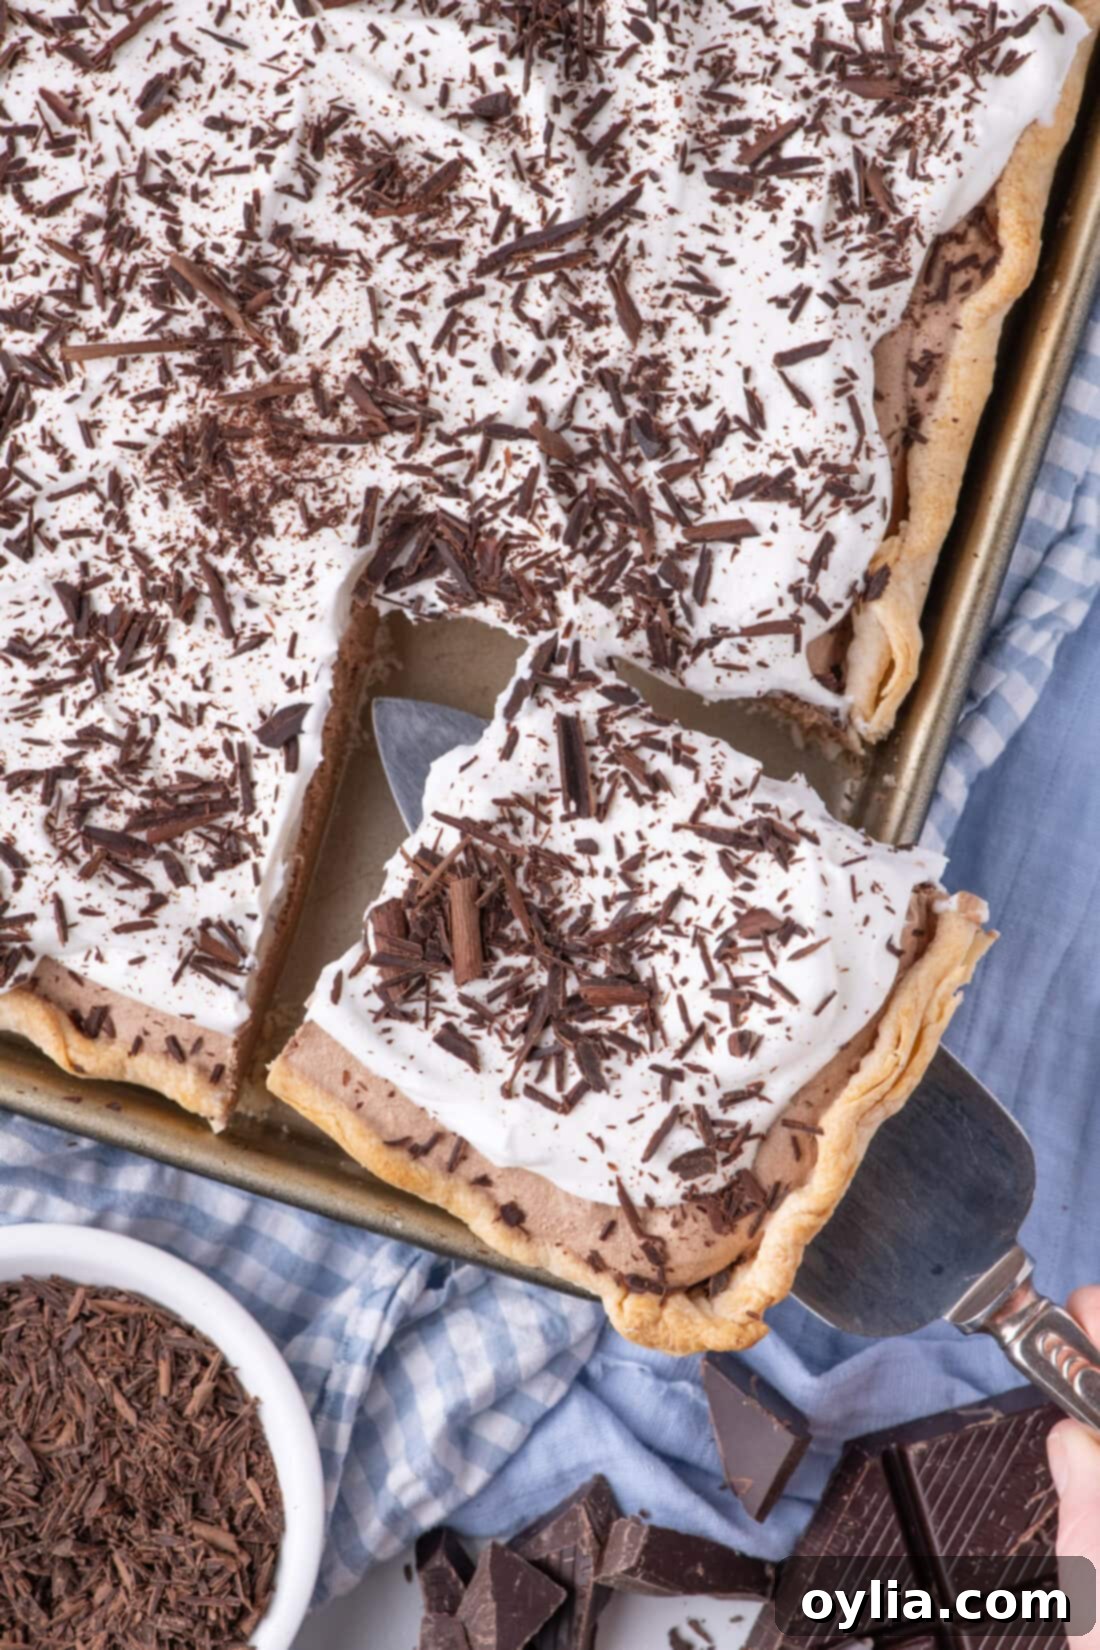
Creating this magnificent French Silk Slab Pie requires a selection of quality ingredients, each playing a crucial role in achieving that perfect, luxurious texture and deep chocolate flavor. While you’ll find all precise measurements and detailed instructions in the printable recipe card at the very end of this post, here’s a comprehensive overview of what you’ll need to gather to begin your baking adventure:
- Refrigerated Pie Crusts: For ultimate convenience and a reliably flaky result, we recommend using two 7.05-ounce store-bought refrigerated pie crusts. Brands like Pillsbury Ready-To-Bake are excellent choices.
- Unsalted Butter: Ensure your butter is softened to room temperature. This is essential for proper creaming with the sugar, which is critical for the filling’s texture.
- Granulated Sugar: This provides the necessary sweetness and plays a key role in achieving the light and fluffy consistency of the chocolate filling.
- Unsweetened Chocolate: This is the star for the deep, rich chocolate flavor. It needs to be melted and then cooled before being incorporated into the mixture.
- Pure Vanilla Extract: A touch of high-quality vanilla extract enhances the overall chocolate notes and adds aromatic depth to the pie.
- Large Eggs: It’s absolutely crucial that these are at room temperature. Cold eggs can cause the chocolate to seize, leading to a grainy filling.
- Heavy Whipping Cream: Thoroughly chilled, this is the foundation for making your luscious, homemade whipped topping.
- Powdered Sugar: Also known as confectioners’ sugar, this fine sugar sweetens the whipped cream and helps stabilize it, ensuring it holds its peaks.
- Unsweetened Chocolate (for garnish): A small amount of unsweetened chocolate, shaved into delicate curls, provides an elegant and appealing finish to your pie.
Using fresh, high-quality ingredients, especially your chocolate and butter, will significantly elevate your French Silk Slab Pie from simply good to absolutely extraordinary. Paying attention to details like ingredient temperature will also ensure your dessert turns out perfectly every time.
Ingredient Insights and Smart Substitutions for Your Perfect Pie
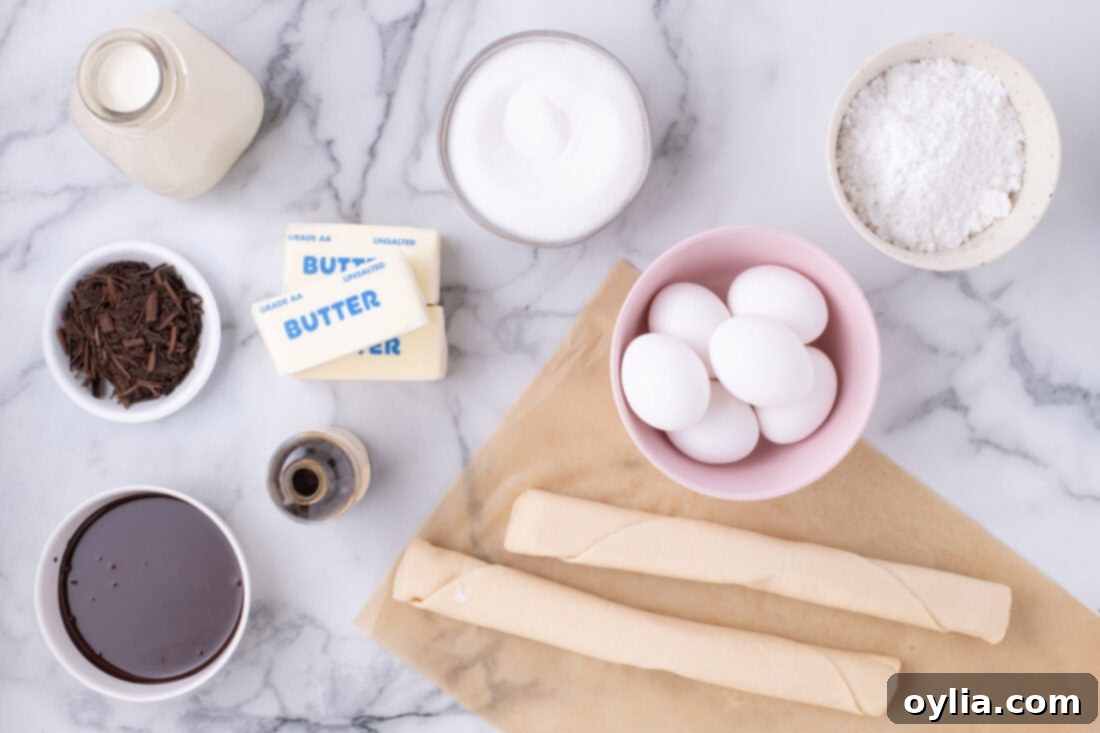
Understanding each ingredient’s unique role and knowing when and how to make thoughtful substitutions can significantly enhance your French Silk Slab Pie experience. Here’s a deeper dive into the key components:
Chocolate: The Heart of the Pie
For this recipe, we specifically call for unsweetened chocolate. This choice is vital for achieving a deep, intense chocolate flavor without excessive sweetness, allowing the other elements to shine. It’s crucial that your melted unsweetened chocolate is cool to the touch but still pourable when you add it to the butter and sugar mixture. If it’s too warm, it can partially melt the softened butter, which will negatively impact the light and airy texture we’re aiming for in the filling. If you find your melted chocolate has started to solidify or become too thick, simply place the bowl in a larger bowl of warm (not hot!) water and stir gently until it returns to a smooth, pourable consistency. A helpful tip is to melt your chocolate first, giving it ample time to cool to the correct temperature while you prepare the remaining ingredients. Also, be mindful when adding vanilla extract: if the chocolate is still hot or even warm, the alcohol content in the vanilla can cause the chocolate to “seize,” resulting in a grainy, clumpy mess. Ensure it’s cool enough to prevent this reaction.
Eggs: Temperature is Key to Texture
Using room temperature large eggs is absolutely non-negotiable for achieving a truly silky-smooth French silk filling. Cold eggs, when added to the chocolate-butter mixture, will cause the melted chocolate to solidify almost instantly, leading to a grainy or lumpy texture that is far from the desired smooth, voluminous consistency. If you’re pressed for time and your eggs are straight from the refrigerator, you can quickly bring them to room temperature by placing them in a bowl of warm (not hot!) water for about 5-10 minutes. It’s important to acknowledge that the eggs in this classic French silk recipe are not cooked. If this is a concern for you or your guests, you have a couple of excellent options: you can readily find pasteurized eggs in most grocery stores, which have been treated to eliminate bacteria, or you can even learn how to safely pasteurize eggs at home for complete peace of mind.
Butter: Softened for Superior Creaming
The success of your pie filling largely depends on using softened unsalted butter. When butter is at the ideal room temperature – typically achieved after sitting out of the fridge for about 20-30 minutes, depending on your kitchen’s warmth – it has a pliable consistency. This allows it to cream with sugar much more effectively, incorporating tiny air pockets that contribute to that wonderfully light, fluffy, and pale mixture crucial for the filling’s signature texture. Resist the temptation to rush this process by microwaving the butter; you want it soft and yielding, not melted or greasy, as melted butter will not cream properly and will negatively impact the final texture of your pie filling.
Crust: Your Foundation for Flavor
For ultimate convenience and a consistently flaky result, we enthusiastically recommend using two refrigerated pie crusts, such as the widely available Pillsbury Ready-To-Bake crusts. These pre-made crusts save significant time and effort without compromising on taste or flakiness, making your French Silk Slab Pie assembly much smoother. However, if you’re a dedicated baking enthusiast and relish the opportunity to add an extra layer of homemade goodness, a homemade pie crust can certainly be substituted. It adds a wonderful depth of flavor and a truly personal touch. Alternatively, for a fun, extra-chocolatey twist that’s sure to be a hit, you can easily transform this recipe with a chocolate Oreo cookie crust. To do this, simply crush about 30 Oreo cookies (including the creamy filling), mix them thoroughly with 6 tablespoons of melted butter, press the mixture firmly into your jelly roll pan, and chill it for at least 30 minutes before adding the chocolate filling. This substitution offers a delightful crunch and an intensified chocolate flavor that perfectly complements the silky filling.
Step-by-Step Guide: Crafting Your Decadent French Silk Slab Pie
These step-by-step photos and detailed instructions are here to guide you through every stage of making this decadent dessert. For the complete printable recipe, including exact ingredient measurements, precise cooking times, and a convenient list of all necessary equipment, please scroll down to the recipe card at the bottom of this post. You can also Jump to Recipe now to access the full printable version.
Preparing the Perfect Pie Crust
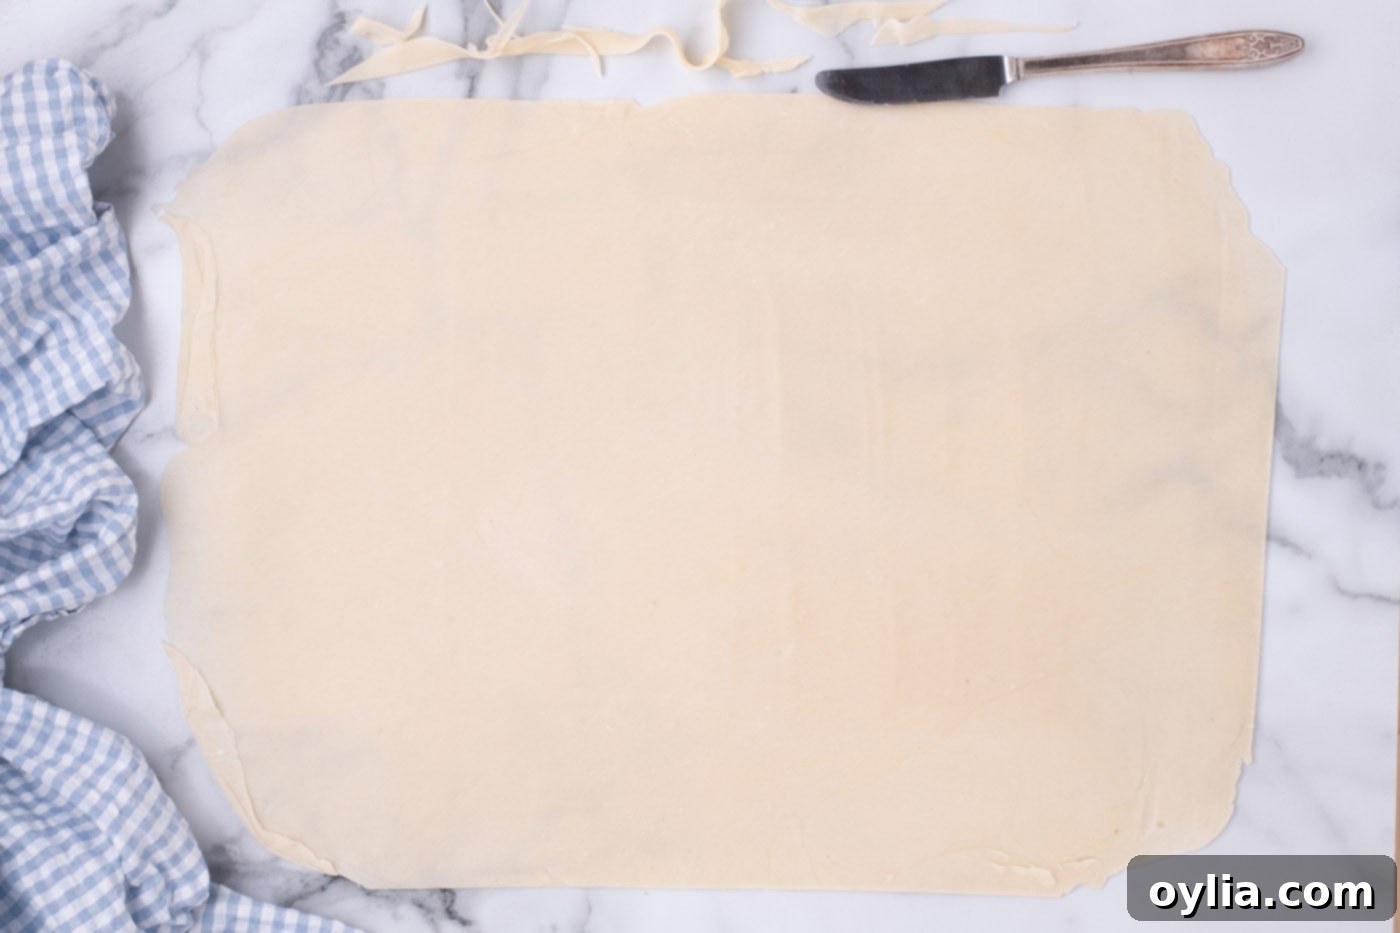
- Combine and Roll Dough: Carefully unroll both refrigerated pie dough circles and place them slightly overlapping on a lightly floured countertop or a large piece of parchment paper. Using a rolling pin, roll them out together, firmly but gently, to form a rough rectangular shape. Your goal is to create a large rectangle that is approximately 2 inches larger in both length and width than your jelly roll pan. This extra dough will be essential for creating the pie’s edges.
- Form the Rectangle and Patch: With a sharp knife or pastry wheel, carefully trim any irregular excess dough along the edges to create a neater rectangular shape. Do not discard these scraps! Use these trimmed pieces to fill in any thinner spots or small gaps within your rolled-out dough. Press them firmly into place, ensuring a uniform thickness across the entire crust. This meticulous step provides a sturdy and consistent base for your slab pie, preventing any weak points.

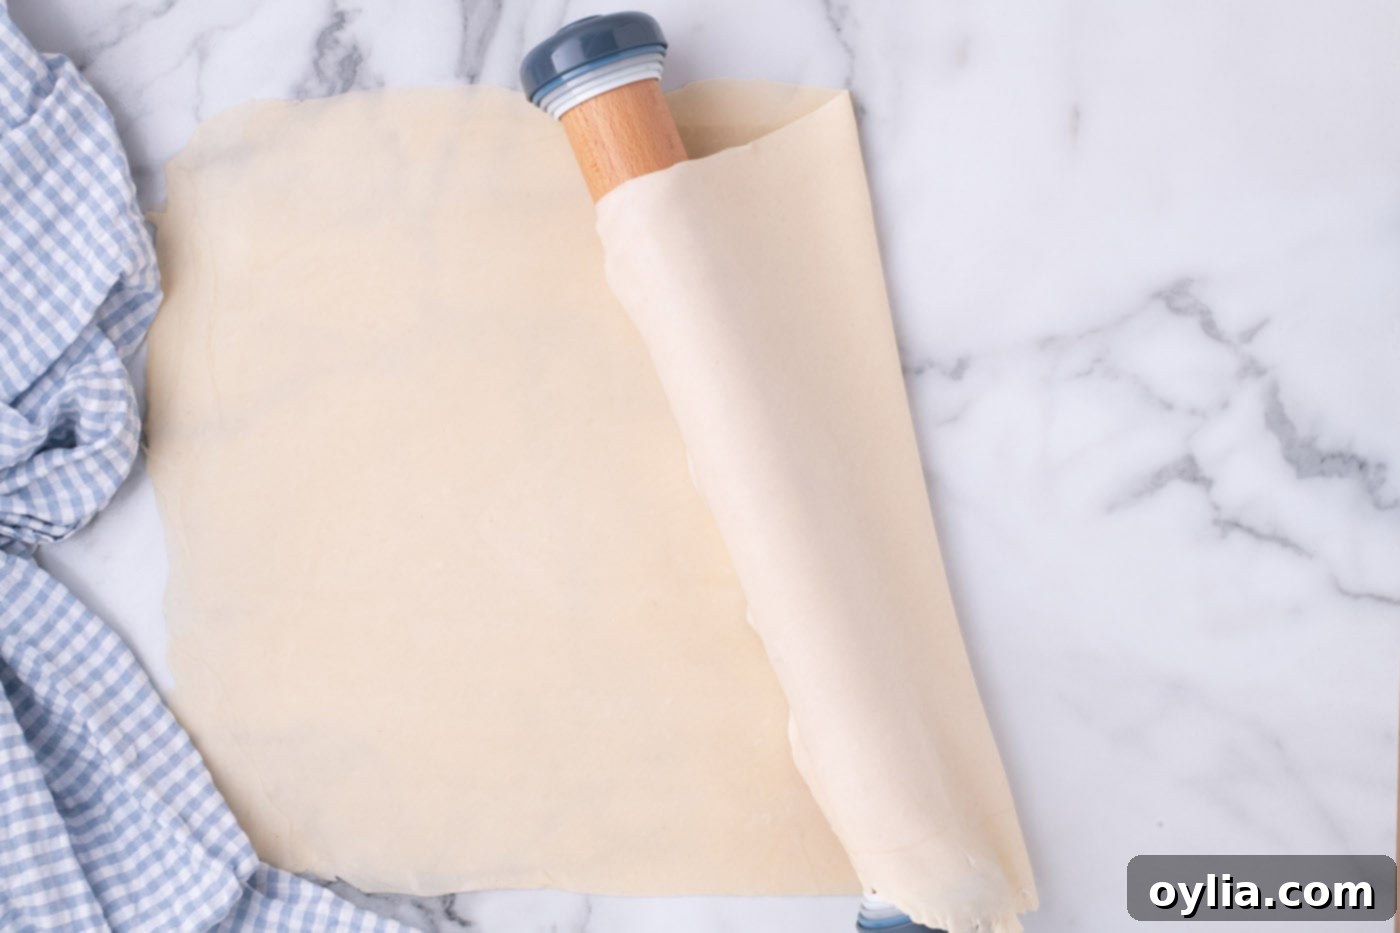
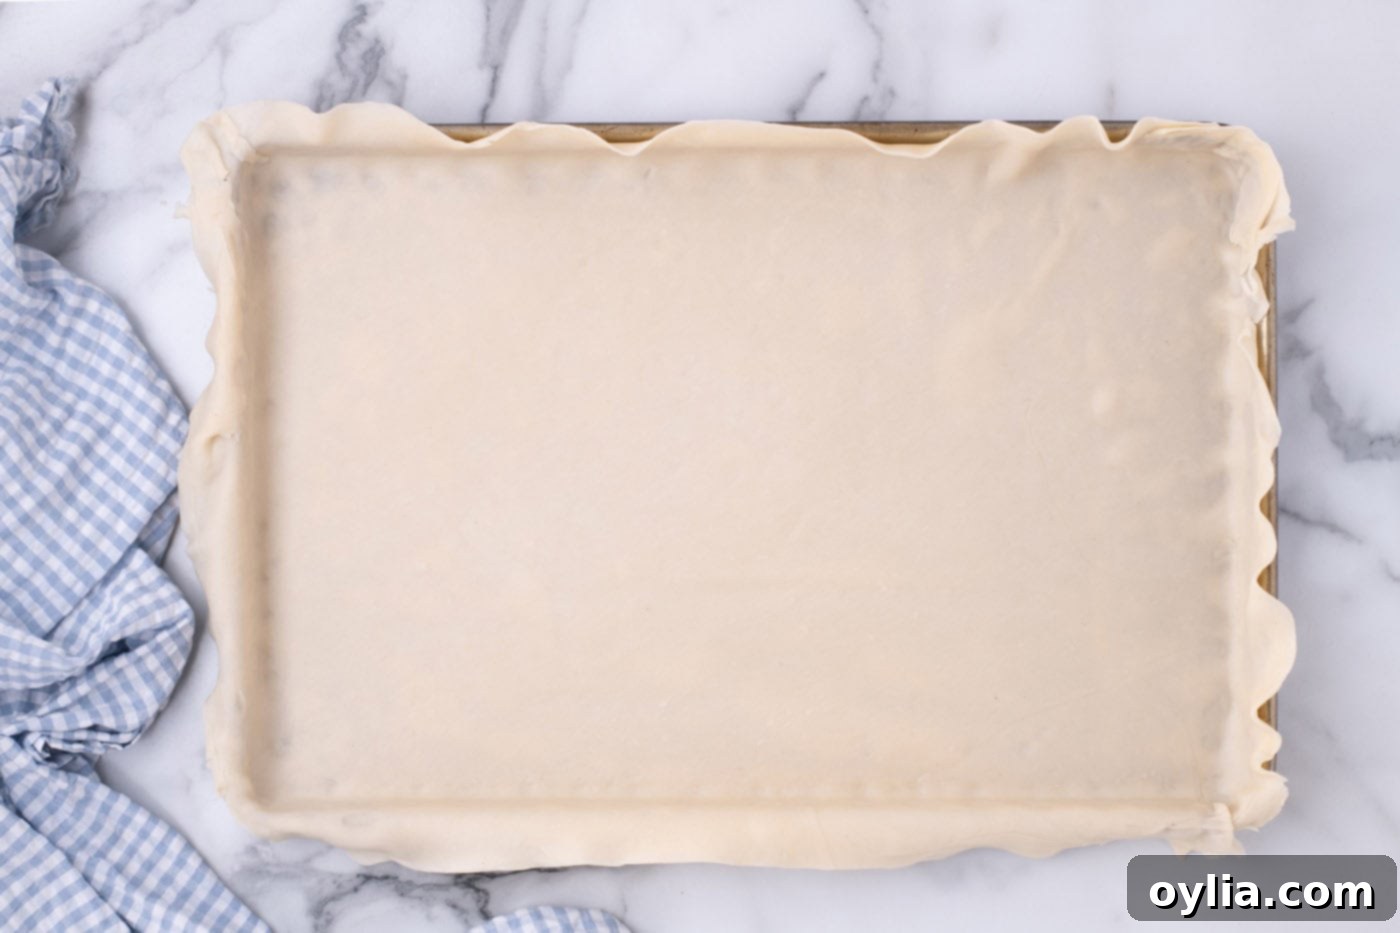
The pie dough meticulously shaped into a rectangle, perfectly sized for your sheet pan. - Transfer to Pan with Care: Gently drape the large rectangular pie dough over your rolling pin. This clever technique provides support and makes it significantly easier to transfer the delicate dough without tearing or stretching it unevenly. Carefully unroll it over your jelly roll pan, lightly pressing it into place in all the corners and up the sides. Ensure an even fit to create a solid, well-structured foundation for your French Silk Slab Pie.

The gentle process of transferring the pie dough to the sheet pan. 
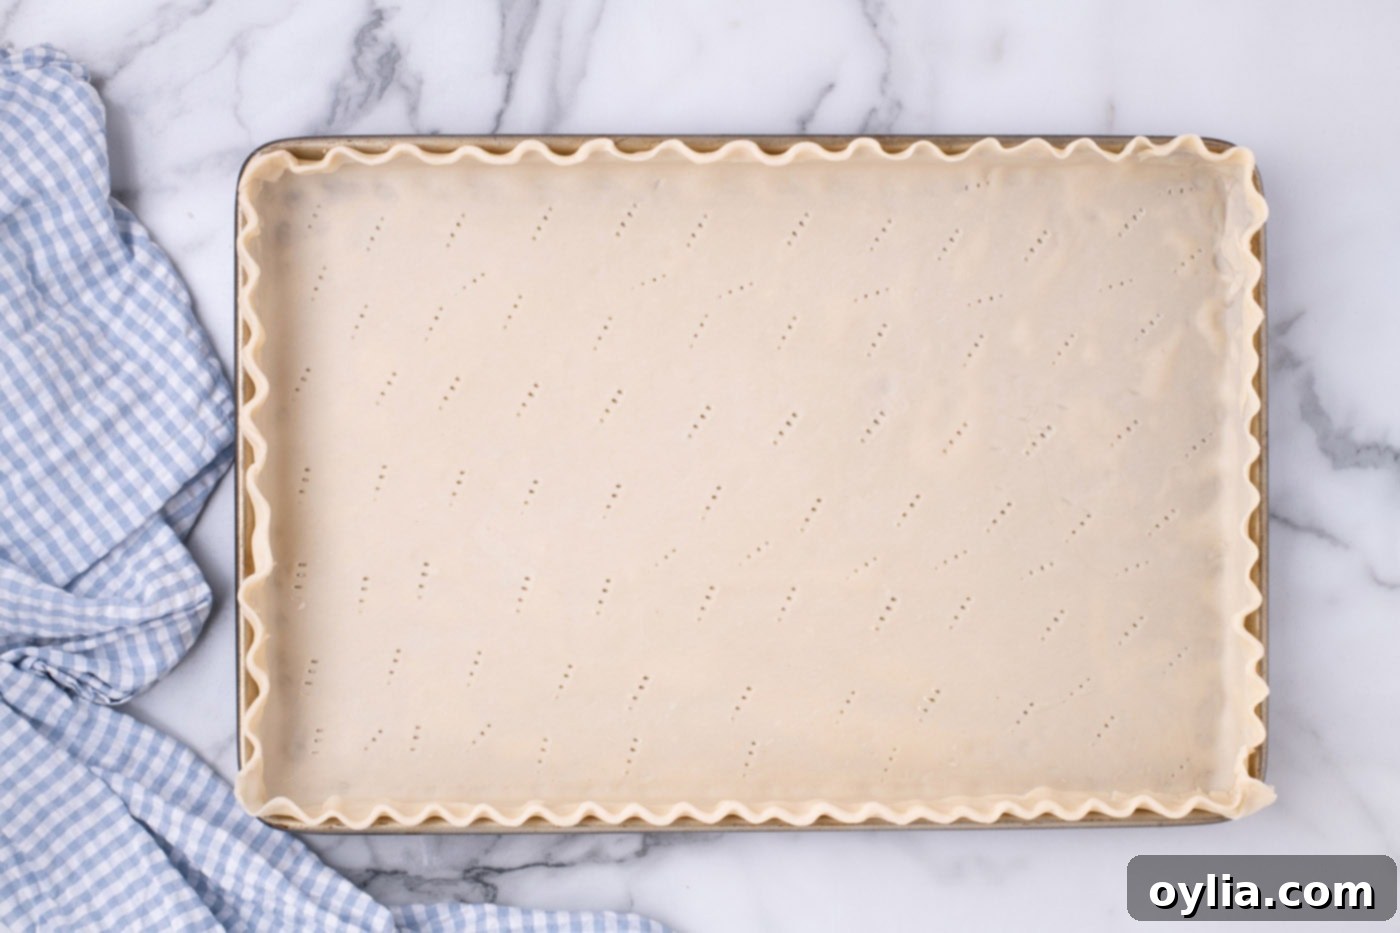
The pie crust perfectly nestled in the jelly roll pan, forming a flawless base. - Crimp Edges and Prick: To create a slightly thicker and more stable rim, fold any excess dough back over onto itself along the edges of the pan. Using a fork, prick the bottom of the crust all over with even perforations. This essential step, known as docking, helps prevent the crust from puffing up excessively and becoming uneven during baking. For those who enjoy an aesthetic touch, you can create a classic fluted edge by gently pinching along the outer edges of the dough between your thumb and two index fingers, creating a beautiful wavy pattern.

The beautifully prepared crust with fluted edges, awaiting its blind bake. - Preheat Oven: Preheat your oven to a precise 450°F (230°C). Accurate oven temperature is vital for a perfectly baked crust.
- Chill Dough for Stability: Place the prepared pie dough in the freezer for approximately 20 minutes. This crucial chilling step helps to firm up the butter within the dough, which in turn prevents the crust from shrinking excessively during baking. The result is a wonderfully flaky, crisp, and stable crust. While the dough chills, you’ll have the perfect window to begin preparing your luscious chocolate filling.
Creating the Silky French Silk Chocolate Filling
- Cream Butter and Sugar: In the clean bowl of a stand mixer fitted with the whisk attachment (or a large bowl with a hand mixer), combine the softened unsalted butter and granulated sugar. Beat them together at high speed for a generous 6-7 minutes. This extended beating time is absolutely crucial; it whips a significant amount of air into the mixture, transforming it into a light, incredibly fluffy, and notably paler mixture that should almost resemble whipped cream in texture and color. Do not shortchange this step! Periodically stop the mixer and scrape down the sides of the bowl with a soft silicone spatula to ensure all ingredients are thoroughly combined and no uncreamed butter or sugar remains stuck to the bowl.
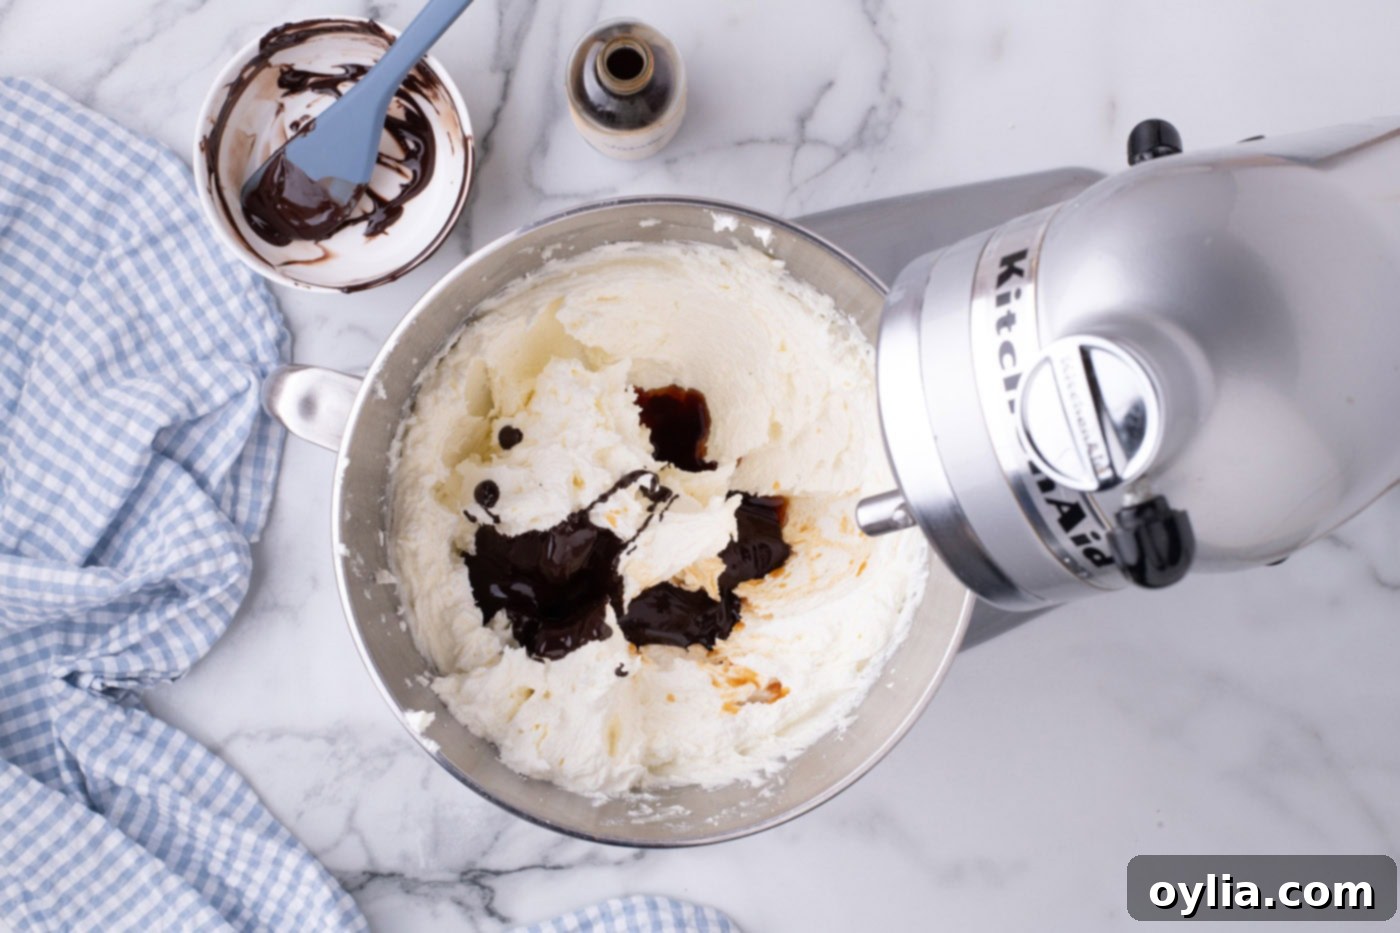
- Add Cooled Chocolate and Vanilla: Reduce the mixer speed to low, then slowly pour in the cooled melted unsweetened chocolate and the pure vanilla extract. Continue beating until these rich ingredients are fully and smoothly incorporated into the butter mixture. Again, scrape the sides of the bowl as needed to ensure no streaks of unmixed chocolate remain. The mixture should be uniform in color and consistency.

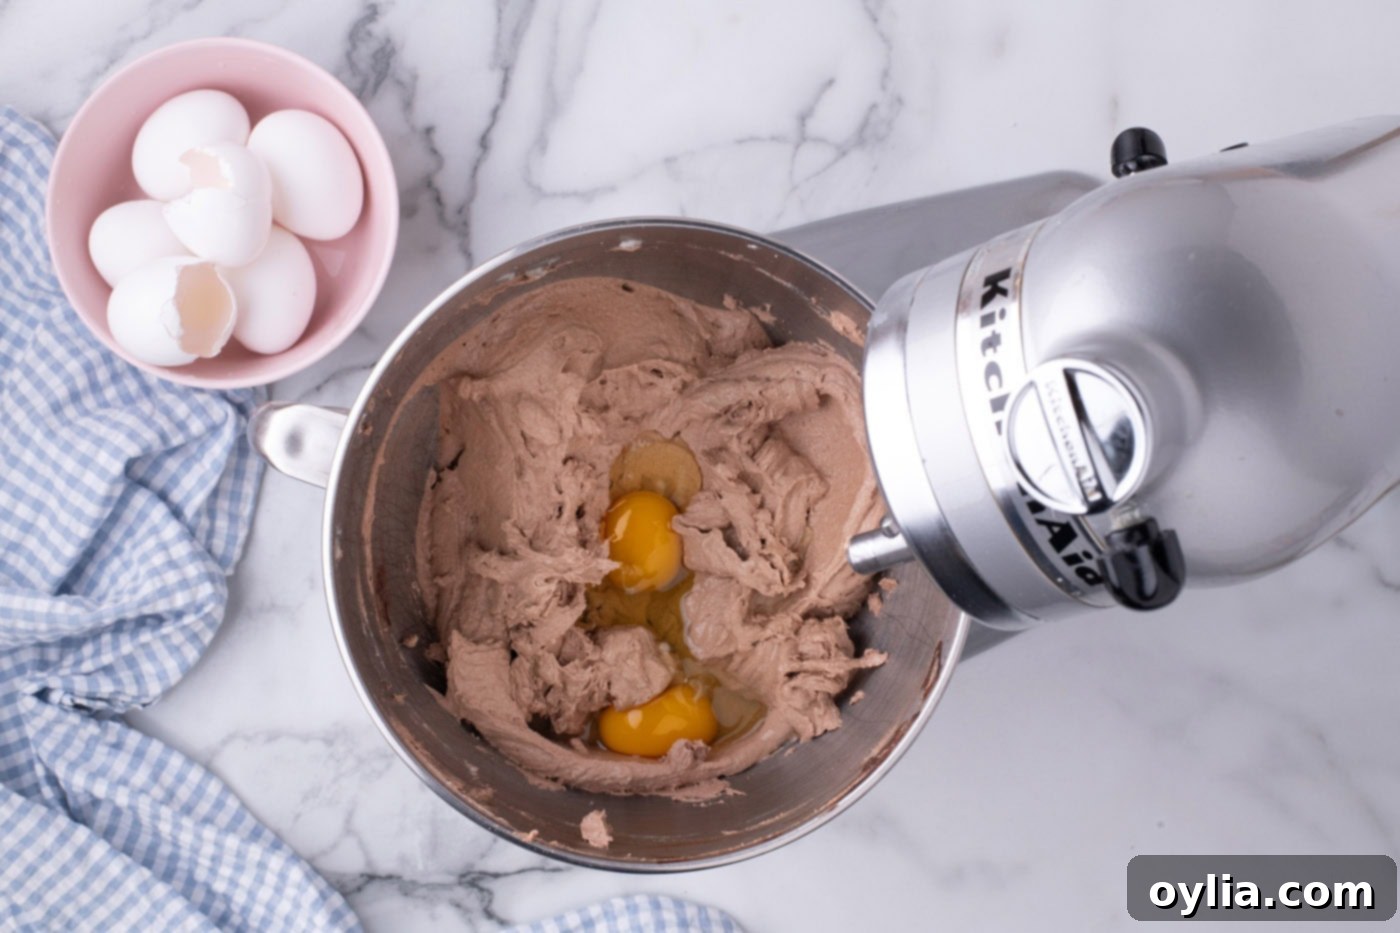
The smooth, rich chocolate mixture forming beautifully in the stand mixer. - Incorporate Eggs Gradually: Increase the mixer speed to medium-high. Add the room temperature eggs, two at a time, and beat for a full 5 minutes after each addition. This extensive and gradual beating is vital for two key reasons: firstly, it further aerates the mixture, contributing significantly to that signature light, airy, and fluffy French silk texture. Secondly, and equally important, it allows sufficient time for the sugar granules to fully dissolve, effectively preventing any potential graininess in your finished filling. The final mixture should be beautifully smooth, light, and noticeably voluminous – a testament to proper aeration and ingredient incorporation.

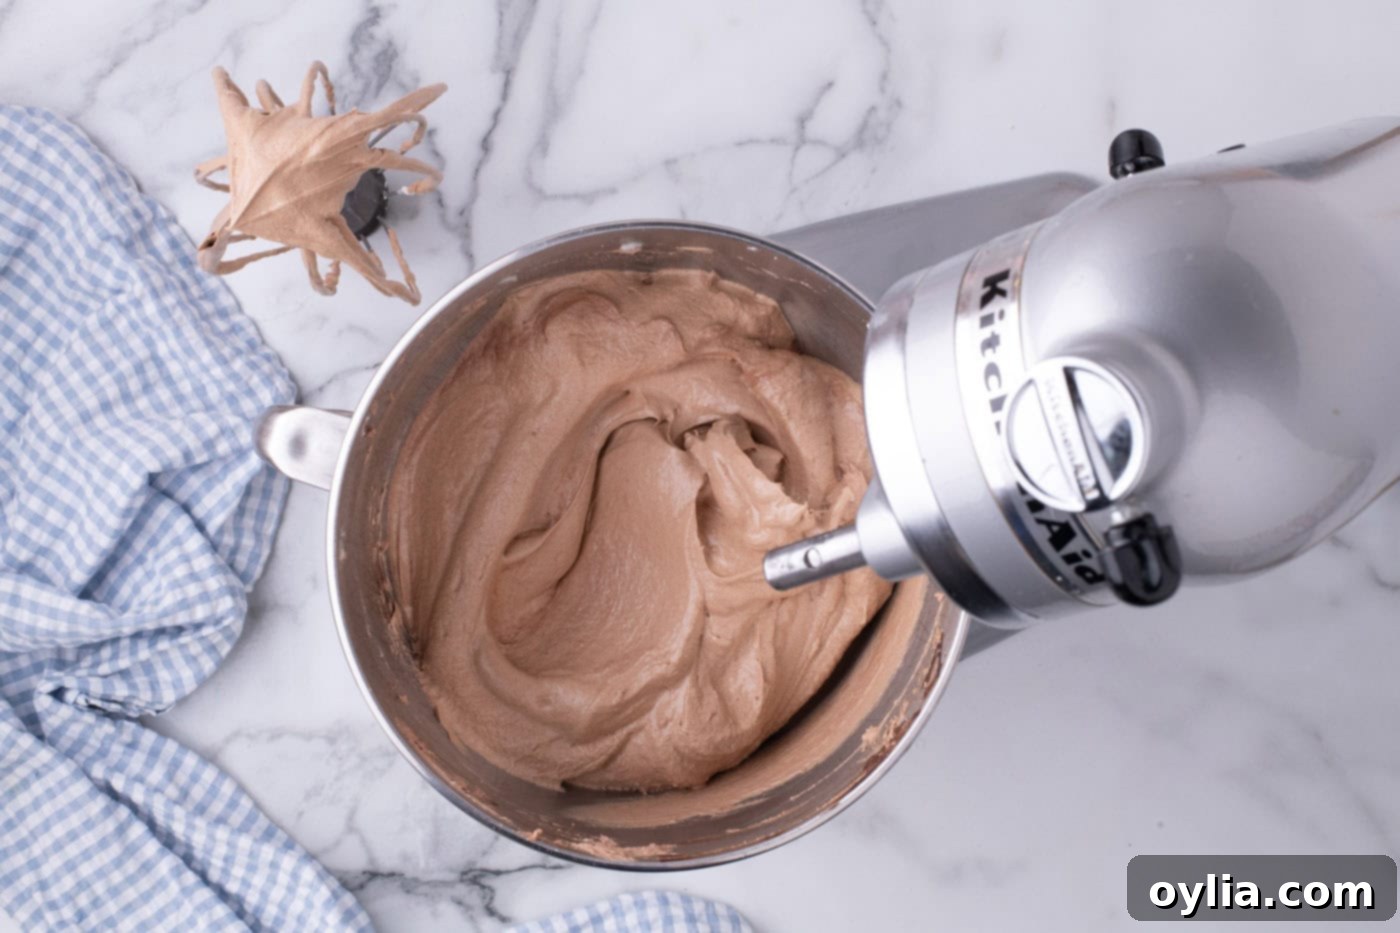
Eggs being carefully added and mixed to create a smooth, voluminous filling. 
The perfectly whipped French silk filling, airy and ready for its home in the crust.
Assembling and Finishing Your Masterpiece: The French Silk Slab Pie
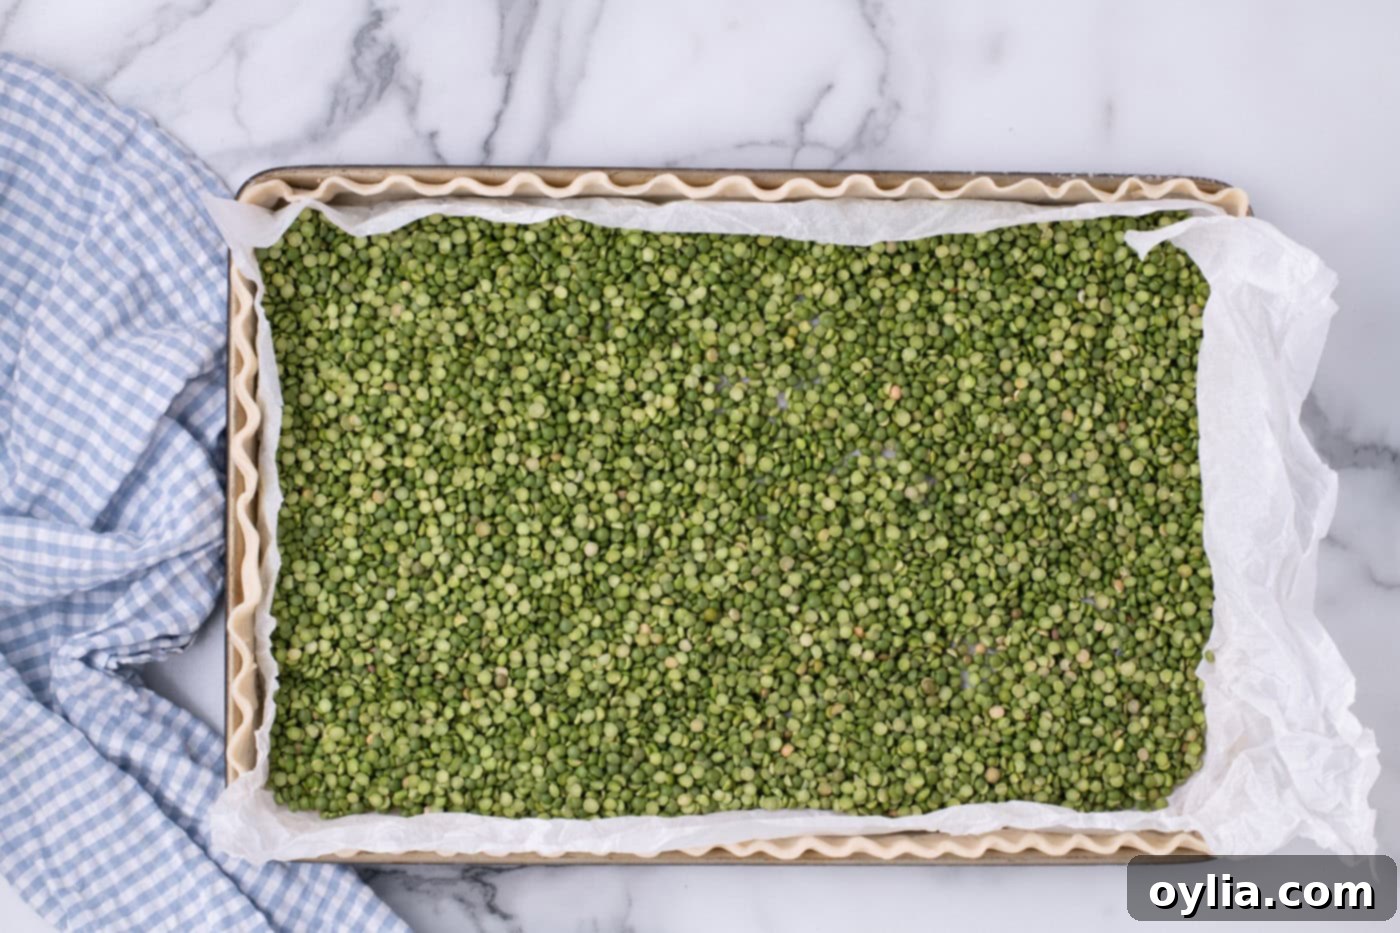
- Blind Bake the Crust: Retrieve the chilled pie crust from the freezer. Line it carefully with a piece of crumpled parchment paper. EXPERT TIP: Crumpling the parchment paper first helps it soften and conform much more easily and precisely to the corners and curves of your pan, ensuring even baking and full coverage for your pie weights. Fill the parchment-lined crust with pie weights (ceramic or metal beads designed for this purpose) or dried beans. This crucial “blind baking” technique prevents the pie crust from shrinking excessively, bubbling up, or becoming uneven during its initial bake, guaranteeing a perfectly flat and stable base for your filling.

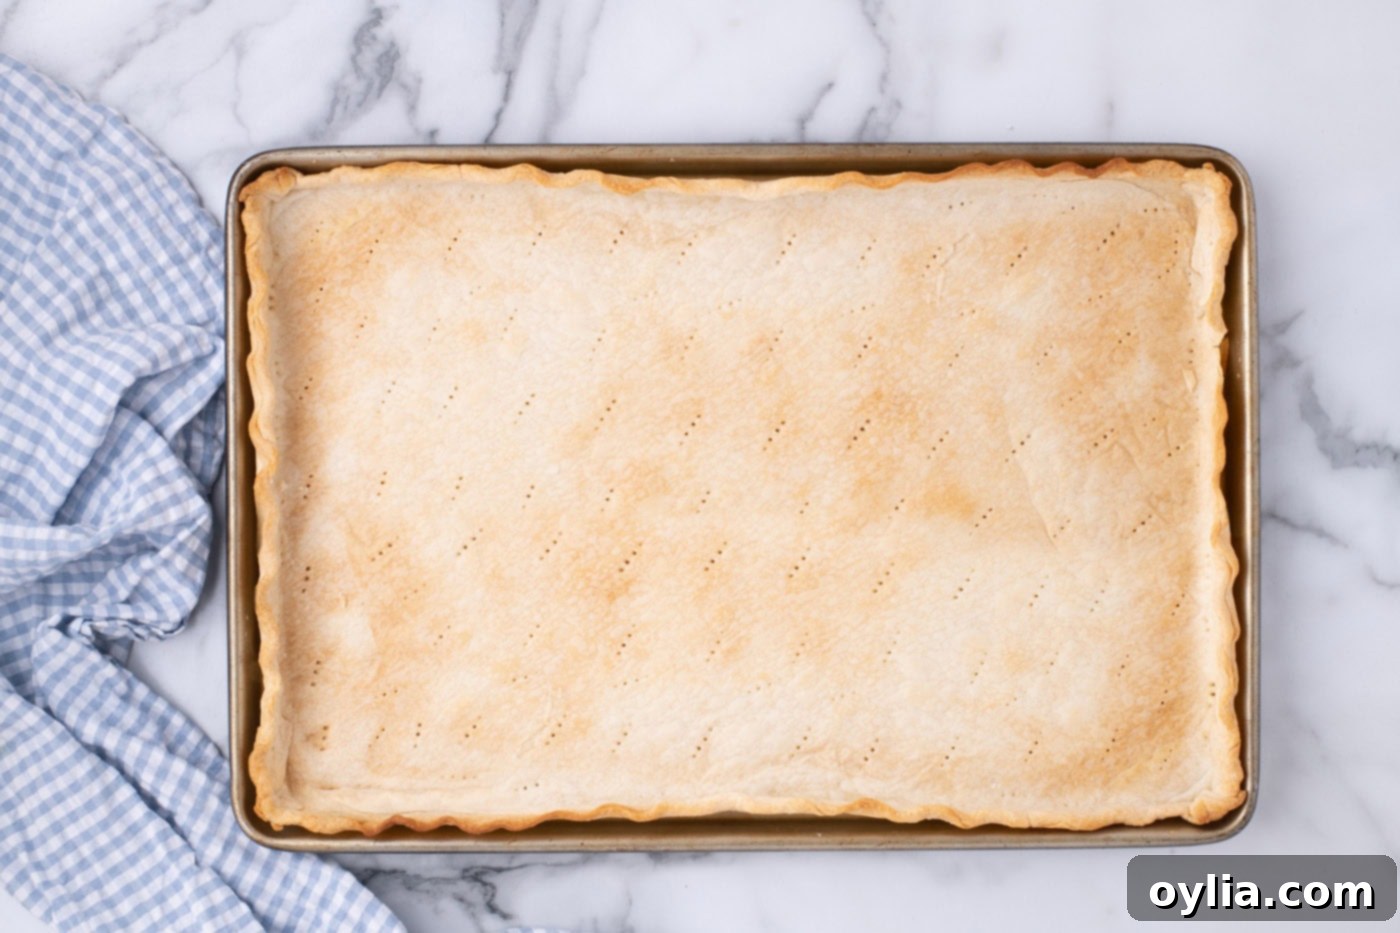
The pie crust, weighted and perfectly prepared for its first bake in the oven. - Complete Crust Baking: Bake the pie crust in the preheated oven for approximately 8-10 minutes, or until you observe the edges beginning to turn a beautiful light golden color. At this point, carefully remove the pie weights and the parchment paper. Continue baking the crust for an additional 5 minutes until the base of the crust is thoroughly cooked through and also lightly golden. This ensures a crisp, firm base that will hold up perfectly against the moist, rich filling and prevent any dreaded sogginess. Once baked to perfection, transfer the crust to a wire rack to cool completely before proceeding.

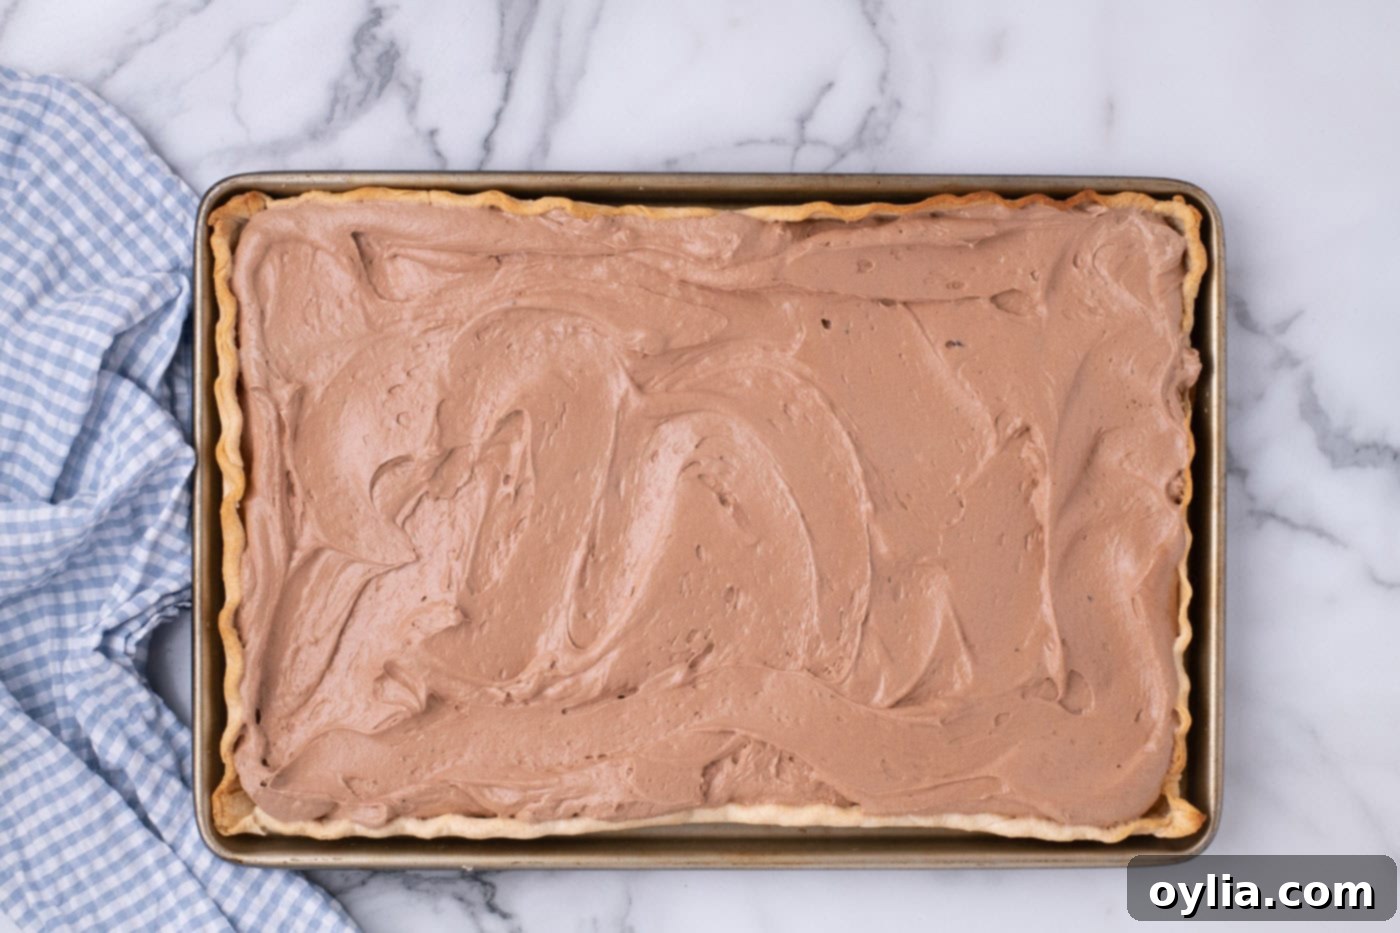
The perfectly baked and cooled pie crust, ready for its decadent filling. - Fill and Chill Thoroughly: Once your pie crust has cooled completely to room temperature, spoon the magnificent chocolate filling evenly into it. Use an offset spatula to gently spread and smooth the top of the filling, creating a pristine and inviting surface. This pie requires substantial chilling time for the chocolate filling to properly set and achieve its signature firm, yet wonderfully silky-smooth, texture. Place the entire pie in the refrigerator for a minimum of 2 hours. However, for truly optimal results and an absolutely perfect, sliceable set, we highly recommend chilling it for 12-24 hours. This extended make-ahead step is one of the reasons this slab pie is such a phenomenal option for entertaining!

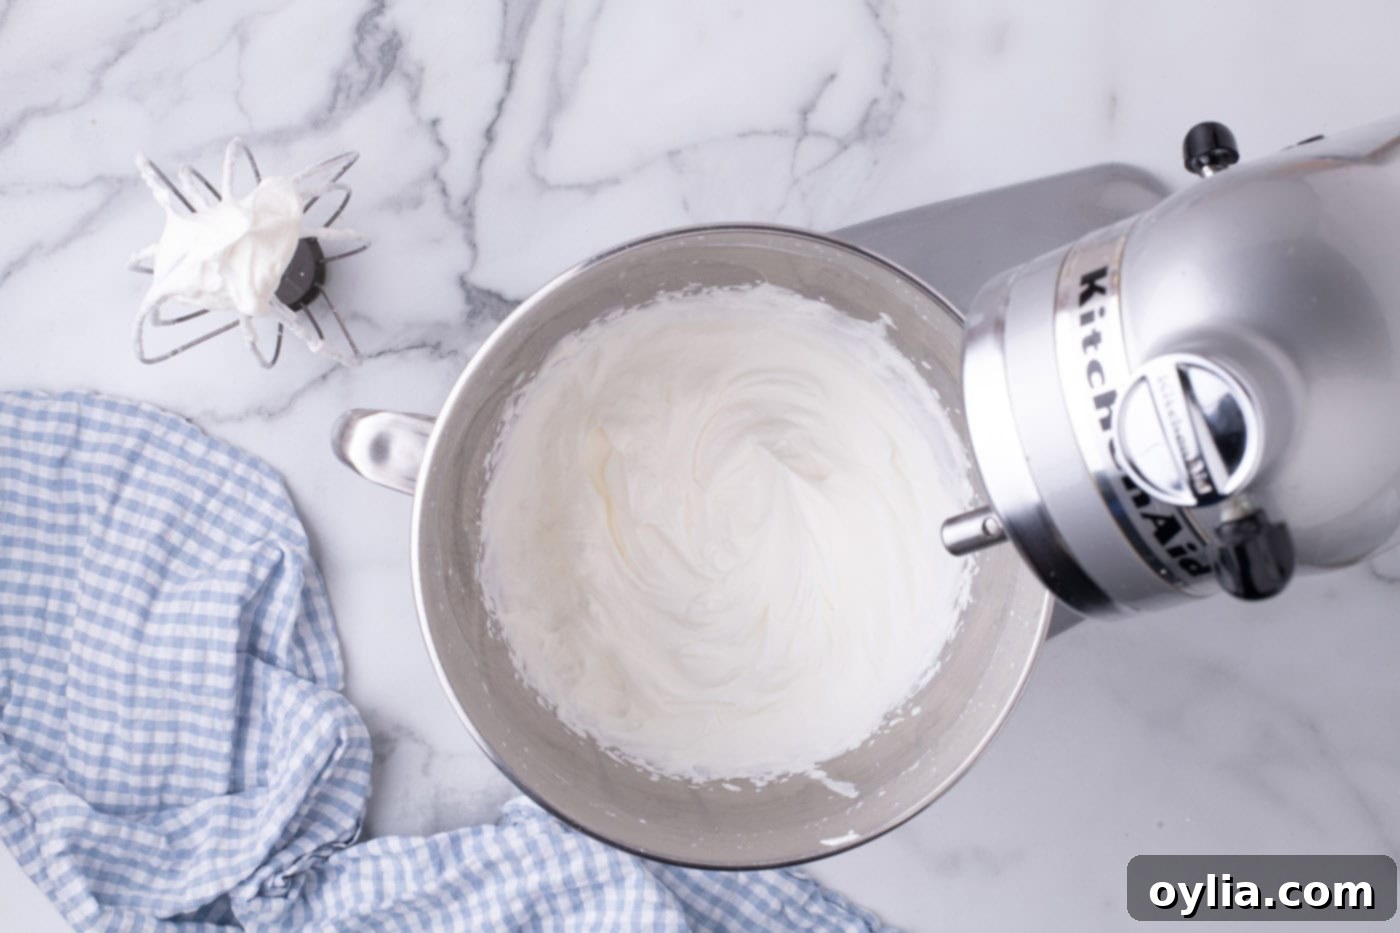
The rich chocolate filling evenly spread in the crust, awaiting its crucial chilling time. - Prepare Whipped Cream Topping (Just Before Serving): For the freshest, lightest, and most stable whipped topping, it’s best to prepare it right before you plan to serve the pie. Pour the thoroughly chilled heavy cream into the clean bowl of your stand mixer. Begin beating on low speed until small, frothy bubbles start to appear on the surface of the cream.
- Whip to Stiff Peaks: Add the powdered sugar to the frothy cream, then increase the mixer speed to high. Continue beating until soft peaks begin to form – this is when you lift the whisk, and the peaks gently curl over. At this precise point, reduce the speed to medium-high and continue beating for just another 10-15 seconds, or until stiff peaks form. Stiff peaks will hold their shape firmly and stand upright when the whisk is lifted. Exercise extreme caution not to over-beat the cream, as whipped cream can quickly turn grainy and eventually separate into butter if beaten for too long.

Freshly whipped cream, perfectly textured and ready to crown your pie. - Garnish and Serve Immediately: Spoon or dollop the freshly whipped cream generously over the set chocolate layer. You can spread it smoothly with an offset spatula for a sleek finish, or create beautiful peaks and swirls for a more rustic and inviting look. The final touch is a delicate sprinkling of finely shaved unsweetened chocolate. This adds an elegant visual appeal, a subtle textural contrast, and an extra burst of chocolate flavor. Slice and serve your spectacular French Silk Slab Pie immediately for the ultimate dessert experience!

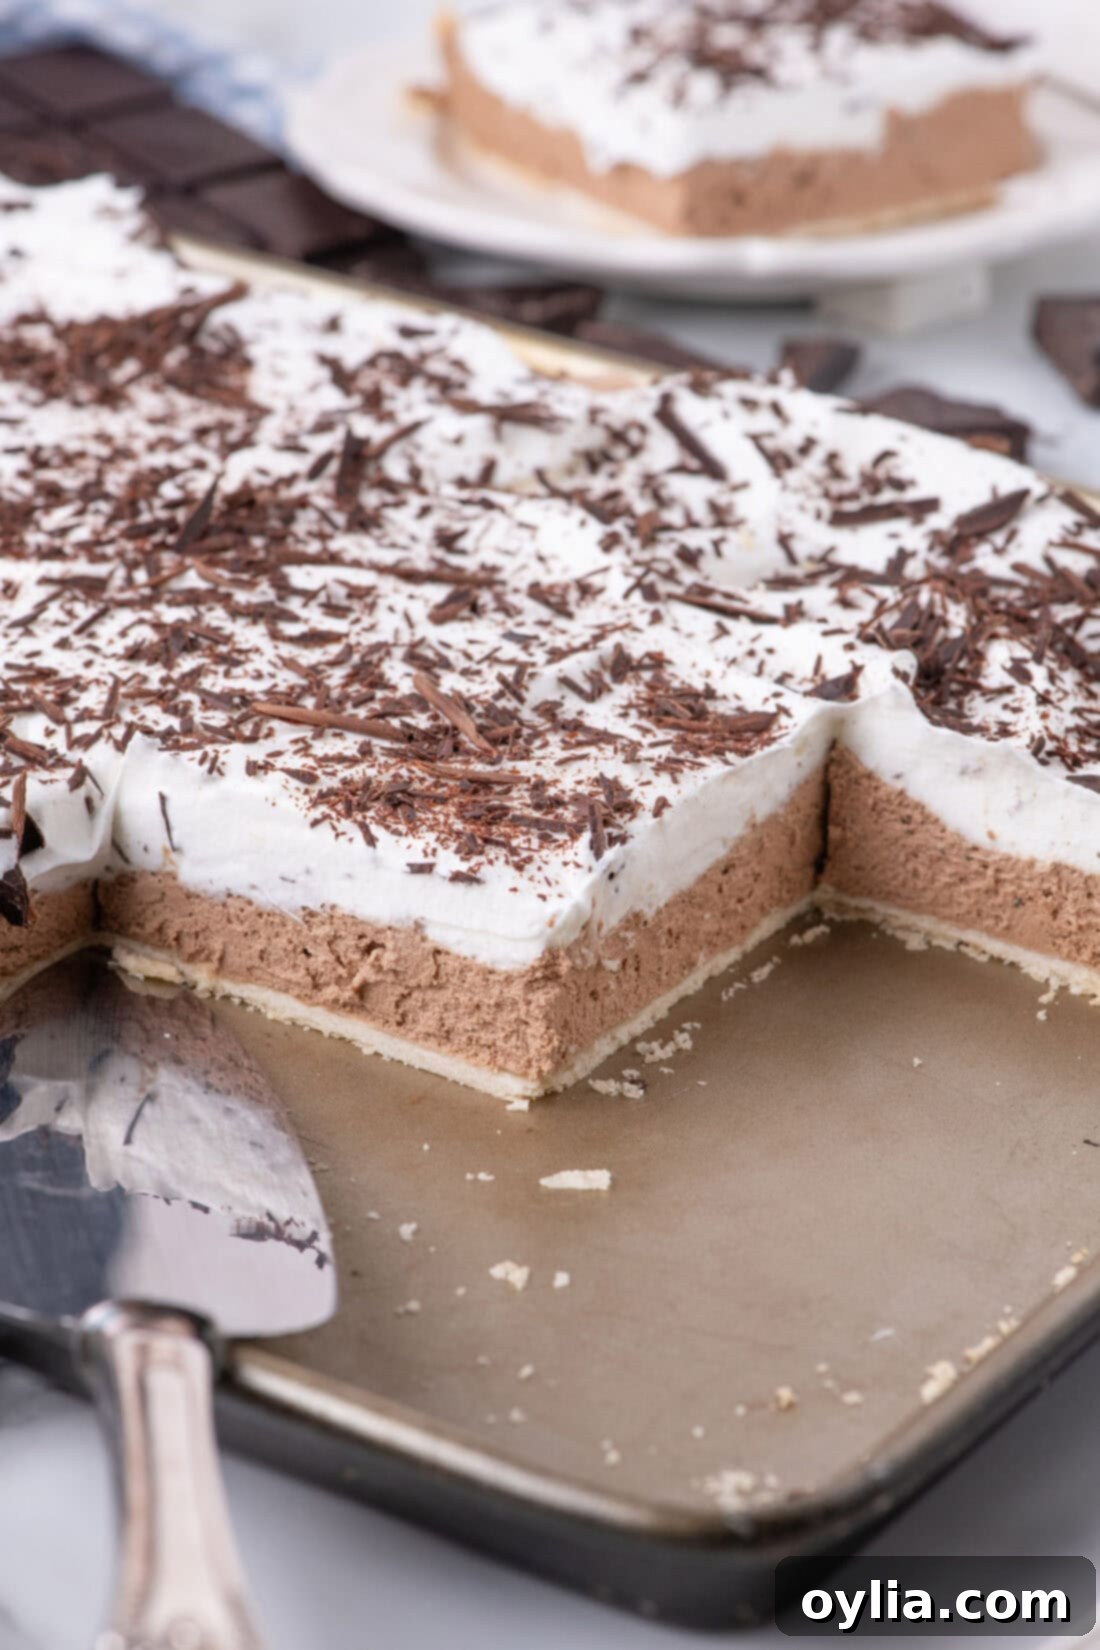
The magnificent French Silk Slab Pie, beautifully garnished and ready to be devoured!
Frequently Asked Questions & Expert Tips for French Silk Slab Pie Success
Yes, absolutely! In fact, we highly recommend making this delicious pie a full day ahead of time. This extended chilling period is crucial as it allows the creamy chocolate filling ample time to set up perfectly in the refrigerator, ensuring a firm yet silky texture when sliced. For the best presentation and to maintain optimal texture, it is advisable to hold off on adding the whipped topping until just before you plan to serve the pie. This prevents the whipped cream from “weeping” (releasing liquid) as it sits in the fridge, keeping it fresh, fluffy, and visually appealing. The pie, without the whipped topping, can be prepared up to 2 days in advance, offering fantastic flexibility and convenience for your party planning or holiday preparations.
A grainy filling can be a common concern for bakers, but it’s usually easily remedied or prevented with proper technique. The primary cause of graininess in French silk pie filling is typically undissolved sugar granules. If you observe that your pie filling looks a bit grainy during the mixing process, there’s no need to fret! Simply continue beating it at high speed for several more minutes (aim for the recommended 6-7 minutes during the initial butter and sugar creaming, and ensure that ample beating time is given between each egg addition). This extended beating helps to thoroughly dissolve the sugar and incorporate more air, which is essential for achieving that light and fluffy texture. Furthermore, chilling the pie overnight in the refrigerator is a crucial step, as the sugar granules will continue to dissolve as the pie sets and firms up, ultimately leading to a perfectly smooth and luxurious finish. This is another excellent reason why preparing the pie a day in advance is highly beneficial!
To ensure any delicious leftover French Silk Slab Pie remains as fresh and enjoyable as possible, it should be stored promptly in a single layer within an airtight container. Place the container in the refrigerator. This protective storage method not only shields the pie from absorbing unwanted refrigerator odors but also prevents the crust from drying out and the filling from hardening unevenly. For optimal taste and texture, it’s best to consume the pie within 3 days. Beyond this timeframe, the delicate pie crust may begin to absorb moisture and become soggy, and the whipped cream could start to weep, thereby compromising the overall quality and delightful experience of this delicate dessert.
Yes, this delightful French Silk Slab Pie freezes beautifully, allowing you to enjoy it much later! To freeze it effectively and preserve its quality, first, cut the entire pie into individual slices, as this makes thawing and serving much easier. Arrange these slices in a single layer on a waxed paper-lined cookie sheet, ensuring that they do not touch each other. Flash freeze them for a few hours, or until they are completely solid. Once the slices are thoroughly frozen, remove them from the cookie sheet and wrap each one tightly, first in plastic wrap, and then again in aluminum foil. This double wrapping helps to prevent freezer burn and maintains the pie’s fresh taste and texture. Place the securely wrapped slices into a large freezer-safe bag or an airtight container. When you’re ready to indulge, remove a slice from its plastic and foil wrapping and allow it to thaw at room temperature for approximately 30-60 minutes if you plan to enjoy it fairly soon. Alternatively, you can thaw individual slices in the refrigerator, but this method will take significantly longer – typically a full day – to achieve the perfect, creamy consistency. For the best experience, add fresh whipped cream after thawing.
Elegant Serving Suggestions for Your French Silk Slab Pie
Your beautifully crafted French Silk Slab Pie is already a showstopper, but with a few thoughtful touches, you can make it even more irresistible and visually stunning. Always serve your pie thoroughly chilled; this ensures the chocolate filling remains firm, smooth, and slices cleanly, creating appealing portions. The classic and most elegant finishing touch is a generous sprinkle of delicate chocolate shavings over the whipped topping. These not only add visual appeal but also provide a pleasant textural contrast to the soft cream and silky filling.
For an extra flourish, consider dusting the whipped topping with a light cocoa powder for added depth, or arrange a few fresh raspberries or strawberries artfully around or on top of each slice. The vibrant colors and subtle tartness of berries beautifully cut through the richness of the chocolate, creating a balanced and sophisticated flavor profile. As mentioned earlier, the slab pie format is truly a gift for holidays and large parties. Instead of juggling two or three traditional round pies, you have one impressive, easily portioned dessert that feeds a large crowd effortlessly. It’s ideal for Thanksgiving, Christmas, Easter, or any large family gathering where dessert is a focal point, allowing you more time to enjoy the company of your guests instead of worrying about dessert logistics.
Explore More Delicious Slab Pie Recipes
If you’ve fallen in love with the convenience, ease of serving, and generous portions that slab pies offer, you’re in for a treat! This versatile sheet pan format works wonderfully for a myriad of classic and contemporary pie flavors, making it perfect for feeding a crowd with minimal fuss. Expand your dessert repertoire and delight your guests with these other fantastic slab pie recipes:
- Apple Slab Pie: A timeless classic that captures the comforting flavors of fall, perfect for large gatherings.
- Cherry Slab Pie: Sweet, tart, and bursting with vibrant fruit flavor, this is a cheerful dessert for any season.
- Pumpkin Slab Pie: The ultimate holiday dessert, reimagined in a convenient sheet pan for effortless serving.
- Strawberry Slab Pie: Packed with fresh berry goodness, this light and refreshing option is ideal for spring and summer events.
- Key Lime Slab Pie: Tangy, zesty, and delightfully refreshing, this bright dessert is always a hit for those who love a citrusy kick.
I absolutely love to bake and cook, and sharing my kitchen experiences and successful recipes with all of you brings me immense joy! Remembering to come back each day to check for new culinary delights can be tough amidst busy schedules, which is why I offer a convenient newsletter service. Each time a new, delicious recipe is posted on the blog, you’ll receive it directly in your inbox. Simply subscribe here and start receiving your free daily recipes, ensuring you never miss out on your next favorite dish!
French Silk Slab Pie
IMPORTANT – There are often Frequently Asked Questions within the blog post that you may find helpful. Simply scroll back up to read them!
Print It
Pin It
Rate It
Save ItSaved!
Ingredients
- 14.1 ounce refrigerated pie crusts two 7.05 ounce crusts. We used Pillsbury
- 1 ½ cups unsalted butter softened. 339g
- 2 ¼ cup granulated sugar 446g
- 3 ounces unsweetened chocolate melted and cooled. 85g
- 3 teaspoons pure vanilla extract
- 6 large eggs at room temperature
- 2 ½ cups heavy whipping cream chilled. 568mL
- 2 ½ Tablespoons powdered sugar
Garnish
- 1 ounce unsweetened chocolate shaved
Things You’ll Need
-
Jelly roll pan
-
Rolling pin
-
Stand mixer or hand mixer
-
Pie weights or dried beans
Before You Begin
- I highly recommend making this pie a day ahead of time. This way the pie has plenty of time to set up in the refrigerator. Hold off on the whipped topping until just before serving so it does not weep as it sits in the fridge. The pie can be prepared up to 2 days in advance if you need even more time.
- Your pie filling may look grainy when mixing in the bowl, simply beat it for several minutes until light and fluffy, about 6-7 minutes. The cause of graininess in your French silk pie filling is due to the sugar granules, which will melt while chilling overnight in the refrigerator. That is why I suggest making it a day in advance!
- The melted unsweetened chocolate should be cool when adding it to the butter/sugar mixture, but still pourable. If it has started to solidify, place the bowl in warm water, and stir until soft again. I usually melt the chocolate first so it’s cool by the time I need to add it to the filling in the mixer. If you add vanilla to hot or warm melted chocolate it may seize up.
- Make sure the eggs are at room temperature, you can speed up the process by letting them sit in a bowl of warm water (not hot water) if needed. If cold eggs are added to the chocolate mixture, it could solidify the chocolate causing the filling to become grainy.
- The butter should be softened, which means removing it from the fridge and letting it sit at room temperature for about 20-30 minutes.
- We used two refrigerated pie crusts, the Pillsbury Ready-To-Bake crusts to be exact.
Instructions
-
Place both pie dough circles on top of each other and roll them out to form a rough rectangular shape.14.1 ounce refrigerated pie crusts
-
Trim excess dough along the edges and fill in any gaps with the scraps to form a rectangular shape 2 inches larger (in length and width) than the jelly roll pan.
-
Drape the pie dough over the rolling pin and transfer it to the pan, lightly pressing it into place in the corners and sides.
-
Fold any excess dough back over onto itself and prick the bottom with a fork.
If you want to create
