Ultimate Fudgy Peanut Butter Swirl Brownies: Your New Favorite Dessert
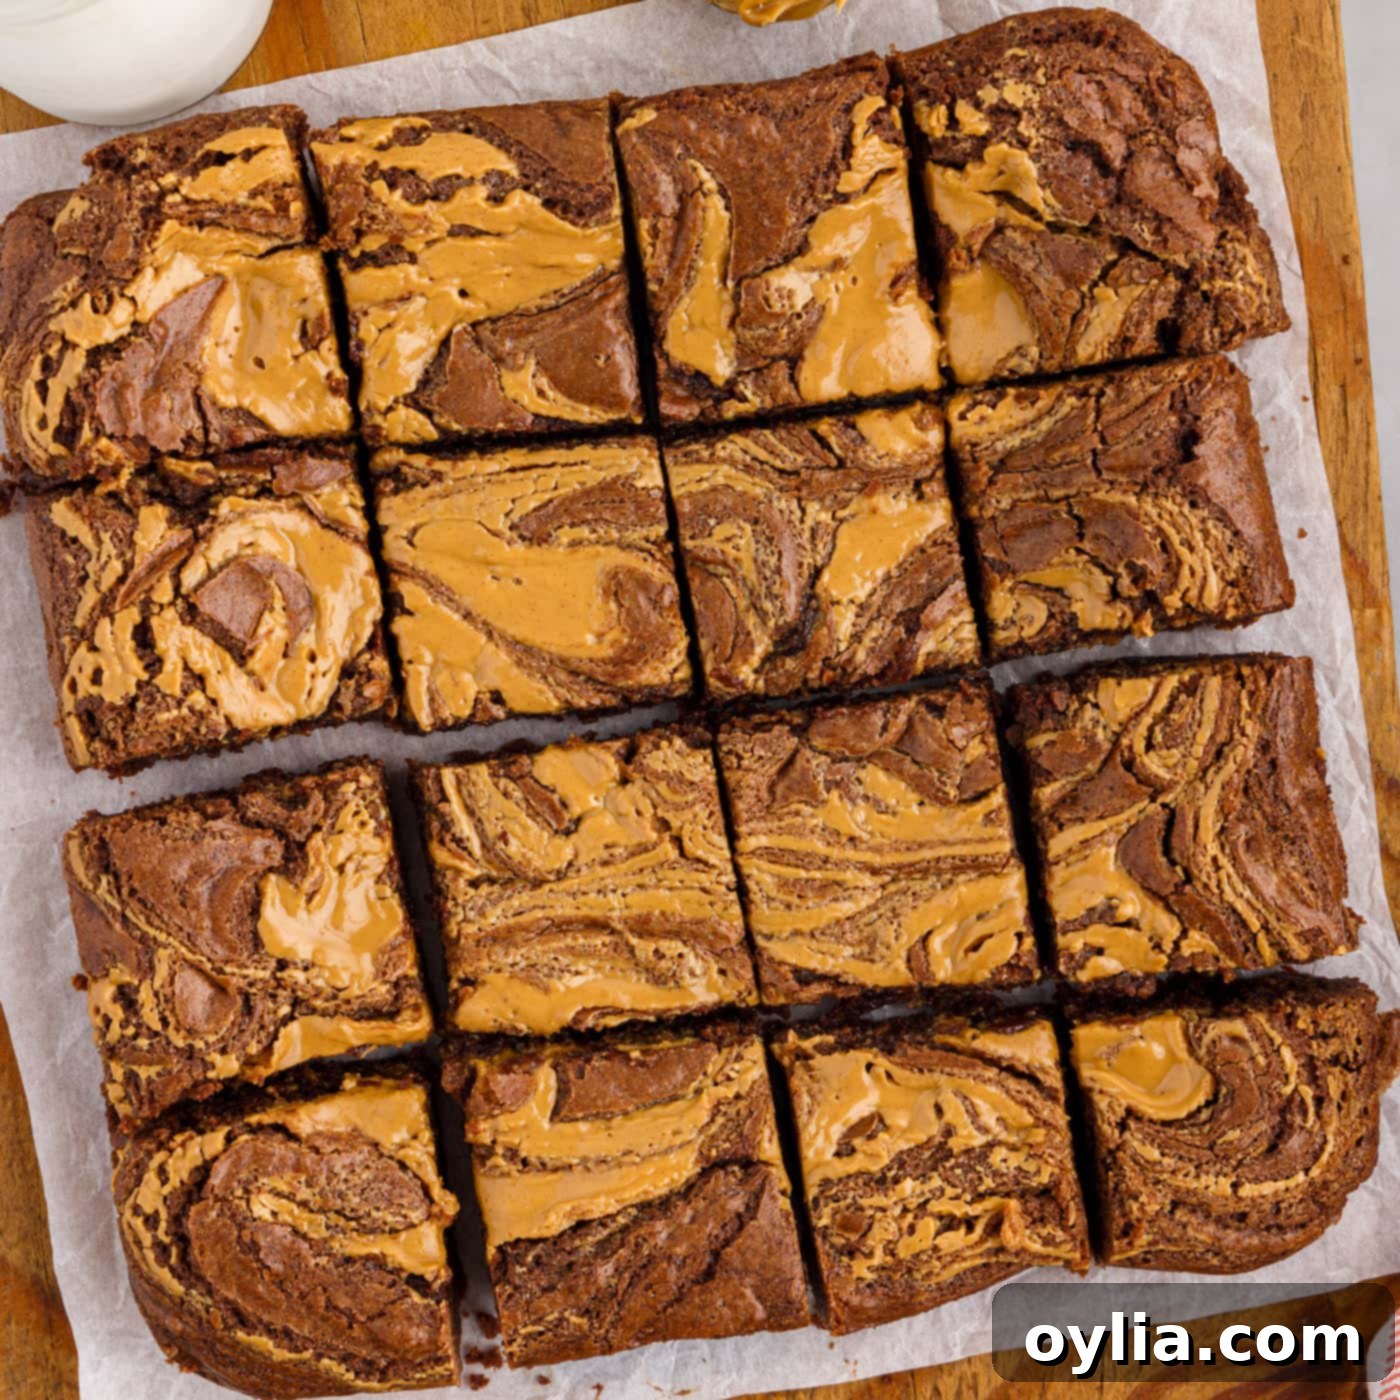
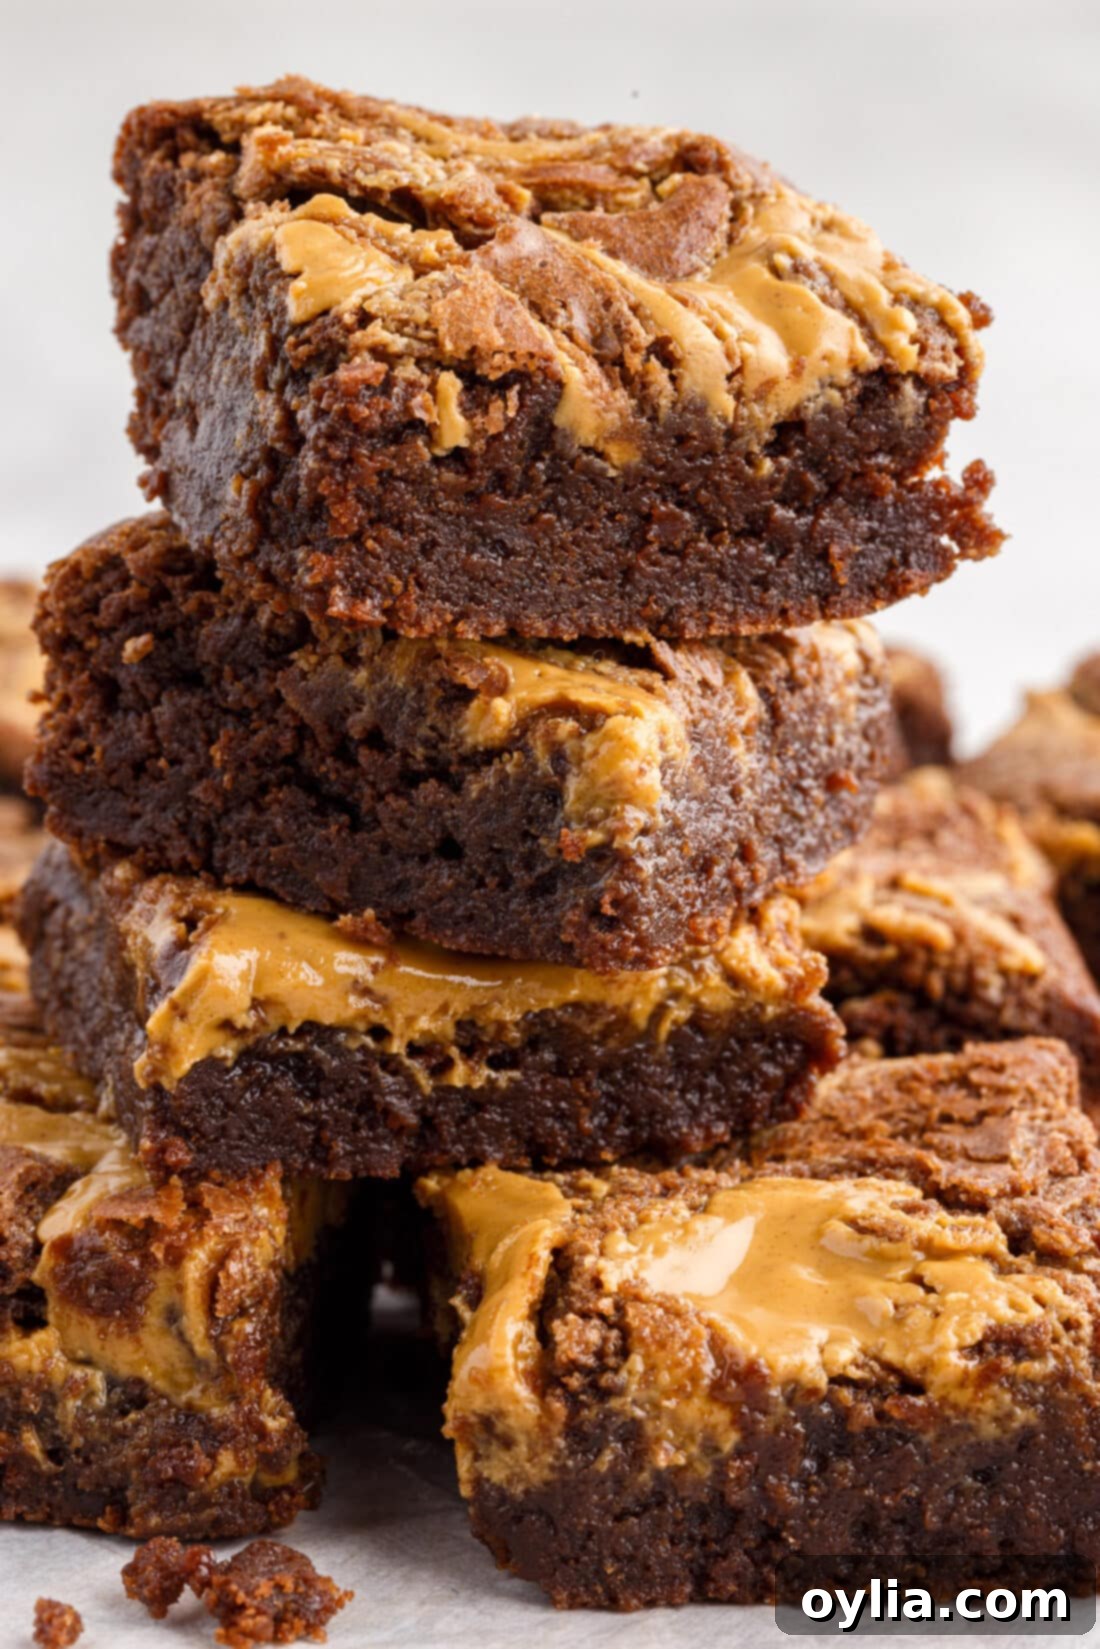
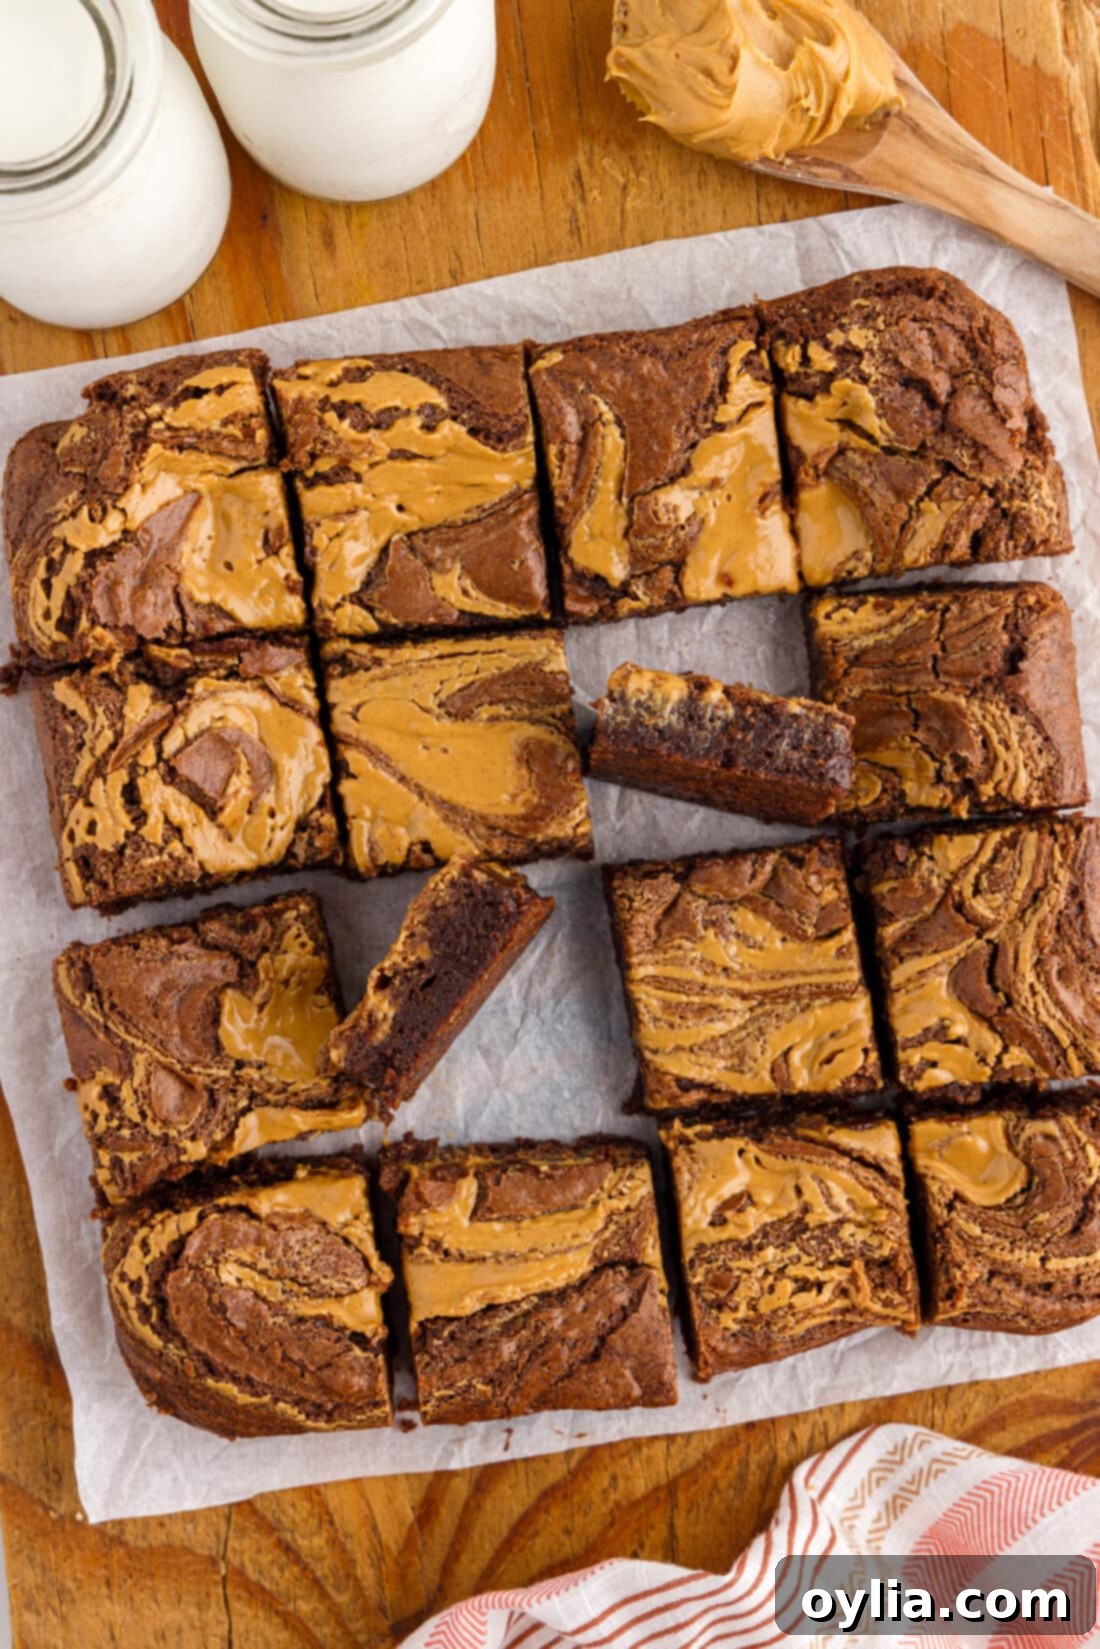
Prepare for an irresistible treat that perfectly marries two classic flavors: rich, decadent chocolate and creamy, dreamy peanut butter. These **peanut butter brownies** are not just any brownies; they are thick, incredibly chewy, luxuriously rich, and wonderfully moist, all crowned with a beautiful, creamy swirl of smooth peanut butter. Each bite delivers a harmonious blend that will transport you straight to dessert heaven.
Why These Peanut Butter Brownies Are a Must-Try
This recipe isn’t just about combining two popular ingredients; it’s about creating a truly exceptional dessert experience. We’re talking about a classic, intensely fudgy brownie base that serves as the perfect canvas for a striking, marbled peanut butter topping. This isn’t our fudge brownies with peanut butter frosting, which are delightful in their own right. No, these **peanut butter swirl brownies** are even more intimate, with the peanut butter baked directly into the brownie, allowing the flavors to meld beautifully in the same pan. The result? A rich, chewy treat that evokes the nostalgic taste of a gourmet peanut butter cup, elevated to brownie perfection.
The magic happens as the peanut butter bakes, creating a creamy band throughout the top of each brownie. This not only adds a stunning visual appeal but also ensures a burst of salty-sweet peanut butter flavor with every bite, perfectly contrasting the deep chocolate. The meticulous balance of ingredients guarantees a moist, dense interior with that desirable crackled top that every good brownie should have. This recipe works because it respects both chocolate and peanut butter, letting them shine together without one overpowering the other, resulting in an unforgettable **chocolate peanut butter dessert**.
Essential Ingredients for Your Fudgy Peanut Butter Brownies
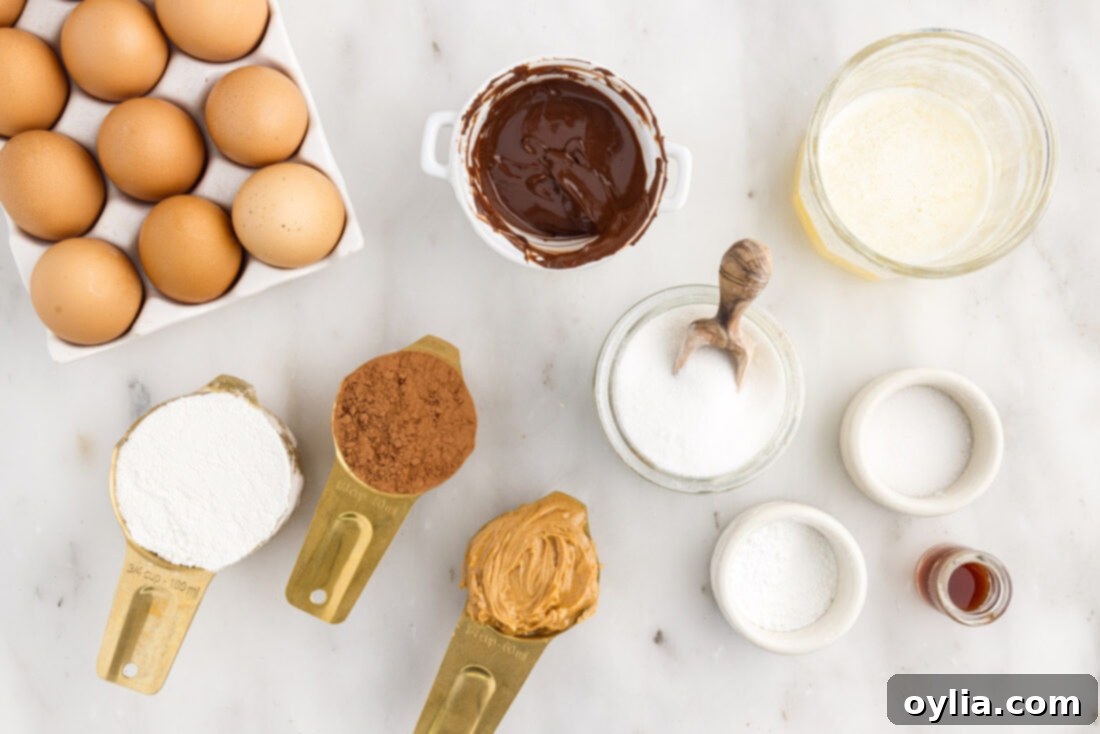
Crafting these delectable **homemade brownies** starts with a selection of common baking ingredients. While you’ll find all precise measurements and detailed instructions in the printable recipe card at the end of this post, let’s dive into the core components that make these brownies so exceptional. Quality ingredients are key to achieving that perfect fudgy texture and rich flavor. From the chocolate to the peanut butter, each plays a vital role in creating a dessert that everyone will adore.
Ingredient Deep Dive & Expert Substitution Tips
Understanding each ingredient’s role can elevate your baking, ensuring consistently perfect **fudgy peanut butter brownies** every time. Here’s a closer look at what goes into these delightful treats:
- CHOCOLATE CHIPS: For the melted chocolate in the brownie base, semi-sweet chocolate chips are typically recommended as they provide a balanced chocolate flavor that isn’t overly sweet. To melt them, use a microwave in 30-second bursts, stirring well after each interval until smooth. Alternatively, a double boiler method works wonderfully for a gentler melt. While chocolate chips are convenient, don’t hesitate to use your favorite high-quality dark chocolate bar, chopped finely, for an even more intense chocolate experience. The quality of your chocolate significantly impacts the depth of flavor in your brownies.
- COCOA POWDER: Our recipe calls for regular unsweetened cocoa powder, which contributes to the rich, deep chocolate color and flavor. If you prefer a slightly less acidic flavor and darker hue, you can absolutely substitute with Dutch-process cocoa powder. Just be aware that Dutch-process cocoa reacts differently with leavening agents, but in this brownie recipe, where baking powder plays a smaller role in overall lift and the main leavening comes from eggs, the substitution will primarily affect flavor and color rather than texture dramatically.
- PEANUT BUTTER: For that perfectly smooth, creamy swirl, we highly recommend sticking to processed smooth peanut butter (like Jif or Skippy). Natural peanut butter, which often separates and requires stirring, tends to be oilier and can behave differently when baked, potentially leading to a greasier or less stable swirl. If you must use natural peanut butter, ensure it’s very well stirred and perhaps slightly chilled to help it hold its form a bit better before swirling. You could also experiment with other smooth processed nut butters if you have dietary restrictions or simply want to try something new, keeping in mind that the flavor profile will change.
- BUTTER & SUGAR: Melted unsalted butter is crucial here. When combined with granulated sugar, it creates the base for that desirable crackled top and a wonderfully chewy edge. The melted butter helps dissolve the sugar, contributing to the signature brownie texture.
- VANILLA EXTRACT: A touch of vanilla extract deepens the overall flavor profile, complementing both the chocolate and peanut butter without being overpowering. Don’t skip it!
- EGGS: Large eggs, preferably at room temperature, bind the ingredients and contribute to the fudgy texture and richness. They also provide a significant portion of the brownies’ structure.
- FLOUR, SALT & BAKING POWDER: All-purpose flour provides structure. Salt is essential for balancing the sweetness and enhancing the chocolate flavor. A small amount of baking powder gives just enough lift to prevent the brownies from being too dense, while still maintaining that sought-after fudgy consistency.
Step-by-Step Guide to Baking Perfect Peanut Butter Brownies
These step-by-step photos and instructions are here to help you visualize how to make this recipe. For a quick jump to the printable version, complete with precise measurements and instructions, simply Jump to Recipe at the bottom of the page.
- Preheat your oven to 350°F (175°C). This ensures your brownies start baking immediately at the correct temperature for even cooking. Prepare an 8×8” glass baking dish by greasing it thoroughly, then lining it with parchment paper. Leave an overhang on the sides – this will act as “handles” to easily lift the cooled brownies out of the pan. Set this prepared pan aside.
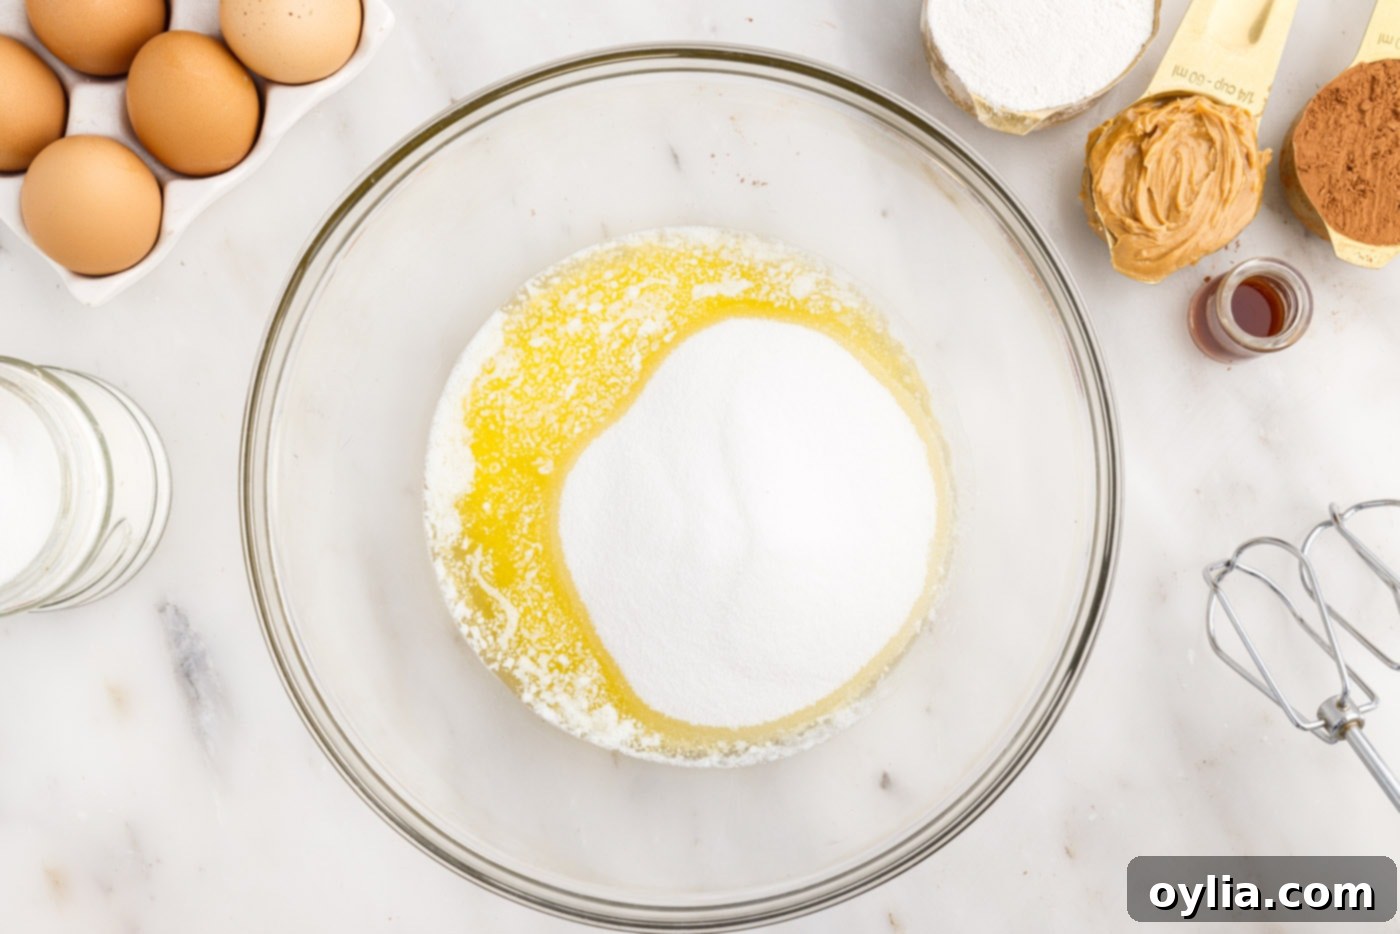
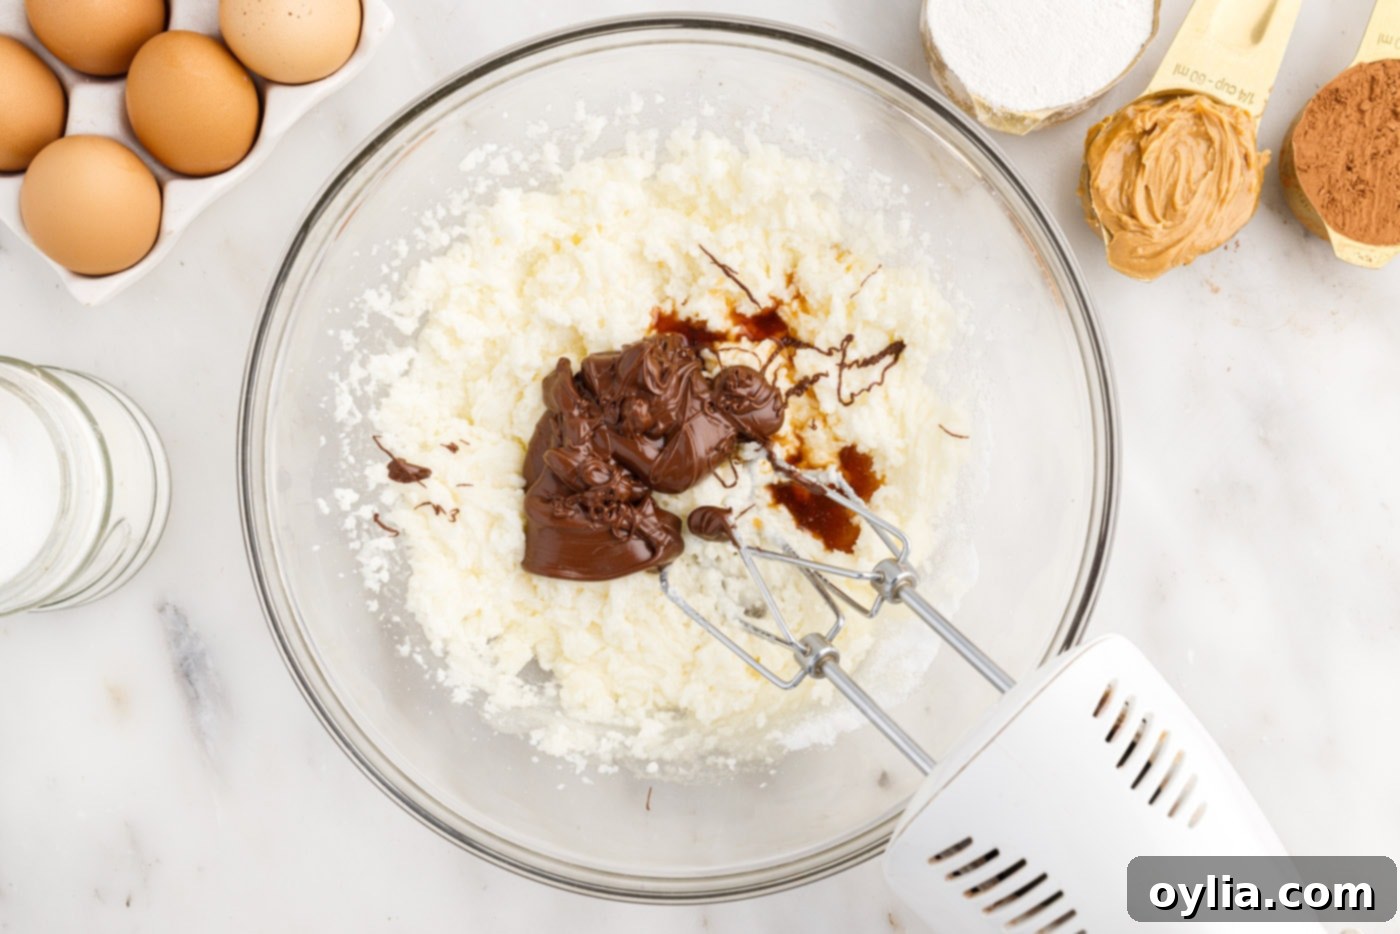
- In a large mixing bowl, combine the melted butter and granulated sugar. Beat them together with a hand mixer until well combined and slightly lighter in color, usually about 1-2 minutes. This step is crucial for dissolving sugar crystals, which contributes to the brownies’ crackly top and chewy edges. Next, incorporate the vanilla extract and the slightly cooled melted chocolate. Continue to beat until everything is thoroughly mixed and smooth, ensuring no streaks of butter remain.


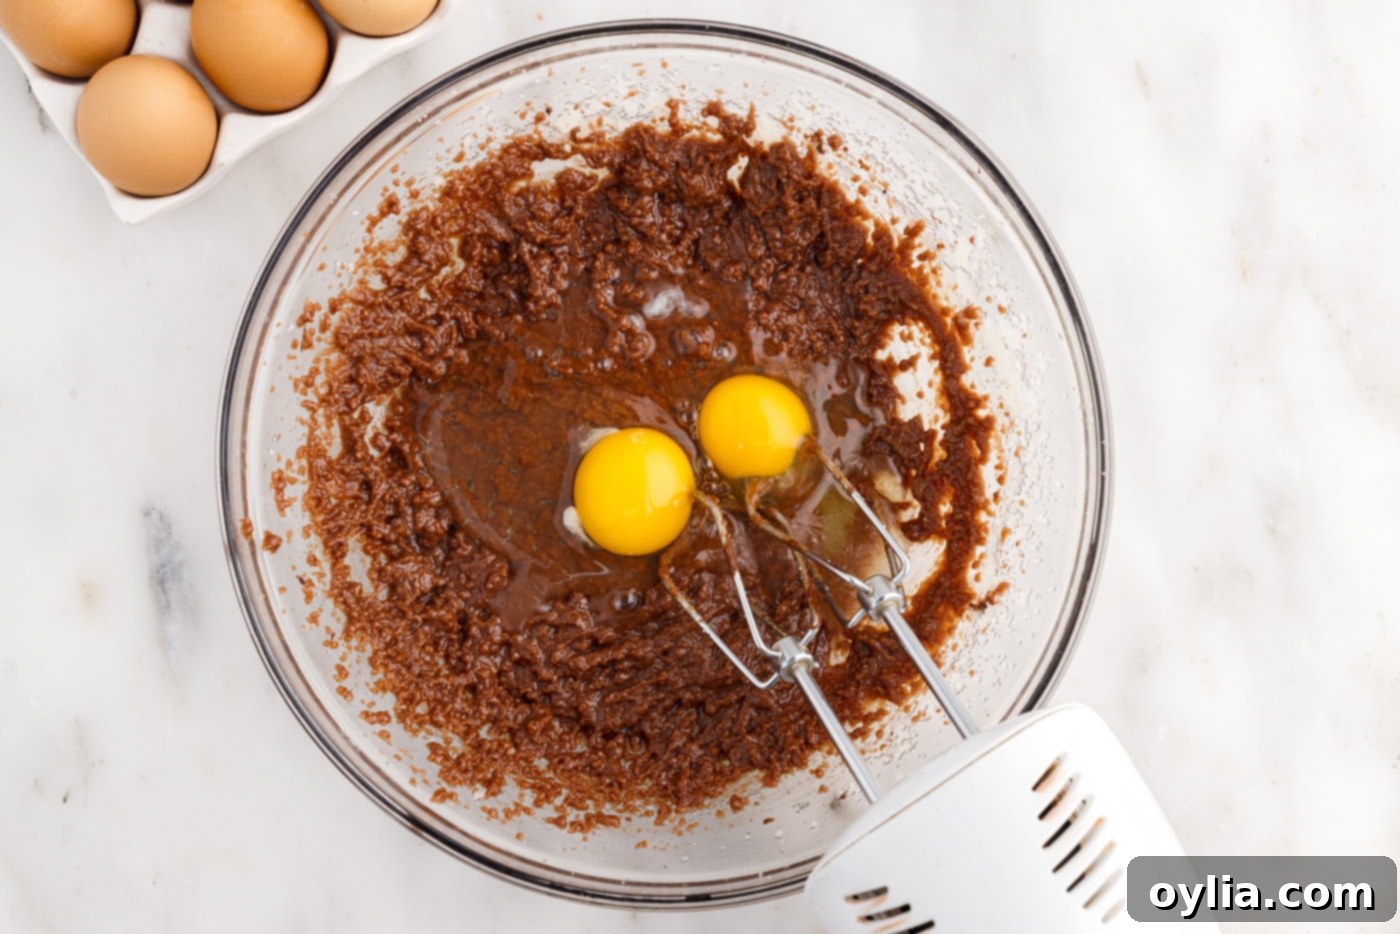
- Add the eggs, one at a time, beating just until they are fully incorporated. Be careful not to overmix at this stage.
EXPERT TIP: While a hand mixer is convenient, excessive beating after adding the eggs can incorporate too much air into the batter. This often leads to brownies that puff up significantly during baking, developing high edges and potentially cracking in the center as they cool and settle. For the fudgiest, densest **chocolate peanut butter brownies** with a desirable slight chew, you can switch to mixing the batter by hand with a spatula once the eggs have been added and just barely combined. This minimizes air incorporation, ensuring a denser, richer final product.

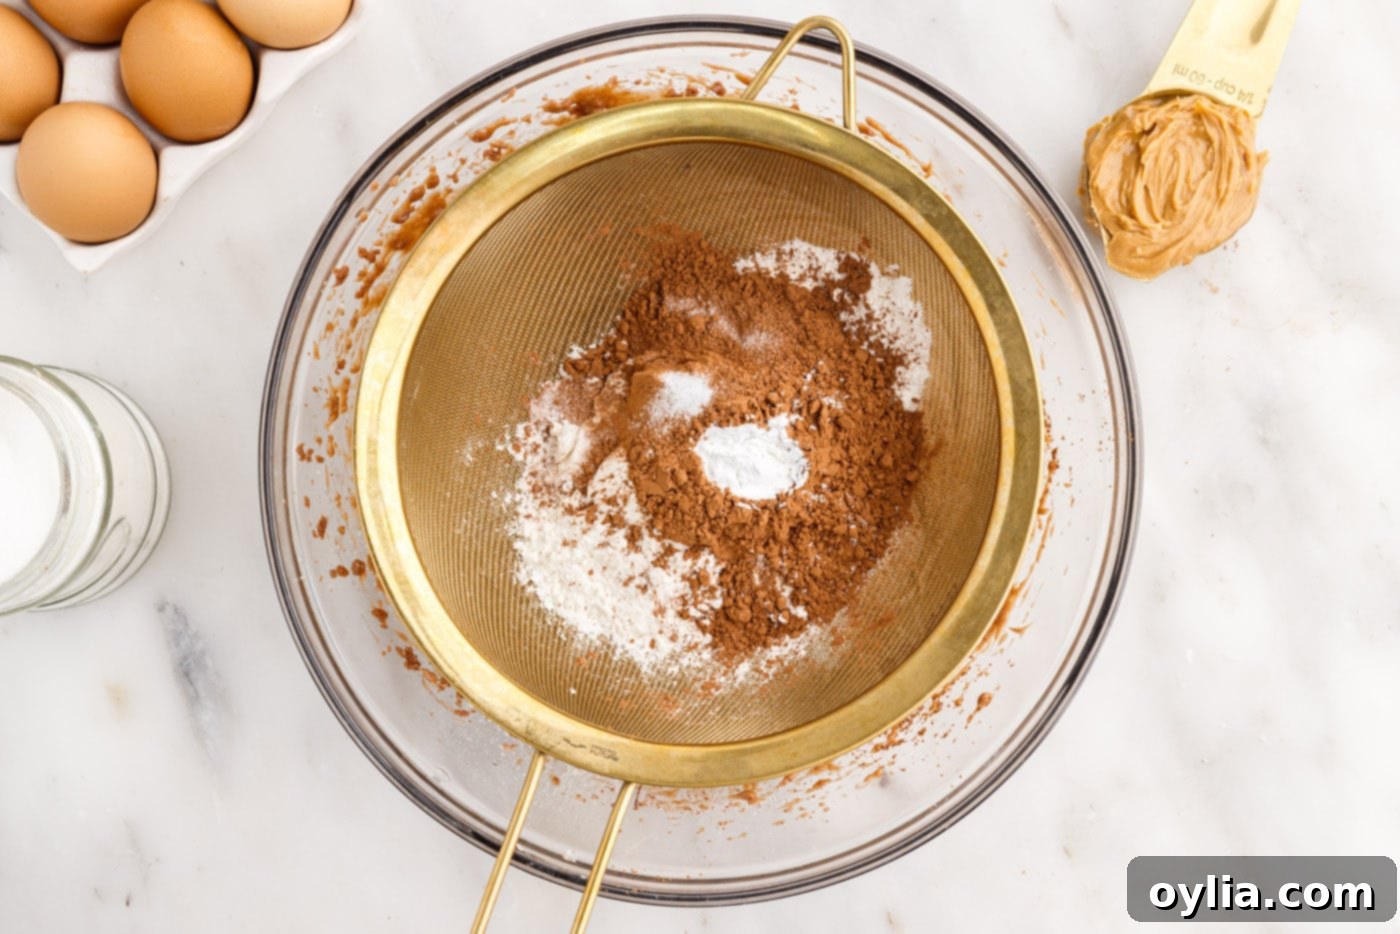
- Into the wet brownie batter, sift the dry ingredients: cocoa powder, salt, baking powder, and all-purpose flour. Sifting prevents lumps and ensures these dry elements are evenly distributed throughout the batter.

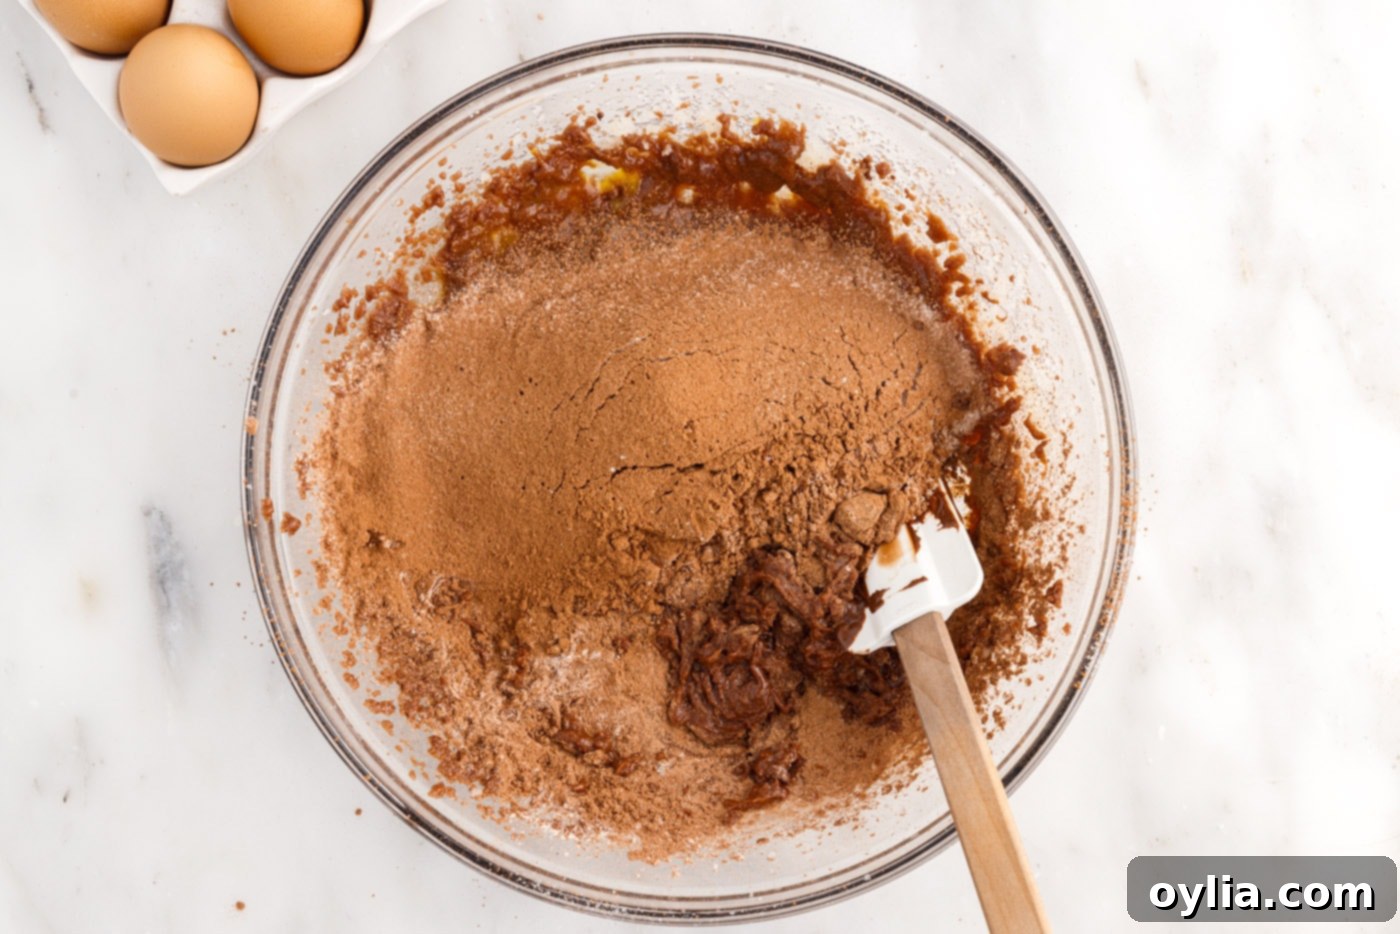
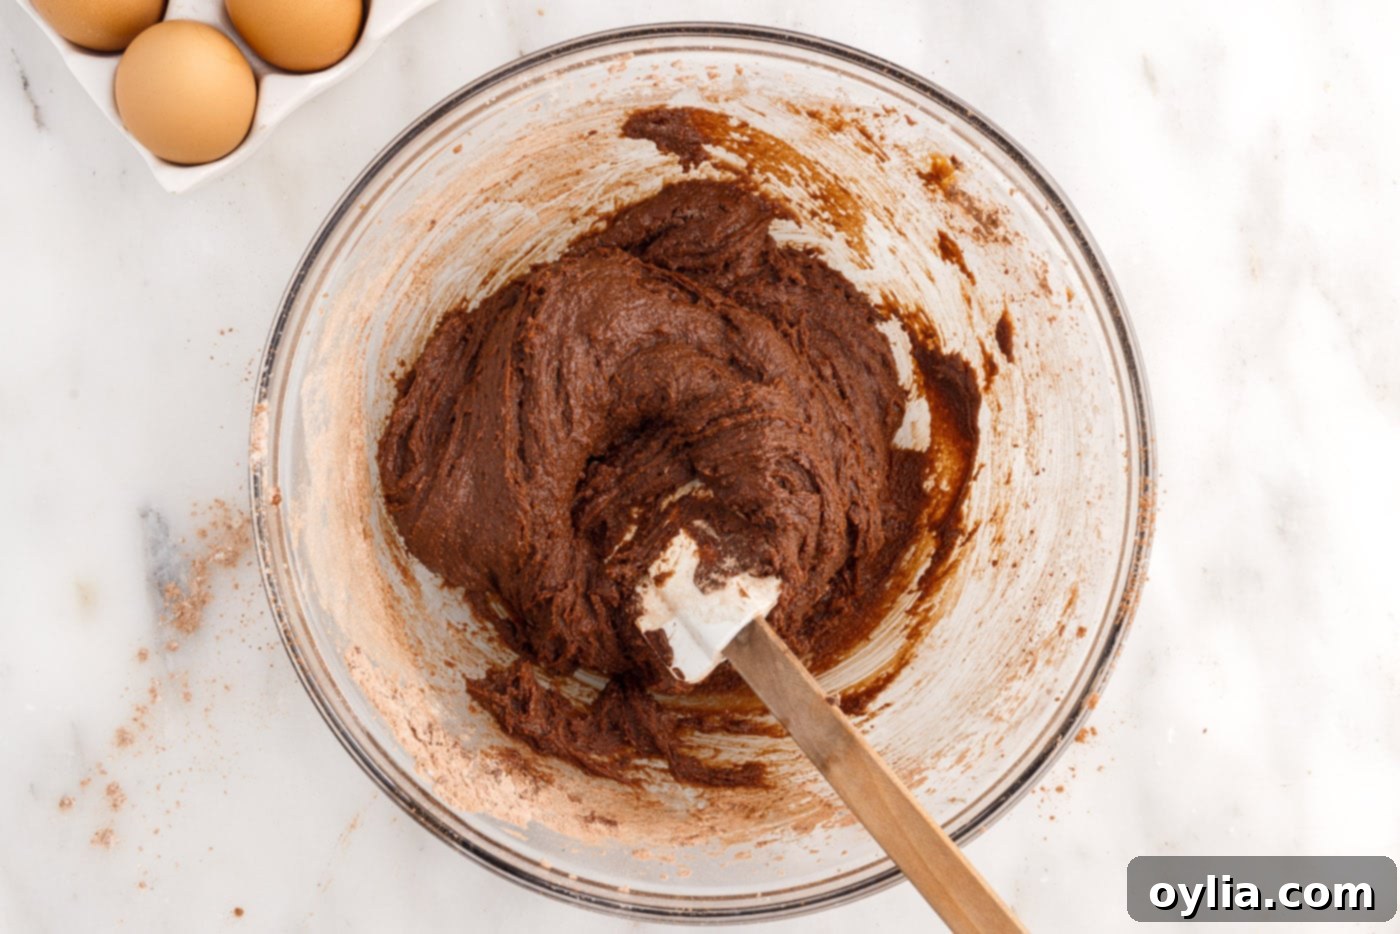
- Using a rubber spatula, gently fold the sifted dry ingredients into the wet mixture. Mix just until no streaks of flour are visible. Overmixing at this stage can develop the gluten in the flour, leading to tough, cakey brownies instead of the desired fudgy texture.


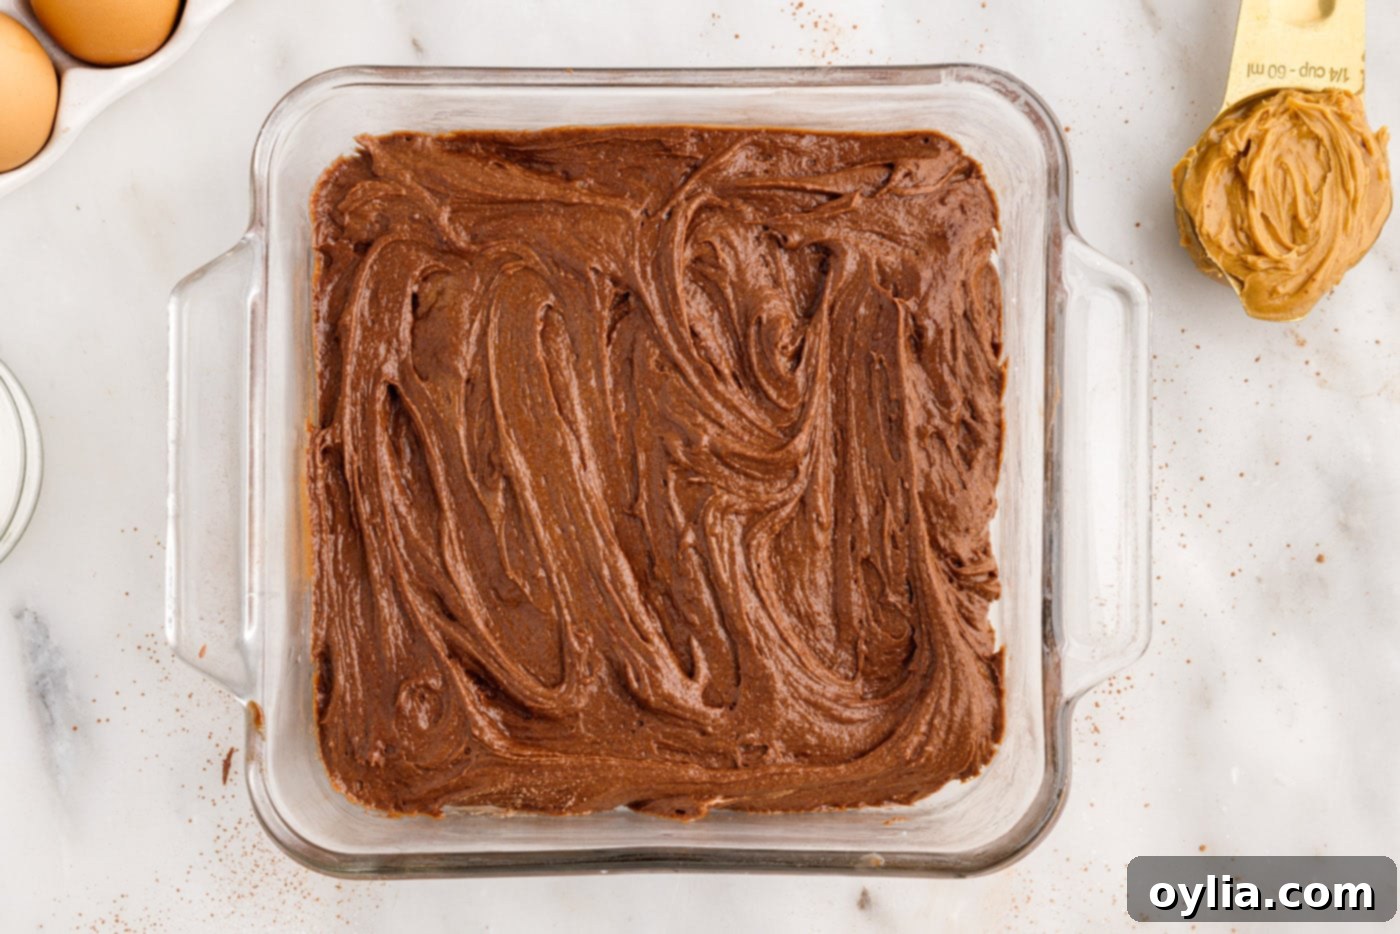
- Evenly spread the thick brownie batter into the prepared 8×8 baking dish. Use your spatula to ensure it reaches all corners.

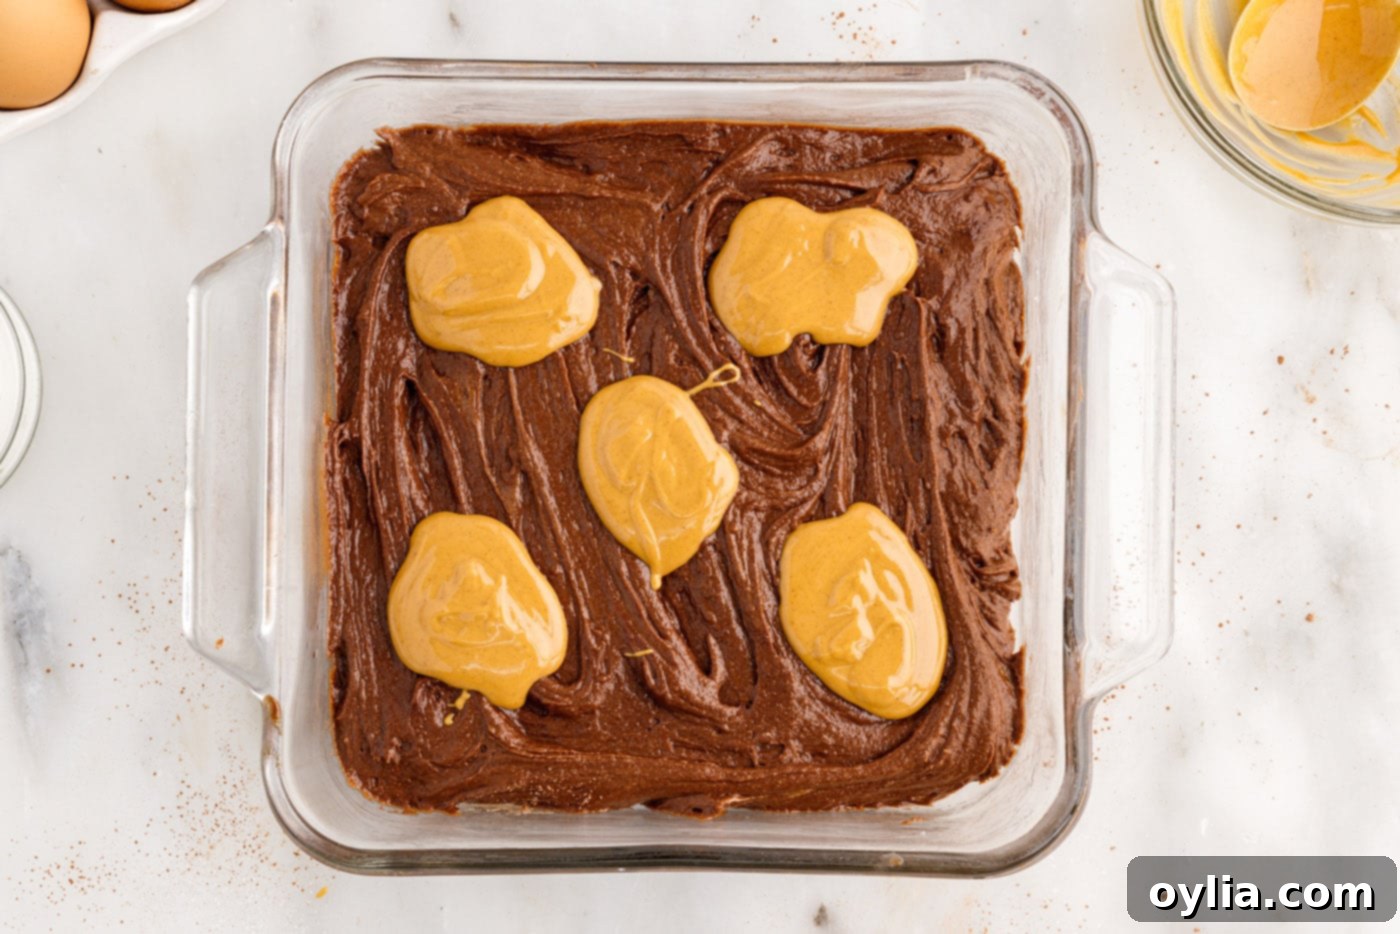
- Now for the star swirl! Microwave the creamy peanut butter for approximately 15 seconds. This brief warming will make it wonderfully smooth and pourable, perfect for swirling. Spoon dollops of the softened peanut butter randomly over the top of the brownie batter. Don’t worry about perfection; the beauty is in the organic swirls.

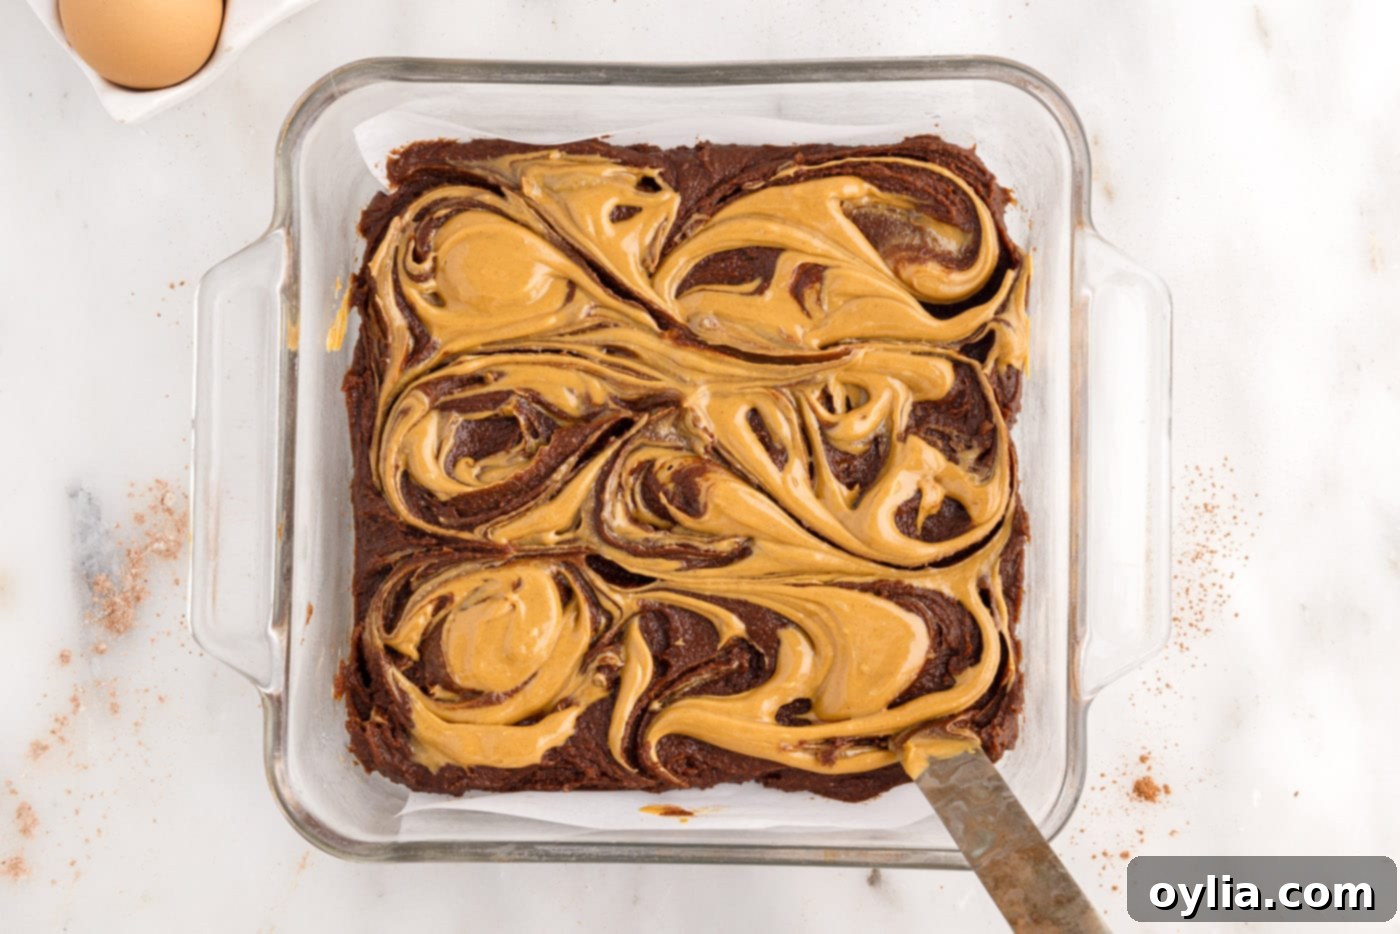
- Take a butter knife or a skewer and gently swirl the peanut butter into the chocolate brownie batter. Create S-shapes or figure-eights to achieve a beautiful marble effect. Be careful not to overmix, as you want distinct swirls, not a fully blended mixture. This technique is what gives these **peanut butter brownies** their signature look.

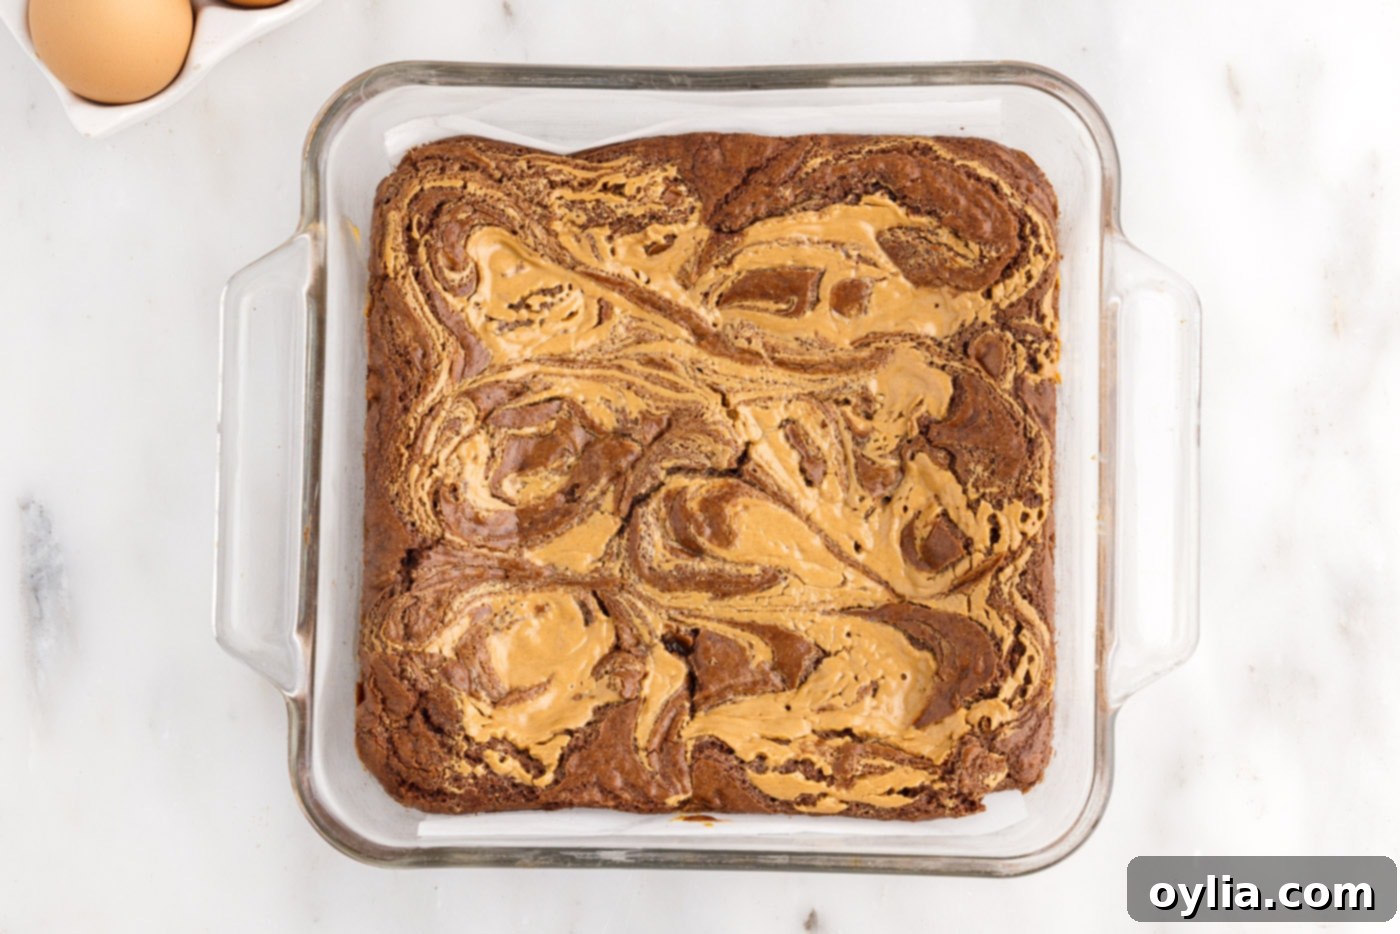
- Bake the brownies for 35-40 minutes. You’ll know they’re done when a toothpick or knife inserted into the center comes out with moist, fudgy crumbs clinging to it, but no wet batter. It’s better to slightly underbake for ultimate fudginess than to overbake and end up with dry brownies. Remove from the oven and allow them to cool completely in the pan on a wire rack. Cooling is crucial for the brownies to set and become perfectly fudgy and easy to cut.

- Once completely cooled, use the parchment paper overhang to gently lift the entire slab of brownies from the pan. Transfer them to a cutting board and slice them into perfect squares using a sharp knife. For the cleanest cuts, wipe your knife clean after each slice.
Frequently Asked Questions & Expert Tips for Perfect Brownies
To maintain their fresh, chewy texture, store your **peanut butter brownies** in an airtight container at room temperature for up to 3-4 days. For an extended shelf life, especially in warmer climates, you can store them in the refrigerator for up to 5-7 days. Just be aware that refrigeration can make them slightly firmer; let them come to room temperature for a few minutes before enjoying for optimal texture.
Absolutely! These brownies freeze beautifully, making them perfect for meal prep or enjoying later. Once completely cooled, cut the brownies into individual squares. Arrange them in an airtight freezer-safe container, separating layers with parchment paper to prevent sticking. Alternatively, you can wrap individual brownies tightly in plastic wrap before placing them in a large ziptop freezer bag. They will keep well in the freezer for up to 1 month. To thaw, simply remove from the freezer and let them sit at room temperature for a few hours, or warm gently in the microwave for a few seconds for a freshly baked feel.
Achieving that perfect fudgy texture relies on a few key factors. Overmixing the batter, especially after adding the eggs and flour, can develop too much gluten, leading to a cake-like crumb. Ensure you mix only until just combined. Also, overbaking is a common culprit; pull the brownies from the oven when a toothpick inserted into the center still has moist crumbs, not wet batter, but definitely not dry. The brownies will continue to set as they cool.
For immaculate squares, first and foremost, ensure your brownies are completely cool. Warm brownies will crumble and stick. Use a large, sharp knife. For each cut, press down firmly and cleanly through the brownie, then wipe your knife blade with a damp cloth or paper towel before making the next cut. This removes sticky residue, preventing dragging and mess.
Absolutely! If you’re a true chocolate lover, folding in ½ cup to 1 cup of extra chocolate chips (milk, semi-sweet, or dark) into the brownie batter before spreading it into the pan will add another layer of chocolatey goodness and varying textures. This can enhance the richness of your **chocolate peanut butter brownies** even further.
Delightful Ways to Serve Your Peanut Butter Brownies
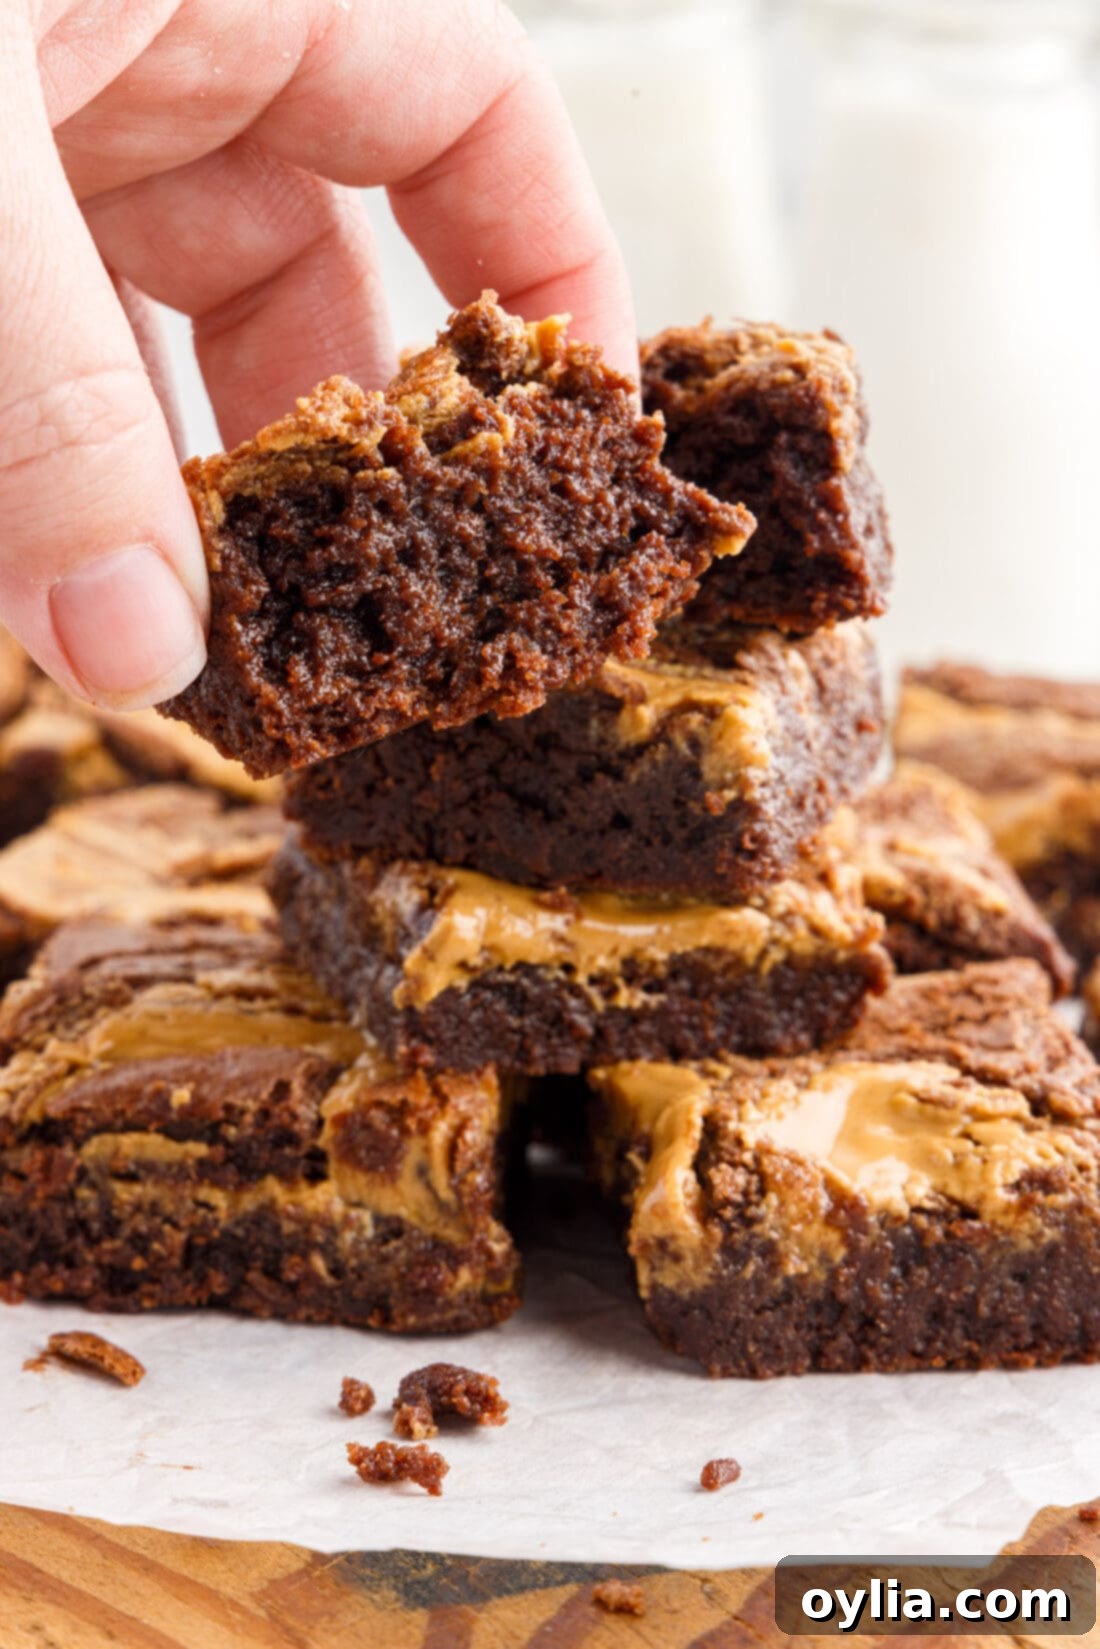
These incredibly satisfying **peanut butter swirl brownies** are versatile enough to be enjoyed in many ways. Whether you prefer them warm, at room temperature, or chilled, they are simply delicious. For an extra special treat, serve them warm with a scoop of vanilla bean ice cream, allowing the chocolate and peanut butter to melt slightly into a heavenly pool. A drizzle of chocolate syrup or an extra sprinkle of chopped peanuts can add an additional layer of indulgence. They pair wonderfully with a cold glass of milk, a hot cup of coffee, or even as a decadent addition to a dessert platter. They also make fantastic edible gifts for friends and family, sure to bring smiles all around.
Explore More Irresistible Brownie Recipes
If you’ve fallen in love with these **fudgy peanut butter brownies**, you might want to explore other delightful brownie variations:
- Crispy Brownie Brittle
- Refreshing Chocolate Mint Brownies
- Decadent Buckeye Brownie Cookies
- Creamy Oreo Cheesecake Brownies
- Classic Chocolate Cheesecake Brownies
- Giant Peanut Butter Marbled Brownie Skillet
I absolutely love baking and cooking, and sharing my kitchen adventures with all of you is a true joy! It can be tough to remember to check back every day for new recipes, which is why I offer a convenient newsletter. Every time a new recipe posts, you’ll get it delivered straight to your inbox. Simply subscribe here and start receiving your free daily recipes!
Peanut Butter Brownies
IMPORTANT – Don’t forget to check the Frequently Asked Questions and Expert Tips section within the blog post for helpful insights!
Print It
Pin It
Rate It
Save ItSaved!
Ingredients
- ½ cup unsalted butter melted
- 1 ½ cups granulated sugar
- 1 teaspoon vanilla extract
- ½ cup semi-sweet chocolate chips melted and cooled slightly
- 2 large eggs at room temperature
- ⅓ cup unsweetened cocoa powder
- ½ teaspoon salt
- ½ teaspoon baking powder
- ¾ cup all-purpose flour
- ¼ cup creamy peanut butter
Things You’ll Need
-
8×8 glass baking dish
-
Hand mixer
-
Rubber spatula
-
Mixing bowls
Before You Begin
- Melting the butter and mixing it with sugar helps dissolve some of the sugar crystals, which is key to achieving a beautiful crackle on top and wonderfully chewy edges on your brownies.
- Beating the eggs vigorously with a hand mixer can incorporate too much air into the batter. This often results in brownies that puff up excessively during baking, leading to high, slightly dry edges and potential cracking in the center as they cool. To minimize this and ensure a fudgier brownie, try mixing the batter by hand with a spatula once the eggs have been added and just combined.
- When melting chocolate chips, always do so in 30-second increments in the microwave, stirring well after each interval to prevent burning. High-quality dark chocolate bars, finely chopped, can also be used for a more intense chocolate flavor.
- For the best consistency in the swirl, stick to processed smooth peanut butter. Natural peanut butter can be too oily and may not hold its swirl as effectively.
- Regular unsweetened cocoa powder yields a classic chocolate flavor. If you prefer a darker, less acidic brownie, Dutch-process cocoa powder is a suitable alternative.
Instructions
-
Preheat the oven to 350°F (175°C). Grease an 8×8” glass baking dish, line it with parchment paper, allowing some overhang on the sides for easy removal, and set aside.
-
In a mixing bowl, use a hand mixer to beat together the melted unsalted butter and granulated sugar until well combined. Stir in the vanilla extract and the slightly cooled melted chocolate, beating until completely smooth.
-
Add the two large eggs, beating just until they are fully incorporated into the batter. Avoid overmixing.
-
Sift the dry ingredients (unsweetened cocoa powder, salt, baking powder, and all-purpose flour) through a sieve directly into the brownie batter.
-
Using a rubber spatula, gently fold the dry ingredients into the brownie batter. Mix just until no dry streaks of flour remain, being careful not to overmix.
-
Evenly spread the prepared brownie batter into your lined baking dish.
-
Lightly microwave the creamy peanut butter for about 15 seconds to achieve a smooth, pourable consistency. Spoon dollops of the softened peanut butter randomly over the brownie batter.
-
Using a knife or skewer, gently swirl the peanut butter into the chocolate batter to create a beautiful marbled pattern.
-
Bake for 35-40 minutes, or until a toothpick or knife inserted into the center comes out with moist, fudgy crumbs attached, but no wet batter. For a creamier peanut butter swirl, you can cover the brownies loosely with aluminum foil during the last 10 minutes of baking. If you prefer the peanut butter to be more set and the top of the brownies slightly darker, bake uncovered for the full duration. Remove from oven and allow to cool completely in the pan on a wire rack.
-
Once fully cooled, lift the brownies from the pan using the parchment paper overhang and transfer them to a cutting board. Cut into uniform squares using a sharp knife for the cleanest edges.
Nutrition
The recipes on this blog are tested with a conventional gas oven and gas stovetop. It’s important to note that some ovens, especially as they age, can cook and bake inconsistently. Using an inexpensive oven thermometer can assure you that your oven is truly heating to the proper temperature. If you use a toaster oven or countertop oven, please keep in mind that they may not distribute heat the same as a conventional full sized oven and you may need to adjust your cooking/baking times. In the case of recipes made with a pressure cooker, air fryer, slow cooker, or other appliance, a link to the appliances we use is listed within each respective recipe. For baking recipes where measurements are given by weight, please note that results may not be the same if cups are used instead, and we can’t guarantee success with that method.
