Irresistible Italian Sliders: Your Go-To Recipe for Easy Party Food
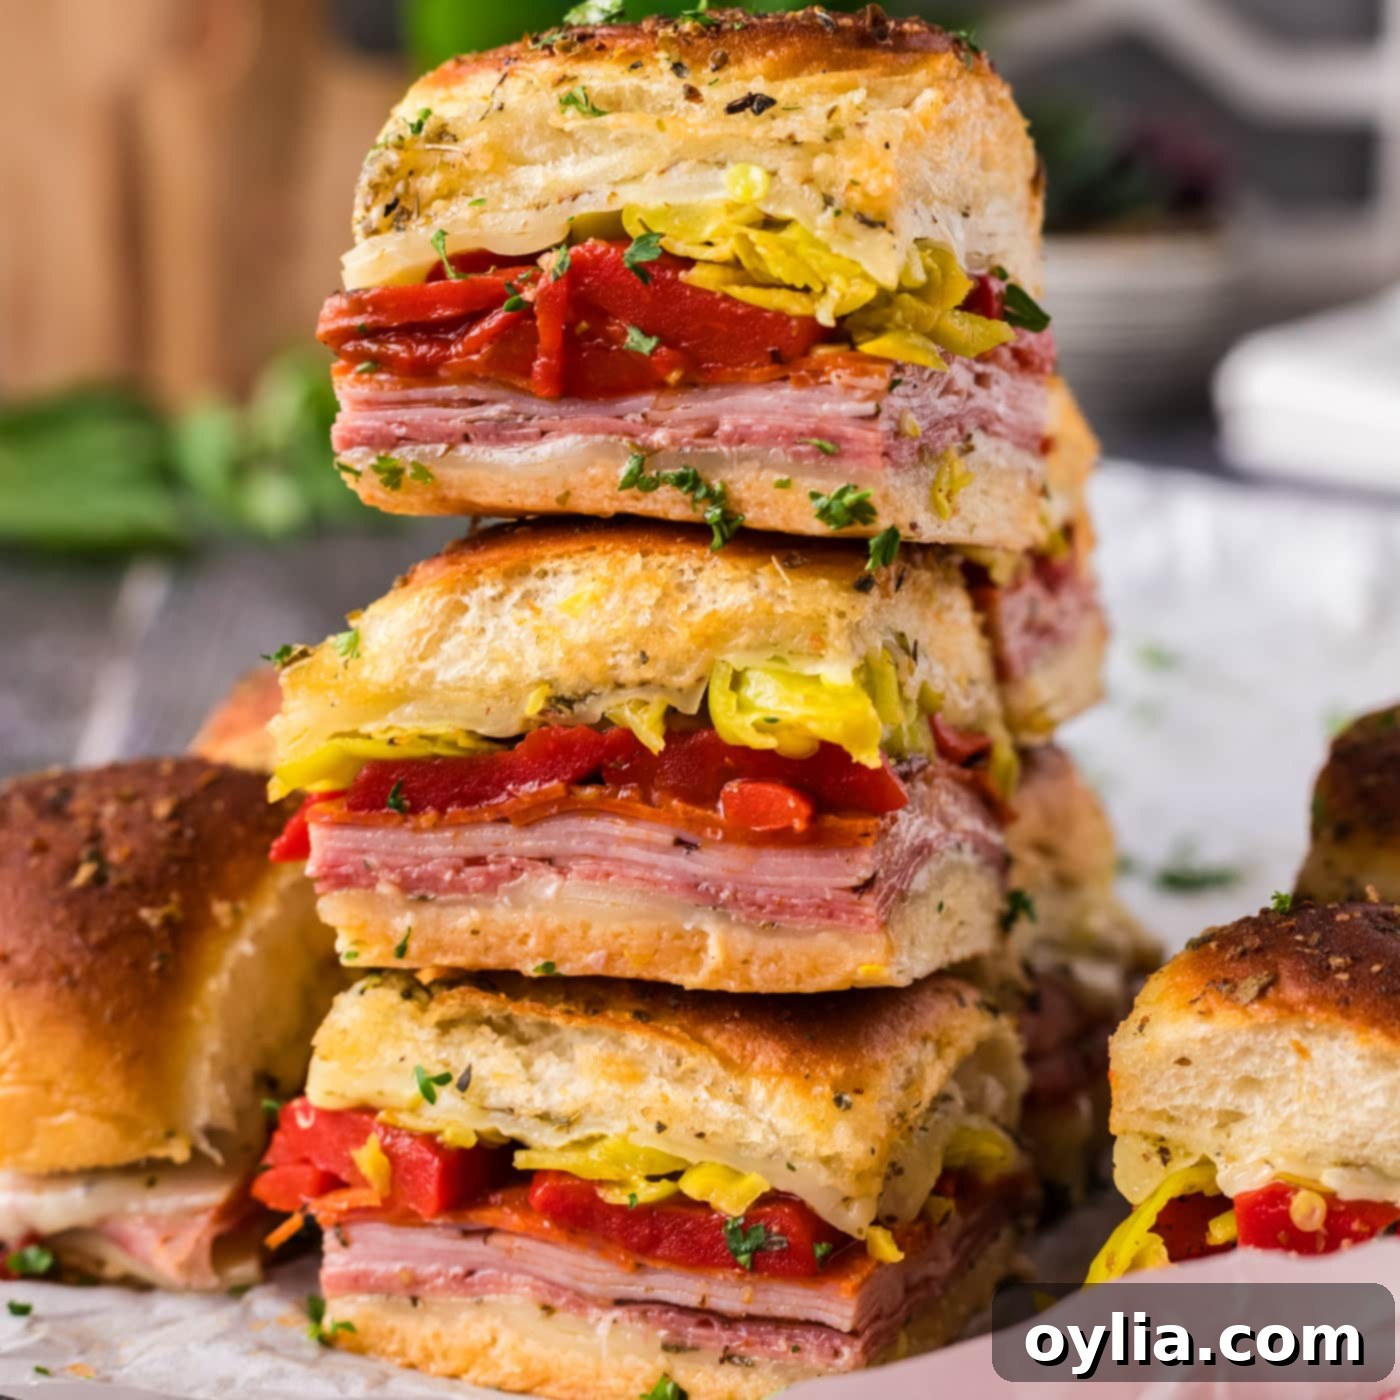
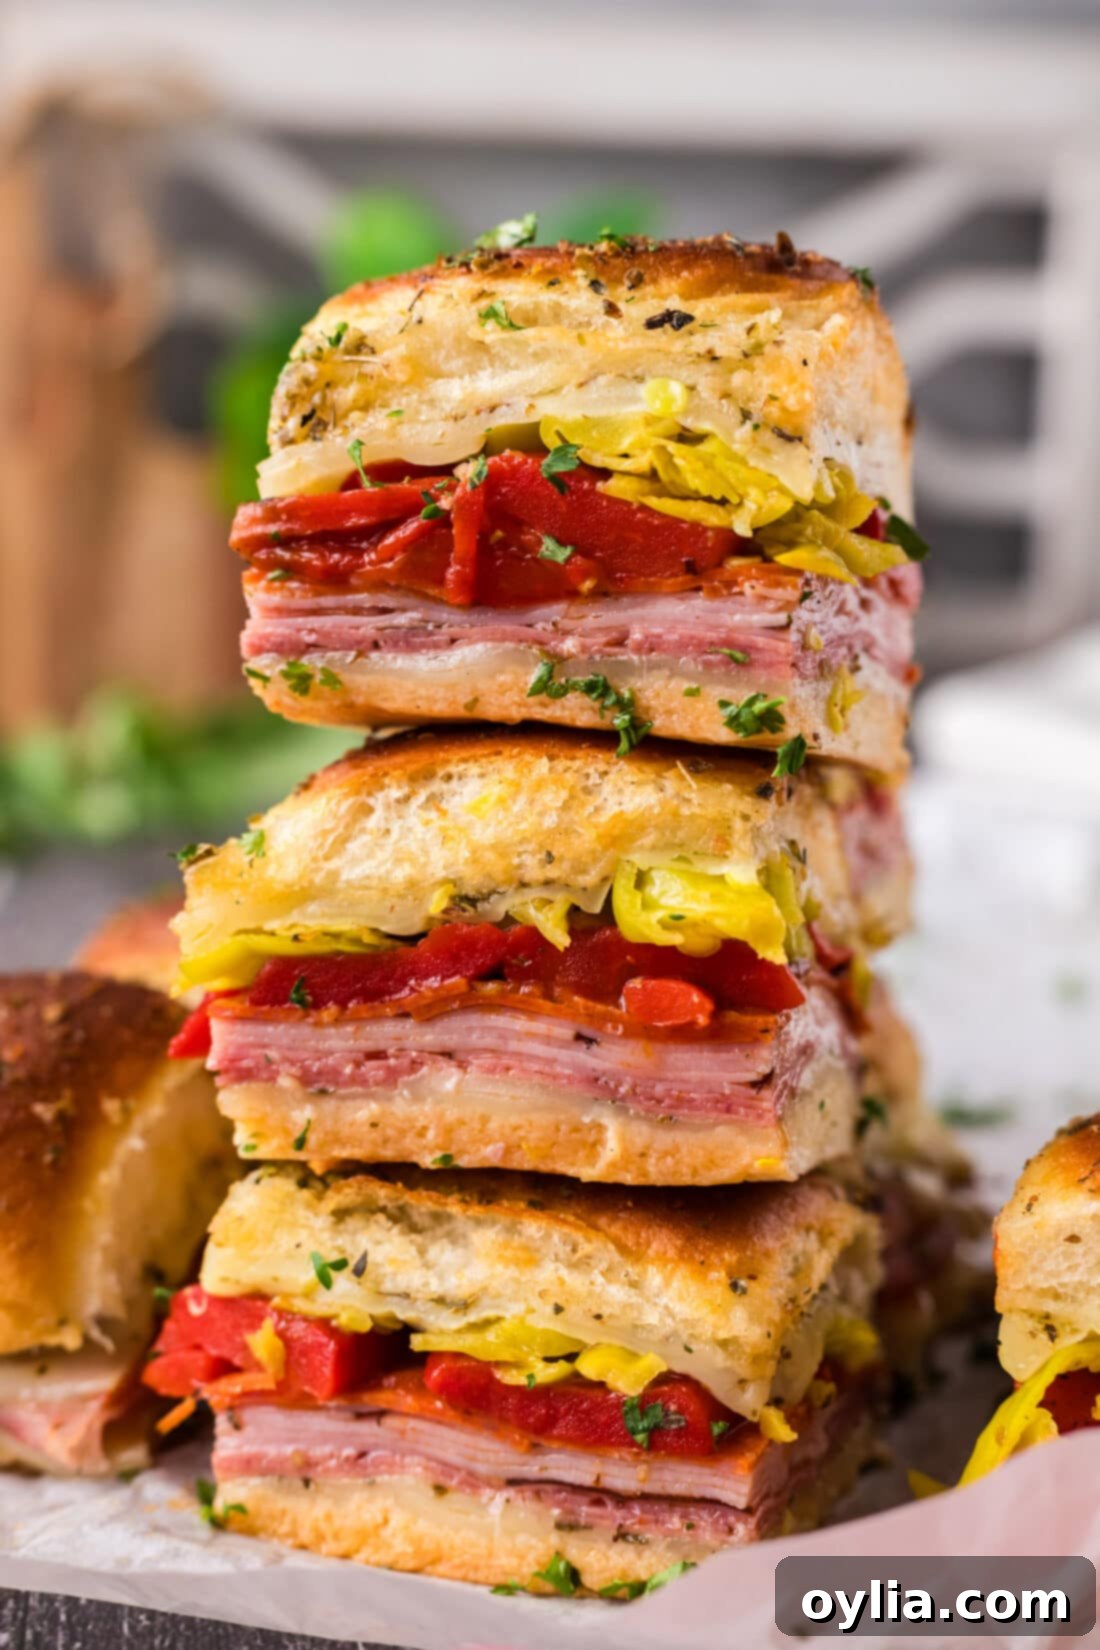
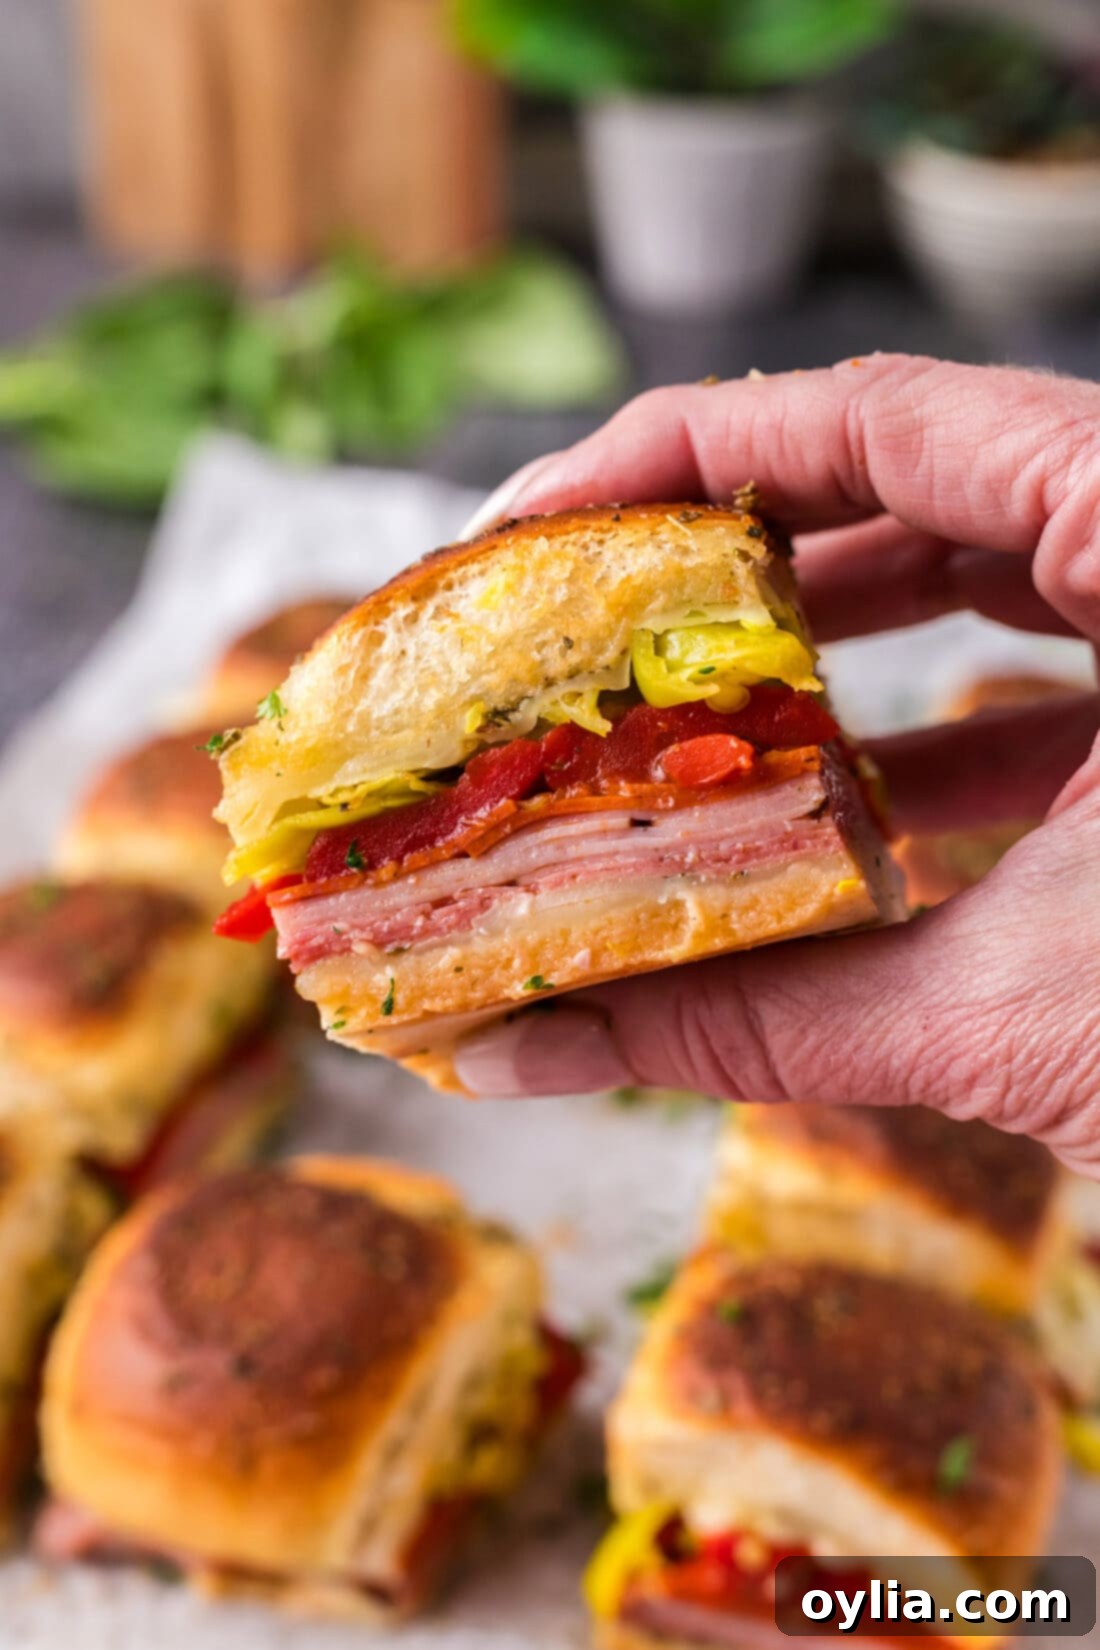
Prepare to delight your taste buds with these incredible Italian Sliders! Imagine hot, toasty mini sandwiches, generously layered with rich, melty provolone cheese, savory hard salami, delicious deli ham, and spicy pepperoni. But the flavor journey doesn’t stop there – we add sweet roasted bell peppers and a vibrant, tangy kick from sliced pepperoncinis, all nestled within soft, butter-brushed slider buns. This recipe is an absolute game-changer for parties, gatherings, or even a fun, quick weeknight meal. Get ready for a symphony of flavors in every bite!
Why These Italian Sliders Are a Must-Try
Italian sliders are essentially a compact, bite-sized homage to the beloved hot Italian sub, delivering all those incredible flavors in a convenient, party-friendly format. This recipe shines for several reasons:
- Effortless Assembly: These mini sandwiches come together with remarkable ease. You simply layer the ingredients onto your buns, brush with a flavorful butter mixture, and bake. It’s a low-stress recipe that delivers maximum flavor.
- Explosion of Flavor: Each slider is packed with layers of savory meats like salami, ham, and pepperoni, complemented by gooey provolone. The roasted bell peppers add a touch of sweetness, while the pepperoncinis introduce a delightful tang and a hint of spice, creating a perfectly balanced profile.
- Crowd-Pleaser Guaranteed: Whether you’re hosting a game day, a family get-together, or a casual dinner party, these Italian sliders are always a runaway hit. Their appealing size and comforting flavors make them universally loved by both adults and children.
- Perfectly Portable: Once baked and slightly cooled, these sliders are easy to pull apart and serve, making them ideal for potlucks, picnics, or any event where finger foods are preferred.
- Customizable to Your Liking: While this recipe offers a classic combination, it’s incredibly flexible. You can easily swap out meats, cheeses, or add extra vegetables to suit various preferences or dietary needs.
The combination of warm, soft buns, melted cheese, and a rich medley of Italian-inspired ingredients makes these sliders an irresistible treat that will disappear from your platter in no time!
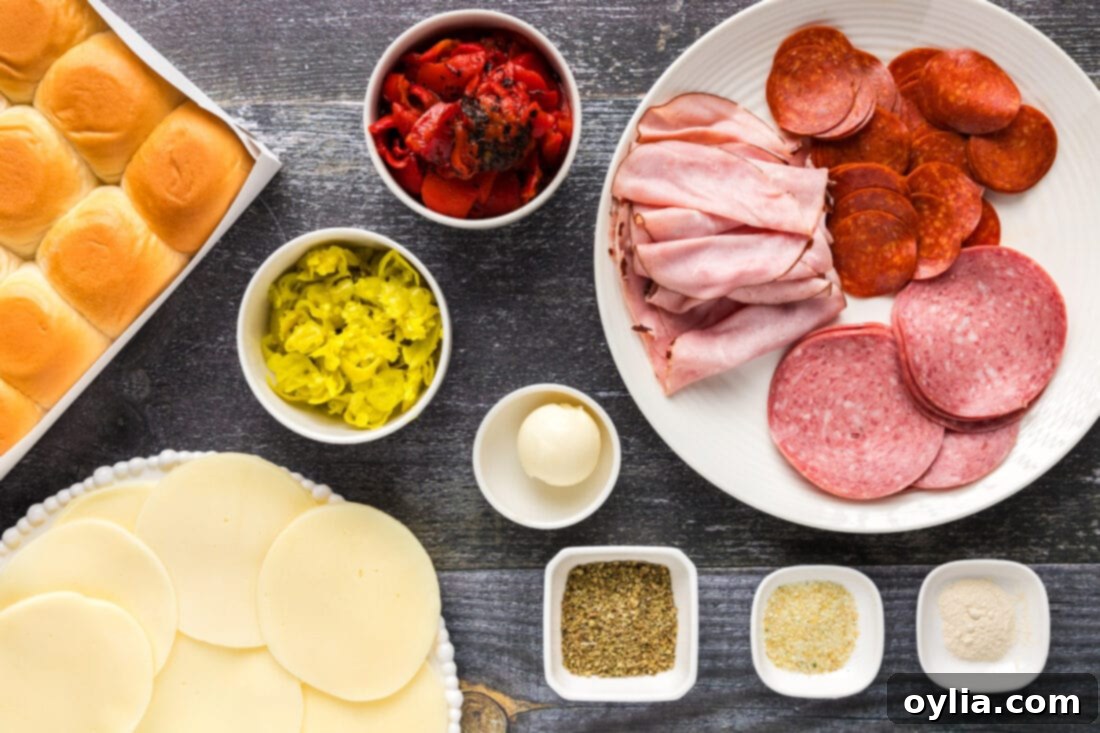
Gather Your Ingredients for Italian Slider Perfection
Creating these delicious Italian sliders starts with a simple list of readily available ingredients. Before diving into the step-by-step instructions, take a moment to gather everything you need. This ensures a smooth and enjoyable cooking process. You’ll find a complete list with exact measurements in the printable recipe card at the very end of this post.
Ingredient Deep Dive & Smart Substitutions
The beauty of Italian sliders lies in their flexibility. While the classic combination is undeniably delicious, don’t hesitate to customize them based on your preferences or what you have on hand. Here’s a closer look at the key ingredients and some fantastic substitution ideas:
- MEAT: Our recipe features a robust trio of hard salami, deli ham, and pepperoni. This combination offers a delightful mix of salty, savory, and slightly spicy notes that are characteristic of Italian deli sandwiches. For an even more authentic Italian experience, consider trying prosciutto (for a delicate, salty flavor), mortadella (known for its subtle spice and smooth texture), or coppa/capicola (a cured pork shoulder with a rich, savory taste). You can also mix and match your favorite Italian cold cuts. If you’re catering to different dietary needs, thinly sliced turkey or roast beef can be good alternatives, though they’ll offer a different flavor profile.
- CHEESE: Provolone is a staple for its mild, slightly sharp flavor and incredible melting capabilities, creating that satisfying, gooey texture. Mozzarella is another excellent choice, offering a milder taste and equally fantastic melt. But don’t feel limited! Swiss, cheddar, or even a spicy Monterey Jack can add unique dimensions to your sliders. The key is to choose a cheese that melts well to achieve that irresistible ooey-gooey center.
- BUNS: Soft slider buns are perfect for this recipe because they hold up well to the fillings and butter. Hawaiian rolls are another popular option, adding a subtle sweetness that beautifully complements the savory meats and tangy peppers. Their soft, slightly dense texture also makes them ideal. If you’re feeling ambitious, you can even try making your own homemade Hawaiian rolls for an extra special touch. Regular dinner rolls cut in half or even mini ciabatta rolls could also work, providing a different bread texture.
- ROASTED BELL PEPPERS: Roasted red bell peppers add a wonderful sweetness and tender texture that contrasts beautifully with the savory meats. You can buy them jarred for convenience or roast them yourself. Feel free to experiment with other colors of roasted bell peppers or even add caramelized onions for another layer of sweet, savory flavor. Sun-dried tomatoes (packed in oil, drained and chopped) could also offer a concentrated, rich tomato note.
- PEPPERONCINIS: These mild, tangy pickled peppers are crucial for adding that signature zesty kick that cuts through the richness of the meats and cheese. They brighten the entire sandwich and provide a delightful textural contrast. If you prefer a bit more heat, a few sliced pickled jalapeños could be a daring substitution. For those who prefer less tang, simply reduce the amount or omit them entirely.
- ITALIAN SEASONING, GARLIC SALT, & ONION POWDER: This trio creates the aromatic, savory butter topping that transforms plain buns into golden, flavorful masterpieces. Italian seasoning typically includes oregano, basil, thyme, rosemary, and marjoram – a perfect blend for an Italian theme. Fresh minced garlic can be used instead of garlic salt for a stronger, more pungent garlic flavor. A pinch of red pepper flakes can also be added to the butter mixture for a subtle warmth.
Don’t be afraid to make these sliders truly your own by playing with these components!
How to Make Irresistible Italian Sliders: A Step-by-Step Guide
These step-by-step photos and instructions are here to help you visualize how to make this recipe. You can Jump to Recipe to get the printable version of this recipe, complete with measurements and instructions at the bottom.
- Begin by preheating your oven to 350°F (175°C). This ensures your oven is at the perfect temperature for even cooking and melty cheese.
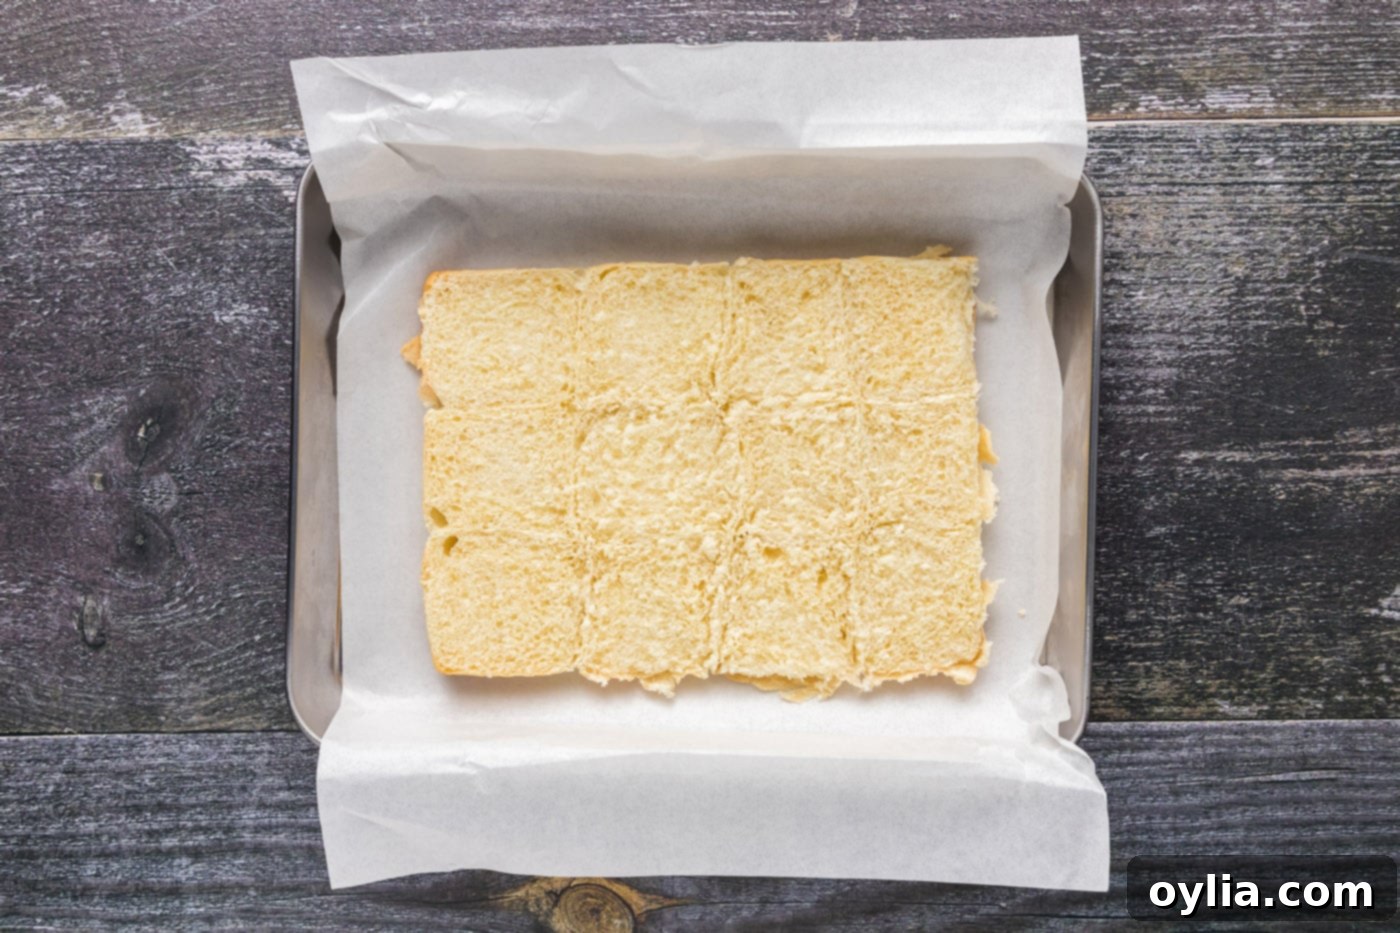
- Carefully cut your entire slab of slider buns in half horizontally, keeping the tops and bottoms intact. Place the bottom half of the buns in a parchment-lined baking pan. The parchment paper will prevent sticking and make cleanup a breeze.

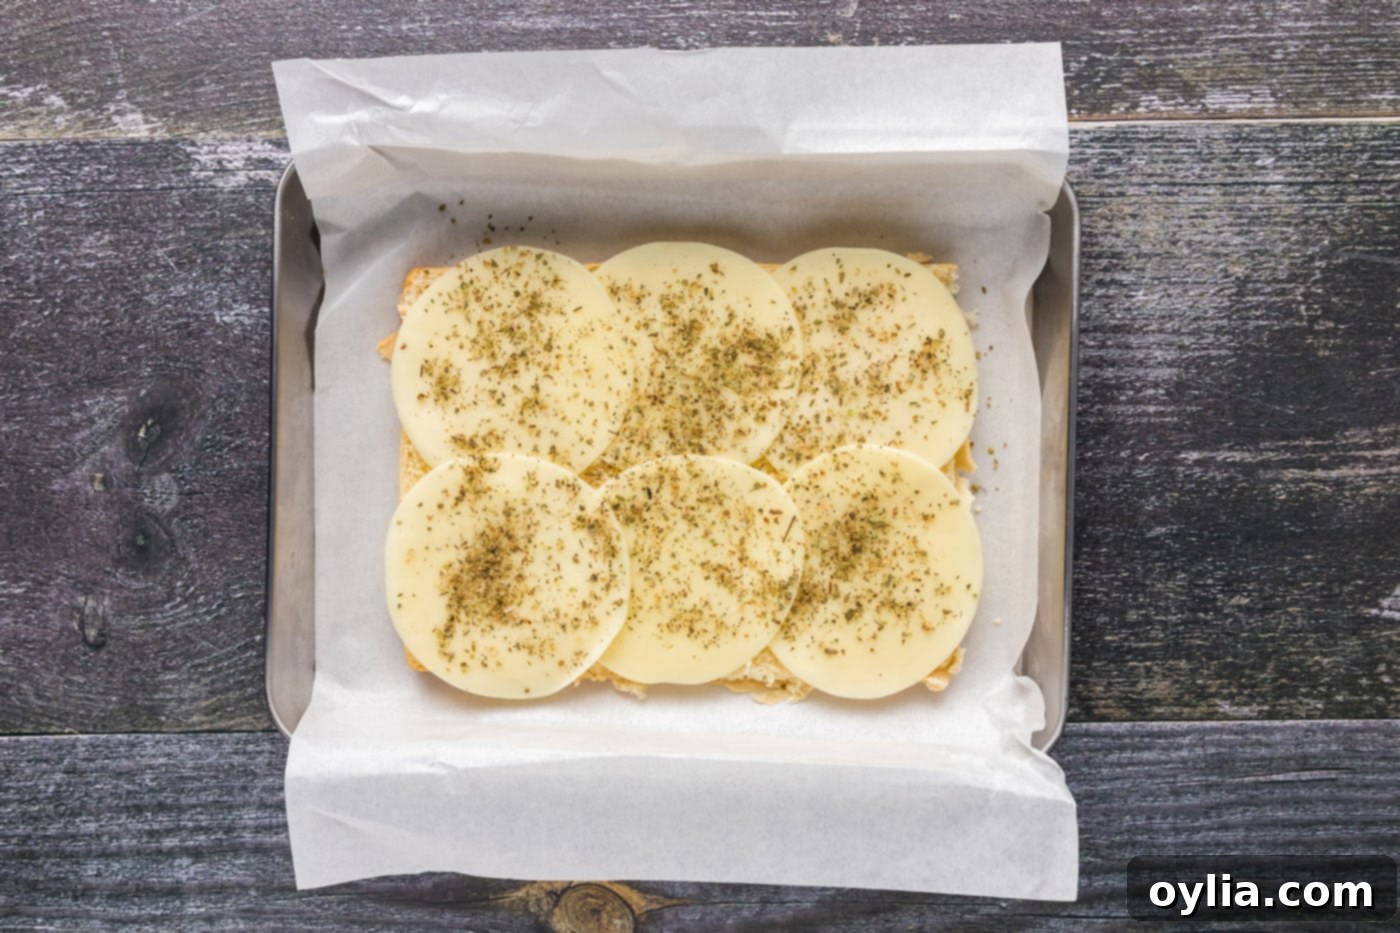
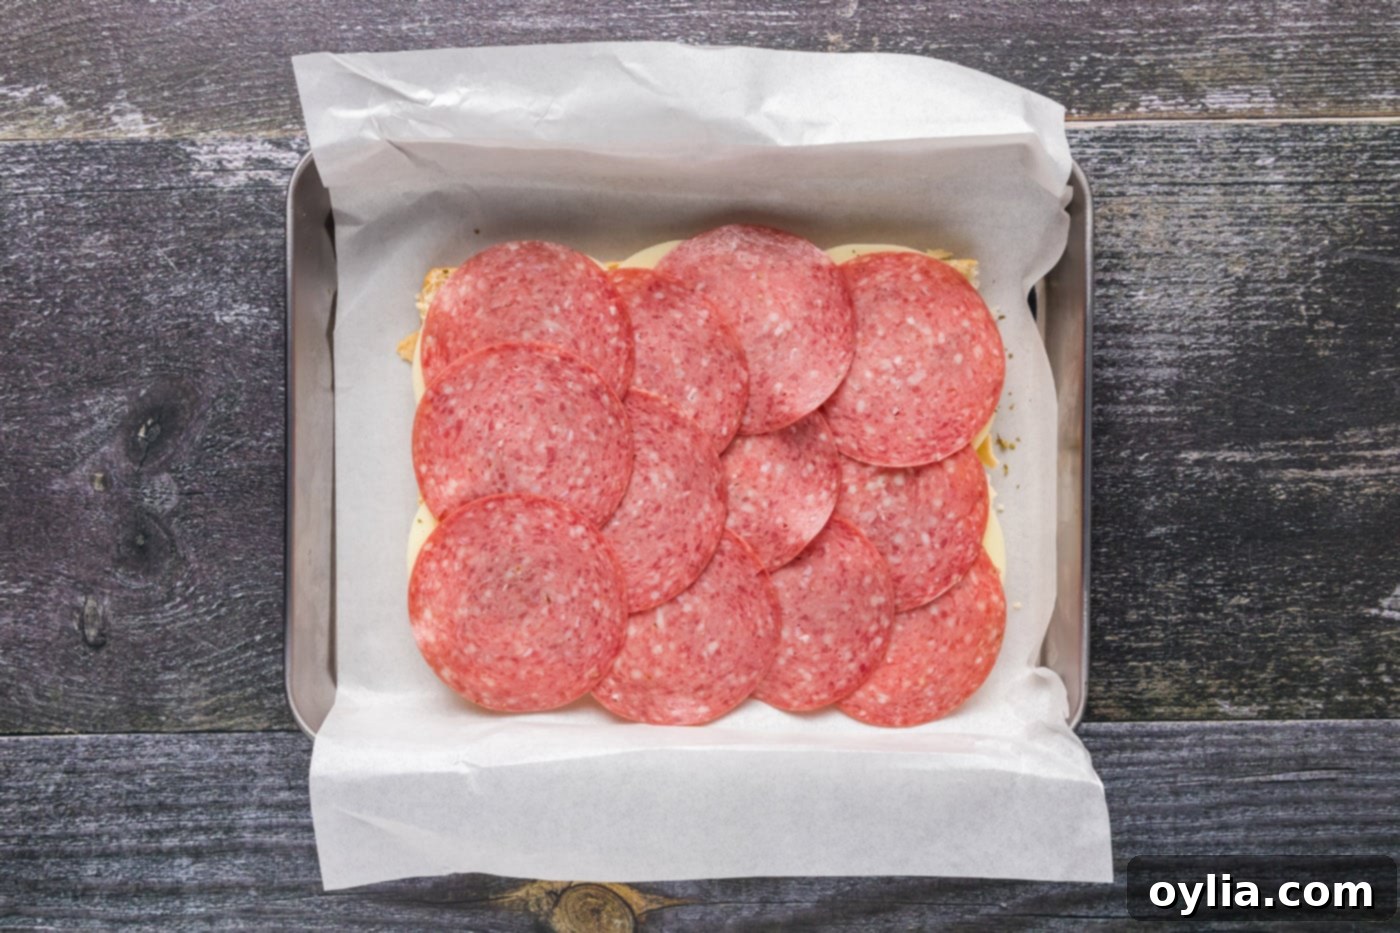
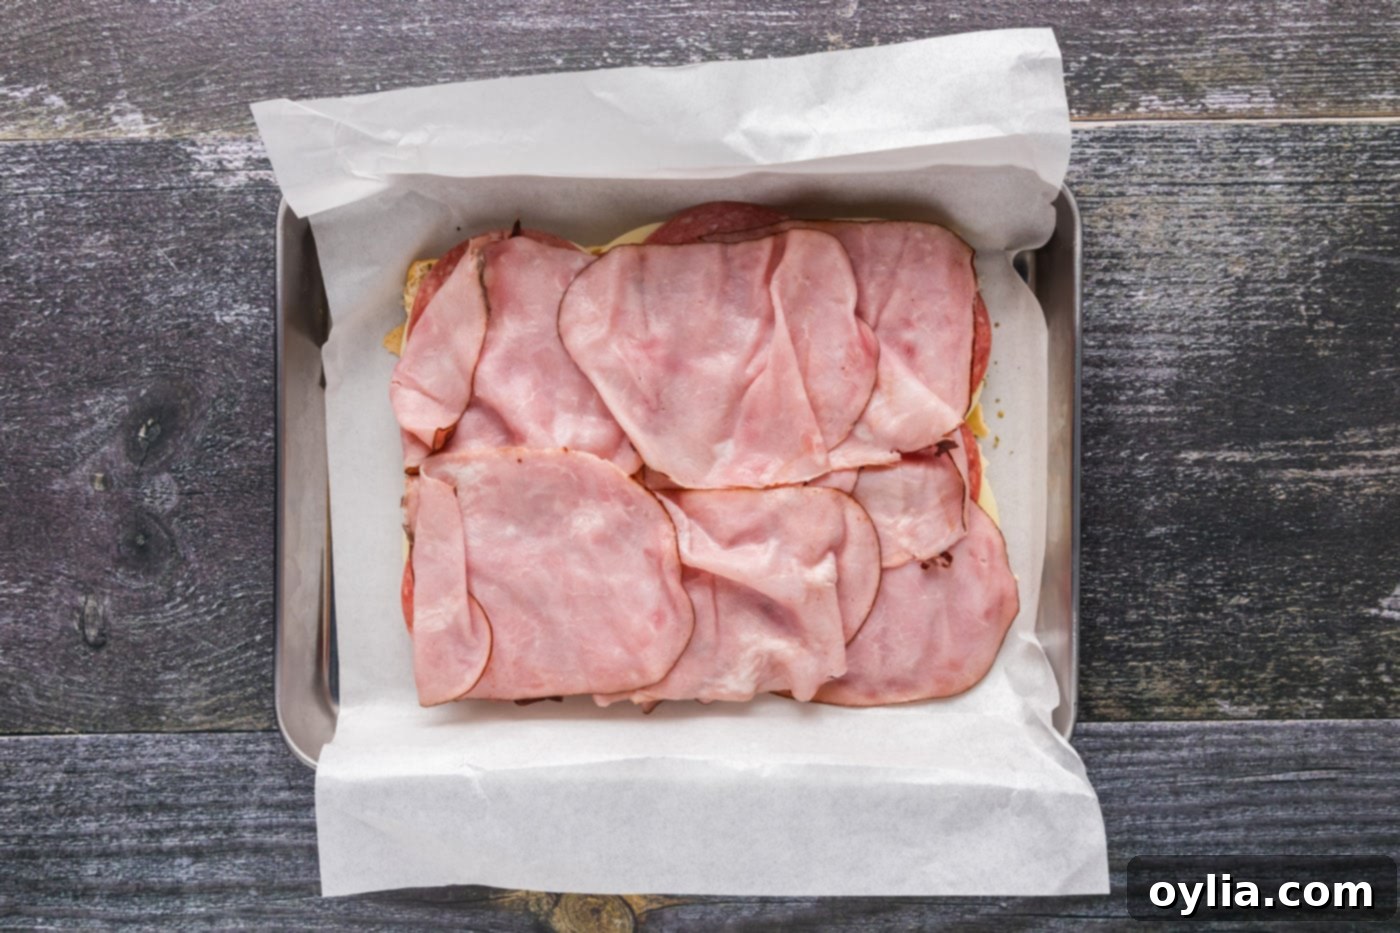
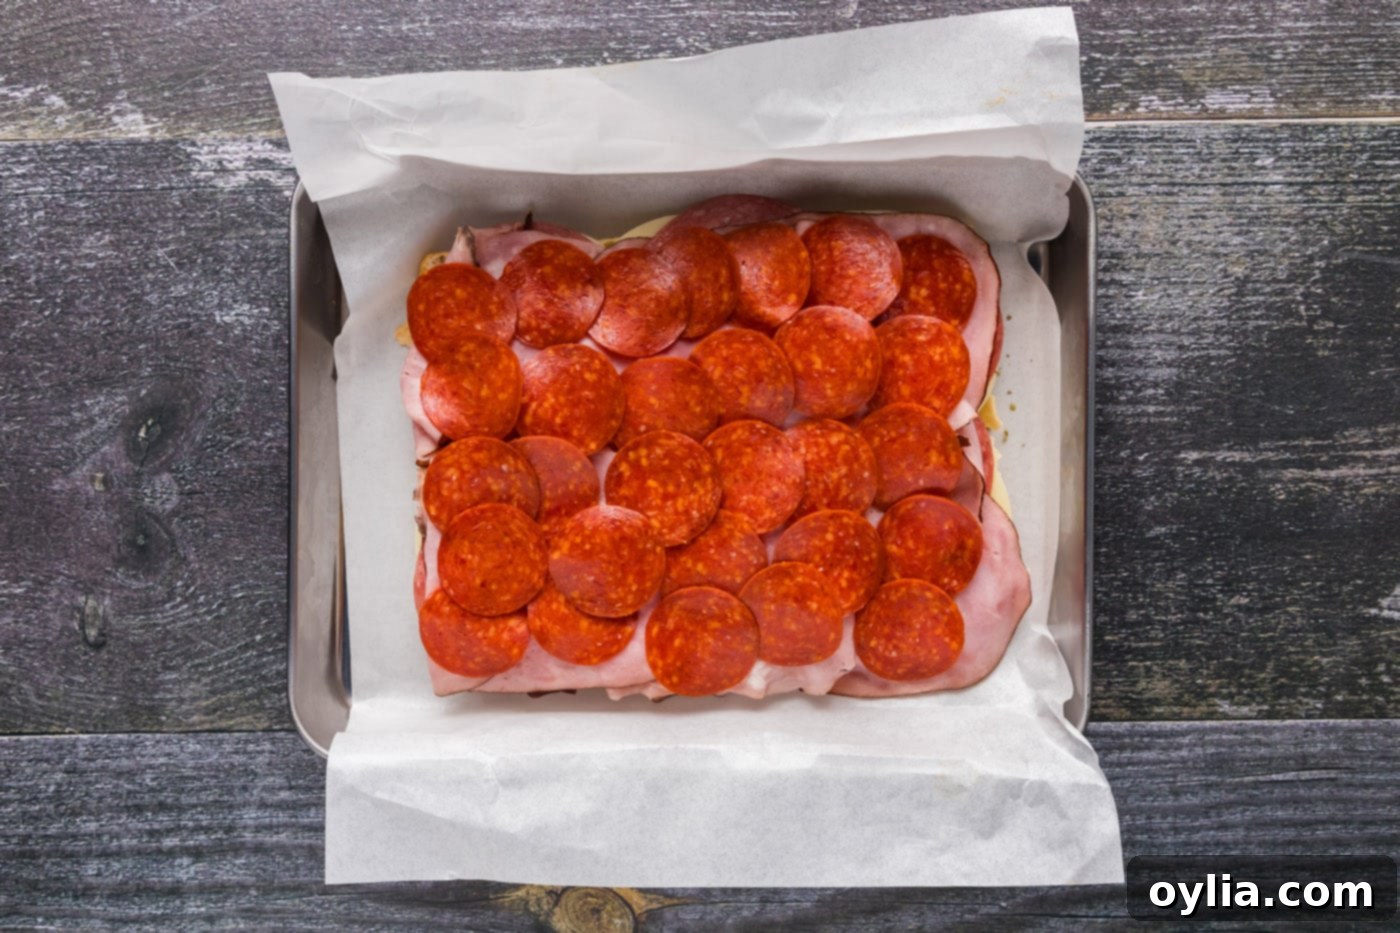
- Now, it’s time to build those delicious layers! Start with a single layer of provolone cheese over the bottom buns and lightly sprinkle with Italian seasoning. Follow this with a single, even layer of salami, then ham, and finally pepperoni. For extra hearty sliders, you can repeat these meat layers, ensuring even distribution.


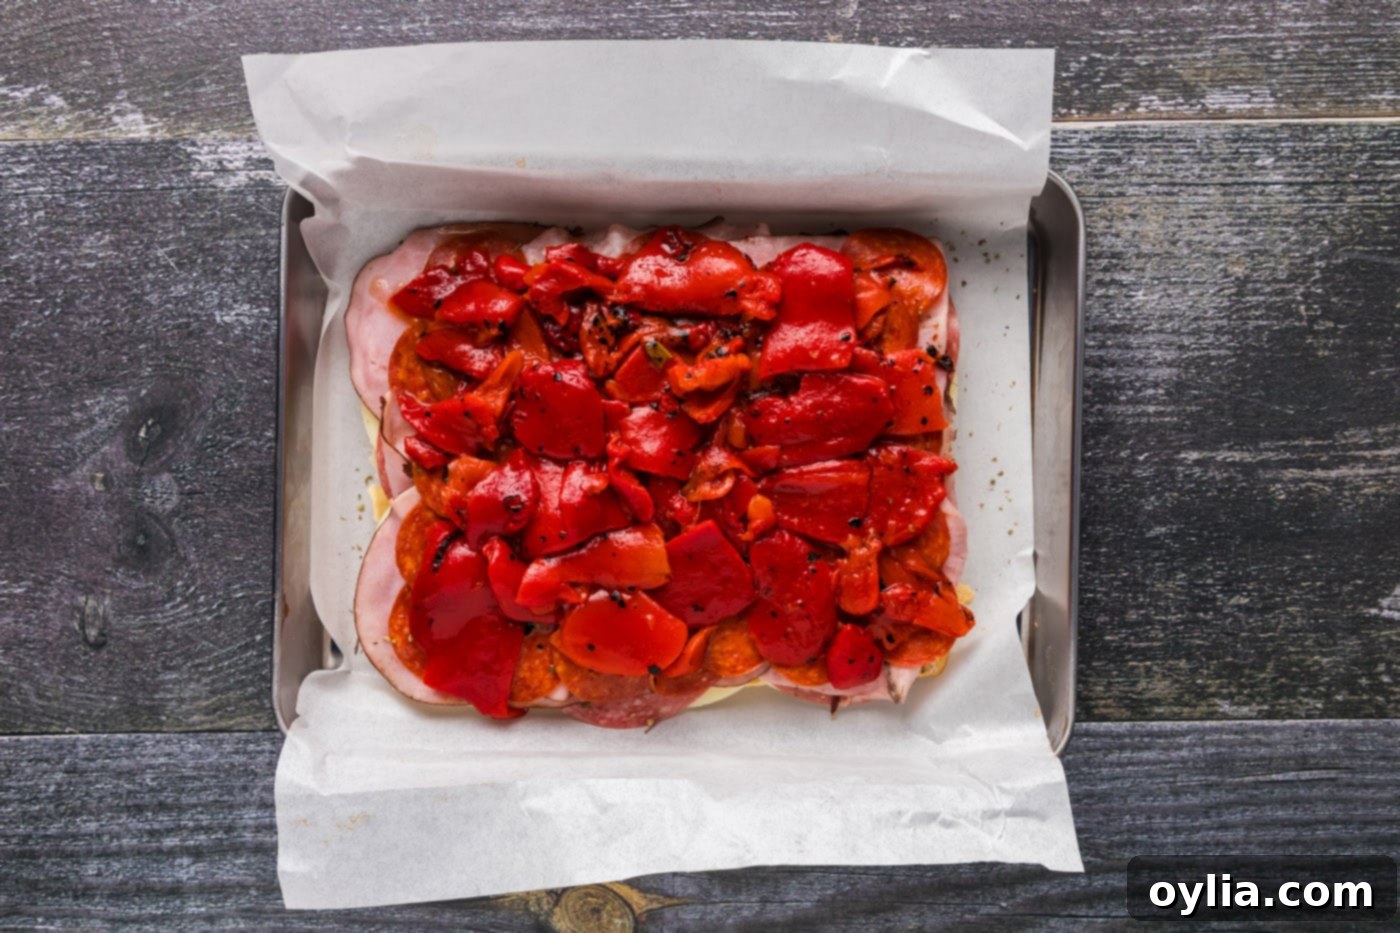
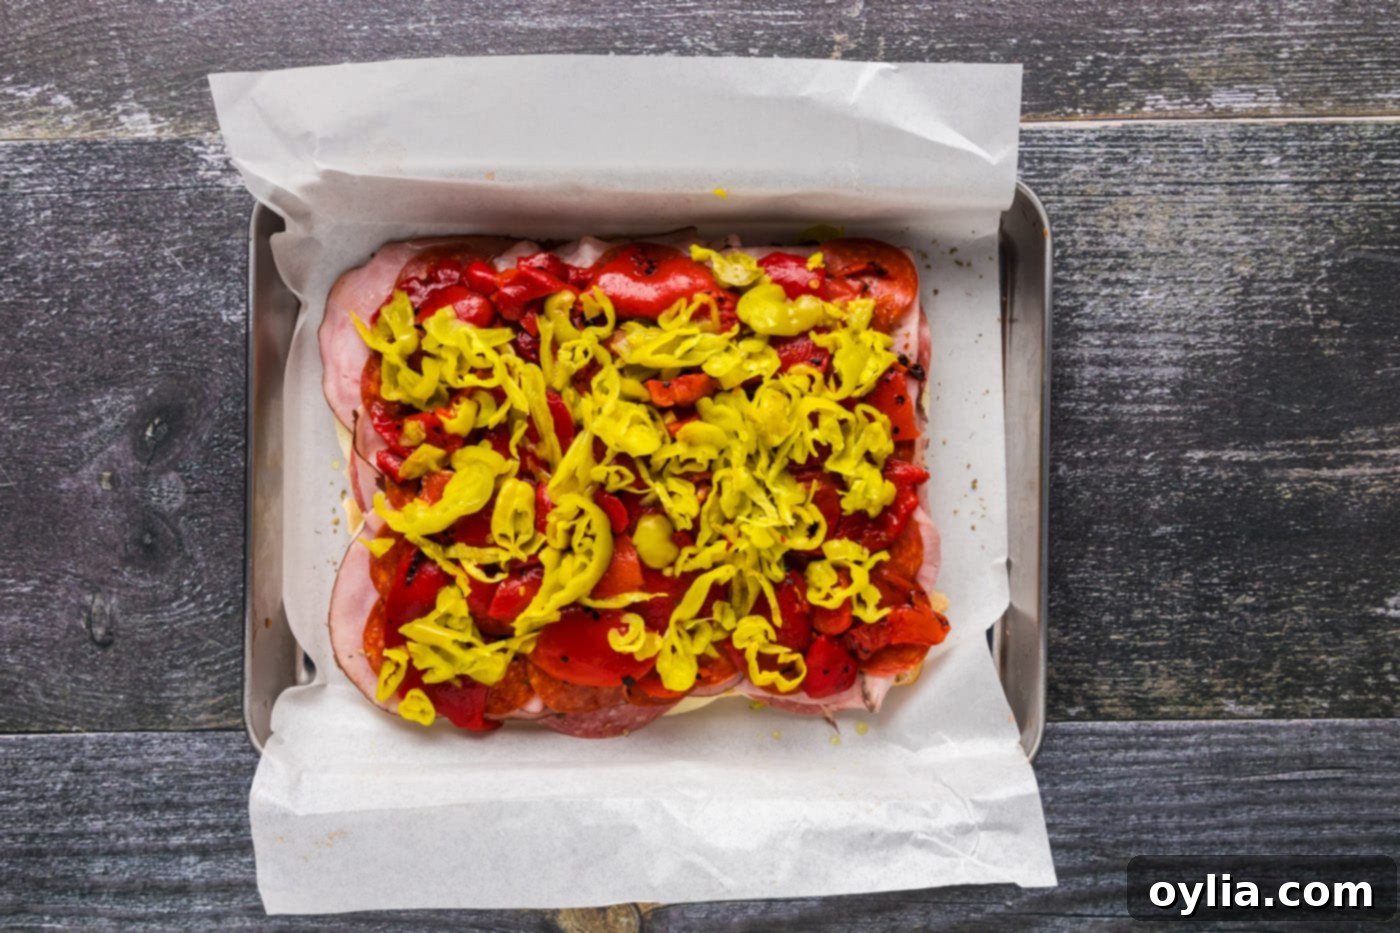
- Generously top the meat layers with your roasted red bell peppers, ensuring they are spread evenly for flavor in every bite. Then, scatter the sliced pepperoncinis over the peppers. These add that essential tangy counterpoint.


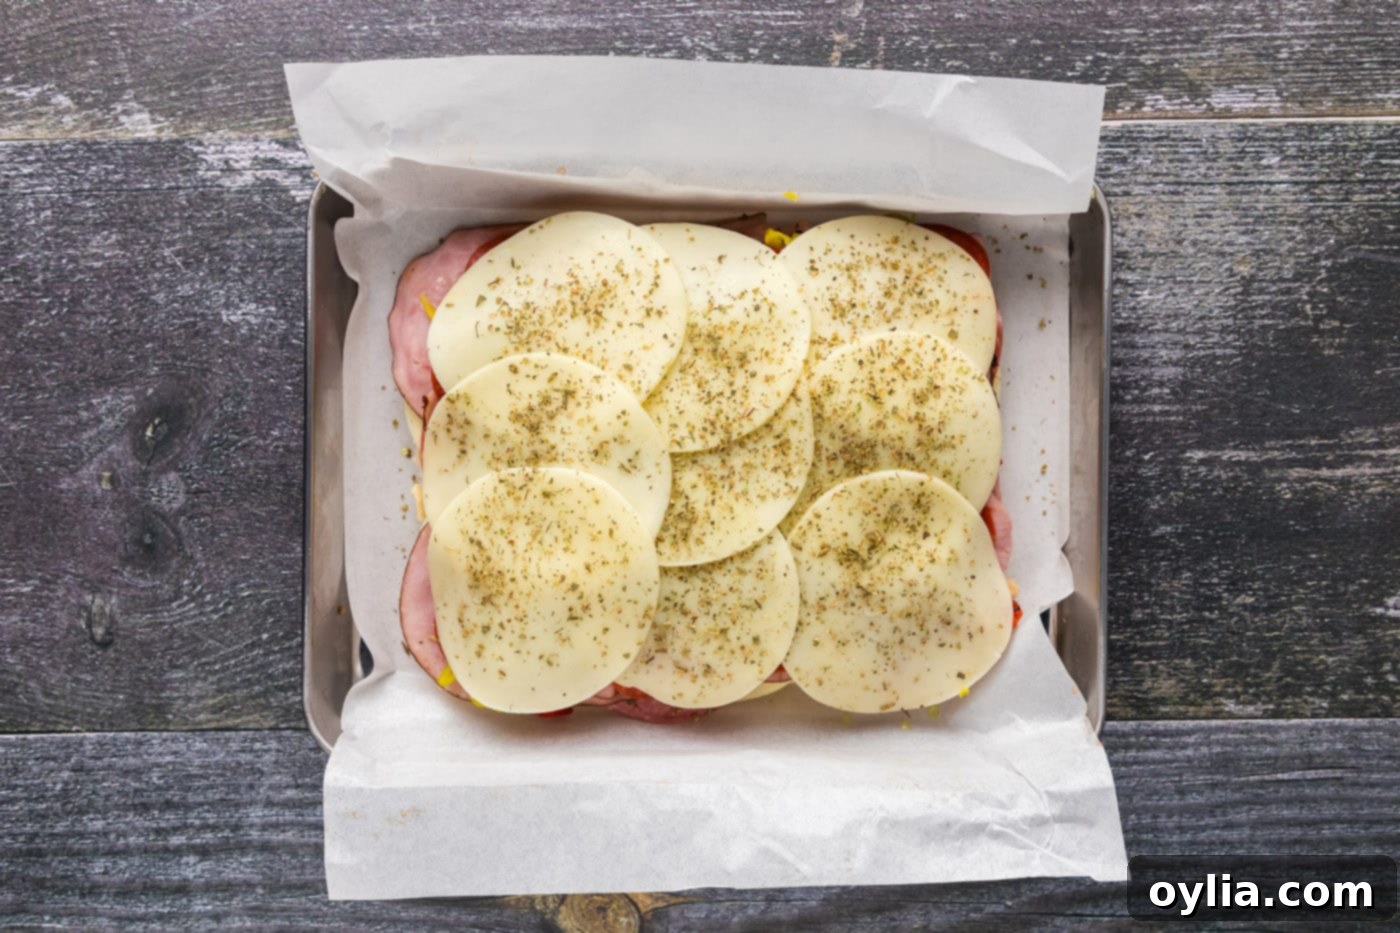
- Add one more generous layer of provolone cheese over the peppers and pepperoncinis. This top layer will get beautifully melted and gooey, holding everything together. Finish with another light sprinkle of Italian seasoning.

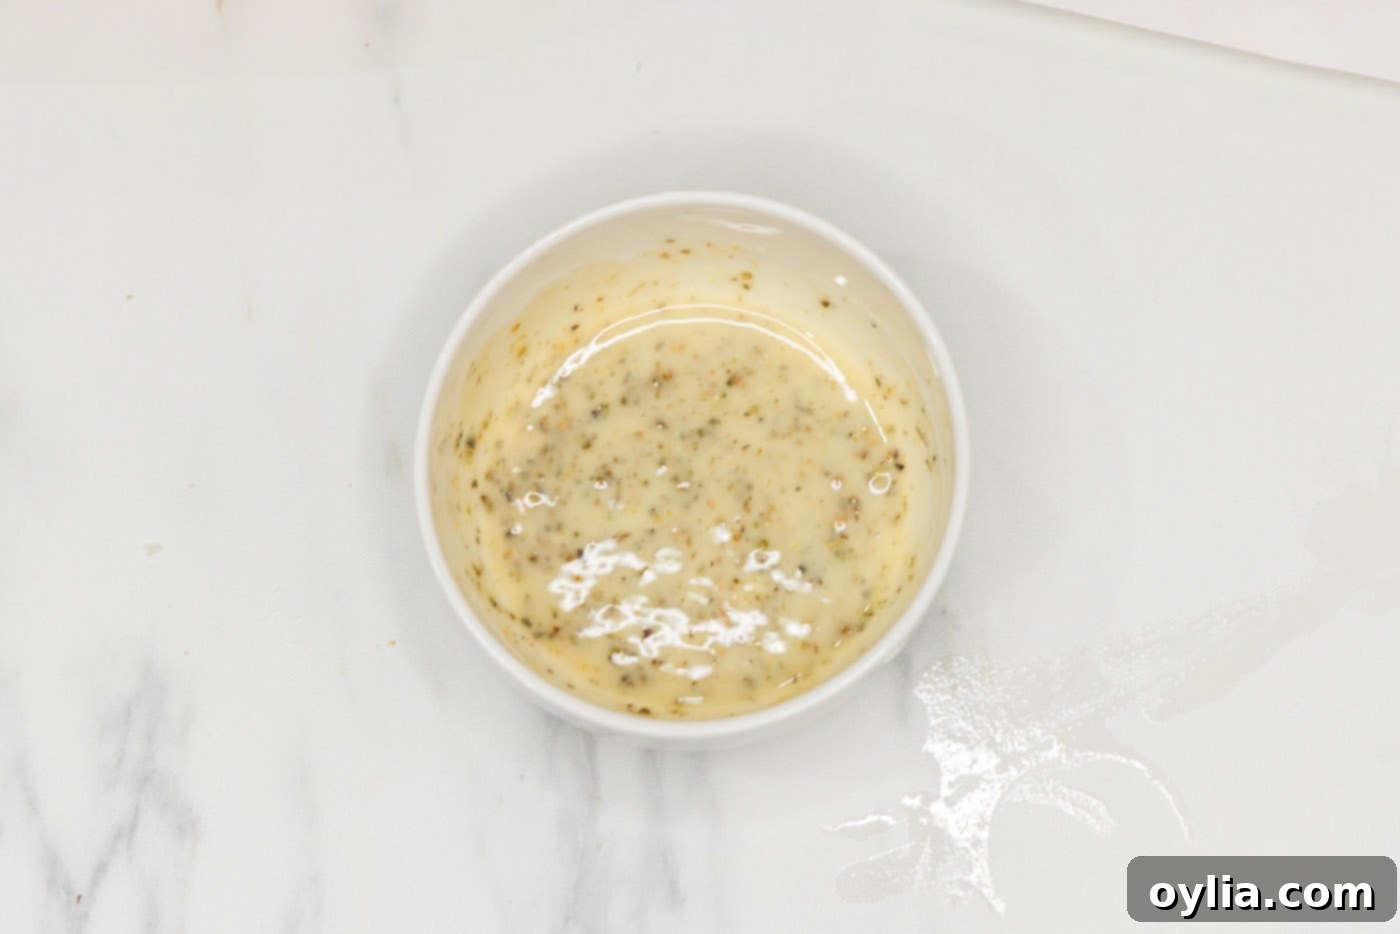
- In a small bowl, combine the softened unsalted butter with garlic salt, onion powder, and the remaining Italian seasoning. Stir until well combined. This flavorful butter mixture is key to giving the slider tops a golden, aromatic crust.

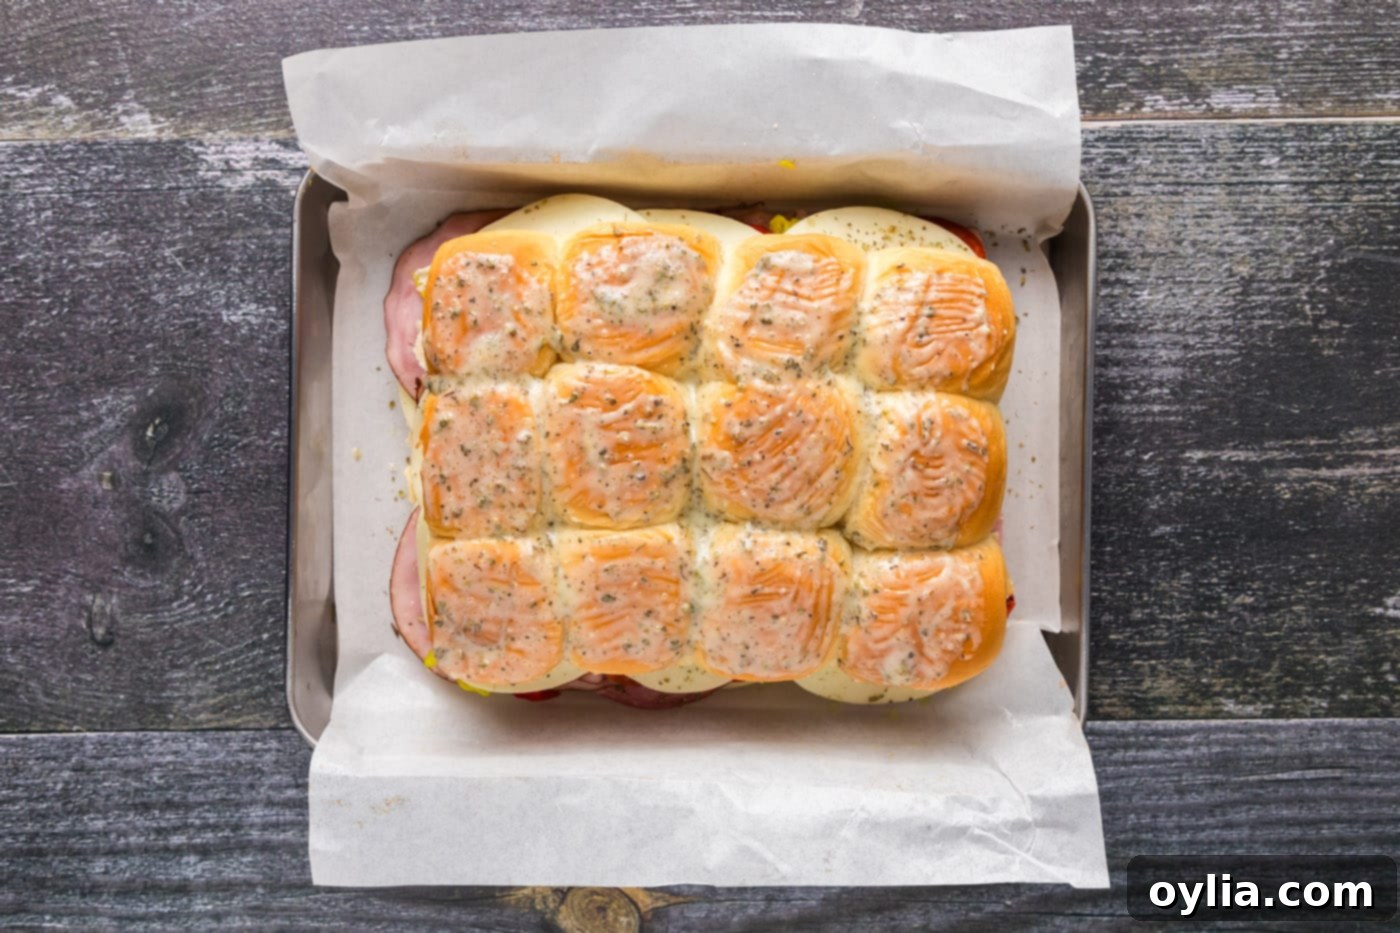
- Place the top half of the buns over the assembled sandwich layers. Using a pastry brush, evenly brush the butter mixture over the tops of the buns. This adds incredible flavor and helps them brown beautifully in the oven.

- Bake for 20 minutes, or until the cheese is bubbling and melted, and the tops of the buns are golden brown and toasty. Serve them warm and watch them disappear!
Pro Tips & Frequently Asked Questions
To ensure your Italian sliders turn out perfectly every time and to help you plan ahead, here are some expert tips and answers to common questions:
While these sliders are undeniably at their best when served fresh out of the oven, allowing the buns to stay perfectly toasty and the cheese gloriously melted, you can certainly do some prep work in advance. Assembling them completely the morning of your event is a great time-saver. Simply keep them covered tightly with foil or plastic wrap in the refrigerator until about 30 minutes before baking. For longer storage, it’s best to prep the ingredients (slice cheese, chop peppers, mix butter) and assemble just before baking to prevent the buns from becoming soggy.
If you’re lucky enough to have any leftovers, store them in an airtight container in the refrigerator for up to 3-4 days. To reheat, place them on a baking sheet and warm them in a 350°F (175°C) oven for about 10-15 minutes, or until they are thoroughly heated through and the cheese is melted again. You can also use an air fryer on the reheat setting for a quicker, crispier result, typically around 5-7 minutes at 300-325°F (150-160°C). Avoid the microwave if possible, as it can make the buns chewy and less appealing.
These sliders are highly adaptable!
- Add more veggies: Consider sautéed mushrooms, thinly sliced red onion, or even a layer of fresh spinach.
- Spice it up: Add a pinch of red pepper flakes to your butter mixture or a thin layer of hot giardiniera instead of pepperoncinis for extra heat.
- Different cheeses: Experiment with Fontina, sharp cheddar, or even a smoked Gouda for different flavor notes.
- Herbs: Fresh basil or oregano leaves tucked between the layers can elevate the aromatic profile.
- Sauces: A thin layer of marinara sauce or pesto on the bottom bun before adding cheese can add another dimension of flavor.
As an appetizer, plan for 2-3 sliders per person. If these are the main course (perhaps with a side salad), 3-4 sliders per person would be a good estimate, depending on appetites. This recipe yields 12 sliders, making it easy to scale up for larger gatherings.
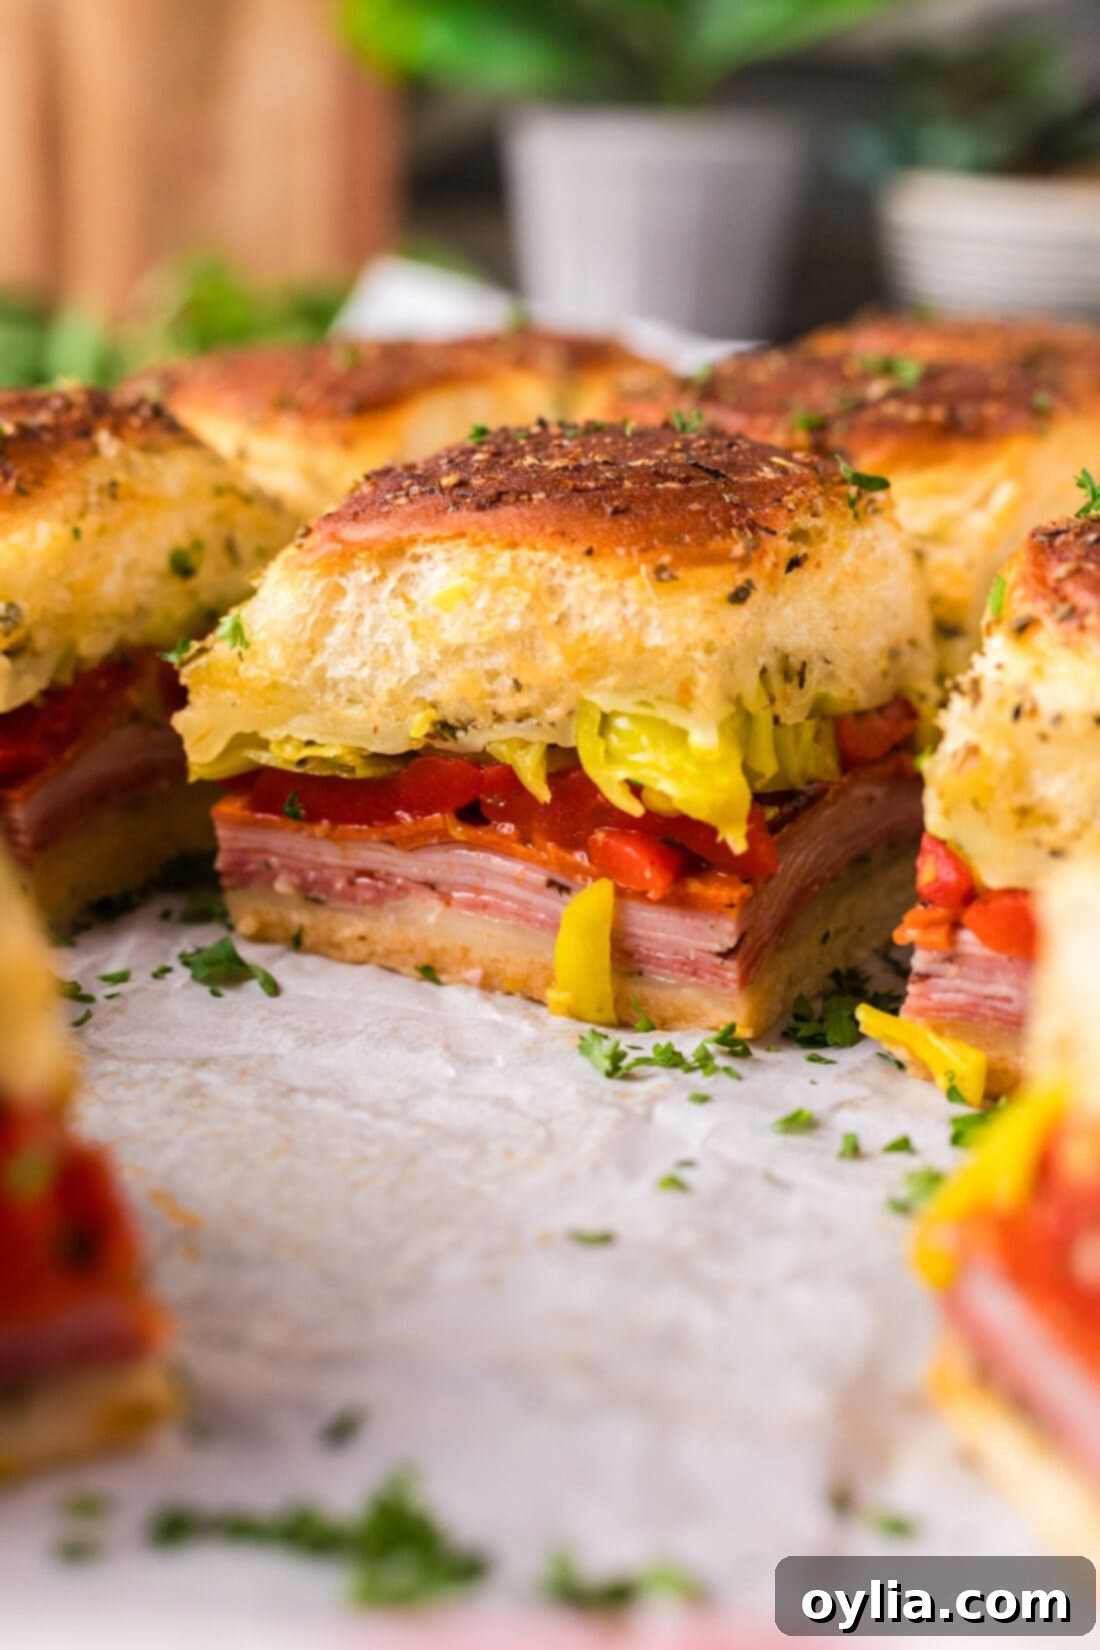
Perfect Pairings: What to Serve with Your Italian Sliders
Italian sliders are incredibly versatile and pair well with a variety of sides and sauces, making them perfect for almost any occasion. While they are utterly delicious on their own, a few thoughtful additions can elevate your meal:
- Flavorful Spreads: Consider offering a selection of dips and spreads for an extra layer of flavor. A vibrant pesto, a rich sun-dried tomato spread, a creamy garlic aioli, or a tangy balsamic glaze can all complement the robust flavors of the sliders beautifully.
- Salads: A fresh, crisp green salad with a light vinaigrette provides a refreshing contrast to the hearty sliders. A classic Italian pasta salad or a caprese salad with fresh mozzarella, tomatoes, and basil would also be excellent choices.
- Crispy Sides: A simple bowl of potato chips, a side of seasoned fries, or even some homemade garlic knots can complete the casual, fun vibe of a slider meal.
- Soup: For a comforting meal, especially on a cooler day, pair your sliders with a bowl of classic tomato soup or a hearty minestrone.
- Drinks: Sparkling water with lemon, iced tea, or even a light-bodied red wine would complement these flavors perfectly.
These sliders are truly a fantastic option, whether you’re planning a big party spread or simply looking for an easy, satisfying dinner during the week.
Discover More Delicious Slider Recipes
If you’ve fallen in love with the convenience and deliciousness of sliders, you’re in luck! There’s a whole world of mini sandwich possibilities waiting to be explored. Expand your party food repertoire or find your next easy weeknight meal with these other fantastic slider recipes:
- Pizza Sliders
- Roast Beef Sliders
- Pulled Pork Sliders
- Ham and Cheese Sliders
- Philly Cheesesteak Sliders
I absolutely adore sharing my passion for baking and cooking, along with my kitchen adventures, with all of you! To make sure you never miss out on a new, delicious recipe, I offer a convenient newsletter. Simply subscribe today and start receiving free daily recipes directly to your inbox!

Italian Sliders
IMPORTANT – There are often Frequently Asked Questions within the blog post that you may find helpful. Simply scroll back up to read them!
Print It
Pin It
Rate It
Save It
Saved!
Ingredients
- 12 slider buns or Hawaiian rolls
- 15 slices provolone cheese divided
- 2 Tablespoons Italian seasonings divided
- 12 slices hard salami
- 12 slices deli ham
- 26 slices pepperoni
- 1 cup roasted red bell peppers
- ¾ cup sliced pepperoncinis
- 1 Tablespoon unsalted butter very well softened
- 2 teaspoons garlic salt
- 1 teaspoon onion powder
Things You’ll Need
-
13×9 baking pan or larger
Before You Begin
- We used a classic combination of hard salami, deli ham, and pepperoni for a traditional Italian flavor. Feel free to explore other Italian cured meats like prosciutto, mortadella, or capicola to create your ultimate flavor combination.
- For the cheese, both provolone and mozzarella are excellent choices for their superb melting qualities. However, any good melting cheese you enjoy will work wonderfully on these sliders.
Instructions
-
Preheat oven to 350 F.
-
Cut buns in half and place bottom half in a parchment lined baking pan.
-
Add a single layer of provolone cheese and sprinkle with Italian seasoning. Add single layer of salami, ham, and pepperoni. Repeat these layers.
-
Top with roasted red bell pepper and pepperoncinis.
-
Add one more layer of provolone cheese and sprinkle with Italian seasoning.
-
In a small bowl combine butter, garlic salt, onion powder, and remaining Italian seasoning.
-
Add top half of buns to the sandwich layers and brush with butter mixture.
-
Bake for 20 minutes.
Expert Tips & FAQs
- For the best taste and texture, these sliders are ideally made and served on the same day. However, you can certainly assemble them the morning of your event to save time, ensuring the buns don’t get soggy by sitting overnight.
- Store any leftover sliders in an airtight container in the refrigerator for up to 4 days. Reheat them in a 350°F (175°C) oven until warmed through, or use the reheat function on your air fryer for quick crisping.
Nutrition
The recipes on this blog are tested with a conventional gas oven and gas stovetop. It’s important to note that some ovens, especially as they age, can cook and bake inconsistently. Using an inexpensive oven thermometer can assure you that your oven is truly heating to the proper temperature. If you use a toaster oven or countertop oven, please keep in mind that they may not distribute heat the same as a conventional full sized oven and you may need to adjust your cooking/baking times. In the case of recipes made with a pressure cooker, air fryer, slow cooker, or other appliance, a link to the appliances we use is listed within each respective recipe. For baking recipes where measurements are given by weight, please note that results may not be the same if cups are used instead, and we can’t guarantee success with that method.
