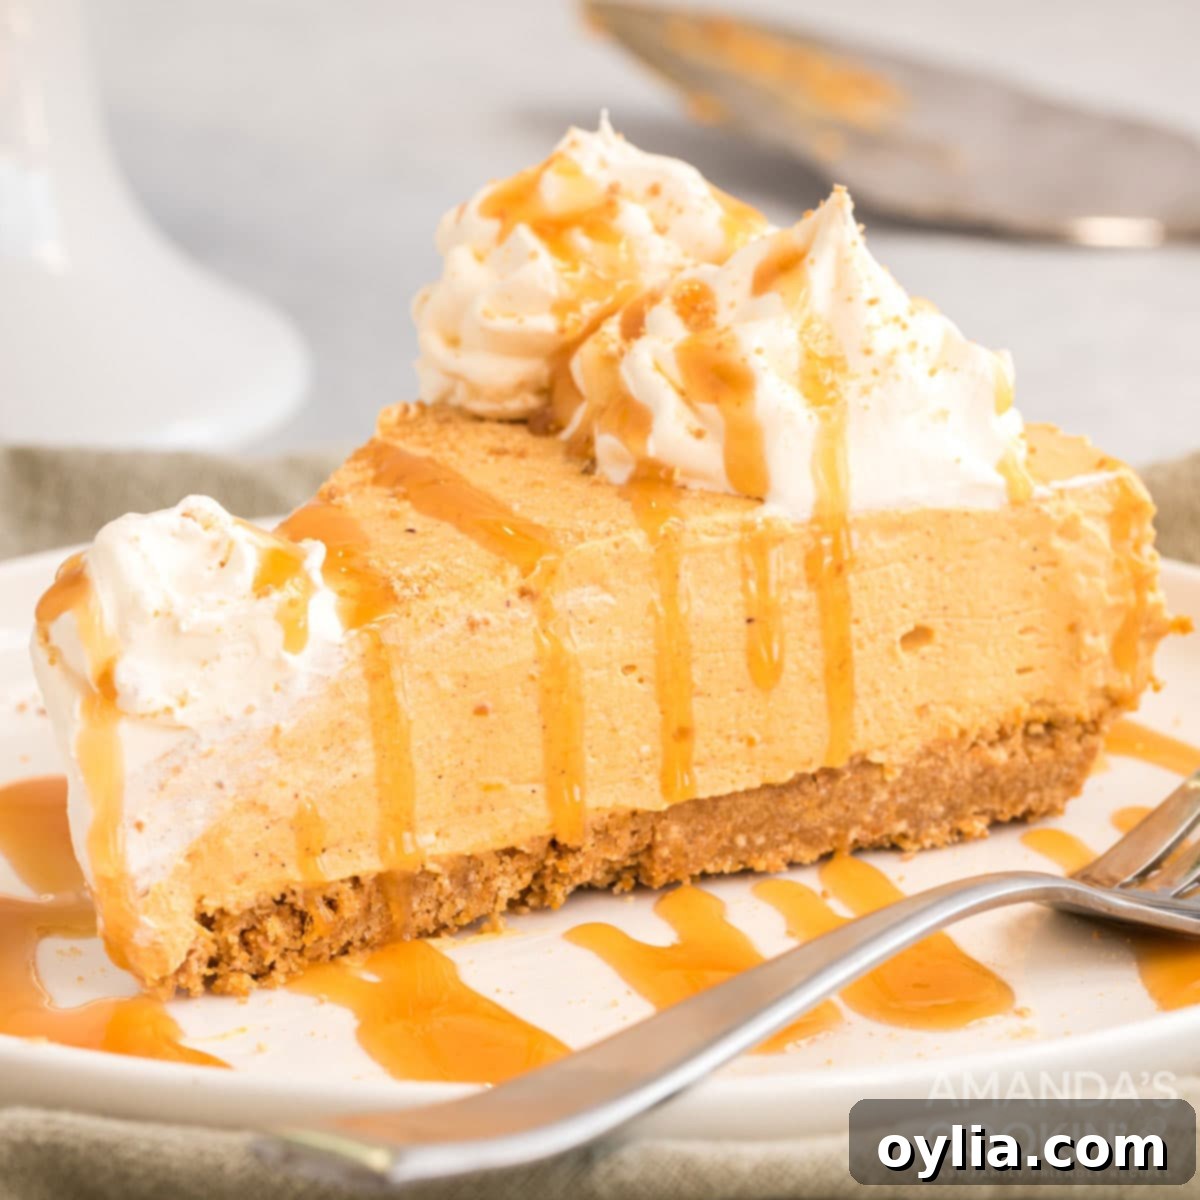
Effortless No-Bake Pumpkin Cheesecake: Your Perfect Fall & Thanksgiving Dessert
Prepare to be amazed by this incredible no-bake pumpkin cheesecake! With fewer than 10 ingredients and absolutely no oven time required, this dessert is a game-changer for anyone looking for a simple yet impressive treat. It’s super easy to assemble and guaranteed to impress your guests, especially during the busy fall and holiday seasons. Get ready to indulge in a creamy, spiced pumpkin delight without breaking a sweat!
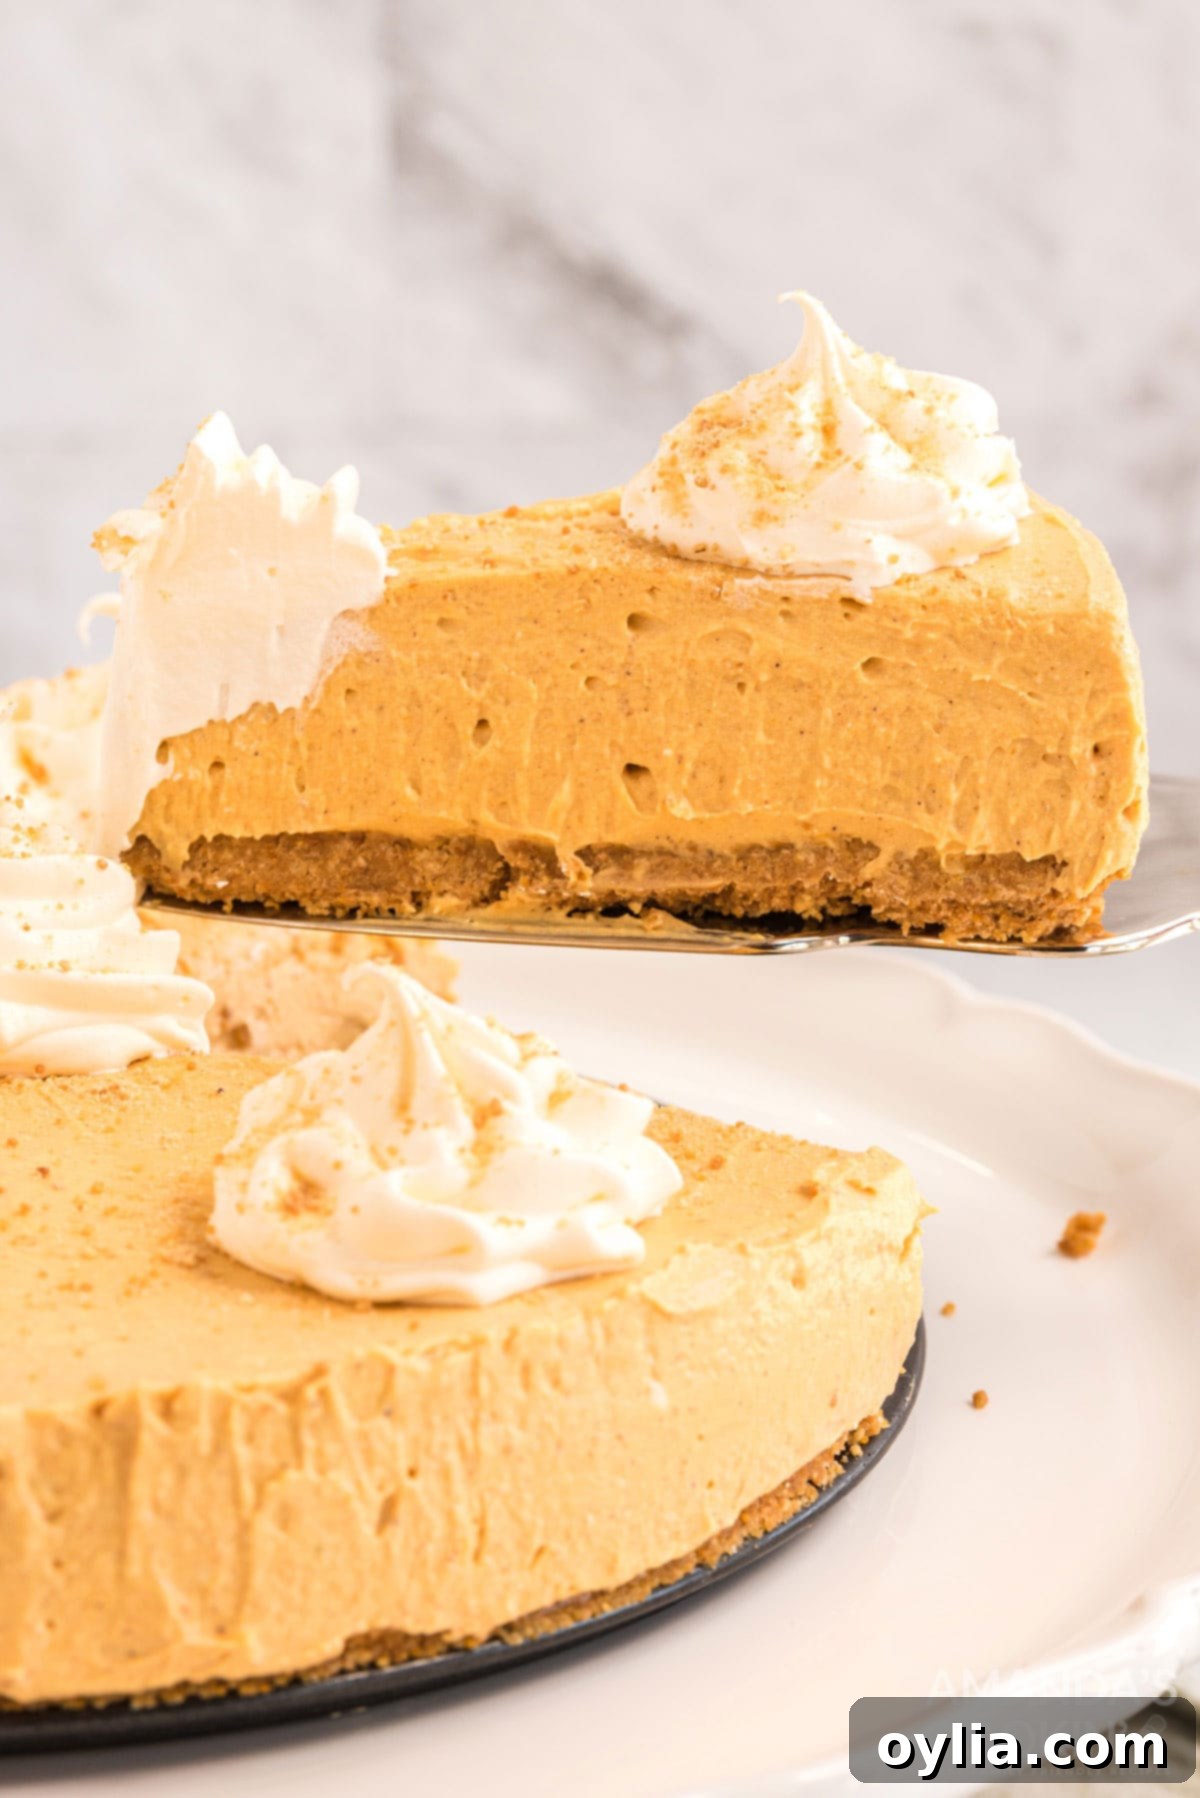
Why This No-Bake Pumpkin Cheesecake Recipe Works Wonders
Pumpkin season officially kicks off around late August, but often, the weather is still too warm to fire up the oven for baking. That’s where this delightful no-bake pumpkin cheesecake shines! It’s the perfect solution for satisfying your pumpkin cravings when the temperatures haven’t quite caught up to fall vibes. While it skips the oven, it does require some crucial chill time in the refrigerator, so be sure to factor that into your planning for the best results.
Beyond its no-oven convenience, this cheesecake is designed for effortless entertaining. Made in a springform pan, it’s incredibly easy to release and transport. This makes it an ideal dessert for any autumn gathering, whether you’re heading to a vibrant harvest party, a cozy potluck, or the grand Thanksgiving dinner. Its beautiful presentation and irresistible flavor are sure to make it a showstopper at any event. Plus, the ease of preparation means less stress for you, allowing more time to enjoy the festivities.
Essential Ingredients You Will Need for This Delicious Dessert
For precise measurements and detailed instructions, refer to the full printable recipe card at the end of this post.
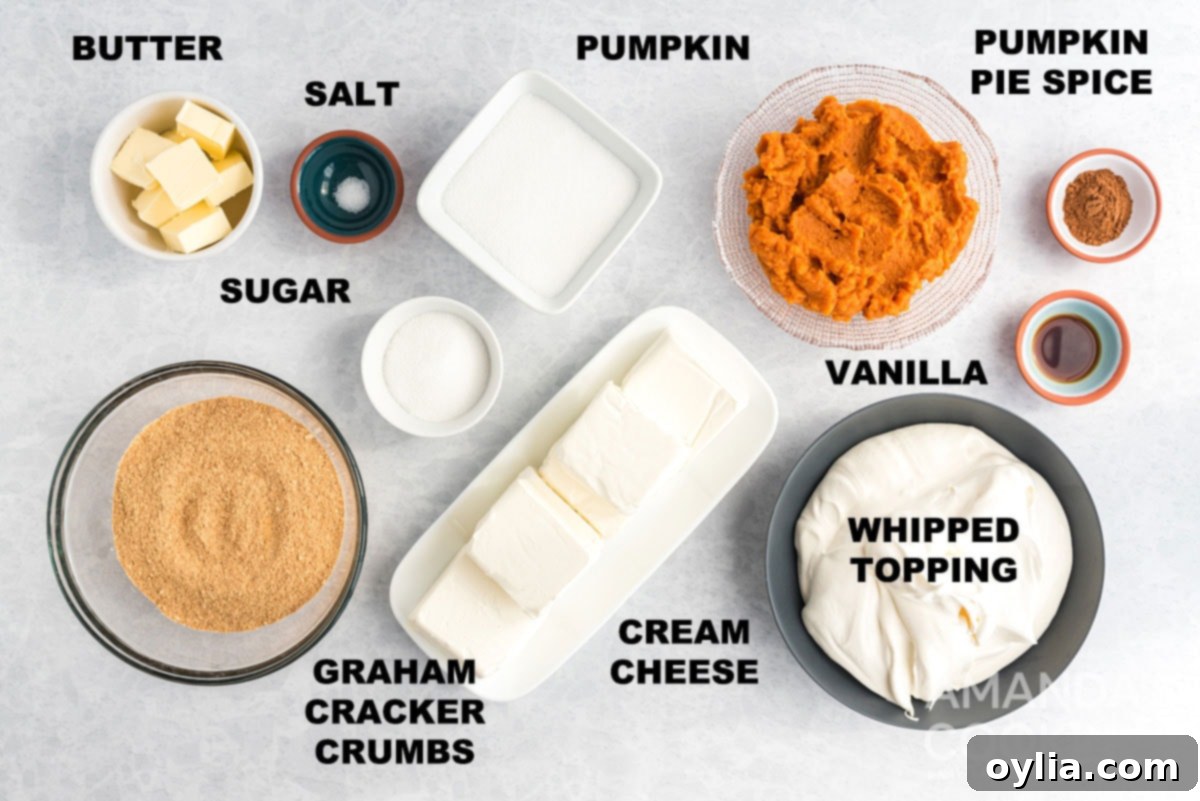
This recipe prides itself on its simplicity, using a handful of readily available ingredients to create a truly spectacular dessert. Here’s a closer look at what you’ll need and why each component is key:
- Graham Cracker Crumbs: These form the classic, buttery base of our cheesecake. You can buy pre-crushed crumbs or crush your own graham crackers for a fresher taste.
- Melted Butter: Binds the graham cracker crumbs together, creating a firm and flavorful crust.
- Granulated Sugar: Sweetens both the crust and the creamy pumpkin filling.
- Pinch of Salt: A small but mighty addition that balances the sweetness and enhances the overall flavor profile of the crust.
- Cream Cheese (Well Softened): The star of any cheesecake! Ensure it’s fully softened to room temperature for a lump-free, silky-smooth filling. We’ll delve into this more in the tips section.
- Pumpkin Puree (NOT Pumpkin Pie Filling): This is crucial. Use pure canned pumpkin puree, which is just cooked, mashed pumpkin. Pumpkin pie filling already contains spices and sweeteners, which would alter the taste of our recipe.
- Pumpkin Pie Spice: The quintessential fall spice blend that gives our cheesecake its signature autumn flavor. If you don’t have it, you can create your own blend with cinnamon, nutmeg, ginger, and cloves.
- Vanilla Extract: A touch of vanilla rounds out the flavors beautifully, adding warmth and depth to the pumpkin mixture.
- Whipped Topping or Whipped Cream (Divided): This lightens the filling and serves as a gorgeous, airy garnish. Using a store-bought whipped topping makes it incredibly quick, but fresh homemade whipped cream is also an excellent choice.
Gathering these simple ingredients is the first step towards enjoying a truly remarkable fall dessert!
Step-by-Step Guide: How to Make No-Bake Pumpkin Cheesecake
These step-by-step photos and detailed instructions are here to guide you through the process, helping you visualize each stage of making this delicious cheesecake. For the full, printable recipe with exact measurements, please scroll down to the recipe card at the end of this post.
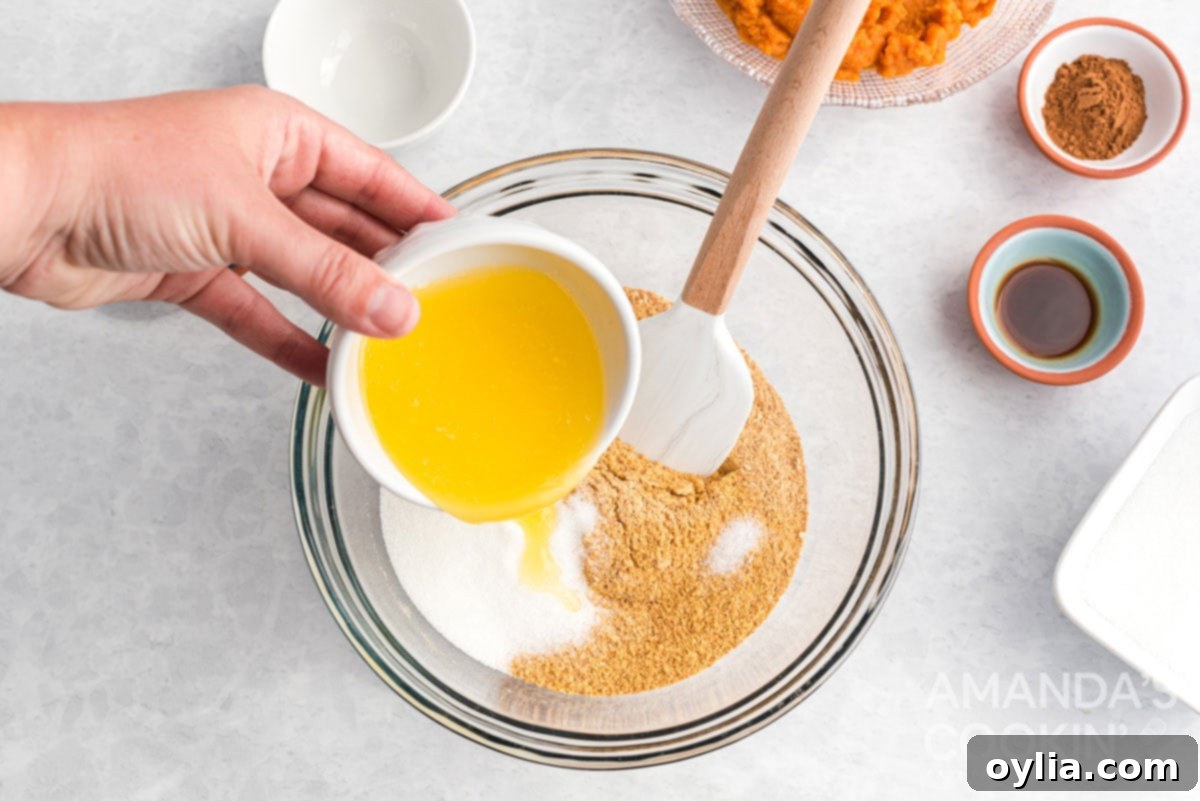
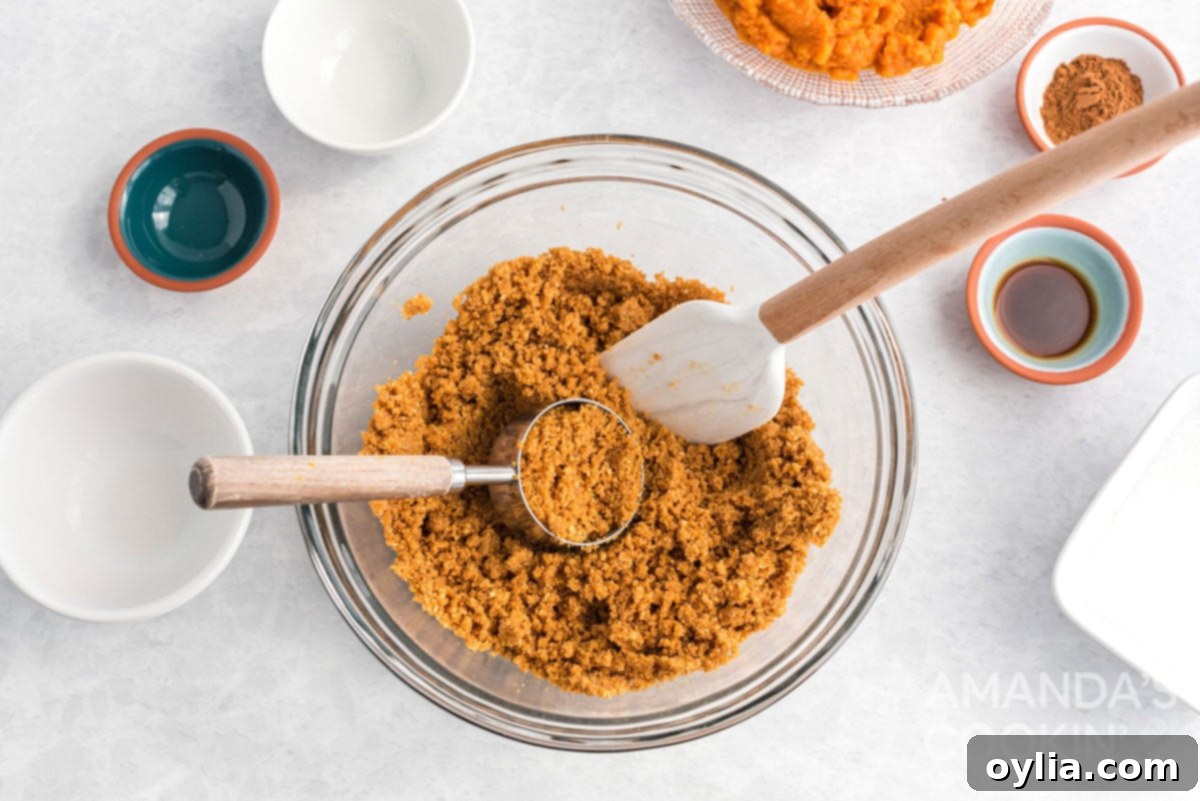
- **Prepare the Crust:** In a large mixing bowl, combine the graham cracker crumbs, melted butter, granulated sugar, and a pinch of salt. Mix thoroughly until the crumbs are evenly moistened and resemble wet sand. This ensures a cohesive crust. Reserve about 1/4 cup of this crumb mixture to use as a delightful garnish later, and set it aside.
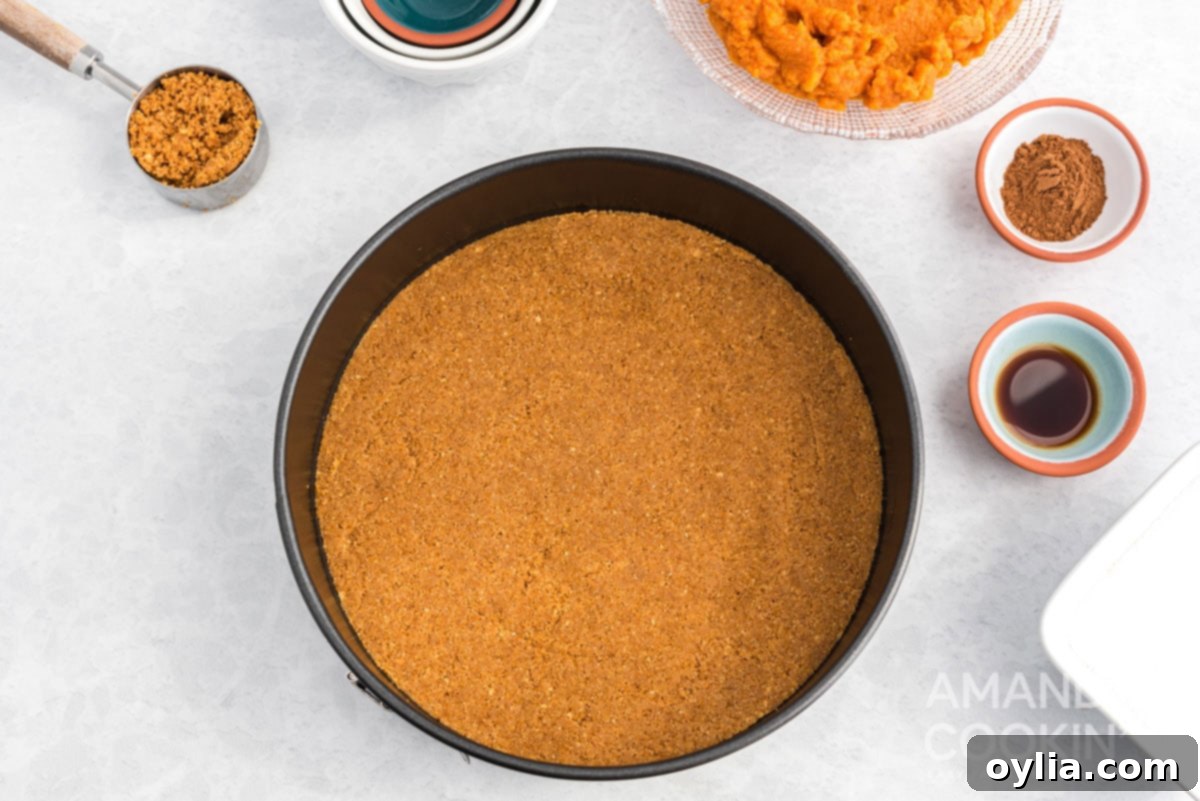
- **Form the Crust:** Press the remaining crumb mixture firmly into the bottom of an 8 or 9-inch springform pan. Use the back of a spoon or your fingers to create an even, compact layer. This firm base is crucial for a cheesecake that holds its shape. Place the pan in the refrigerator to chill and firm up while you prepare the filling.
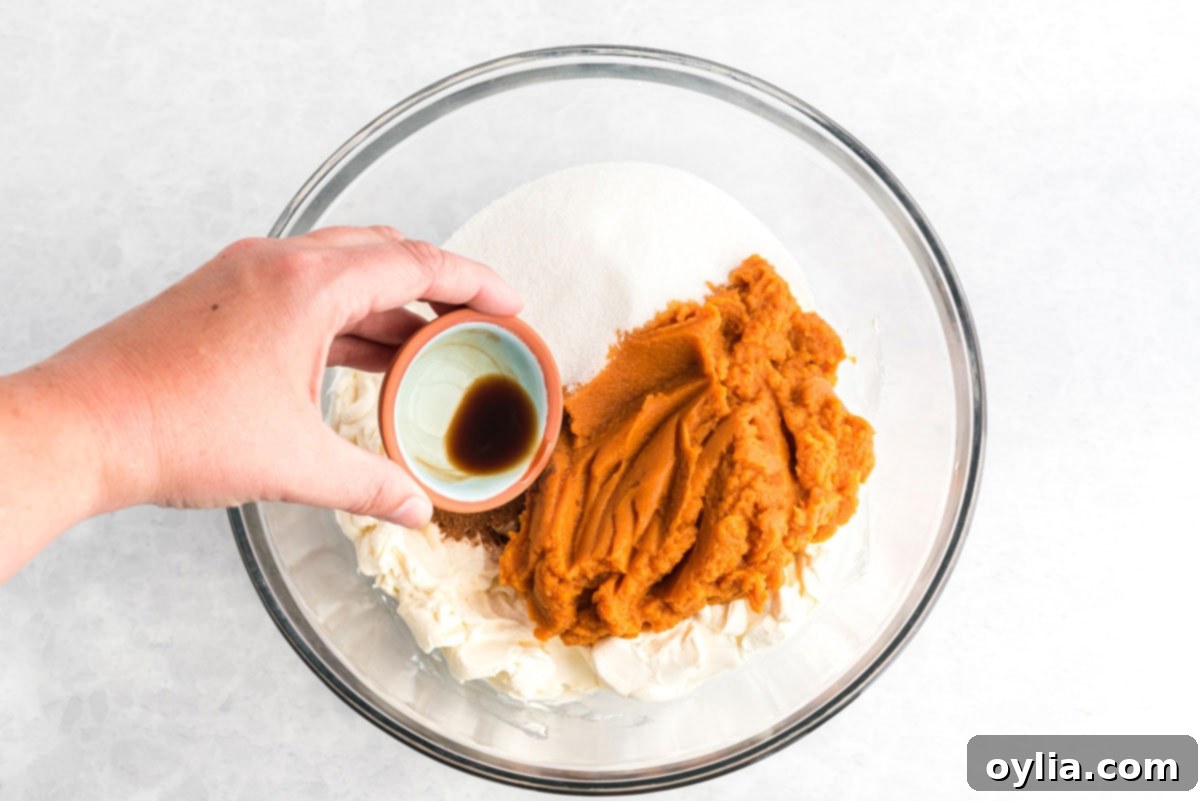
- **Prepare the Pumpkin Filling:** In a separate, clean mixing bowl, using an electric mixer (either a hand mixer or stand mixer), beat the softened cream cheese until it’s light and fluffy. Then, add the pumpkin puree, granulated sugar, pumpkin pie spice, and vanilla extract. Continue to beat until the mixture is completely smooth, well combined, and lump-free.
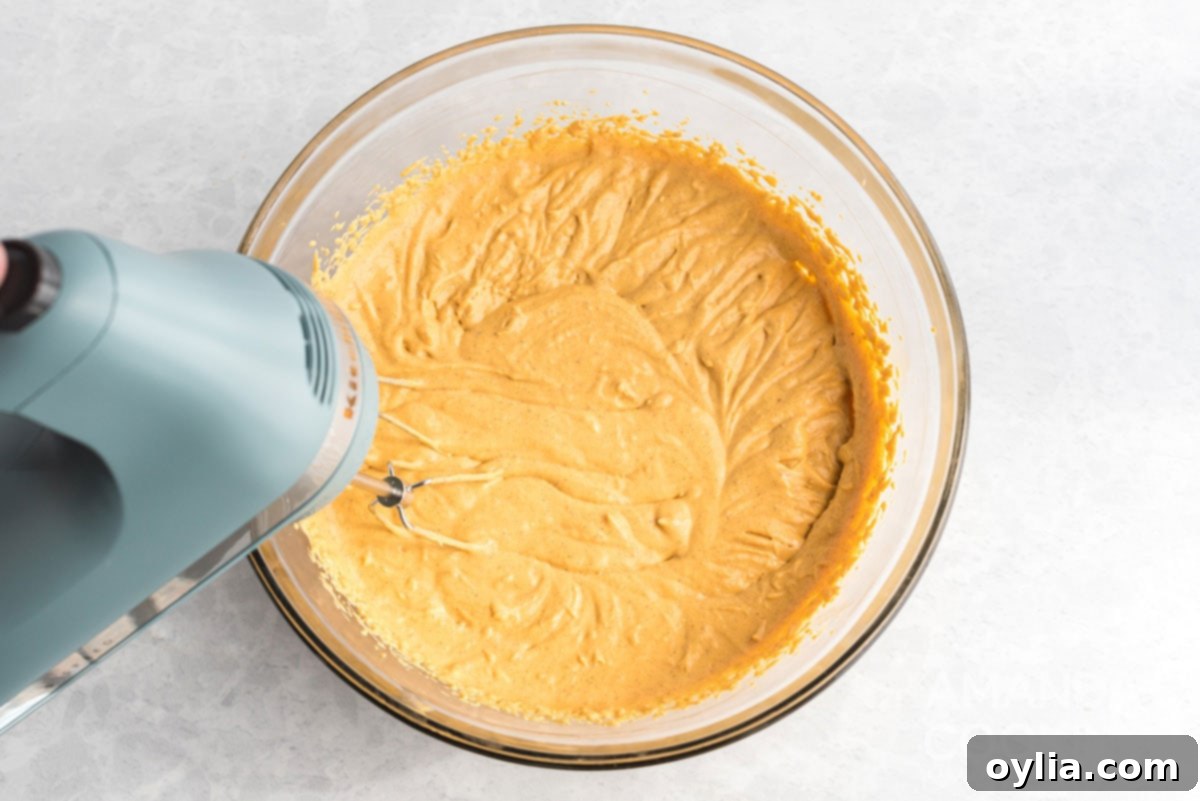
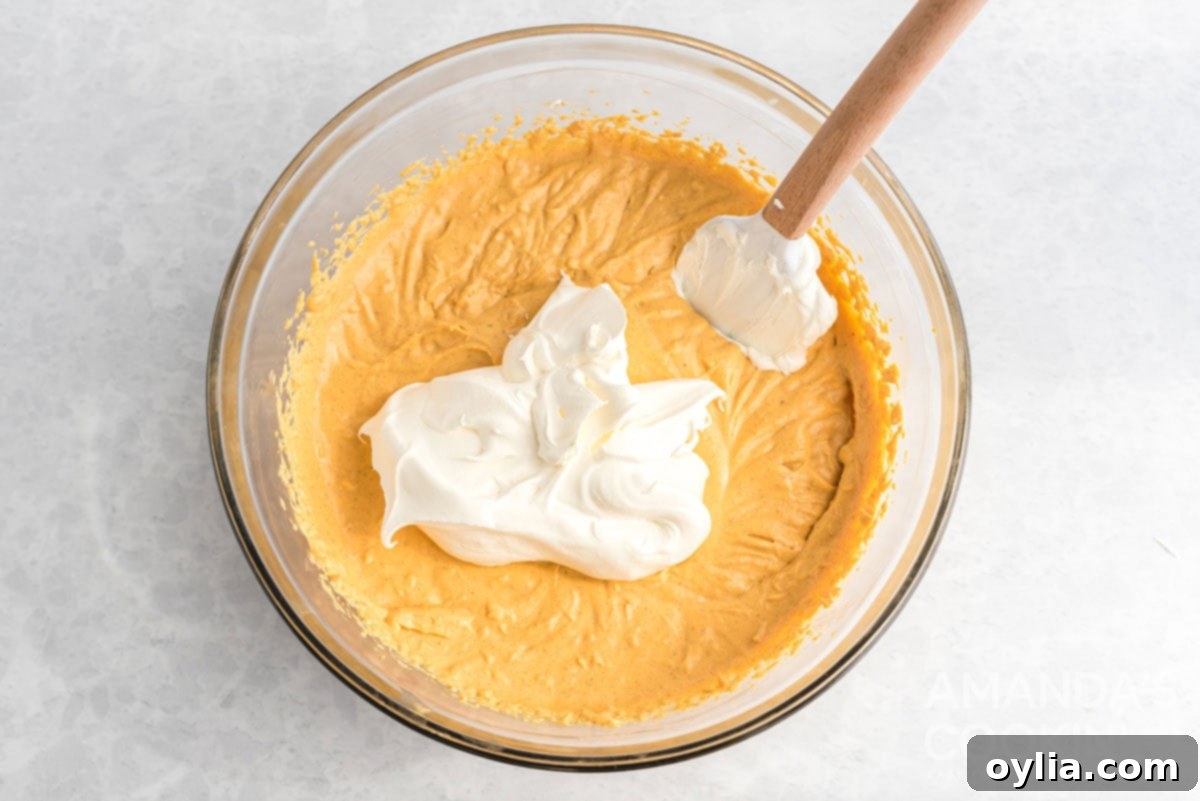
- **Fold in Whipped Topping:** Gently fold in 1 cup of your chosen whipped topping (or homemade whipped cream) into the pumpkin-cream cheese mixture using a rubber spatula. Be careful not to overmix, as you want to keep the filling light and airy. This step adds a wonderful, delicate texture to the cheesecake.
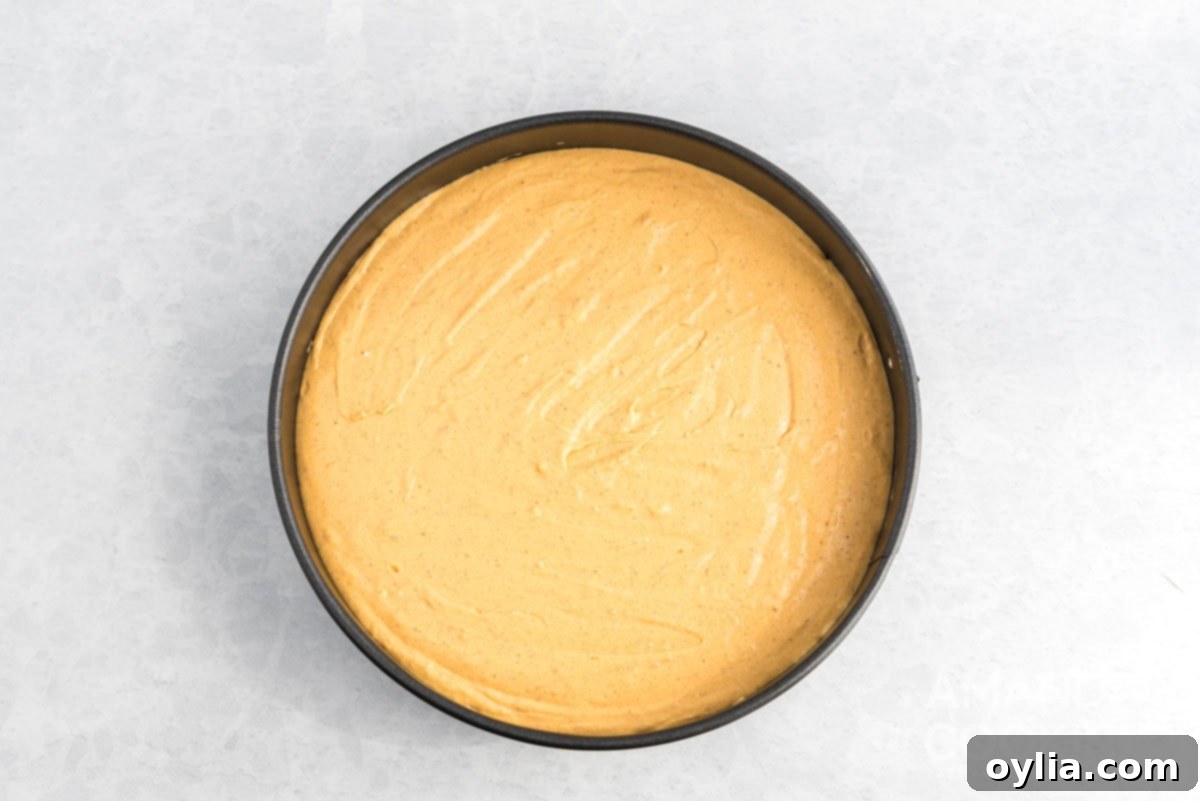
- **Assemble the Cheesecake:** Carefully scrape the luscious pumpkin cheesecake mixture into the chilled graham cracker crust in the springform pan. Use your spatula to gently spread the top evenly, creating a smooth and appealing surface.
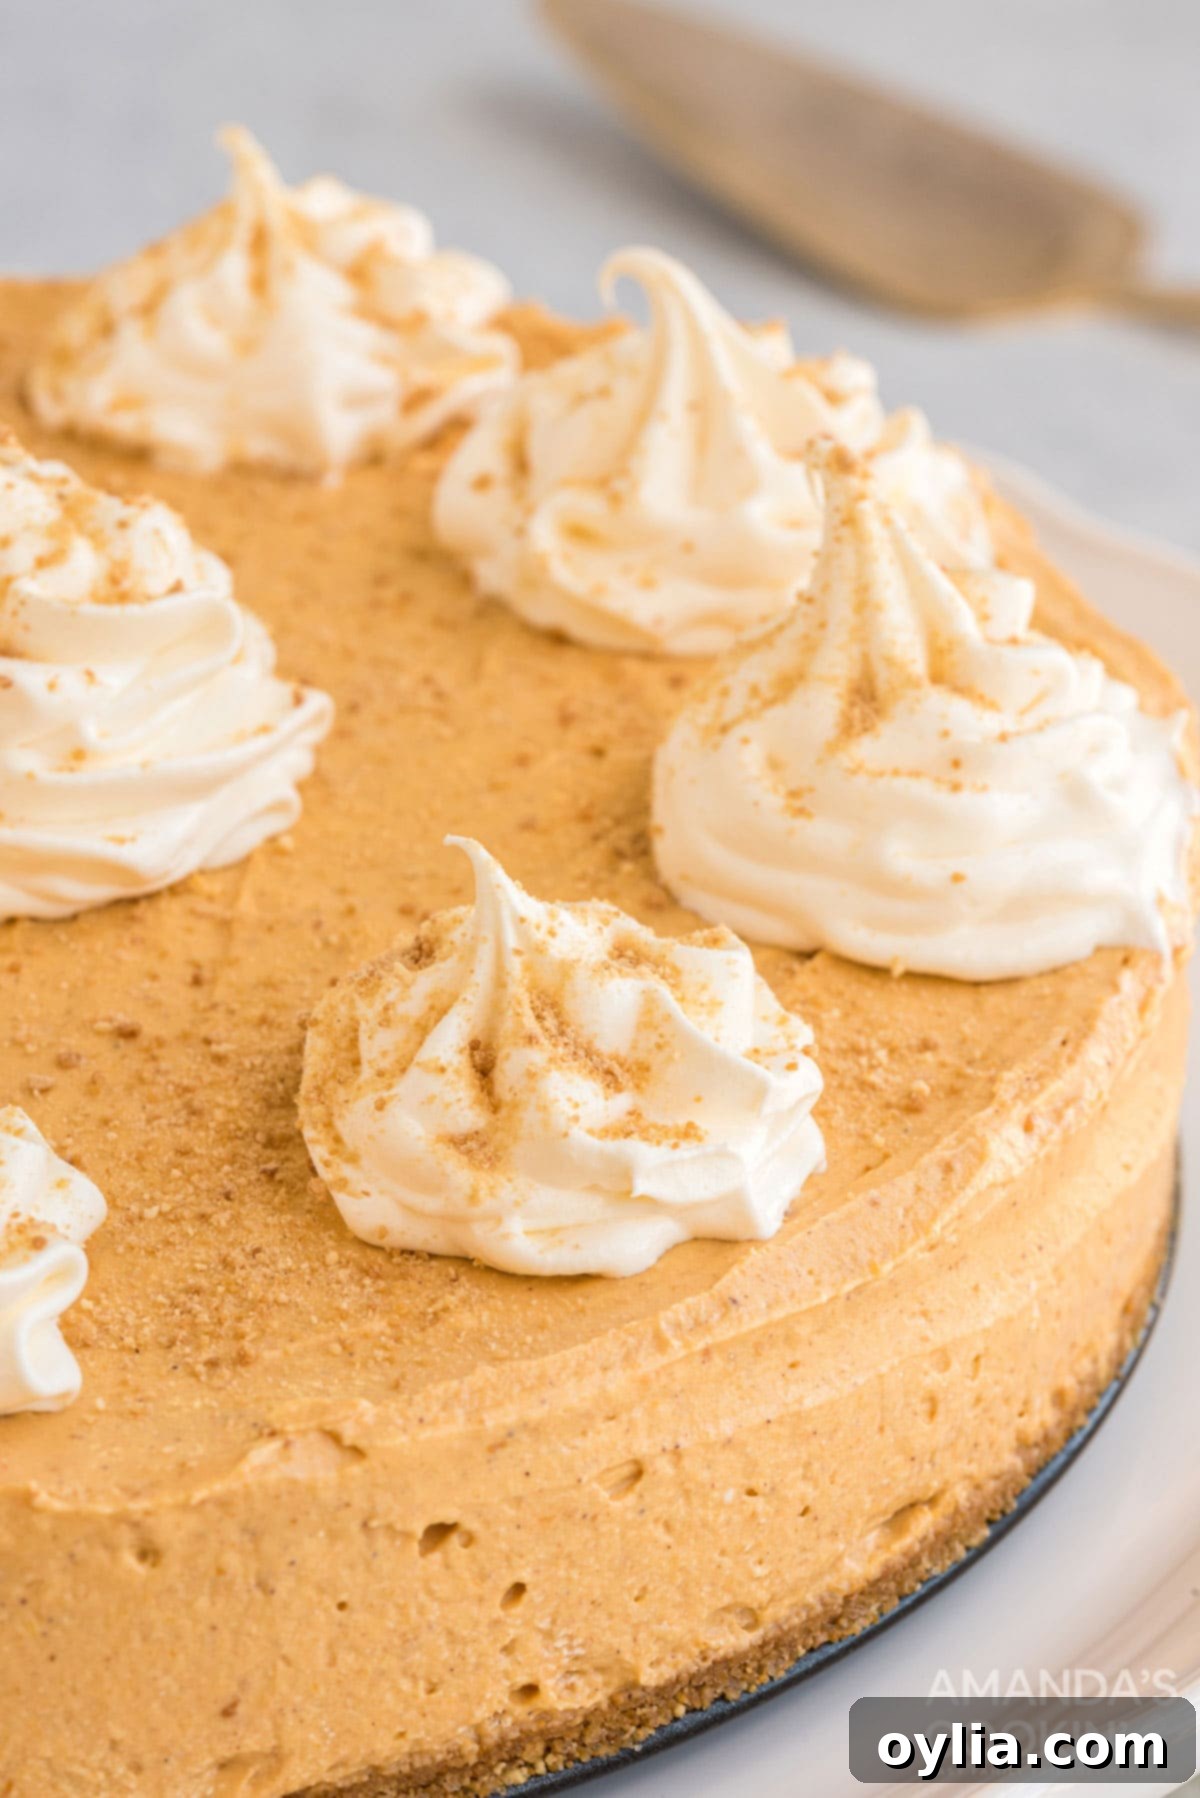
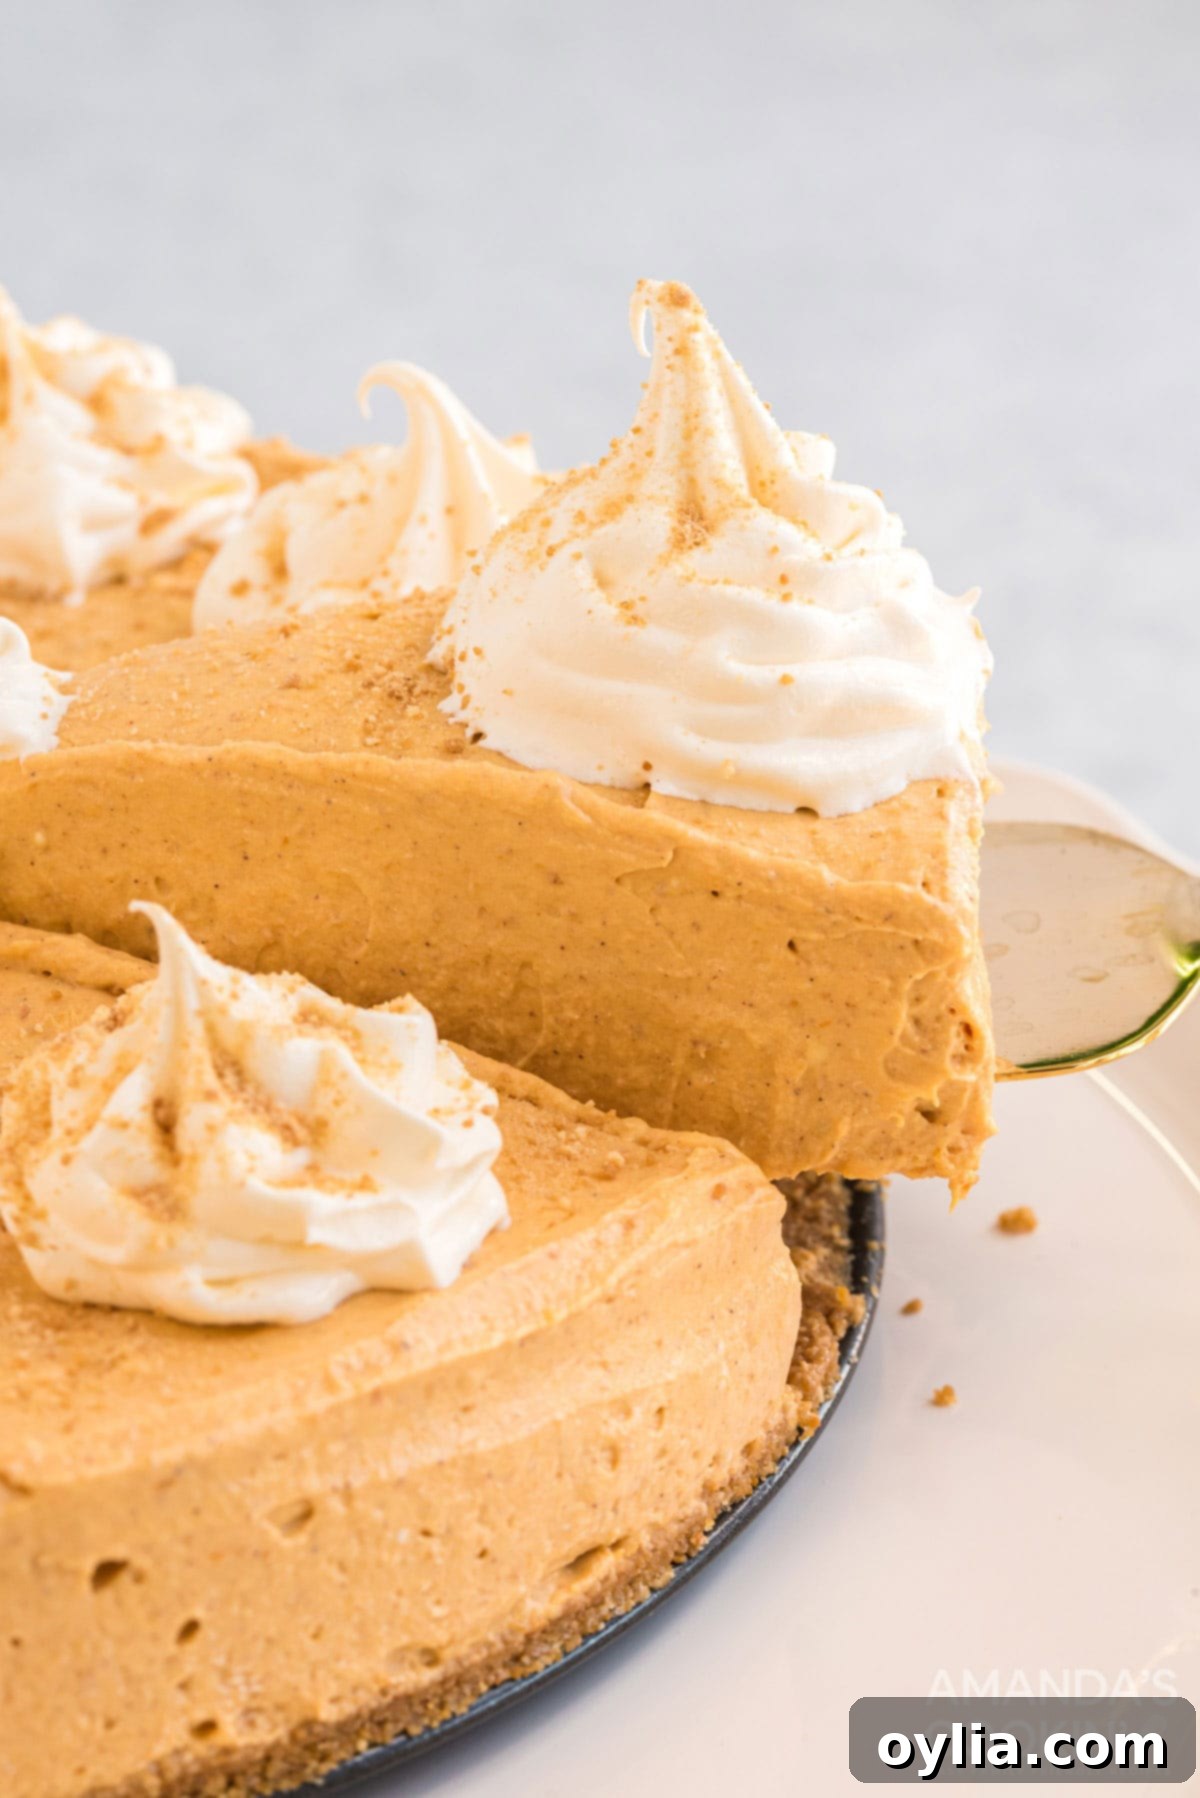
- **Garnish and Chill:** Now for the finishing touches! Garnish the top of the cheesecake with the remaining whipped topping and the reserved graham cracker crumbs. This adds visual appeal and a delightful textural contrast. Once garnished, cover the springform pan tightly with plastic wrap and refrigerate for a minimum of 3 hours before serving. Chilling is essential for the cheesecake to fully firm up and develop its perfect, sliceable consistency. For best results, an overnight chill is even better!
Expert Tips & Frequently Asked Questions for Perfect No-Bake Pumpkin Cheesecake
Expert Tips:
- Softened Cream Cheese is Key: This is arguably the most important tip! Remove your cream cheese from the refrigerator at least 30 minutes to an hour before you plan to mix it. To speed up the softening process, you can cut the blocks of cream cheese into smaller cubes. Mixing cold cream cheese will result in a lumpy, grainy filling, which nobody wants in a smooth cheesecake.
- Don’t Skimp on Chill Time: A no-bake cheesecake relies entirely on refrigeration to set. Be sure to chill your cheesecake for at least 2-3 hours. For an ideal, firm texture that slices beautifully, aim for 4 hours or even overnight. Patience is a virtue when it comes to no-bake desserts!
- Measure Accurately: Baking, even no-bake, is a science. Using proper measuring cups and spoons will ensure the right balance of flavors and textures.
- Pure Pumpkin Puree Only: Double-check your can to ensure you are using 100% pumpkin puree and not pumpkin pie filling. The latter contains added spices and sugars that will throw off the recipe’s balance.
Frequently Asked Questions (FAQs):
Q: Can I use homemade pumpkin puree?
A: Absolutely! If you have homemade pumpkin puree, it can be used in this recipe. Just make sure it’s thick and has been drained of any excess liquid to prevent the cheesecake from becoming too runny.
Q: What if my cheesecake isn’t setting?
A: The most common reason for a runny no-bake cheesecake is insufficient chilling time. Ensure it gets at least 3 hours, or preferably more, in the refrigerator. Also, ensure your cream cheese was properly softened and blended, and that you used the correct amount of whipped topping to give it structure.
Q: Can I make this ahead of time?
A: Yes, this no-bake pumpkin cheesecake is an excellent make-ahead dessert! You can prepare it up to 2-3 days in advance. Keep it covered tightly with plastic wrap in the refrigerator until ready to serve.
Q: Can I use fresh whipped cream instead of store-bought whipped topping?
A: Yes, you can! If using fresh whipped cream, make sure it’s stiffly whipped before folding it into the cream cheese mixture. It might be slightly less stable than store-bought whipped topping, so ensure extra chilling time.
Q: How can I prevent my crust from crumbling?
A: Ensure your graham cracker crumbs are thoroughly combined with the melted butter and sugar. When pressing it into the pan, use firm and even pressure across the entire bottom. Chilling the crust before adding the filling also helps it set.
Delightful Single-Serve Minis: No-Bake Pumpkin Cheesecake in Smaller Portions
Sometimes, individual portions are just what you need for a party or a smaller indulgence. This no-bake pumpkin cheesecake recipe is wonderfully adaptable for single-serve minis, offering a charming and convenient way to enjoy this fall favorite. They’re perfect for portion control, easy to serve, and look absolutely adorable!
To make single-serve minis, adjust the ingredients as follows:
- 8 graham crackers, crushed (or about 1 cup of crumbs)
- 4 tablespoons butter, melted
- 8 oz cream cheese, well softened
- 1 cup canned pumpkin puree
- 1/2 cup sugar
- 1 teaspoon pumpkin pie spice
- 1/2 teaspoon vanilla extract
- 1 1/2 cups whipped topping, divided
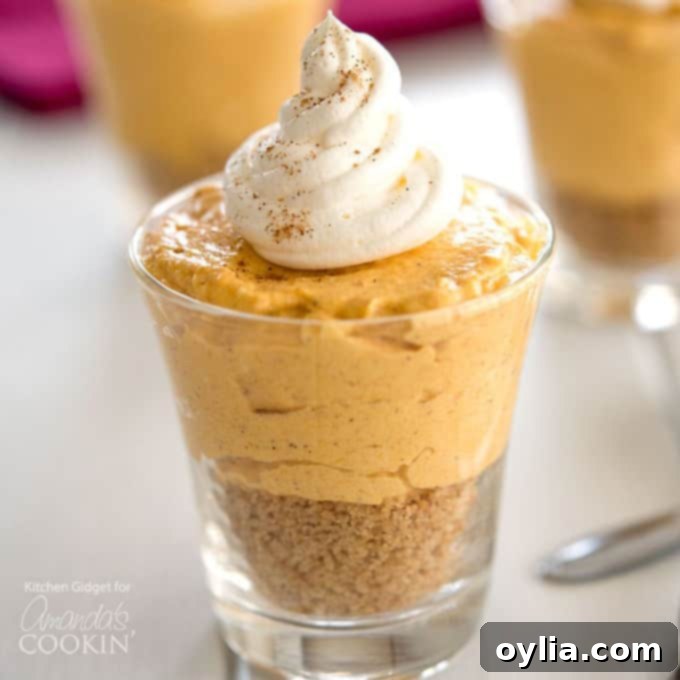
- **Prepare Crust:** Start by combining the crushed graham cracker crumbs and melted butter thoroughly.
- **Fill Jars:** Spoon the crust mixture into small glass jars, ramekins, or mini dessert cups. Gently press down with your fingers or the back of a small spoon to form an even base.
- **Make Filling:** For the creamy filling, ensure your cream cheese is well softened. Blend it with the pumpkin puree, sugar, and pumpkin pie spice until perfectly smooth and lump-free.
- **Lighten with Whipped Topping:** Fold in about half of the whipped topping or homemade whipped cream to give the filling a beautifully light and airy texture. Reserve the remaining whipped cream for garnishing the tops of your minis.
- **Assemble Minis:** You can either spoon the cheesecake mixture over the crust in each jar or, for a more elegant presentation, pipe it in using a piping bag with a star tip to create a pretty swirl.
- **Chill and Garnish:** Chill the minis for at least 2 hours. Just before serving, top each mini cheesecake with a dollop of the reserved whipped cream, and a sprinkle of cinnamon or a tiny graham cracker crumb for extra flair.
Whether you opt for the impressive full-sized cheesecake or the delightful single-serve minis, this amazing no-bake pumpkin cheesecake is destined to become a new family favorite, cherished for its ease and incredible flavor!
Creative Serving Suggestions & Delightful Variations
This no-bake pumpkin cheesecake is fantastic on its own, but a few simple additions can elevate it even further:
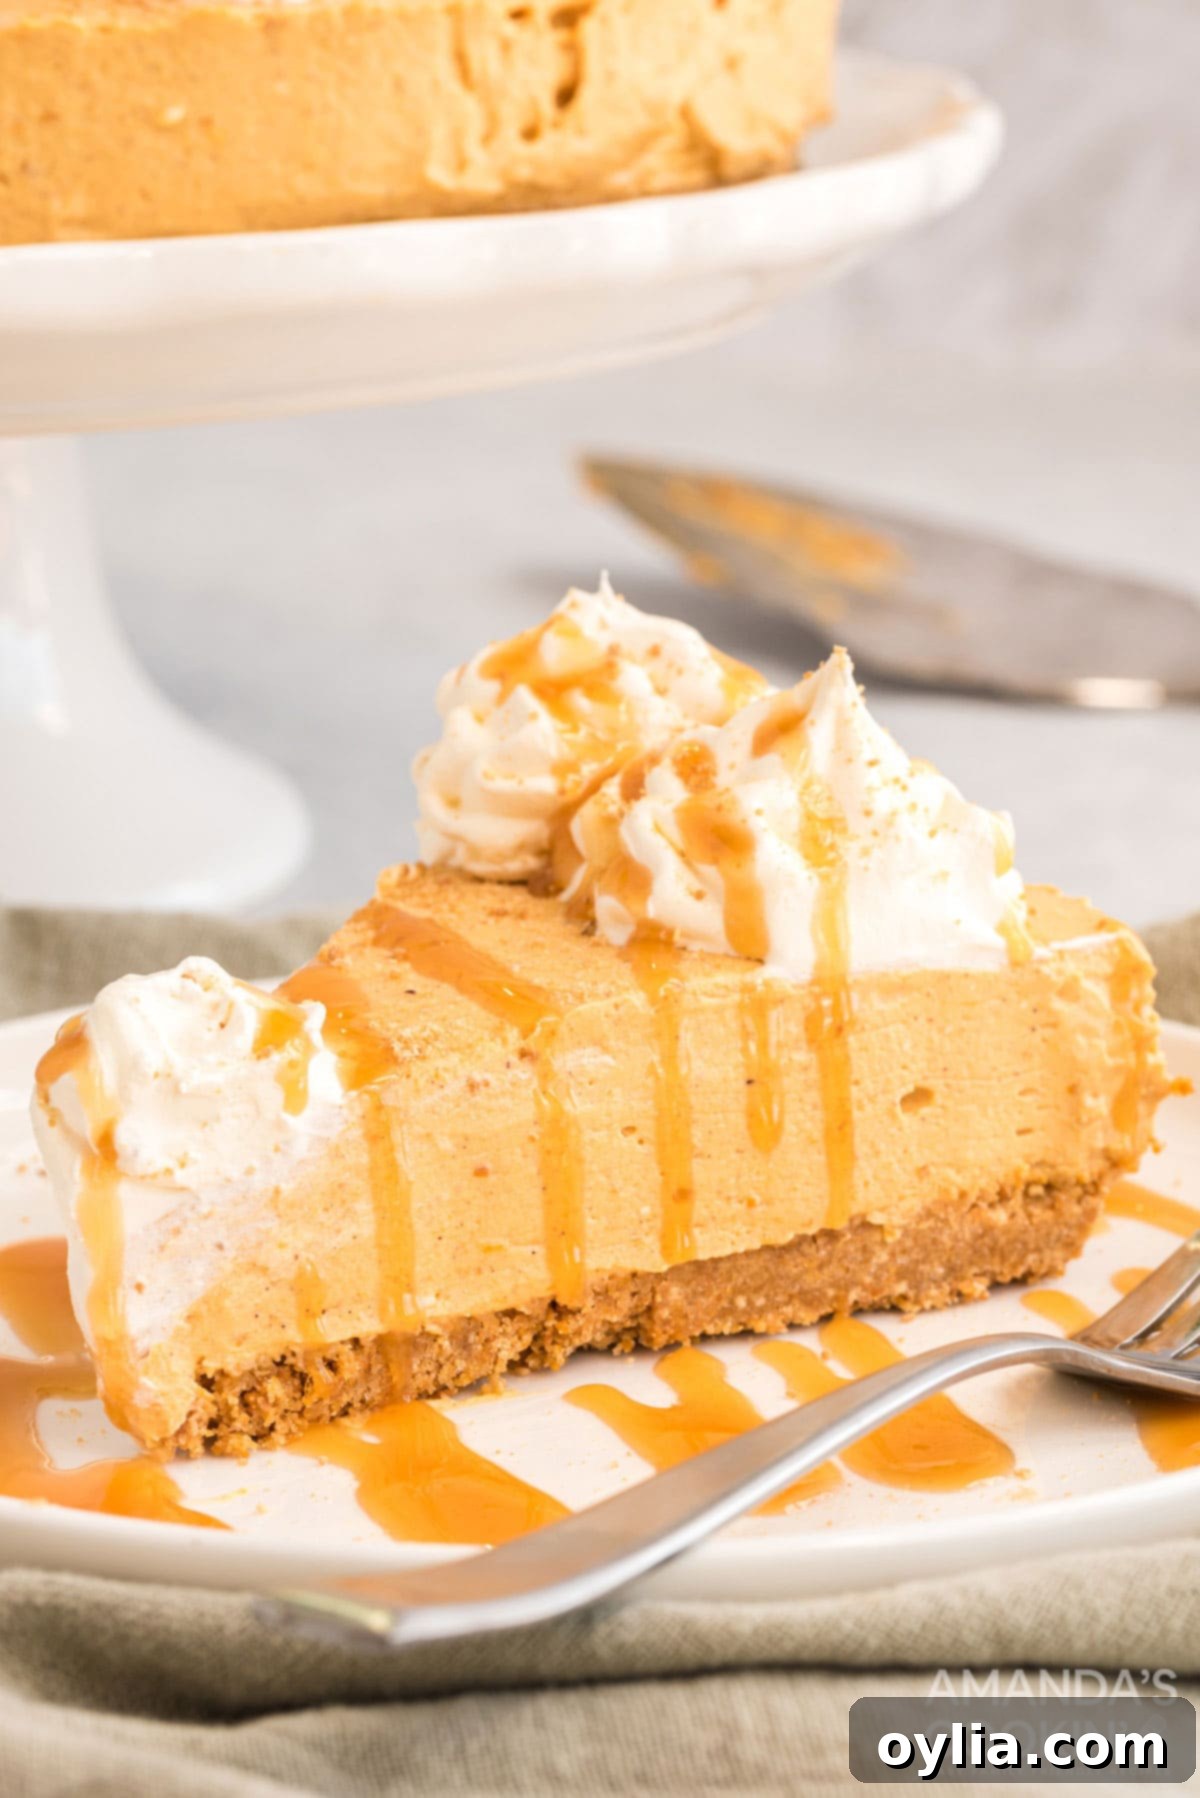
- Caramel Drizzle: A luscious drizzle of warm caramel sauce adds a touch of sophistication and complements the pumpkin flavor beautifully.
- Chocolate Shavings: Grate some dark or milk chocolate over the top for a hint of indulgence.
- Toasted Pecans or Walnuts: For added texture and nutty flavor, sprinkle toasted chopped pecans or walnuts just before serving.
- Homemade Whipped Cream: Instead of store-bought, whip up your own heavy cream with a touch of sugar and vanilla for an extra fresh, rich topping.
- Ginger Snap Crust: For a spicier kick, substitute graham cracker crumbs with crushed ginger snap cookies in the crust.
- Spiced Pecan Topping: Candy some pecans with brown sugar and a dash of cinnamon for a crunchy, sweet, and spiced topping.
Feel free to experiment with these ideas to customize your pumpkin cheesecake to your liking!
Proper Storage for Your No-Bake Pumpkin Cheesecake
To ensure your delicious no-bake pumpkin cheesecake stays fresh and firm, proper storage is essential:
- Refrigerator: Keep the cheesecake covered tightly with plastic wrap or in an airtight container in the refrigerator. It will stay fresh for 3-4 days. The plastic wrap helps prevent it from absorbing other odors in the fridge and drying out.
- Freezer: For longer storage, you can freeze the cheesecake. Ensure it is completely chilled and firm, then wrap it tightly in several layers of plastic wrap, followed by a layer of aluminum foil. You can freeze the whole cheesecake or individual slices. It will keep well in the freezer for up to 1 month. Thaw in the refrigerator overnight before serving.
More Delicious Fall & Dessert Recipes
If you’re loving the flavors of autumn and delicious desserts, be sure to check out some of these other fantastic recipes from our collection:
- Classic Pumpkin Cake
- Homemade Pumpkin Roll
- Spiced Pumpkin Eggnog
- Zesty Lemon Cream Cheese Pie
- Instant Pot Cherry Cheesecake
- Easy Pumpkin Magic Cake
- Homemade Pumpkin Spice Donuts
I love to bake and cook, and sharing my recipes with you brings me so much joy! I know it’s hard to remember to come back and search for new ideas, so I’ve made it easy for you. You can subscribe for free to my weekly newsletter, and I’ll send delicious, tested recipes straight to your email inbox every week. Join our community of home cooks!
No Bake Pumpkin Cheesecake
IMPORTANT – Be sure to read the “Expert Tips & FAQs” section within the blog post above for crucial advice on making this recipe perfect. Scroll back up to read them!
Print It
Rate It
Save ItSaved!
Ingredients
For the Crust:
- 1 ¾ cups graham cracker crumbs
- 7 tablespoons butter melted
- ¼ cup granulated sugar
- pinch of salt
For the Filling:
- 24 oz cream cheese well softened
- 15 oz pumpkin puree NOT pumpkin pie filling
- 1 cup granulated sugar
- 2 teaspoons pumpkin pie spice
- 1 teaspoon vanilla extract
- 3 cups whipped topping or whipped cream divided
Things You’ll Need
-
9 inch springform pan
-
Electric mixer
-
Rubber spatula
-
Mixing bowls
-
Measuring cups and spoons
Before You Begin
- Remove the cream cheese from the refrigerator about 30 minutes before mixing. I usually cut mine up into cubes so that it will soften faster. If you mix the cream cheese when it’s still cold, you could end up with little solid bits in your cake.
- Be sure to chill this cheesecake in the refrigerator for at least 2-3 hours, even longer is better. If you don’t let it chill, it will not firm up.
Instructions
-
In a large bowl, combine the graham cracker crumbs, butter, sugar and salt until evenly moistened. Reserve 1/4 cup of the crumb mixture for garnish and set aside.
-
Press remaining crumb mixture into bottom of an 8 or 9 inch springform pan. Place in refrigerator while preparing the filling.
-
In a separate bowl with an electric mixer, beat the cream cheese, pumpkin, sugar, pumpkin pie spice and vanilla until smooth.
-
Fold in 1 cup of whipped topping with a spatula.
-
Scrape cheesecake mixture into the crust and spread top evenly. Garnish with remaining whipped topping and reserved graham cracker crumbs. Cover with plastic wrap and refrigerate for at least 3 hours before serving.
Nutrition
The recipes on this blog are tested with a conventional gas oven and gas stovetop. It’s important to note that some ovens, especially as they age, can cook and bake inconsistently. Using an inexpensive oven thermometer can assure you that your oven is truly heating to the proper temperature. If you use a toaster oven or countertop oven, please keep in mind that they may not distribute heat the same as a conventional full sized oven and you may need to adjust your cooking/baking times. In the case of recipes made with a pressure cooker, air fryer, slow cooker, or other appliance, a link to the appliances we use is listed within each respective recipe. For baking recipes where measurements are given by weight, please note that results may not be the same if cups are used instead, and we can’t guarantee success with that method.
This post originally appeared here on Aug 28, 2018, and has since been updated with expanded content, expert tips, new photos, and enhanced SEO for your best baking experience.
