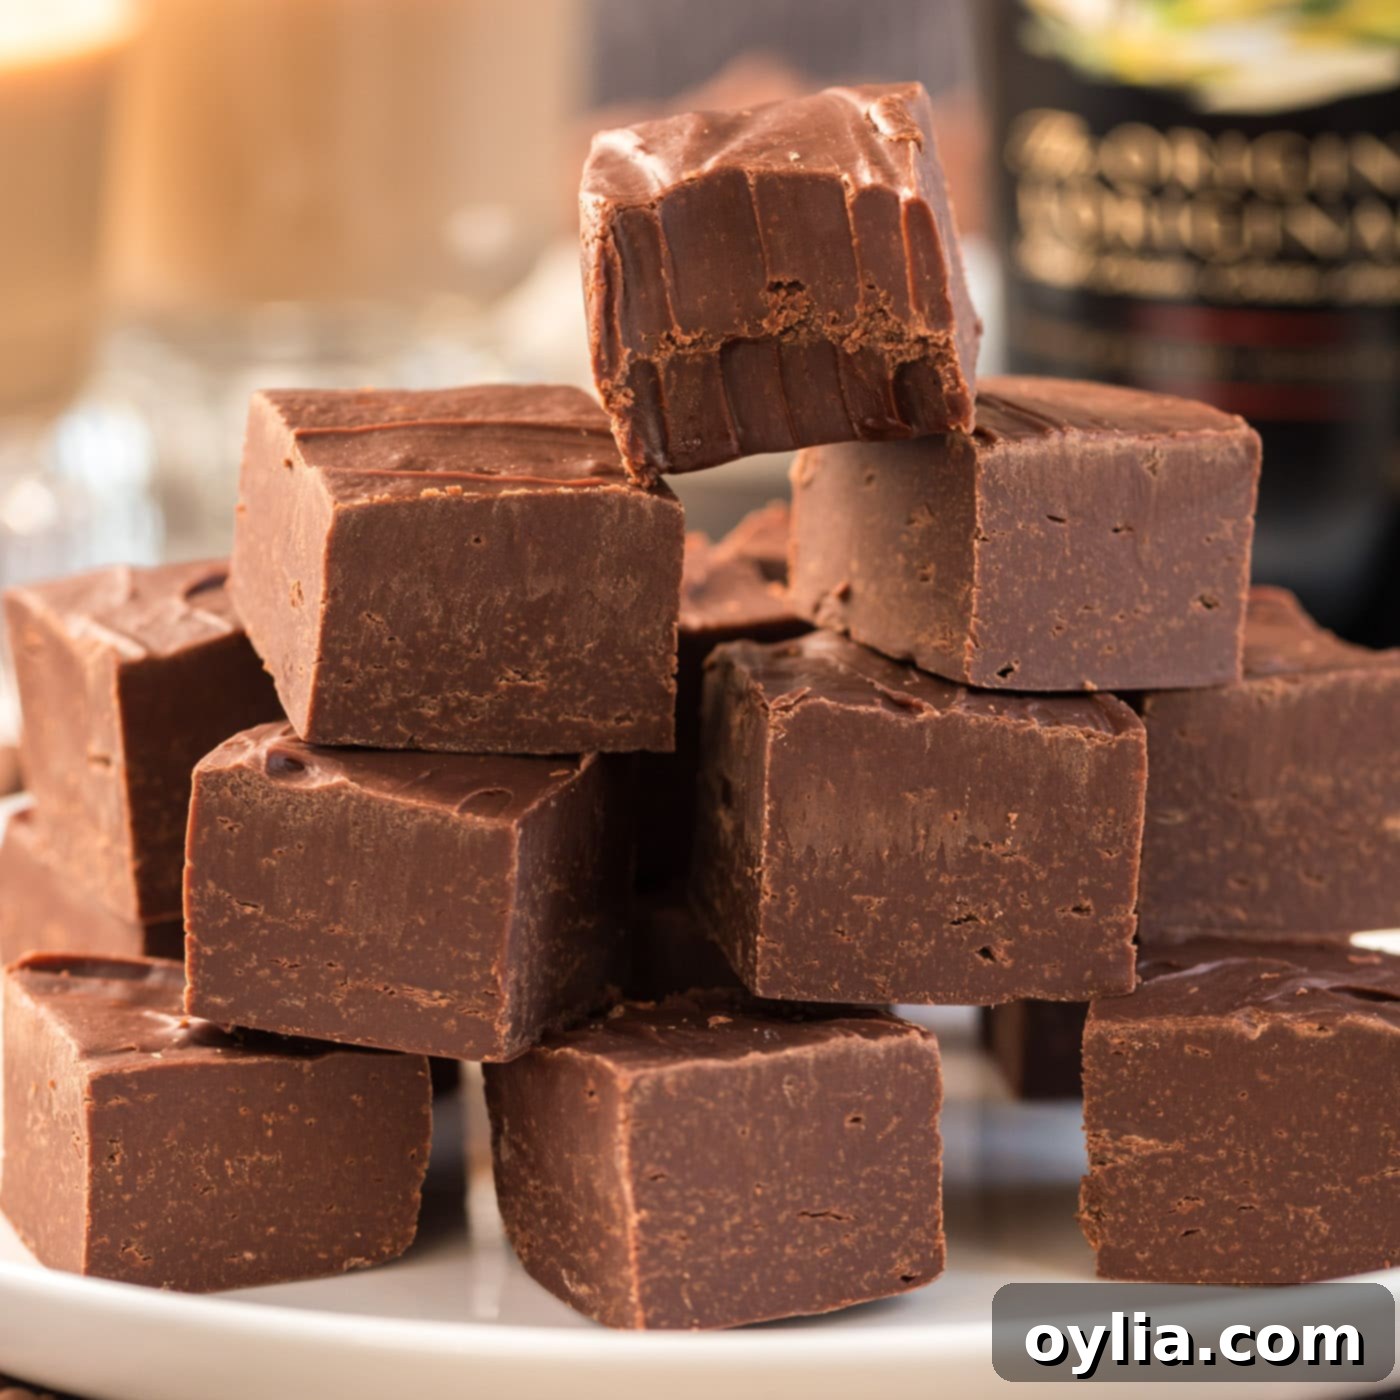
Decadent 4-Ingredient No-Bake Bailey’s Fudge: The Easiest Irish Cream Treat
Indulge in a truly decadent experience with this rich and creamy Bailey’s fudge, crafted with an incredible balance of chocolate and luxurious Irish cream flavor that simply melts in your mouth. The best part? This sensational treat requires only 4 simple ingredients and absolutely no cooking – just a microwave! Prepare to be amazed at how effortlessly you can create a batch of this irresistible fudge, perfect for any occasion or simply as a delightful personal indulgence.
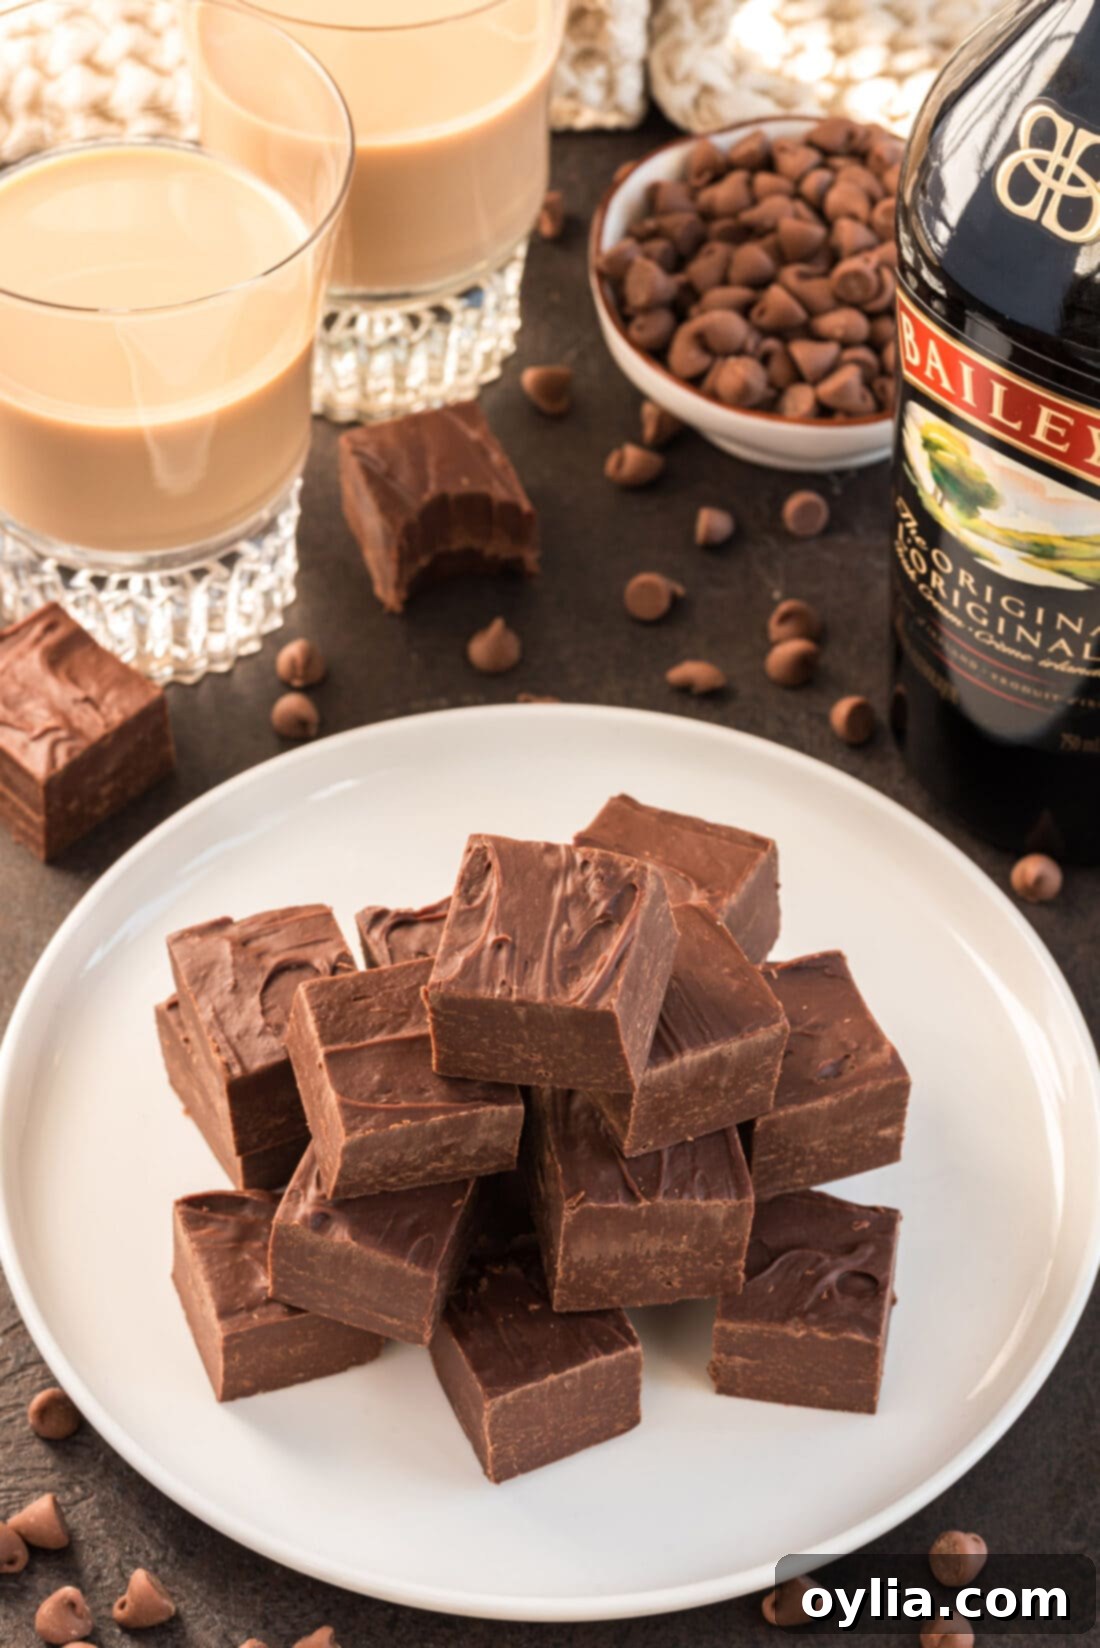
Why This Easy Bailey’s Fudge Recipe is a Must-Try
This Bailey’s fudge recipe stands out as exceptionally simple and incredibly satisfying. Forget complicated candy thermometers and constant stirring over a hot stove; this is a true “mix, pour, and refrigerate” masterpiece. With just four core ingredients – chocolate chips, sweetened condensed milk, Bailey’s Irish cream, and a touch of vanilla extract – you’re on your way to crafting the best-ever spiked chocolate fudge. The beauty of this no-bake fudge lies in its foolproof process and its consistently smooth, creamy texture. Even with the inclusion of liqueur, there’s no harsh bite, just a wonderfully balanced, rich flavor that makes this fudge irresistibly decadent, exactly what a perfect fudge recipe should be.
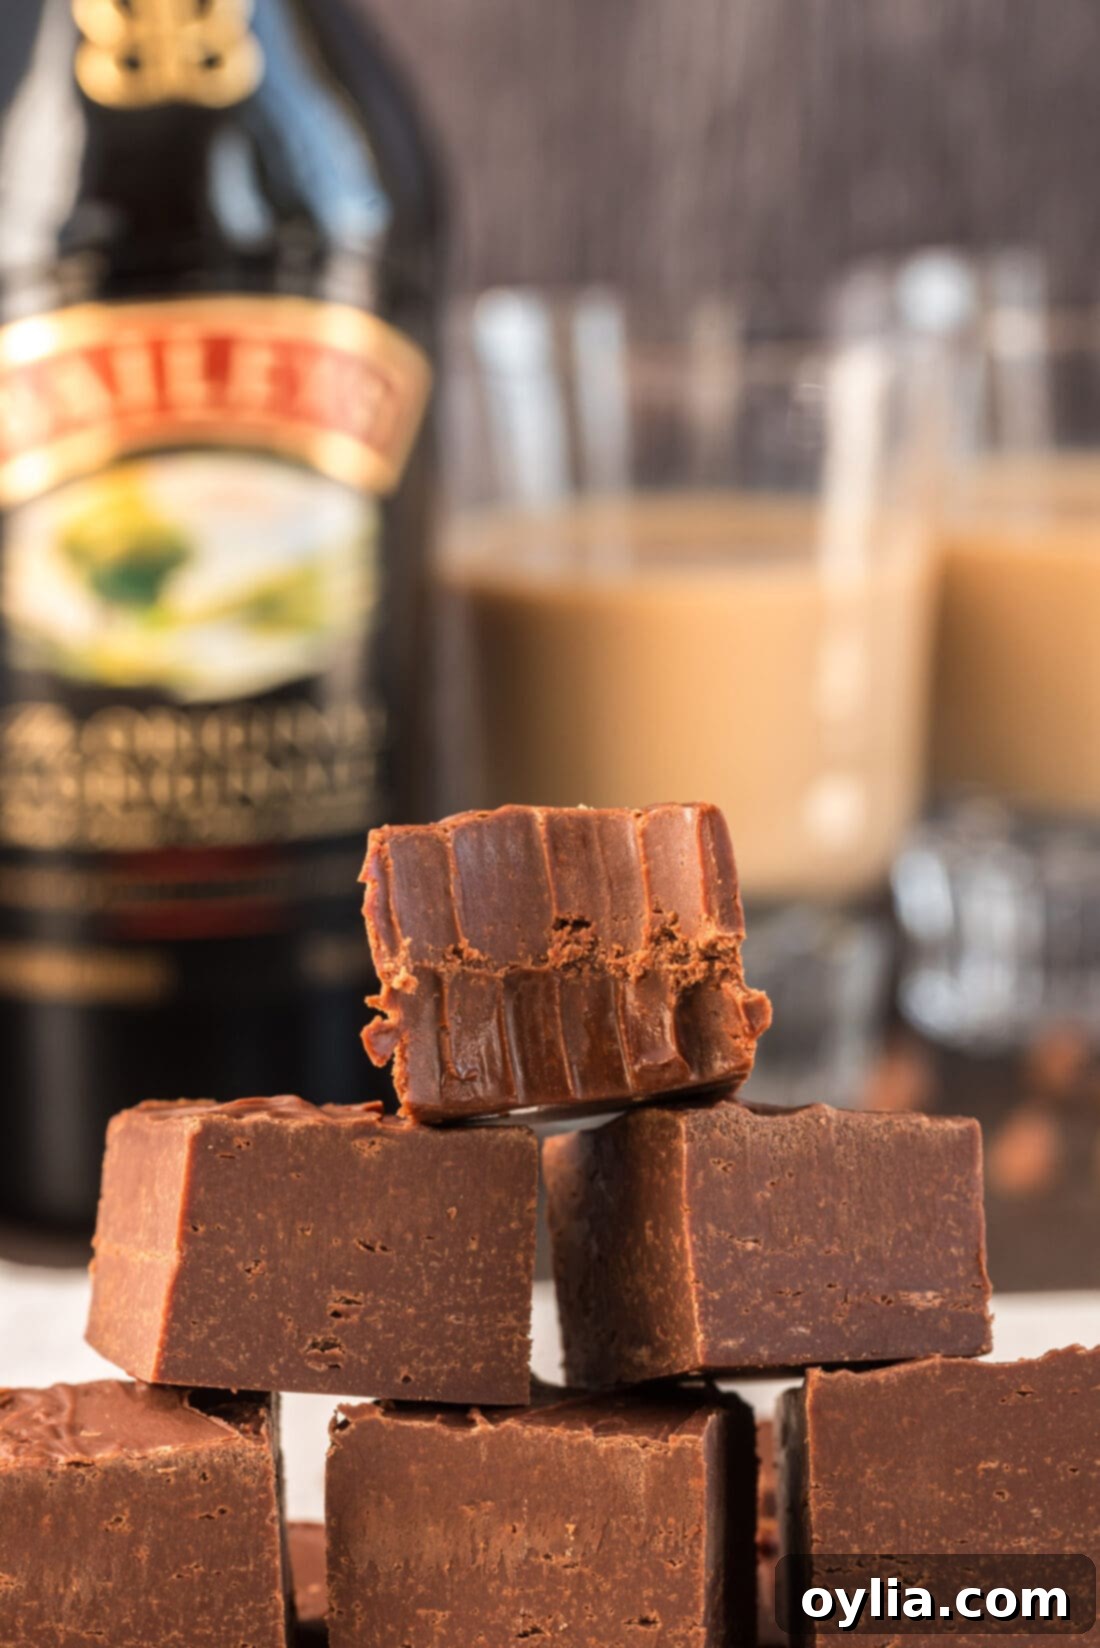
Beyond its simplicity, this easy Bailey’s fudge offers versatility. While it’s fantastic on its own, you can easily customize it for different occasions. For example, you can dress it up for St. Patrick’s Day with festive green and white sprinkles, as we’ve done in our Baileys Irish Cream chocolate fudge recipe. Alternatively, keep it elegantly simple with this recipe and a delicate dash of flaky sea salt to enhance the chocolate notes. Whether you’re a seasoned baker or a novice in the kitchen, this 4-ingredient fudge is designed for success and pure enjoyment, proving that gourmet taste doesn’t have to mean complex preparation.
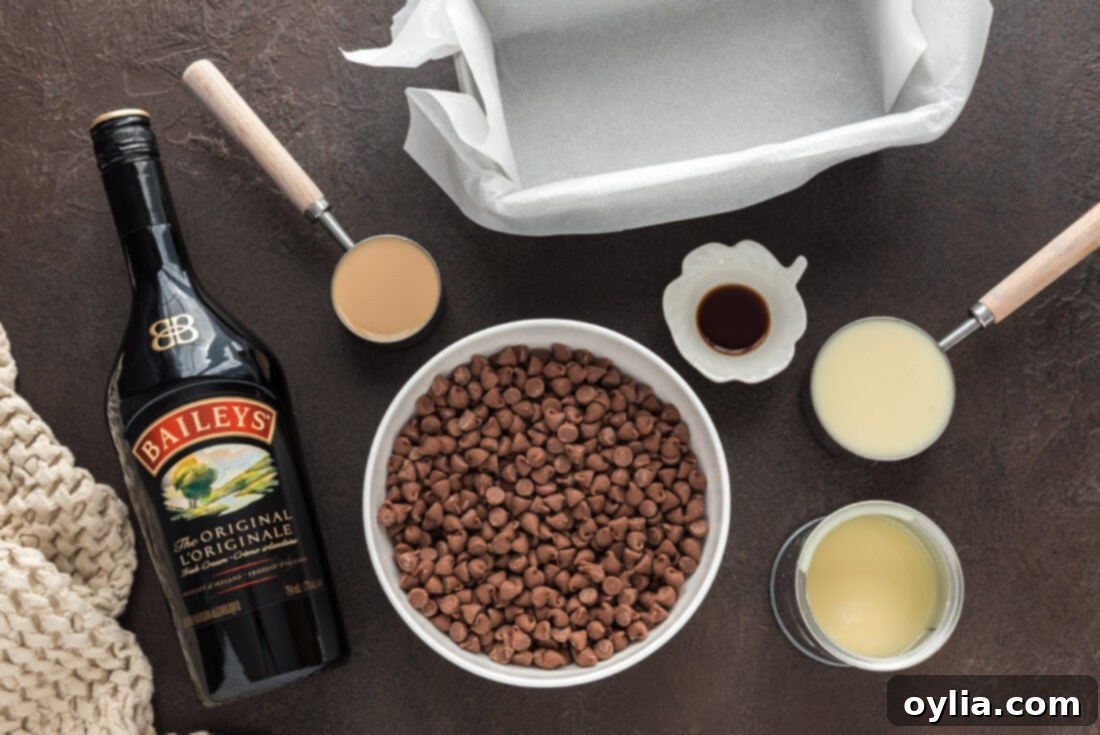
Simple Ingredients for Microwave Irish Cream Fudge
Crafting this incredible 4-ingredient Bailey’s fudge is surprisingly straightforward, thanks to a minimal ingredient list that delivers maximum flavor. You’ll only need four readily available items to create this luscious, no-bake dessert. For the precise measurements and detailed instructions, be sure to check out the printable recipe card located at the very end of this post.
Ingredient Spotlight & Expert Substitution Tips
Every ingredient in this fudge recipe plays a crucial role in achieving its perfect texture and flavor. Here’s a closer look at what you’ll need and how you can adapt it to your taste.
Chocolate
We chose milk chocolate chips for our recipe, which contributes to an incredibly creamy and luscious fudge. However, don’t feel limited! You can easily customize the chocolate base to your preference. For a deeper, more intense chocolate flavor, opt for dark chocolate chips. If you prefer a balance that’s not too sweet, semi-sweet chips are an excellent choice. You can even create your own blend by using a combination of milk, dark, and semi-sweet chocolates. The quality of your chocolate will directly impact the final taste, so using a good quality brand is always recommended for the best possible results in your homemade Bailey’s fudge.
Sweetened Condensed Milk
This is the magical ingredient that gives our no-bake fudge its signature creamy, dense, and perfectly set consistency. It is absolutely crucial to use sweetened condensed milk and not evaporated milk. There’s a significant difference between the two! Sweetened condensed milk is milk from which water has been removed, and a large amount of sugar has been added, making it thick and sweet. Evaporated milk, on the other hand, is unsweetened and much thinner. Using evaporated milk will result in a runny fudge that simply won’t set. So, double-check your cans at the grocery store to ensure you pick up the right one for this effortless microwave fudge.
Bailey’s Irish Cream
The star of the show! Bailey’s Irish Cream infuses this fudge with its distinctive, smooth, and sweet cream liqueur flavor. It adds warmth and a luxurious depth that pairs beautifully with chocolate. While this recipe specifically highlights Bailey’s, you could experiment with other cream liqueurs if you’re looking for a slight variation, though the classic Bailey’s taste is what makes this fudge truly special. Ensure you’re using fresh, good quality liqueur for the best flavor profile.
Vanilla Extract (Optional)
Though optional, a teaspoon of good quality vanilla extract really elevates the overall flavor profile of this fudge. It acts as a natural flavor enhancer, bringing out the best in both the chocolate and the Irish cream without overpowering them. We highly recommend including it for that extra touch of gourmet flavor.
Optional Add-Ins & Garnishes
While this 4-ingredient fudge is perfect as is, you can certainly take it up a notch with various additions or garnishes. Consider adding a sprinkle of flaky sea salt for a delightful sweet and salty contrast. Chopped nuts (like walnuts or pecans) can add a lovely crunch. For a festive touch, especially around holidays like St. Patrick’s Day or Christmas, vibrant sprinkles are a fun option. You could also drizzle a thin layer of melted white or dark chocolate over the set fudge for an artistic finish. These small additions can transform your simple Bailey’s fudge into a gourmet confection.
How to Make This Effortless 4-Ingredient Bailey’s Fudge
These step-by-step photos and instructions are here to help you visualize how to make this recipe with ease. You can Jump to Recipe to get the printable version of this recipe, complete with measurements and instructions at the bottom.
- Begin by preparing your loaf pan. Line a 9×5 loaf pan with parchment paper, ensuring there’s an overhang on the sides. This overhang will act as “handles” later, making it incredibly easy to lift the set fudge out of the pan. Set this prepared pan aside.
- In a microwave-safe bowl, combine your chocolate chips and sweetened condensed milk. Choose a bowl that is large enough to allow for thorough stirring.
- Heat the mixture in the microwave for 30 seconds. After heating, remove the bowl and stir vigorously for another 30 seconds. The residual heat will continue to melt the chocolate. If the chocolate chips haven’t fully dissolved and the mixture isn’t completely smooth, return it to the microwave for an additional 20 seconds. Continue to stir until every chocolate chip is melted and the mixture is silky smooth and uniform. Be careful not to overheat, as this can cause the chocolate to seize.
- Once your chocolate mixture is perfectly smooth and glossy, it’s time to add the star ingredients. Pour in the Bailey’s Irish Cream. If you’re using vanilla extract, add that now as well. Gently fold these ingredients into the chocolate mixture until they are fully incorporated, ensuring a uniform flavor throughout the fudge.
- Carefully pour the rich fudge mixture into your prepared loaf pan. Using a spatula, spread the fudge evenly into the pan, smoothing the top to create a flat, attractive surface.
- Now comes the patience part! Transfer the loaf pan to the refrigerator and allow the fudge to chill for at least 2 hours. For the best, firmest results, we recommend refrigerating it overnight. Proper chilling is essential for the fudge to set completely and achieve its sliceable consistency.
- Once thoroughly chilled and firm, use the parchment paper overhang to gently lift the block of Bailey’s fudge out of the loaf pan. Place it on a clean cutting board. Using a sharp knife, cut the fudge into uniform 1-inch squares. For cleaner cuts, you can briefly run your knife under hot water and wipe it dry between slices. Store your delicious homemade Bailey’s fudge in an airtight container at room temperature or in the refrigerator.
Frequently Asked Questions & Expert Tips for Perfect Fudge
Got questions about making or storing this delightful Irish cream fudge? We’ve got you covered with answers to common queries and some expert advice.
To maintain its delightful texture and flavor, store your Bailey’s fudge in an airtight container or a ziptop bag. Kept at room temperature, it will stay fresh for up to two weeks. If you prefer a firmer fudge or want to extend its shelf life, storing it in the refrigerator can keep it fresh for 3-4 weeks. Always ensure the container is tightly sealed to prevent the fudge from drying out or absorbing other odors.
Absolutely! This no-bake fudge is freezer-friendly. To freeze, wrap individual fudge squares tightly in plastic wrap, or wrap the entire block of fudge if you prefer. Then, place the wrapped fudge inside a large freezer bag or an airtight freezer-safe container. It can be frozen for up to 2 months. When you’re ready to enjoy it, simply thaw it in the refrigerator overnight or at room temperature for a few hours. The texture will remain wonderfully rich and creamy.
Yes, you can easily double this recipe! If doubling, you might want to use a larger square baking dish (like an 8×8 inch pan) instead of a loaf pan, or simply use two loaf pans. Make sure to melt the chocolate and sweetened condensed milk in a larger microwave-safe bowl to accommodate the increased volume, potentially increasing the microwave heating time slightly (e.g., 45-60 seconds, then stir, and repeat if needed).
For perfectly neat squares, ensure your fudge is thoroughly chilled and firm before cutting. Use a large, sharp knife. For the cleanest cuts, wipe the knife clean after each slice, or even dip it in hot water and dry it before making each cut. This helps prevent the fudge from sticking and ensures a smooth edge.
While this recipe is designed for microwave convenience, you can certainly adapt it for the stovetop. Combine the chocolate chips and sweetened condensed milk in a heavy-bottomed saucepan over low heat. Stir constantly until the chocolate is fully melted and the mixture is smooth. Once melted, remove from heat and stir in the Bailey’s and vanilla, then proceed with pouring into the loaf pan and chilling as directed. The key is low heat and continuous stirring to prevent scorching.
Expert Tips for Flawless Fudge Every Time
- Don’t Overheat: When melting chocolate in the microwave, heat in short intervals and stir thoroughly between each. Overheating can cause chocolate to seize and become grainy.
- Quality Matters: Using good quality chocolate chips and Bailey’s Irish Cream will significantly impact the final taste and richness of your fudge.
- Chill Completely: Resist the urge to cut into the fudge before it’s fully set. Proper chilling is vital for the correct texture and easy slicing. Overnight chilling is always best if you have the time.
- Parchment Paper is Your Friend: Don’t skip lining your pan with parchment paper, leaving an overhang. This makes removal incredibly simple and mess-free.
- Customization: Feel free to get creative with toppings! A sprinkle of cocoa powder, chopped toasted hazelnuts, or a drizzle of caramel can add extra flair.
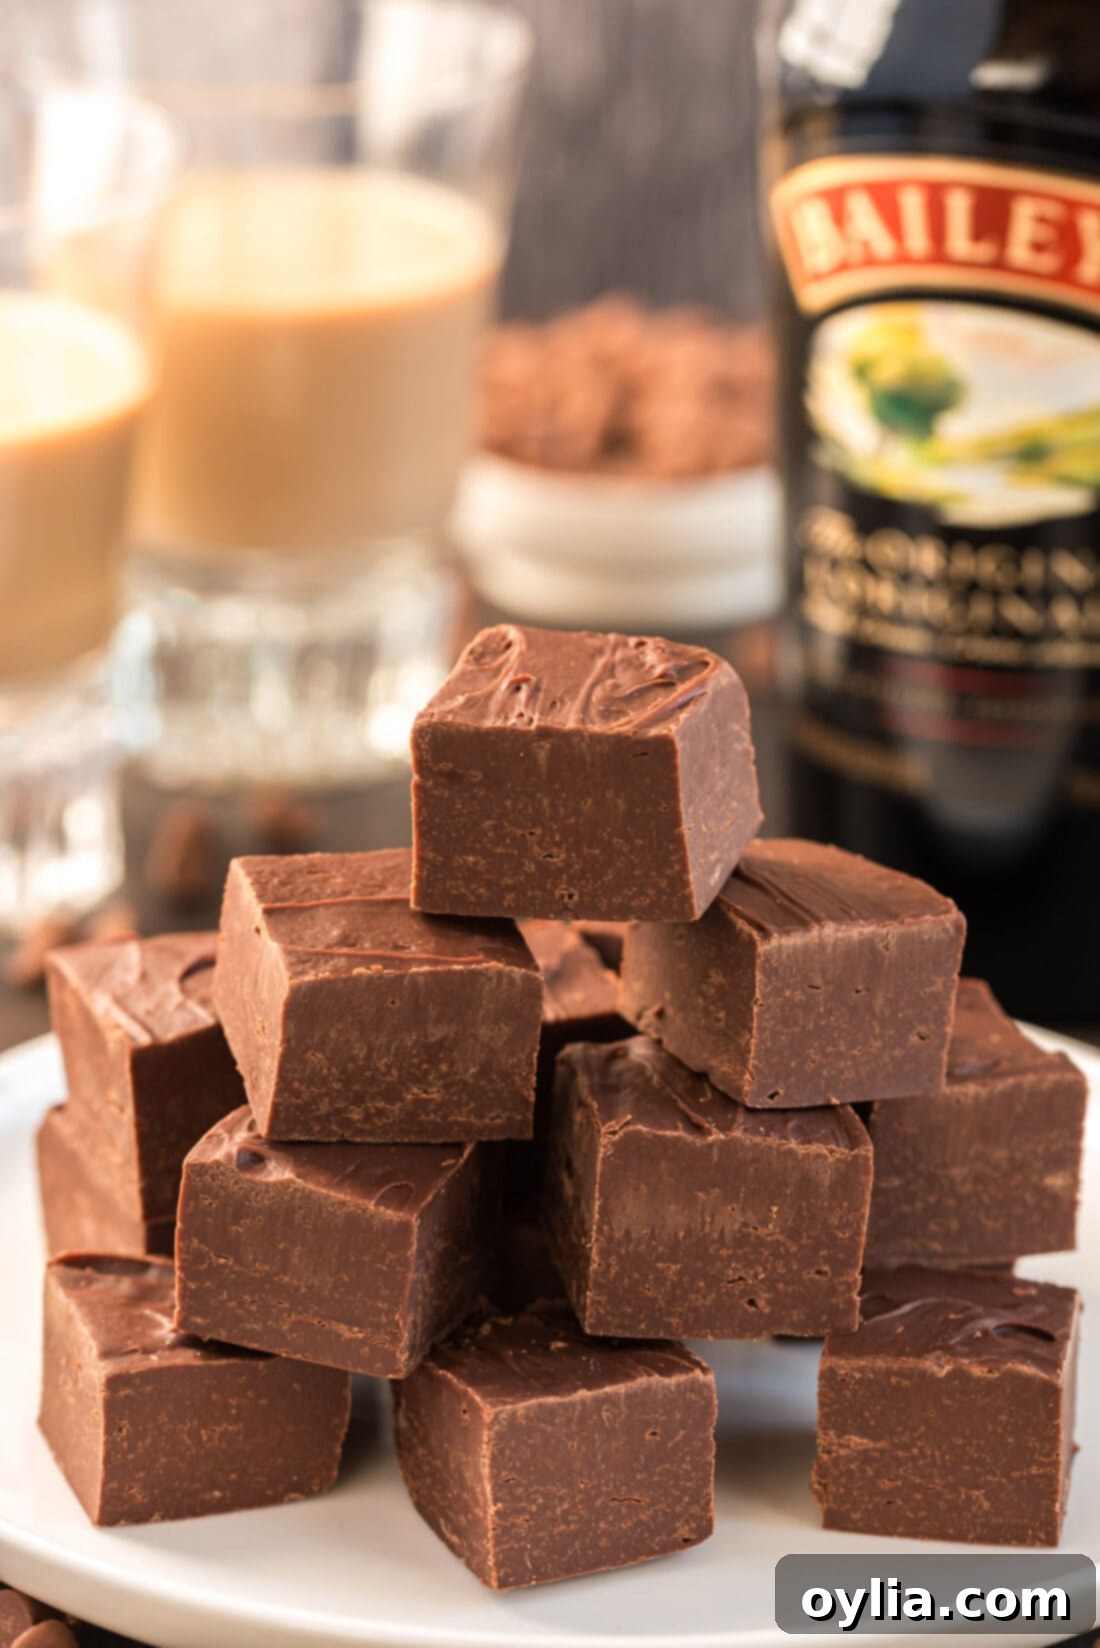
Creative Ways to Serve Your Homemade Bailey’s Fudge
This delightful 4-ingredient Bailey’s fudge isn’t just a treat; it’s incredibly versatile and makes a thoughtful gift or a sophisticated dessert. Here are some serving suggestions to make the most of your delicious creation:
- Edible Gift: During the holidays or for any special occasion, homemade Bailey’s fudge makes an exquisite edible gift. Arrange a few squares in charming cellophane baggies, tie them with a festive ribbon, and present them to friends, family, or colleagues. It’s a personal touch that everyone appreciates.
- Garnish Galore: While perfect on its own, a simple garnish can elevate your fudge. A sprinkle of flaky sea salt not only adds a beautiful visual contrast but also enhances the chocolate’s depth. Consider a dusting of cocoa powder, festive sprinkles (especially for St. Patrick’s Day or Christmas), or finely chopped nuts like pecans or walnuts for added texture. For an extra touch of indulgence, drizzle melted white or dark chocolate in an artistic pattern over the top.
- Dessert Platter: Incorporate these elegant fudge squares into a larger dessert platter alongside cookies, small cakes, and fresh berries for a truly impressive spread.
- Coffee & Cocktail Pairings: Enjoy this rich fudge alongside a warm cup of coffee or a gourmet tea for a delightful afternoon pick-me-up or an after-dinner indulgence. For a truly unique and rich cocktail experience, you can even gently drop a small piece of this fudge into a glass of chilled Bailey’s Irish Cream, allowing it to slowly dissolve and infuse the drink with an even deeper chocolatey flavor.
- Temperature Preference: Whether you prefer your fudge chilled from the refrigerator for a firmer bite or at room temperature for a softer, melt-in-your-mouth experience, this fudge is delicious either way. Experiment to find your favorite!
More Irresistible Fudge Recipes to Try
If you’ve fallen in love with the ease and deliciousness of this Bailey’s fudge, you’ll be thrilled to discover more simple and decadent fudge recipes. Expand your repertoire with these other fantastic options:
- Chocolate Freezer Fudge
- Chocolate Walnut Fudge
- Chocolate Peanut Butter Fudge
- White Chocolate Cranberry Fudge
I love to bake and cook and share my kitchen experience with all of you! Remembering to come back each day can be tough, that’s why I offer a convenient newsletter every time a new recipe posts. Simply subscribe and start receiving your free daily recipes!
Bailey’s Fudge
IMPORTANT – There are often Frequently Asked Questions within the blog post that you may find helpful. Simply scroll back up to read them!
Print It
Pin It
Rate It
Save It
Saved!
Prevent your screen from going dark
Course: Desserts
Cuisine: American
Ingredients
- 2 cups chocolate chips
- ½ cup sweetened condensed milk
- ¼ cup Bailey’s Irish cream
- 1 teaspoon vanilla extract optional
Things You’ll Need
-
9×5 loaf pan
-
Mixing bowls
Before You Begin
- The smaller the loaf pan you use, the thicker your fudge will be. Similarly, the larger the loaf pan used, the thinner it will be.
- We opted for milk chocolate chips which makes the fudge even creamier. Feel free to use dark chocolate, semi-sweet chips, or your favorite combination of the three.
- Be sure to use sweetened condensed milk not evaporated milk, there is a big difference between the two. Sweetened condensed milk is the key to the creamy, dense consistency.
Instructions
-
Line a loaf pan with parchment paper and set aside.
-
Place the chocolate in a microwave safe bowl and add the sweetened condensed milk.
-
Heat for 30 seconds and stir well for 30 seconds to dissolve the chocolate chips. You may need to reheat for another 20 seconds to fully melt the chocolate chips.
-
Once the mixture is smooth, add in the Bailey’s and optional vanilla.
-
Fold the fudge mixture out into the loaf pan and smooth flat with your spatula.
-
Refrigerate for 2 hours or overnight.
-
Pop the parchment paper out of the loaf pan and cut the Bailey’s fudge into 1 inch squares. Store in a sealed container.
Expert Tips & FAQs
- Store Bailey’s fudge in an air-tight container or ziptop bag kept at room temperature for up to two weeks. You can also store it in the refrigerator to extend its life to 3-4 weeks.
- Freezing – wrap the fudge individually (or whole) in plastic wrap and place inside a large freezer bag or air-tight container. Freeze for up to 2 months.
Nutrition
Tried this Recipe? Pin it for Later!Follow on Pinterest @AmandasCookin or tag #AmandasCookin!
The recipes on this blog are tested with a conventional gas oven and gas stovetop. It’s important to note that some ovens, especially as they age, can cook and bake inconsistently. Using an inexpensive oven thermometer can assure you that your oven is truly heating to the proper temperature. If you use a toaster oven or countertop oven, please keep in mind that they may not distribute heat the same as a conventional full sized oven and you may need to adjust your cooking/baking times. In the case of recipes made with a pressure cooker, air fryer, slow cooker, or other appliance, a link to the appliances we use is listed within each respective recipe. For baking recipes where measurements are given by weight, please note that results may not be the same if cups are used instead, and we can’t guarantee success with that method.
This post originally appeared here on Jan 29, 2017 and has since been updated with new photos and expert tips.
