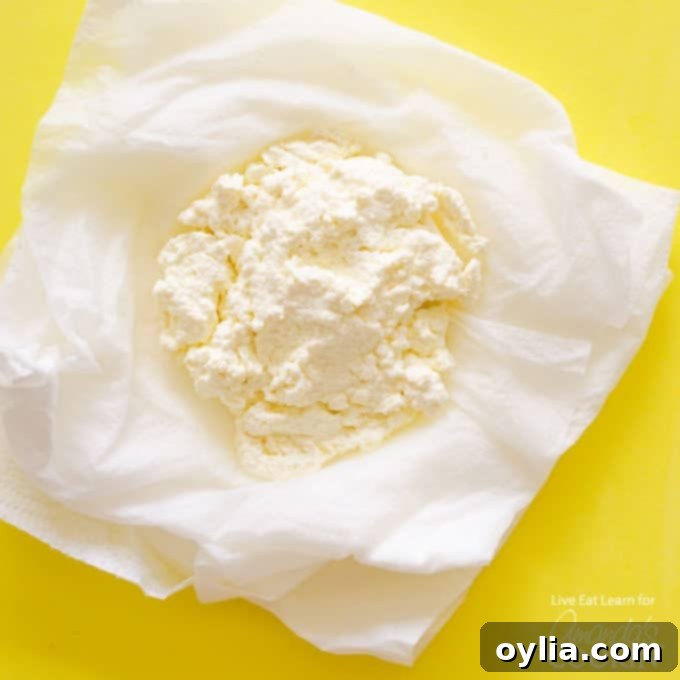
Effortless Homemade Ricotta: Make Fresh Ricotta Cheese in Just 5 Minutes with Your Microwave!
Imagine a world where fresh, creamy ricotta cheese is always within your reach, made effortlessly in your own kitchen. What if we told you that achieving this culinary dream doesn’t require any fancy equipment like a thermometer or traditional cheesecloth, and can be done in a mere 5 minutes using just your microwave? Yes, it’s true! This incredibly simple recipe for Homemade Ricotta Cheese will revolutionize your cooking, requiring only milk, lemon, and a pinch of salt. Say goodbye to expensive store-bought tubs and hello to the freshest ricotta you’ve ever tasted. It’s so easy, you’ll wonder why you haven’t been making it this way all along!
Ready to elevate your meals? This quick homemade ricotta is perfect for tonight’s dinner. Imagine it enriching a classic baked ziti, adding unparalleled creaminess and flavor. The convenience of this method means you can whip up a batch whenever a recipe calls for ricotta, ensuring you always have the freshest ingredients at hand. Let’s dive into making this kitchen magic happen!
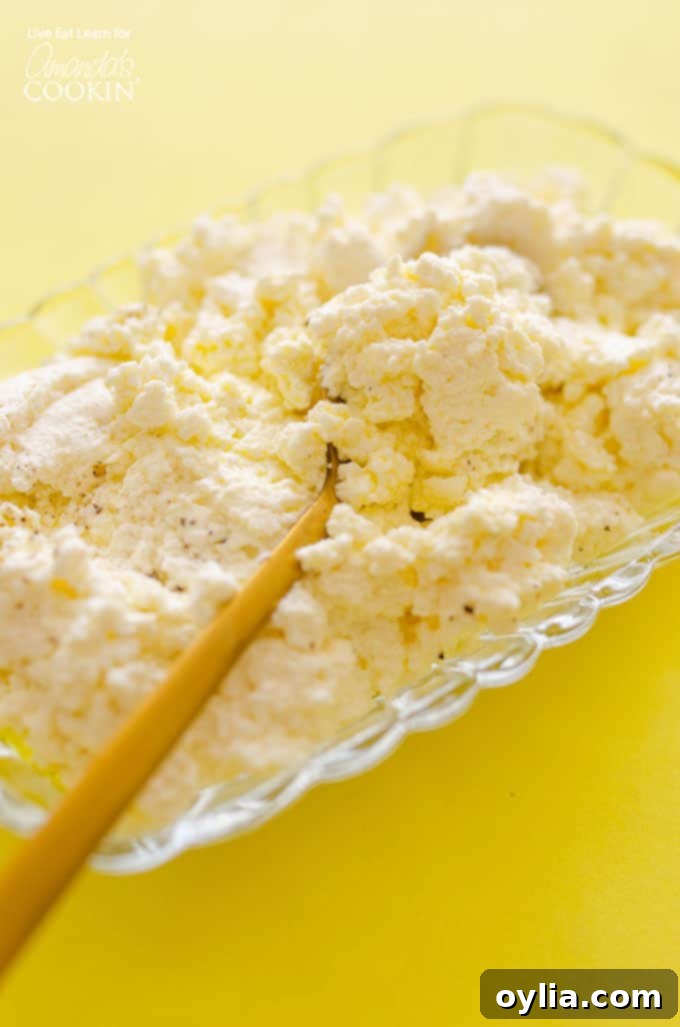
Why Make Your Own 5-Minute Homemade Ricotta? The Benefits Are Endless!
I used to adore incorporating ricotta into my recipes, but a common frustration always lingered: having to buy large containers only to use a fraction, leaving the rest to spoil. This led me on a quest for a better solution, and what I discovered was a revelation. Not only can you save money by making ricotta at home, but you can also produce the exact amount you need, whenever you need it – all thanks to the humble microwave!
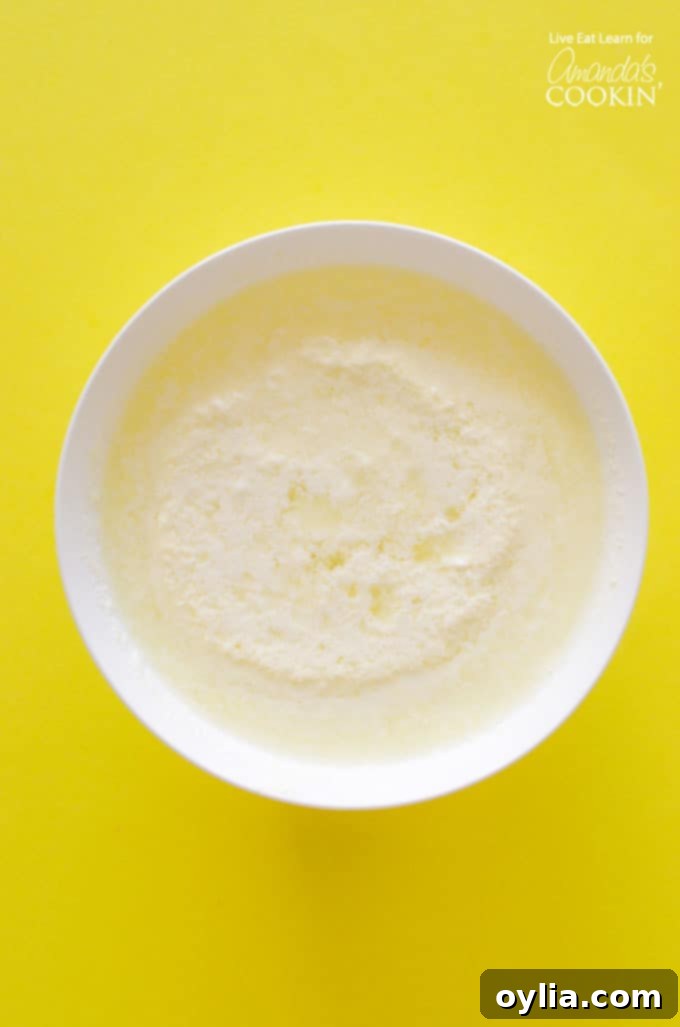
Initially, I was skeptical. Could truly fresh, delicious ricotta come from a microwave in mere minutes? My doubts vanished the moment I retrieved my bowl of milk and lemon juice from the microwave after just 3 minutes. I was absolutely astounded to see beautifully curdled milk, ready to be strained into rich, creamy ricotta cheese! This method is a game-changer for anyone who appreciates fresh ingredients and hates food waste.
Unbeatable Freshness and Flavor
There’s simply no comparison between fresh, homemade ricotta and its store-bought counterpart. Homemade ricotta boasts a delicate, creamy texture and a subtle, fresh dairy flavor that’s often lost in packaged versions. The slight tang from the lemon juice (or vinegar) adds a bright, invigorating note that enhances both sweet and savory dishes.
Cost-Effective and Zero Waste
Making ricotta at home is significantly more economical than buying it from the grocery store. Milk is a pantry staple, and lemon juice or vinegar are inexpensive. Plus, you control the portion size, ensuring you only make what you need, eliminating the problem of unused ricotta languishing in your fridge. This not only saves you money but also helps reduce food waste, making it an eco-friendly choice.
No Special Equipment Needed
Forget about investing in specialized cheese-making tools. This recipe specifically skips the need for a thermometer (no precise temperature monitoring required!) and even traditional cheesecloth (though it remains an option if you prefer it for a super-smooth texture). A microwave-safe bowl, paper towels, and a fine-mesh sieve are all you truly need, making it accessible for any home cook.
The Simple Science Behind Curdling Milk
The magic behind this recipe lies in a simple chemical reaction. When an acid (like lemon juice or vinegar) is introduced to heated milk, it causes the milk proteins (casein) to coagulate, or curdle. Heating the milk helps speed up this process and makes the proteins more receptive to the acid. The curds then separate from the liquid whey, and these curds are what we collect to form our fresh ricotta cheese. It’s a fascinating and delicious transformation!
Versatile Uses for Your Homemade Ricotta Cheese
Once you’ve tasted the difference, you’ll want to use your homemade ricotta everywhere! It’s perfectly suited for virtually any application where you would typically use store-bought ricotta. Its creamy, savory, and slightly zingy profile makes it incredibly versatile.
- Classic Italian Dishes: Naturally, it shines in lasagna, baked ziti, and stuffed pasta shells. Its fresh taste elevates these comfort foods to a new level.
- Pizza and Galettes: Use it as a rich, creamy base for homemade pizzas or savory galettes, adding a lovely depth of flavor.
- Elegant Appetizers: Swirl it into a delicious dip, or spread it generously on toast with a drizzle of honey and a sprinkle of herbs for a gourmet snack.
- Breakfast & Brunch: Stir it into pancake or waffle batter for an incredibly light and fluffy texture, or dollop it onto fresh fruit.
- Desserts: It’s the essential ingredient for traditional cannoli filling and gives cheesecakes a wonderfully light and airy consistency.
- Savory Tarts & Frittatas: Add a dollop to your favorite savory tart or frittata for an extra layer of richness and moisture.
Making store-bought ricotta a thing of the past starts right now. Prepare to impress your taste buds and your guests with this incredibly fresh ingredient!
Making Homemade Ricotta: A Detailed Guide
This process is surprisingly straightforward. Follow these steps for perfect, fresh ricotta every time:
- Prepare the Mixture: In a generously sized microwave-safe bowl, combine your whole milk, lemon juice (or white vinegar), and salt. Give it a good stir to ensure the ingredients are well mixed. The size of the bowl is important to prevent overflow as the milk heats and curdles.
- Microwave to Curdle: Place the bowl in the microwave and heat on high for 3 to 5 minutes. The exact time can vary slightly depending on your microwave’s wattage and the initial temperature of your milk. Keep an eye on it! You’ll know it’s ready when the milk is visibly bubbling around the edges and distinct curds have formed, separating from a yellowish, watery liquid (the whey). If, after 5 minutes, the milk hasn’t fully curdled, add another tablespoon of lemon juice or vinegar and microwave for an additional 30 seconds. Repeat this in short bursts until you see clear curd separation.
- Set Up for Straining: While the milk is heating, prepare your straining setup. Line a wire mesh sieve with two layers of sturdy paper towels. Alternatively, if you have traditional cheesecloth, use a double layer of that. Place this sieve over a larger bowl, which will collect the liquid whey.
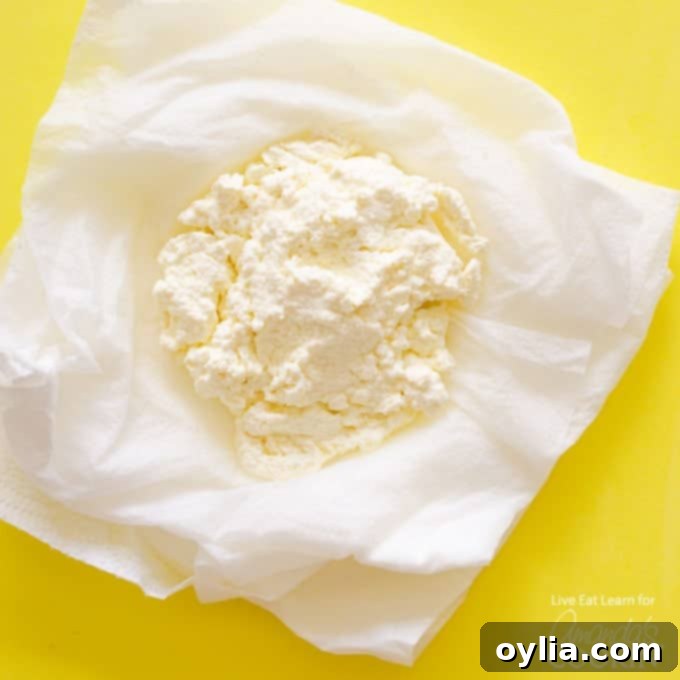
- Strain the Ricotta: Carefully pour the hot milk mixture into the prepared sieve. Allow the liquid to drain through the paper towels/cheesecloth, leaving the fresh curds behind. Avoid pressing the curds, as this can force too much moisture out and result in a dry, less creamy ricotta.
- Achieve Desired Consistency: You can let your ricotta strain for anywhere from 15 minutes to an hour. The longer it sits and drains, the firmer your ricotta will become. For a wonderfully creamy, spreadable ricotta, ideal for dips or eating fresh, a shorter straining time (around 15-30 minutes) is perfect. If you prefer a firmer ricotta for baking or stuffing, let it drain for the full hour. I personally love it fresh and warm, with a tender, soft texture.
Ingredients for Your 5-Minute Homemade Ricotta:
- 2 cups whole milk: Whole milk is highly recommended for the best yield and creamiest texture. The higher fat content contributes to a richer, more luxurious ricotta. While other milk types might work, they may result in a thinner, less flavorful product.
- ¼ cup lemon juice or white vinegar: Both fresh lemon juice and white vinegar work beautifully as the acid to curdle the milk. Lemon juice will impart a very subtle, fresh citrus note, while white vinegar is more neutral in flavor. Choose whichever you prefer or have on hand.
- 1 tsp salt: Salt not only seasons the ricotta but also helps in the curdling process and enhances the overall flavor. You can adjust this to your personal taste.
Kitchen Tools You May Find Useful for Making Ricotta:
- Microwave safe bowl: Ensure it’s large enough to comfortably hold the milk and allow for bubbling without overflowing.
- Paper towels or cheesecloth: Paper towels are a convenient and readily available option for straining. If you want a super-fine, smooth ricotta, traditional cheesecloth is excellent.
- Wire mesh sieve: Essential for separating the curds from the whey. A fine mesh will ensure you capture all the delicious ricotta.
- Measuring cups and spoons: For accurate ingredient measurements.
Tips for Perfect Homemade Ricotta Every Time:
- Use Whole Milk: While other milk types might curdle, whole milk yields the creamiest, most flavorful ricotta due to its fat content.
- Don’t Over-Stir: Once the milk curdles, resist the urge to stir it excessively. Gentle handling helps keep the curds intact.
- Adjust Straining Time: Experiment with straining times to find your preferred consistency. Shorter for creamier, longer for firmer.
- Don’t Discard the Whey (Unless you want to!): The leftover liquid, known as whey, is rich in nutrients. You can use it in smoothies, as a base for soups, to knead bread dough, or even to water plants.
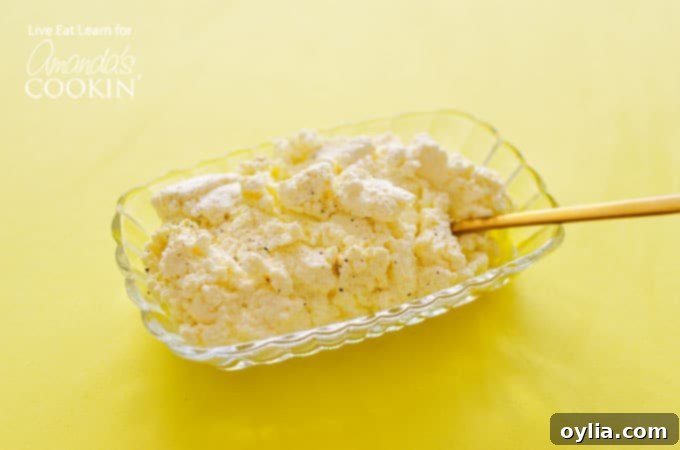
How to Store Your Fresh Ricotta:
Once strained, transfer your homemade ricotta to an airtight container. It will keep fresh in the refrigerator for up to 3-4 days. For optimal freshness and flavor, it’s best consumed within the first two days.
Frequently Asked Questions About 5-Minute Homemade Ricotta
- Can I use low-fat or skim milk?
- While low-fat or skim milk will curdle, the yield will be significantly less, and the texture won’t be as rich or creamy as ricotta made with whole milk. For the best results, whole milk is highly recommended.
- What if my milk doesn’t curdle?
- This usually means you need more acid or more heat. Add another tablespoon of lemon juice or vinegar and microwave for an additional 30 seconds. Repeat if necessary until clear curds form. Ensure your milk is fresh.
- Can I use lime juice instead of lemon?
- Yes, lime juice can also work as an acidic agent. However, it will impart a distinct lime flavor to your ricotta, which might be lovely in some contexts but less traditional than lemon or vinegar.
- Do I have to use paper towels, or can I use cheesecloth?
- You can absolutely use cheesecloth! In fact, many prefer it for a slightly finer, smoother texture. If using cheesecloth, ensure it’s a good quality, tightly woven type and use at least two layers. Paper towels are simply a convenient alternative.
- What can I do with the leftover whey?
- Don’t throw it away! Whey is packed with nutrients. You can use it as a liquid base for smoothies, to cook pasta or rice, as a substitute for water in bread making, or even as a refreshing, slightly tart drink (though some prefer to dilute it). It’s also great for watering acid-loving plants.
With this easy homemade ricotta recipe, you’ll open up a world of culinary possibilities. Imagine using it in this delightful ricotta cheese spinach dip for an appetizer everyone will love! And for a truly decadent dessert, serve up this fantastic chocolate chip ricotta cheesecake recipe. Don’t forget to save me some!
5 Minute Homemade Ricotta
IMPORTANT – There are often Frequently Asked Questions within the blog post that you may find helpful. Simply scroll back up to read them!
Print It
Pin It
Rate It
Save ItSaved!
Ingredients
- 2 cups whole milk
- ¼ cup lemon juice or white vinegar
- 1 tsp salt
Instructions
-
In a microwave safe bowl, stir to combine milk, lemon juice or vinegar, and salt. Ensure the bowl is large enough to prevent overflow as the milk heats.
-
Microwave on high for 3 to 5 minutes. Watch carefully for bubbling at the edges and visible curdling where the milk solids separate from a yellowish liquid (whey). If milk doesn’t curdle after 5 minutes, add another tablespoon of lemon or vinegar and microwave for an additional 30 seconds.
-
Prepare your straining station: Set two layers of paper towels (or a double layer of cheesecloth) in a wire mesh sieve, and place it over a large bowl to catch the whey. Gently pour the hot milk mixture into the sieve to strain out the liquid.
-
Allow the ricotta to strain for 15 minutes to 1 hour, depending on your desired consistency. A shorter time yields a creamier, softer ricotta, while longer straining results in a firmer cheese. I personally love it fresh and warm with a tender texture.
Nutrition
The recipes on this blog are tested with a conventional gas oven and gas stovetop. It’s important to note that some ovens, especially as they age, can cook and bake inconsistently. Using an inexpensive oven thermometer can assure you that your oven is truly heating to the proper temperature. If you use a toaster oven or countertop oven, please keep in mind that they may not distribute heat the same as a conventional full sized oven and you may need to adjust your cooking/baking times. In the case of recipes made with a pressure cooker, air fryer, slow cooker, or other appliance, a link to the appliances we use is listed within each respective recipe. For baking recipes where measurements are given by weight, please note that results may not be the same if cups are used instead, and we can’t guarantee success with that method.

