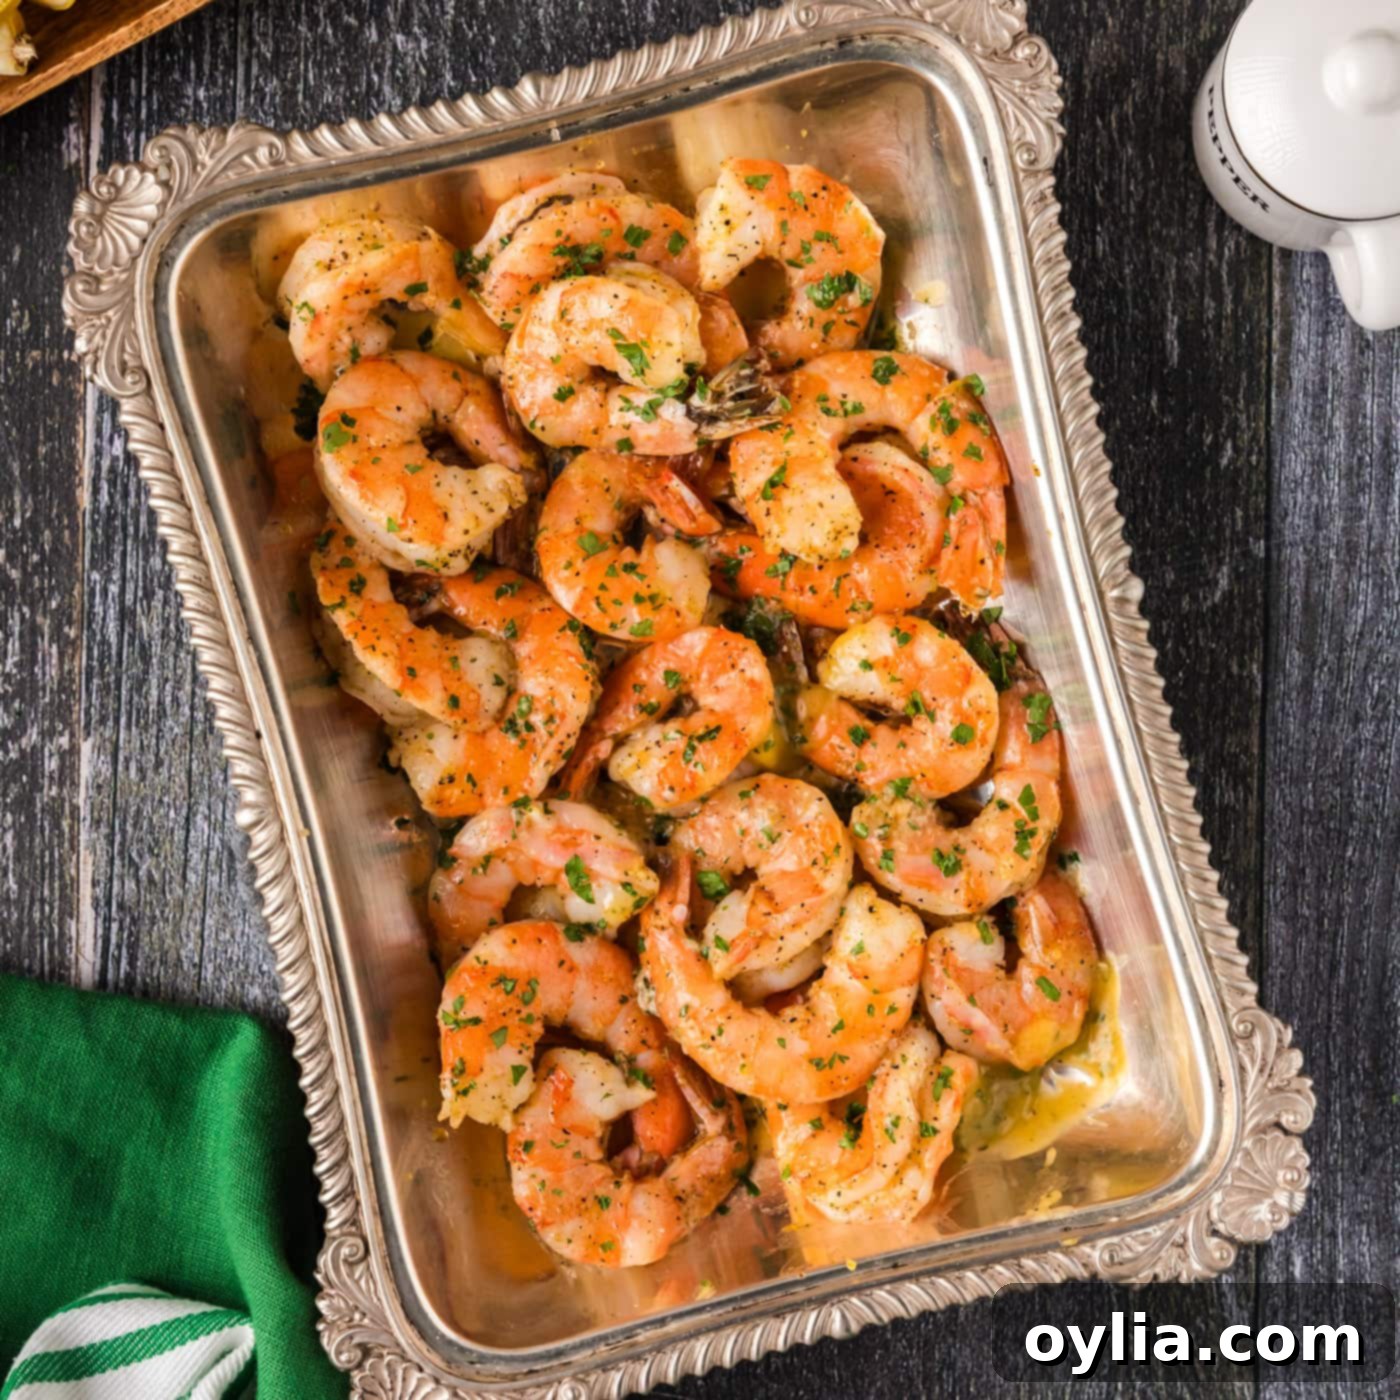
Effortlessly Delicious: The Ultimate Lemon Pepper Old Bay Baked Shrimp Recipe
Discover the secret to perfectly juicy, buttery baked shrimp, effortlessly infused with the vibrant zest of lemon pepper and the classic savory notes of Old Bay seasoning. This recipe brings a burst of flavor to your table with minimal effort, proving that simple doesn’t mean sacrificing taste. Just toss, bake, and get ready to enjoy a culinary delight that’s both comforting and exciting!
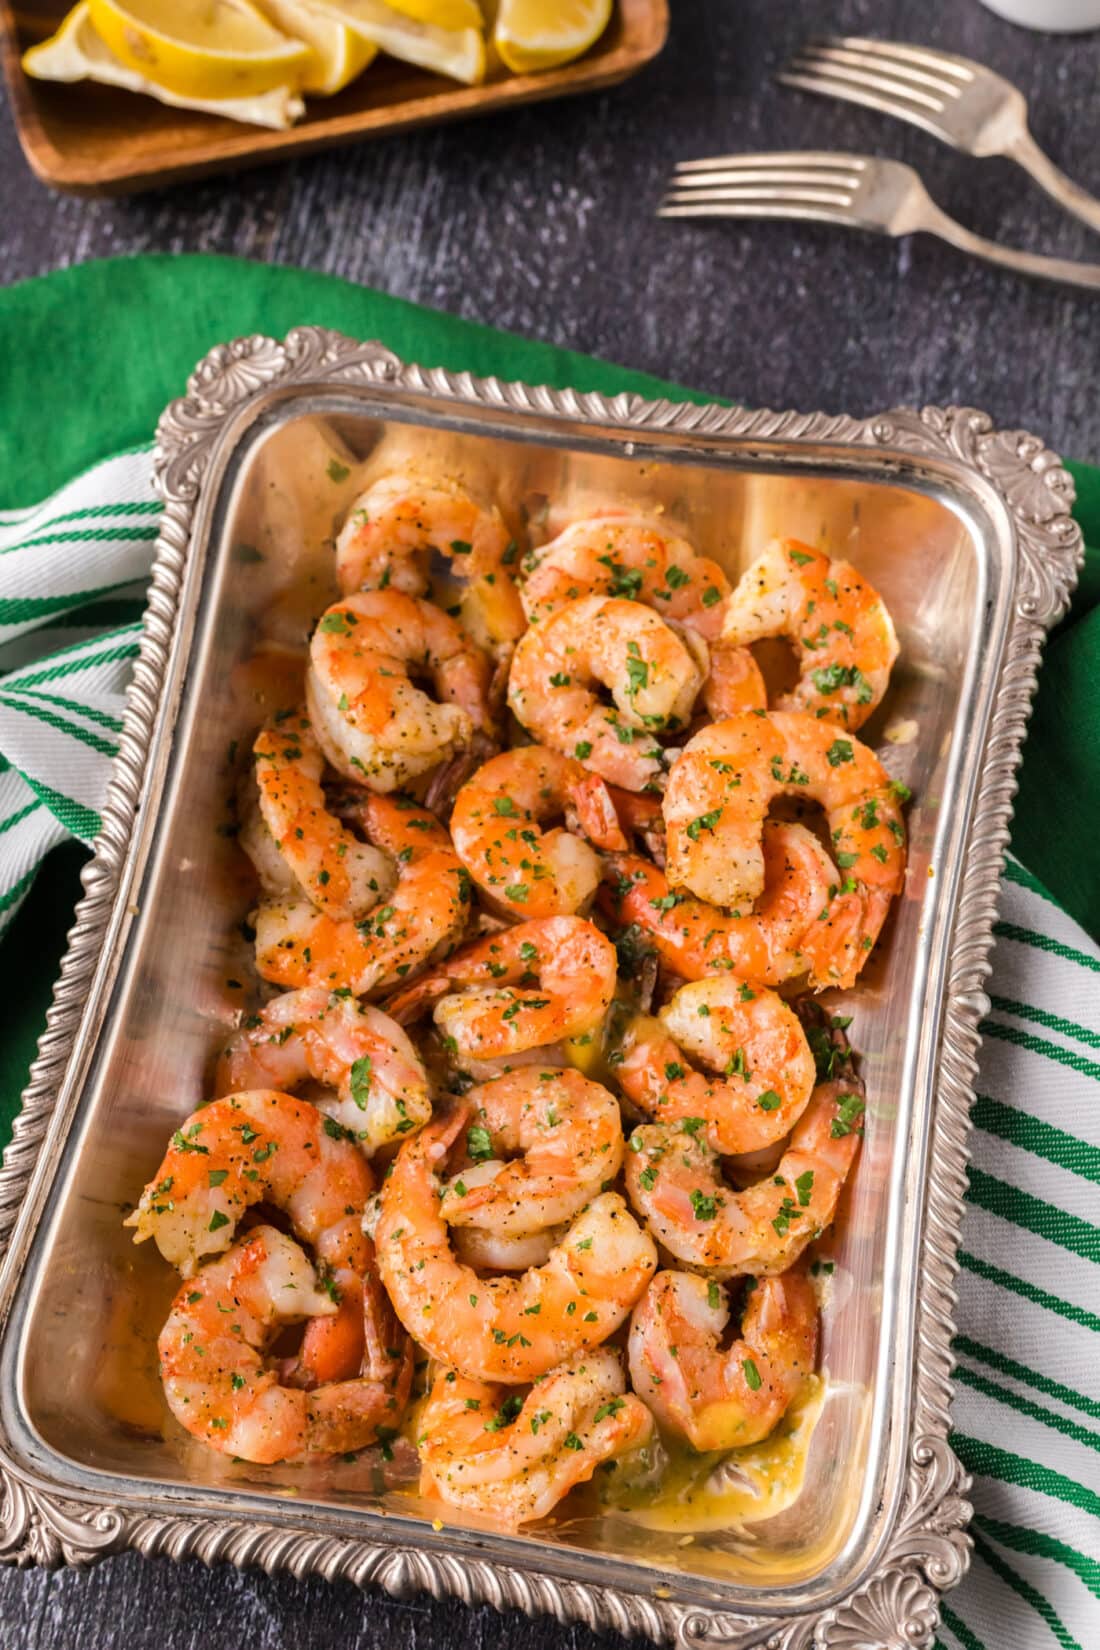
Why This Oven Baked Shrimp Recipe Will Become Your Go-To
This oven baked shrimp recipe isn’t just a meal; it’s a weeknight savior! Designed for speed and maximum flavor, it’s ready in under 25 minutes from start to finish. The magic happens with a simple yet powerful combination of melted butter, bright lemon pepper, and savory garlic salt, which coats each shrimp, ensuring it bakes up incredibly juicy and tender. Forget complicated marinades or lengthy cooking processes – this dish offers gourmet taste with hardly any prep involved.
Its versatility is another reason it truly shines. Serve it as a delightful appetizer for your next gathering, or transform it into a satisfying main course. Imagine it perfectly perched atop buttered noodles, alongside fluffy rice and colorful roasted vegetables, or even tucked into warm burritos and tacos for a seafood twist. Whether you’re aiming for a quick family dinner or an impressive dish for guests, this easy baked shrimp recipe delivers every time.
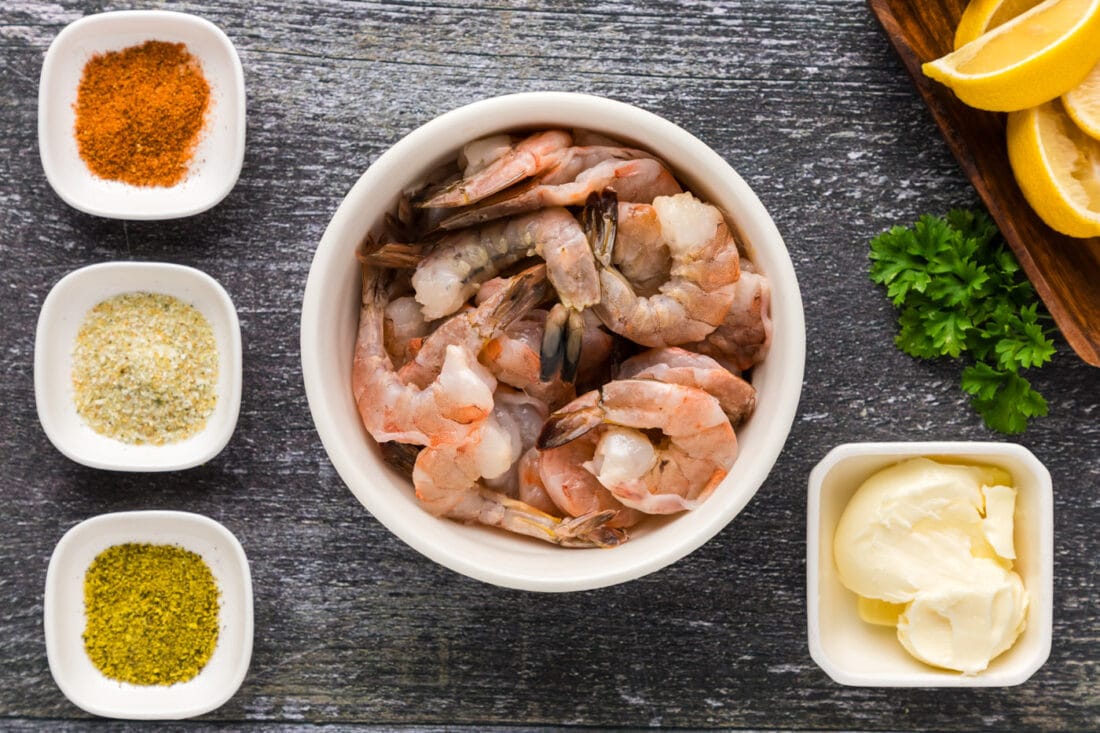
Essential Ingredients for Perfect Baked Shrimp
Before you dive into the simple steps of this delightful recipe, make sure you have all the necessary ingredients on hand. For a complete list of measurements, ingredients, and detailed instructions, refer to the printable version of the recipe card located at the end of this post.
Ingredient Breakdown & Smart Substitutions
Let’s take a closer look at the key components of this baked shrimp recipe and explore how you can customize it to your taste.
- SHRIMP – For this recipe, you’ll need 1 pound of large raw shrimp, preferably peeled and deveined. The size of the shrimp matters – large (often labeled 21-25 count per pound) will give you plump, satisfying bites. While fresh shrimp is always wonderful, frozen shrimp works perfectly fine! Just remember the crucial step of thawing them completely and patting them thoroughly dry with paper towels before you begin. Excess moisture can lead to steamed, rather than beautifully baked, shrimp. Whether you keep the tails on or remove them is entirely up to you; tails are typically left on for aesthetic presentation or to provide a convenient handle for eating, especially when serving as an appetizer.
- BUTTER – Three tablespoons of melted unsalted butter are essential for that rich, tender texture and to help the seasonings adhere. Using unsalted butter gives you full control over the salt content in the dish, allowing the Old Bay and garlic salt to shine without making the shrimp overly salty. If you’re out of unsalted butter, you can use salted butter, but you might want to slightly reduce the amount of garlic salt you add. For a dairy-free option, a good quality olive oil or a plant-based butter substitute can work well.
- SEASONINGS – This recipe relies on three powerhouse seasonings: Old Bay seasoning, garlic salt, and lemon pepper. This trio delivers a classic yet deeply flavorful profile.
- Old Bay Seasoning: This iconic blend, often associated with Maryland seafood, provides a complex, savory, and slightly spicy kick. It features a mix of celery salt, red pepper, black pepper, and paprika, among other spices. Its distinctive taste is hard to replicate perfectly, but if you don’t have it, a homemade seafood seasoning blend or a mix of paprika, cayenne, garlic powder, onion powder, and celery seed can be used as a substitute.
- Garlic Salt: This provides both savory garlic flavor and a touch of salt. If you only have garlic powder, combine ½ tablespoon of garlic powder with ¼-½ teaspoon of fine sea salt, adjusting to your preference. Fresh minced garlic can also be added, but consider sautéing it briefly with the butter first to mellow its raw edge.
- Lemon Pepper: This blend adds a bright, zesty, and peppery finish that complements the shrimp beautifully. It typically includes dried lemon peel, black pepper, and salt. For an extra pop of fresh lemon flavor, you can also toss in a teaspoon of fresh lemon zest with the seasonings or squeeze a little fresh lemon juice over the cooked shrimp before serving.
- SUBSTITUTION SUGGESTIONS: While the Old Bay, garlic salt, and lemon pepper blend is fantastic, feel free to experiment with your favorite seasoning blends. We also adore our homemade shrimp seasoning blend for a different yet equally delicious twist. Cajun seasoning, Italian seasoning, or even a simple blend of smoked paprika, onion powder, and a pinch of cayenne can create unique flavor profiles.
Mastering Baked Shrimp: A Simple Step-by-Step Guide
These step-by-step photos and instructions are designed to help you easily visualize how to prepare this delicious recipe. For a convenient printable version, complete with precise measurements and full instructions, you can Jump to Recipe at the bottom of this post.
- Preheat your oven to 350°F (175°C). This ensures the oven is at the correct temperature for quick and even cooking. Place a wire rack on top of a baking sheet. Using a wire rack is crucial here, as it allows air to circulate around the shrimp, preventing them from steaming and ensuring they bake to a perfect, slightly crispy exterior.
- In a small bowl, combine your melted butter with the Old Bay seasoning, garlic salt, and lemon pepper. Stir these ingredients together until they are well combined, creating a fragrant, flavorful mixture that will evenly coat the shrimp.
- Transfer your prepped shrimp (thawed and patted dry!) into a large mixing bowl. Pour the seasoned butter mixture over the shrimp. Using gloved hands (or a spoon for less mess), gently toss the shrimp, ensuring each piece is thoroughly coated with the delicious butter and spice blend. This even coating is key to maximizing flavor in every bite.
- Arrange the seasoned shrimp in a single layer on the wire rack that’s on your baking sheet. Avoid overcrowding the rack, as this can lead to uneven cooking and steaming. Giving each shrimp a little space will help them bake perfectly.
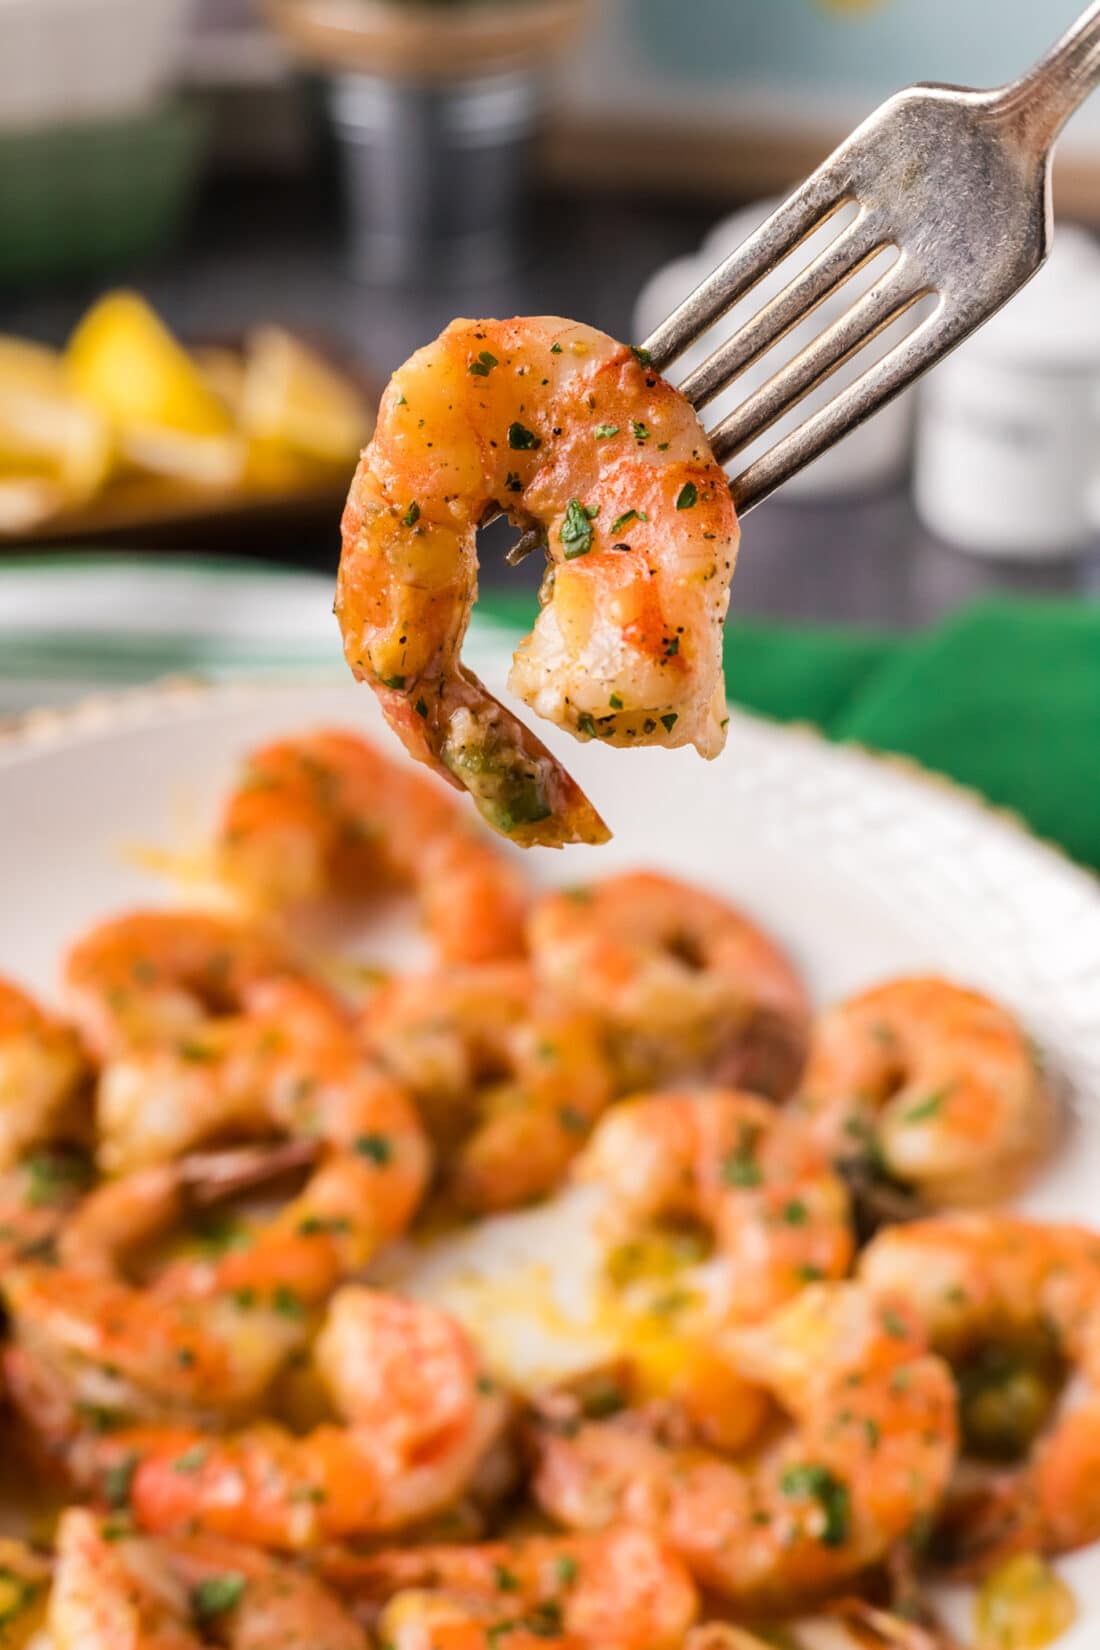
- Bake for 10-13 minutes. Shrimp cooks very quickly, so keep a close eye on them. You’ll know they’re done when they curl into a C-shape and turn opaque with beautiful pink and orange hues. Overcooked shrimp can become rubbery, so it’s better to slightly undercook than overcook.
Frequently Asked Questions & Expert Tips for Perfect Shrimp
To thaw frozen shrimp quickly and safely, place them in a sealed gallon-sized ziptop bag. Submerge the sealed bag of shrimp in a bowl of cold water. Allow them to thaw for approximately 15-20 minutes, or until pliable. Make sure to release as much air from the sealed bag as possible before submerging it to prevent the shrimp from floating. It is crucial to not use warm or hot water, as this can prematurely cook the shrimp and affect their texture.
Store any leftover baked shrimp in an airtight container in the refrigerator for up to 2 days. For reheating, spread the shrimp on a baking sheet and warm them in a 350°F (175°C) oven for 5-10 minutes, just until they are heated through. Be extremely careful not to overcook the shrimp during reheating, as they can become tough. To prevent drying out, you can loosely cover the baking sheet with aluminum foil. Alternatively, a quick reheat in an air fryer for 2-3 minutes at 350°F can also work wonders.
Shrimp cooks very rapidly, making it easy to overcook. You’ll know your shrimp is perfectly done when it curls into a “C” shape, turns opaque, and develops beautiful pink and orange hues. If the shrimp curls into a tight “O” shape, it is likely overcooked and will have a rubbery, tough texture. The internal temperature of cooked shrimp should reach 120°F (49°C), though visual cues are usually sufficient due to their small size and quick cooking time.
There isn’t a single “best” way to cook shrimp; it truly comes down to personal preference and the desired outcome. We offer recipes for various popular methods, including grilled shrimp (for smoky flavor), fried shrimp (for a crispy coating), sautéed shrimp (for quick pan-cooking), baked shrimp (like this recipe, for hands-off ease and even cooking), and air fryer shrimp (for a crispy texture with less oil). Baking shrimp, as in this recipe, is fantastic because it’s largely hands-off, cooks evenly, and makes clean-up a breeze, especially when using a wire rack.
While you technically can, it is generally not recommended for this recipe. Pre-cooked shrimp will become tough and rubbery if baked for the same duration as raw shrimp. If you must use pre-cooked shrimp, add them to the butter and seasoning mixture, then only bake for 2-3 minutes, just until they are heated through and coated in the flavors. The best results in terms of juiciness and flavor absorption come from starting with raw shrimp.
Yes, it can make a difference! For even cooking and to prevent sticking, a good quality, heavy-duty baking sheet is ideal. Light-colored baking sheets tend to cook more evenly than dark ones, which can cause faster browning. Always line your baking sheet with parchment paper or foil (especially if not using a wire rack) for easy cleanup.
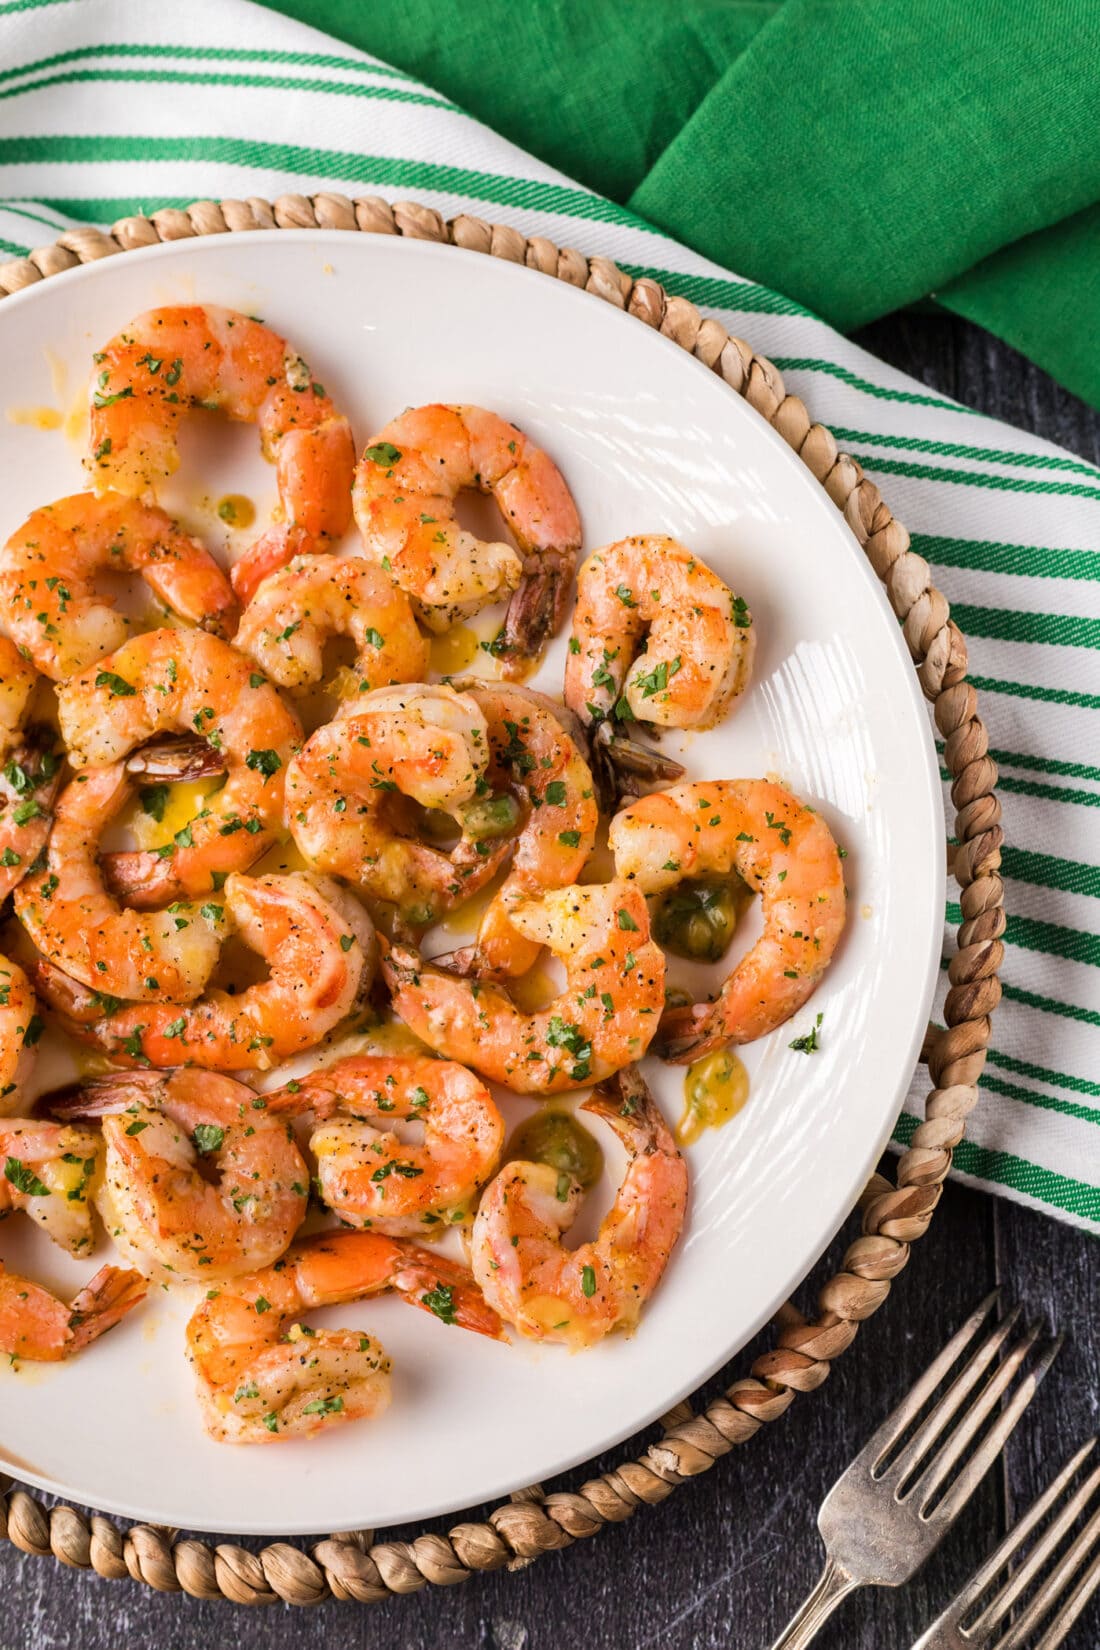
Delicious Ways to Serve Your Baked Shrimp
The versatility of this baked shrimp recipe means you have endless options for serving! It’s perfect as a standalone appetizer, perhaps with a side of cocktail sauce or a creamy aioli for dipping. For a hearty and satisfying main course, consider these delicious pairings:
- Classic Comfort: Serve your buttery baked shrimp over a bed of warm, buttered pasta noodles, such as linguine or fettuccine, for a simple yet elegant meal. A sprinkle of fresh parsley or chives adds a touch of color and freshness.
- Light & Fresh: Pair it with fluffy white rice, brown rice, or quinoa, alongside a medley of roasted or steamed vegetables like asparagus, broccoli, or bell peppers. A squeeze of fresh lemon over the entire plate brightens all the flavors.
- Taco & Burrito Night: Transform your shrimp into a fun, family-friendly meal by using it as a filling for soft tortillas or hard taco shells. Add your favorite toppings like shredded cabbage, salsa, avocado, or a drizzle of spicy crema. It also makes a fantastic addition to shrimp burritos or quesadillas.
- Salad Topper: Let the shrimp cool slightly and then add them to a crisp green salad for a light, protein-packed lunch or dinner. A lemon-herb vinaigrette would be an excellent complement.
- Grits or Polenta: For a Southern-inspired dish, serve the flavorful shrimp over creamy grits or polenta.
However you choose to enjoy them, these lemon pepper Old Bay baked shrimp are sure to be a crowd-pleaser!
Explore More Amazing Shrimp Recipes
Can’t get enough of delicious shrimp? Dive into these other fantastic recipes from our collection, each offering a unique way to enjoy this versatile seafood:
- Shrimp Pasta
- Grilled Shrimp
- Air Fryer Shrimp
- Garlic Butter Shrimp
- Steamed Shrimp
I love to bake and cook and share my kitchen experience with all of you! Remembering to come back each day can be tough, that’s why I offer a convenient newsletter every time a new recipe posts. Simply subscribe and start receiving your free daily recipes!
Baked Shrimp
IMPORTANT – There are often Frequently Asked Questions within the blog post that you may find helpful. Simply scroll back up to read them!
Print It
Pin It
Rate It
Save ItSaved!
Ingredients
- 1 pound large shrimp peeled and deveined
- 3 Tablespoons unsalted butter melted
- ½ Tablespoon Old Bay seasoning
- ½ Tablespoon garlic salt
- ½ Tablespoon lemon pepper
Things You’ll Need
-
Wire cooling rack
-
Baking sheet
-
Mixing bowl
Before You Begin
- Frozen shrimp is perfectly fine, just be sure to thaw and pat it dry before beginning. Removing excess moisture is key for a good baked texture.
- You can remove the tails if you like. Tails are often left on for presentation purposes or to be used as a convenient handle when serving as an appetizer.
- To thaw shrimp quickly, place them in a sealed gallon-sized ziptop bag and submerge the shrimp in a bowl of cold water for around 20 minutes. Release as much air from the sealed bag before submerging to prevent them from floating. Do not use warm or hot water, which can prematurely cook the shrimp and affect its texture.
- Shrimp does not take long to cook, which also means it can easily be overcooked. The shrimp will curl into a C-shape and turn opaque with pink and orange hues when it is finished cooking. Overcooked shrimp are rubbery and tough in texture, so watch them closely!
- Always preheat your oven to ensure consistent cooking results and to prevent the shrimp from sitting too long before cooking.
Instructions
-
Preheat oven to 350 F. Place a wire rack on top of a baking sheet.
-
In a small bowl, combine butter, Old Bay, garlic salt, and lemon pepper.
-
Place shrimp into a large mixing bowl and pour on the butter mixture. Use gloved hands to toss the shrimp and butter mixture until coated well.
-
Place prepared shrimp onto wire rack.
-
Bake 10-13 minutes.
Expert Tips & FAQs
- Store leftover baked shrimp in an air-tight container kept in the refrigerator for up to 2 days to maintain freshness.
- Reheat in a 350°F (175°C) oven on a baking sheet for 5-10 minutes, just until heated through. Be careful not to overcook the shrimp during reheating, as they can quickly become tough. Covering the baking sheet with aluminum foil can help prevent the shrimp from drying out.
- For quick reheating, an air fryer set to 350°F (175°C) for 2-3 minutes can also work effectively.
- Always pat your shrimp very dry after thawing. This ensures a better sear and prevents the shrimp from steaming in the oven, leading to a more appealing texture.
- Don’t overcrowd your baking sheet. Giving the shrimp space allows for proper air circulation, which is crucial for even cooking and preventing a soggy texture.
Nutrition
The recipes on this blog are tested with a conventional gas oven and gas stovetop. It’s important to note that some ovens, especially as they age, can cook and bake inconsistently. Using an inexpensive oven thermometer can assure you that your oven is truly heating to the proper temperature. If you use a toaster oven or countertop oven, please keep in mind that they may not distribute heat the same as a conventional full sized oven and you may need to adjust your cooking/baking times. In the case of recipes made with a pressure cooker, air fryer, slow cooker, or other appliance, a link to the appliances we use is listed within each respective recipe. For baking recipes where measurements are given by weight, please note that results may not be the same if cups are used instead, and we can’t guarantee success with that method.
