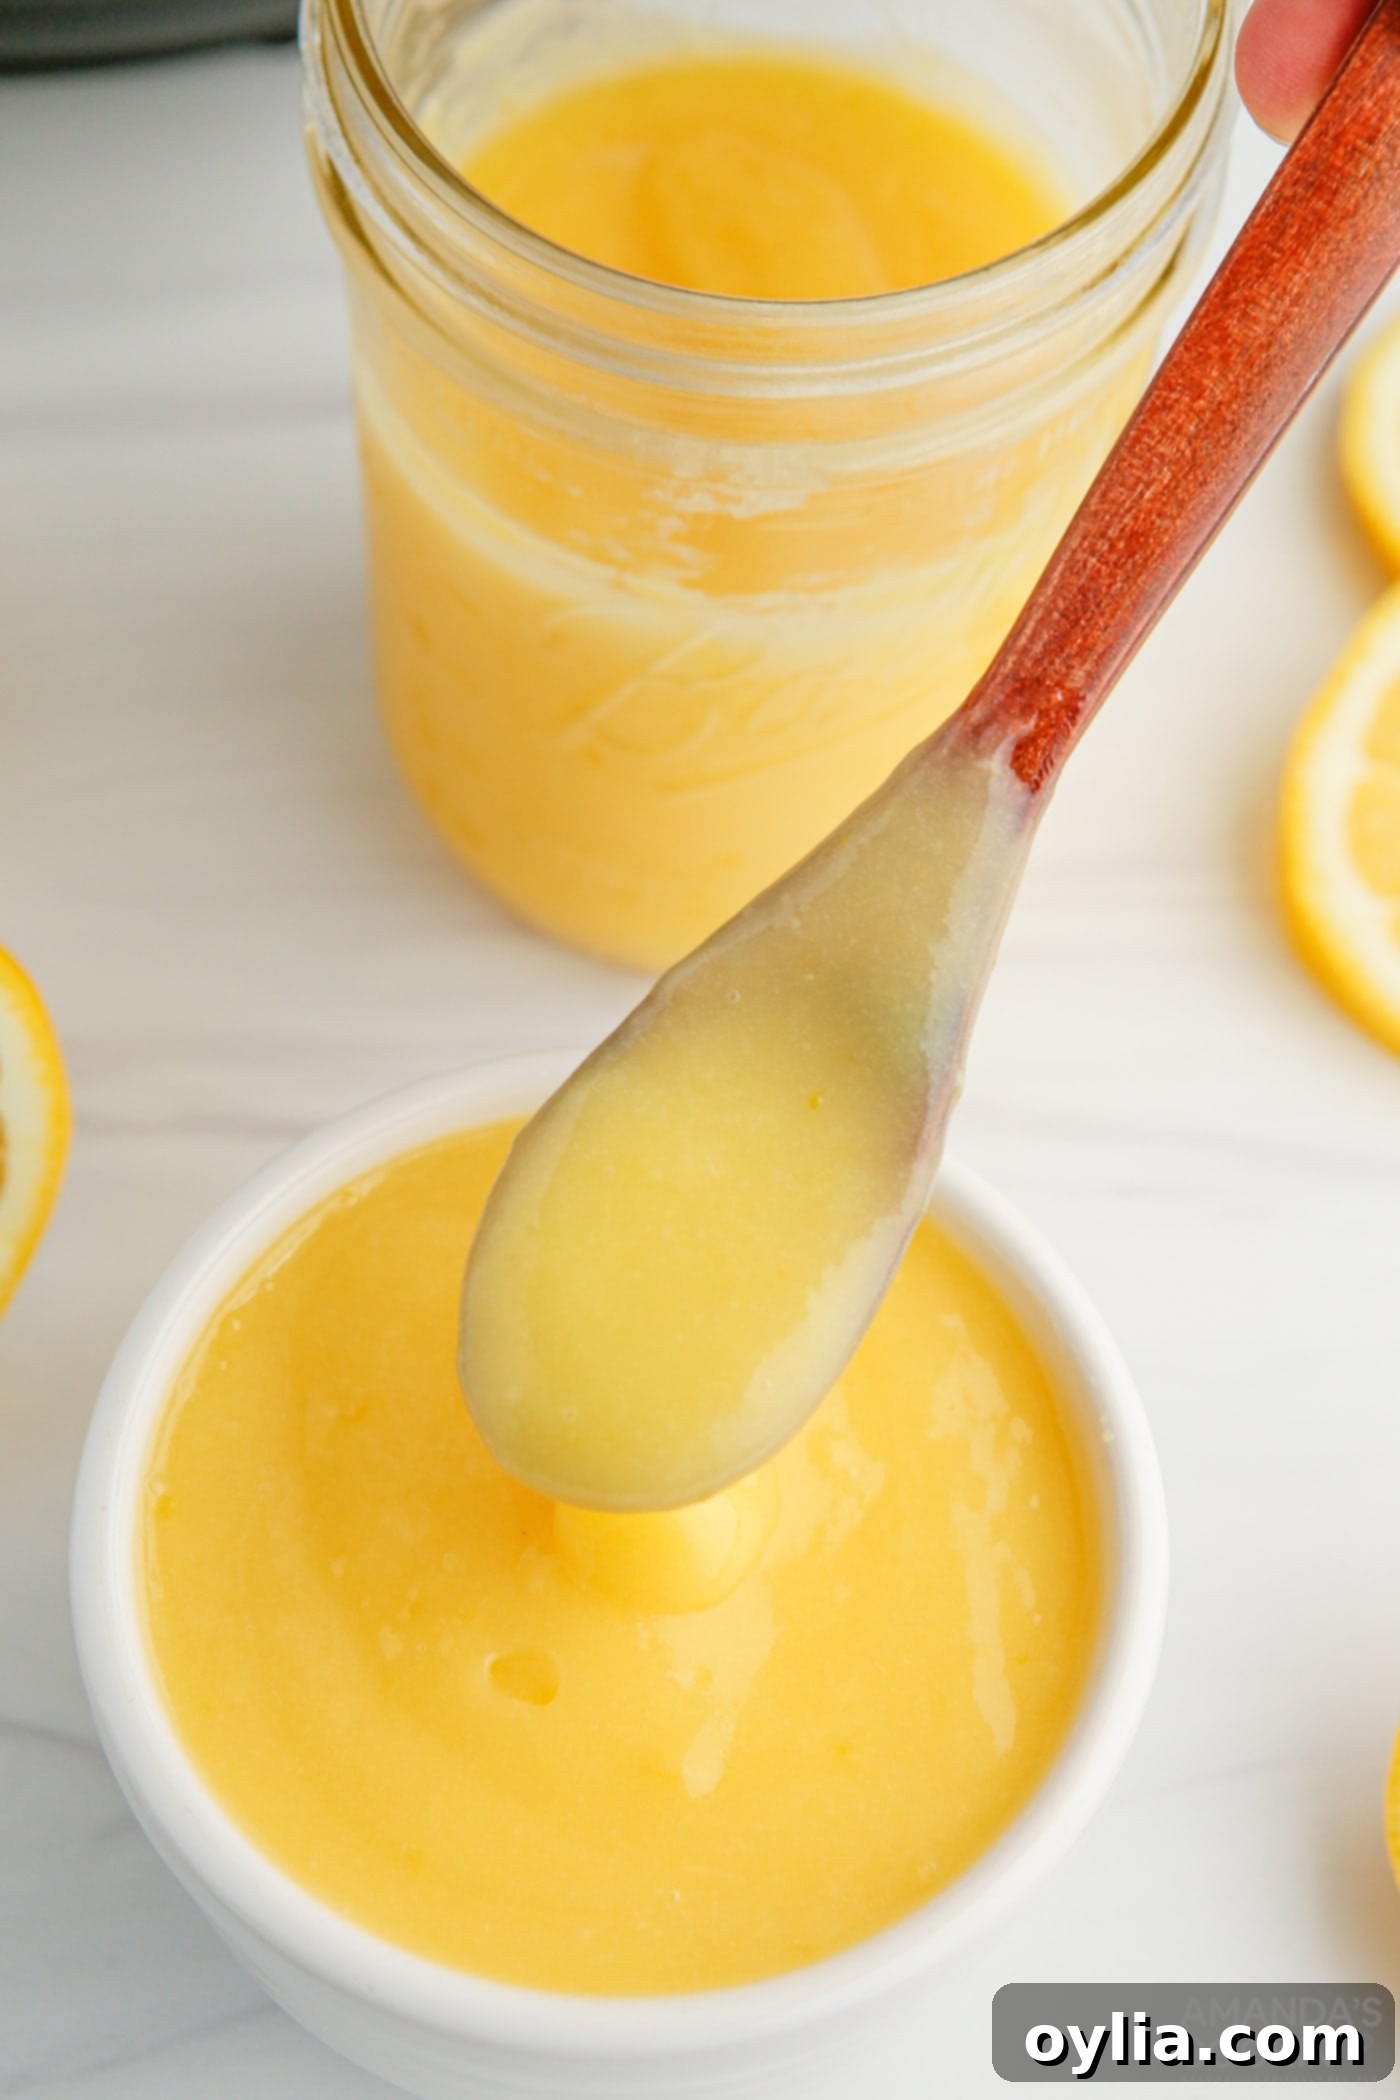
Easy & Zesty Instant Pot Lemon Curd: The Ultimate Homemade Recipe
Imagine a spread so bright, so flavorful, it captures the essence of summer in a single spoonful. That’s exactly what you get with this incredible Instant Pot Lemon Curd recipe. Bursting with fresh, sunny citrus notes, this vibrant curd is a versatile delight, perfect for elevating everything from simple toast to elegant pastries. Forget the endless stirring over a hot stove; your Instant Pot makes creating this silky, sweet-tart treat incredibly easy and hands-off, delivering a consistently perfect batch every time. Get ready to transform your desserts, breakfasts, and snacks with this irresistible homemade classic!
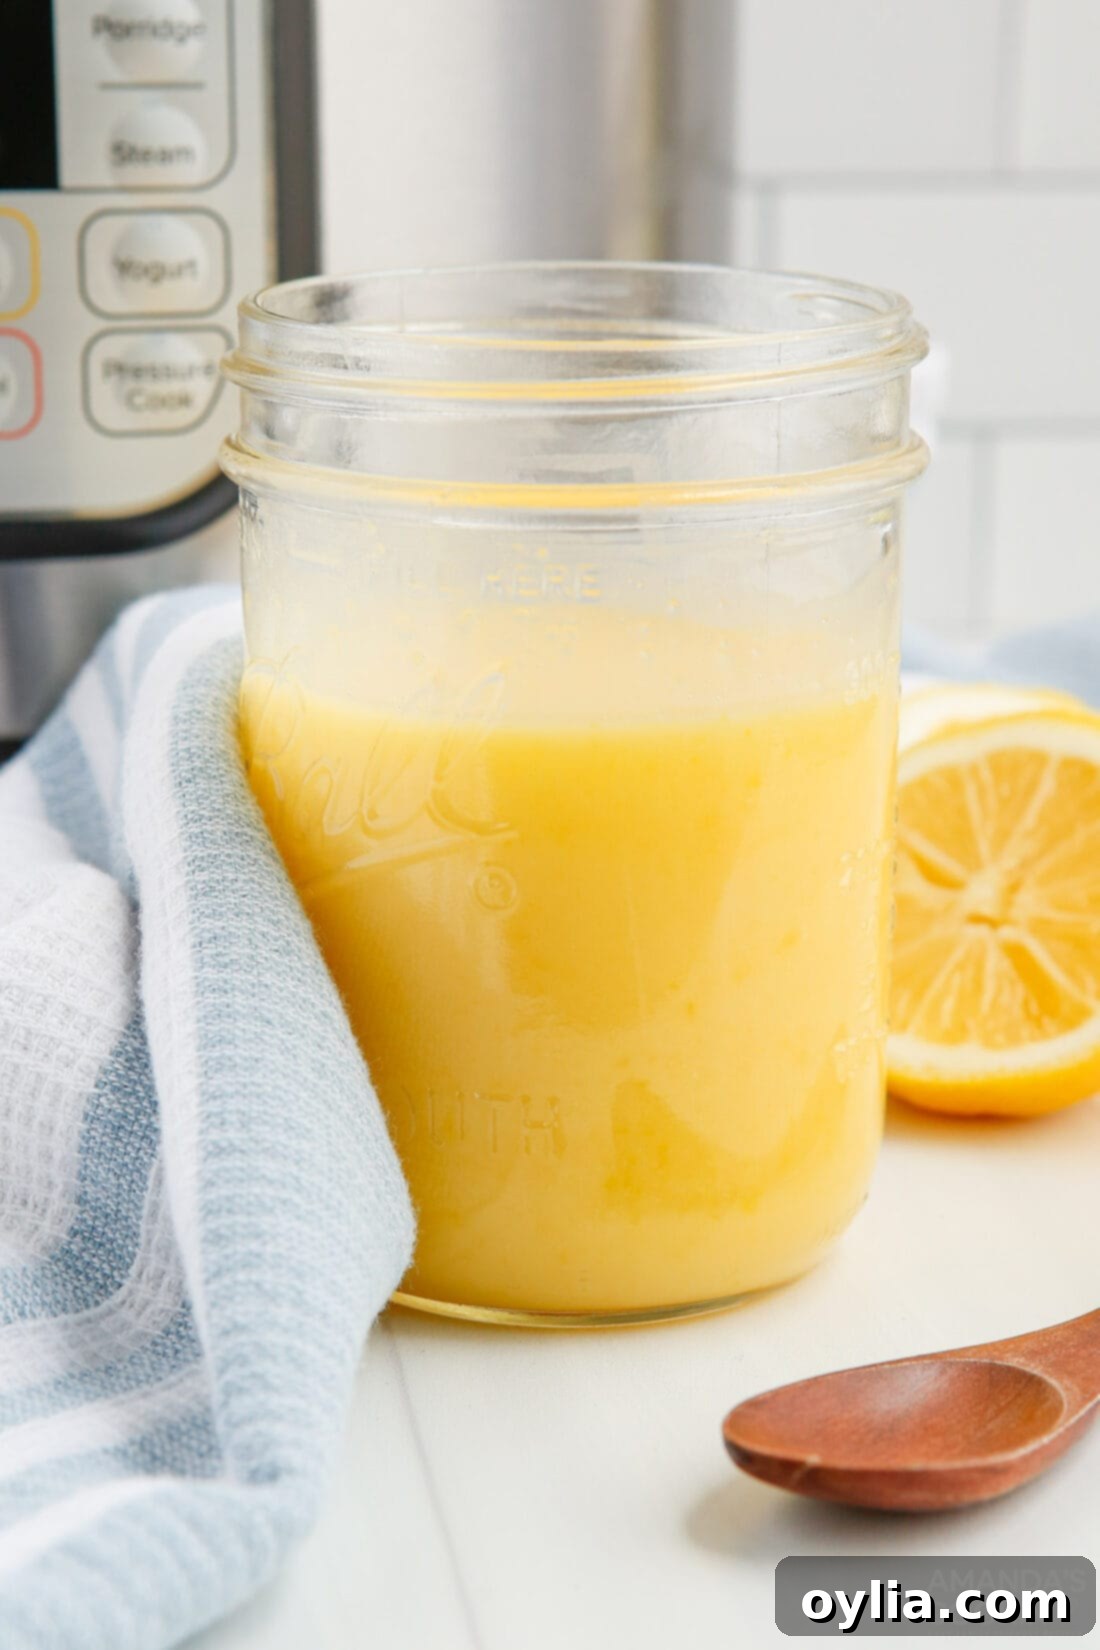
Why This Instant Pot Lemon Curd Recipe Works Wonders
For generations, making lemon curd involved patient, continuous stirring over a double boiler, a method that, while effective, could be time-consuming and prone to scorching. Happily, those days are behind us! This Instant Pot lemon curd recipe is a game-changer, transforming a traditional, labor-intensive process into a simple, hands-off affair. The pressure cooker creates a perfectly steamy environment, gently cooking the curd mixture to a silky, creamy consistency without the need for constant attention. This method ensures even cooking and minimizes the risk of scrambled eggs, a common fear for first-time curd makers.
The result is a luscious, sweet-tart lemon curd with minimal effort. While this Instant Pot lemon curd may be slightly less thick than some heavily commercialized, store-bought varieties that often rely on added thickeners, its natural, vibrant flavor and smooth texture make it an undeniably superior homemade product. It’s perfect for a wide array of uses: think bright lemon curd poke cakes, delicate thumbprint cookies, or simply drizzled over a stack of fluffy pancakes. Once you try this method, you’ll wonder why you ever made it any other way!
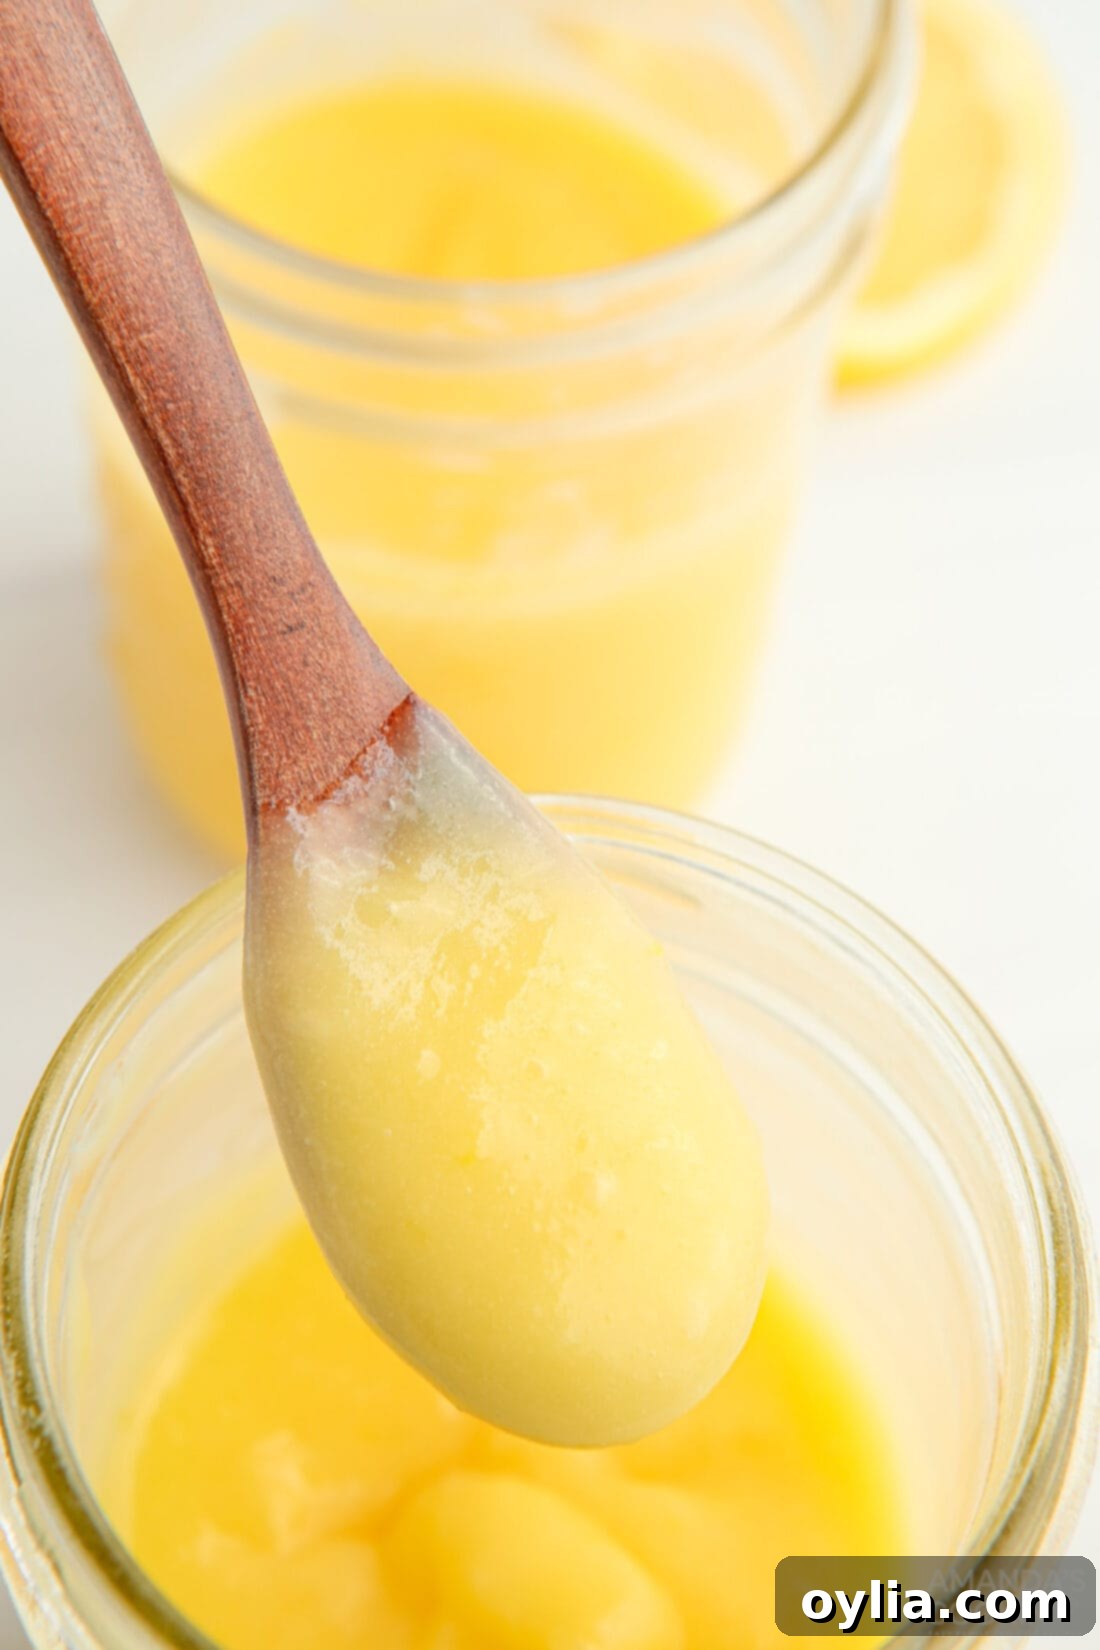
Essential Ingredients for Your Homemade Lemon Curd
Crafting the perfect Instant Pot lemon curd requires just a few basic ingredients, each playing a crucial role in achieving that signature bright, creamy, and tangy profile. While the process is simple, starting with quality ingredients will make all the difference in the final taste and texture of your homemade curd. You’ll find all precise measurements and detailed instructions in the printable recipe card located at the end of this post.
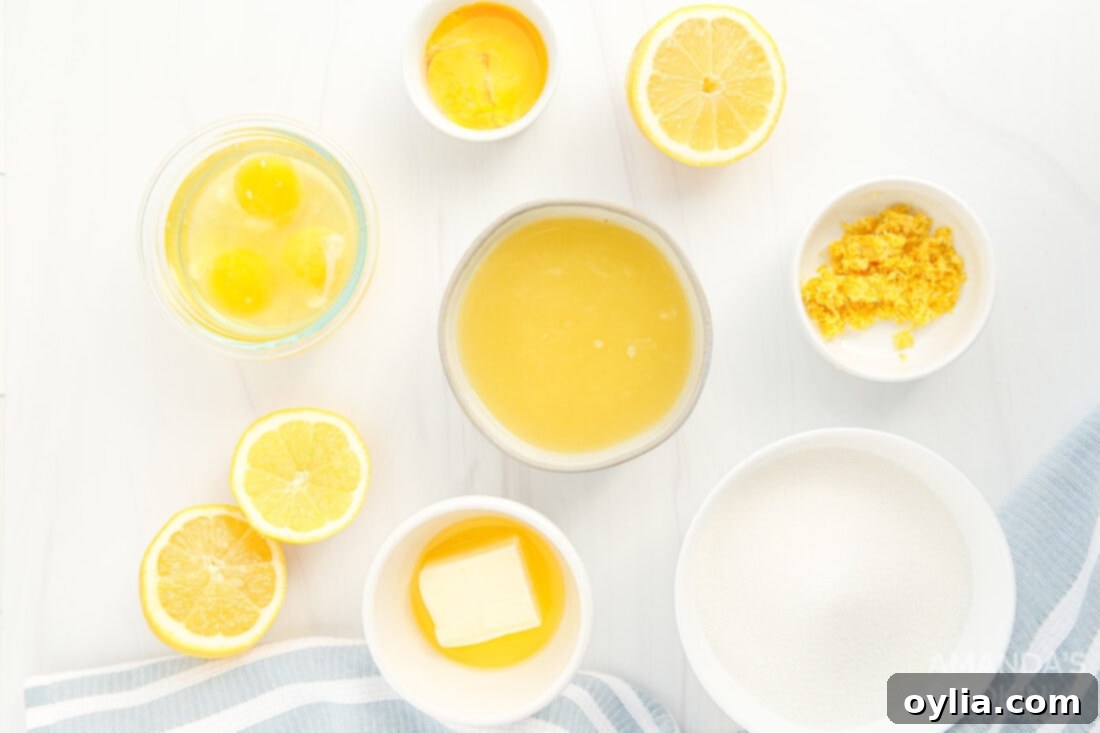
Diving Deeper: Ingredient Info and Smart Substitution Suggestions
Understanding the role of each ingredient not only helps you achieve the best results but also empowers you to make informed adjustments.
Lemons: The Zesty Heart of Your Curd
You’ll typically need about 4-5 medium-sized fresh lemons to yield the required 3/4 cup of lemon juice for this recipe. It’s always a good idea to purchase a couple of extra lemons, just in case some don’t yield as much juice as anticipated. Freshly squeezed lemon juice is absolutely non-negotiable for the brightest, most authentic lemon flavor. Bottled lemon juice, while convenient, often lacks the vibrant acidity and can introduce an artificial taste that will compromise your curd. For the zest, you’ll generally use about one full lemon’s worth, providing essential aromatic oils that deepen the lemon flavor without adding extra liquid.
When selecting lemons, look for firm ones with smooth, blemish-free, brightly colored skin. Avoid lemons with soft spots or dull, shriveled skin. To maximize juice extraction, roll the lemons firmly on your countertop for a minute before slicing and juicing. For zest, a microplane grater works best, ensuring you only get the yellow zest and avoid the bitter white pith underneath.
Sugar: Balancing Sweetness and Tang
The amount of granulated sugar in lemon curd is a matter of personal preference. Our recipe calls for approximately 1 cup of granulated sugar, striking a perfect balance between sweet and tart, preventing the curd from being either overwhelmingly sour or cloyingly sweet. However, feel free to adjust this measurement slightly (e.g., reduce by 1/4 cup for a tarter curd or increase by 1/4 cup for a sweeter one) to suit your palate. Always taste a small amount of the cooled curd before adding more sugar to the recipe, as it will intensify as it chills.
Eggs: For Perfect Texture and Richness
This recipe cleverly uses a combination of whole large eggs and extra egg yolks. The egg yolks are the primary thickening agent, imparting that luxurious richness and creamy consistency characteristic of traditional lemon curd. The whole eggs, on the other hand, help to prevent the curd from becoming overly dense or heavy. This thoughtful blend of whole eggs and yolks ensures your Instant Pot lemon curd achieves a beautifully smooth, delicate, yet well-set texture.
Unsalted Butter: The Creamy Foundation
Melted unsalted butter is vital for the curd’s velvety smooth texture and rich mouthfeel. Using unsalted butter allows you to control the overall saltiness of the final product. The butter emulsifies with the other ingredients, creating a stable, luxurious spread. Ensure your butter is good quality, as its flavor will be noticeable.
Water: The Instant Pot’s Steaming Secret
The water added to the bottom of your Instant Pot is crucial for the “pot-in-pot” cooking method. It creates the steam necessary for the pressure cooker to come to pressure and gently cook the lemon curd mixture inside the mason jars. Do not skip this step, as it’s what prevents scorching and ensures even, consistent heat distribution.
Step-by-Step: How to Master Instant Pot Lemon Curd
These step-by-step photos and instructions are designed to help you visualize each stage of making this incredible recipe. For a convenient printable version, complete with all measurements and instructions, simply jump to the recipe card at the bottom of this post.
- Prepare the Instant Pot: Place the trivet (the metal rack that comes with your Instant Pot) in the bottom of your 6 qt Instant Pot. Carefully pour 1 ½ cups of water into the bottom of the pot. This water is essential for creating the steam that will cook your curd using the pot-in-pot method.
- Cream Butter and Sugar: In a separate medium-sized mixing bowl, combine the granulated sugar and melted unsalted butter. Use an electric mixer or whisk vigorously until the mixture is thoroughly blended, smooth, and has a creamy consistency. This step ensures the sugar dissolves well and integrates with the butter.
- Incorporate Eggs: Add the whole eggs and egg yolks to the butter-sugar mixture one at a time, mixing well after each addition until just combined. Avoid overmixing once the eggs are in, as excessive aeration can affect the curd’s final texture.
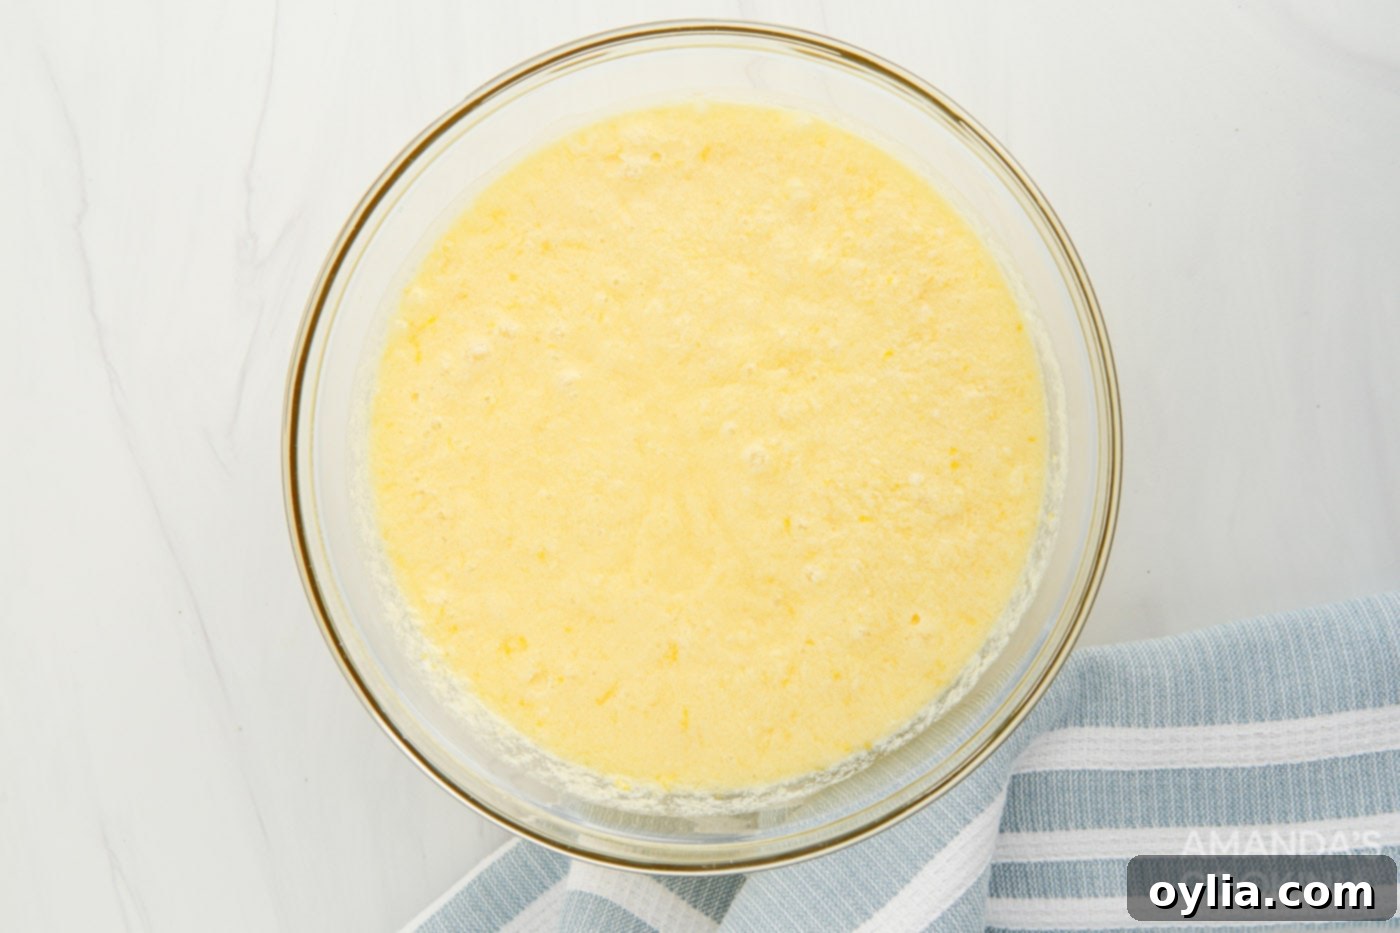
- Add Citrus Punch: Finally, stir in the fresh lemon juice and lemon zest. Mix until all ingredients are thoroughly combined and you have a uniform, pale yellow mixture. This is where the bright lemon flavor truly comes alive!

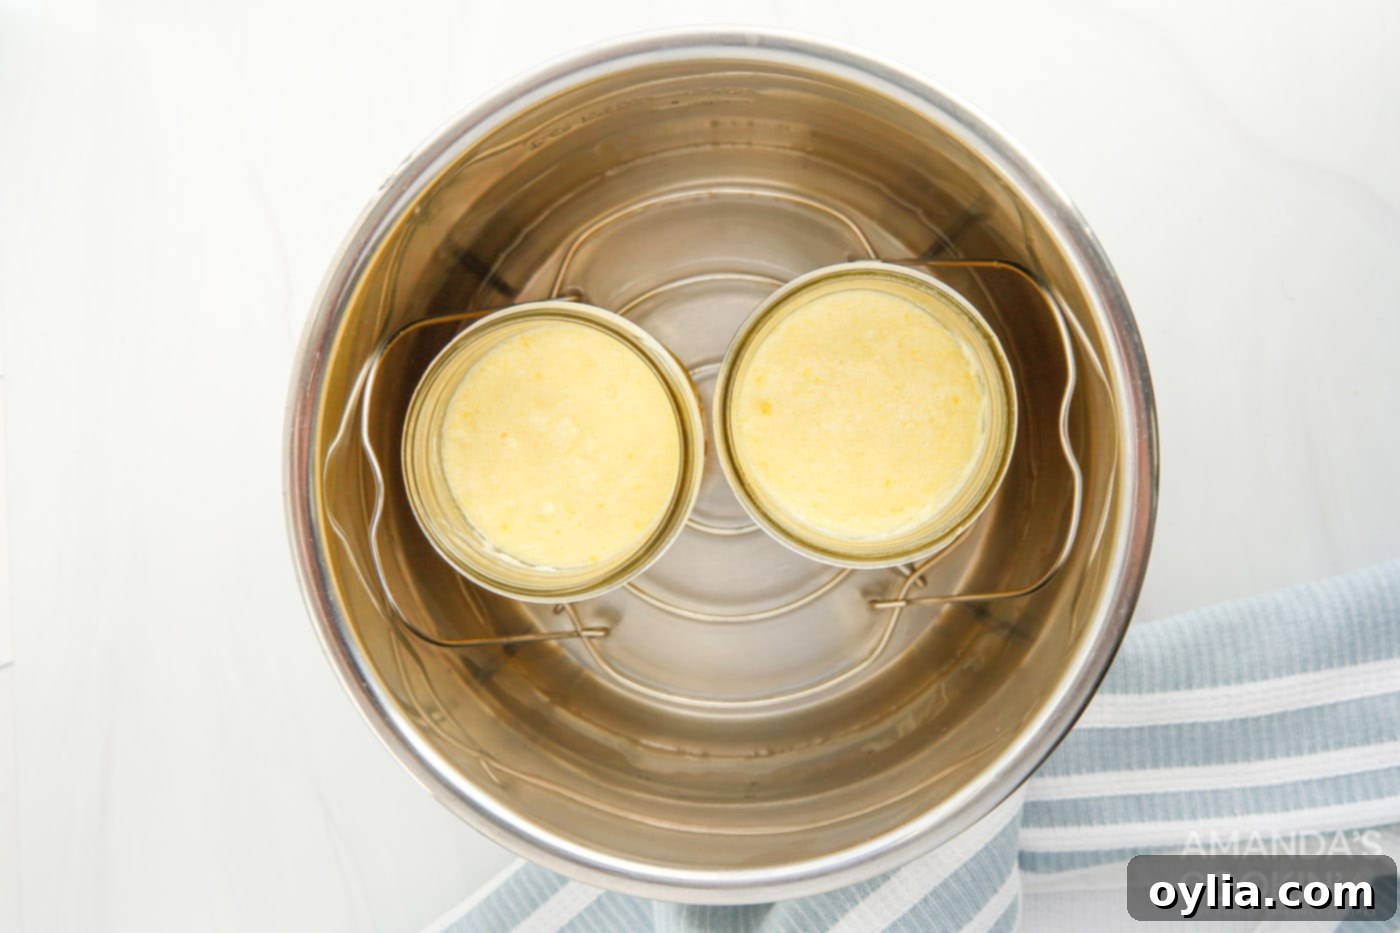
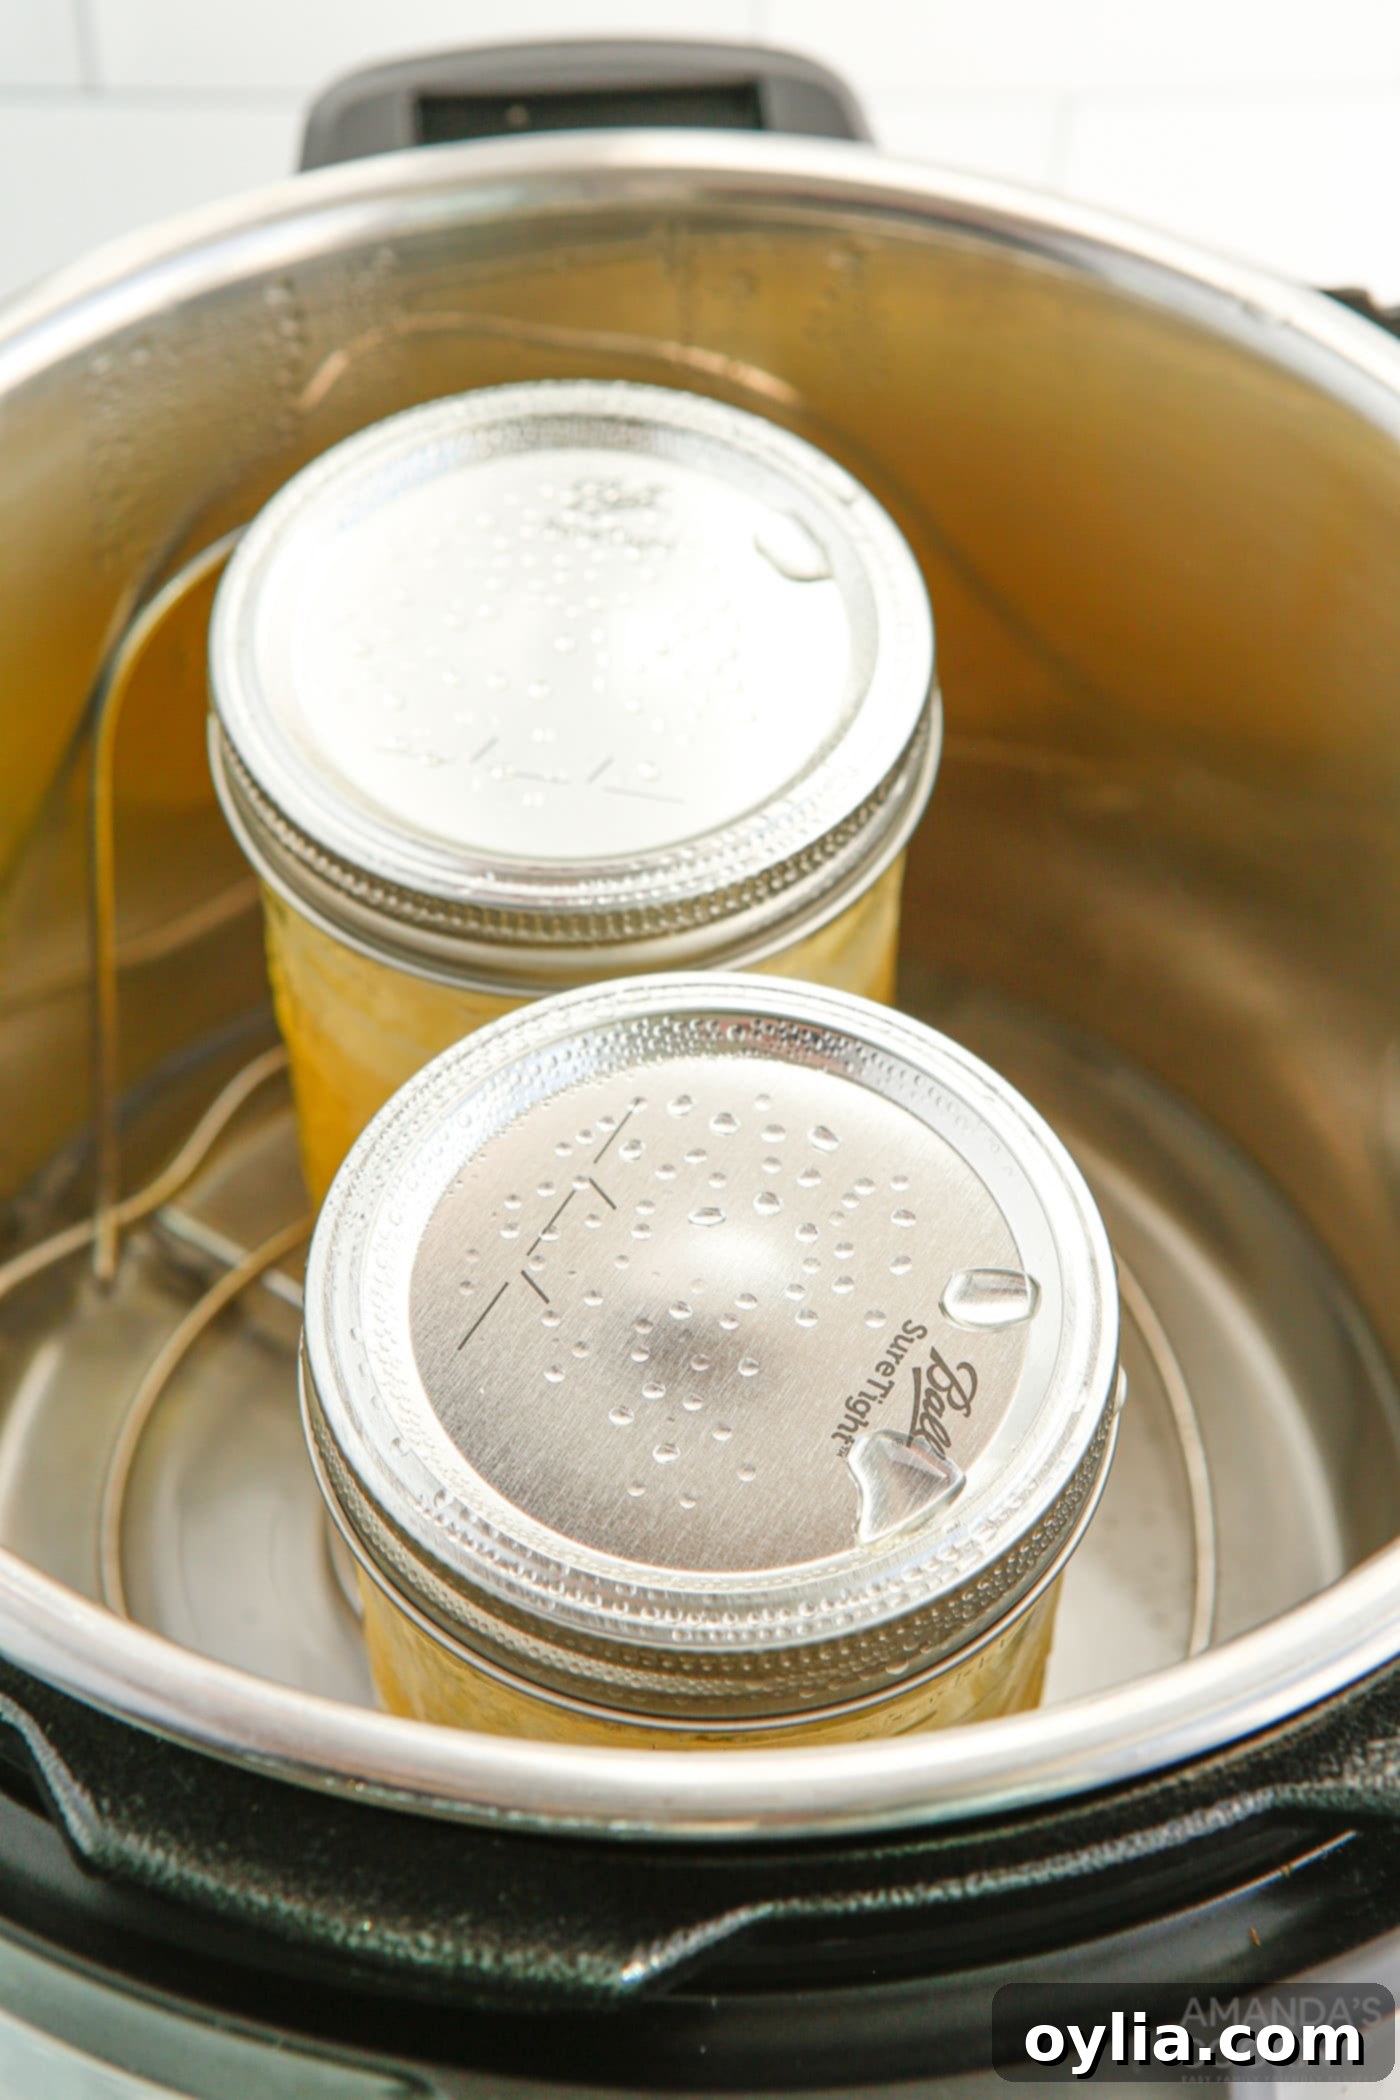
- Fill Jars and Cook: Carefully divide the lemon curd mixture and pour it into two pint-sized mason jars. Fill them about halfway to three-quarters full, leaving sufficient headspace for the curd to expand slightly during cooking. Screw the mason jar lids on tightly (finger-tight, not overtightened) and gently place them on the trivet inside the Instant Pot. Close the Instant Pot lid and ensure the steam release valve is sealed. Set the Instant Pot to “Manual” (or “Pressure Cook”) on high pressure for 10 minutes.


- Release Pressure and Remove Jars: Once the cooking cycle is complete, allow the Instant Pot to naturally release its steam for 10 minutes. This controlled release helps prevent the curd from curdling or separating. After 10 minutes, carefully quick-release any remaining steam by turning the steam release valve to the venting position. Once the float valve drops, open the lid away from your face. Using oven mitts or a jar lifter, carefully pull the hot jars out of the Instant Pot and remove their lids. Be cautious as steam will escape.
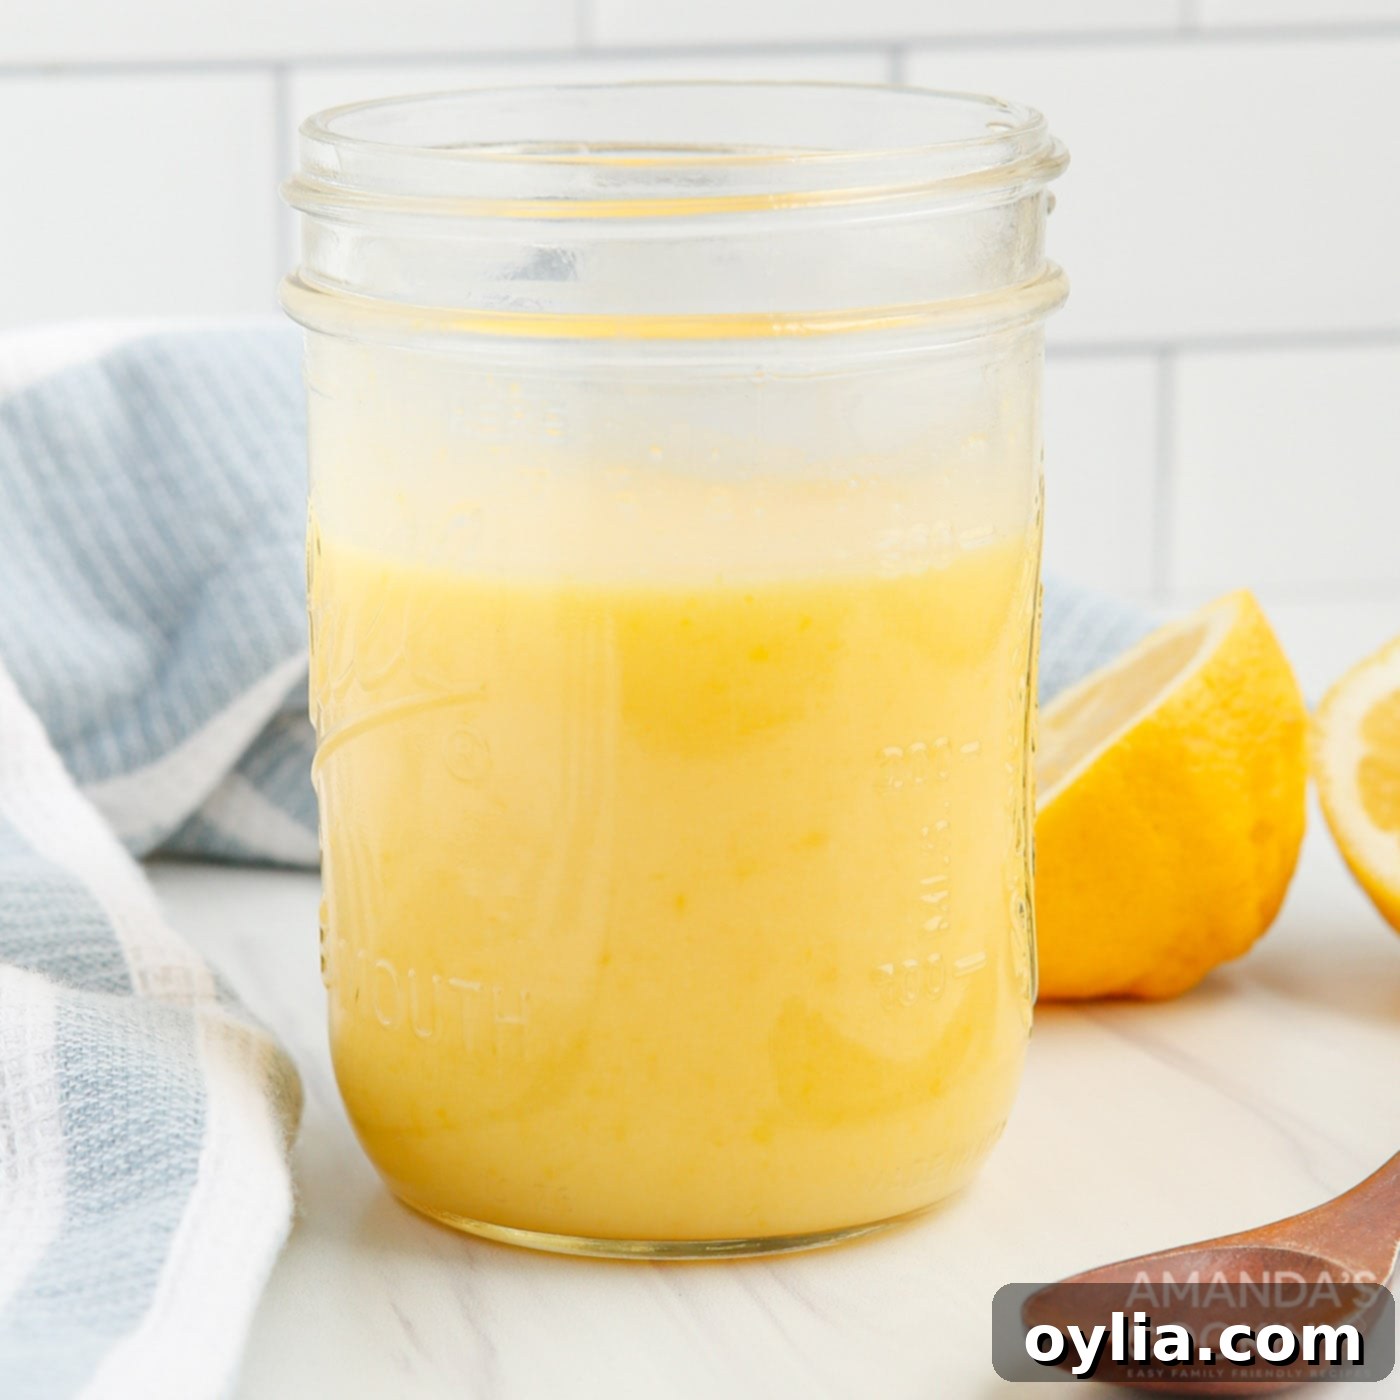
- Stir and Chill: The curd might look a bit runny or separated immediately after cooking, but don’t worry! Stir the curd mixture thoroughly in each jar until it becomes smooth, creamy, and visibly thickened. Allow the jars to cool at room temperature for about 15 minutes before transferring them to the refrigerator. Chill for at least one hour, or preferably longer, until the curd is fully set and cold. Serve this delightful homemade lemon curd over your favorite pancakes, muffins, toast, or use it as a flavorful filling for tarts, cakes, and other baked goods. Enjoy the vibrant taste of homemade sunshine!

Frequently Asked Questions & Expert Tips for Perfect Lemon Curd
Since this homemade Instant Pot lemon curd recipe contains no artificial preservatives, proper storage is key to maintaining its freshness. Always keep it tightly sealed in an airtight container or a clean mason jar. Stored correctly in the refrigerator, it will maintain its delicious flavor and creamy texture for approximately 3-4 weeks. Always ensure the container is completely sealed to prevent absorption of other fridge odors.
Absolutely! Homemade lemon curd freezes beautifully, making it an excellent candidate for meal prep or enjoying a taste of summer citrus year-round. Transfer the cooled curd into an airtight, freezer-safe container or a mason jar, leaving about an inch of headspace to allow for expansion. It can be stored in the freezer for up to 12 months without significant loss of quality. When you’re ready to use it, simply thaw the frozen lemon curd in the refrigerator overnight. Give it a good stir once thawed to restore its smooth consistency, and it will be ready to enjoy!
It’s common for lemon curd to appear quite liquid immediately after cooking in the Instant Pot. The magic happens during the chilling process! The eggs and butter need time to cool and solidify, which is what gives the curd its characteristic thick, creamy texture. Ensure you’ve stirred it well after cooking, then refrigerate it for at least 1-2 hours, or even longer, for it to fully set. If after extended chilling it’s still too thin, it’s possible your eggs weren’t quite large enough or your lemons yielded less juice than expected. In rare cases, a very slight undercooking might occur; you could gently reheat it on the stovetop over low heat, stirring constantly, until it thickens, being careful not to scramble the eggs.
While not strictly necessary, straining your lemon curd through a fine-mesh sieve after cooking and before chilling is highly recommended. This step removes any tiny bits of cooked egg or lemon zest, resulting in an exceptionally silky and smooth curd, free from any impurities. It takes only a minute but makes a significant difference in the final texture and luxuriousness of your homemade treat.
We strongly advise against using bottled lemon juice for this recipe. Freshly squeezed lemon juice provides a bright, natural, and complex flavor that bottled alternatives simply cannot replicate. Bottled lemon juice often has a duller, sometimes metallic, taste and can contain added preservatives that detract from the fresh, vibrant essence of homemade lemon curd. For the best possible flavor, always opt for fresh lemons!
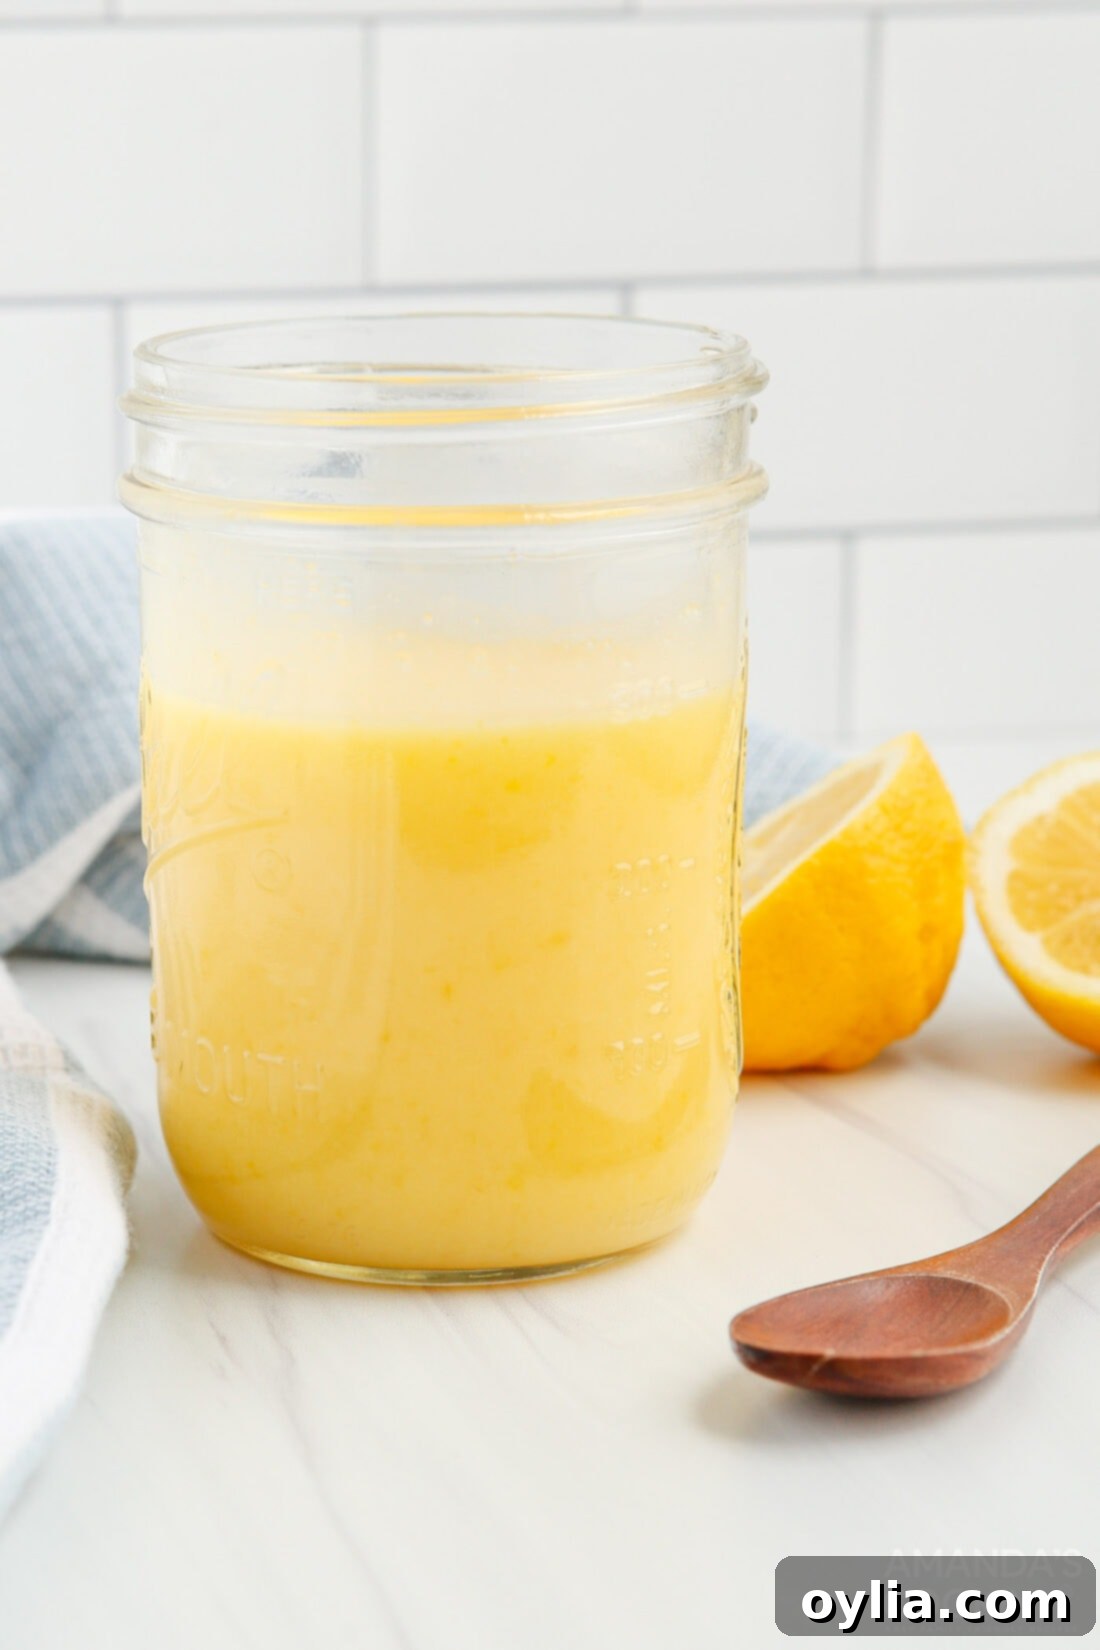
Creative Serving Suggestions for Your Delicious Lemon Curd
The beauty of homemade lemon curd lies in its incredible versatility. Its bright, tangy flavor profile complements both sweet and savory dishes, making it a must-have in your kitchen. Here are just a few ideas to get you started:
- Breakfast Brilliance: Elevate your morning routine by spreading it on warm toast, fluffy pancakes, waffles, or a fresh batch of muffins. It’s also fantastic swirled into Greek yogurt or oatmeal for a burst of citrus.
- Dessert Delight: Lemon curd truly shines in desserts. Use it as a luscious filling for pies, tarts, and lemon sweet rolls. It’s an essential component in classic lemon meringue pie bars and a vibrant topping for cheesecakes like our Instant Pot Lemon Curd Cheesecake. Spoon it over vanilla ice cream or simple sponge cakes.
- Baking Boss: Fill thumbprint cookies, incorporate it into layered cakes, or swirl it into scone batter for a delightful twist.
- Simple Snacking: Enjoy it straight from the spoon (we won’t tell!), or serve it alongside fresh berries for a light and refreshing treat.
This recipe is easily doubled if you want to make a larger batch for entertaining or to store some away for later enjoyment!
Explore More Zesty Lemon Recipes
If you’re anything like us, you can’t get enough of that refreshing lemon flavor! Here are some more of our favorite lemon-infused recipes that are sure to brighten your day:
- Lemon Bars
- Lemon Lush
- Lemon Icebox Cake
- Lemon Blueberry Trifle
- Lemon Streusel Squares
- Lemon Meringue Pie Bars
- Lemon Cream Cheese Pudding Dessert
- Instant Pot Lemon Curd Cheesecake
- Instant Pot Lemon Cake
- Lemon Baked Donuts
I love to bake and cook and share my kitchen experience with all of you! Remembering to come back each day can be tough, that’s why I offer a convenient newsletter every time a new recipe posts. Simply subscribe and start receiving your free daily recipes!
Instant Pot Lemon Curd
IMPORTANT – There are often Frequently Asked Questions within the blog post that you may find helpful. Simply scroll back up to read them!
Print It
Pin It
Rate It
Ingredients
- 1 cup granulated sugar
- 6 Tbsp unsalted butter melted
- ¾ cup lemon juice fresh
- 2 teaspoon lemon zest
- 3 large eggs
- 2 egg yolks
- 2 cups water for bottom of instant pot
Things You’ll Need
-
6 qt Instant Pot Duo
-
2 pint size mason jars
Before You Begin
- Store curd in an airtight container or mason jar in the refrigerator for 3-4 weeks or in the freezer for up to 12 months.
Instructions
-
Place the trivet in the bottom of your Instant Pot and pour 1 ½ cups water into the bottom of the pot.
-
Blend together the sugar and butter in a mixing bowl until smooth and creamy.
-
Stir in the eggs and yolks, one at a time until just combined.
-
Add in the lemon juice and zest and stir until mixed through.
-
Divide and pour the mixture into the mason jars halfway to ¾ full. Screw the mason jar lids on tightly and place on the trivet inside the Instant Pot. Close the lid and seal the steam valve. Set the Instant Pot to manual high pressure for 10 minutes.
-
Once the lemon curd has finished cooking, allow the steam to naturally release for 10 minutes. Quick-release any remaining steam and remove the lid. Carefully pull the jars out and remove the lids.
-
Stir the curd mixture well until creamy and thickened. Allow to cool for 15 minutes before placing in the refrigerator to chill for at least one hour. Serve over your favorite pancakes, muffins, toast, or use to fill tarts and other baked goods.
Nutrition
Tried this Recipe? Pin it for Later!
Follow on Pinterest @AmandasCookin or tag #AmandasCookin!
The recipes on this blog are tested with a conventional gas oven and gas stovetop. It’s important to note that some ovens, especially as they age, can cook and bake inconsistently. Using an inexpensive oven thermometer can assure you that your oven is truly heating to the proper temperature. If you use a toaster oven or countertop oven, please keep in mind that they may not distribute heat the same as a conventional full sized oven and you may need to adjust your cooking/baking times. In the case of recipes made with a pressure cooker, air fryer, slow cooker, or other appliance, a link to the appliances we use is listed within each respective recipe. For baking recipes where measurements are given by weight, please note that results may not be the same if cups are used instead, and we can’t guarantee success with that method.
