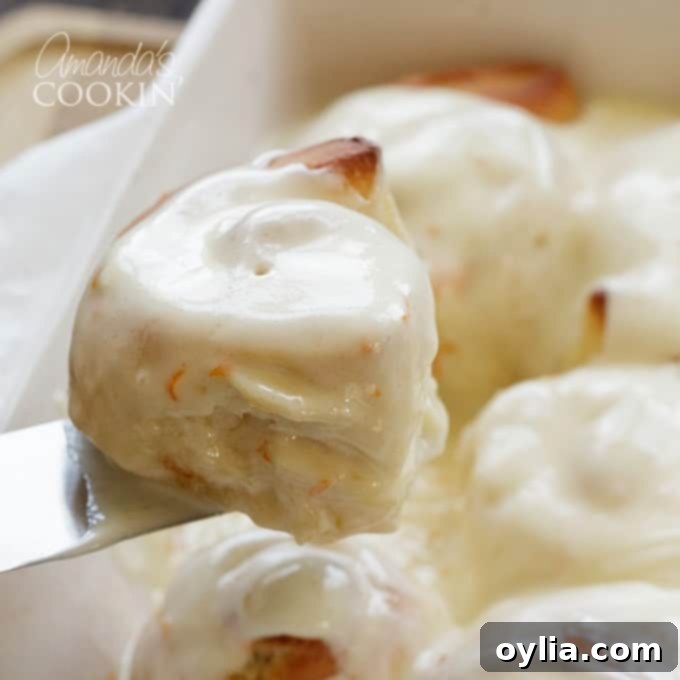
Decadent & Delightful: Our Favorite Quick Homemade Orange Rolls Recipe
There’s something truly magical about freshly baked sweet rolls, and these homemade orange rolls stand proudly alongside classic cinnamon rolls as a beloved treat. The rich, citrusy aroma filling your kitchen is simply irresistible. However, the thought of spending hours waiting for dough to rise can sometimes deter even the most enthusiastic home baker. That’s precisely why this **quick orange rolls recipe** is a game-changer. It’s perfect for those who crave the unparalleled taste and texture of homemade pastries but prefer not to endure lengthy proofing times. Forget the store-bought canned versions; this recipe delivers a superior, from-scratch experience with remarkable speed and ease.
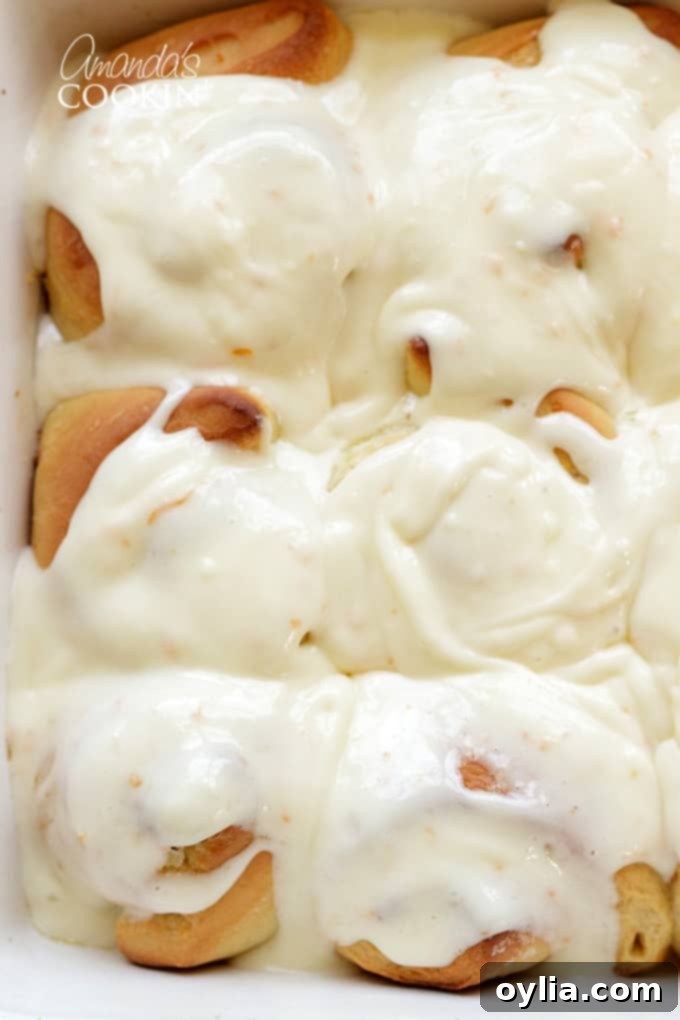
Why Choose Homemade Orange Rolls Over Canned?
While canned orange rolls offer convenience, they simply cannot replicate the depth of flavor, the tender texture, and the sheer joy of homemade. This recipe allows you to control the quality of your ingredients, ensuring fresh orange zest and juice infuse every bite with vibrant citrus notes. The soft, pillowy dough, made with a quick-rise yeast, develops a beautiful texture without the long waits typically associated with yeast-based recipes. Topped with a luscious, tangy cream cheese frosting, these rolls are a testament to how simple yet profoundly satisfying homemade baking can be. They’re a significant step up from anything you’ll find in a tube, making them truly special for any occasion.
A Beloved Family Tradition: “Orange Cinnamon Rolls”
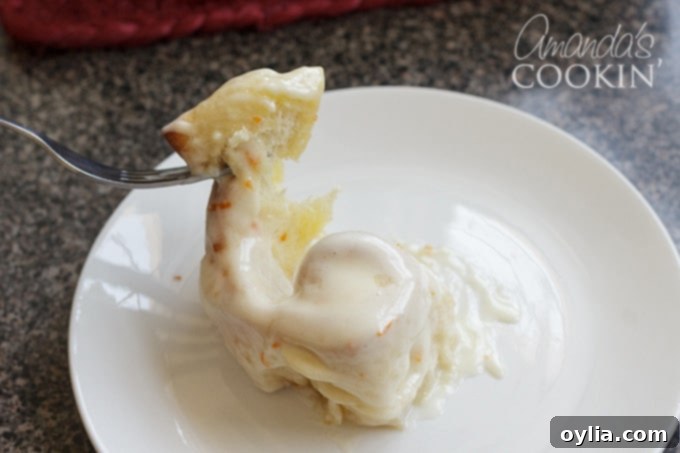
My children, when they were younger, had a charming way of asking for these delightful treats. They’d affectionately call them “orange cinnamon rolls,” intuitively recognizing that while they shared the familiar spiral shape of cinnamon rolls, their flavor profile was distinctly, wonderfully orange. These homemade orange rolls quickly became a staple in our household, a decadent and delicious indulgence that brought smiles to everyone’s faces. The bright, zesty orange flavor perfectly complements the sweet, soft dough, making them an absolute hit from childhood to adulthood. They truly are positively wonderful, capturing a special place in our family’s culinary memories.
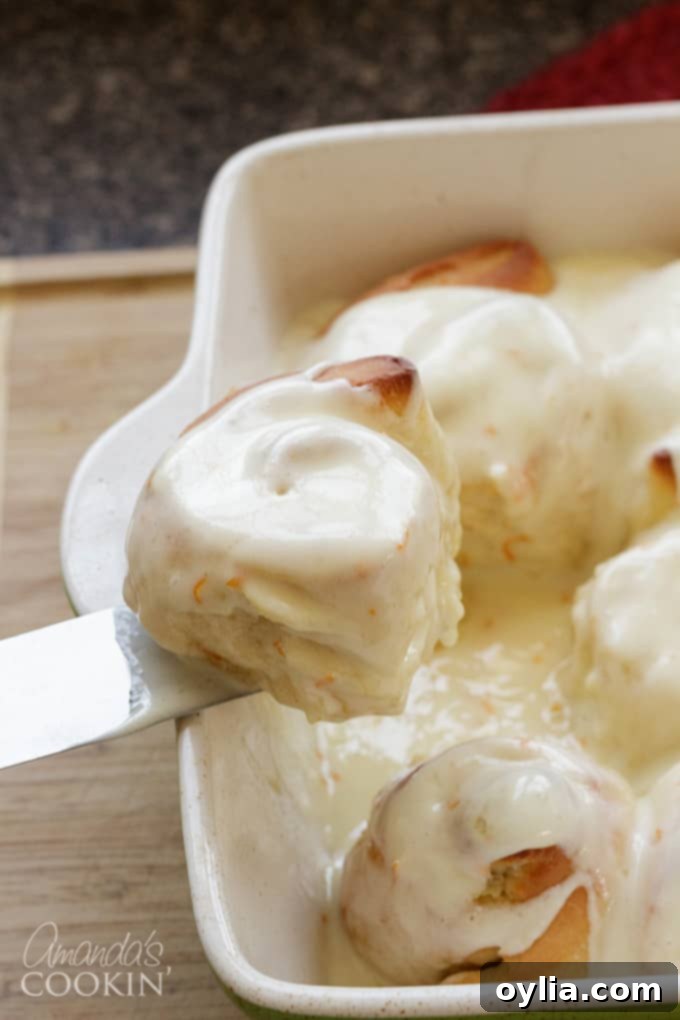
Making Homemade Orange Rolls: An Easy & Rewarding Experience
Now that my children are grown, they often ask for the recipe, eager to recreate the nostalgic flavors of their youth. This is not just a recipe; it’s a sweet roll tradition that’s surprisingly easy to master. Whether you’re planning a cozy Sunday morning breakfast or hosting guests for the holidays, these orange sweet rolls are sure to impress. In fact, they’re so good, you might want to double the recipe when company is coming! Your guests will undoubtedly thank you for such a memorable and delicious treat. The process is straightforward, and the results are consistently delightful, proving that incredible homemade baked goods don’t have to be complicated or time-consuming.
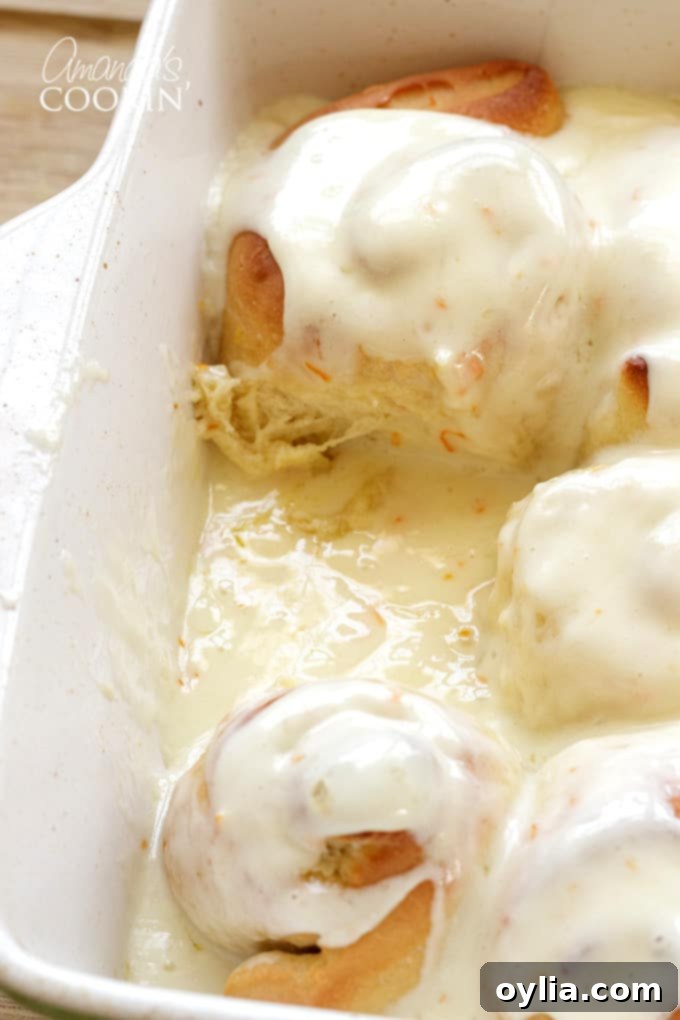
Key Ingredients for Flavorful Orange Rolls
Crafting these delectable orange rolls requires a few simple, high-quality ingredients that come together to create a symphony of flavor and texture. Here’s what you’ll need to gather:
- Bread flour (for that perfect chewiness)
- Quick rise yeast (to speed up the process)
- Large egg (for richness and structure)
- Fresh oranges (the star of the show, for zest and juice)
- Granulated sugar (for sweetness in the dough)
- Salt (to balance and enhance flavors)
- Unsalted butter (for tenderness and richness throughout)
- Powdered sugar (the base for our luxurious frosting and filling)
- Cream cheese (for the irresistible tangy frosting)
Helpful Kitchen Tools for Easy Baking
Having the right tools can make all the difference in your baking experience. These are the essentials that will help you whip up these quick orange rolls with ease:
- Stand mixer or handheld mixer (for efficient dough mixing and frosting beating)
- 9×9 inch square baking pan (the perfect size for a batch of 9 rolls)
- Parchment paper (for easy rolling and cleanup)
- Citrus zester (essential for extracting maximum orange flavor)
- Measuring cups and spoons (for accurate ingredient measurements)
- Rubber spatula (for scraping bowls and folding)
- Icing spatula (for effortlessly spreading that creamy frosting)
Expert Tips for Making the Best Quick Orange Rolls
To ensure your orange rolls turn out perfectly every time, I’ve compiled some essential tips. Reading through these before you start the recipe will equip you with the knowledge for a smooth and successful baking process, helping you avoid common pitfalls and achieve truly outstanding results.
Understanding Yeast: Rapid Rise vs. Regular
This recipe specifically calls for **rapid rise yeast** because it significantly shortens the proofing time, making these rolls a “quick” option. Rapid rise yeast is designed to activate faster and provides a quicker, more vigorous rise compared to traditional active dry yeast. While you can use regular active dry yeast, be prepared for the dough to take a little longer to double in size. Always ensure your water temperature is within the recommended range (110-115°F) to properly activate the yeast. A successful first rise means your dough should visibly double in size, indicating the yeast is active and working its magic.
The Importance of Room Temperature Ingredients
Many baking recipes, especially those involving yeast or emulsifications like frosting, benefit greatly from **room temperature ingredients**. For instance, take your stick of butter out of the fridge, slice it according to the recipe’s measurements, and let it sit on the counter for about 20-30 minutes until softened. Crack your egg into a small dish around 30 minutes before you begin mixing. Similarly, ensure your cream cheese is at room temperature; this is crucial for achieving a smooth, lump-free frosting that spreads beautifully. Cold ingredients can inhibit yeast activity and make it difficult for fats to blend properly, leading to a less desirable texture in both the dough and the frosting.
Mastering Orange Zest and Juice
The fresh orange flavor is paramount in these rolls. While waiting for your other ingredients to reach room temperature, take the opportunity to **zest your oranges**. This is where most of the vibrant citrus oil resides. It’s important to keep the zest from each orange separate, as the recipe calls for specific amounts in different stages: the dough, the filling, and the frosting. This strategic layering ensures a balanced and potent orange flavor throughout. After zesting, you can confidently cut the oranges in half and juice them. Trust me, freshly squeezed orange juice provides a brightness and authenticity that bottled juice simply can’t match, elevating the overall taste of your rolls considerably.
Adjusting Flour for Perfect Dough Consistency
When you reach step 2 of making the orange rolls dough, you might find that the dough is still a bit sticky and clinging to the sides of your mixing bowl. This is a common occurrence, and it simply means you may need to **add more flour**. The key is to do this gradually – a couple of tablespoons at a time. Over-flouring can lead to dry, tough rolls, so proceed with caution. Continue adding small amounts until the dough gracefully pulls away from the sides of the bowl, forming a soft, cohesive mass. This indicates it has reached the ideal consistency for kneading and rising.
Precision in Cutting the Rolls
Once you’ve rolled out the dough and spread the filling, it’s time to cut your rolls. The **easiest way to achieve equally sized rolls** is by measuring the entire rolled log of dough and dividing that measurement by nine. This ensures each of your nine rolls will be uniform, baking evenly and looking professional. Due to the dough’s softness, you can’t really refrigerate it at this stage, as that would slow down the yeast, and you still have one more rise to go. Use a sharp knife for clean cuts. It’s also common to find that the individual rolls might slightly lose their perfect shape after cutting; don’t worry, you can gently re-roll or reshape them as you place them into the prepared baking dish.
Proper Spacing in the Baking Dish
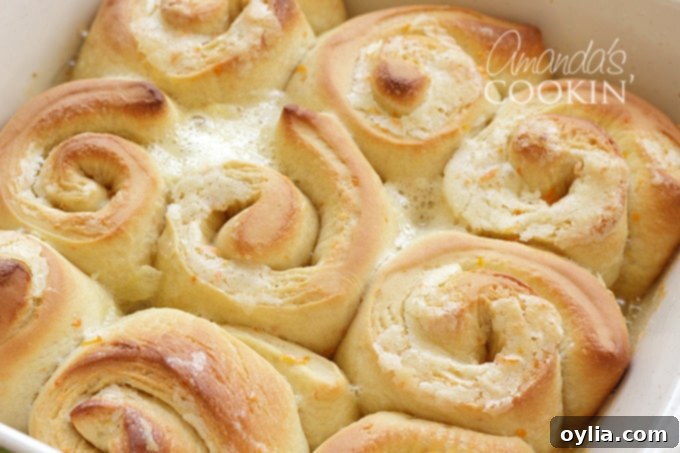
As you arrange your cut orange rolls in the baking dish, make sure to **place them with equal distance between each one**. This crucial step allows sufficient space for the dough to rise again during the second proofing stage. Even if they don’t quite touch after the second rise, they will continue to expand significantly during the baking process, filling the pan and creating that wonderful pull-apart texture. Proper spacing ensures even heat distribution, resulting in beautifully baked rolls that are soft and fluffy throughout.
The Golden Rule of Frosting: Wait Five Minutes
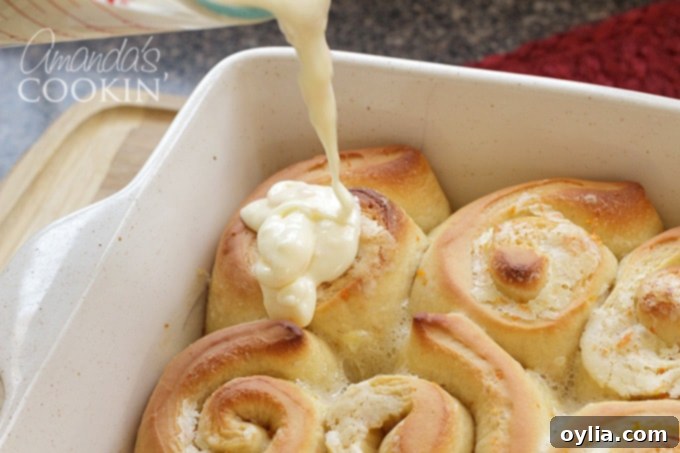
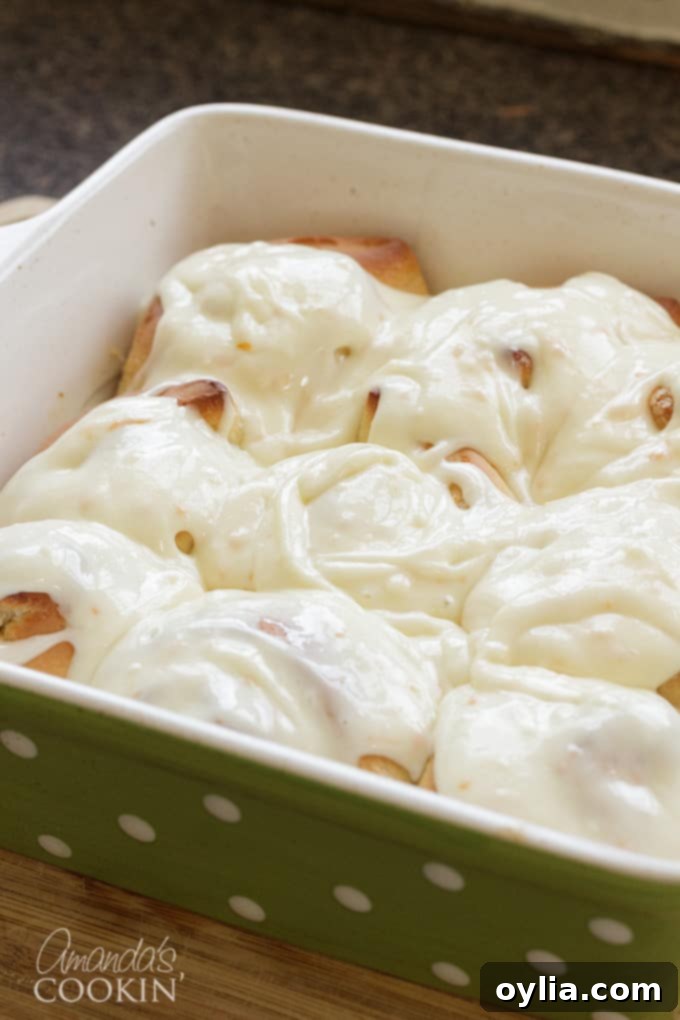
It can be tempting to slather that delicious cream cheese frosting onto your orange rolls the moment they emerge from the oven, but patience is key here. **Allow the rolls to cool for five minutes** after baking. If you apply the frosting to piping hot rolls, it will melt too quickly and simply slide off, leaving you with less of that luscious topping. A slight cooling period allows the rolls to set slightly, creating a surface that will hold the frosting beautifully. I often find a simple measuring cup works perfectly for pouring and spreading the frosting evenly over the warm, fragrant rolls.
Serving & Storing Your Homemade Orange Rolls
These homemade orange rolls are truly a delight for any occasion. They are absolutely perfect for breakfast, providing a sweet and zesty start to your day. They’re also an exceptional choice if you’re hosting company for the holidays or a special brunch, as they offer that comforting, homemade touch without extensive effort. The wonderful aroma that fills your home while they are baking is a bonus, creating an inviting atmosphere that promises a delicious experience. Plus, they don’t require nearly as much time as some traditional breakfast yeast rolls, making them ideal for busy mornings.
To store any leftover orange rolls, place them in an airtight container at room temperature for up to 2 days, or in the refrigerator for up to 5 days, especially if they have cream cheese frosting. For longer storage, you can freeze unfrosted rolls for up to 1 month. When ready to enjoy, simply warm them slightly in the microwave or oven until soft and fragrant, then add fresh frosting if desired.
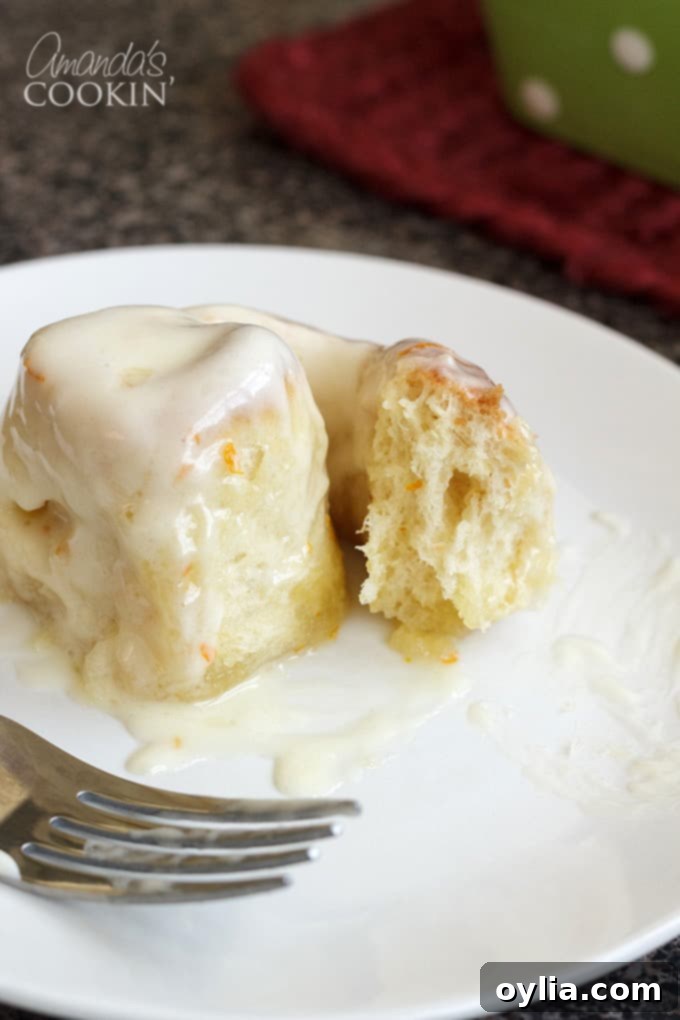
I promise you, once you try this incredible orange roll recipe, it will quickly become a cherished favorite. The combination of tender, citrus-infused dough and that luscious cream cheese frosting is simply irresistible. They’re not just a breakfast item; they are a statement of homemade warmth and flavor.
If you’re on Instagram, you might have caught a glimpse of me making these rolls recently on my story! Just for fun, I’ve added it here so you can see the process in action:
More Delicious Roll Recipes to Explore
While these orange rolls have certainly held a top spot on our favorites list for a very long time (this recipe was originally shared on the blog on December 13, 2009!), our love for rolls extends far beyond just citrusy sweet treats. We enjoy both savory and sweet variations, and there’s always something new and delicious to try. If you’re a fan of these homemade delights, you’ll surely appreciate our other roll creations:
- If you find yourself craving a different citrus twist, these lemon sweet rolls are positively delicious and equally bright. For those who prefer a thicker, richer topping, you can easily substitute the cream cheese frosting from this orange roll recipe onto the lemon rolls for a delightful variation.
- Of course, no roll enthusiast’s repertoire is complete without classic, ooey, gooey homemade cinnamon rolls. They are right at the very top of our favorites list, and I know you’ll adore their warm spice and generous frosting too!
- For another incredibly popular breakfast option that’s a bit different, our blueberry breakfast cake offers a lovely, comforting alternative, bursting with fruity goodness.
- Another truly exquisite favorite that’s perfect for brunch or a special occasion are these delightful Cranberry Cream Cheese Pastries! Their flaky layers and creamy, fruity filling are simply divine.
- Shifting to the savory side, these unique bretzel rolls were inspired by the incredible pretzel rolls I encountered at a favorite steakhouse. They offer a wonderfully chewy texture and salty exterior that’s perfect for sandwiches or alongside a meal.
- If you’re a true fan of cheesy recipes, then these gooey garlic cheese rolls are an absolute must-try. They are beyond amazing, packed with savory garlic and melty cheese, ideal for serving with Italian dishes or as a standalone snack.
- For every single holiday table at my house, homemade pull-apart dinner rolls are a non-negotiable item. My entire family loves them; they’re incredibly soft, buttery, and always a huge hit!
- Finally, my visually appealing and equally tasty parmesan garlic rolls are not only fun to look at with their twisted design, but they are absolutely wonderful when served with a piping hot bowl of soup or a hearty stew!

Quick & Easy Orange Rolls
IMPORTANT – There are often Frequently Asked Questions and helpful tips within the blog post that you may find beneficial. Simply scroll back up to read them for more details and advice!
Print It
Rate It
Save ItSaved!
Ingredients
- 2 ¼ teaspoons SAF instant yeast or any quick rise yeast
- ½ cup warm water between 110-115°F (43-46°C)
- 1 large egg at room temperature
- 1 ¾ cups bread flour you may need slightly more, see tips in post
- 1 tablespoon granulated sugar
- 1 teaspoon salt
- 2 tablespoons unsalted butter softened
- zest of one orange
Filling
- ¾ cup powdered sugar
- 1 ½ tablespoons unsalted butter softened
- zest of ½ an orange
- 1 tablespoon fresh orange juice from about one orange
Cream Cheese Frosting
- 2 ½ cups powdered sugar
- 3 tablespoons unsalted butter softened
- 4 ounces cream cheese softened
- zest of one orange
- 2 tablespoons fresh orange juice from about one orange
Things You’ll Need
-
Stand mixer
-
9×9 baking pan
-
Citrus zester
-
Measuring cups and spoons
-
Rubber spatula
-
Offset icing spatula
-
Parchment paper
Before You Begin
Instructions
Gathering Your Ingredients & Prep
-
Before you begin, ensure all your refrigerated ingredients (butter, egg, cream cheese) are at room temperature. Also, note that this recipe will require a total of three fresh oranges for zest and juice across the dough, filling, and frosting.
Making the Rolls
-
In the bowl of your stand mixer, dissolve the rapid rise yeast in the warm water (110-115°F) and let it stand for 3 to 5 minutes until foamy, then stir. Add the room temperature egg, half of the measured bread flour, and the softened butter. Separately, rub the zest of one orange, granulated sugar, and salt together with your fingers until fragrant, then add this mixture to the mixer bowl. Beat all these ingredients together on medium speed until the mixture is smooth and well combined.
-
Gradually add the remaining bread flour, mixing until it is fully incorporated. The dough should begin to pull away cleanly from the sides of the bowl. If it still appears too sticky, add an additional ¼ cup of flour, one tablespoon at a time, until the desired consistency is achieved. Transfer the dough to a lightly floured surface and knead until it is smooth and elastic. Place the dough in a lightly oiled bowl, cover it with a clean towel, and let it rise in a warm place for approximately 40 minutes, or until it has doubled in size.
-
While your dough is undergoing its first rise, take this time to prepare your baking pan. Lightly grease a 9×9-inch square baking pan to prevent sticking.
-
In a small bowl, thoroughly blend all the ingredients for the orange filling until smooth. Set this mixture aside. In a separate medium bowl, combine all the ingredients for the cream cheese frosting and beat them together until the frosting is creamy and light. Also set this aside.
-
Once the dough has risen, dust a large sheet of parchment paper with a little flour. Place the dough onto the dusted parchment and roll it out into a rectangular shape, approximately 7 inches by 14 inches. Evenly spread the prepared orange filling over the entire surface of the dough, leaving about a ½-inch border along the edges. Using the parchment paper to assist you, carefully roll up the dough jelly-roll style, starting from one of the longer sides. The dough may be slightly sticky, so work gently. Once rolled, pinch the edges of the dough firmly to seal the seam.
-
Using a sharp knife or dental floss (as described in the tips above), mark and cut the rolled dough into 9 equal parts. As you place each individual roll into the prepared baking pan, you may need to gently re-roll or reshape any pieces that have become slightly misshapen. Cover the pan with a clean towel and let the rolls rise again in a warm place for another 40 minutes, or until they have doubled in size and are visibly puffy. During this second rise, preheat your oven to 375°F (190°C).
-
Bake the orange rolls in the preheated oven for 20-25 minutes, or until they are beautifully golden brown on top and cooked through. Keep an eye on them towards the end to prevent over-baking.
-
Remove the baked rolls from the oven and let them cool in the pan for 5 minutes. This brief cooling period is essential as it prevents the frosting from melting excessively and sliding off. Once slightly cooled, generously spread the prepared cream cheese frosting over the warm rolls. You may find you have a little frosting left over, depending on how thickly you apply it. Serve warm and enjoy!
Nutrition
The recipes on this blog are tested with a conventional gas oven and gas stovetop. It’s important to note that some ovens, especially as they age, can cook and bake inconsistently. Using an inexpensive oven thermometer can assure you that your oven is truly heating to the proper temperature. If you use a toaster oven or countertop oven, please keep in mind that they may not distribute heat the same as a conventional full sized oven and you may need to adjust your cooking/baking times. In the case of recipes made with a pressure cooker, air fryer, slow cooker, or other appliance, a link to the appliances we use is listed within each respective recipe. For baking recipes where measurements are given by weight, please note that results may not be the same if cups are used instead, and we can’t guarantee success with that method.
This post originally appeared here on December 13, 2009, and has been updated with enhanced content and tips for optimal baking.
