The Ultimate Easy Pumpkin Dump Cake: A Cozy Fall Dessert with Cake Mix
As the leaves begin to change and the air turns crisp, there’s nothing quite like the comforting aroma of pumpkin spice wafting from the kitchen. Our quick and easy pumpkin dump cake recipe captures all the quintessential flavors of autumn, taking a simple yellow cake mix and transforming it into an irresistibly moist and incredibly cozy dessert. With just a few staple ingredients like rich pumpkin puree and aromatic pumpkin pie spice, you’ll create a dessert that’s perfect for family gatherings, holiday tables, or simply a sweet treat on a cool fall evening. It’s so simple, even beginner bakers can achieve a perfectly golden, crumbly-topped masterpiece!
Why This Recipe Is Your Fall Favorite: Understanding Dump Cakes
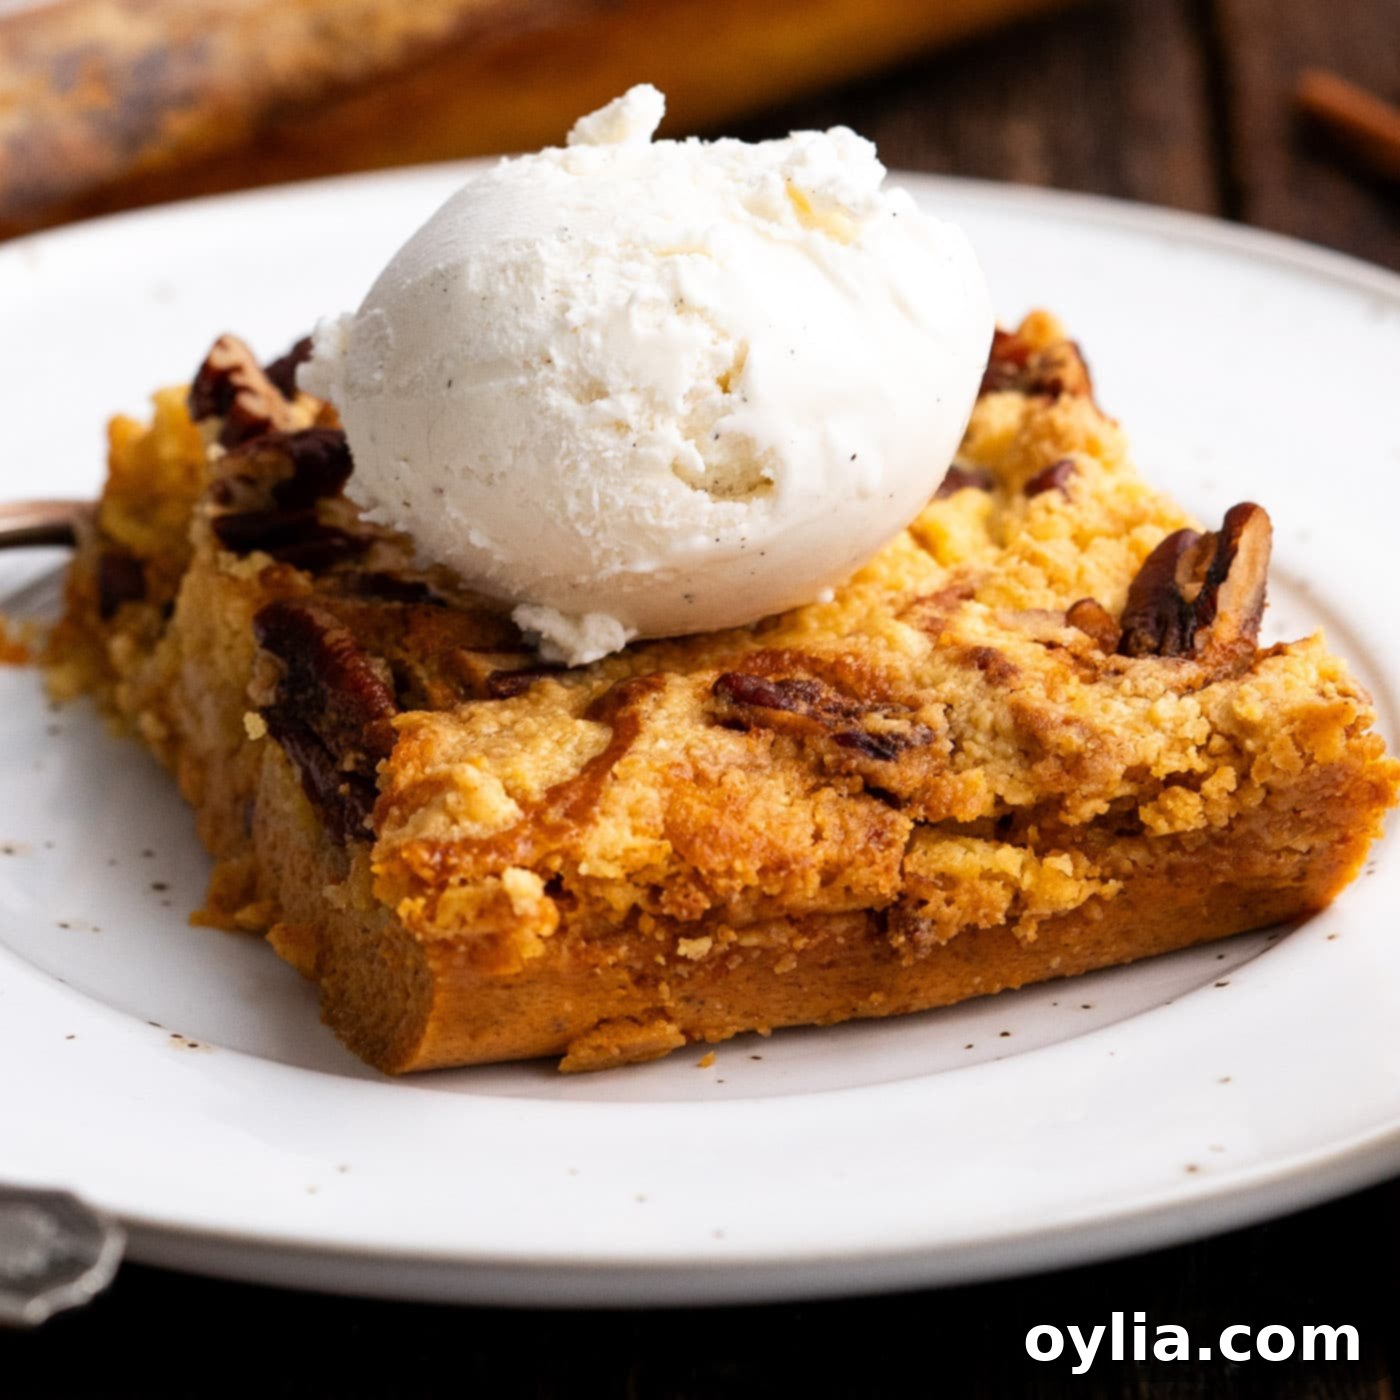
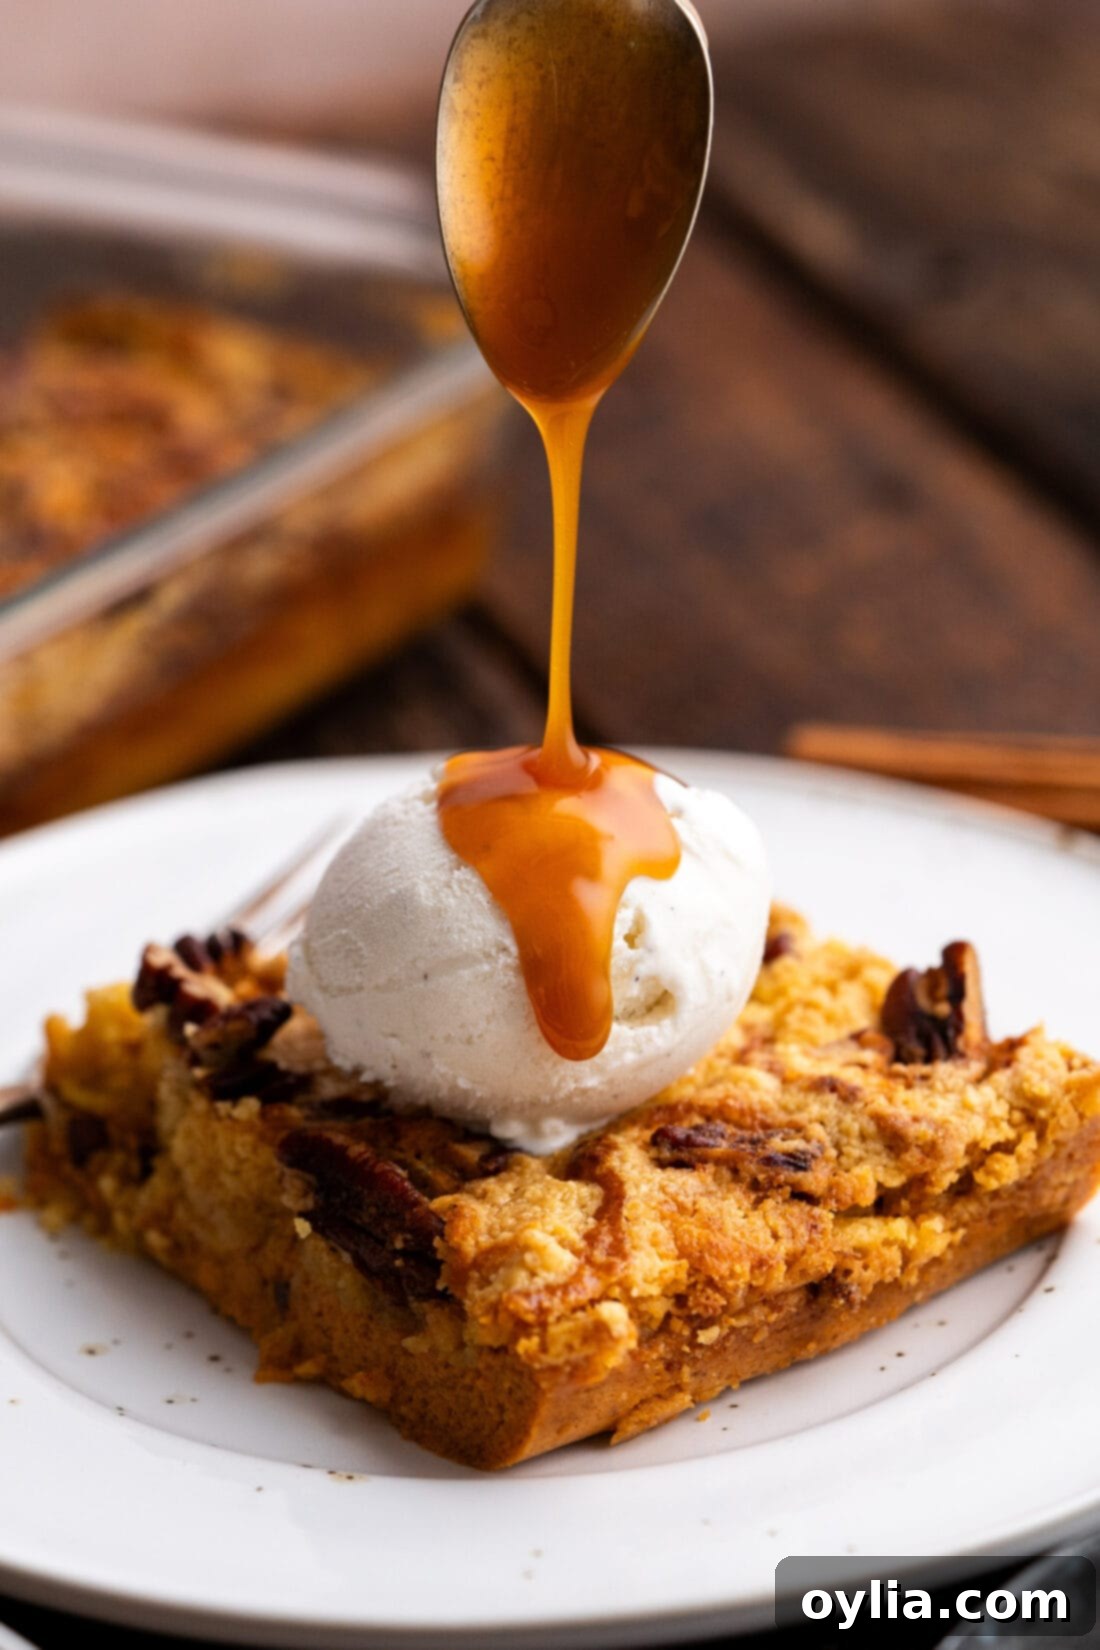
Pumpkin dump cake truly shines as the ideal dessert for your fall baking adventures. Imagine layers of warm, inviting pumpkin flavor, complemented by a delightful crumbly topping made from dry cake mix, crunchy pecans, and a generous drizzle of melted butter. Baked to golden perfection in your oven, this dessert is an absolute dream. The magic lies in its simplicity: it’s literally as easy as mixing your pumpkin base, dumping your dry ingredients, and baking. No fancy techniques, no complex steps – just pure, cozy deliciousness that tastes like you spent hours in the kitchen.
So, what exactly is a “dump cake”? The name itself describes its straightforward nature. It’s designed to be a super easy, fuss-free dessert where ingredients are simply “dumped” into a baking dish. While many traditional dump cakes feature fruit — like the classic pineapple dump cake, peach cobbler dump cake, or caramel apple dump cake — this pumpkin version adapts the concept perfectly for the autumn season. You start with a creamy pumpkin puree mixture as your base, then generously sprinkle dry cake mix on top, followed by chopped nuts and melted butter. As it bakes, the butter seeps into the cake mix, creating a wonderfully golden, crumbly, and slightly crisp topping that beautifully contrasts with the moist, spiced pumpkin layer underneath. It’s a fantastic way to elevate a humble cake mix into something truly spectacular, perfect for potlucks, Thanksgiving, or a simple weeknight treat.
Essential Ingredients for Your Pumpkin Dump Cake
Crafting this delightful pumpkin dump cake requires just a handful of straightforward ingredients, most of which you likely already have in your pantry during the fall season. Each component plays a vital role in creating the perfect balance of flavor and texture that makes this dessert so irresistible. You’ll find the full list of measurements, along with detailed instructions, in the printable recipe card at the very end of this article. For now, let’s dive into the key components and some helpful tips for making the best choices:
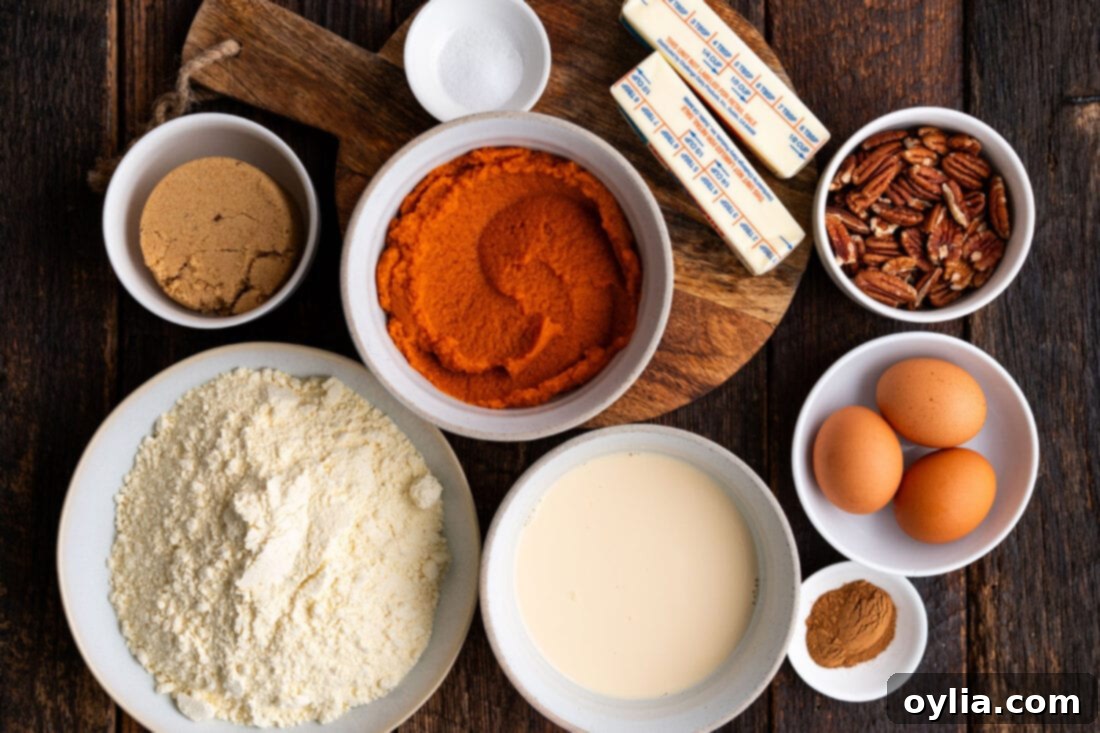
Ingredient Info and Smart Substitution Suggestions
- CAKE MIX: We recommend a standard-size (15.25 ounces) box of dry yellow cake mix for its classic flavor profile, like Duncan Hines Perfectly Moist Classic Yellow Cake Mix. Yellow cake mix provides a subtle vanilla-butter note that pairs wonderfully with pumpkin. However, feel free to experiment! A white cake mix will allow the pumpkin flavor to shine even more, while a spice cake mix or even a pumpkin-flavored cake mix will amplify those warm, autumnal notes. Remember, you’re only using the dry mix for the topping – no need to prepare it according to package directions!
- PUMPKIN PUREE: This is absolutely crucial! Always double-check that you are using canned pumpkin puree and NOT pumpkin pie filling. Pumpkin pie filling is already sweetened and spiced, and contains extra ingredients like starches that will alter the taste and consistency of your dump cake, potentially making it overly sweet, watery, or too thick. Pumpkin puree is 100% pure pumpkin, allowing you to control the sugar and spice levels precisely for optimal results.
- EVAPORATED MILK: This ingredient adds a rich creaminess and moisture to the pumpkin base without thinning it out too much, contributing to that perfectly gooey, custardy bottom layer that mimics a delicious pumpkin pie. Whole milk or half-and-half can be used as a substitute in a pinch, though the texture might be slightly less dense and creamy.
- EGGS: Eggs act as a binder, helping the pumpkin base to set beautifully as it bakes, giving it a custardy texture similar to pumpkin pie. They also add richness to the overall flavor.
- BROWN SUGAR: Light brown sugar provides a molasses-rich sweetness that complements the pumpkin and spices wonderfully, adding depth of flavor that granulated sugar alone cannot. You can adjust the amount slightly to your sweetness preference, but remember the cake mix topping also contributes to the overall sweetness.
- PUMPKIN PIE SPICE: This pre-mixed blend of cinnamon, nutmeg, ginger, cloves, and sometimes allspice, is your secret weapon for instant fall flavor. It’s what gives the cake its signature cozy aroma and taste. If you don’t have a ready-made blend, you can easily create your own by combining individual spices: about 1 teaspoon ground cinnamon, ½ teaspoon ground ginger, ¼ teaspoon ground nutmeg, and a pinch of ground cloves.
- SALT: Just a touch of salt (½ teaspoon) helps to balance the sweetness and enhance all the other complex flavors in the pumpkin mixture, preventing the dessert from tasting flat.
- NUTS (Pecans): Chopped pecans add a delightful crunch and nutty flavor to the topping, providing a wonderful textural contrast to the soft pumpkin base. For an extra layer of flavor, consider toasting them lightly in a dry skillet over medium heat for a few minutes before sprinkling them on – this truly brings out their aroma. If pecans aren’t your favorite, walnuts make an excellent substitute. For those with nut allergies or preferences, feel free to omit them entirely – the cake will still be delicious! You could also try other additions like mini chocolate chips, toffee bits, or shredded coconut for a different delightful twist.
- UNSALTED BUTTER: Melted unsalted butter is absolutely essential for creating that signature crisp, golden, and crumbly topping. It saturates the dry cake mix, allowing it to bake into a cohesive, delicious layer. Using unsalted butter gives you precise control over the overall saltiness of the dessert. Be sure to drizzle it evenly over the entire dry cake mix layer to prevent any dry, powdery patches and ensure a uniform crunch.
How to Make the Perfect Pumpkin Dump Cake: Step-by-Step Guide
These step-by-step photos and detailed instructions are designed to help you visualize each stage of making this delicious recipe, ensuring your pumpkin dump cake turns out perfectly every time. For a quick reference with all measurements and instructions, you can Jump to Recipe to get the printable version at the bottom of this post.
- Prepare Your Baking Dish: Begin by preheating your oven to 350°F (175°C). This ensures the oven is at the correct temperature for even baking from the start. Then, prepare a 9×13-inch baking dish by lightly spraying the inside with nonstick cooking spray. This crucial step prevents the pumpkin layer from sticking, making for easy serving and clean-up.
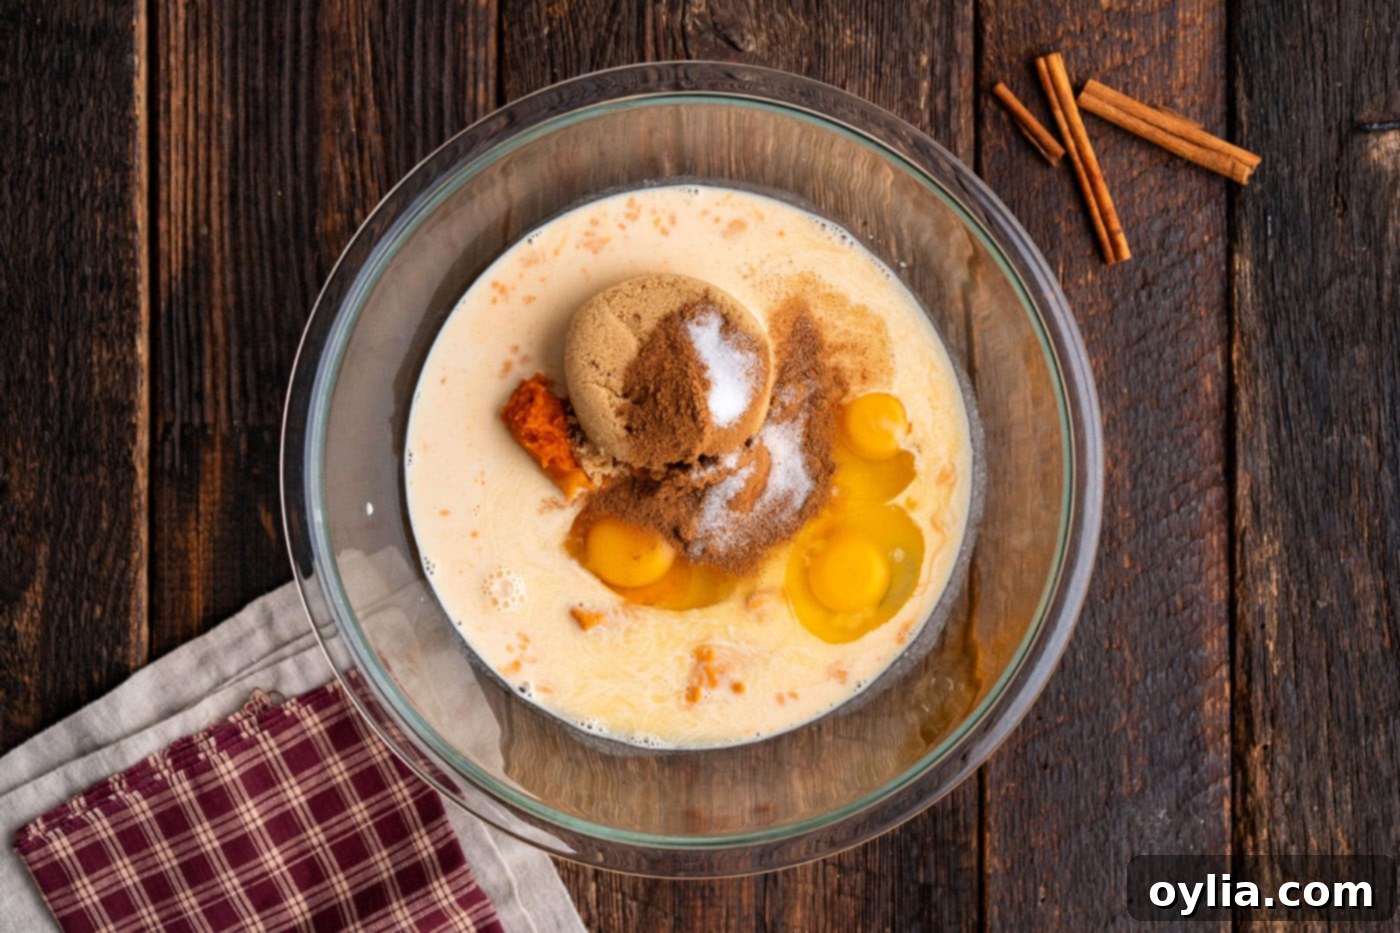
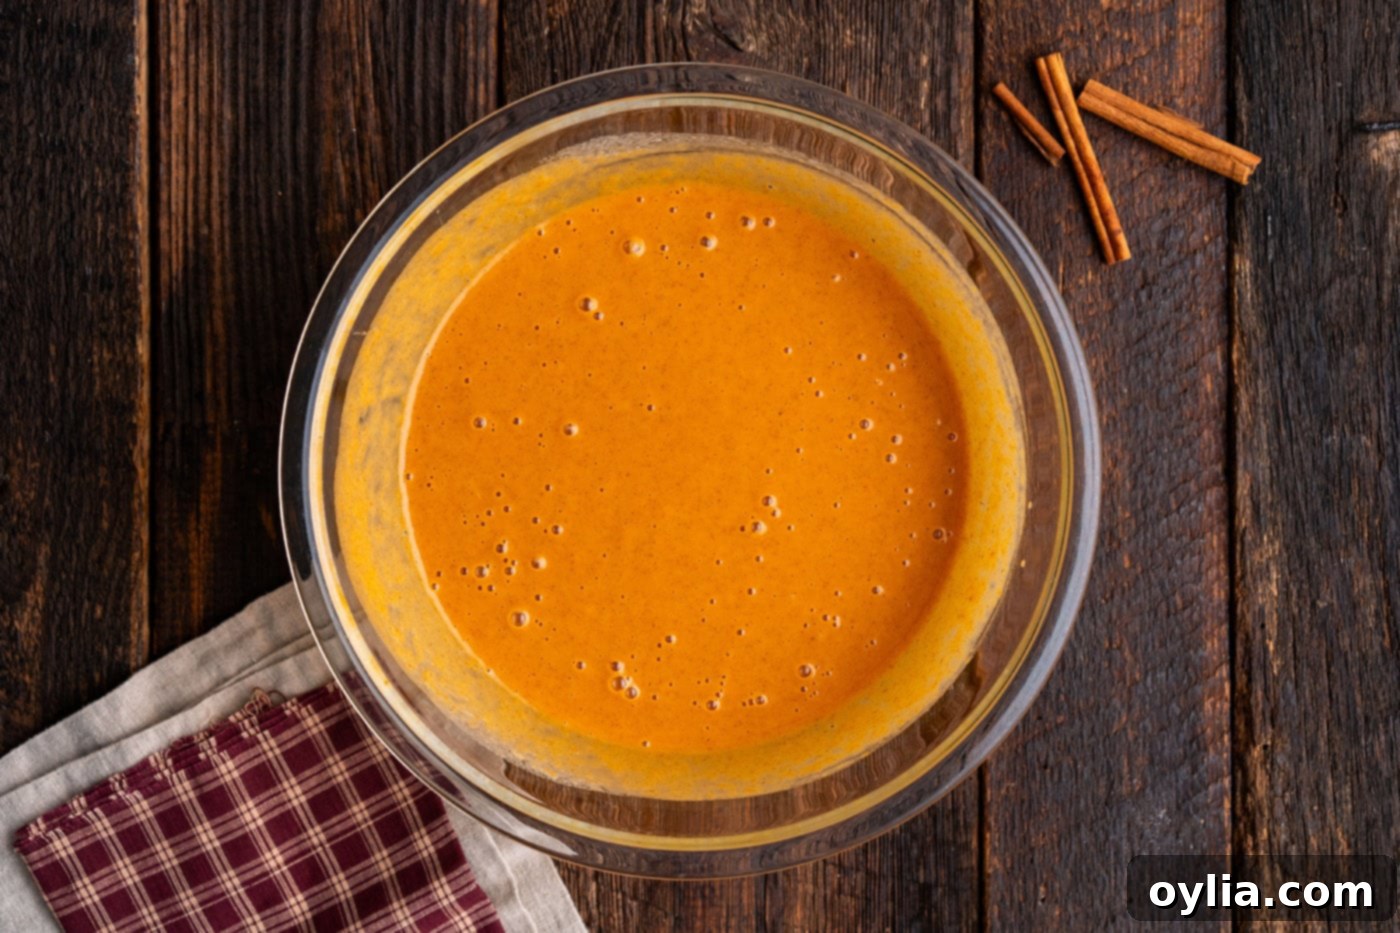
- Whisk the Pumpkin Base: In a large mixing bowl, combine the canned pumpkin puree, evaporated milk, large eggs, light brown sugar, pumpkin pie spice, and salt. Whisk vigorously until all ingredients are thoroughly combined and the mixture is completely smooth. This forms the incredibly moist and flavorful foundation of your dump cake, resembling a rich pumpkin custard. Ensure there are no lumps of brown sugar or unmixed spice.

Combine wet ingredients and pumpkin pie spice for the rich pumpkin base. 
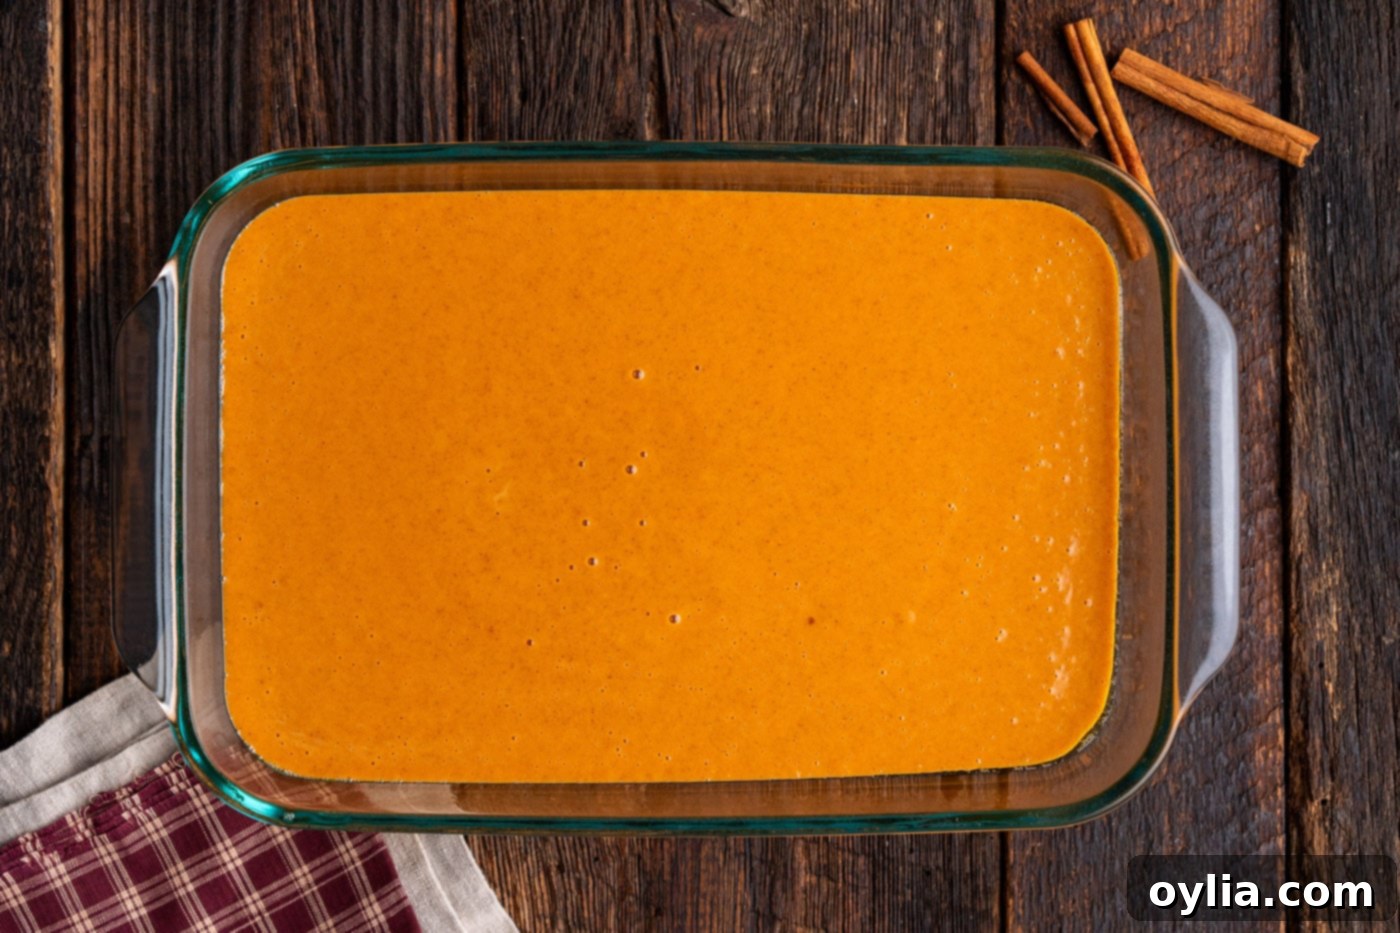
Whisk until the pumpkin mixture is smooth, well combined, and creamy. - Assemble the Layers: Pour the whisked pumpkin mixture evenly into your prepared baking pan, creating an even base layer. Next, take your dry cake mix and sprinkle it uniformly across the entire surface of the pumpkin layer. Do not stir or press it down – simply create an even, fluffy layer. Follow this by sprinkling the chopped pecans evenly over the dry cake mix. Finally, and this is key for the crunchy topping, drizzle the melted unsalted butter over the top, making a conscious effort to cover as much of the dry cake mix as possible to prevent any powdery, uncooked spots. Aim for even saturation.

Pour the pumpkin mixture into the greased baking dish, creating an even base. 
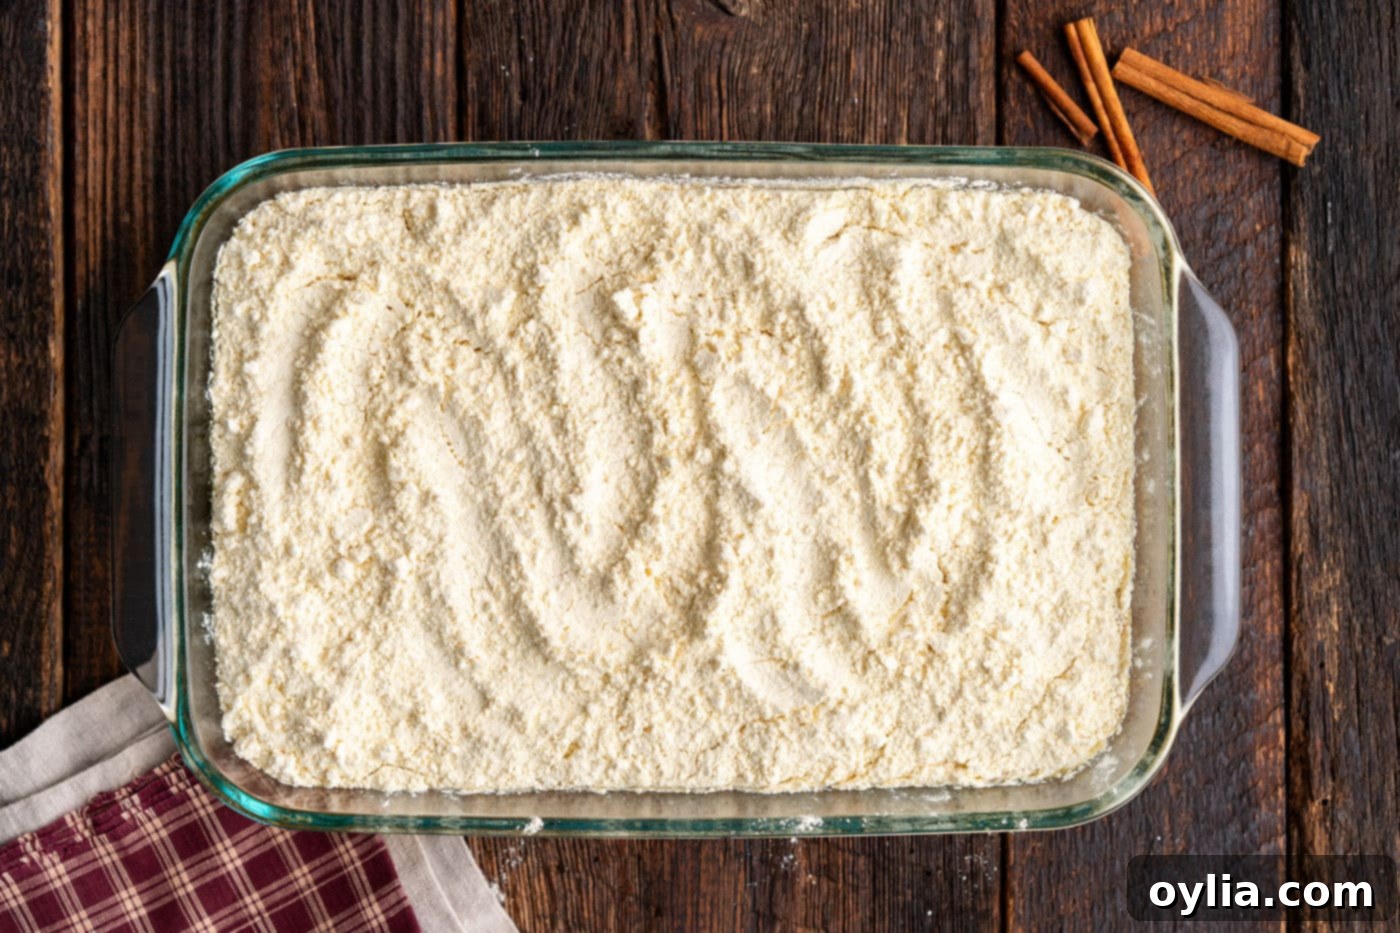
Evenly sprinkle the dry cake mix over the pumpkin base, do not mix. 
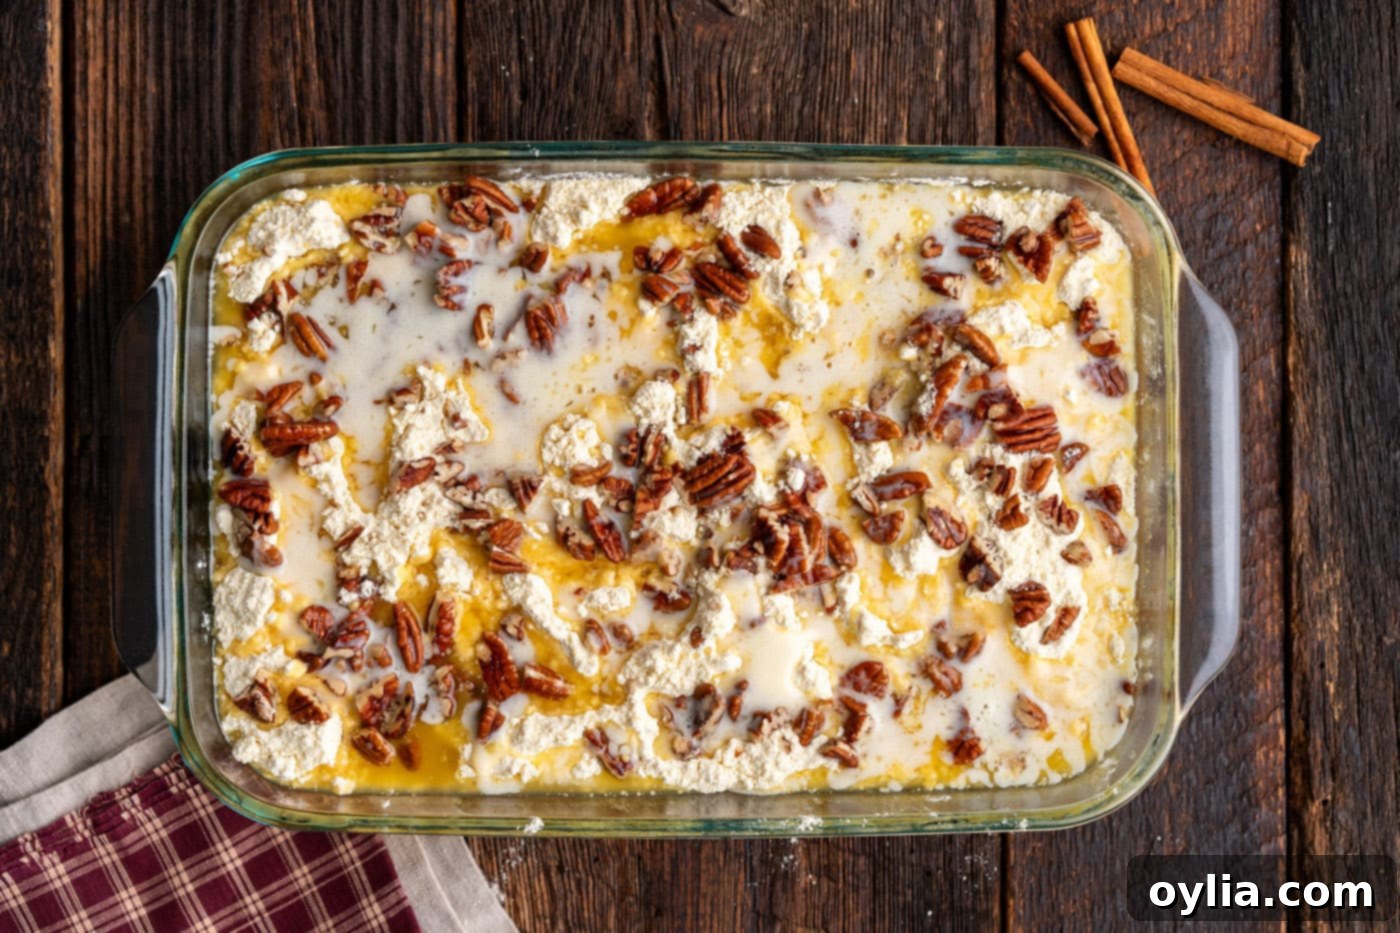
Generously drizzle melted butter over the cake mix and pecans, ensuring even coverage. - Bake to Golden Perfection: Place the baking dish in your preheated oven and bake for approximately 45 to 60 minutes. The cake is done when the center is set (a slight jiggle is fine, but it shouldn’t be liquid) and the top is beautifully golden brown and crumbly. You can gently insert a knife or toothpick into the pumpkin layer; it should come out mostly clean. If you notice the topping browning too quickly before the cake is fully cooked through, lightly tent the dish with aluminum foil to prevent burning.

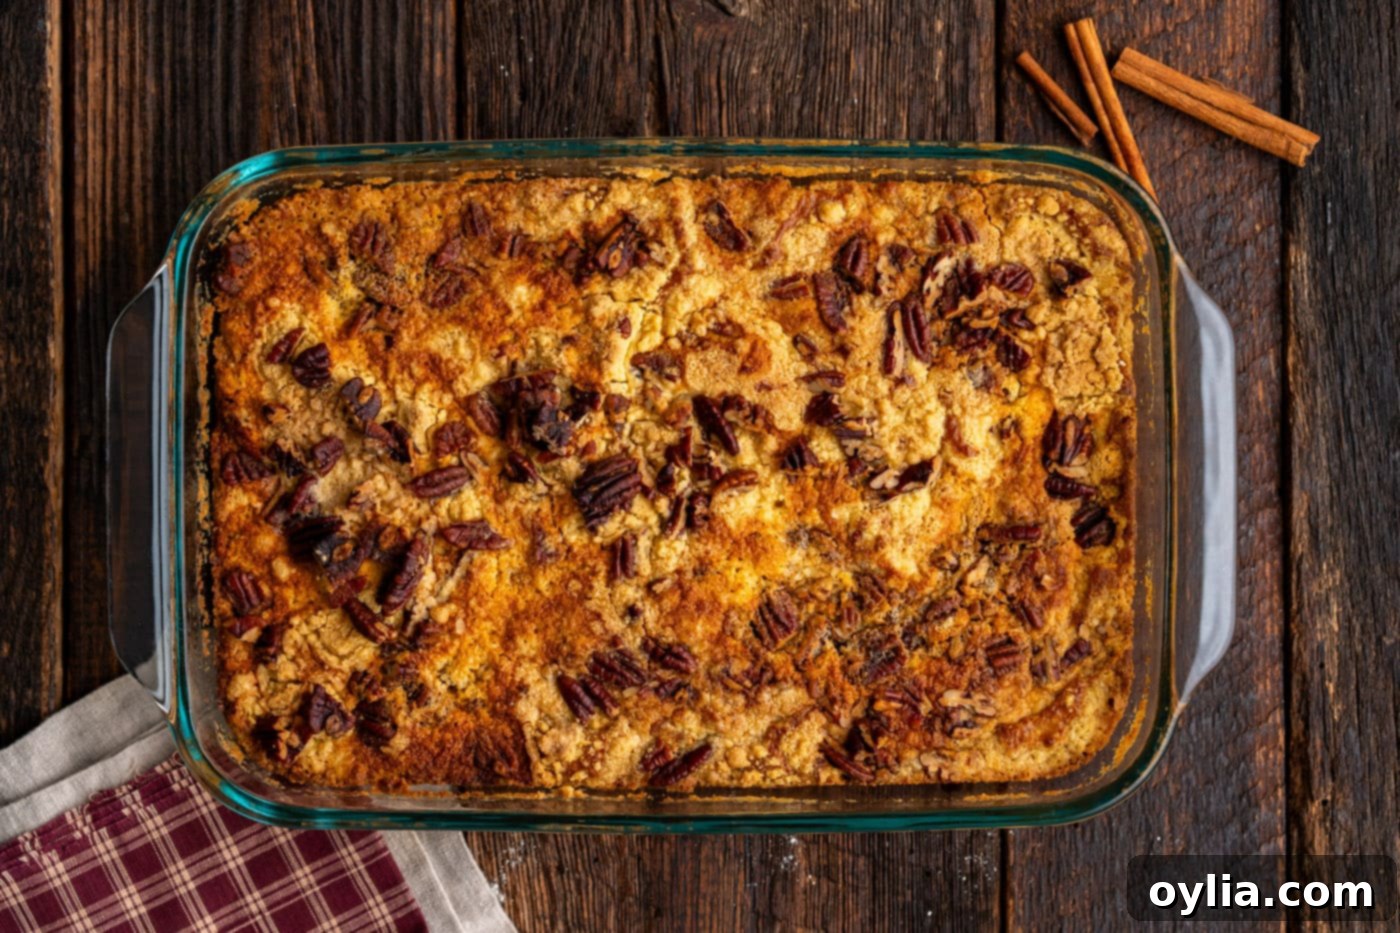
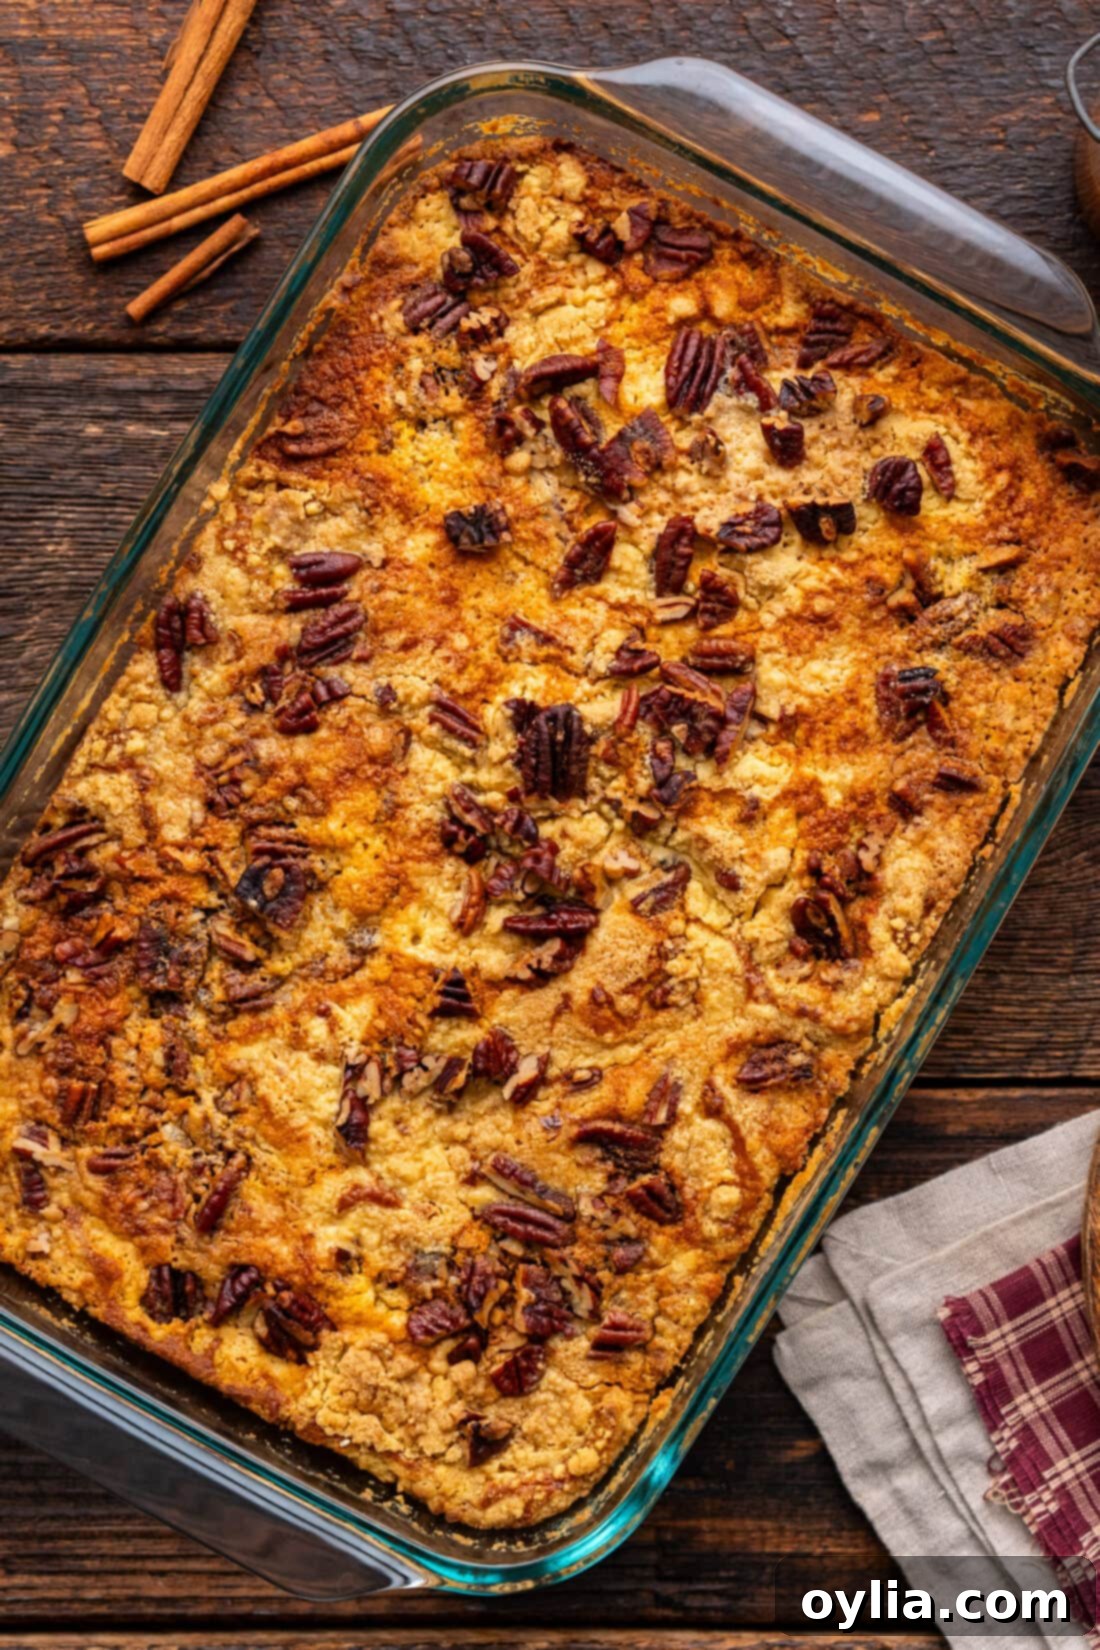
The perfectly baked, golden-brown pumpkin dump cake with a delightful crumbly topping. - Cool and Serve: Once baked, remove the dump cake from the oven and let it rest for at least 15 minutes before slicing and serving. This cooling time is important as it allows the pumpkin base to firm up and the topping to crisp slightly, making for cleaner, more defined slices and a much better overall eating experience.
Frequently Asked Questions & Expert Tips for Success
To maintain its freshness and deliciousness, especially due to the pumpkin and dairy, store any leftover pumpkin dump cake in the refrigerator. Ensure it’s in an airtight container or tightly covered with plastic wrap to prevent it from drying out or absorbing other food odors. It will stay wonderfully fresh and enjoyable for up to 3 days. For longer storage, see the freezing tip below.
Absolutely! Pumpkin dump cake is a fantastic make-ahead dessert, perfect for holiday preparations, potlucks, or busy weeknights. You can easily prepare, bake, cool completely, and then chill the entire cake in the refrigerator (covered tightly) a day in advance. The flavors often meld beautifully overnight, making it taste even better the next day!
Yes, you can! Once the dump cake has cooled completely, wrap individual slices or the entire cake (if planning to freeze whole) tightly in plastic wrap, then an additional layer of heavy-duty aluminum foil. Freeze for up to 2-3 months. To serve, thaw overnight in the refrigerator. You can warm individual slices in the microwave for 30-60 seconds or in a preheated oven (around 300°F/150°C) for 10-15 minutes for a fresh-baked feel.
The key to a perfectly crispy, golden topping is ensuring the melted butter is distributed as evenly as possible over the dry cake mix. Don’t skip this step! If you find patches of dry, powdery mix after baking, it means those spots didn’t get enough butter. Try to really saturate the entire surface next time you drizzle. Also, some ovens vary, so a slightly longer bake time or a few minutes under the broiler (watch carefully to prevent burning!) can help achieve extra crispiness. Make sure your butter is fully melted and warm, not just softened.
While canned pumpkin puree is recommended for its consistent thickness and ease, you can certainly use homemade pumpkin puree if you prefer. Just be sure it’s thick and has had any excess moisture thoroughly drained, as a watery puree could make the base too thin or prevent it from setting properly. The exact consistency of homemade puree can vary, so you might need to adjust the amount of evaporated milk slightly.
Absolutely! While pecans are traditional and delicious, walnuts are an excellent substitute. You could also try chopped almonds. For those with nut allergies or simply not a fan, feel free to omit them entirely; the cake will still have a wonderful crumbly topping from the cake mix and butter. For an added touch, consider mini chocolate chips or toffee bits mixed with the dry cake mix for a different flavor profile.
Expert Baking Tips for a Perfect Dump Cake
- Even Butter Distribution is Paramount: This cannot be stressed enough! The melted butter is what transforms the dry cake mix into a delightful, crumbly crust. Take your time to drizzle it slowly and evenly over the entire surface of the cake mix, ensuring no dry spots remain. You might even use the back of a spoon to gently spread it if necessary, though drizzling usually works best for even coverage.
- Don’t Press the Cake Mix: Resist the urge to press down the dry cake mix layer. Simply sprinkle it lightly and evenly. Pressing it can compact it too much, hindering the butter from properly saturating it and preventing the desired light, crumbly texture.
- Toasting Nuts for Enhanced Flavor: For an amplified nutty aroma and deeper flavor, lightly toast your chopped pecans or walnuts in a dry skillet over medium heat for a few minutes until fragrant, before adding them to the cake. Let them cool slightly before sprinkling. This simple step adds a gourmet touch!
- Monitor Baking Time Closely: Ovens can vary significantly in temperature, so keep a close eye on your cake, especially towards the end of the baking time. The top should be golden brown and the pumpkin layer should be set (it might still have a slight jiggle in the very center, but shouldn’t be liquid). If it’s browning too fast, cover it with aluminum foil. If it seems too jiggly, give it a few more minutes. An inexpensive oven thermometer can be a baker’s best friend!
- Cooling is Key for Texture: Allowing the dump cake to cool for at least 15 minutes before slicing helps the warm pumpkin base to firm up and the topping to crisp slightly. This results in cleaner, more appealing slices and a much better overall eating experience, as the layers have time to set.
Serving Suggestions for Your Fall Treat
This pumpkin dump cake is absolutely delicious on its own, whether served warm directly from the oven (which allows the pumpkin layer to be wonderfully gooey) or chilled (which makes it more like a firm pumpkin bar). However, a few simple additions can elevate it to an even more decadent and memorable experience:
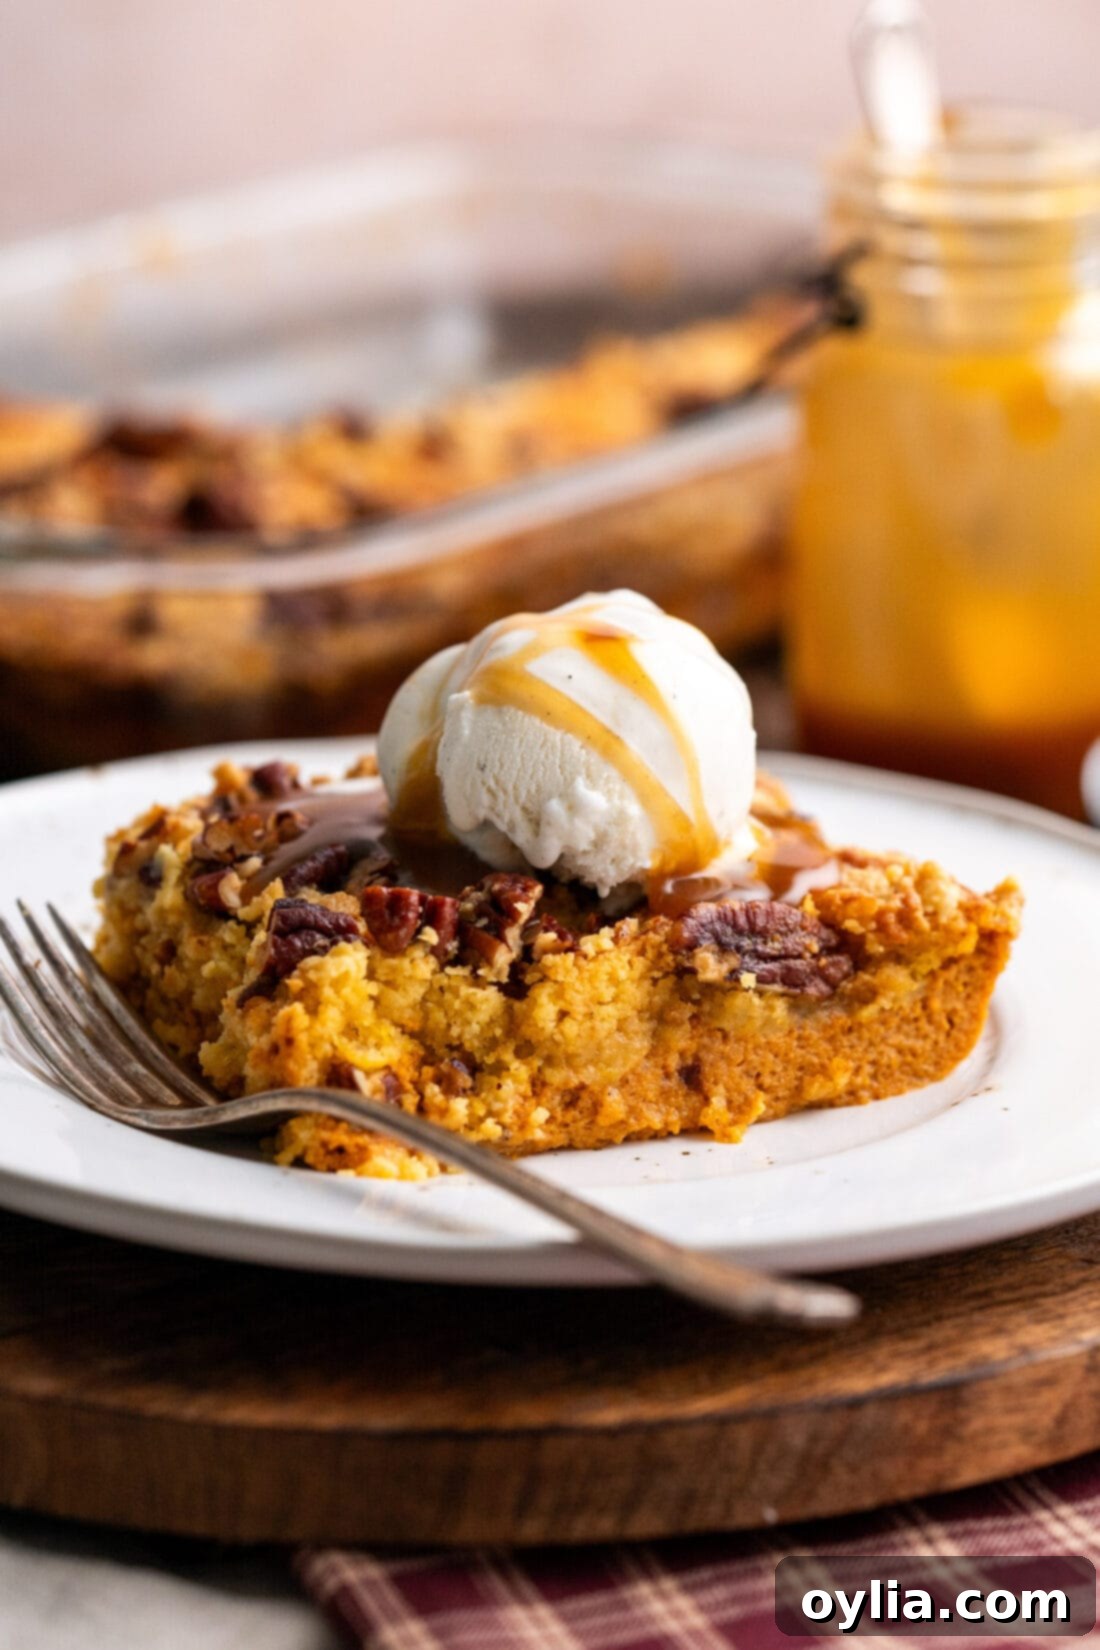
- Vanilla Ice Cream: A classic pairing! The cool, creamy vanilla ice cream melts ever so slightly into the warm cake, creating a heavenly contrast of temperatures and textures.
- Caramel Drizzle: A generous swirl of store-bought or homemade caramel sauce adds an extra layer of rich, buttery sweetness that perfectly complements the pumpkin and spices, creating an irresistible treat.
- Whipped Cream: A dollop of freshly whipped cream or store-bought whipped topping provides a light, airy texture and delicate sweetness that balances the richness of the cake. A sprinkle of cinnamon on top of the whipped cream is a nice touch!
- Powdered Sugar: A simple dusting of powdered sugar over the top adds a touch of elegance and an extra hint of sweetness, making it presentation-ready for any occasion.
- Coffee or Tea: Serve a slice with a warm cup of coffee, a frothy pumpkin spice latte, or your favorite herbal tea for the ultimate cozy fall indulgence. It’s the perfect accompaniment for a relaxing afternoon or an evening dessert.
No matter how you choose to enjoy it, this easy pumpkin dump cake is sure to be a comforting and delightful hit with everyone!
More Irresistible Pumpkin Dessert Recipes
If you’ve fallen in love with the comforting flavors of pumpkin and are eager for more autumn-inspired treats, you’ll definitely want to explore these other fantastic pumpkin dessert ideas from our kitchen:
- Classic Pumpkin Cake
- Warm Pumpkin Cobbler
- Creamy Pumpkin Pie Dip
- Magical Pumpkin Cake with Cake Mix
- Delightful Mini Pumpkin Cheesecakes
I absolutely adore sharing my passion for baking and cooking with all of you! To make sure you never miss out on new, delicious recipes and my latest kitchen adventures, I offer a convenient newsletter delivered right to your inbox. Simply subscribe here and start receiving free daily recipes directly to your inbox!
Pumpkin Dump Cake
IMPORTANT – There are often Frequently Asked Questions and Expert Tips within the blog post that you may find helpful. Simply scroll back up to read them!
Print It
Pin It
Rate It
Save ItSaved!
Ingredients
- non stick cooking spray
- 15 ounces pumpkin puree 1 can
- 12 ounces evaporated milk 1 can
- 3 large eggs
- ¾ cup light brown sugar lightly packed
- 2 teaspoons pumpkin pie spice
- ½ teaspoon salt
- 15.25 ounce dry yellow cake mix we used Duncan Hines
- 1 cup pecans chopped
- 1 cup unsalted butter melted
Things You’ll Need
-
13×9 baking dish
-
Mixing bowls
Before You Begin
- Be sure you use canned pumpkin puree and not pumpkin pie filling.
- We used a standard-size (15.25 ounces) box of Duncan Hines Perfectly Moist Classic Yellow Cake Mix – the dry mix only. You can use a different flavored cake mix such as white, pumpkin, or spice cake if desired.
- Feel free to swap out the pecans for walnuts or any type of nuts you like, or simply omit them entirely.
- Store the cake with an air-tight lid or tightly covered with plastic wrap in the refrigerator for up to 3 days.
- You can easily prepare, bake, cool, and chill the pumpkin dump cake in the refrigerator (covered) a day in advance.
- For even more tips and troubleshooting, refer to the “Frequently Asked Questions & Expert Tips for Success” section above the recipe card!
Instructions
-
Preheat the oven to 350F. Spray the inside of a 9 by 13-inch baking pan with nonstick cooking spray.
-
Add the pumpkin, milk, eggs, brown sugar, pumpkin pie spice, and salt to a large bowl. Whisk to combine.
-
Pour the pumpkin mixture into the prepared baking pan. Sprinkle the dry cake mix evenly across the top, and then sprinkle on the pecans. Drizzle the melted butter on the top, trying not to leave dry patches of cake mix.
-
Bake until the cake is set in the center and golden brown on the top, about 45 to 60 minutes. (If it’s starting to over-brown before it’s done cooking, cover the top with a foil tent.)
-
Let it sit for about 15 minutes before slicing and serving.
Nutrition
The recipes on this blog are tested with a conventional gas oven and gas stovetop. It’s important to note that some ovens, especially as they age, can cook and bake inconsistently. Using an inexpensive oven thermometer can assure you that your oven is truly heating to the proper temperature. If you use a toaster oven or countertop oven, please keep in mind that they may not distribute heat the same as a conventional full sized oven and you may need to adjust your cooking/baking times. In the case of recipes made with a pressure cooker, air fryer, slow cooker, or other appliance, a link to the appliances we use is listed within each respective recipe. For baking recipes where measurements are given by weight, please note that results may not be the same if cups are used instead, and we can’t guarantee success with that method.
