Irresistibly Easy: The Ultimate No-Bake Cheesecake Bars Recipe for Any Occation
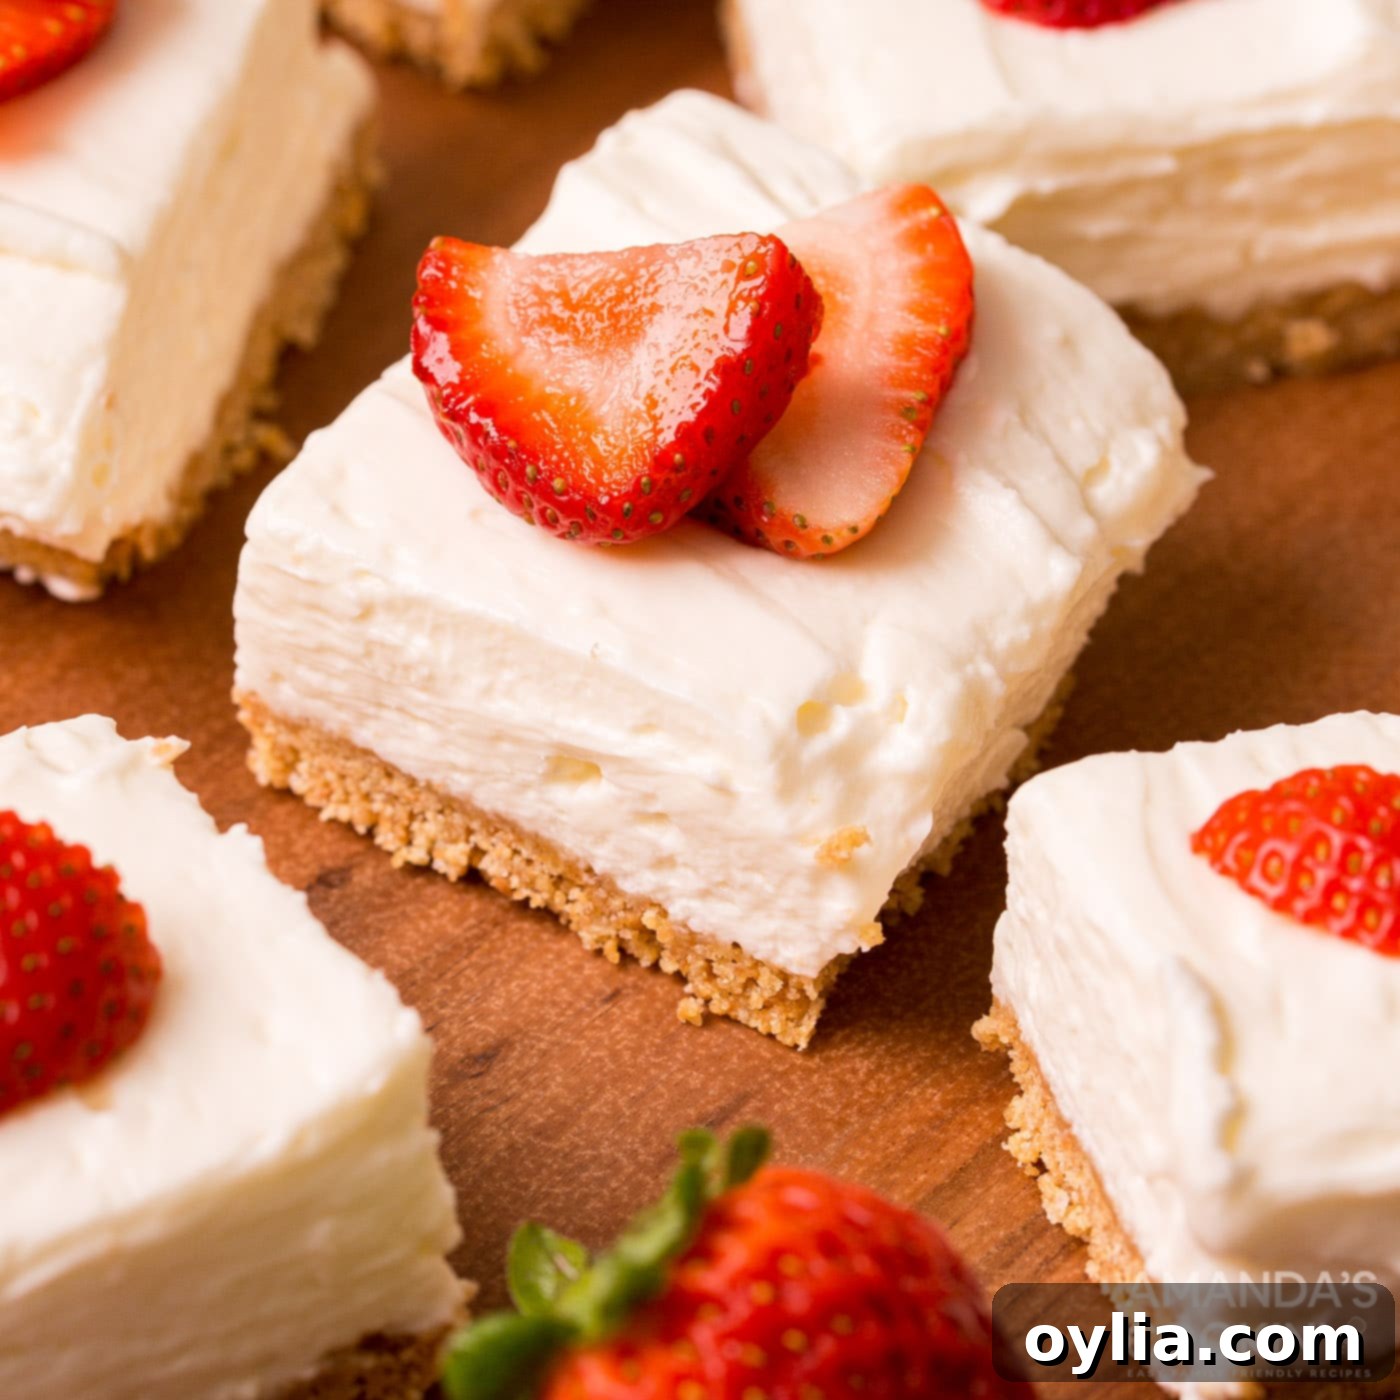
Imagine a dessert that’s rich, smooth, and utterly decadent, yet requires no oven time. These luscious no-bake cheesecake bars are exactly that! Featuring a velvety, creamy cheesecake filling atop a perfectly buttery graham cracker crust, they are the ideal dessert for any gathering. Whether you’re hosting a summer BBQ, a holiday party, or simply craving a classic treat without the hassle of baking, these bars are a guaranteed crowd-pleaser that will leave everyone asking for more.
Why These No-Bake Cheesecake Bars Are Your New Go-To Dessert
Cheesecake is a universally loved classic, and for good reason! Its smooth, rich texture and delightful sweetness are hard to resist. But traditional baked cheesecakes can be time-consuming, temperamental, and often require a water bath, which can intimidate even experienced bakers. That’s where these no-bake cheesecake bars shine as a brilliant alternative.
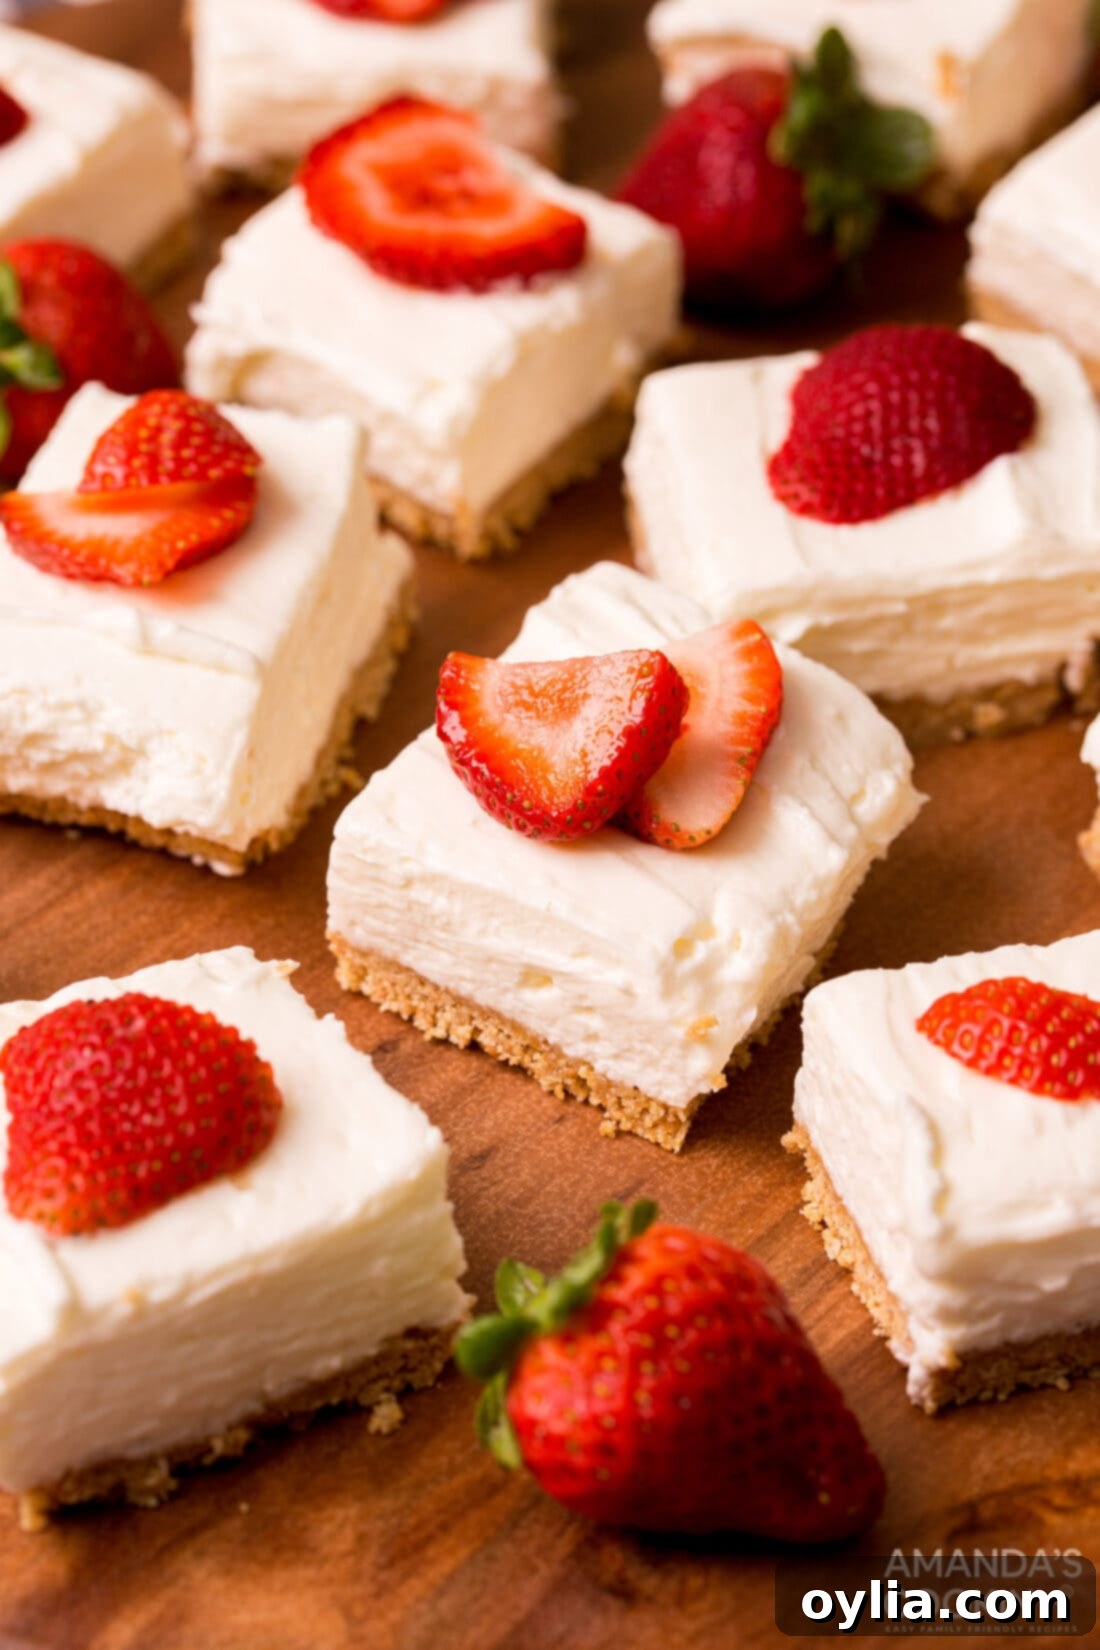
This recipe offers all the creamy indulgence of a classic cheesecake with none of the baking stress. They’re incredibly simple to assemble, making them perfect for busy schedules or when you simply want a delicious dessert without spending hours in the kitchen. Plus, these bars are fantastic for feeding a crowd because they can be made in advance and easily portioned. No need to worry about slicing a whole round cheesecake or keeping multiple cheesecakes warm – just grab a bar and enjoy!
Their individual portions are not only convenient but also ideal for large gatherings, potlucks, and parties, ensuring everyone gets a perfectly sized slice of heaven. You can effortlessly top these bars with an array of fresh fruit for an even prettier and more vibrant presentation. If you’re looking to infuse the fruit directly into the bars themselves, be sure to check out our no-bake strawberry cheesecake bars for another fantastic variation!
Simple Ingredients for an Extraordinary Dessert
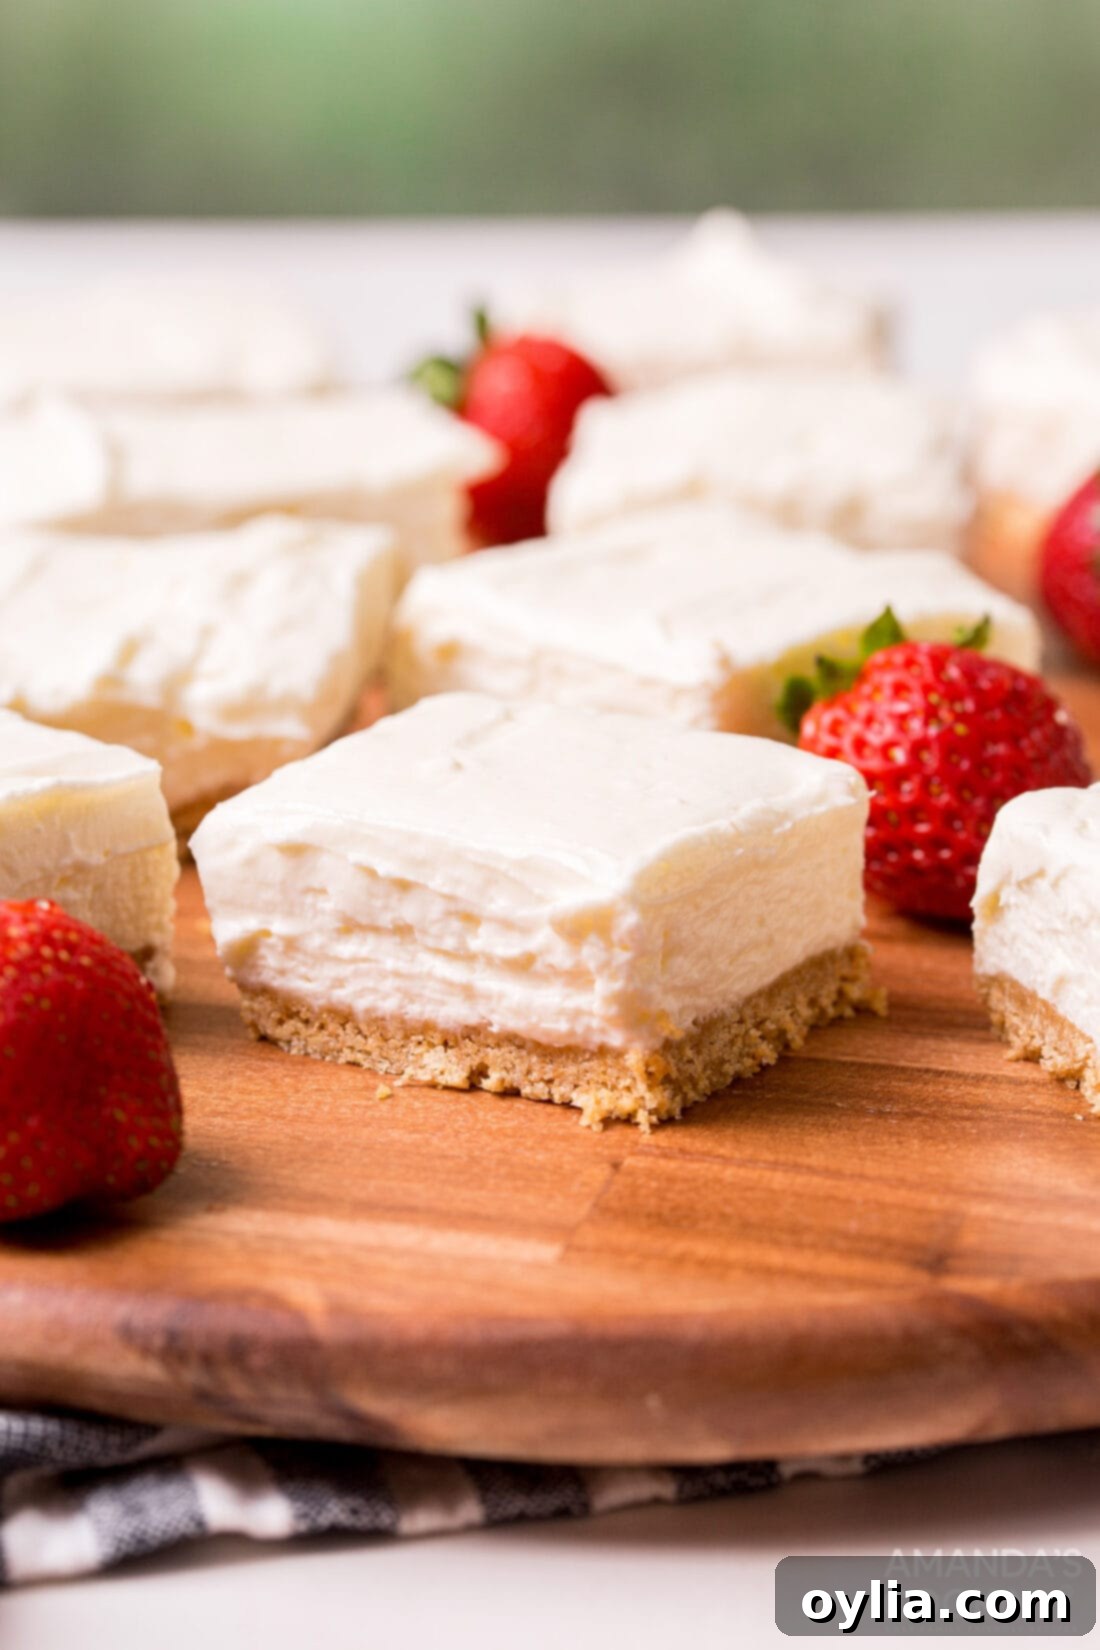
One of the best aspects of these no-bake cheesecake bars is that they rely on readily available, simple ingredients to create a truly luxurious dessert. You don’t need any fancy equipment or exotic items – just a few staples you likely already have in your pantry and fridge. For precise measurements, a detailed list of all ingredients, and comprehensive instructions, please refer to the printable recipe card located at the end of this post.
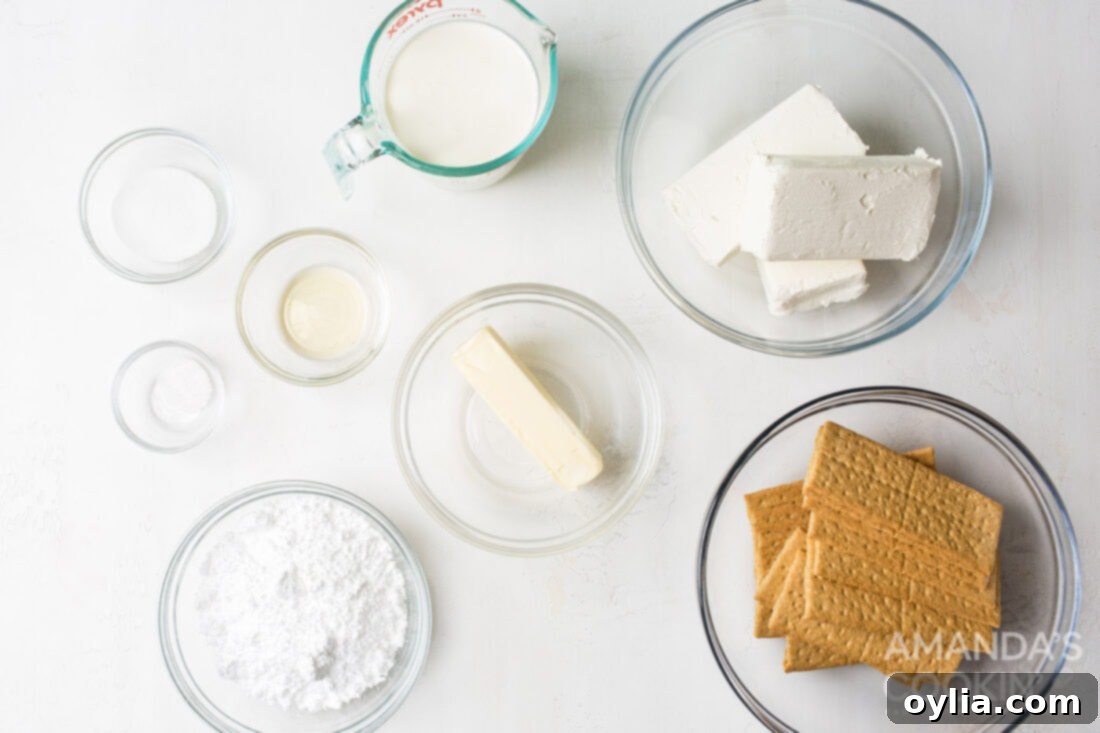
Ingredient Breakdown & Creative Substitutions
The Creamy Cheesecake Filling:
Cream Cheese: The heart of any cheesecake! You will need 24 oz of full-fat cream cheese for the best, richest texture. It’s absolutely crucial that your cream cheese is properly softened to room temperature. To achieve this, unwrap and cube the cream cheese, then spread it out on a plate for 20-30 minutes before you begin mixing. This simple step ensures a smooth, lump-free cheesecake batter that whips up beautifully and results in that signature melt-in-your-mouth texture.
Heavy Whipping Cream: This ingredient is key to taking the creaminess and lightness of these bars to an entirely new level. When whipped to stiff peaks, it incorporates air into the filling, giving the cheesecake its luxurious, almost mousse-like consistency. Make sure your heavy cream is very cold before whipping for the best results.
Confectioners’ Sugar & Vanilla Extract: Powdered sugar (also known as confectioners’ sugar) dissolves easily into the cream cheese, ensuring a smooth, sweet filling without any grainy texture. Vanilla extract adds that essential warm, aromatic flavor that perfectly complements the tang of the cream cheese. For a different twist, consider adding a touch of lemon zest or almond extract for an extra layer of flavor.
The Buttery Crust:
Graham Crackers: The traditional base for cheesecake, graham cracker crumbs create a wonderfully sweet and slightly nutty foundation. We finely pulse them in a food processor, then bind them with melted butter, granulated sugar, and a touch of salt for that classic, irresistible flavor. This buttery graham cracker crust holds its shape beautifully and provides a delightful contrast to the creamy filling.
Crust Substitution Suggestions: While graham crackers are classic, feel free to get creative with your crust!
- Chocolate or Golden Oreos: For a chocolatey or vanilla cookie twist, use entire Oreos (cream filling and all) and finely pulse them in a food processor. There’s no need to add additional butter, sugar, or salt, as the cookies already contain those elements.
- Digestive Biscuits: A popular choice in many parts of the world, digestive biscuits offer a slightly less sweet, more wholesome flavor. Follow the same method as graham crackers, adding butter, sugar, and salt.
- Shortbread Cookies: For a rich, buttery crust, shortbread cookies work wonderfully. Pulse them into fine crumbs and combine with a little extra melted butter if needed.
- Pretzels: Craving a salty-sweet combination? Crushed pretzels make a surprisingly delicious and unique crust, adding a fantastic crunchy texture and a savory edge to balance the sweet cheesecake.
No matter your choice, ensure the crumbs are fine and pressed firmly into the pan to create a stable base for your bars.
Effortless Steps to Perfect No-Bake Cheesecake Bars
These step-by-step photos and instructions are here to help you visualize how to make this recipe. You can Jump to Recipe to get the printable version of this recipe, complete with measurements and instructions at the bottom.
-
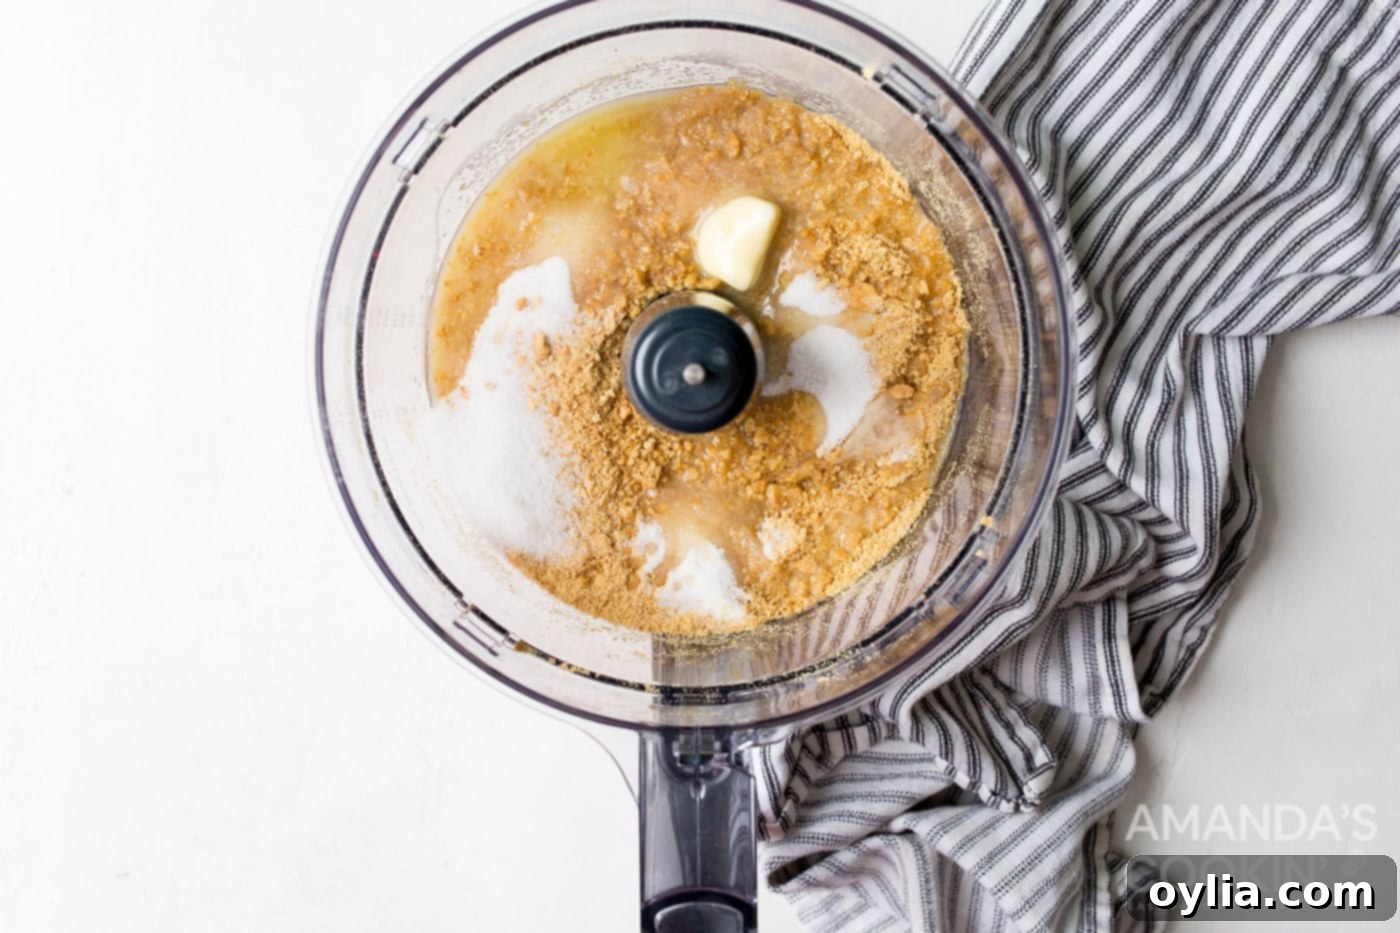
Prepare the Crust: To a food processor, add the graham crackers and pulse until they form a fine, even crumb. This ensures a consistent crust texture. Next, add the granulated sugar, salt, and melted butter to the food processor. Pulse again until all ingredients are thoroughly combined and the mixture resembles wet sand. Firmly press this mixture into the bottom of a parchment-lined 13×9 casserole dish, creating an even layer. Place the prepared crust into the fridge or freezer while you assemble the filling; this helps it set and become firm.

-
Whip the Cream Cheese: In a large mixing bowl, beat the softened cream cheese with a hand mixer for about 3-5 minutes. Continue beating until the cream cheese is light, airy, and fluffy. This step is crucial for achieving a smooth, creamy filling free of lumps.
-
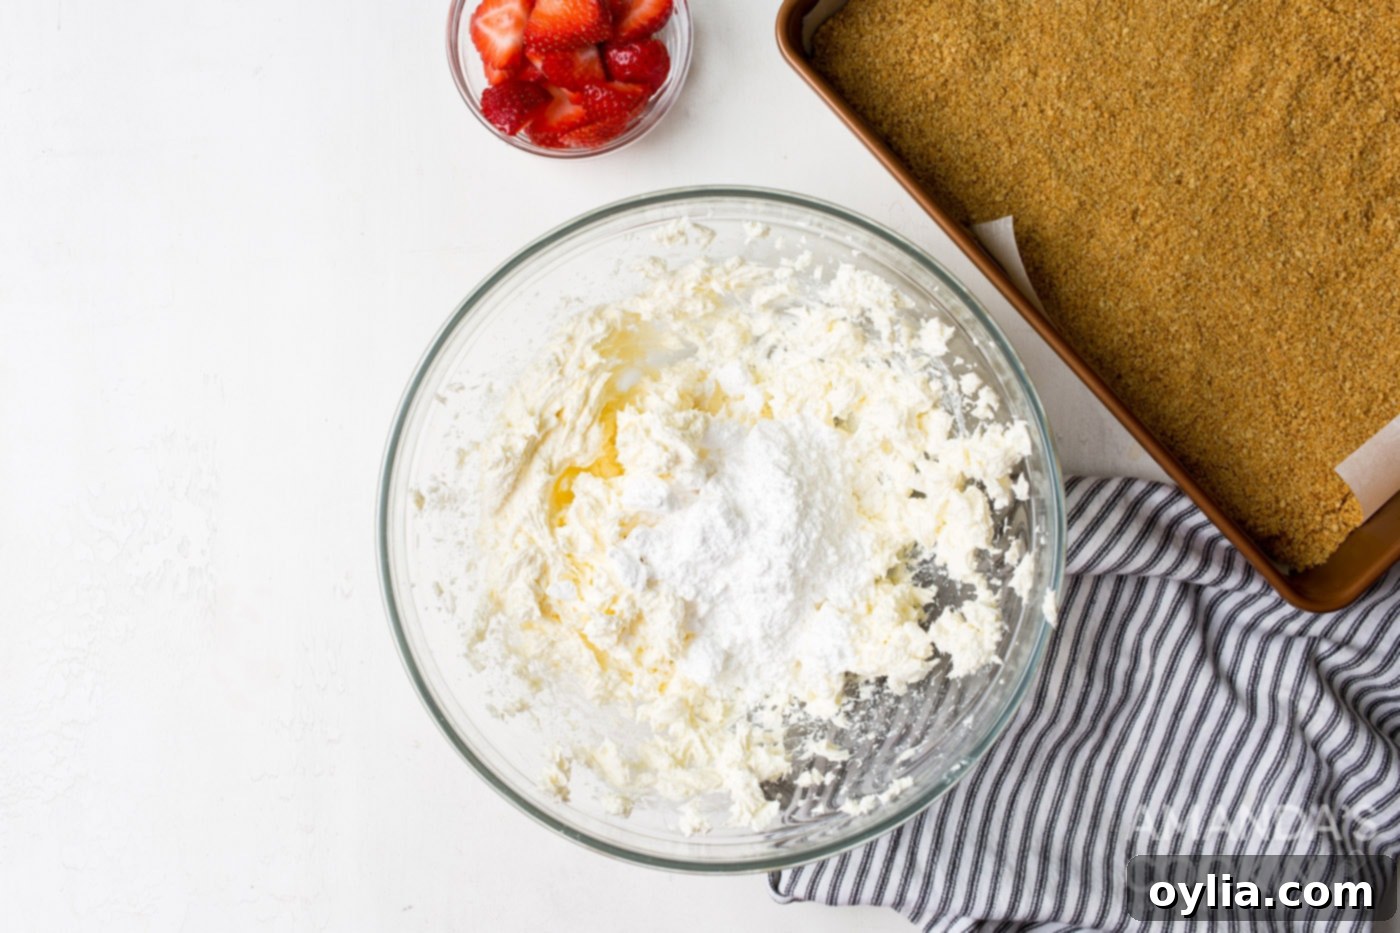
Add Sweetness and Flavor: To the whipped cream cheese, add the confectioners’ sugar and vanilla extract. Beat again on medium speed until these ingredients are fully incorporated and the mixture is completely smooth. Avoid overmixing once the sugar is added, as this can affect the texture.

-
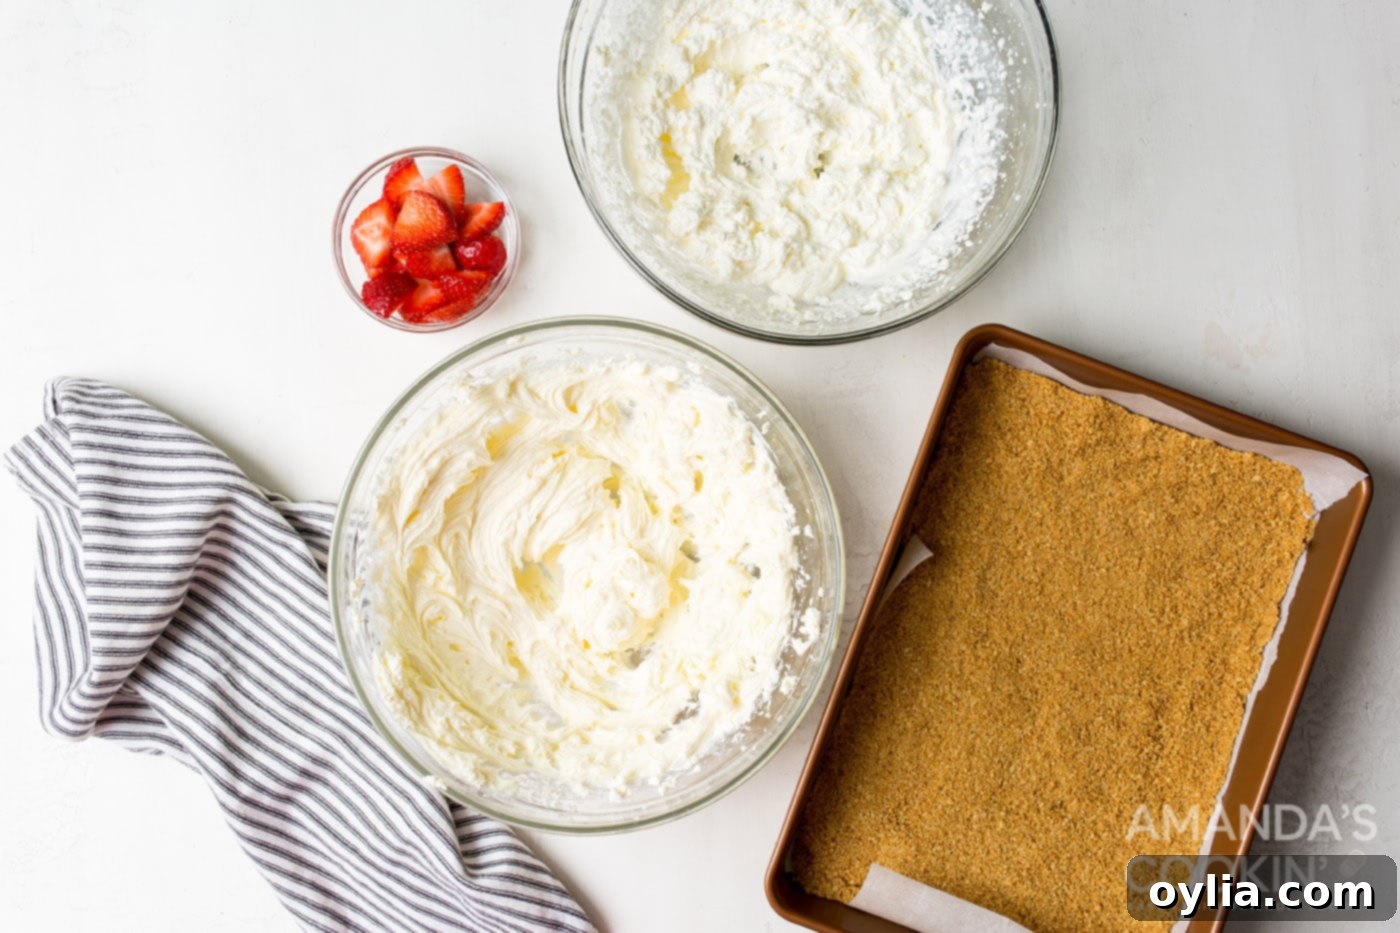
Whip the Heavy Cream: In a separate large bowl, beat the very cold heavy whipping cream with your hand mixer on high speed until stiff peaks form. Stiff peaks mean that when you lift the beaters, the cream stands up in firm, defined peaks that don’t flop over. This airy whipped cream will lighten the cheesecake filling.

-
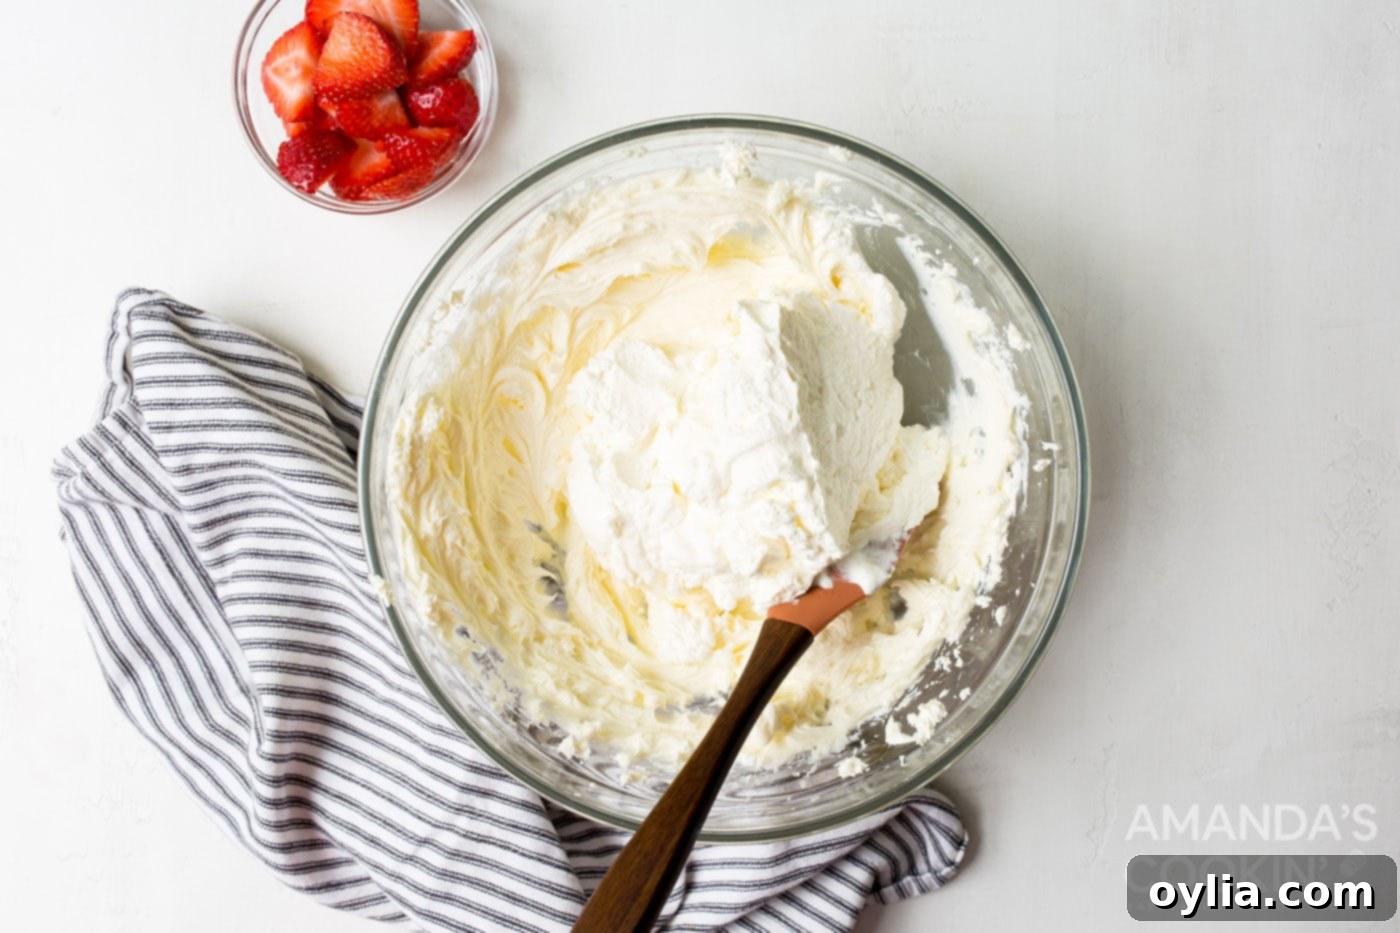
Combine and Smooth: Carefully use a rubber spatula to gently fold the whipped cream into the cream cheese mixture. This gentle folding technique is important to maintain the airiness of the whipped cream, which contributes to the light texture of the cheesecake. Once combined, pour the luscious mixture evenly onto the chilled graham cracker crust and smooth the top with your spatula. Make sure the surface is as level as possible for uniform bars.

-
Chill for Perfection: Refrigerate the cheesecake bars for a minimum of 6 hours, or ideally, overnight. This extended chilling time is essential for the cheesecake filling to set properly, resulting in firm, sliceable bars. Don’t rush this step!
-
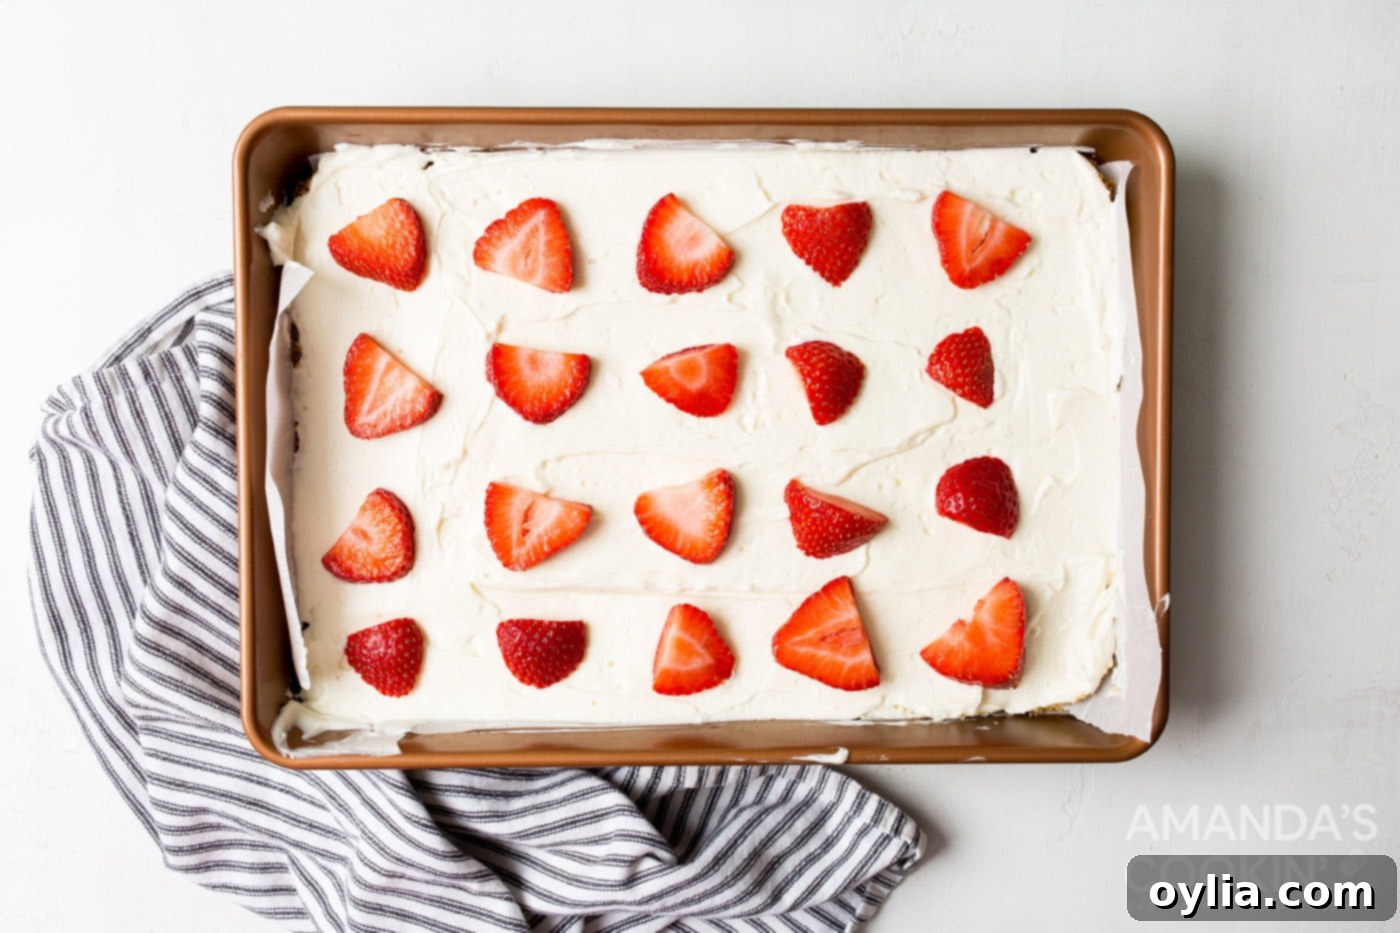
Slice and Serve: Once fully chilled, carefully remove the cheesecake from the dish using the parchment paper overhang. Place it on a cutting board. For clean, neat slices, use a sharp knife and wipe the blade clean between each cut. Cut the cheesecake into 20 (5×4) pieces. For an elegant touch, top with fresh sliced strawberries or your preferred garnish just before serving. Enjoy your homemade, perfectly creamy no-bake cheesecake bars!

Frequently Asked Questions & Expert Tips for Success
Yes, absolutely! Freezing these no-bake cheesecake bars is an excellent way to prepare them far in advance or save leftovers for a later treat. To freeze, place the completely chilled bars in an airtight container, separating layers with parchment paper to prevent sticking. They will stay fresh in the freezer for up to 2 months. You can enjoy them directly from the freezer for a delightful frozen dessert experience, or thaw them overnight in the refrigerator before serving for that classic creamy texture.
These bars are the ultimate make-ahead dessert! They require at least 6 hours of chill time to properly set, which naturally makes them a perfect candidate for preparing ahead. You can comfortably make these the morning of your event, a full day in advance, or even two days prior if needed. Simply prepare and assemble the cheesecake bars as instructed, cover them tightly, and store them in an airtight container in the refrigerator until you’re ready to serve. This allows you to focus on other preparations without last-minute dessert stress.
To maintain their freshness and delicious texture, always store your no-bake cheesecake bars in an airtight container in the refrigerator. When stored properly, they will last for a good 6-7 days, making them a fantastic option for meal prepping desserts or enjoying throughout the week. Ensure they are kept away from strong-smelling foods in the fridge to prevent flavor absorption.
Expert Tips for the Best No-Bake Cheesecake Bars:
- Room Temperature Cream Cheese: This cannot be stressed enough! Cold cream cheese will result in a lumpy filling, no matter how long you beat it. Plan ahead and let it soften for at least 30 minutes.
- Cold Heavy Cream: For maximum volume and stability, ensure your heavy whipping cream is very cold before you start beating it. You can even chill your mixing bowl and beaters for 10-15 minutes beforehand.
- Don’t Overmix the Filling: Once the cream cheese is light and fluffy, and the sugar and vanilla are incorporated, stop mixing. Overmixing can lead to a less stable and airy filling.
- Press the Crust Firmly: A well-compressed crust is less likely to crumble when you slice the bars. Use the bottom of a glass or a flat measuring cup to really pack it down.
- Use Parchment Paper: Lining your baking dish with parchment paper (with an overhang on the sides) is a game-changer for easy removal and clean cutting.
- Clean Slices: For perfectly clean-cut bars, run a sharp knife under hot water, wipe it dry, and then make a slice. Repeat this process for each cut.
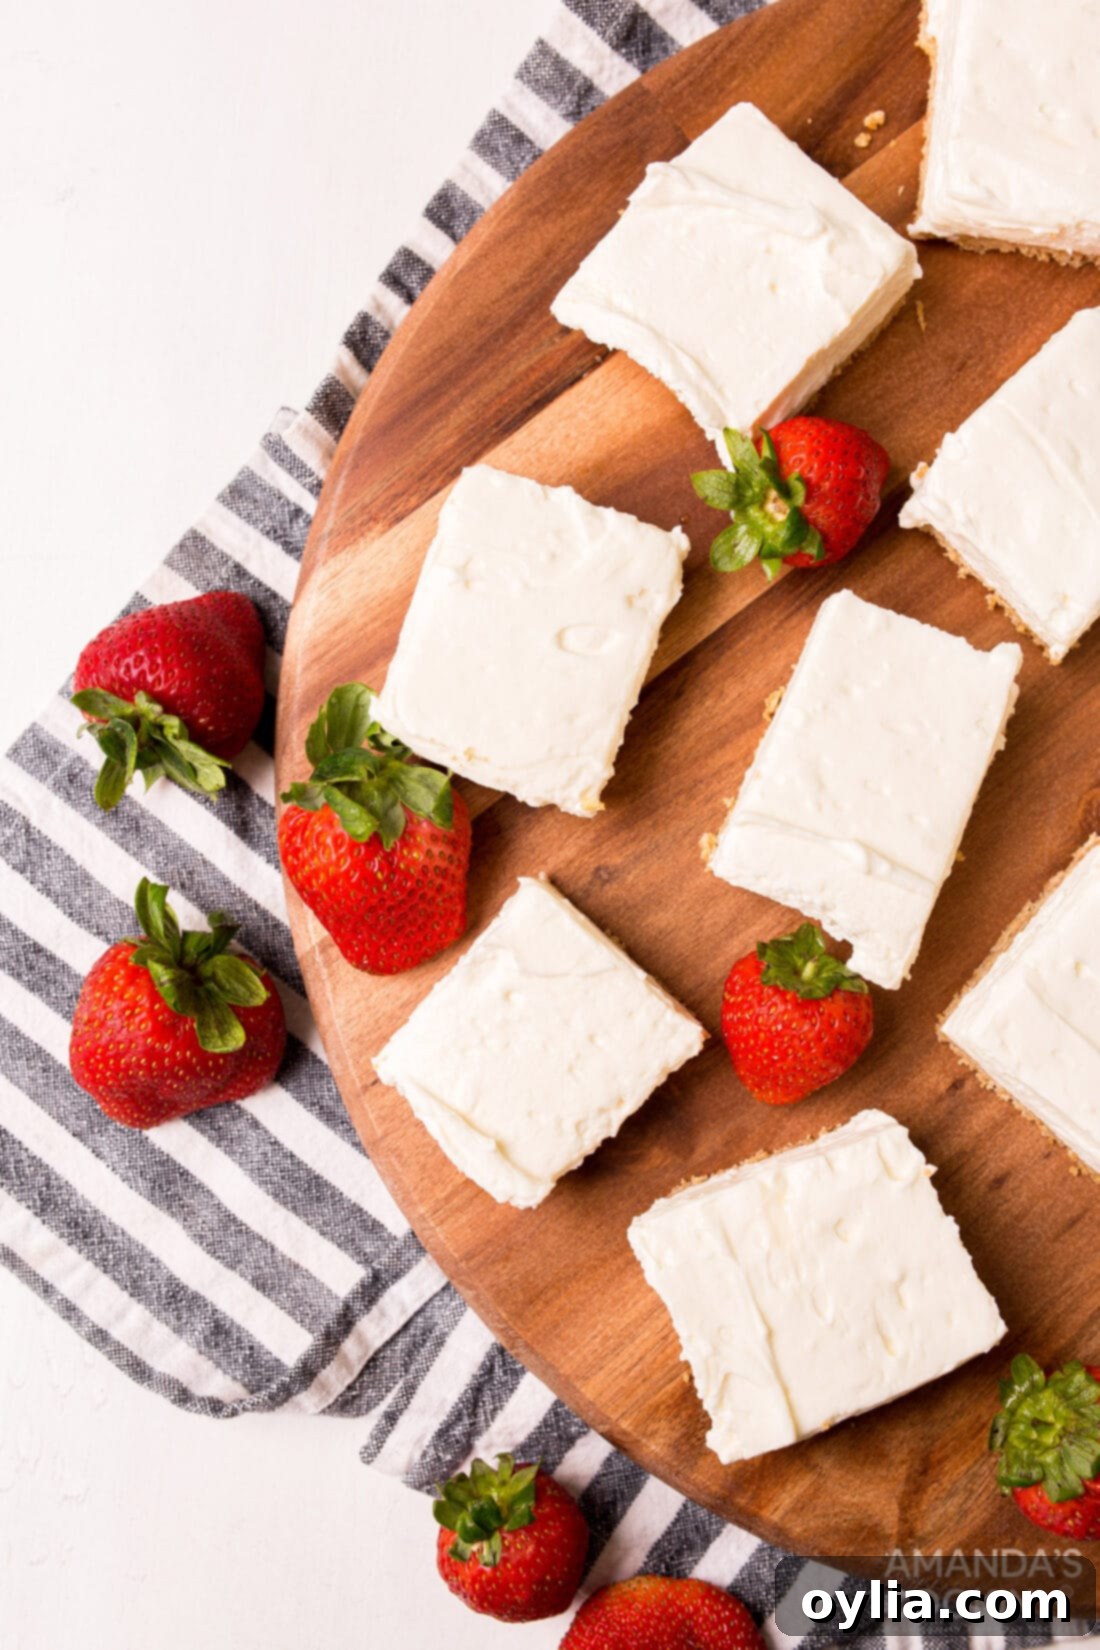
Creative Ways to Serve Your No-Bake Cheesecake Bars
These no-bake cheesecake bars are absolutely delicious on their own, but they also serve as a perfect canvas for a variety of delightful toppings, allowing you to customize them for any occasion or preference. Make a truly stunning presentation out of your no-bake cheesecake bars by artfully topping them with an array of fresh, vibrant fruits.
- Fresh Fruit Medley: Think colorful blueberries, juicy blackberries, tangy raspberries, or thinly sliced strawberries. A mix of berries adds both visual appeal and a burst of freshness.
- Fruit Compotes & Sauces: A spoonful of warm cherry, blueberry, or mixed berry compote creates a gourmet touch. Lemon curd or raspberry coulis can add a sophisticated tang.
- Chocolate Indulgence: Drizzle with rich chocolate syrup, melted dark chocolate, or sprinkle with chocolate shavings or mini chocolate chips for the ultimate chocolate lover’s dream.
- Caramel & Nuts: A decadent swirl of caramel sauce paired with chopped pecans, walnuts, or candied almonds offers a wonderful textural contrast and nutty flavor.
- Whipped Cream & Toasted Coconut: A dollop of extra whipped cream and a sprinkle of toasted shredded coconut can transform them into a tropical delight.
- More Crust Crumbs: For an extra crunch, save a small portion of your graham cracker crumbs and sprinkle them over the top just before serving.
Remember to always keep these bars well-chilled before serving to maintain their firm structure. Alternatively, for a unique twist, store them in the freezer and enjoy them frozen – they taste remarkably like cheesecake ice cream! These bars are so versatile, they’re perfect for everything from a casual family dessert to an elegant party spread.
Explore More No-Bake Delights!
If you loved the ease and deliciousness of these no-bake cheesecake bars, you’re in for a treat! We have a fantastic collection of other hassle-free, no-bake recipes that are perfect for satisfying your sweet tooth without turning on the oven. Dive into these other simple yet irresistible desserts:
- Individual Tiramisu
- No Bake Chocolate Cheesecake
- No Bake Peanut Butter Bars
- No Bake Pumpkin Cheesecake
- No Bake Strawberry Cheesecake Bars
- Chocolate No Bake Cookies
- Cheesecake Stuffed Strawberries
I love to bake and cook and share my kitchen experience with all of you! Remembering to come back each day can be tough, that’s why I offer a convenient newsletter every time a new recipe posts. Simply subscribe and start receiving your free daily recipes!
No Bake Cheesecake Bars
IMPORTANT – There are often Frequently Asked Questions within the blog post that you may find helpful. Simply scroll back up to read them!
Print Recipe
Pin It
Rate It
Course: Dessert
Cuisine: American
Servings: 20 bars
Total Time: 6 hrs 20 mins
Calories: 306
Author: Amanda Davis
Ingredients
For the Crust:
- 16 graham crackers (16 full sheets, pulsed into fine crumbs)
- 2 Tbsp granulated sugar
- ½ tsp salt
- 8 Tbsp unsalted butter (melted)
For the Cheesecake Filling:
- 24 oz cream cheese (softened at room temperature)
- 1 ½ cups confectioners sugar
- 1 tsp vanilla extract
- 1 ½ cup heavy whipping cream
Things You’ll Need
-
13×9 baking dish
-
Hand mixer
-
Food processor
Before You Begin
- Store the finished bars in an airtight container in the refrigerator for up to 7 days.
- For an alternative crust, you can use golden or chocolate Oreos. If opting for this, omit the butter, sugar, and salt from the crust ingredients. Simply pulse the entire Oreos (including their cream filling) in a food processor until fine crumbs are formed, then press into the pan.
Instructions
-
To a food processor, add the graham crackers and pulse until a fine crumb. Add the salt, sugar, and melted butter to the food processor. Pulse until well combined. Press the mixture firmly into a 9×13-inch, parchment-lined casserole dish. Place into the fridge or freezer while assembling the filling.
-
In a large bowl, beat the softened cream cheese with a hand mixer for about 3-5 minutes, until light and fluffy and completely smooth.
-
Add the confectioners’ sugar and vanilla extract to the cream cheese mixture. Beat again until thoroughly combined and smooth.
-
In a separate large, cold bowl, beat the cold heavy whipping cream until stiff peaks form.
-
Use a rubber spatula to gently fold the whipped cream into the cream cheese mixture until just combined, being careful not to deflate the whipped cream. Pour the combined filling onto the graham cracker crust and smooth the top evenly.
-
Refrigerate the cheesecake bars for a minimum of 6 hours, or ideally, overnight, to allow them to set completely.
-
Once chilled, remove the cheesecake from the dish using the parchment paper overhang. Cut with a sharp, warm knife into 20 (5×4) pieces. Top with sliced strawberries or your desired garnish if desired, and serve immediately.
Watch a video demonstration on how to make these delicious No-Bake Cheesecake Bars!
Nutrition
Serving: 1 bar | Calories: 306cal | Carbohydrates: 21g | Protein: 3g | Fat: 24g | Saturated Fat: 14g | Polyunsaturated Fat: 1g | Monounsaturated Fat: 6g | Trans Fat: 1g | Cholesterol: 74mg | Sodium: 249mg | Potassium: 82mg | Fiber: 1g | Sugar: 14g | Vitamin A: 859IU | Vitamin C: 1mg | Calcium: 55mg | Iron: 1mg
Tried this Recipe? Pin it for Later!
Follow on Pinterest @AmandasCookin or tag #AmandasCookin!
The recipes on this blog are tested with a conventional gas oven and gas stovetop. It’s important to note that some ovens, especially as they age, can cook and bake inconsistently. Using an inexpensive oven thermometer can assure you that your oven is truly heating to the proper temperature. If you use a toaster oven or countertop oven, please keep in mind that they may not distribute heat the same as a conventional full sized oven and you may need to adjust your cooking/baking times. In the case of recipes made with a pressure cooker, air fryer, slow cooker, or other appliance, a link to the appliances we use is listed within each respective recipe. For baking recipes where measurements are given by weight, please note that results may not be the same if cups are used instead, and we can’t guarantee success with that method.
We hope you enjoy these incredibly easy and undeniably delicious No-Bake Cheesecake Bars. They are truly a testament to how simple ingredients and a straightforward method can create a spectacular dessert. Happy chilling, slicing, and savoring!
