Decadent Espresso Creme Brûlée Recipe: Your Ultimate Guide to a Perfect Coffee Dessert
Coffee and dessert lovers, prepare for a match made in heaven! This exquisite Espresso Creme Brûlée masterfully blends the intense, aromatic flavor of freshly brewed espresso coffee with the luxurious creaminess of classic French custard. The result is a truly unforgettable dessert that will captivate your senses and impress any guest. While this particular espresso creme brûlée recipe was inspired by a delightful experience on a Princess Cruise, all opinions and the passion for recreating this culinary gem are entirely my own.
The Irresistible Allure of Espresso Creme Brûlée
Espresso Creme Brûlée has quickly ascended to become my all-time favorite dessert, and it’s now my go-to choice for entertaining. Despite its sophisticated appearance, it’s surprisingly easy to prepare and yields generous servings, making it ideal for gatherings. Imagine the anticipation as you tap the crunchy, caramelized sugar topping with a spoon, hearing that satisfying crack. Beneath lies a rich, velvety smooth custard, bursting with authentic espresso flavor – a symphony of textures and tastes in every bite.
I’ve always been one of those people who would happily bypass a main course to dive straight into dessert, especially when coffee is involved. My love for sweets is unwavering, and my appreciation for a superb cup of coffee runs deep. When it comes to traditional desserts, a classic creme brûlée is pure perfection to me – its silken custard base crowned with that exquisite, glass-thin layer of sugary crackle is simply bliss.
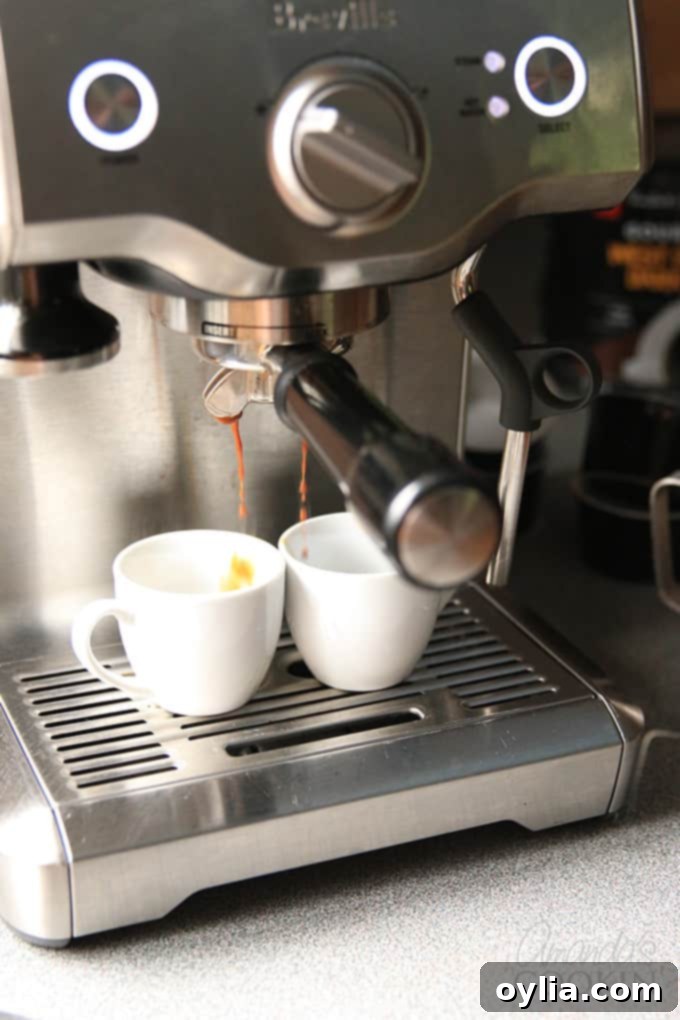
And speaking of coffee, espresso is my daily indulgence. My trusty espresso maker has truly spoiled me, providing fresh, robust espresso at my fingertips whenever I desire. Frankly, a regular cup of coffee just doesn’t quite measure up anymore.
It was on a memorable Alaskan Princess Cruise, accompanied by my dear friend Amanda, that I discovered the ultimate fusion of my two greatest loves: espresso and creme brûlée, presented in one extraordinary, out-of-this-world dessert.
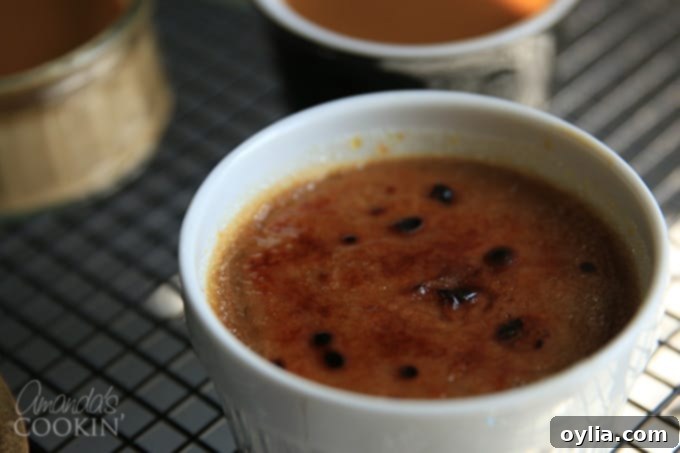
The enchanting Espresso Creme Brûlée was featured on the dessert menu at Sabatini’s Restaurant on our very first night aboard the ship. I must confess, during that entire week at sea, I enjoyed creme brûlée every single night for dessert. However, our visit to Sabatini’s was a singular occasion, and it was the only venue that offered the incredible espresso version. Let me tell you, it was beyond delicious – it was insanely good.
One spoonful and I was transported. Without a doubt, it was the finest dessert I had ever tasted. Knowing I might not have the chance to experience it again, I vowed to recreate it as soon as I returned home. I’ve since made it twice – once for a lovely girls’ get-together and again for a family gathering. Both times, my homemade espresso creme brûlée was met with resounding success and universal acclaim.
If you, like me, have a particular fondness for the combination of coffee and dessert, or more specifically, for the rich flavors of espresso and the creamy indulgence of creme brûlée, then this recipe is an absolute must-try. It’s surprisingly straightforward to prepare, and I can confidently guarantee it will become a cherished favorite in your kitchen too.
Frequently Asked Questions About Espresso Creme Brûlée
How many servings does this Espresso Creme Brûlée recipe yield?
This recipe is designed to make either four generous 5-ounce servings of creme brûlée or ten smaller 2-ounce servings, making it versatile for both intimate dinners and larger parties. Simply adjust your ramekin sizes accordingly.
Can I prepare Creme Brûlée in advance?
Absolutely! Creme brûlée is an excellent make-ahead dessert. You can prepare the custard and chill it in the ramekins for up to two days. For the best experience, only sprinkle the sugar and torch it just before serving to ensure that satisfying crisp crackle.
What if I don’t have a kitchen torch for the caramel topping?
While a kitchen torch provides the most control and best results, you can use your oven’s broiler as an alternative. Place your chilled ramekins on a baking sheet and put them under a preheated broiler. Keep a very close eye on them, as the sugar can burn quickly. Broil for 1-2 minutes, or until the sugar is melted and caramelized to a deep amber color. This method is less precise, so watch carefully!
How do I achieve the perfect silky-smooth custard texture?
The key to a flawless custard lies in two main steps: tempering your egg yolks and straining the mixture. Tempering (slowly whisking hot cream into egg yolks) prevents the eggs from scrambling. Straining removes any tiny bits of cooked egg or impurities, ensuring that beautiful, smooth texture.
Why is a water bath (bain-marie) necessary for baking creme brûlée?
A water bath is crucial for baking custard-based desserts like creme brûlée. It provides gentle, even heat distribution, preventing the edges of the custard from overcooking and becoming rubbery while the center is still raw. It also adds moisture to the oven, which helps prevent the surface of the custard from cracking, ensuring a perfectly smooth top.
How should I store leftover Espresso Creme Brûlée?
If you happen to have any leftovers, cover the ramekins tightly with plastic wrap and refrigerate. The caramelized sugar topping will soften over time due to moisture, but the custard itself will remain delicious for up to 2-3 days. If the topping softens, you can gently scrape it off and re-torch a fresh layer of sugar if desired.
Ingredients for Your Decadent Espresso Creme Brûlée
Gathering high-quality ingredients is the first step towards creating an exceptional dessert. Fresh heavy cream, whole milk, and robust espresso will make all the difference in the final flavor of your homemade coffee custard.
- 1 & 1/4 cups heavy whipping cream
- 1/3 cup whole milk
- 1/2 cup granulated sugar
- 4 prepared shots of espresso (approximately 1 oz each, for a total of 4 oz)
- 1 tsp pure vanilla extract
- 7 large egg yolks
- Several tablespoons of white granulated sugar (for caramelizing the topping)
Preparation Pointers:
To begin: Preheat your oven to 200°F (95°C) and bring a kettle of water to a boil for the essential water bath.
Helpful Kitchen Tools for a Smooth Process
Having the right tools can make all the difference in the success and enjoyment of making this recipe. Here are some essentials that will ensure a seamless experience:
- Measuring cups and spoons: For accurate ingredient proportions.
- Breville espresso machine (or any reliable espresso maker): For brewing those crucial fresh espresso shots.
- Saucepan: For gently heating the cream mixture.
- Ramekins: Essential for individual servings of creme brûlée.
- Kettle: For boiling water for the water bath.
- Kitchen Torch: The best tool for achieving a perfectly crisp, caramelized sugar topping.
- Fine-mesh sieve: To strain the custard mixture for ultimate smoothness.
- Large spouted measuring cup or bowl: Makes pouring the custard into ramekins much easier and less messy.
- Oven-proof baking dish: To hold the ramekins for the water bath.
Step-by-Step Guide to Crafting Your Espresso Creme Brûlée
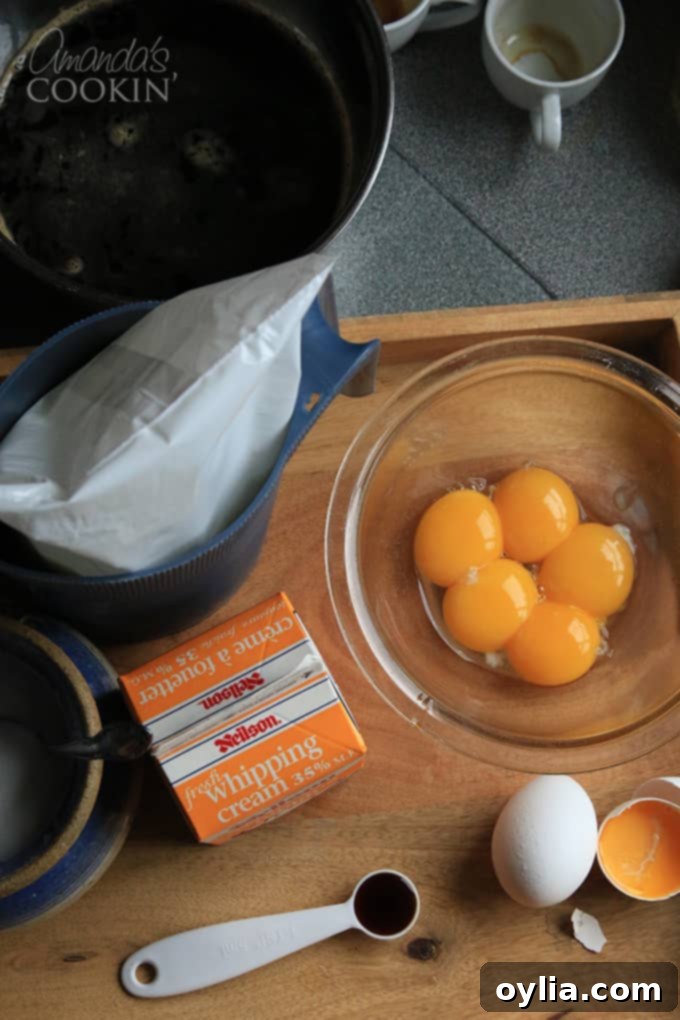
1. Prepare Your Egg Yolks: Carefully separate the yolks from 7 large eggs. Place the yolks in a large mixing bowl. Don’t waste those whites! You can refrigerate them for later use in recipes like this delicious homemade banana pudding, Amanda’s homemade eggnog cocktail, or even this festive pink lady cocktail!
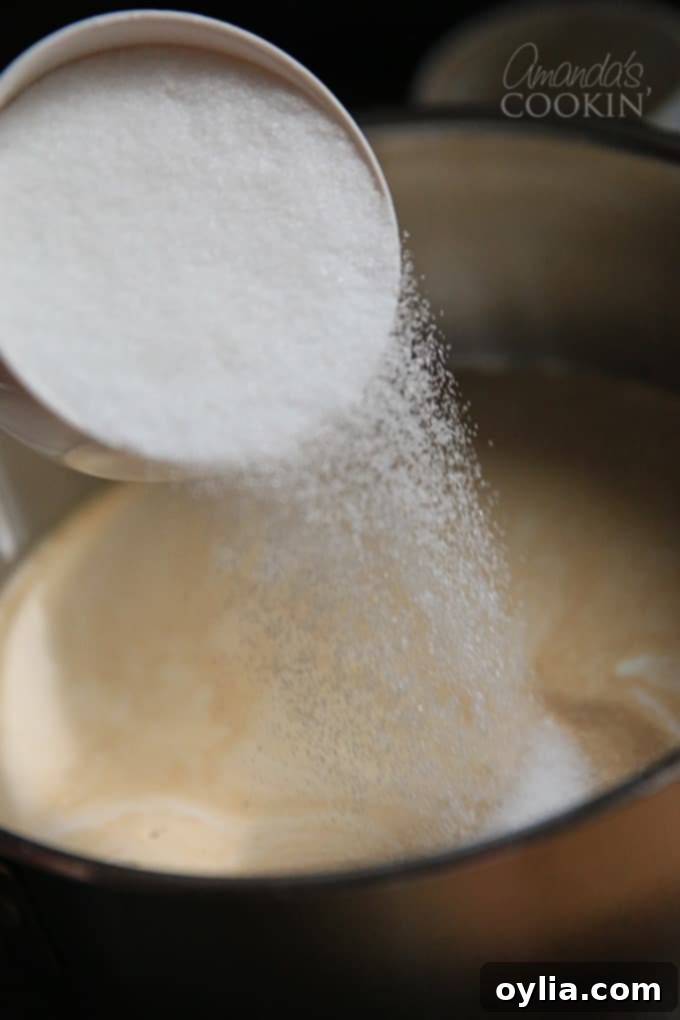
2. Heat the Cream Mixture: In a medium saucepan, combine the heavy cream, whole milk, the first portion of granulated sugar (1/2 cup), prepared espresso shots, and vanilla extract. Place the saucepan over medium-high heat and gently bring the mixture *just* to a boil. Watch it closely – as soon as small bubbles start forming around the edges, remove it immediately from the heat. Allow it to cool slightly for about 5 minutes.
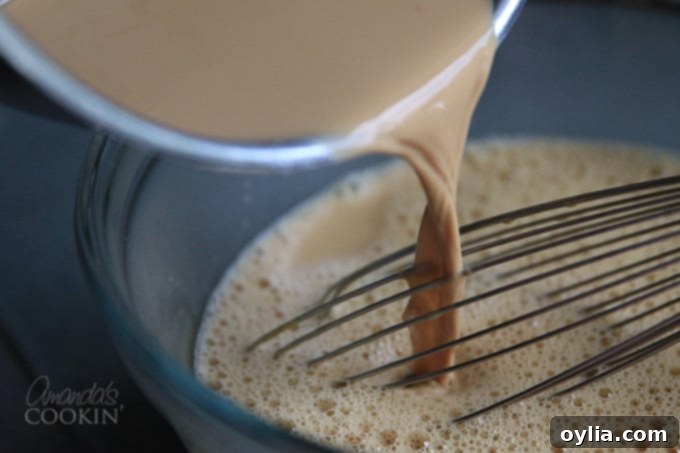
3. Temper the Eggs: While the cream mixture cools, whisk the egg yolks together vigorously in their bowl until light and slightly frothy. Now, this is a crucial step: slowly pour the still-warm cream mixture into the whisked egg yolks, whisking constantly and continuously. This process is called tempering, and it gradually raises the temperature of the egg yolks without scrambling them. Pouring too quickly will result in cooked egg bits, so take your time!
4. Strain for Smoothness: To ensure the silkiest texture, strain this combined mixture through a fine-mesh sieve into a bowl with a spout, or a large measuring cup. This step is essential for removing any small fragments of egg that may have cooked, or any other impurities, guaranteeing an incredibly smooth custard.
5. Prepare Ramekins: Arrange your ramekin dishes within a larger oven-proof baking dish. Carefully pour the strained espresso custard mixture into each ramekin, filling them evenly. Ensure the baking dish is large enough to comfortably hold all your ramekins without them touching.
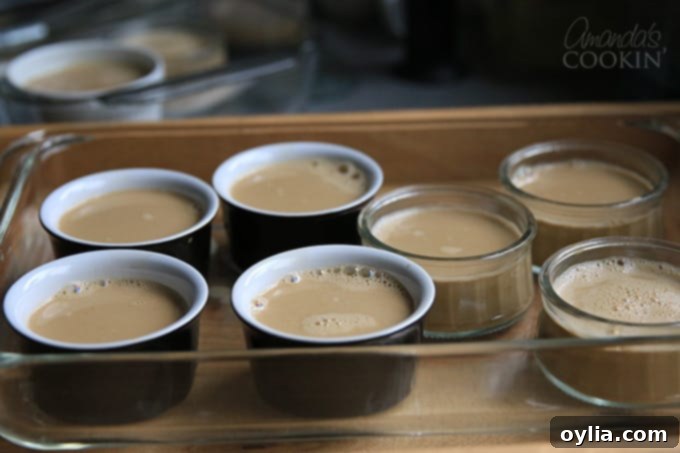
The Indispensable Water Bath
6. Create the Water Bath: Remember that kettle of water you boiled earlier? Ensure it’s still steaming hot. Carefully pour the hot kettle water into the larger baking dish, around the ramekins, until the water level reaches about halfway up the sides of the ramekins. Exercise caution to avoid splashing any water into your custard. This water bath (or bain-marie) is vital; it provides a moist, gentle cooking environment that prevents the top of the custard from splitting and keeps the insides wonderfully creamy, not rubbery.
7. Bake to Perfection: Gently place the baking dish, with the ramekins and water bath, into your preheated 200°F (95°C) oven. Bake for approximately 2 hours. The custard is ready when the edges appear set, but the centers still have a slight jiggle when gently shaken. This delicate movement indicates a perfectly cooked, tender custard.
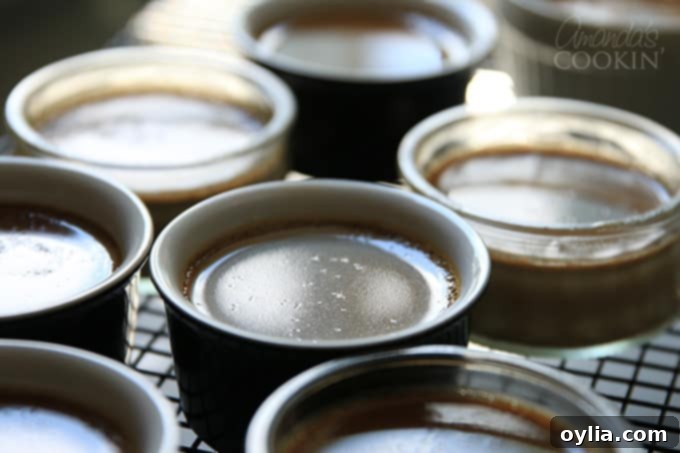
8. Cool and Chill: Carefully remove the baking dish from the oven. Using oven mitts, transfer the hot ramekins to a cooling rack and let them cool at room temperature for about 30 minutes. Once cooled, move the ramekins to the refrigerator to chill and set completely. For best results, allow a minimum of 4 hours of chilling time, though they can be refrigerated for up to 2 days before serving.
Torching Your Espresso Creme Brûlée for That Iconic Crack
The final act of creating creme brûlée is arguably the most exciting: caramelizing the sugar topping. This step transforms the humble custard into a show-stopping dessert.
9. Prepare for Torching: Just before you are ready to serve your perfectly chilled espresso creme brûlée, remove the dishes from the fridge. Sprinkle a teaspoon or so of granulated sugar evenly over the surface of each custard. Gently shake the dish a little to ensure an even, thin layer of sugar.
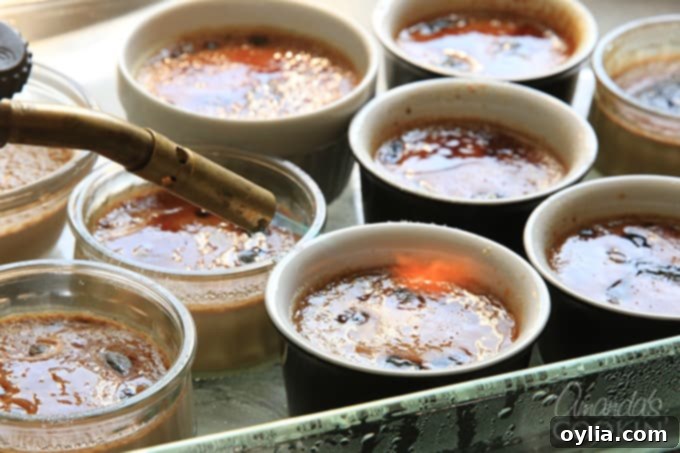
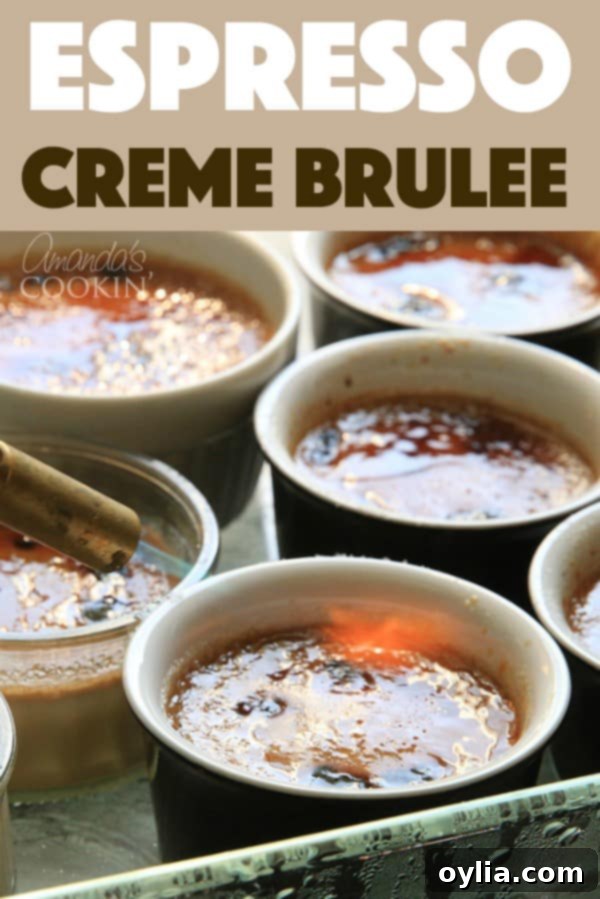
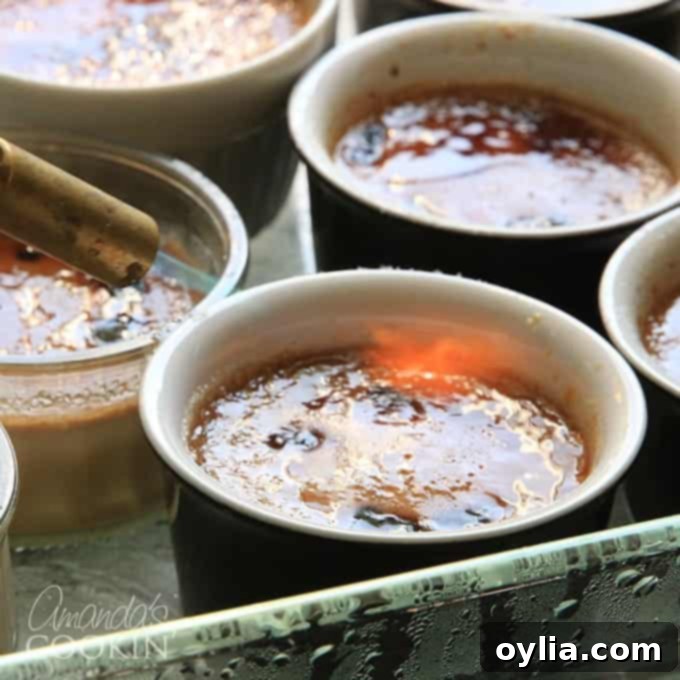
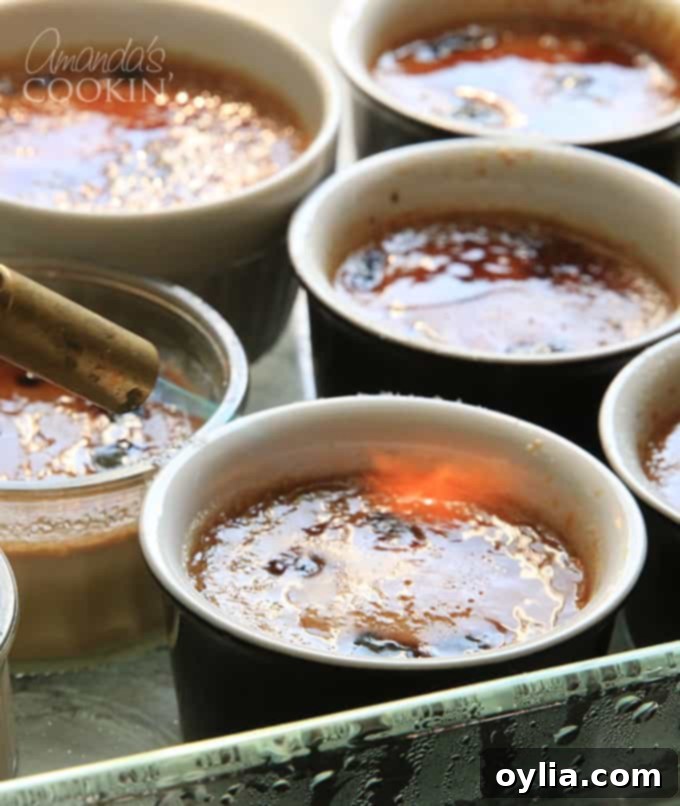
10. Caramelize the Sugar: Using a kitchen torch (or even a small blow torch, with extreme caution), move the flame steadily over the sugar, browning it until it fully melts and caramelizes into a beautiful, amber-colored, glassy crust. Keep the flame moving to prevent burning, aiming for an even golden-brown. You can often watch a short video demonstration to perfect this technique. The goal is a uniform, hard, brittle shell.
11. Final Chill (Optional): After torching, you can briefly return the ramekins to the fridge for a few minutes. This allows the newly caramelized sugar to harden completely, ensuring that iconic, satisfying crack when tapped.
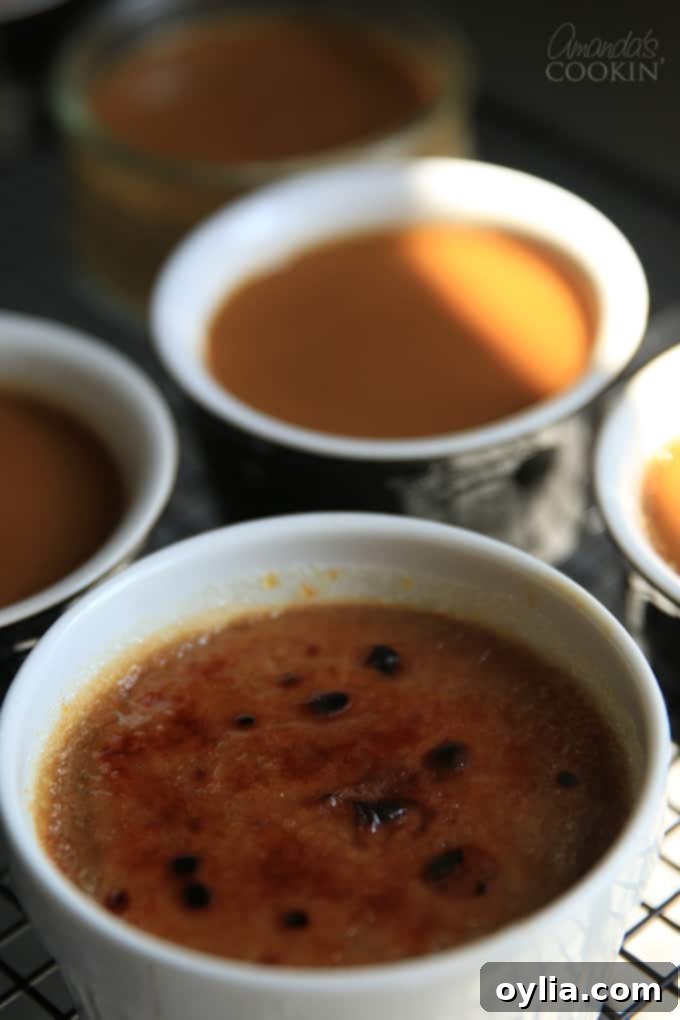
Now, with a spoon in hand, gently tap that shimmering surface, listen for the satisfying crack, and dig into the luscious, creamy espresso goodness beneath. Each bite is a testament to the perfect balance of rich coffee and smooth custard, culminating in a truly decadent dessert experience.
More Culinary Adventures & Inspirations
Our unforgettable Princess Alaskan Cruise provided not just culinary inspiration but also incredible memories of exploration. If you’re curious to see more about our journey, we’ve shared several other posts detailing some of the exciting excursions we embarked on. Discover the breathtaking Mendenhall Glacier Helicopter Tour, or join us for a stop at Icy Strait Point, where we experienced an incredible whale watching excursion!
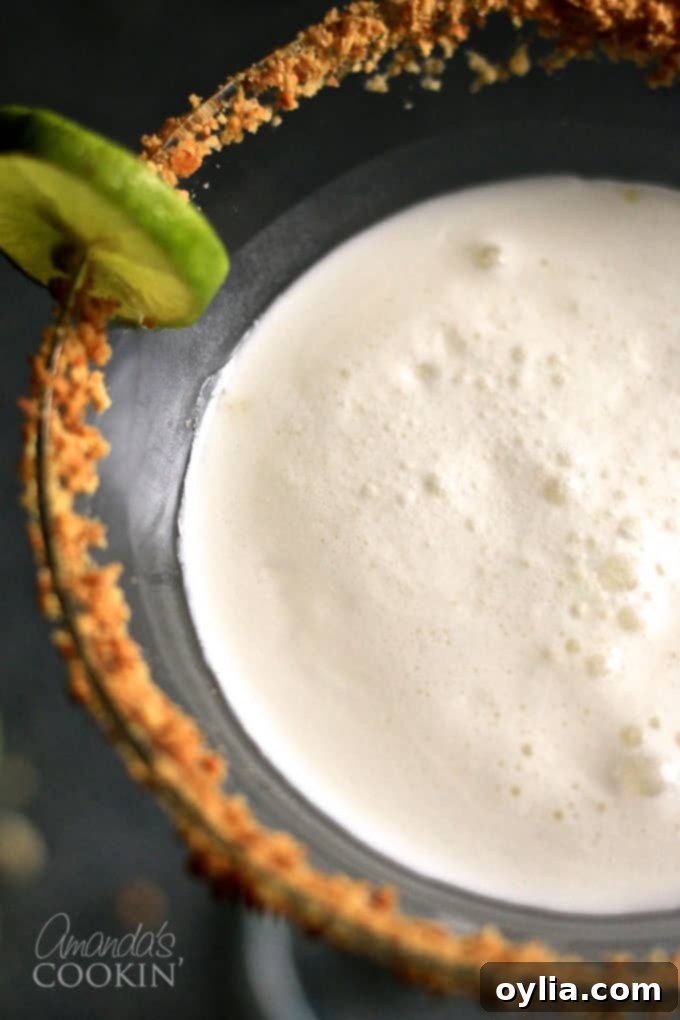
And we can’t conclude without sharing another delightful creation inspired by our cruise: our Key Lime Pie Martini. This vibrant cocktail, a tribute to The Wheel House Bar onboard the Island Princess, is everything you could possibly dream of in a martini – you’ll be astonished by how much it tastes like an actual key lime pie!
Espresso Creme Brûlée
Coffee and dessert lovers unite! This decadent creme brûlée combines the rich flavor of espresso coffee and the classic French custard for a dessert made in heaven.
Course: Desserts
Cuisine: French
Servings: 4 (5-ounce servings)
Total Time: 2 hours 20 minutes (includes baking)
Calories: 513
Author: Amanda Davis
Ingredients
- 1 ¼ cups heavy whipping cream
- ⅓ cup whole milk
- ½ cup granulated sugar
- 4 ounces prepared shots of espresso (4 at 1 oz each)
- 1 tsp vanilla extract
- 7 large egg yolks
Topping
- 4 tbsp white granulated sugar (for caramelizing)
Instructions
- Preheat oven to 200°F (95°C) and boil a kettle of water for the water bath.
- Separate 7 large egg yolks into a large bowl.
- Combine heavy whipping cream, whole milk, granulated sugar, espresso, and vanilla extract in a saucepan. Simmer until just boiling over medium-high heat.
- Remove the pot from the heat and allow to cool for 5 minutes.
- Whisk egg yolks together, and then slowly whisk in the hot cream mixture (temper the eggs).
- Strain the mixture through a fine-mesh sieve into a spouted bowl or large measuring cup to remove any bits of cooked egg.
- Place your ramekin dishes in an oven-proof baking dish, and pour the mixture evenly into the ramekins.
- Fill the baking dish halfway full with boiling kettle water, being careful not to splash any water into the ramekins.
- Place the baking dish in the oven and bake for 2 hours, or until the custard is set but still slightly jiggly in the center.
- Remove the baking dish from the oven and transfer the ramekins to a cooling rack for 30 minutes.
- Transfer ramekins to the fridge and allow to chill for a minimum of 4 hours (they can remain refrigerated for up to 2 days).
- To serve, remove the chilled ramekins from the fridge. Sprinkle approximately 1 teaspoon of white granulated sugar over the surface of each dish, and gently shake to evenly distribute.
- Using a kitchen torch or blow torch, brown the sugar until it is fully melted and caramelized to a golden amber.
- If desired, chill ramekins again for a few minutes to allow the caramelized topping to harden completely. Serve and enjoy!
Nutrition
Serving: 1 (5-ounce serving) | Calories: 513cal | Carbohydrates: 41g | Protein: 6g | Fat: 36g | Saturated Fat: 20g | Cholesterol: 426mg | Sodium: 55mg | Potassium: 147mg | Sugar: 38g | Vitamin A: 1555IU | Vitamin C: 0.4mg | Calcium: 110mg | Iron: 0.8mg
The recipes on this blog are tested with a conventional gas oven and gas stovetop. It’s important to note that some ovens, especially as they age, can cook and bake inconsistently. Using an inexpensive oven thermometer can assure you that your oven is truly heating to the proper temperature. If you use a toaster oven or countertop oven, please keep in mind that they may not distribute heat the same as a conventional full-sized oven and you may need to adjust your cooking/baking times. In the case of recipes made with a pressure cooker, air fryer, slow cooker, or other appliance, a link to the appliances we use is listed within each respective recipe. For baking recipes where measurements are given by weight, please note that results may not be the same if cups are used instead, and we can’t guarantee success with that method.
