The Ultimate Tiramisu Cheesecake Recipe: A Delicious Fusion Dessert
Prepare to fall in love with your new favorite dessert! If you enjoyed our English Trifle Cheesecake, you’re going to adore this incredible Tiramisu Cheesecake. It embraces the same brilliant concept of combining beloved dessert elements, but this time, it brings together the decadent, coffee-infused flavors of the classic Italian tiramisu with the smooth, rich creaminess of a perfectly baked cheesecake. It’s a dessert mashup that’s truly greater than the sum of its parts.
Discover the Magic of Tiramisu Cheesecake
Let’s be clear: this isn’t just a delicious cheesecake; it’s an experience. If you’re a devoted fan of traditional tiramisu – that glorious blend of coffee, mascarpone, and cocoa – and you also appreciate the silky indulgence of a classic cheesecake, then this recipe is an absolute must-try. This Tiramisu Cheesecake eliminates the need to choose between two dessert titans, offering the best of both worlds in every bite.
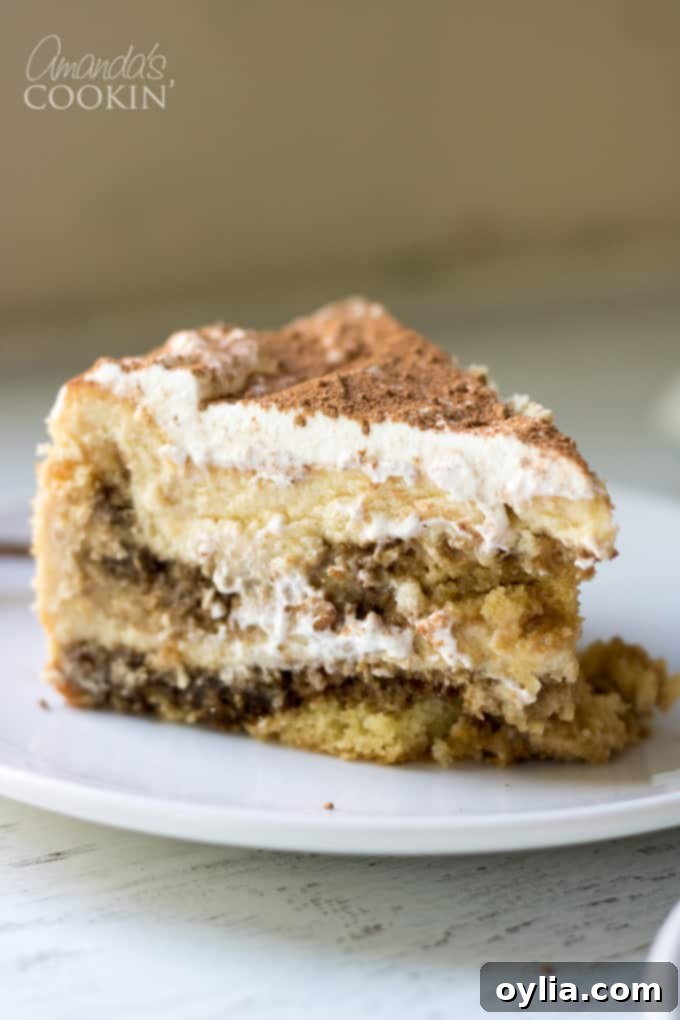
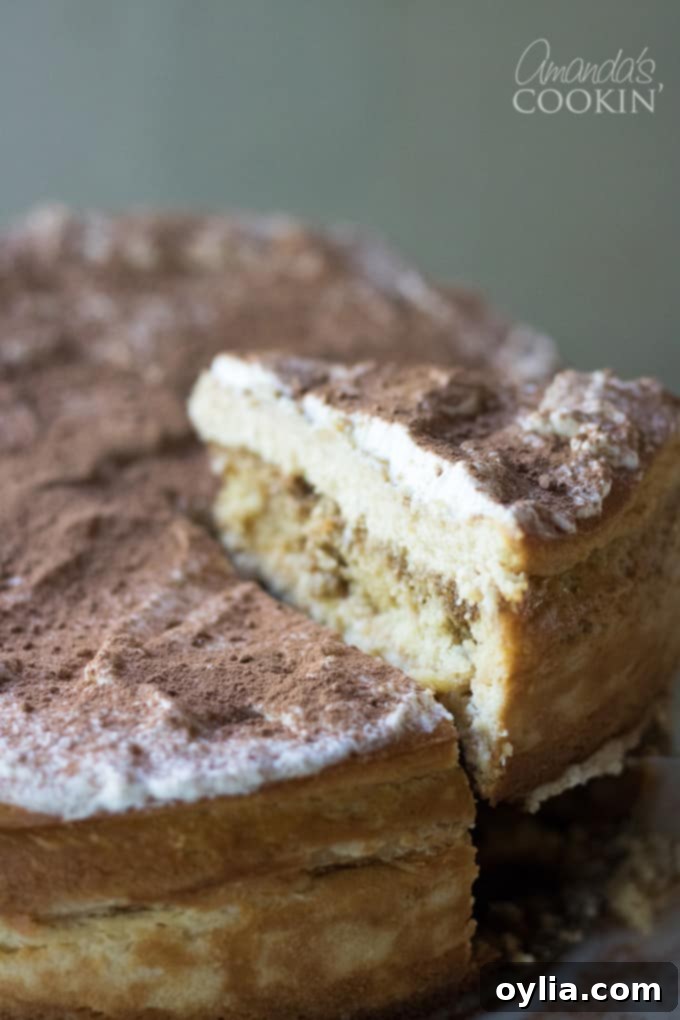
Imagine the delightful surprise when your guests slice into this masterpiece. Tiramisu is often considered a sophisticated dessert, known for its elegant presentation and complex flavors. When you combine that with the universally loved appeal of cheesecake, you create a dessert that is not only impressive but also incredibly satisfying. It’s perfect for entertaining, whether you’re hosting a dinner party, a family gathering, or even a sophisticated afternoon tea. This Tiramisu Cheesecake is guaranteed to be a showstopper, leaving everyone craving another slice.
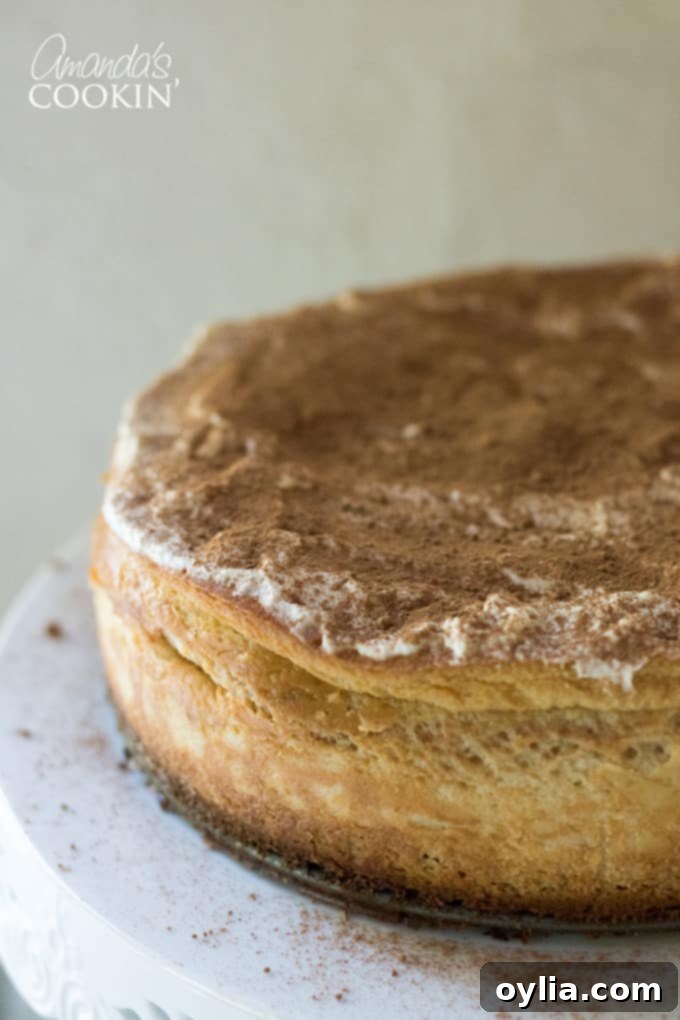
Essential Ingredients for Your Tiramisu Cheesecake
This recipe, inspired by The Cheesecake Bible, calls for high-quality ingredients to ensure the best flavor and texture. Let’s break down what you’ll need for each component of this magnificent dessert.
The Crust: A Solid Foundation
- 9-inch yellow cake layer, sliced horizontally in half: While traditional tiramisu uses ladyfingers, we’re building our cheesecake on a sturdy, moist yellow cake base. Slicing it in half allows for the classic tiramisu layering effect within the cheesecake itself. You can bake your own from scratch or use a good quality store-bought cake for convenience.
- 1/2 cup coffee-flavored liqueur: This is where the signature tiramisu flavor begins. A good coffee liqueur like Kahlúa or Tia Maria adds a wonderful depth and aroma. If you prefer to avoid alcohol, you can substitute strong brewed espresso or coffee, perhaps with a touch of coffee extract.
- 2 tablespoons instant espresso powder: Intensifies the coffee flavor. Make sure it’s instant espresso powder, not instant coffee granules, for the best results and quickest dissolution.
The Creamy Filling: Heart of the Cheesecake
- 1 lb mascarpone cheese: This Italian cream cheese is crucial for authentic tiramisu flavor and contributes to the cheesecake’s incredibly rich and velvety texture.
- 16 oz cream cheese, softened: The backbone of any classic cheesecake. Ensure it’s fully softened to room temperature for a lump-free, smooth batter. This typically takes 30-60 minutes out of the fridge.
- 1 cup sugar: Provides the perfect sweetness to balance the richness of the cheeses and the bitterness of the coffee.
- 5 large eggs: These act as the primary binder and contribute to the cheesecake’s smooth, custardy consistency. Using large eggs is important for consistent results in baking.
- 1 tablespoon vanilla: A touch of pure vanilla extract enhances all the other flavors, adding a warm, aromatic note.
The Elegant Topping: A Perfect Finish
- 1/2 cup heavy whipping cream: Whipped to soft peaks, this creates a light, airy contrast to the dense cheesecake.
- 2 tablespoons powdered sugar: Sweetens the whipped cream and helps stabilize it.
- 1 teaspoon cocoa powder: The final, iconic touch, dusted over the top for a beautiful presentation and a hint of bittersweet chocolate. Unsweetened cocoa powder is traditional.
Helpful Kitchen Tools for Baking Success
Having the right tools makes all the difference when baking a show-stopping dessert like this Tiramisu Cheesecake. Here’s what you’ll need to ensure a smooth and enjoyable baking process:
- 9-inch springform pan: Essential for cheesecakes, allowing for easy release of the delicate cake without damaging its sides. Choose one with a tight seal to prevent any leaks.
- Measuring cups and spoons: Accuracy is key in baking. Ensure you have a reliable set for both dry and liquid ingredients.
- Stand Mixer or hand mixer: A mixer is invaluable for achieving a smooth, creamy cheesecake batter and perfectly whipped cream. A stand mixer offers convenience, but a hand mixer works just as well.
- Cookie sheet: Placing your springform pan on a cookie sheet prevents any potential leaks in your oven and makes it easier to transfer the cheesecake in and out. It’s also vital if you plan to use a water bath, which many cheesecake recipes recommend for even baking and to prevent cracks.
- Sifter: For dusting the cocoa powder evenly over the top, creating that professional, polished finish.
- Wire rack: For proper cooling of the cheesecake after baking, preventing a soggy bottom.
How to Make Tiramisu Cheesecake: Step-by-Step Guide
Ready to create this incredible dessert? Follow these detailed instructions for a Tiramisu Cheesecake that will impress everyone.
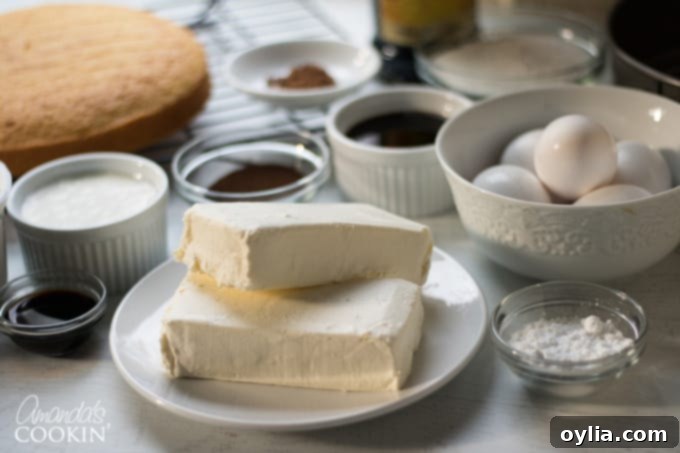
First things first: gather all your ingredients and ensure your cream cheese and mascarpone are at room temperature. This is crucial for a smooth batter.
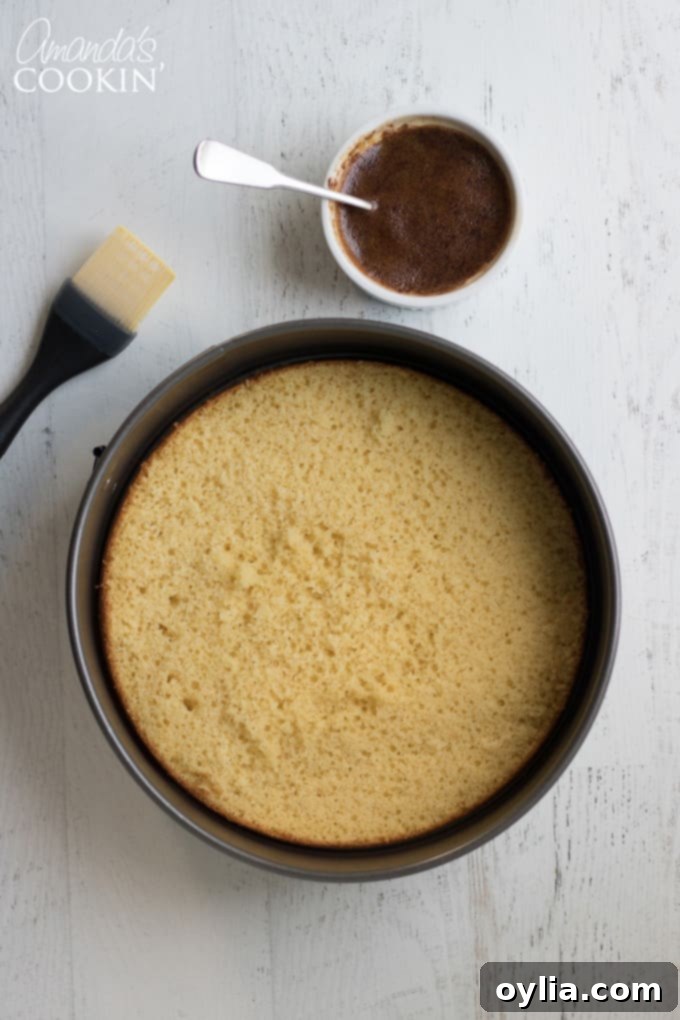
- Prepare the Cake and Pan: Preheat your oven to 325 F (160 C). If you’re baking your own yellow cake, do so now and allow it to cool completely before slicing it horizontally in half. Grease the bottom and sides of your 9-inch springform pan thoroughly. This will ensure your cheesecake releases easily.

- Prepare and Soak the Cake Layers: Place one half of the yellow cake layer into the bottom of the prepared springform pan. In a small bowl, whisk together the coffee-flavored liqueur and the instant espresso powder until well combined and the espresso is dissolved. Brush about 1/4 of this aromatic espresso mixture evenly over the cake layer in the pan. Take the second cake layer and brush another 1/4 of the espresso mixture onto it. Set both the soaked cake layers and the remaining espresso mixture aside for later. This coffee infusion is key to the tiramisu flavor!

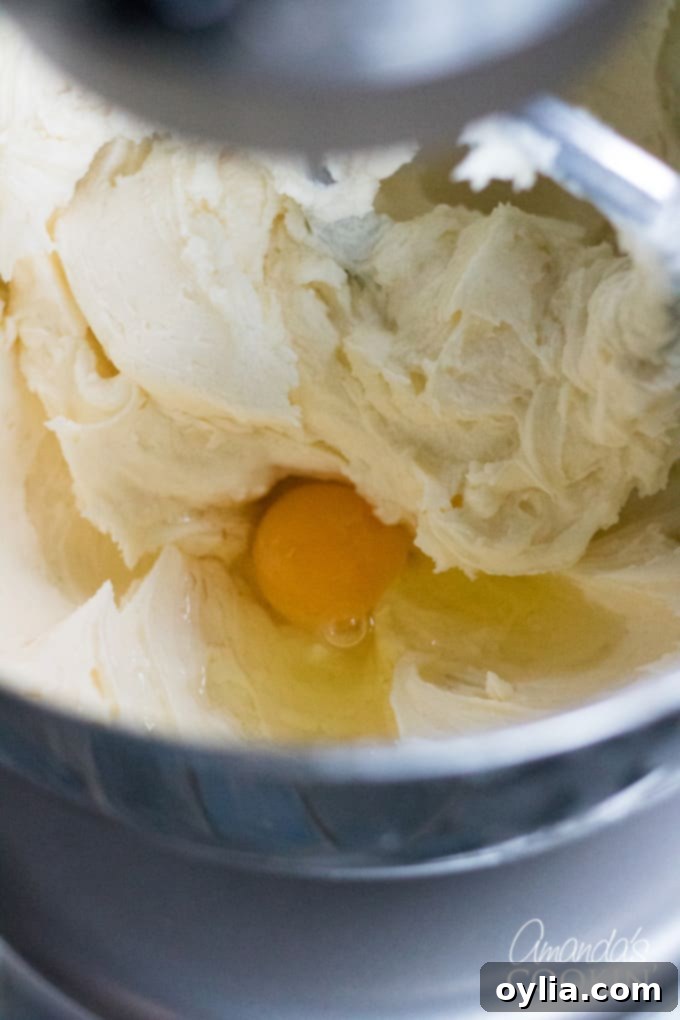
- Create the Creamy Filling: Attach the paddle attachment to your stand mixer (or use a hand mixer). Beat the softened mascarpone cheese, cream cheese, and sugar on medium-high speed for about 3 minutes until the mixture is completely smooth, creamy, and free of lumps. Scrape down the sides of the bowl as needed. Next, add the large eggs one at a time, beating well after each addition just until incorporated. Overmixing after adding eggs can introduce too much air, which can lead to cracks in your cheesecake.

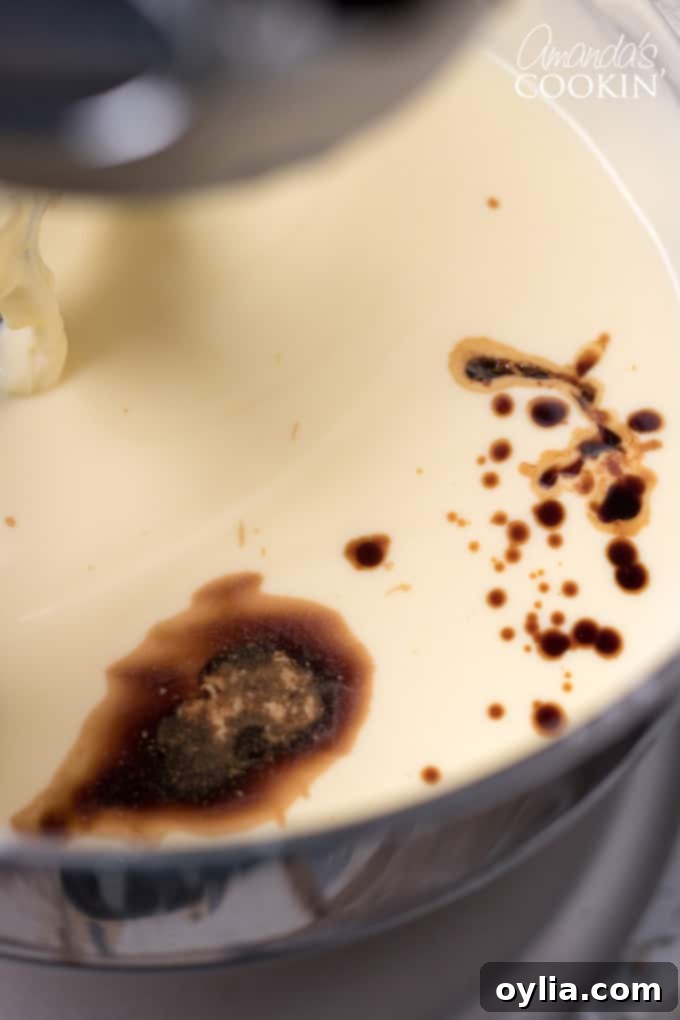
- Finish the Filling: Mix in the vanilla extract and the remaining espresso mixture into the cheesecake batter until just combined.

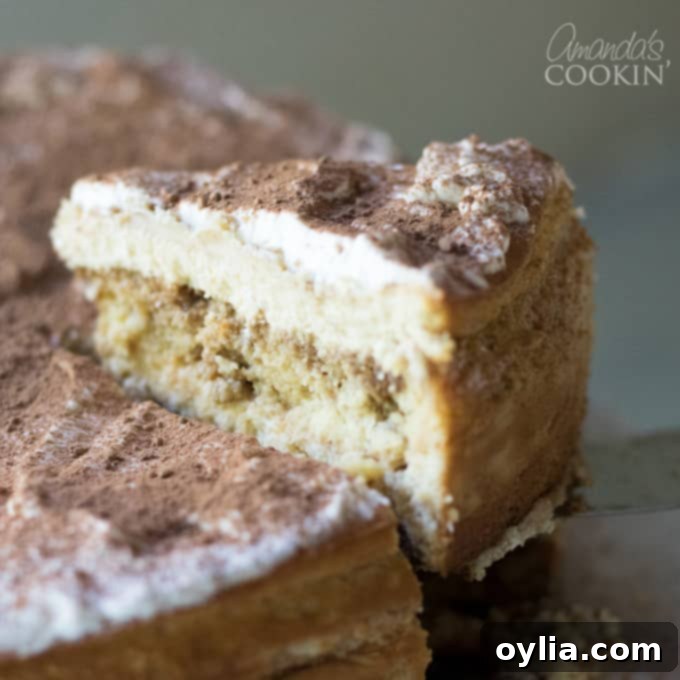
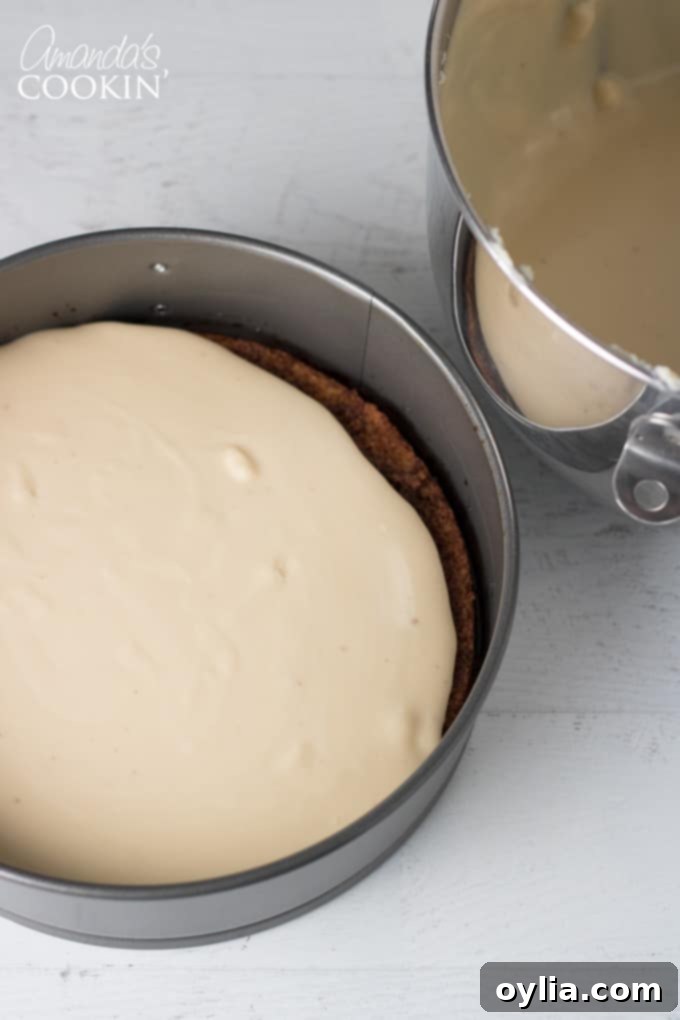
- Layer the Cheesecake: Pour half of the prepared cheesecake batter evenly over the first cake layer in the springform pan. Gently smooth out the batter with an offset spatula or the back of a spoon, ensuring it reaches the sides of the pan.

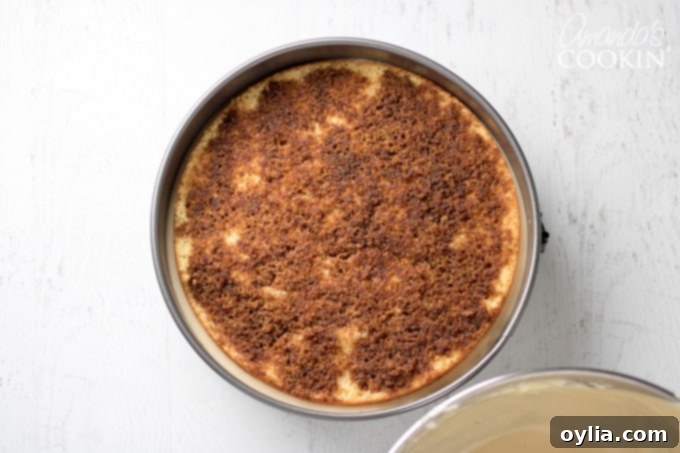
- Add Second Cake Layer: Carefully place the second espresso-soaked cake layer on top of the batter.

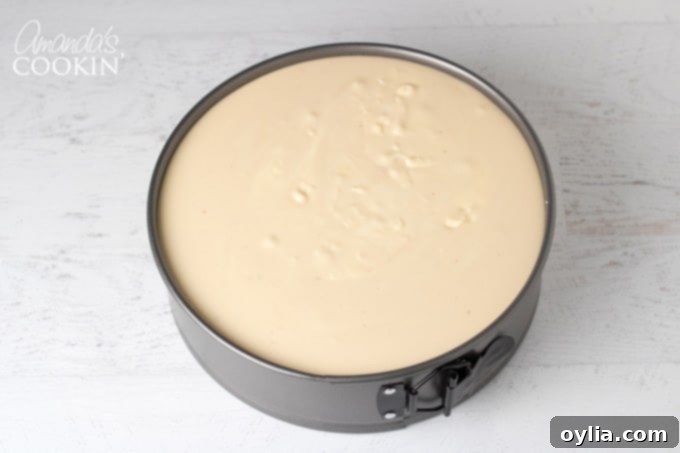
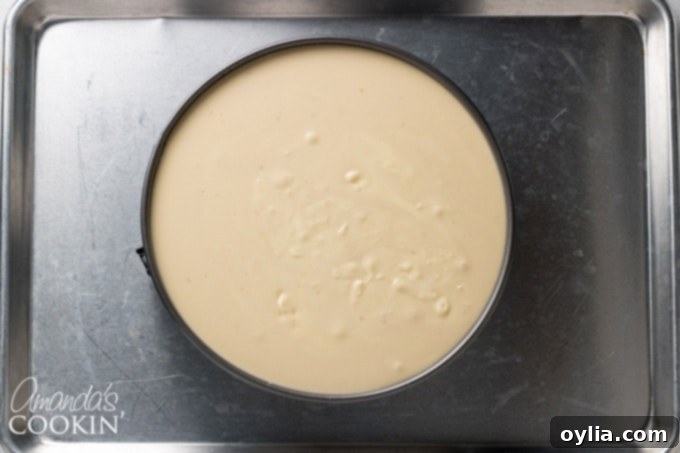
- Top with Remaining Batter: Pour the remaining cheesecake batter over the second cake layer, again smoothing it out to the edges of the pan. The pan should now be filled to the top edge. Giving the pan a gentle tap on the counter can help release any air bubbles.

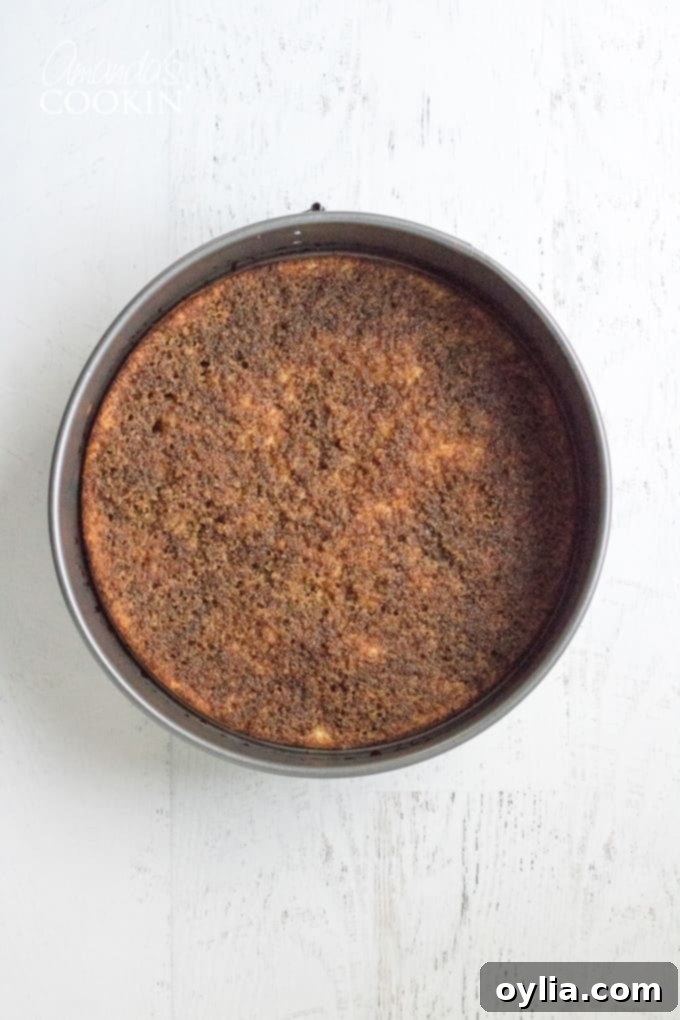
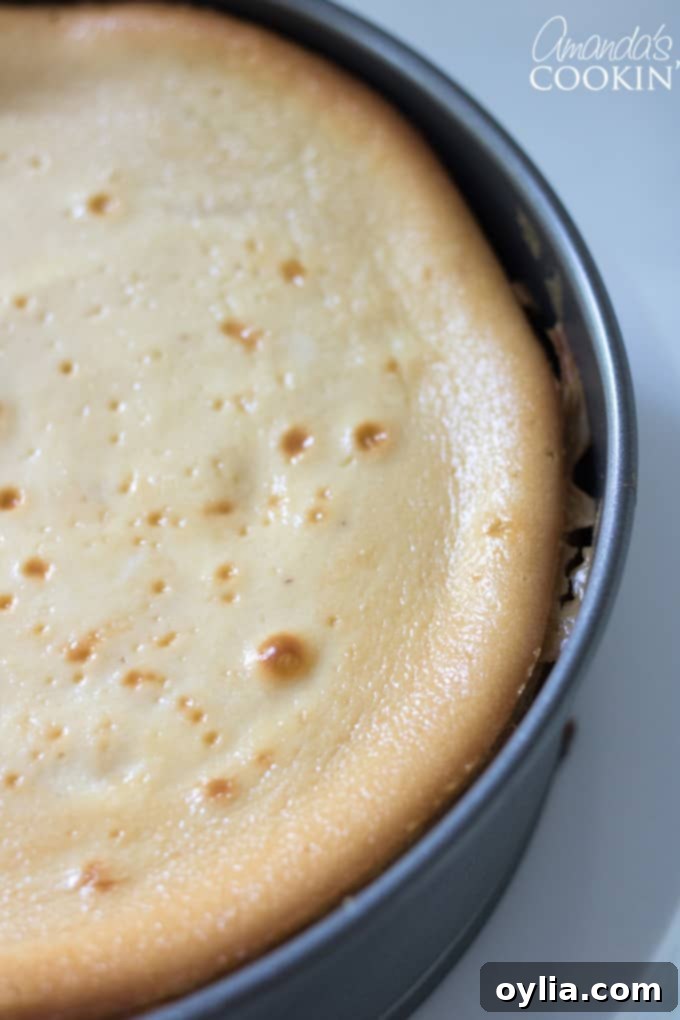
- Bake the Cheesecake: Place the springform pan onto a cookie sheet. This catches any potential drips and makes it easier to handle. Bake for 50-55 minutes, or until the edges are set and a light golden brown, but the center still has a slight jiggle when gently shaken. This “jiggle” indicates that it’s perfectly cooked but still custardy.

- Cool and Chill: Let the cheesecake cool in the pan on a wire rack for 2 hours. This gradual cooling prevents cracking. Once cooled to room temperature, cover it tightly with plastic wrap and refrigerate for at least 6 hours, or ideally overnight. Chilling is absolutely essential for the cheesecake to firm up and for the flavors to meld beautifully. Do not rush this step!

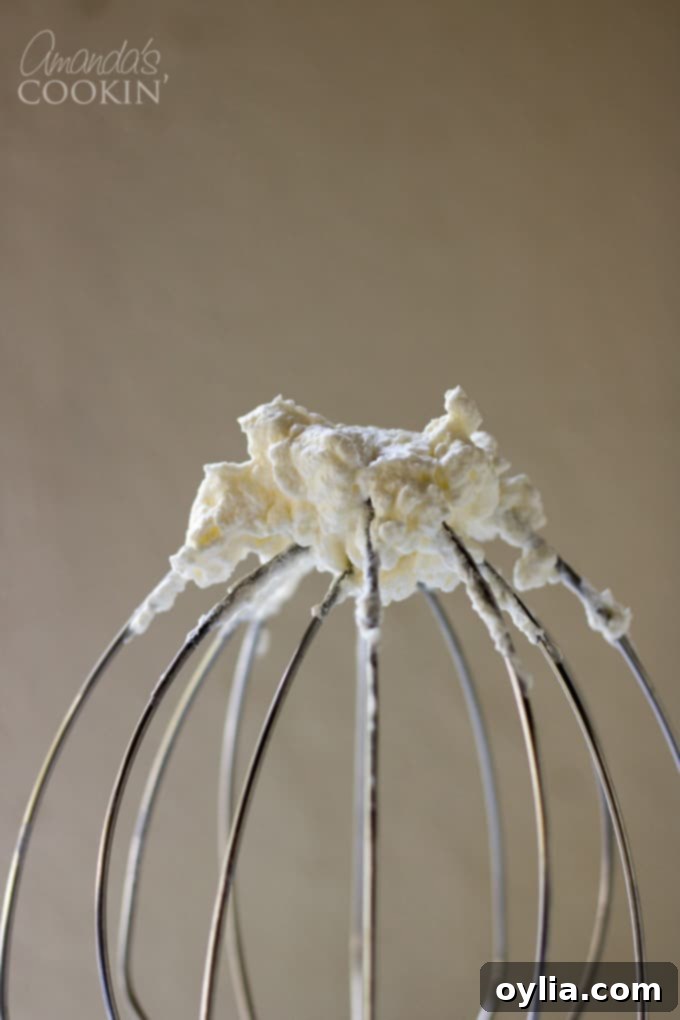
- Prepare the Topping: Once your cheesecake is thoroughly chilled, use the whisk attachment on your stand mixer (or a hand mixer) to beat the heavy whipping cream and powdered sugar on medium-high speed until firm peaks are formed. Be careful not to overbeat, or it will turn grainy.

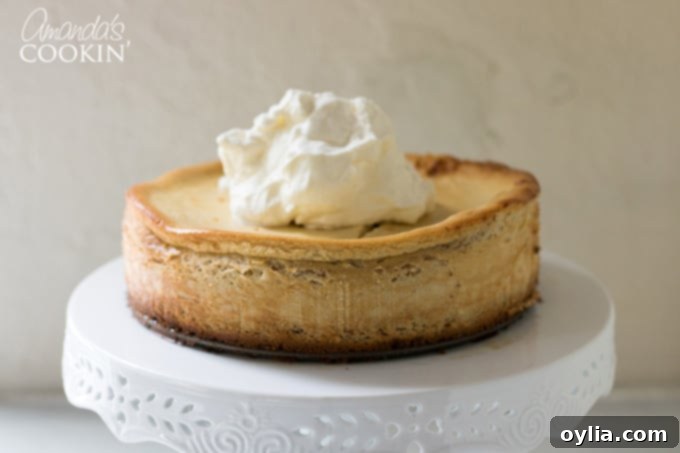
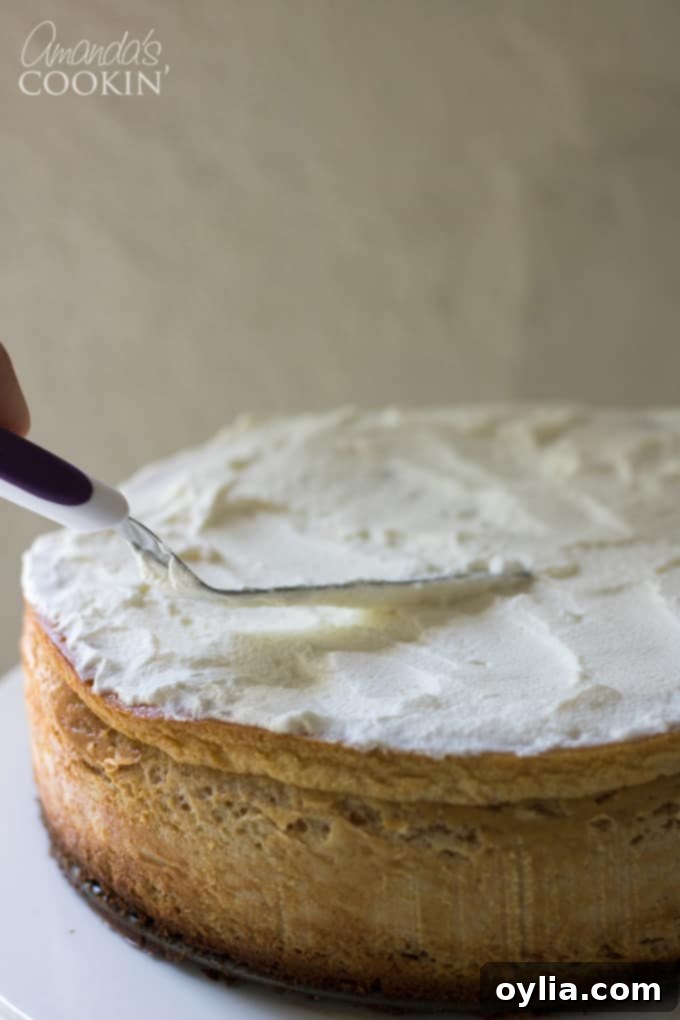
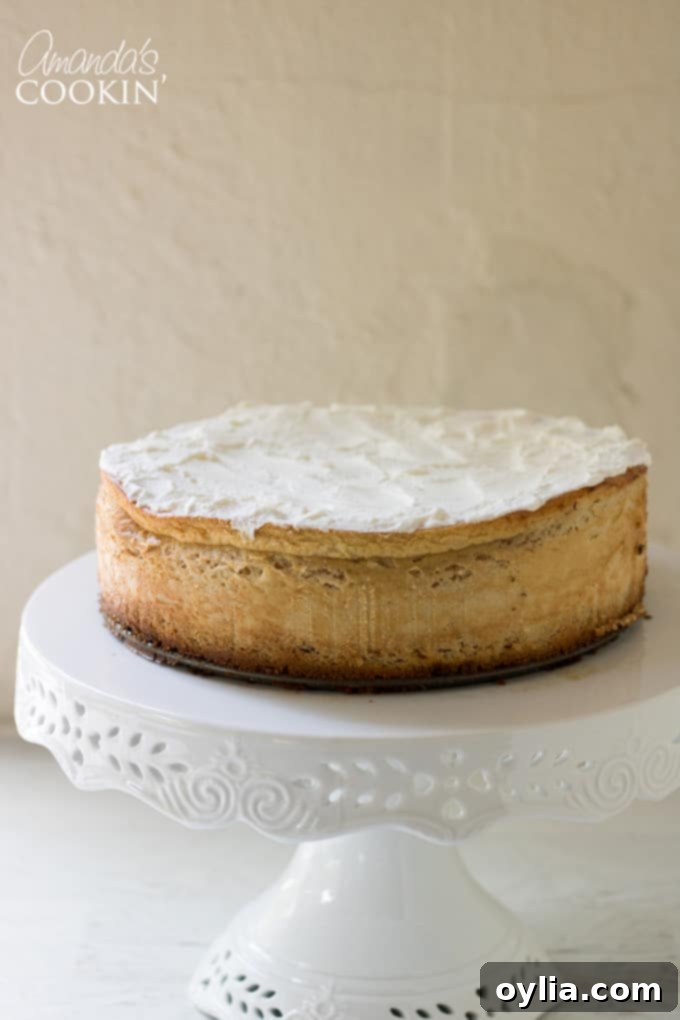
- Apply the Topping: Gently spread the freshly whipped cream over the top of the chilled cheesecake, creating a smooth and inviting layer.


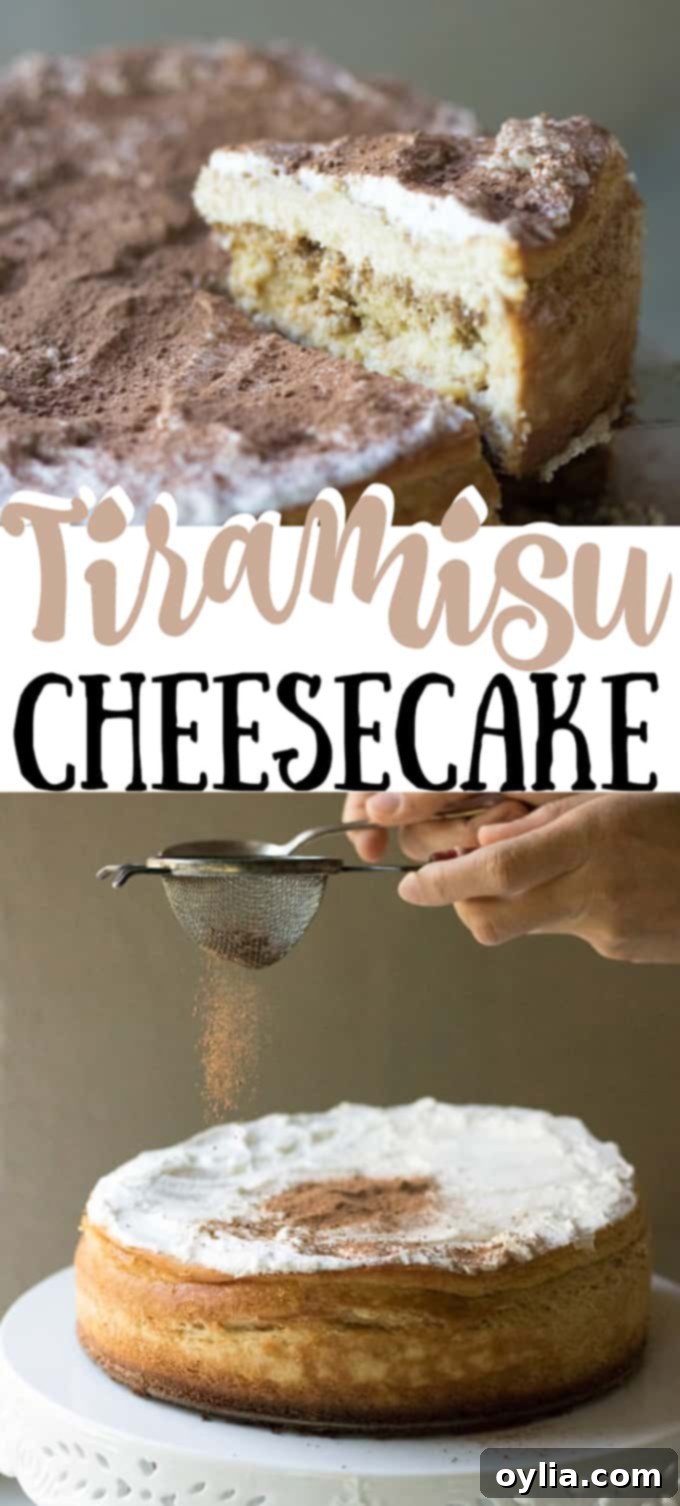
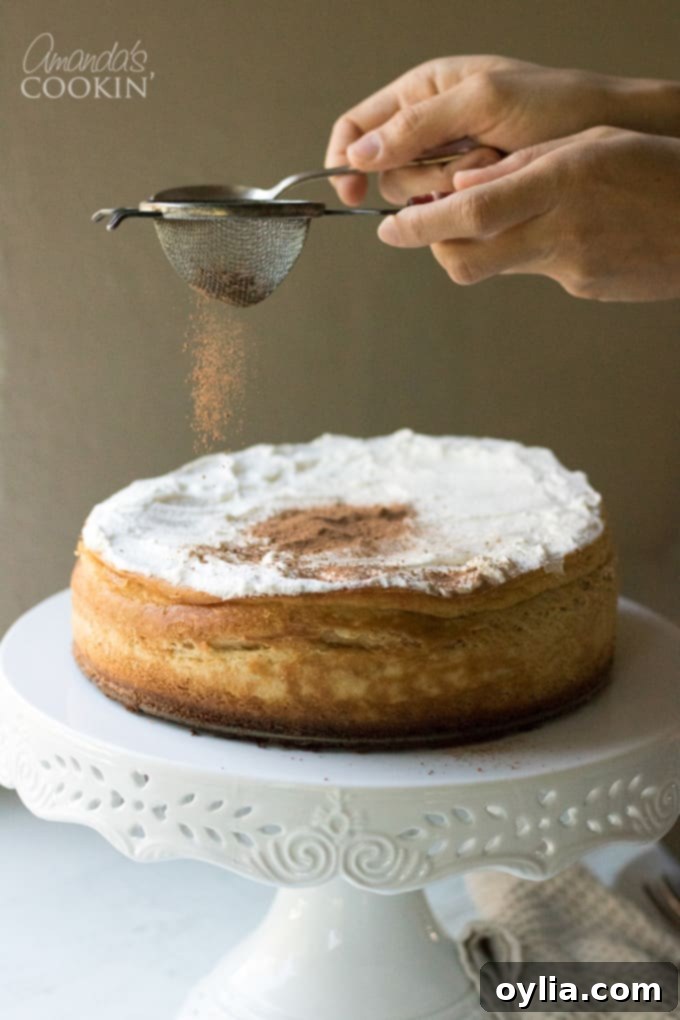
- The Final Flourish: Use a sifter to elegantly dust the top of the whipped cream with a layer of cocoa powder. This not only adds a beautiful visual but also a perfect bittersweet counterpoint to the sweet cream.
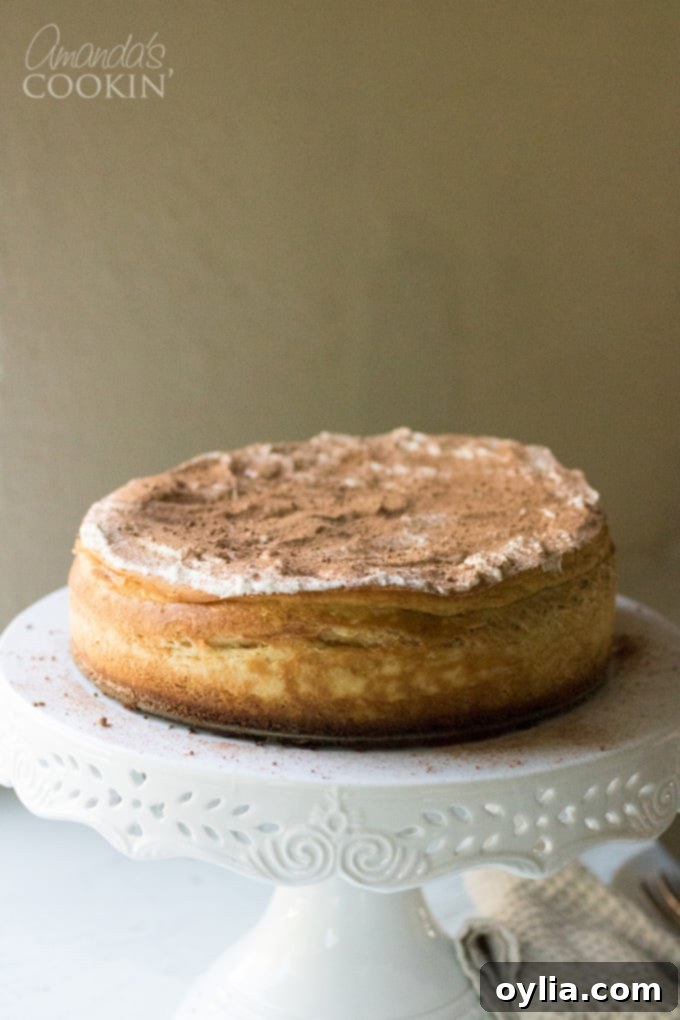
And just like that, your magnificent Tiramisu Cheesecake is ready to be unveiled!
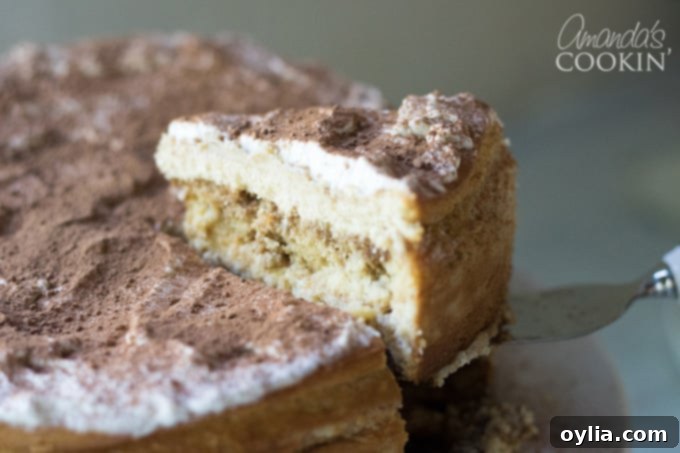
Slice and serve this delightful creation. Watch your family and friends as they take their first bite – that look of pure enjoyment is your ultimate reward. Revel in your accomplishment; you’ve just made a truly spectacular dessert!
Tips for a Perfect Tiramisu Cheesecake
- Room Temperature Ingredients: This cannot be stressed enough for cheesecake. Ensure your cream cheese, mascarpone, and eggs are at room temperature. Cold ingredients lead to lumpy batter, which can result in a less smooth and desirable texture in the final cheesecake.
- Don’t Overmix: When beating the cheese mixture, mix only until smooth. Once you add the eggs, beat just until they are incorporated. Overmixing introduces too much air, which expands during baking and then collapses, causing cracks.
- Water Bath (Optional but Recommended): For an even creamier texture and to help prevent cracks, consider baking your cheesecake in a water bath. To do this, wrap the bottom of your springform pan tightly with several layers of heavy-duty aluminum foil. Place the wrapped pan in a larger roasting pan, and then pour hot water into the roasting pan until it comes halfway up the sides of the springform pan.
- Gradual Cooling: Avoid drastic temperature changes, which can also cause cracks. After baking, turn off the oven and prop the door open slightly, allowing the cheesecake to cool slowly inside the oven for about an hour before removing it to the wire rack.
- Chill Thoroughly: The long chilling period (at least 6 hours, preferably overnight) is crucial. It allows the cheesecake to set completely, firm up, and for all the incredible flavors to fully develop and meld together.
- Clean Slices: For perfectly clean slices, dip a sharp knife in hot water and wipe it clean between each cut.
- Storage: Store leftover Tiramisu Cheesecake covered in the refrigerator for up to 3-4 days.
Explore More Tiramisu and Cheesecake Delights
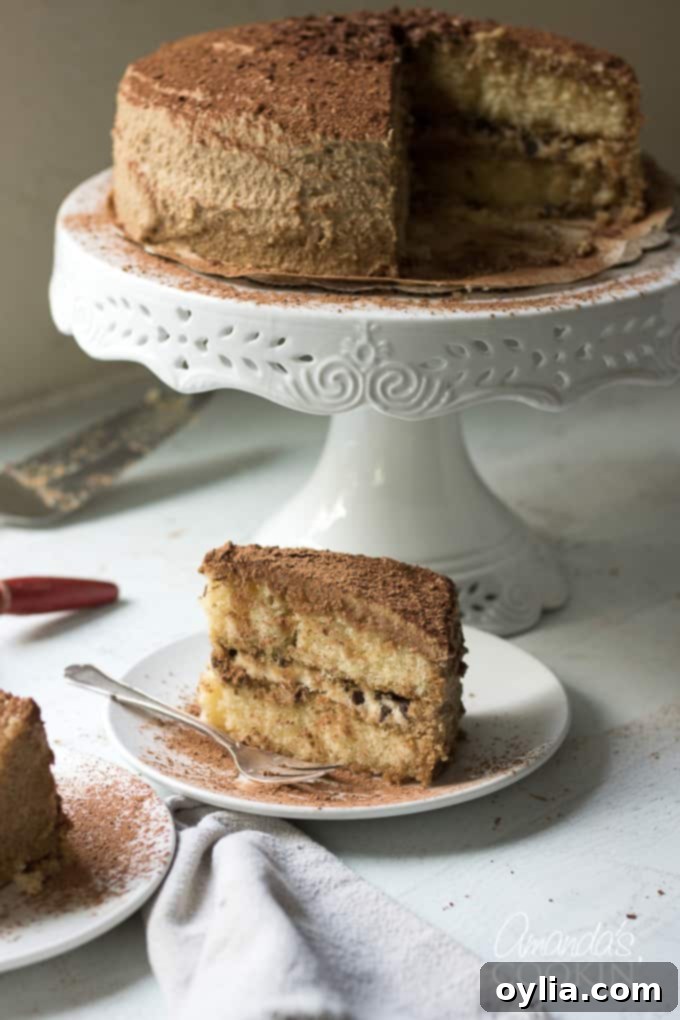
If you’re as big a fan of tiramisu as we are, you’ll definitely want to try our delightful Tiramisu Cake. Think of it as all the wonderful flavors of our Tiramisu Cheesecake, but without the cheesecake base – a lighter, yet equally indulgent option. It’s another fantastic dessert that’s perfect for parties, gatherings, or simply satisfying your sweet tooth, and your guests will absolutely adore it.
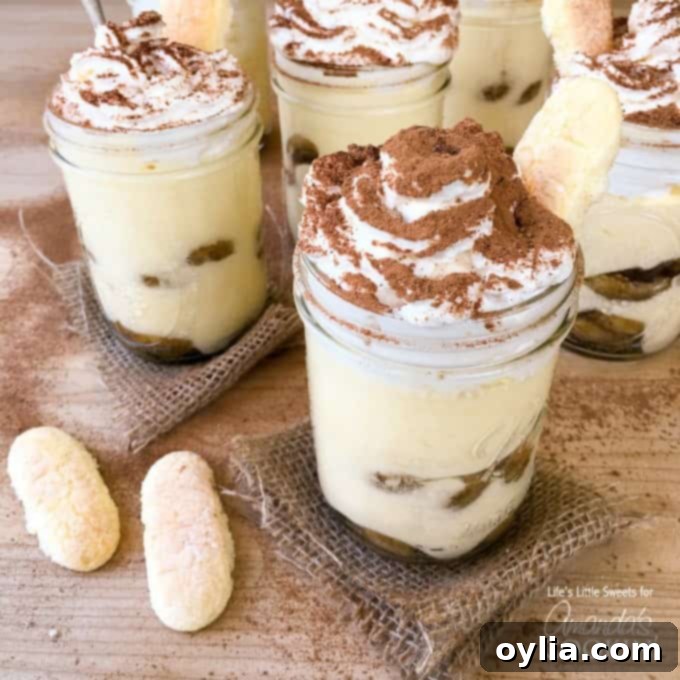
For those devoted tiramisu lovers, we have even MORE to celebrate! Our adorable Tiramisu Trifles in Mason Jars are an absolute must-make. These individual servings feature two decadent layers of espresso-soaked ladyfingers, lusciously rich cream, and a generous topping of whipped cream, all dusted with cocoa powder. Not only are they incredibly delicious, but their presentation in mason jars makes them incredibly cute and perfect for picnics or individual treats!
And if your love for cheesecake extends beyond the tiramisu variety, don’t miss out on my classic Cherry Cheesecake. It’s truly one of the best baked cheesecakes you’ll ever make, with a vibrant cherry topping that makes it an irresistible treat for any occasion.
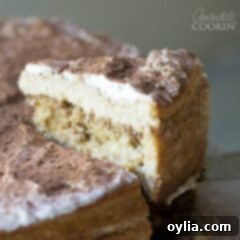
Tiramisu Cheesecake
IMPORTANT – There are often Frequently Asked Questions within the blog post that you may find helpful. Simply scroll back up to read them!
Print It
Pin It
Rate It
Save ItSaved!
Ingredients
Crust
- 9 inch yellow cake layer sliced horizontally in half
- ½ cup coffee-flavored liqueur
- 2 tablespoons instant espresso powder
Filling
- 1 lb mascarpone cheese
- 16 oz cream cheese softened
- 1 cup sugar
- 5 large eggs
- 1 tablespoon vanilla
Topping
- ½ cup heavy whipping cream
- 2 tablespoons powdered sugar
- 1 teaspoon cocoa powder
Instructions
-
Preheat the oven to 325 F. Grease the bottom and sides of a 9″ springform pan.
-
Place half of the cake in the bottom of the springform pan. In a bowl, combine the coffee liqueur and the espresso powder. Brush about 1/4 of the espresso mixture onto the cake layer that’s in the pan. Brush the second cake layer with 1/4 of the espresso mixture. Set the cake layers and remaining espresso mixture aside.
-
Fit mixer with paddle attachment. Beat mascarpone, cream cheese and sugar on medium-high speed until smooth and creamy, about 3 minutes. Add eggs, on at a time, beating well after each addition. Mix in the vanilla and the remaining espresso mixture.
-
Pour half of the batter over the cake layer in the pan, smoothing out the batter to the sides of the pan. Place second cake layer on top and pour in the remaining batter, again, smoothing out to the sides of the pan. The pan will be filled to the top edge.
-
Place cheesecake pan on a cookie sheet and bake 50-55 minutes, or until light golden brown and center is slightly jiggly. Let cool in the pan on a wire rack for 2 hours. Cover with plastic wrap and refrigerate for at least 6 hours before adding topping.
-
Using the whisk attachment, beat the heavy whipping cream and the powdered sugar on medium-high until firm peaks are formed. Spread whipped cream on top of chilled cheesecake, then use a sifter to dust the top with cocoa powder.
Nutrition
The recipes on this blog are tested with a conventional gas oven and gas stovetop. It’s important to note that some ovens, especially as they age, can cook and bake inconsistently. Using an inexpensive oven thermometer can assure you that your oven is truly heating to the proper temperature. If you use a toaster oven or countertop oven, please keep in mind that they may not distribute heat the same as a conventional full sized oven and you may need to adjust your cooking/baking times. In the case of recipes made with a pressure cooker, air fryer, slow cooker, or other appliance, a link to the appliances we use is listed within each respective recipe. For baking recipes where measurements are given by weight, please note that results may not be the same if cups are used instead, and we can’t guarantee success with that method.
This post was originally published on this blog on Jul 27, 2011, and has been updated for clarity and comprehensive detail.
