Crispy Baked Buffalo Cauliflower Wings: Your Ultimate Vegetarian Party Appetizer
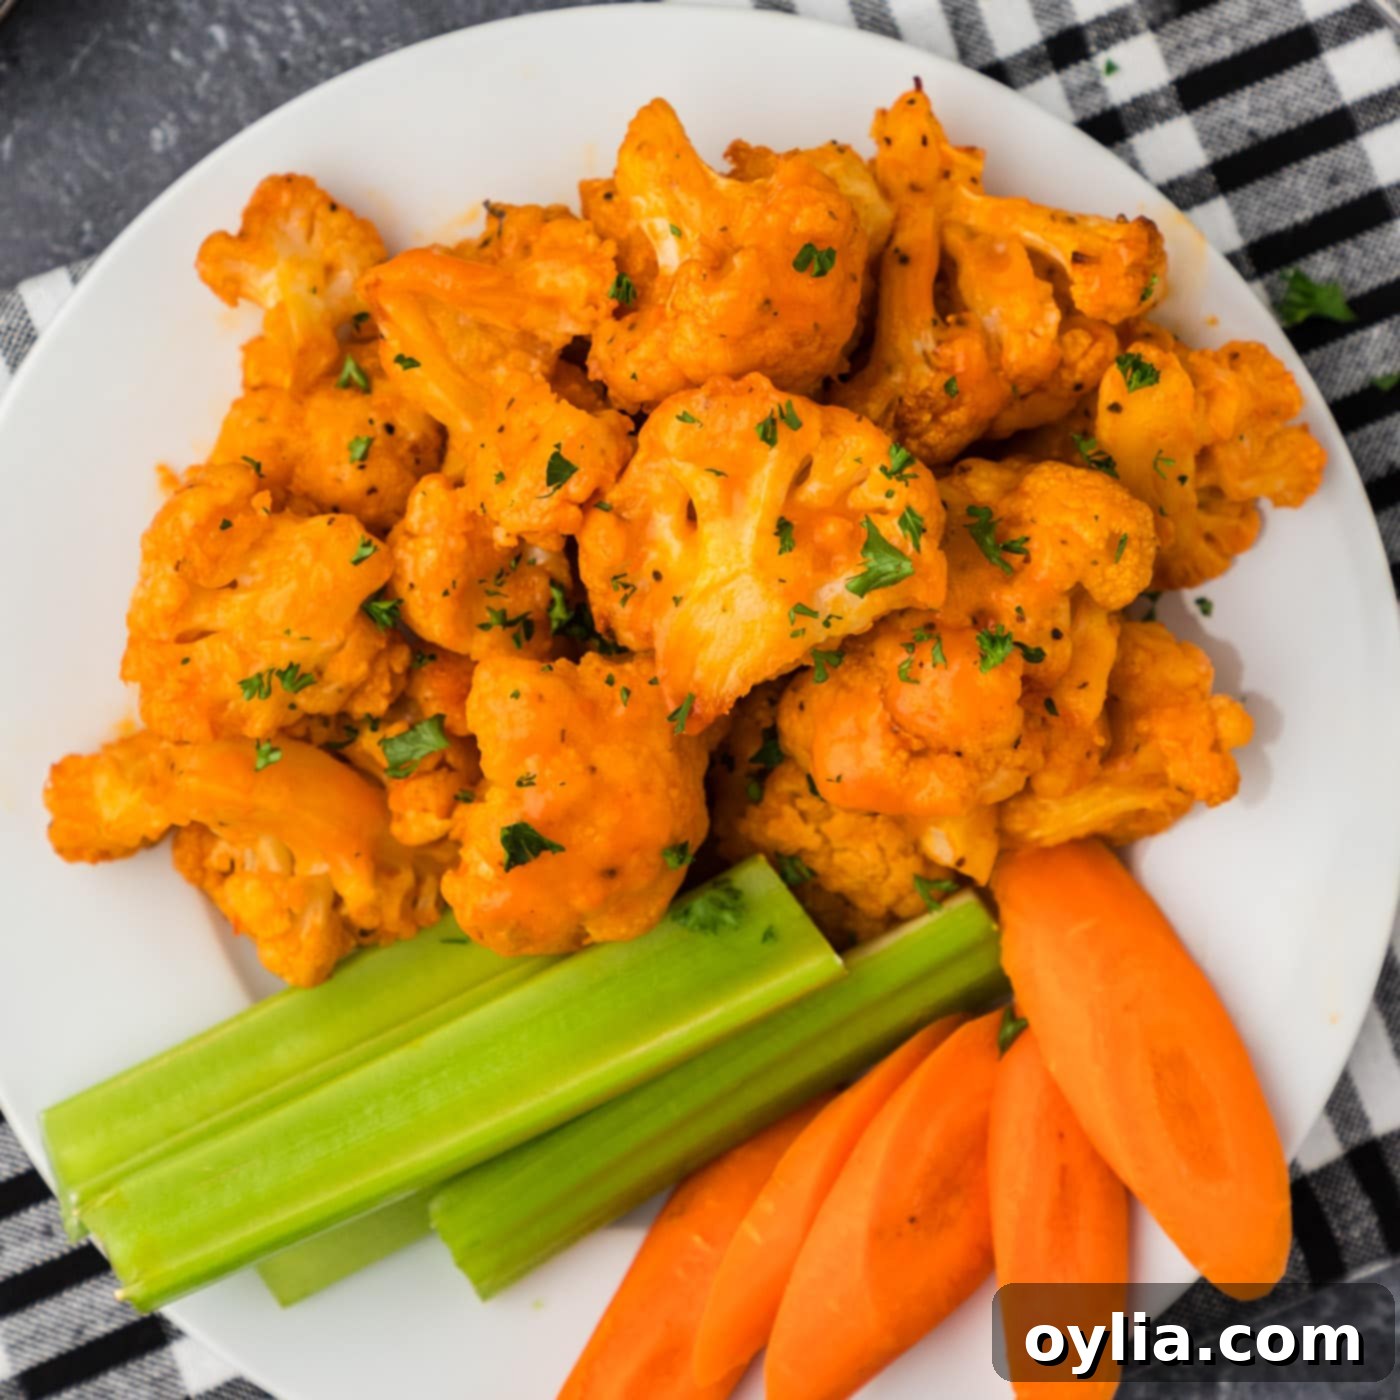
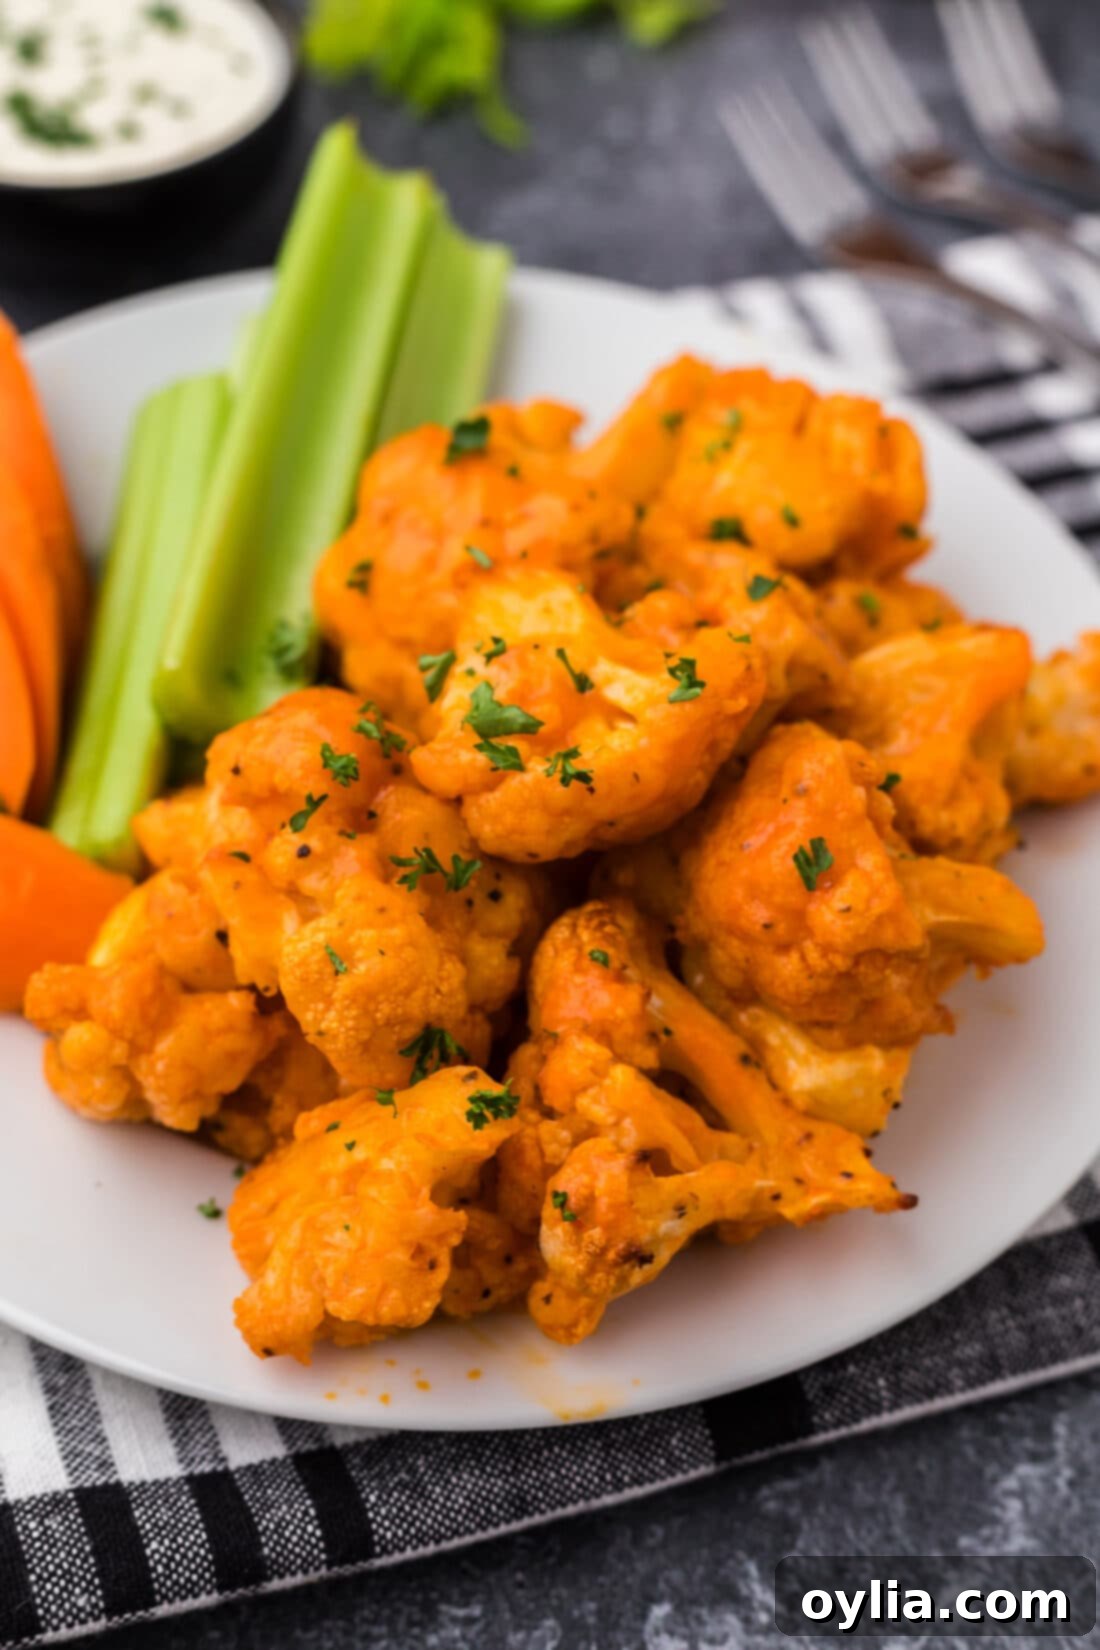
Get ready to impress with these incredible Roasted Buffalo Cauliflower Wings! They are the perfect blend of crispy, spicy, and utterly satisfying, making them an undisputed champion for any gathering. Each tender floret is lovingly coated in a light, seasoned breading, baked to golden perfection, and then generously tossed in a vibrant, tangy buffalo sauce that delivers a mouth-watering kick. For the ultimate flavor experience, serve these vegetarian delights with a cool, creamy dip – a combination that’s simply irresistible!
Why This Recipe Is a Must-Try
Craving the classic taste of buffalo wings but looking for a plant-based, healthier alternative? Look no further! Our buffalo cauliflower recipe offers all the bold, zesty flavor of traditional buffalo chicken wings, but with the added benefits of being vegetarian and surprisingly wholesome. This isn’t just a substitute; it’s a culinary revelation that stands on its own as an incredibly delicious dish.
The magic lies in the method: golden baked cauliflower florets emerge from the oven with wonderfully crispy, crunchy edges, giving way to a tender, succulent interior. This two-stage baking process ensures maximum crispness before the luscious buffalo sauce is introduced. The result is a texture contrast that’s pure perfection – a satisfying crunch followed by a soft, flavorful bite. Toss them in our simple, homemade buffalo sauce, and you’ve got one of the best appetizers or game day snacks imaginable. They’re not just for parties; these can easily elevate a weeknight meal as a vibrant side dish or a light main.
If you’re not a fan of heavy sauces or prefer a different kind of spice, you could try our spicy roasted cauliflower, where aromatic spices and seasonings take center stage. Alternatively, serve the buffalo sauce on the side so everyone can customize their dipping and dunking experience. But trust us, once you try these perfectly coated and sauced buffalo cauliflower wings, you’ll understand why they’re such a hit!

Gather Your Ingredients for Flavorful Buffalo Cauliflower
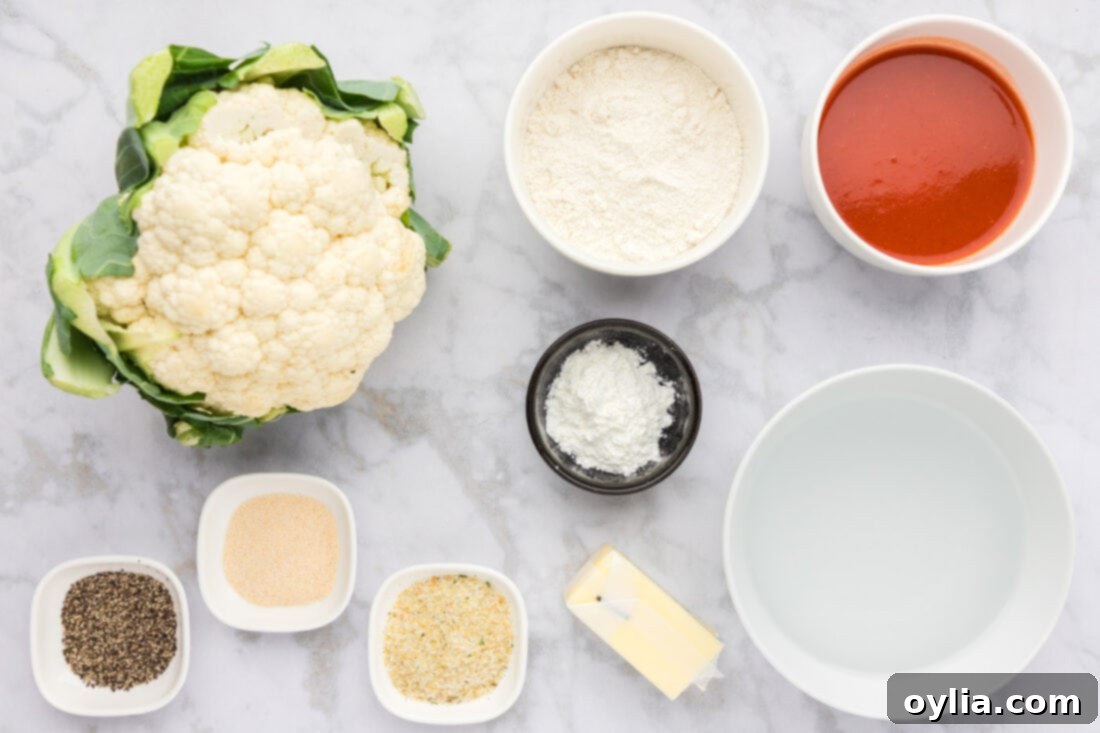
Preparing these delightful buffalo cauliflower wings requires a handful of simple ingredients, many of which you likely already have in your pantry. For precise measurements, a comprehensive list, and detailed instructions, please refer to the printable recipe card located at the end of this post.
Key Ingredients & Smart Substitutions
Let’s dive deeper into the components that make these buffalo cauliflower wings so special, along with some tips for success and possible substitutions:
CAULIFLOWER: The star of the show! When preparing your cauliflower, aiming for uniform florets is key. This meticulous cutting ensures that every piece roasts evenly, leading to consistent crispiness and tender insides across the entire batch. Select a firm, white head of cauliflower with tight florets for the best results.
FLOUR: This forms the initial light breading around the cauliflower. It acts as a protective layer, helping the florets achieve that desirable crispy texture during baking. We recommend all-purpose flour for a classic coating, but for a gluten-free version, a good quality gluten-free flour blend works perfectly. Tossing the flour with water and a judicious dash of seasonings – such as onion powder, garlic salt, and black pepper – infuses flavor directly into the breading, creating an extra layer of deliciousness before the buffalo sauce even comes into play.
CORNSTARCH: Don’t underestimate the power of cornstarch! This ingredient is essential for achieving truly crispy cauliflower. When combined with the flour and liquid, cornstarch helps to create a delicate, extra-crisp crust that’s reminiscent of fried chicken, without the need for deep-frying. It inhibits gluten development, resulting in a lighter, snappier texture. Definitely do not skip this step!
HOT SAUCE: For that authentic buffalo flavor, Frank’s RedHot Original Cayanne Pepper Sauce is the gold standard. It’s the classic choice that, when combined with butter, creates the iconic buffalo sauce we all know and love. However, if you have a favorite hot sauce with a different flavor profile – perhaps a smoky chipotle, a fiery habanero, or a tangier blend – feel free to experiment! Adjust the amount to your personal spice preference; a little less for mild, a little more for an extra kick. For a vegan option, ensure your chosen hot sauce doesn’t contain animal products.
BUTTER: Unsalted butter is typically combined with the hot sauce to mellow its heat and add a rich, smooth consistency to the buffalo sauce. This creamy element is what transforms plain hot sauce into the delectable, balanced flavor profile unique to buffalo sauce. For a completely plant-based or vegan version, simply substitute with your favorite vegan butter alternative. The results will be just as delicious and satisfying.
WATER: Used in two places: initially with the flour and seasonings to create the batter for coating the cauliflower, and then again to form a slurry with the cornstarch for thickening the buffalo sauce. Using cold water for the slurry helps prevent lumps.
Mastering the Art of Buffalo Cauliflower: Step-by-Step Guide
These step-by-step photos and detailed instructions are designed to help you visualize each stage of this recipe, ensuring perfect results every time. For the convenient printable version of this recipe, complete with exact measurements and a concise instruction list, you can Jump to Recipe at the bottom of this page.
- Preheat your oven to a blazing 450°F (230°C). This high temperature is crucial for achieving that initial crispness. Line a baking sheet with aluminum foil for easy cleanup, and generously spray it with nonstick cooking spray to prevent sticking.
- Prepare your cauliflower by carefully cutting it into bite-sized florets. Aim for pieces that are as uniform in size as possible, which ensures they cook evenly and become perfectly tender-crisp. You can refer to our expert tips below for guidance on how to efficiently cut a head of cauliflower into florets. Once cut, set them aside.


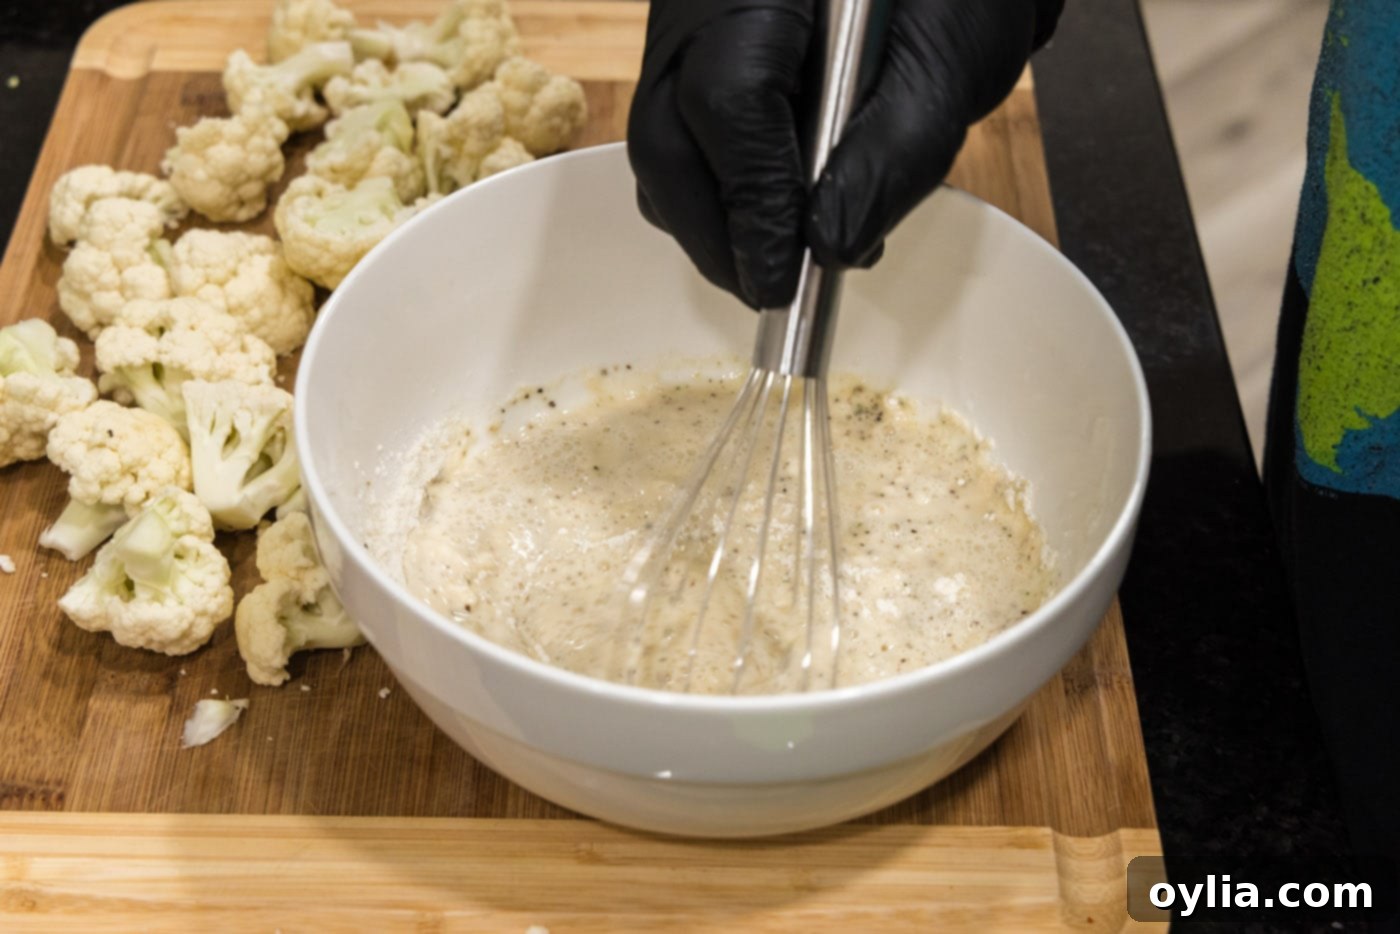
- In a medium-sized mixing bowl, combine the all-purpose flour, onion powder, garlic salt, and black pepper. Whisk these dry ingredients together thoroughly. Then, gradually whisk in the water until you achieve a smooth, pourable batter. This seasoned batter will form the crispy coating on your cauliflower.

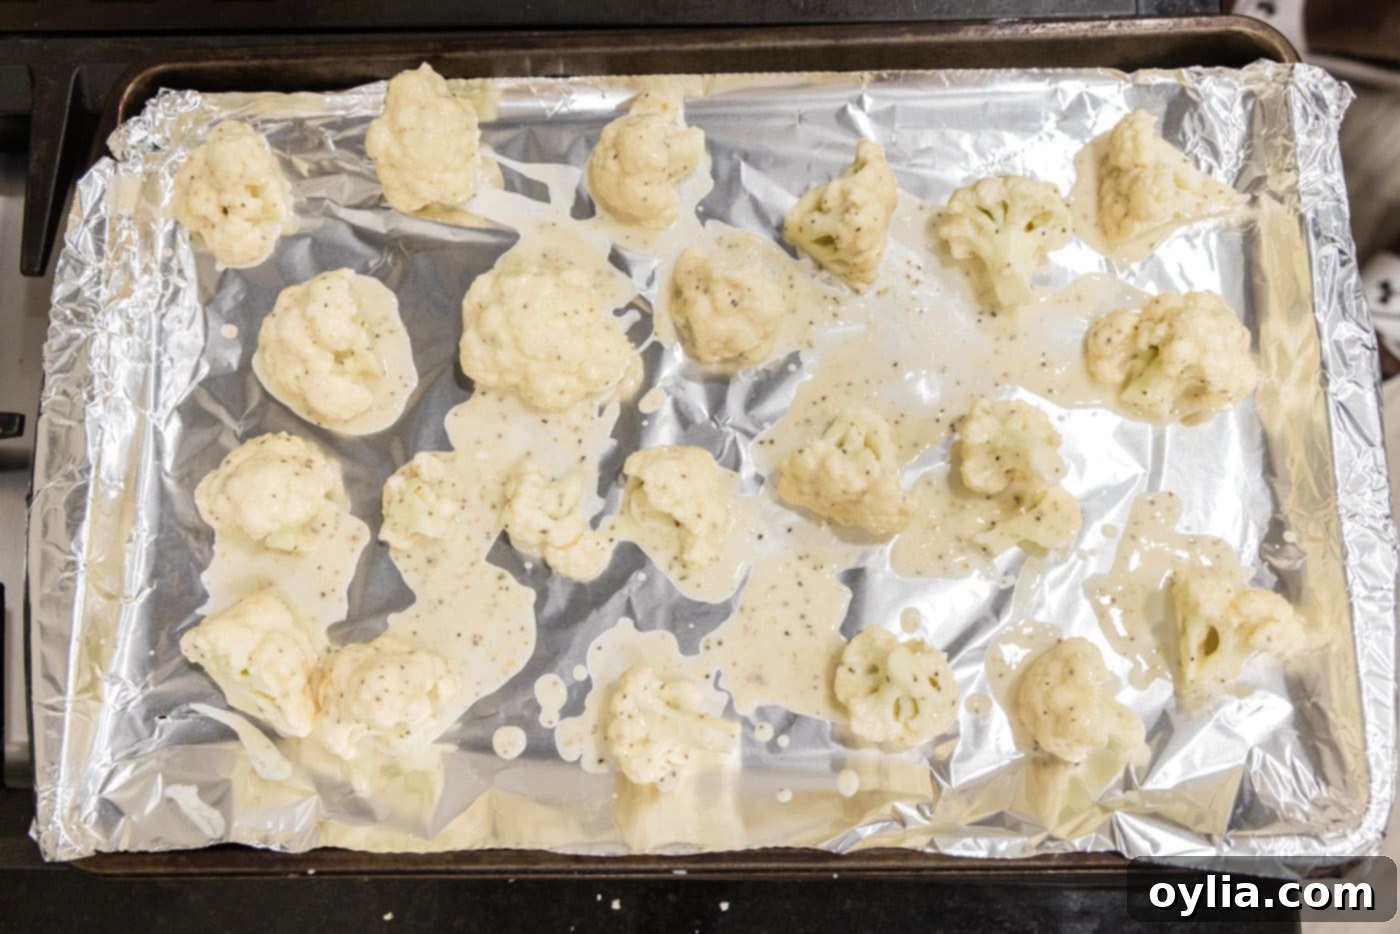
- Using gloved hands (or a pair of tongs), take each cauliflower floret and thoroughly coat it in the flour mixture. Ensure every nook and cranny is covered for optimal crispiness and flavor absorption. Place the coated florets in a single layer on your prepared baking sheet, making sure not to overcrowd the pan. Give them some space to breathe so they can crisp up properly.

- Bake the coated cauliflower for 20 minutes. During this initial bake, the florets will start to soften and their breading will turn golden brown and begin to crisp.
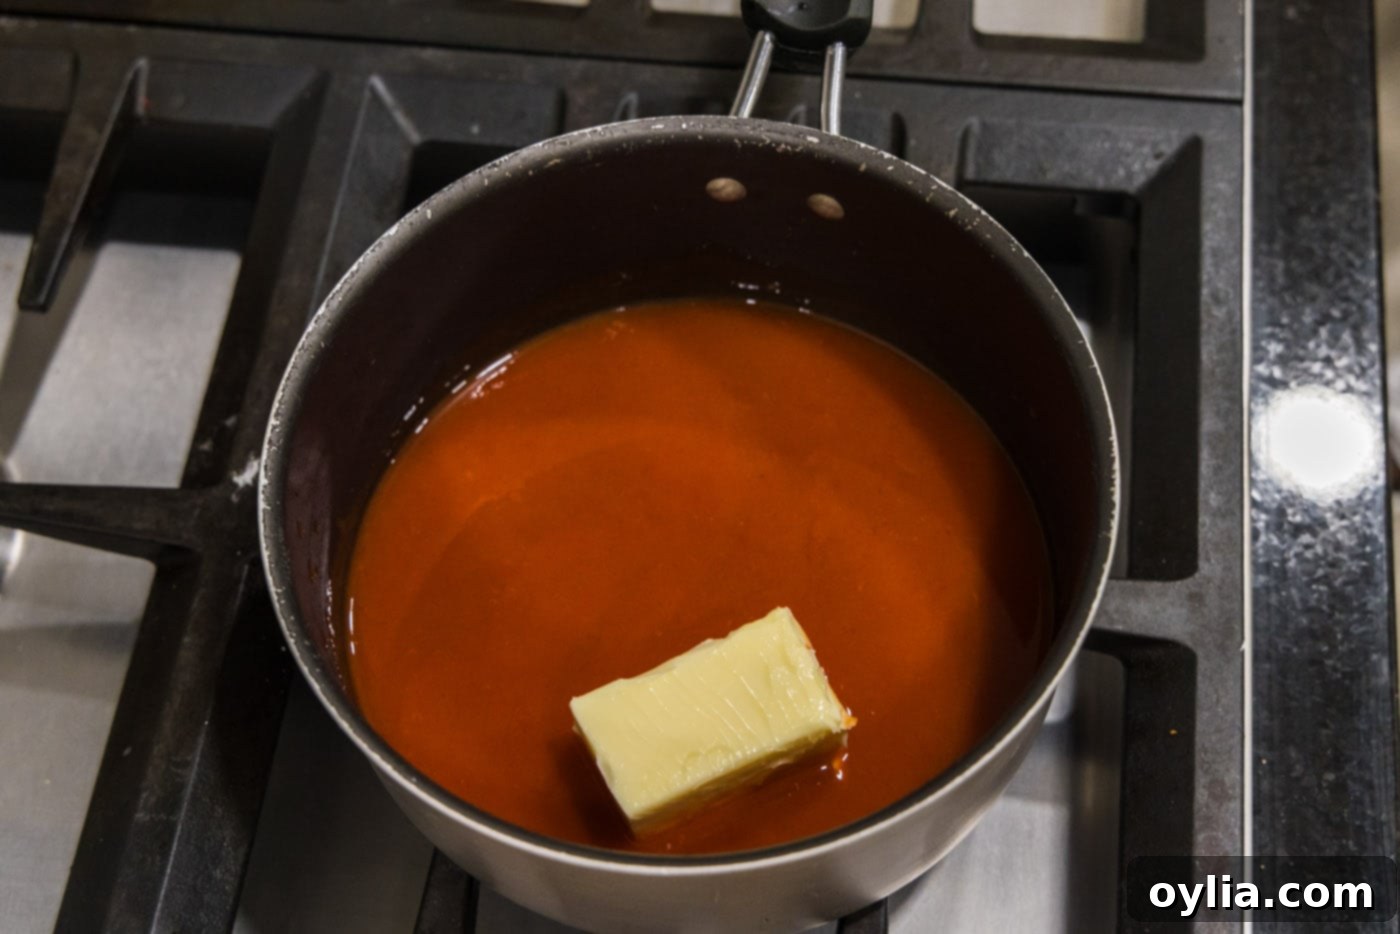
- While the cauliflower is baking, it’s time to craft your delicious buffalo sauce. In a medium saucepan, combine your chosen hot sauce (Frank’s is highly recommended!) and unsalted butter. Heat this mixture over medium-high heat, stirring occasionally, until the butter is completely melted and the sauce is well combined and fragrant.

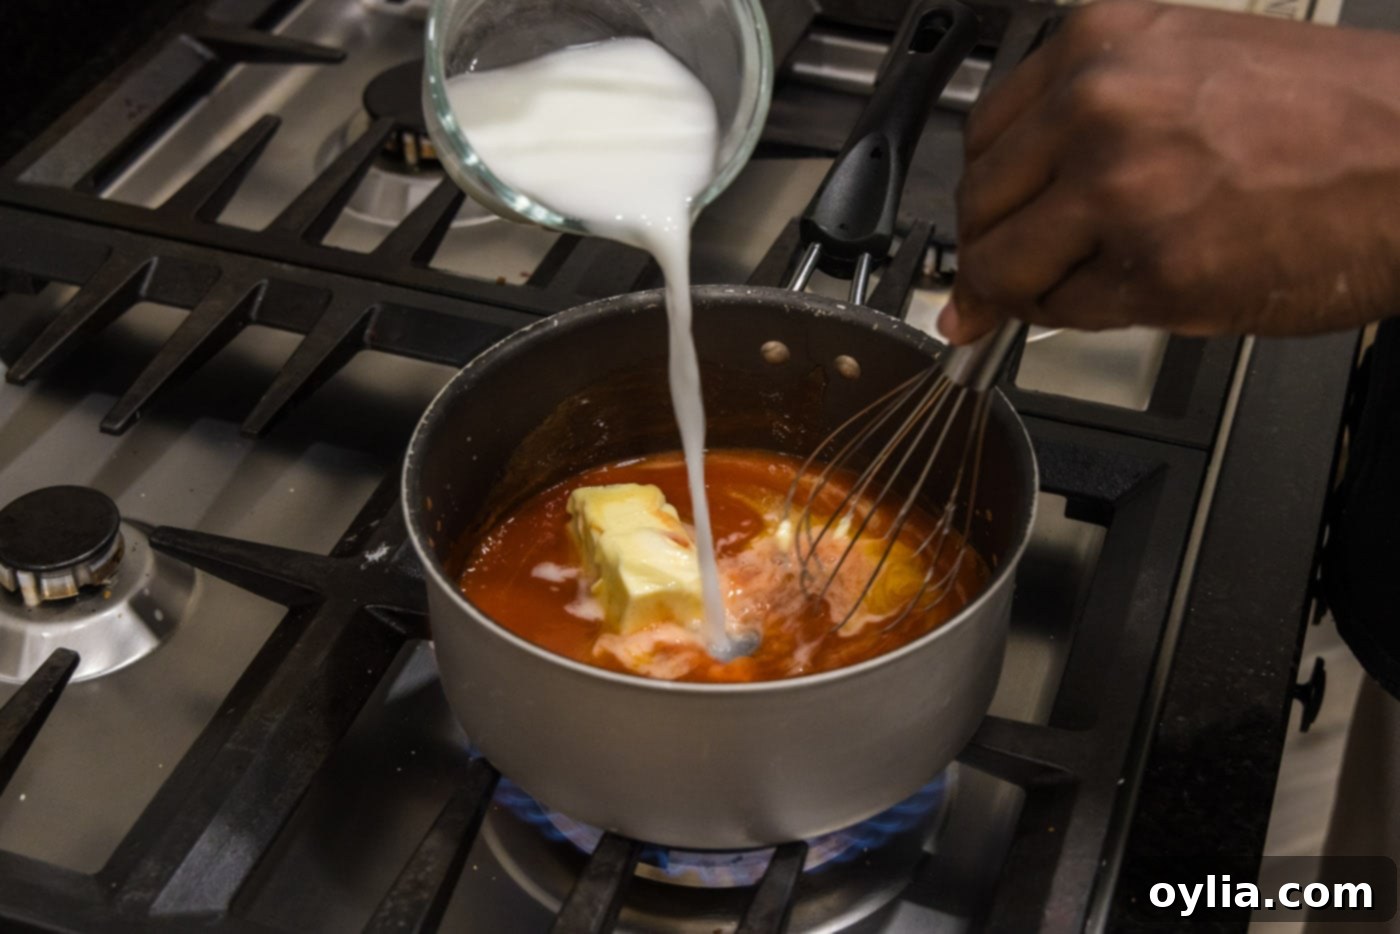
- To thicken your buffalo sauce to the perfect consistency, create a cornstarch slurry. In a small bowl, whisk together the cornstarch and ½ cup of water until no lumps remain. Pour this slurry into the saucepan with your hot sauce and butter mixture. Continue to simmer over medium heat, whisking constantly, until the sauce visibly thickens and coats the back of a spoon. This thickening agent gives the sauce that characteristic cling.

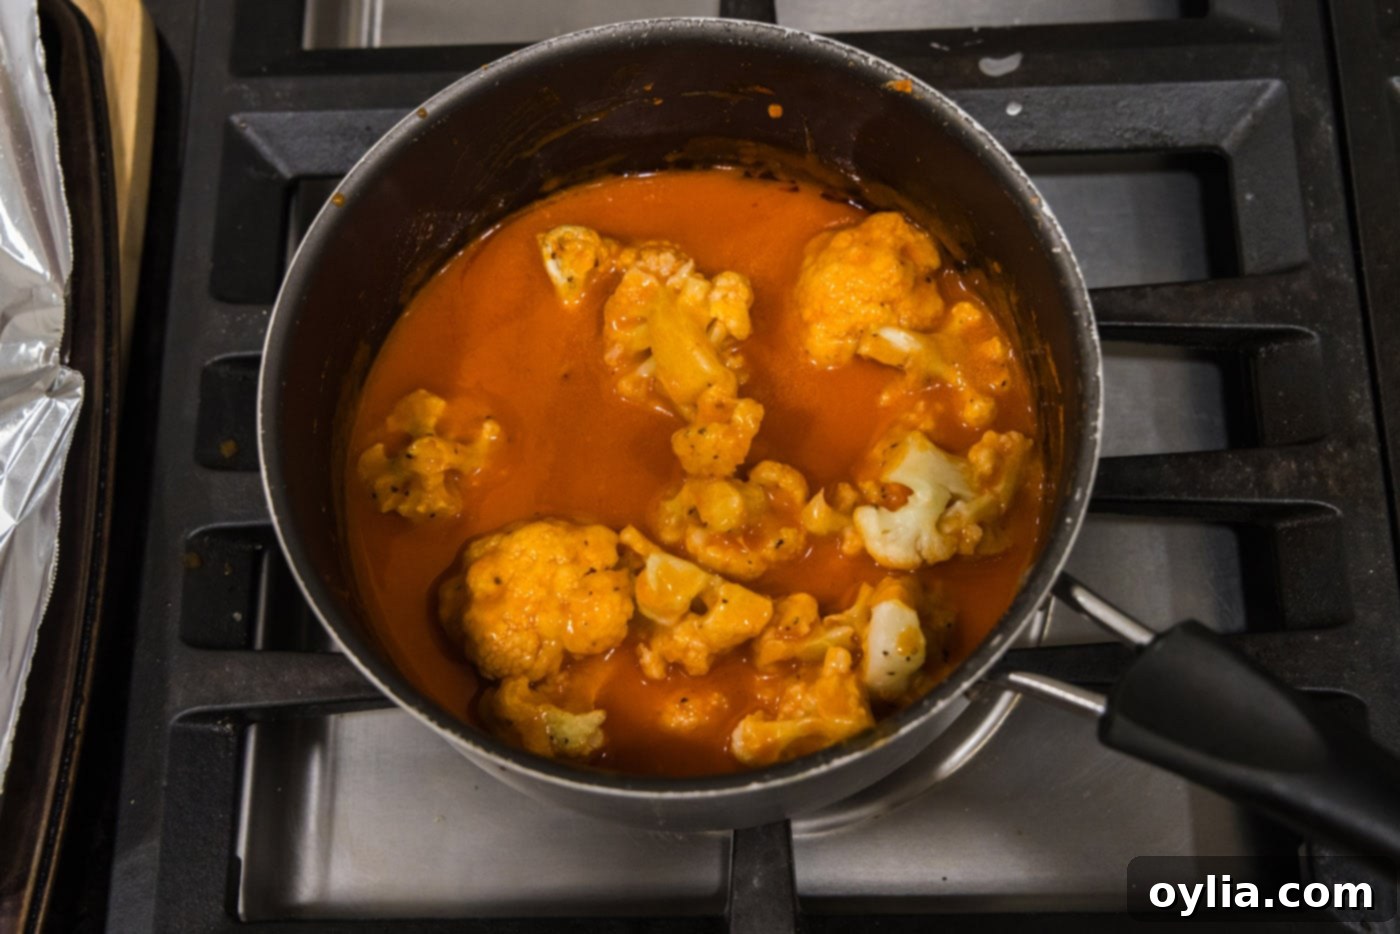
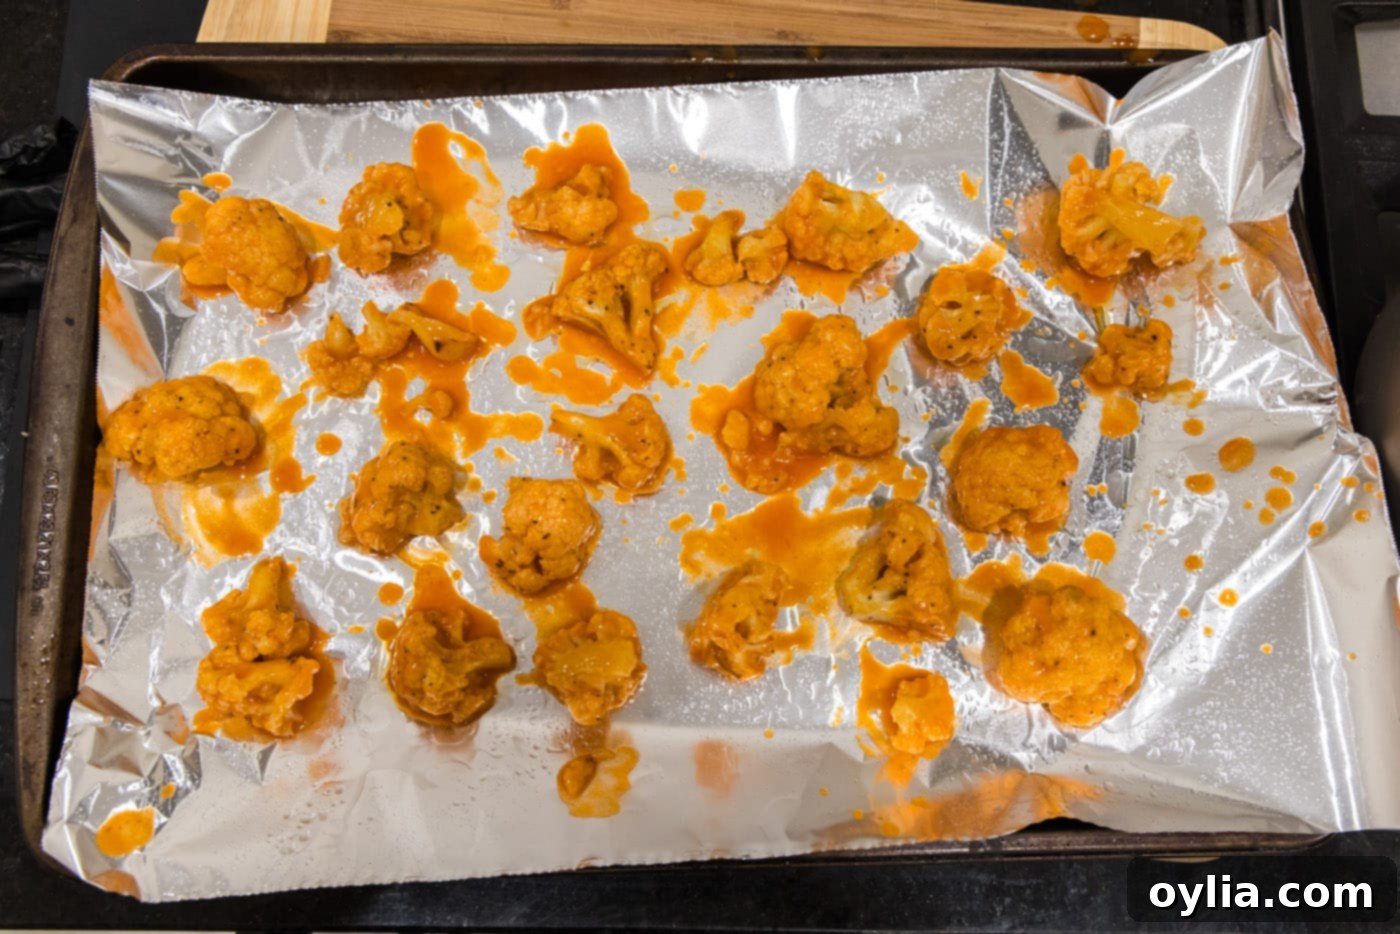
- Once the cauliflower has completed its first bake, carefully remove the baking sheet from the oven. Now for the fun part: dip each crispy floret into the prepared buffalo sauce, turning it to ensure it’s thoroughly coated on all sides. The thick sauce will adhere beautifully to the now-crispy breading. Return the sauced florets to the baking sheet and place them back in the oven for an additional 10 minutes. This second bake allows the sauce to caramelize slightly and fully meld with the cauliflower, intensifying the flavors and ensuring every bite is spicy, tangy, and utterly delicious.


Frequently Asked Questions & Expert Tips for Perfect Buffalo Cauliflower
To maintain their deliciousness, store any leftover buffalo cauliflower wings in an airtight container in the refrigerator for up to 4 days. When reheating, avoid the microwave as it can make them soggy. For best results and to restore some crispness, reheat them in an air fryer or a conventional oven preheated to 350°F (175°C) until thoroughly warmed through and slightly re-crisped.
While “healthy” can be subjective, buffalo cauliflower wings are generally considered a healthier alternative to traditional chicken wings, especially fried ones. Cauliflower itself is a nutritional powerhouse, packed with fiber, Vitamin C, Vitamin K, and antioxidants, and is naturally low in fat and calories. If your primary goal is high protein, chicken wings will certainly deliver more on that front. However, for those seeking a flavorful, satisfying, and lower-calorie plant-based option, these cauliflower wings are an excellent choice. Do keep in mind that the flour breading and butter in the sauce add some calories and fat, so they’re not quite as “healthy” as plain roasted cauliflower. It’s a fantastic way to enjoy a classic flavor without the guilt of deep-fried meat.
Absolutely! The air fryer is a fantastic tool for making buffalo cauliflower wings extra crispy. To use your air fryer: arrange the breaded cauliflower florets in a single layer in the air fryer basket. Air fry at 375°F (190°C) for 8-10 minutes, or until they are golden and crisp. Remove them, toss them gently with the hot buffalo sauce mixture, then return them to the air fryer basket for another 5-7 minutes to allow the sauce to set and the cauliflower to crisp further. Remember, it’s crucial not to overcrowd the basket; you may need to cook in batches to ensure even cooking and maximum crispiness.
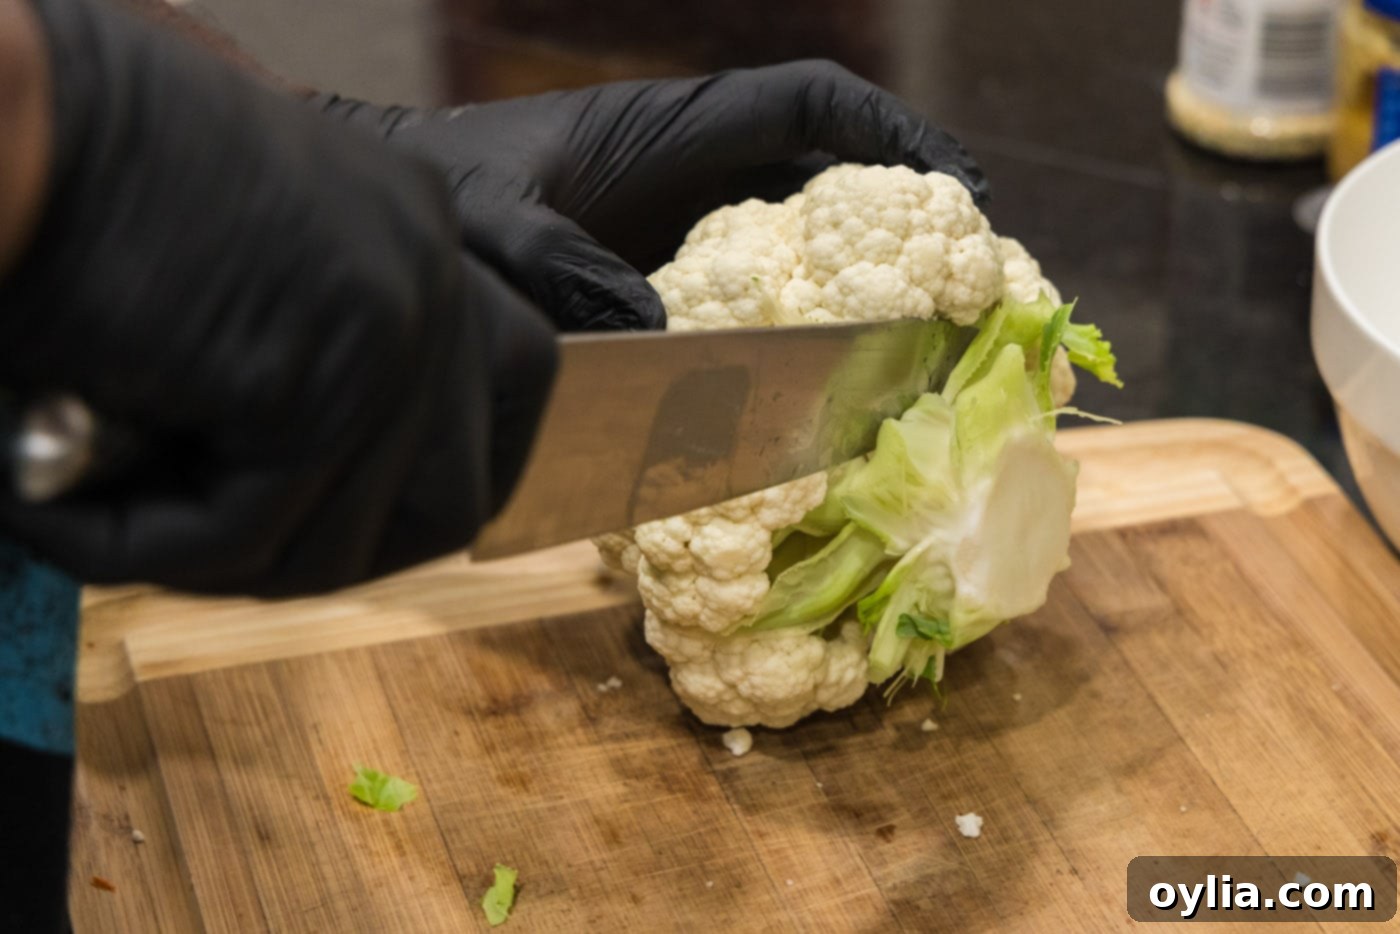
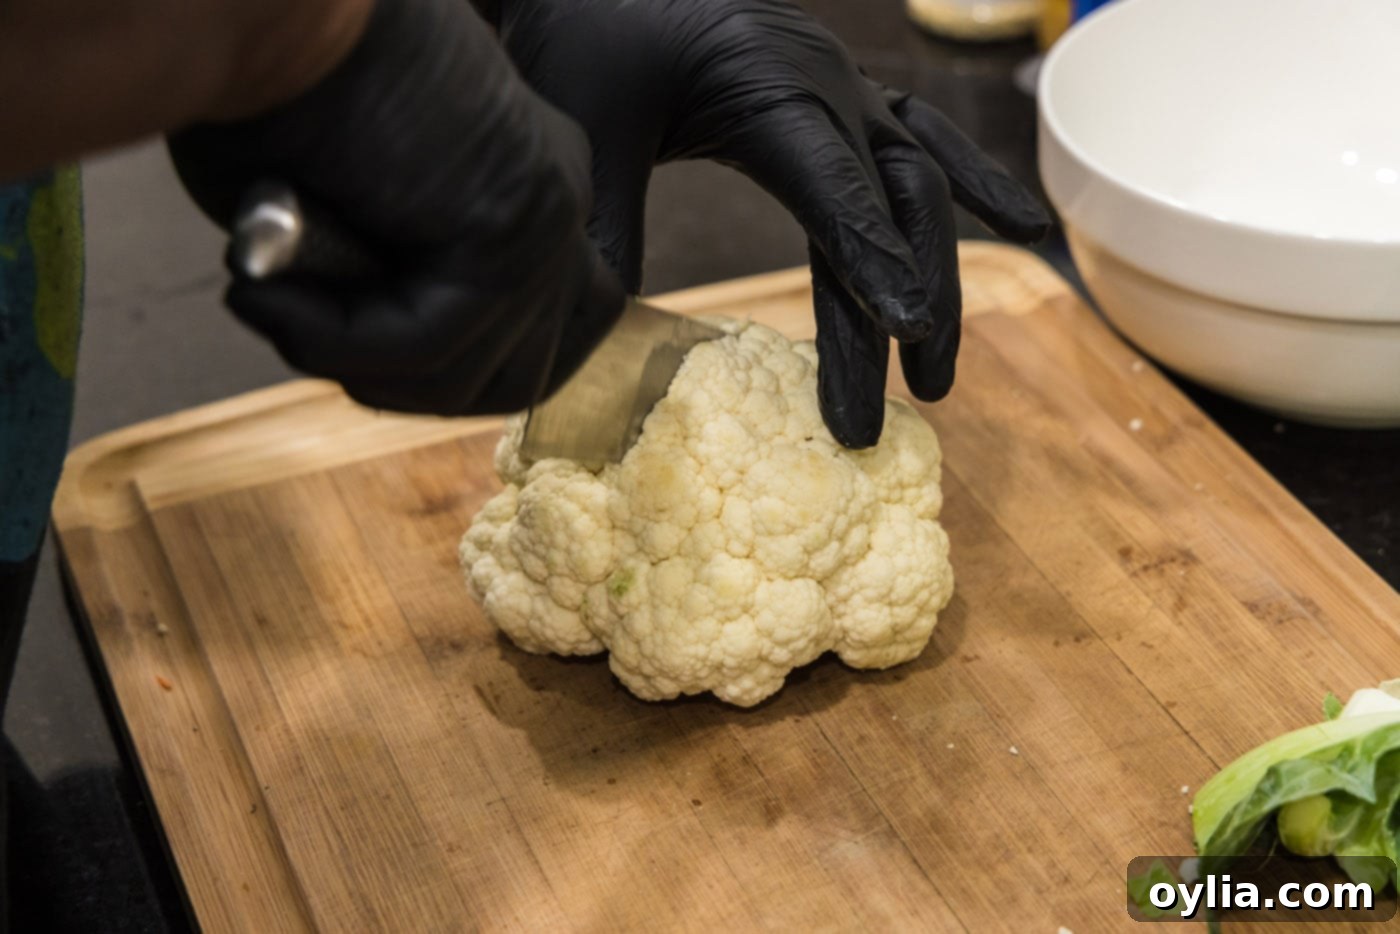
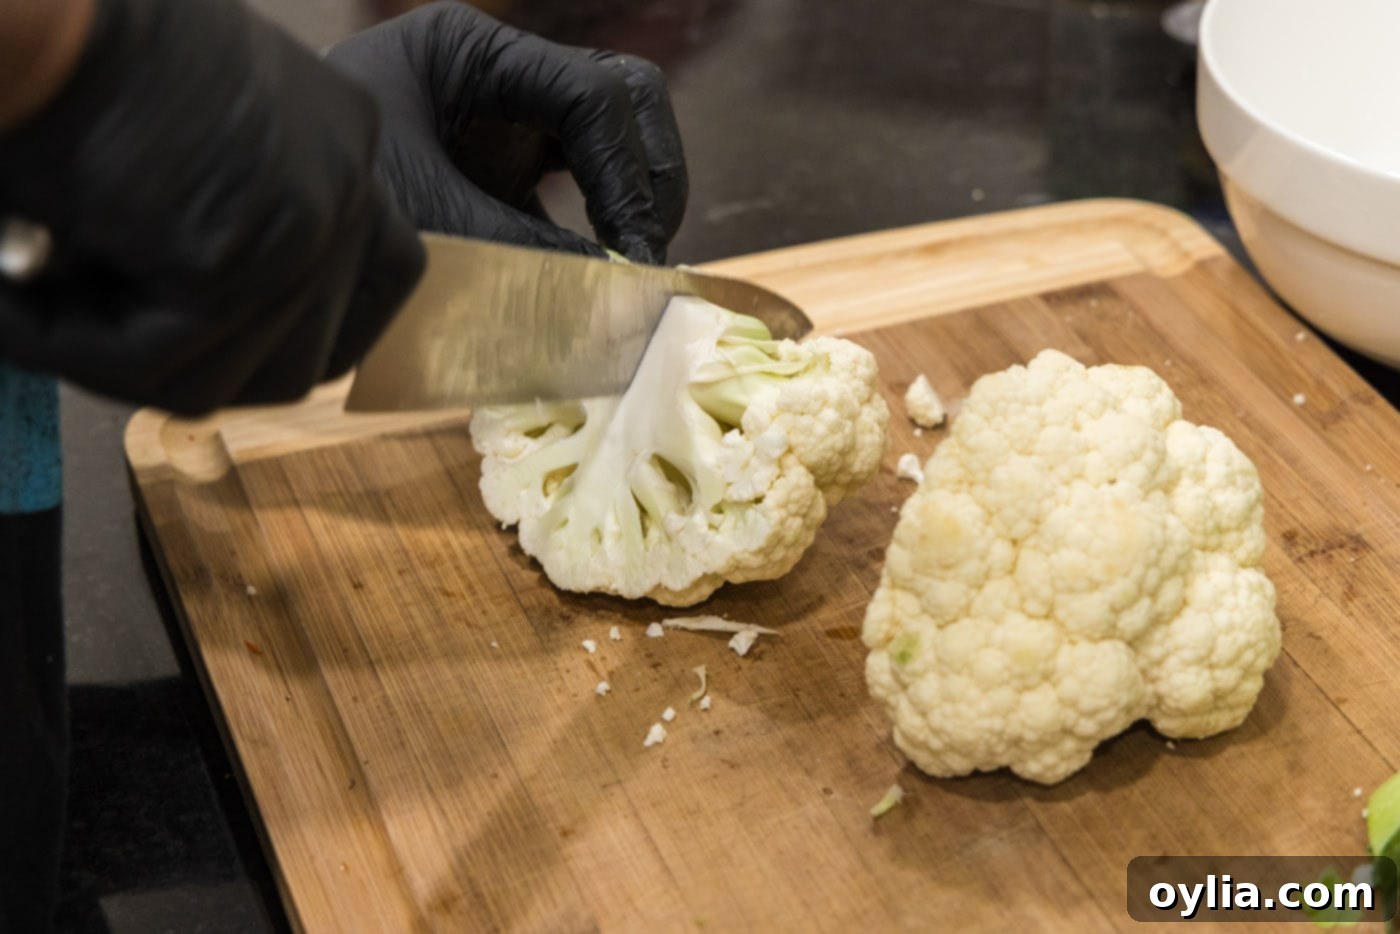
Cutting a head of cauliflower into florets is simple with the right technique. Start by placing the head of cauliflower right side up on a sturdy cutting board. Slice it in half directly through the center, from top to bottom. Once you have two halves, you can easily access the core. From each half, carefully cut the individual cauliflower florets away from the central core, following the natural divisions of the stems. Aim for similarly sized pieces for even cooking, trimming any excess stem. This method ensures minimal waste and perfectly sized florets for your wings.
Yes, easily! Simply substitute the all-purpose flour with a high-quality gluten-free all-purpose flour blend. Many such blends are specifically formulated for baking and frying and will provide a similar crisp texture. Ensure all other ingredients, like your hot sauce, are also certified gluten-free if you have severe dietary restrictions.
To make these buffalo cauliflower wings fully vegan, substitute the unsalted butter with a plant-based butter alternative. Most hot sauces are naturally vegan, but it’s always a good idea to double-check the ingredient list to ensure no hidden animal products are present. With these simple swaps, you can enjoy a delicious, dairy-free, and egg-free appetizer!
Several factors contribute to ultimate crispiness. First, ensure your cauliflower is completely dry before breading it – excess moisture creates steam and prevents crisping. Second, don’t overcrowd your baking sheet or air fryer basket; airflow is crucial. Third, the cornstarch in the breading is vital for that extra crunch. Finally, the two-stage baking method (baking before saucing, then a quick bake after saucing) helps to maintain crispness even with the sauce applied. If you want to go the extra mile, you can lightly dust the coated cauliflower with a tiny bit more cornstarch before the first bake.
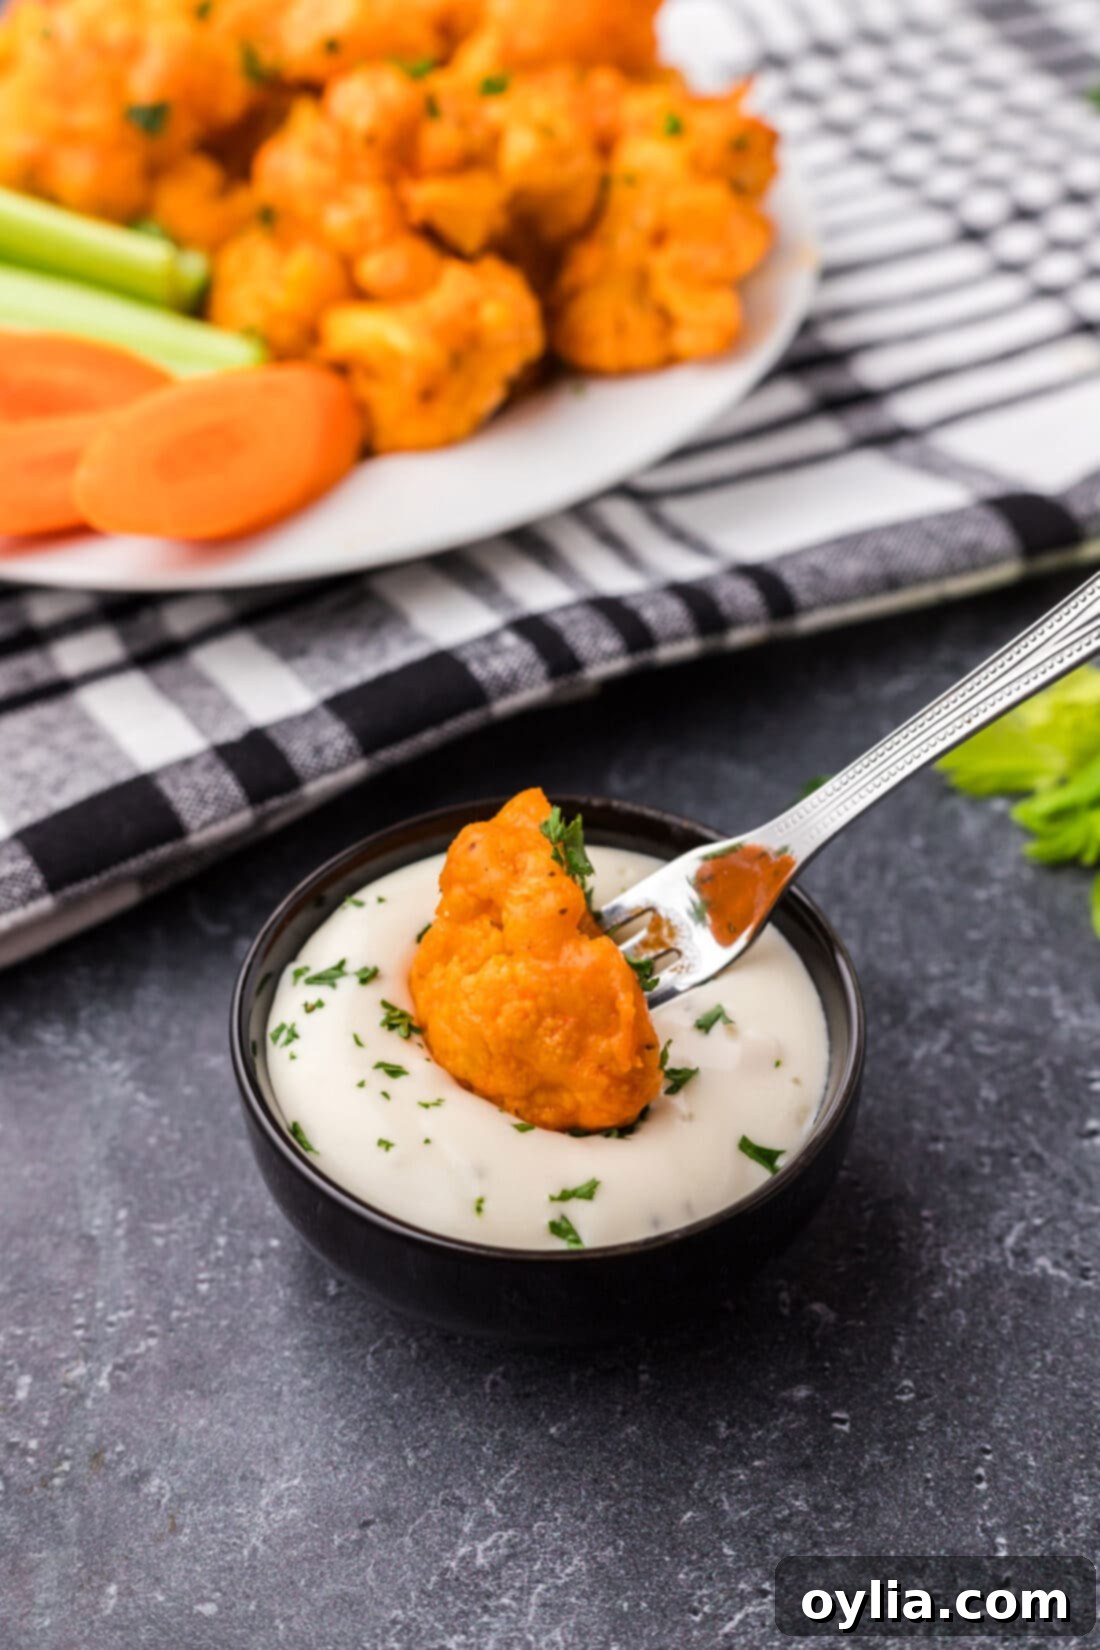
Serving Suggestions for Your Buffalo Cauliflower Wings
These spicy, tangy, and crispy buffalo cauliflower wings are incredibly versatile and perfect for a variety of occasions. You’ll likely have some extra buffalo sauce left over after coating the florets, so be sure to keep it warm for additional dipping – it’s too good to waste! The classic pairing for these fiery florets is a cool, creamy dip like ranch or a robust blue cheese dressing. The contrast of the spicy cauliflower with the rich, cooling dip is simply divine.
For a complete appetizer platter, arrange your buffalo cauliflower wings alongside crisp celery sticks, crunchy carrot sticks, and even some colorful bell pepper strips. These fresh vegetables offer a refreshing counterpoint to the heat and provide a satisfying crunch. These wings are a guaranteed crowd-pleaser for football parties, casual get-togethers, movie nights, or as a vibrant starter for any meal. They also make an excellent vegetarian side dish to complement a larger dinner spread. For an extra touch of freshness and flavor, consider garnishing your finished wings with a sprinkle of chopped fresh cilantro or thinly sliced green onions.
More Irresistible Appetizer Recipes You’ll Love
If you enjoyed these buffalo cauliflower wings and are looking for more delicious bites to share, explore some of our other fantastic appetizer recipes:
- Spicy Wings: For those who love the traditional meaty version with a kick.
- Jalapeno Poppers: Creamy, cheesy, and spicy, a classic party favorite.
- Buffalo Chicken Dip: All the flavors of buffalo wings in a warm, dippable format.
I absolutely adore cooking and baking, and I love sharing my kitchen adventures and delicious recipes with all of you! It can be tricky to remember to check back every day, which is why I offer a convenient newsletter delivered right to your inbox every time a new recipe is published. Simply subscribe today and start receiving your free daily recipes!

Buffalo Cauliflower
IMPORTANT – There are often Frequently Asked Questions within the blog post that you may find helpful. Simply scroll back up to read them!
Print It
Pin It
Rate It
Save It
Saved!
Prevent your screen from going dark
Course:
Appetizer, Side Dish
Cuisine:
American
3
servings
45 minutes
271
Amanda Davis
Ingredients
- 1 head cauliflower medium-sized
- ½ cup all purpose flour
- 1 teaspoon onion powder
- 2 teaspoons garlic salt
- 1 teaspoon black pepper
- 1 cup water
- ½ cup hot sauce such as Frank’s
- 4 Tablespoons unsalted butter
- 2 teaspoons cornstarch
- ½ cup water
Things You’ll Need
-
Baking sheet
-
Saucepan
-
Chef’s knife
-
Cutting board
Before You Begin
- Try to cut the florets into uniform pieces as well as you can, this way they will roast evenly in the oven and achieve consistent crispiness.
- For authentic buffalo flavor, we highly recommend using Frank’s RedHot Original Cayanne Pepper Sauce. However, feel free to use your favorite hot sauce if you prefer a different flavor profile or spice level.
- For a truly crispy coating, ensure your cauliflower is dry before breading and avoid overcrowding the baking sheet.
Instructions
-
Preheat oven to 450 F (230°C). Line a baking sheet with aluminum foil and spray with nonstick cooking spray.
-
Cut cauliflower into uniform florets. Set aside.
To cut a head of cauliflower – Beginning with the head of cauliflower right side up, cut it in half directly through the center. From each half, cut the cauliflower florets from the core, cutting at each individual stem.
-
In a medium bowl, combine flour, onion powder, garlic salt, and pepper. Whisk in the water to form a smooth batter.
-
Using gloved hands or tongs, coat each floret thoroughly in the flour mixture. Place coated florets in a single layer on the prepared baking sheet, ensuring they are not overcrowded.
-
Bake for 20 minutes until golden and starting to crisp.
-
Meanwhile, make the Buffalo sauce by combining hot sauce and butter in a medium saucepan. Heat over medium-high until butter has melted and the sauce is well combined.
-
Make a slurry by whisking cornstarch and 1/2 cup water. Pour the slurry into the saucepan with the hot sauce and simmer, whisking, until the sauce begins to thicken.
-
When cauliflower is done with the first bake, remove from oven. Dip each floret into the buffalo sauce, turning to coat well. Return sauced florets to the pan and bake for 10 more minutes, allowing the sauce to set and flavors to meld.
Expert Tips & FAQs
- You will have some delicious sauce leftover for dipping, so keep it handy!
- Store leftover buffalo cauliflower in an airtight container in the refrigerator for up to 4 days. Reheat in an air fryer or a 350°F (175°C) oven until warmed through and re-crisped.
- Air Fryer Method: Air fry breaded florets in a single layer at 375°F (190°C) for 8-10 minutes until crisp. Remove, toss with hot sauce, then return to the basket for another 5-7 minutes. Do not overcrowd; work in batches if needed.
- For a gluten-free version, use a high-quality gluten-free all-purpose flour blend.
- For a vegan version, use plant-based butter and ensure your hot sauce is vegan-friendly.
Nutrition
Tried this Recipe? Pin it for Later!
Follow on Pinterest @AmandasCookin or tag #AmandasCookin!
The recipes on this blog are tested with a conventional gas oven and gas stovetop. It’s important to note that some ovens, especially as they age, can cook and bake inconsistently. Using an inexpensive oven thermometer can assure you that your oven is truly heating to the proper temperature. If you use a toaster oven or countertop oven, please keep in mind that they may not distribute heat the same as a conventional full sized oven and you may need to adjust your cooking/baking times. In the case of recipes made with a pressure cooker, air fryer, slow cooker, or other appliance, a link to the appliances we use is listed within each respective recipe. For baking recipes where measurements are given by weight, please note that results may not be the same if cups are used instead, and we can’t guarantee success with that method.
