Irresistibly Cute & Fluffy: The Ultimate Homemade Bunny Rolls Recipe for Easter Dinner
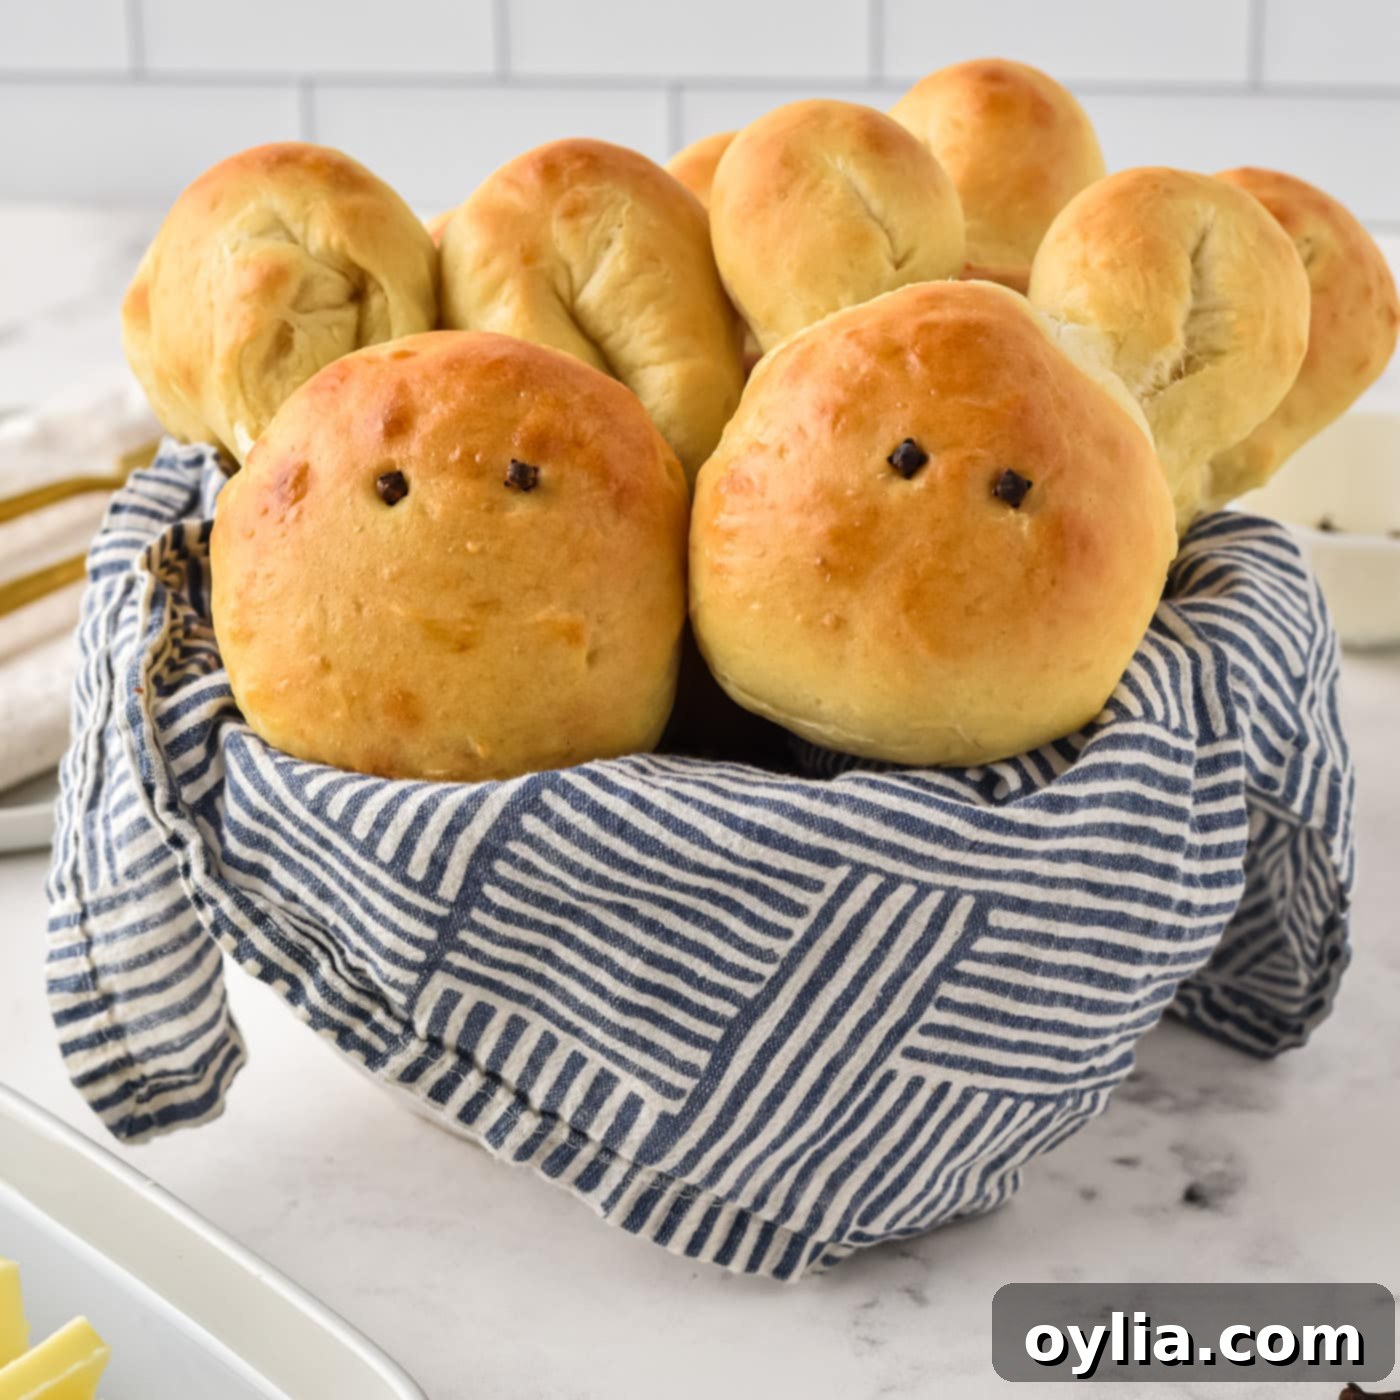
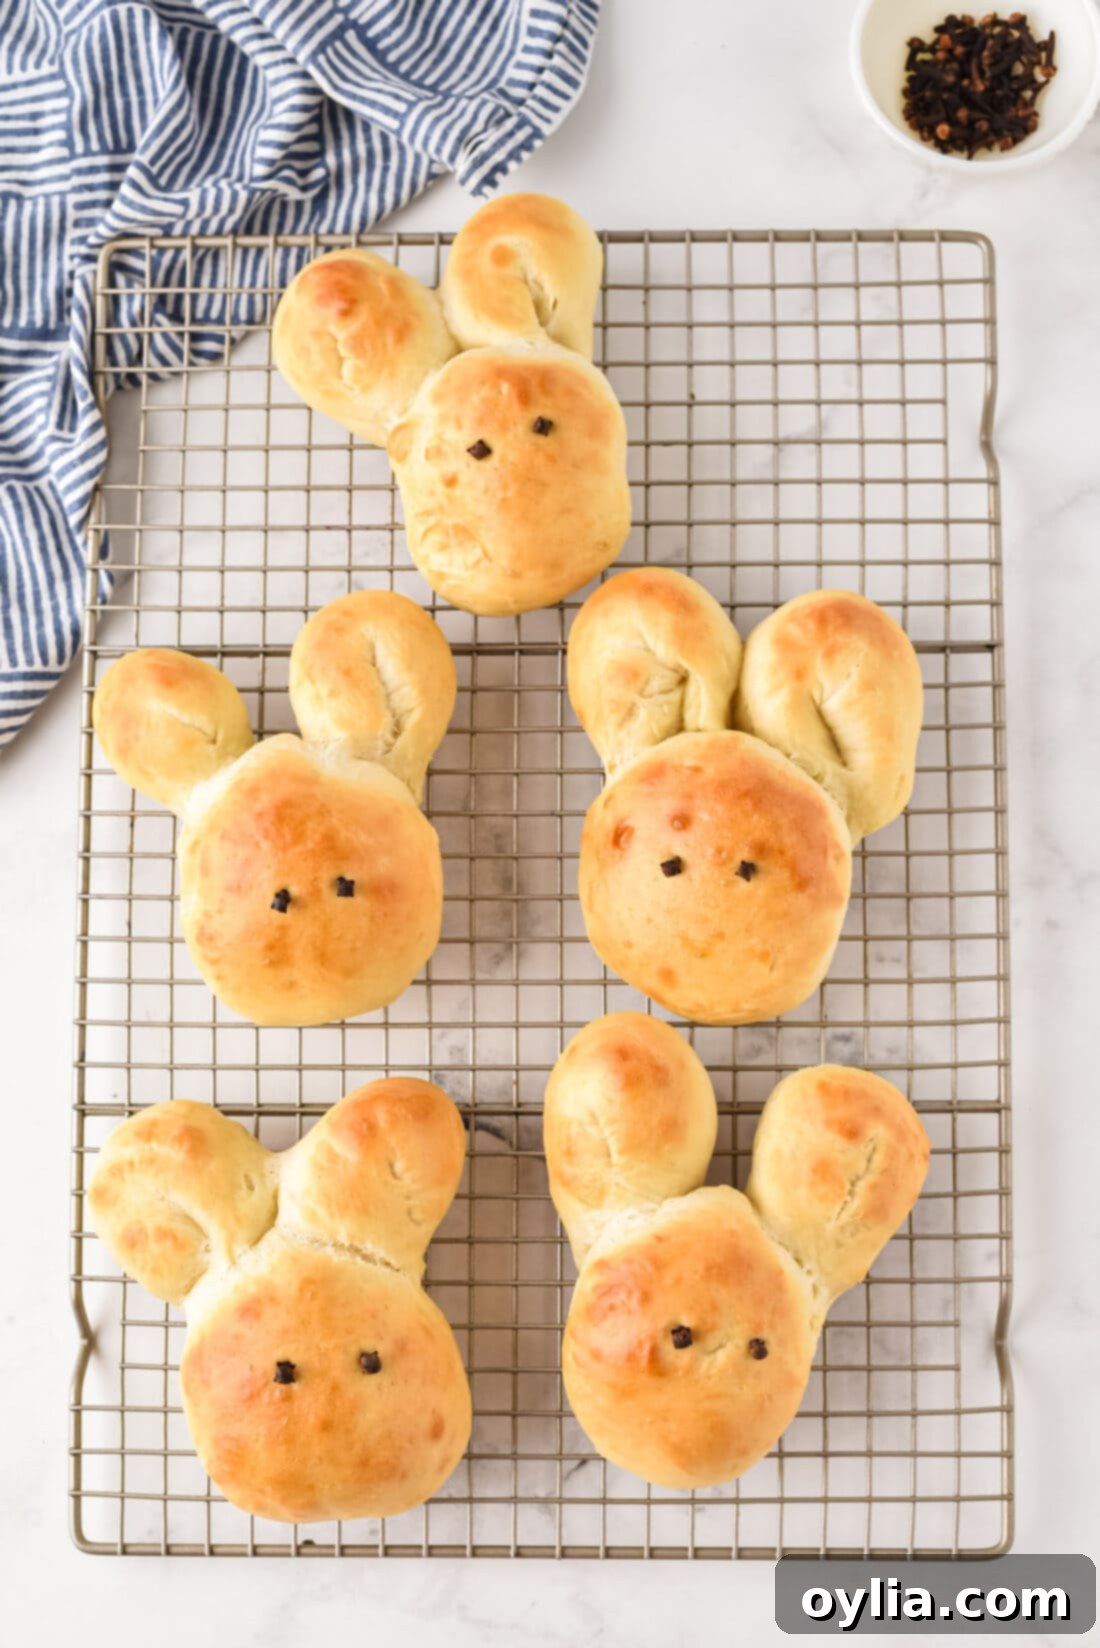
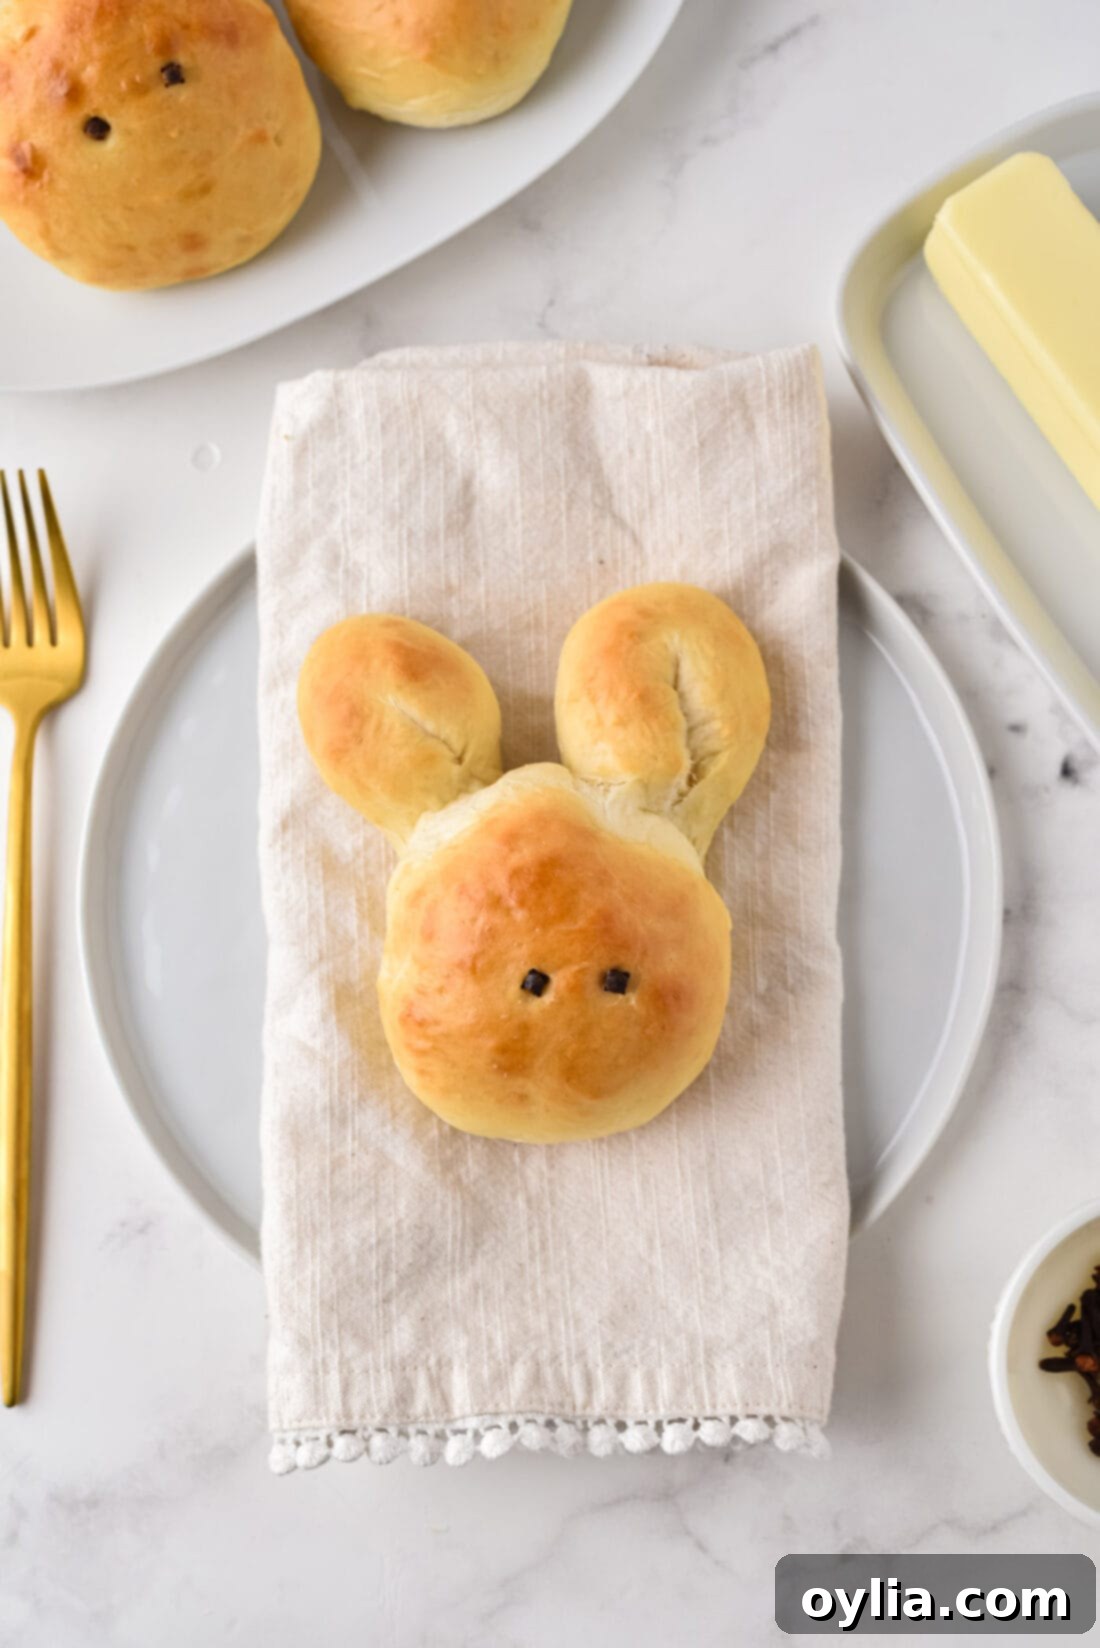
Easter dinner is a time for celebration, delicious food, and making cherished memories with loved ones. While sweet treats often steal the show, there’s something truly special about a homemade savory dish that adds warmth and charm to your holiday table. Our incredibly easy and fun-to-make bunny rolls are the perfect addition, guaranteed to bring smiles to every face. Starting with a soft, fluffy homemade dough, you’ll transform simple bread into adorable bunny shapes, complete with charming clove eyes. These delightful rolls are not just cute; they’re also incredibly simple to prepare, making them an ideal project for bakers of all skill levels, and especially a joy for kids to help with.
Why This Adorable Bunny Rolls Recipe is a Must-Try for Easter
These adorable bunny rolls aren’t just a pretty face; they are a fantastic recipe that perfectly balances festive charm with simple preparation. The secret to their incredible taste and texture lies in our easy homemade pull-apart dinner rolls recipe, which cleverly eliminates the need for any strenuous kneading. While you will need to set aside about an hour for the dough to rise to its pillowy perfection, the hands-on time is surprisingly minimal.
One of the biggest reasons this recipe shines is its family-friendly appeal. It’s a truly fun and engaging activity to get the kids involved in the kitchen. Imagine their delight as they help shape their very own bunny bread, turning simple dough into a magical Easter creature! This interactive experience not only creates delicious food but also fosters wonderful holiday memories.
In a season often overflowing with sweet Easter treats like chocolate eggs, hot cross buns, and sugary desserts, these savory bunny dinner rolls offer a delightful and much-needed balance. They bridge our love for all things Easter-themed with the comforting, universally adored goodness of soft, fluffy bread. The result is a unique, savory centerpiece that stands out, complementing any main course beautifully without adding more sweetness. Their golden-brown crust and tender interior make them irresistible straight from the oven, ready to be slathered with butter.
Key Ingredients for Your Homemade Easter Bunny Rolls
Crafting these delightful bunny rolls requires just a few basic ingredients, most of which you likely already have in your pantry. For all precise measurements, a detailed list of ingredients, and complete step-by-step instructions, please refer to the printable recipe version conveniently located at the end of this post. Here’s a quick overview of what you’ll need to gather:
Ingredient Information and Smart Substitution Suggestions
DOUGH: The Foundation of Your Fluffy Bunny Rolls
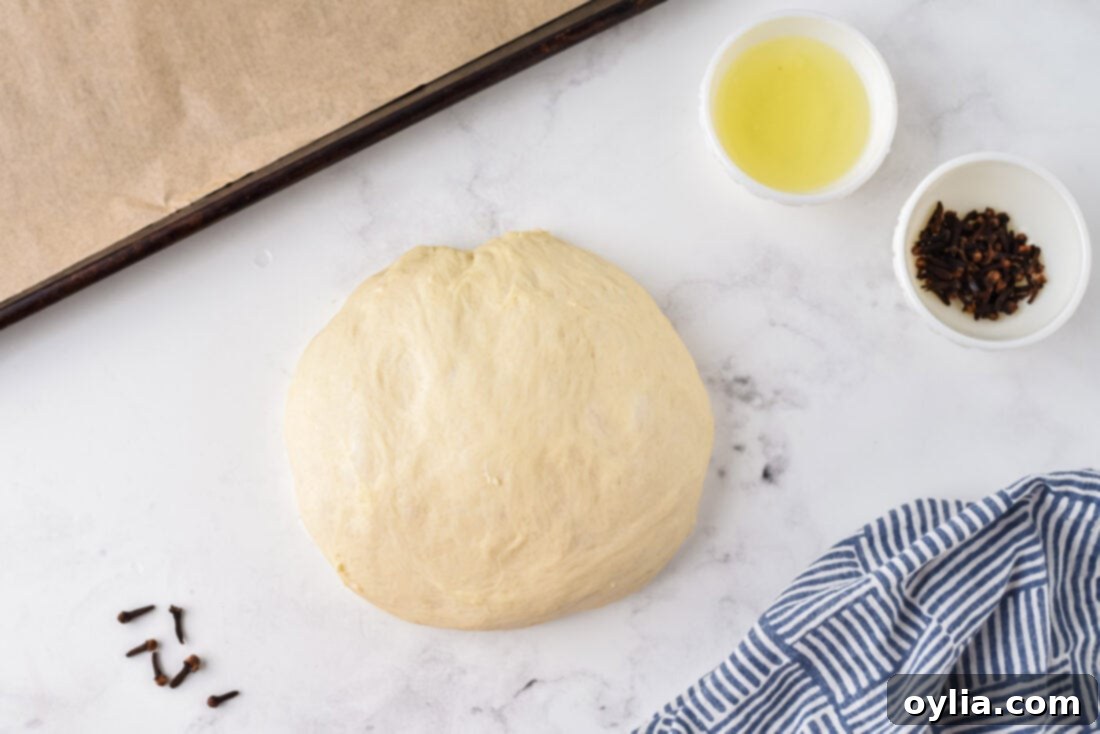
For these charming bunny rolls, we’ve utilized our incredibly popular and simple homemade pull-apart dinner rolls recipe as the base. This dough is specifically chosen for its light, airy texture and its remarkable ease of handling, making it perfect for shaping into intricate designs like bunnies without the fuss of traditional kneading. The key to its success lies in a combination of active dry yeast, warm milk, a touch of sugar to activate the yeast, flour for structure, and butter for richness, all contributing to a consistently soft and delicious outcome. We highly recommend visiting that dedicated post to get all the details on preparing this fantastic homemade dough, along with helpful tips and answers to frequently asked questions that will ensure your dough rises beautifully.
However, if time is of the essence or you prefer a shortcut, you have excellent alternatives! While our recipe excels with homemade dough, you can certainly achieve lovely bunny rolls using pre-made options. A can of Pillsbury French Bread dough is a convenient choice, offering a good base for shaping. Other store-bought options that can work in a pinch include refrigerated crescent roll dough sheets or even canned biscuit dough, though the shaping technique might need slight adjustments to account for their different textures and elasticity. Remember, the goal is deliciousness and fun, so choose the option that best suits your comfort level and schedule.
EGG WASH: For that Golden, Professional Finish
The egg wash might seem like a small detail, but it plays a crucial role in giving your bunny rolls that irresistible golden-brown color and a subtle sheen, making them look professionally baked. We strongly advise against skipping this step. We’ve experimented with alternatives, such as brushing the rolls with melted butter, and while the bread still baked through and tasted fine, it lacked the vibrant color and appealing crust that an egg wash provides. The egg white mixed with a touch of water creates a thin, protein-rich layer that caramelizes beautifully in the oven, enhancing both appearance and flavor.
If you have an egg allergy or prefer not to use eggs, there are a few alternatives to consider. A brush of milk or cream can offer a lighter golden hue, while a simple water wash will add shine but no color. For a slightly different effect, a very light brush of olive oil before baking can also provide a subtle crispness. However, for that classic, deeply golden Easter roll, the egg wash is truly the superior choice.
Choosing the Perfect Eyes for Your Bunny Rolls
For the charming eyes of our bunny rolls, whole cloves are our go-to choice. They offer a distinct, dark contrast that really makes the bunnies pop visually, and they hold up wonderfully during baking. However, feel free to get creative with substitutions based on what you have on hand or what you prefer for taste:
- Raisins: These are an excellent, slightly sweet alternative to cloves, especially if you prefer an edible eye that adds a touch of fruitiness. Make sure to press them firmly into the dough before baking.
- Mini Chocolate Chips: For a delightful, sweet surprise, mini chocolate chips work wonderfully. They melt slightly during baking but retain their shape enough to form cute eyes. This is a particularly popular choice with children!
- Poppy Seeds or Sesame Seeds: For a more subtle, speckled eye, a tiny pinch of poppy seeds or black sesame seeds can be used, creating a different aesthetic.
- Edible Food Markers: If you want to add details after baking and cooling, edible food markers (found in baking supply stores) can give you fine control over drawing eyes and even little noses or whiskers.
When using whole cloves, remember that they are primarily for decoration and should be removed before eating, especially for younger children. The other options mentioned are generally edible and add to the roll’s flavor.
Step-by-Step Guide: Crafting Your Adorable Bunny Rolls
These step-by-step photos and detailed instructions are here to guide you through each part of the process, helping you visualize how to create this delightful recipe. For the most convenient experience, you can Jump to Recipe to get the printable version of this recipe, complete with precise measurements and instructions at the bottom of the page.
Before You Begin: Essential Baking Tips
Before diving into shaping your bunny rolls, ensure your dough has had sufficient time to rise in a warm, draft-free environment. A well-risen dough is key to fluffy rolls. Also, lightly flour your work surface, but avoid using too much flour, as it can dry out the dough. Have your baking sheet ready, lined with parchment paper to prevent sticking and ensure easy cleanup.
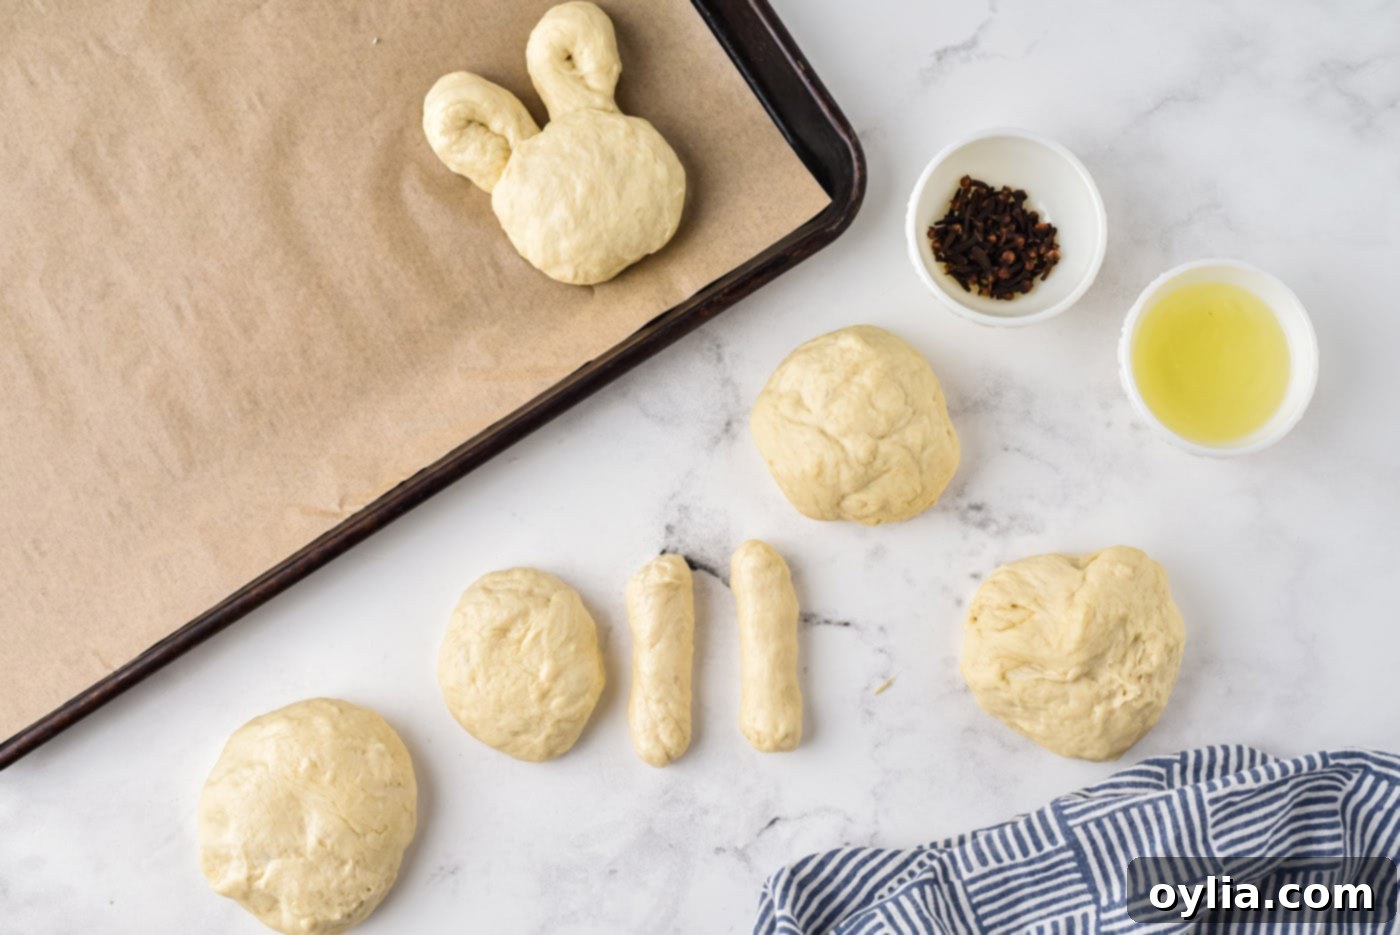
- Divide the Dough: Begin by sectioning your prepared dough into 5 equal, tennis-ball-sized portions. Aim for consistency here, as this will result in similarly sized bunny rolls. If you want smaller rolls, simply divide the dough into more pieces.
- Form the Bunny Head: Take one of the five dough balls. Divide this single ball into two pieces. Place one of these halves on a baking sheet that has been lined with parchment paper. This piece will form the main head of your adorable bunny.
-

- Prepare the Ears: Now, take the second half of that initial dough ball and divide it again into two smaller pieces. These two pieces will become the bunny’s ears. Roll each of these smaller dough pieces into an oval shape, roughly 2 inches long, resembling a miniature hot dog or a thin rope.
- Shape the Ears: Gently fold each 2-inch oval in half, bringing the two ends together. Then, give the folded end a small pinch to define the base of the ear, creating that characteristic bunny ear shape.
- Attach the Ears: Carefully tuck each shaped ear behind the bunny’s head that you’ve already placed on the baking sheet. Position them so they stand up slightly and look natural. Repeat this process for the second ear, ensuring they are evenly spaced.
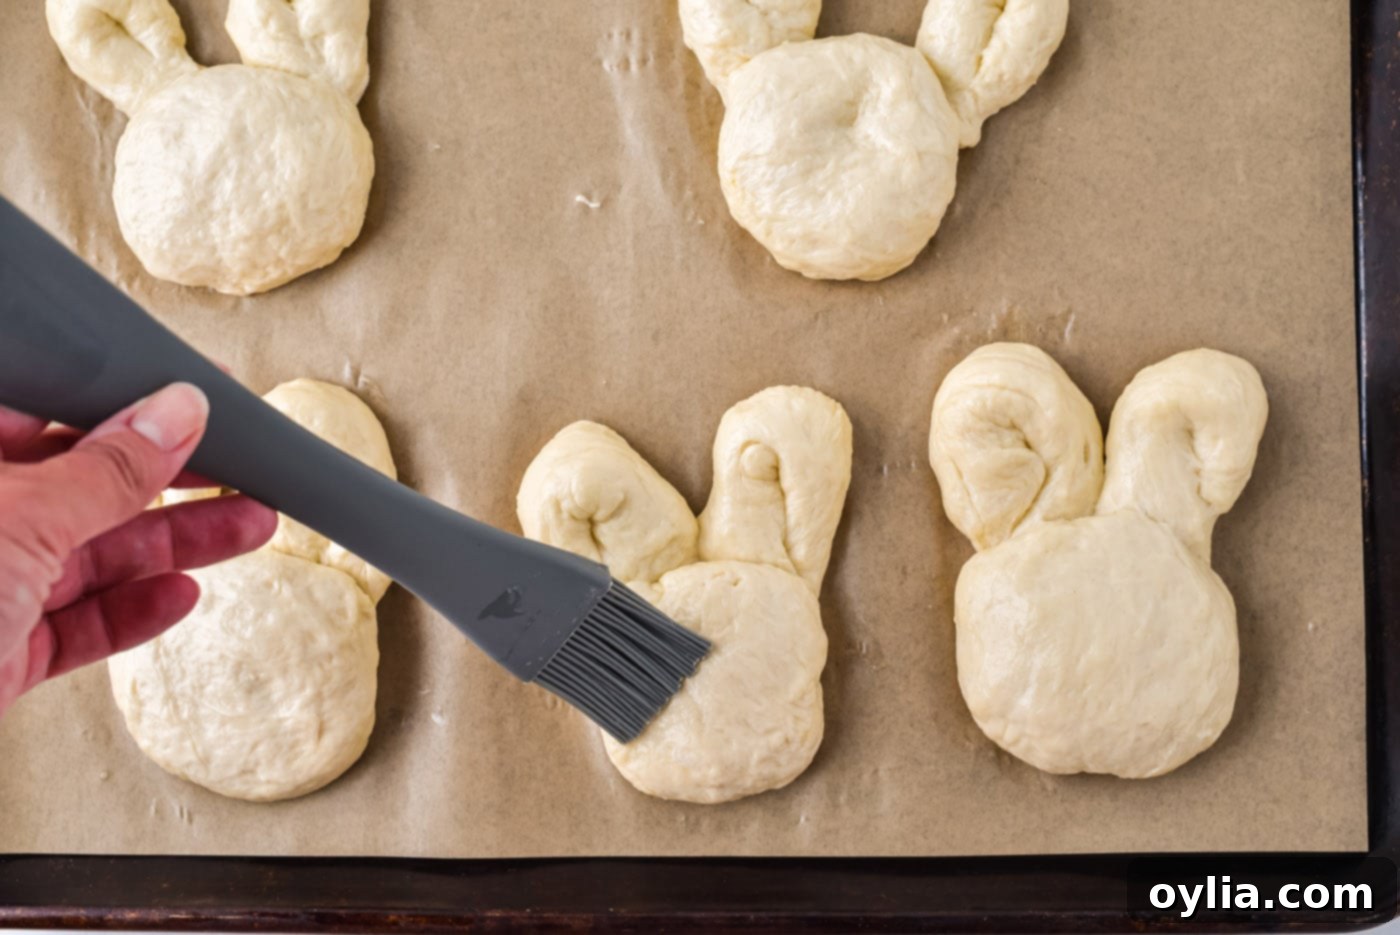
- Prepare the Egg Wash: In a small bowl, combine one egg white with a teaspoon of water. Whisk these ingredients together thoroughly until they are well combined and slightly frothy. This mixture will give your rolls a beautiful golden sheen.
- Brush with Egg Wash: Using a pastry brush, gently brush the tops and sides of each shaped bunny roll with the prepared egg wash. Be sure to get an even coating, as this is what contributes to the gorgeous color and slightly crisp exterior.
-

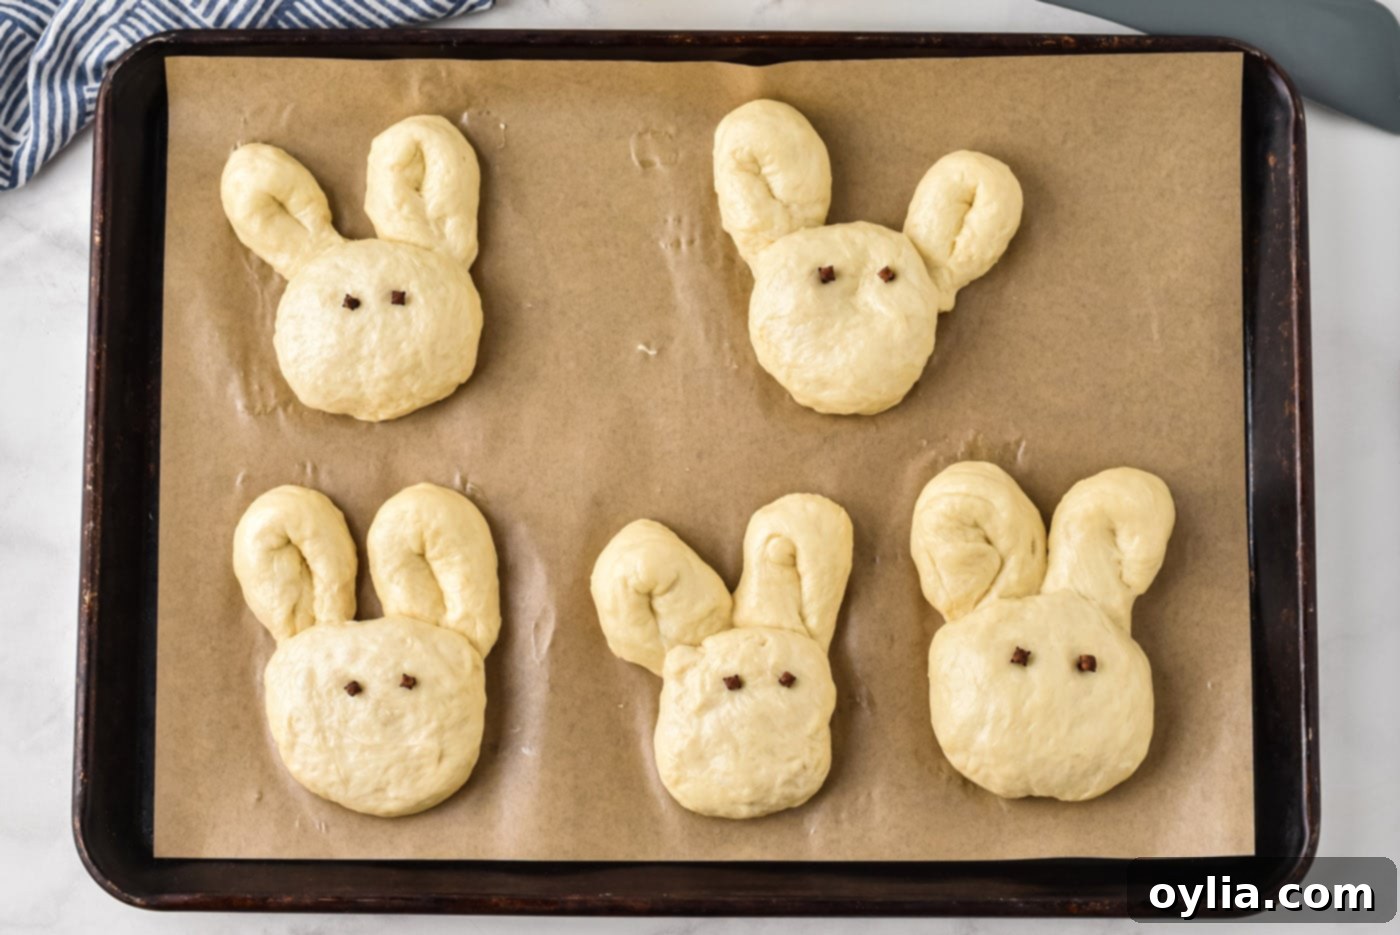
- Add the Eyes: For a charming touch, carefully push two whole cloves into each bunny head to form the eyes. Position them realistically to bring your little bread bunnies to life!
-

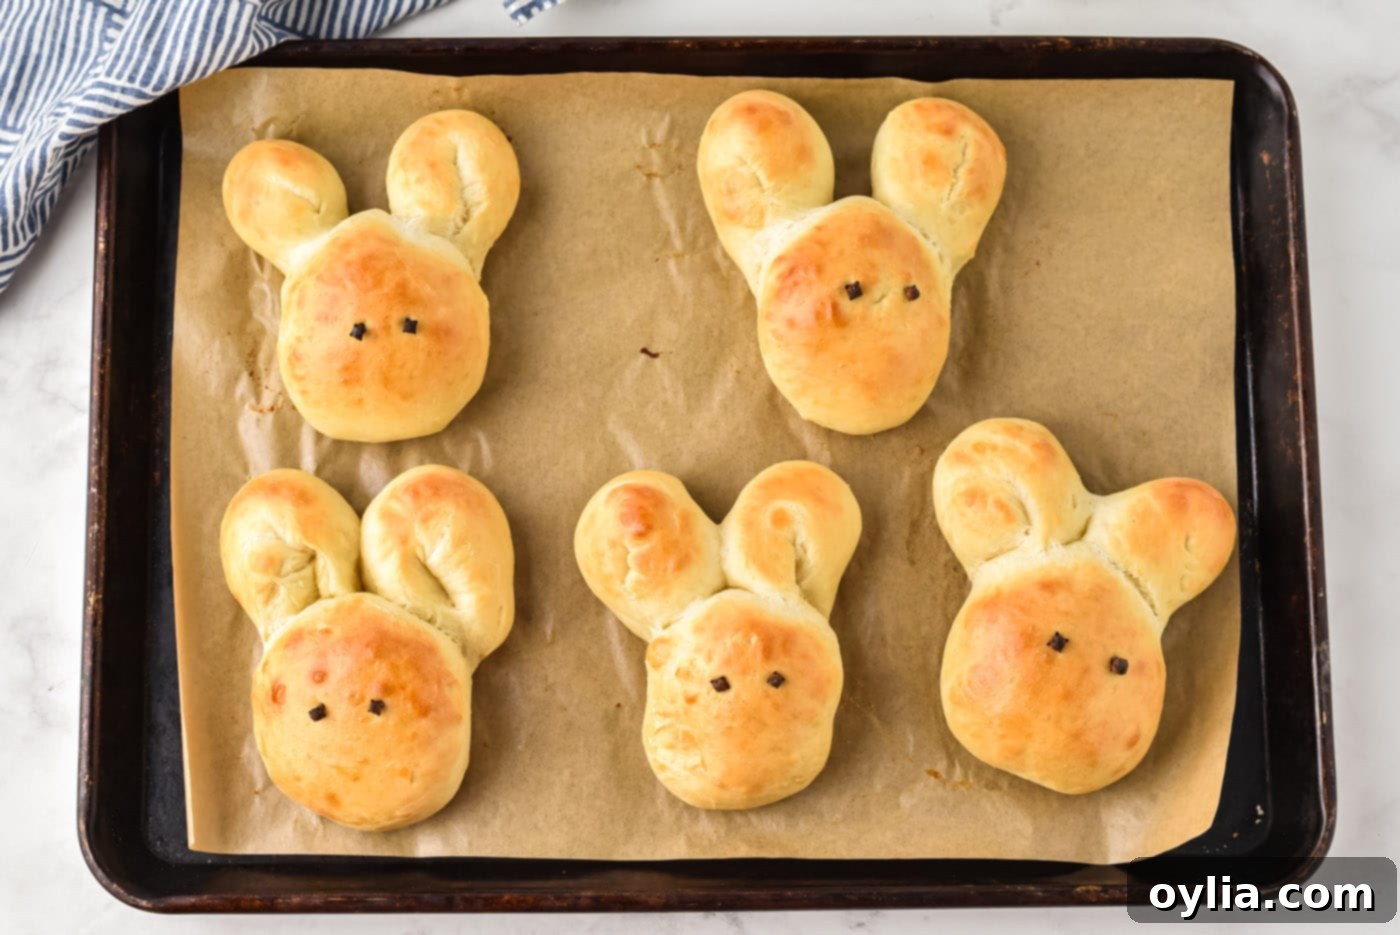
- Bake to Golden Perfection: Place your baking sheet in a preheated oven and bake the bunny rolls for approximately 15 minutes. Keep a close eye on them; they are done when they’ve turned a beautiful golden brown and sound hollow when tapped on the bottom.
-

Frequently Asked Questions & Expert Tips for Perfect Bunny Rolls
While whole cloves provide a distinct, traditional look, you have several creative options. You can certainly substitute them with small raisins or even mini chocolate chips if you prefer a tiny touch of sweetness. For a more sophisticated or subtle look, a sprinkle of black sesame seeds or poppy seeds could work. Just ensure whatever you choose is pressed firmly into the dough so it doesn’t fall out during baking. For younger children, edible food markers can be used to draw faces after the rolls have cooled, adding to the fun!
To keep your bunny rolls fresh and soft, allow them to cool completely after baking. Then, wrap them tightly in aluminum foil and place them in a sealed Ziploc bag or an airtight container. Stored at room temperature, they will remain delicious for up to 4 days. If you wish to store them for longer, they freeze beautifully! Simply wrap individual rolls or small batches tightly in foil and then place them in a freezer-safe bag. They can be frozen for up to 2-3 months. To reheat, thaw at room temperature if frozen, then warm in a preheated oven at 300°F (150°C) for about 5-10 minutes, or until warmed through.
Absolutely! This recipe is very flexible when it comes to size. You can easily make the bunnies smaller if preferred, perhaps for individual serving sizes or as a decorative element on each plate. If making them smaller, simply divide your initial dough ball into more pieces to get more bunny heads. Conversely, if you want larger, more substantial rolls, divide the dough into fewer portions. Just remember to keep an eye on them in the oven, as smaller rolls will bake faster, and larger rolls will require a bit more time to cook through to a golden brown perfection.
Yes, you can certainly prepare parts of this recipe in advance! You can make the dough the day before and let it do its first rise in the refrigerator overnight. This slows down the proofing process, allowing you to shape the rolls the next morning. Alternatively, you can shape the bunny rolls, place them on a parchment-lined baking sheet, cover them loosely with plastic wrap, and refrigerate them for 8-12 hours for a slow second rise. When ready to bake, remove them from the fridge 30 minutes before baking to come closer to room temperature, then proceed with the egg wash and baking instructions.
Achieving fluffy rolls depends on a few key factors. First, ensure your yeast is active by proofing it in warm (not hot!) liquid with a pinch of sugar. Second, allow the dough to rise in a warm, draft-free place for the recommended time – this helps develop the gluten and create air pockets. Third, avoid overworking the dough, especially after the first rise, as this can make the rolls tough. Finally, be careful not to overbake them. Baking until just golden brown will keep them tender and moist on the inside. An inexpensive oven thermometer can also help ensure your oven is at the correct temperature.
Delightful Serving Suggestions for Your Easter Bunny Rolls
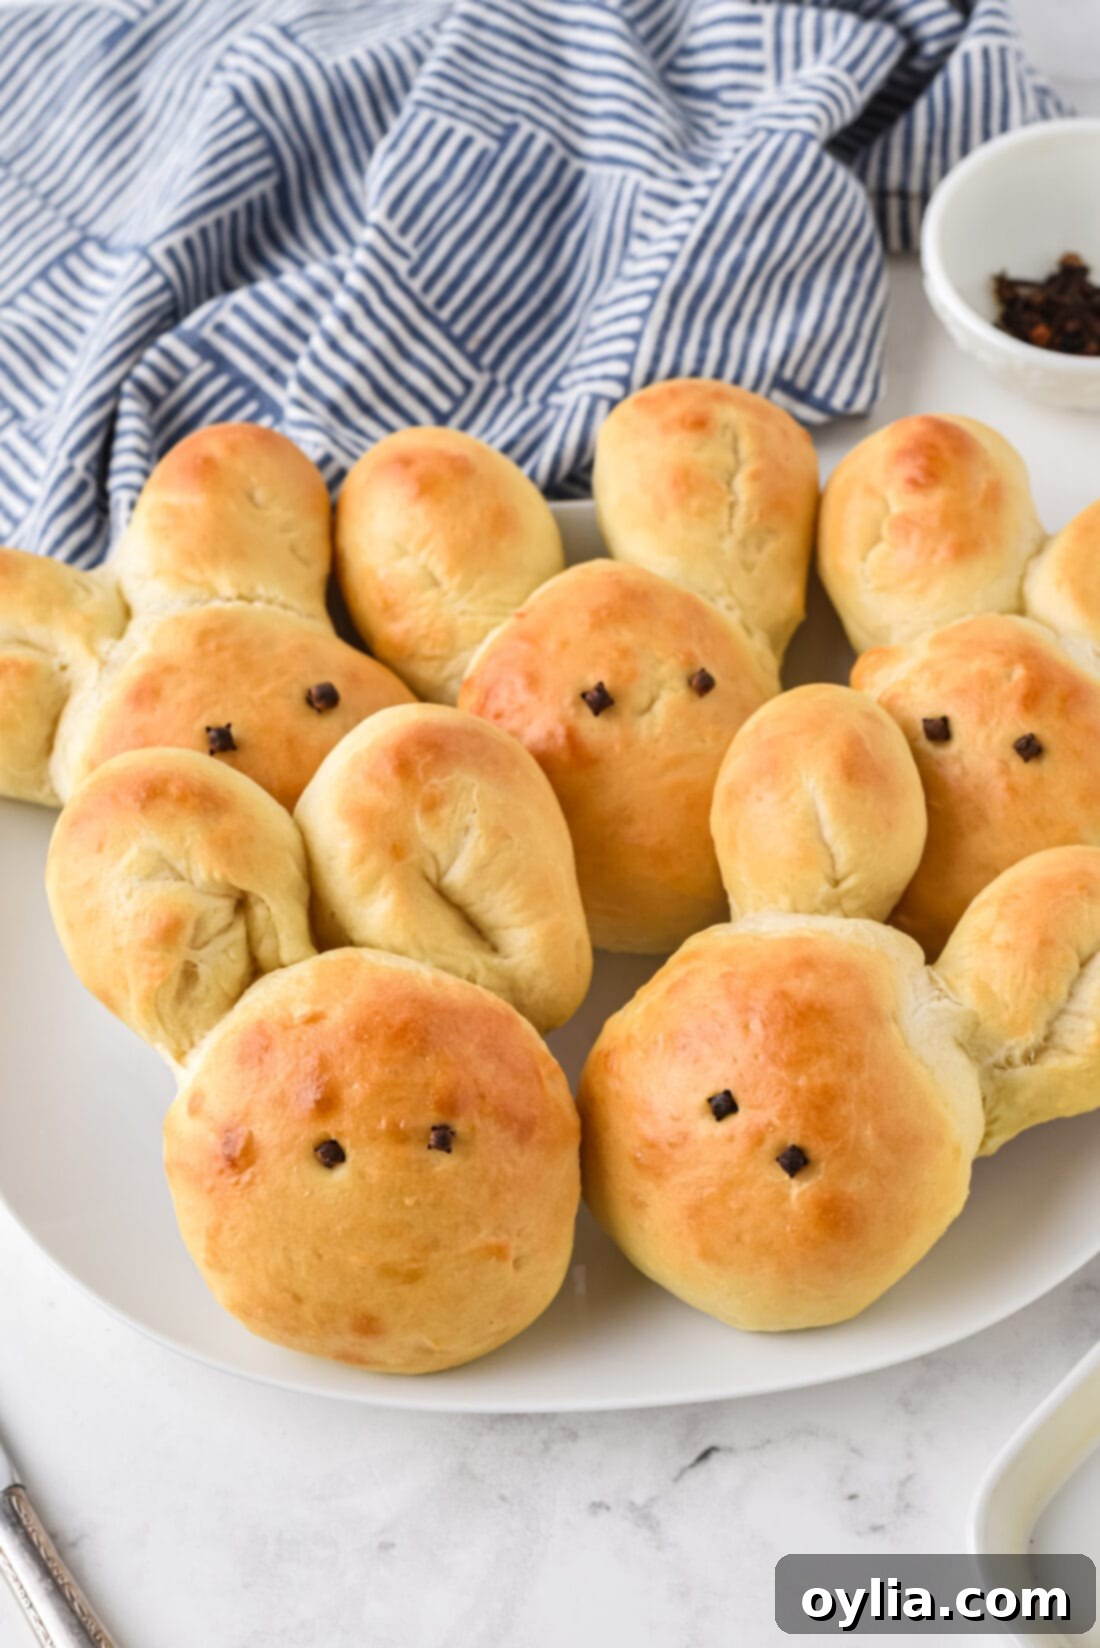
These charming bunny rolls are incredibly versatile and make a delightful addition to any Easter feast. Serve them warm, straight from the oven, alongside your main Easter dinner dishes. They pair exceptionally well with traditional holiday meats such as glazed ham, roasted lamb, or a succulent chicken or turkey. Their fluffy texture and slightly savory flavor also complement a wide array of roasted vegetables, mashed potatoes, or a fresh spring salad.
For an extra touch of indulgence, slice them open and top with a generous pat of butter – plain, herb-infused, or even a sweet honey butter for a slight contrast. They also make fantastic miniature sandwiches if you have any leftovers. Imagine tiny ham and cheese sliders or even egg salad tucked into these cute rolls! However you choose to enjoy them, these bunny rolls are sure to be a conversation starter and a memorable part of your Easter celebration. Enjoy every soft, warm bite!
Explore More Festive Easter Recipes
Looking for more inspiration to complete your Easter menu? We’ve gathered some of our favorite holiday recipes, ranging from sweet to savory, that are perfect for celebrating spring:
- Classic Hot Cross Buns
- Fun & Festive Easter Dirt Cake
- Creamy Au Gratin Potatoes
- Flavorful Orange Bourbon Glazed Ham
- Sweet Easter Bunny Pull Apart Bread
- Adorable Bunny Butt Pancakes
I absolutely adore spending time in the kitchen, experimenting with new recipes, and sharing my culinary experiences with all of you! Remembering to come back each day for new delights can sometimes be a challenge, which is why I offer a convenient newsletter every time a fresh recipe is posted. Simply subscribe here and start receiving your free daily recipes directly in your inbox!
Bunny Rolls
IMPORTANT – There are often Frequently Asked Questions within the blog post that you may find helpful. Simply scroll back up to read them!
Print It
Pin It
Rate It
Save It
Saved!
Ingredients
- Homemade Pull Apart Dinner Rolls Recipe for the dough
- 1 egg white
- 1 tsp water
- 10 whole cloves for the eyes
Things You’ll Need
-
Baking sheet
Important Notes & Pro Tips
- You can easily adjust the size of your bunny rolls. If you make them smaller, be sure to keep a closer eye on them in the oven, as their baking time will decrease.
- For the bunny eyes, feel free to get creative! Raisins or even mini chocolate chips are fantastic edible alternatives to whole cloves, especially if serving to children.
- To store any leftover rolls, allow them to cool completely. Then, wrap them tightly in aluminum foil and place them in a sealed ziptop bag. They will stay fresh and delicious at room temperature for up to 4 days.
- If you’re opting for a shortcut, 1-2 tubes of store-bought Pillsbury French Bread dough can be used as a convenient base for shaping your rolls. Alternatively, any favorite basic bread dough recipe will work well.
- To reheat refrigerated or frozen rolls, allow them to come to room temperature, then warm in a preheated oven at 300°F (150°C) for 5-10 minutes.
Instructions
-
Divide your prepared dough into 5 tennis-ball-sized portions.
-
Working with one of the five dough balls at a time, divide it into two pieces. Place one half on a baking sheet lined with parchment paper; this will be the bunny’s head.
-
Divide the second half of that dough ball into two smaller pieces. Roll each of these pieces into a 2-inch hot dog shaped oval to form the ears.
-
Fold each oval in half and gently pinch the folded end to create the ear shape.
-
Carefully tuck each shaped ear behind the bunny’s head on the baking sheet. Repeat for the second ear.
-
In a small bowl, combine the egg white and a teaspoon of water, mixing well to create the egg wash.
-
Using a pastry brush, lightly brush the tops of all the shaped bunnies with the egg wash for a golden finish.
-
Carefully push two whole cloves into each bunny head to form the eyes.
-
Bake the bunny rolls for approximately 15 minutes, or until they turn a beautiful golden brown. Serve warm and enjoy!
The recipes on this blog are tested with a conventional gas oven and gas stovetop. It’s important to note that some ovens, especially as they age, can cook and bake inconsistently. Using an inexpensive oven thermometer can assure you that your oven is truly heating to the proper temperature. If you use a toaster oven or countertop oven, please keep in mind that they may not distribute heat the same as a conventional full sized oven and you may need to adjust your cooking/baking times. In the case of recipes made with a pressure cooker, air fryer, slow cooker, or other appliance, a link to the appliances we use is listed within each respective recipe. For baking recipes where measurements are given by weight, please note that results may not be the same if cups are used instead, and we can’t guarantee success with that method.
