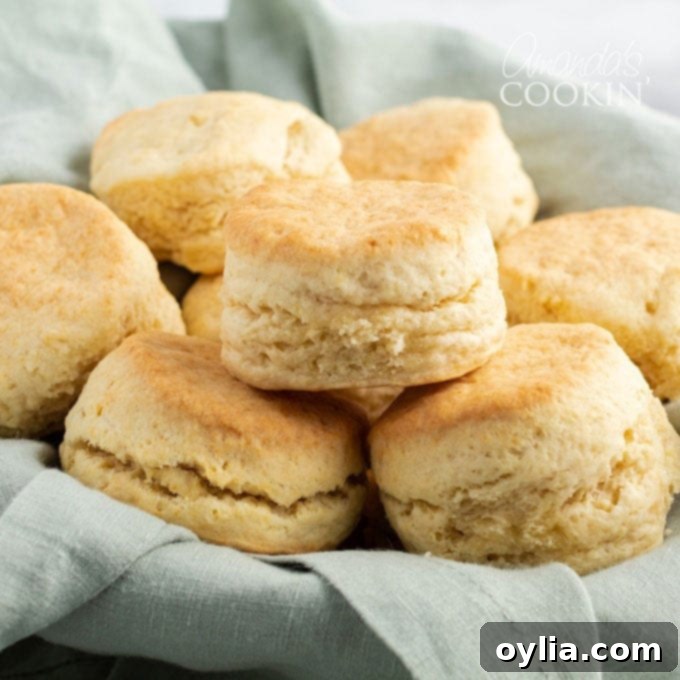
Ultimate Flaky 5-Ingredient Homemade Biscuits: Quick & Easy Recipe
There’s nothing quite like the comforting aroma and taste of freshly baked homemade biscuits. Warm, fluffy, and boasting those coveted flaky layers, they’re an absolute delight at any time of year. While often associated with holiday feasts and festive tables, these delectable treats are incredibly versatile and simple enough to whip up on a whim for a weeknight dinner or a special weekend breakfast. And the best part? Our recipe calls for just 5 basic ingredients and comes together with astonishing speed, allowing you to enjoy warm, golden biscuits on your table in approximately half an hour from start to finish. Get ready to impress your family and friends with this foolproof method for the most perfect, tender, and irresistible biscuits you’ve ever made.
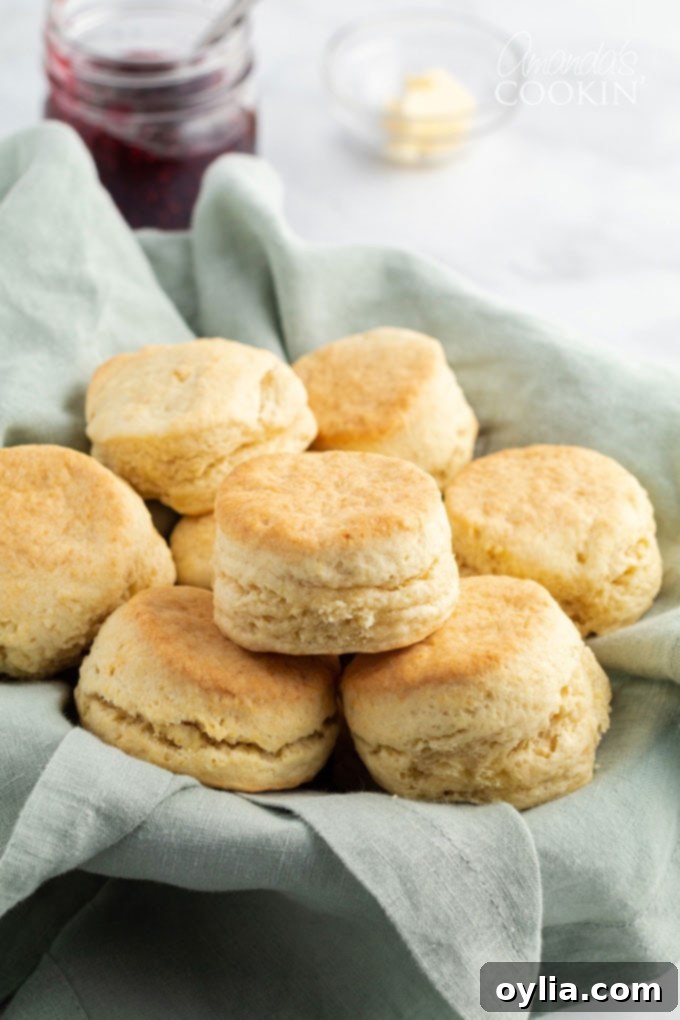
Why You’ll Adore This 5-Ingredient Biscuit Recipe
If you’re searching for a quick, reliable, and absolutely delicious biscuit recipe, your quest ends here. This particular method consistently delivers biscuits that are not only beautiful to look at but also incredibly satisfying to eat. Here’s why this recipe stands out as a true favorite:
- Unbeatable Speed: From mixing bowl to oven, and then to your plate, these biscuits are ready in about 30 minutes. It’s an ideal recipe for when you need a quick addition to your meal without a lot of fuss.
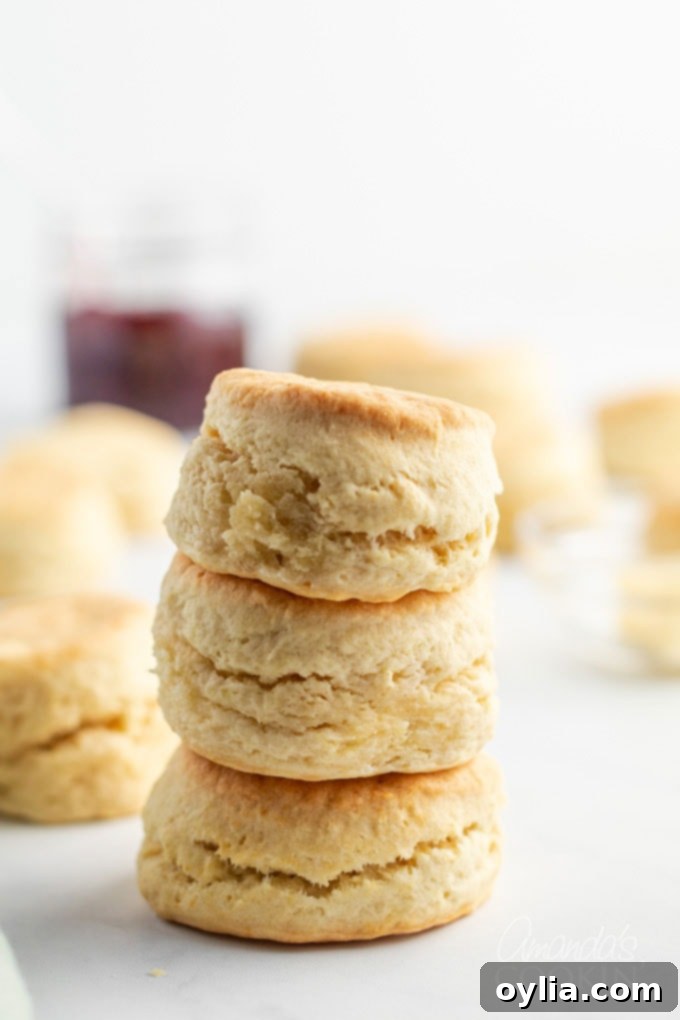
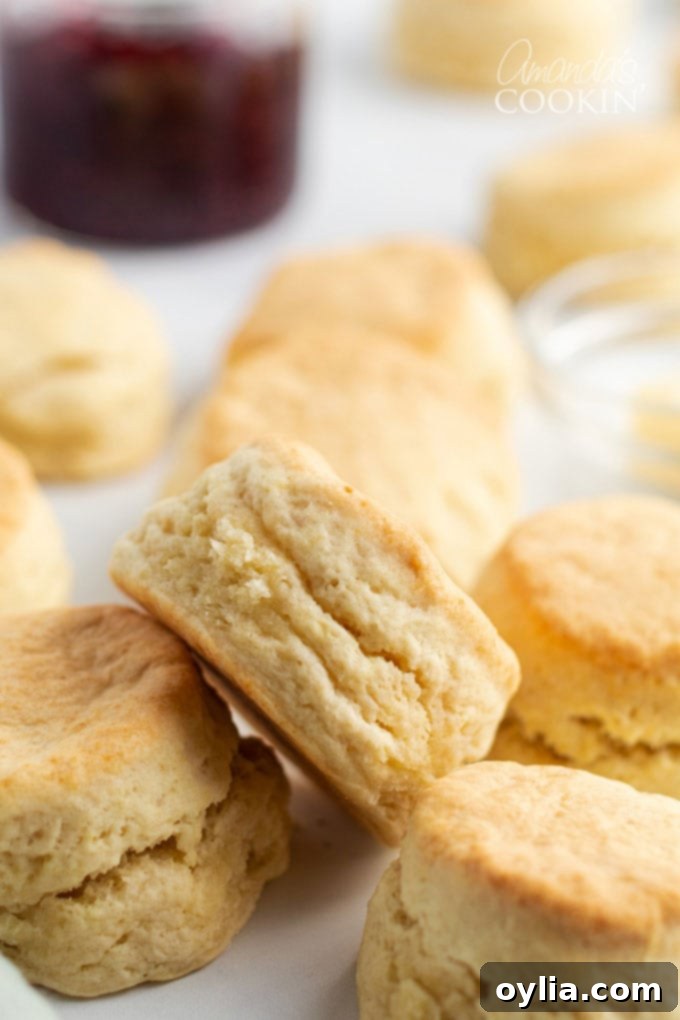
- Perfectly Flaky Texture: The secret lies in the simple technique and the star ingredient, heavy cream. This combination ensures light, airy layers that melt in your mouth with every bite.
- Impressive Rise: You’ll be amazed at how tall and proud these biscuits bake up, creating that classic, inviting appearance that makes them so appealing.
- Only 5 Essential Ingredients: Forget long ingredient lists! With just flour, baking powder, sugar, salt, and heavy cream, you likely already have everything you need in your pantry.
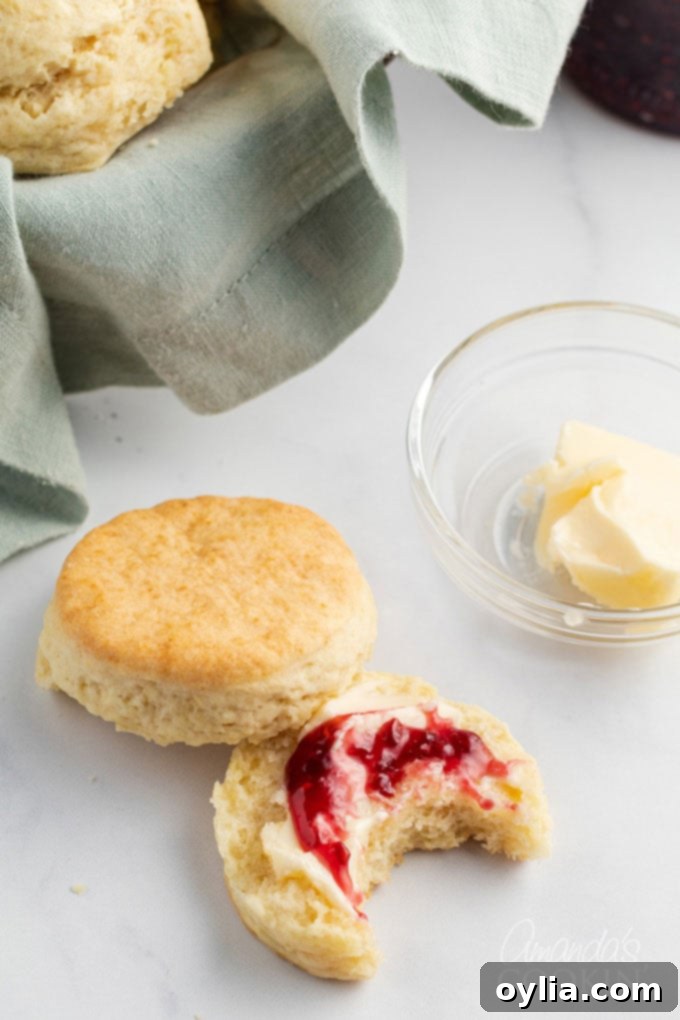
- Ultimate Comfort Food: Biscuits are a beloved staple across many tables, offering a heartwarming comfort that’s hard to beat. They’re perfect smeared with butter and homemade jam for breakfast, or as a foundational component for the classic Southern favorite, Biscuits and Gravy. Their versatility makes them a welcome addition to countless meals.
Simple Ingredients for the Best Homemade Biscuits
One of the most appealing aspects of this recipe is its minimal ingredient list. You don’t need fancy components or an overflowing pantry. The magic happens with just five common items, primarily thanks to the clever use of heavy cream.
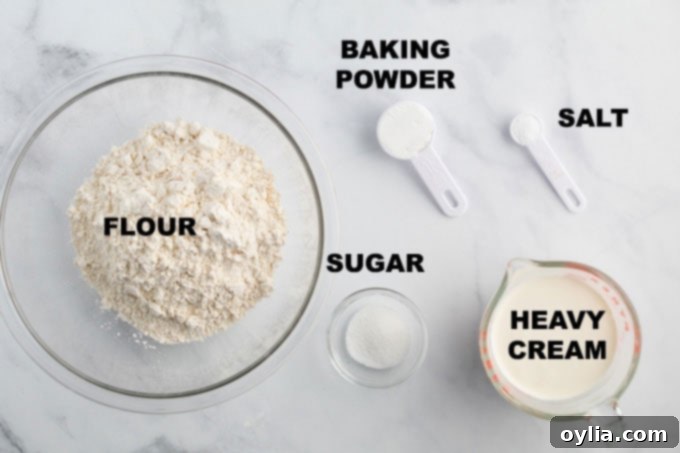
Find all precise measurements, a complete list of ingredients, and detailed instructions in the printable recipe card located at the conclusion of this post.
Here’s what you’ll need:
- Dry Ingredients:
- All-purpose flour: The foundation of our biscuits, providing structure.
- Baking powder: The primary leavening agent that gives these biscuits their incredible lift and fluffiness.
- Granulated sugar: A touch of sweetness that balances the flavors and aids in browning.
- Salt: Essential for enhancing all the other flavors.
- Wet Ingredient:
- Heavy whipping cream: This is the superstar ingredient! In this recipe, heavy cream pulls double duty, providing both the necessary liquid and all the fat required for tender, rich biscuits. This means no need for separate butter and milk, simplifying the process and cleaning up. The high fat content in heavy cream creates an exceptionally tender crumb and promotes those beautiful flaky layers.
How to Master Making Flaky Homemade Biscuits
These step-by-step photographs and accompanying instructions are designed to visually guide you through the process of making this delightful recipe. For a concise, printable version of the instructions, please scroll down to the full recipe card at the bottom of the page.
Creating these perfect biscuits is a straightforward process, even for novice bakers. Follow these simple steps for a truly rewarding baking experience:
- Prepare Your Workspace and Oven: Begin by preheating your oven to 425 degrees F (220 degrees C). This high heat is crucial for a quick rise and golden crust. Line your baking sheet with parchment paper or a silicone baking mat to prevent sticking and ensure even baking.
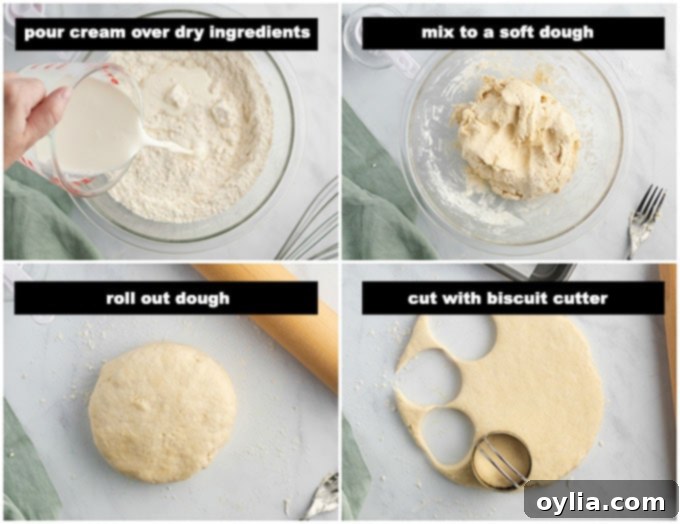
- Combine Dry Ingredients: In a medium-sized mixing bowl, whisk together the all-purpose flour, baking powder, granulated sugar, and salt until well combined. Whisking helps to aerate the flour and evenly distribute the leavening agents.
- Incorporate the Cream: Pour about 1 cup of the heavy cream over the dry ingredients. Using a fork, gently start tossing the ingredients together. The goal is to bring the dough together without overworking it. If the dough still appears too dry or crumbly, add more cream, one tablespoon at a time, until you achieve a soft, shaggy, and moist dough that just comes together.
- Light Kneading: Briefly reach into the bowl with your hands and give the dough a quick, gentle kneading. Three to four turns are usually sufficient. This minimal kneading is just enough to bring everything into a cohesive ball without developing the gluten too much, which would result in tough biscuits.
- Roll and Cut: Lightly dust a clean work surface with a little flour. Turn the dough out onto this surface. Dust the top of the dough very lightly with flour to prevent sticking, then gently pat it out with your hands or use a rolling pin until it is approximately 1/2 inch thick. Don’t strive for perfect uniformity; a quick, light touch is far more important for tenderness than precise thickness.
- Cut Out Biscuits: Use a biscuit cutter (or even the rim of a glass) to cut out as many biscuits as you can from the dough. To maximize your yield, try to cut the biscuits as close to one another as possible in this initial round.
- Transfer to Baking Sheet: Carefully transfer the cut biscuits to your prepared baking sheet, either by hand or with a small spatula.
- Re-roll Scraps (Gently): Gather the dough scraps together. Work them as little as possible – simply pat them out to the same 1/2-inch thickness and cut out any additional biscuits. Transfer these to the baking sheet as well. Remember, less handling equals more tender biscuits!
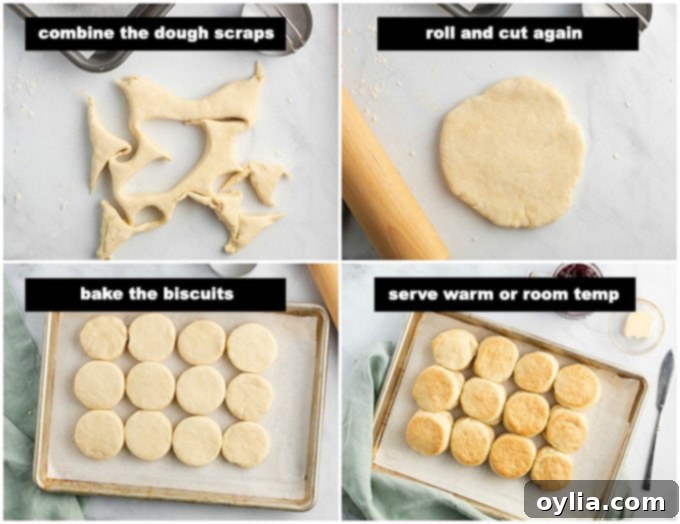
- Bake to Golden Perfection: Bake the biscuits for 14 to 18 minutes. Keep an eye on them; they are ready when they are beautifully tall, visibly puffed, and have achieved a glorious golden-brown color on top.
- Serve Immediately: Once baked, transfer the hot biscuits to a serving basket. Ideally, these biscuits should be served warm, straight from the oven, perhaps with a pat of cold, sweet butter or your favorite spread.
Pro Tips for Perfect Flaky Biscuits Every Time
Achieving biscuit perfection is easier than you think with these expert tips:
- Don’t Overwork the Dough: This is perhaps the most crucial rule for tender biscuits. Over-kneading or over-handling the dough develops too much gluten, resulting in tough, dense biscuits instead of light, flaky ones. Work quickly and gently.
- Freezing for Future Enjoyment: You can prepare these biscuits up to the point of baking and then freeze them! Arrange the cut biscuits on a baking sheet and freeze until solid. Once frozen, transfer them to an airtight freezer-safe bag or container. They will keep well in the freezer for up to 2 months. When you’re ready to bake, there’s no need to defrost; simply add a couple of extra minutes to the baking time, and bake from frozen.
- The Best Way to Serve: For the ultimate experience, serve these biscuits as soon as they come out of the oven. The contrast of the warm, fluffy biscuit with cold, sweet butter melting into its layers is truly divine.
- Storing Leftovers (and Managing Expectations): While best enjoyed fresh, you can store leftover biscuits in a plastic bag overnight. A quick warm-up in the oven the next day will make them palatable, but be aware that they won’t fully regain their original, freshly baked flakiness.
- Use Cold Heavy Cream: Just like with butter in traditional biscuit recipes, keeping your heavy cream cold helps create steam in the oven, contributing to those flaky layers.
- Clean Cuts: When cutting the biscuits, press straight down with your cutter rather than twisting. Twisting can seal the edges of the biscuit, inhibiting its rise and flakiness.
What to Serve Alongside Your Homemade Biscuits
These versatile biscuits are the perfect accompaniment to a wide variety of meals, elevating simple dishes into comforting feasts. Here are some delectable pairing ideas:
- Hearty Stews: There’s nothing quite like dipping a warm, flaky biscuit into the rich gravy of a Crockpot Beef Stew on a chilly evening. The biscuit soaks up every bit of flavor, creating pure bliss. Similarly, they pair wonderfully with my flavorful Dutch Oven Goulash.
- Chili: While homemade sweet cornbread is a classic with chili, a warm biscuit is an equally amazing choice, offering a lighter, flakier texture to scoop up that spicy goodness.
- Pot Roasts: These biscuits are an absolute dream alongside slow-cooked beef dishes. They perfectly complement the savory juices of my favorite Crockpot Roast Beef or the incredibly tender Mississippi Pot Roast, acting as a delicious sponge for all the flavorful pan drippings.
- Breakfast Spreads: Beyond gravy, serve them with an array of jams, jellies, honey, or fruit butters for a delightful breakfast or brunch.
- Fried Chicken: For a true Southern feast, pair these flaky biscuits with crispy fried chicken. It’s a match made in culinary heaven.
- Soups: A simple bowl of creamy tomato soup or a chunky vegetable soup becomes a more substantial and satisfying meal with a biscuit on the side.
This beloved recipe hails from my early “Tuesdays with Dorie” baking days back in the mid-2000s, a testament to its timeless appeal and reliability. You can find the original version on page 23 of Dorie Greenspan’s highly acclaimed cookbook, Baking From My Home to Yours. It’s a true classic!
I am passionate about sharing my favorite baking and cooking recipes with you! I understand that it can be challenging to remember to revisit and search for new ideas, so I’ve made it effortless with my convenient weekly newsletter! You can subscribe for free, and I’ll send a curated selection of delicious recipes directly to your email inbox every single week, ensuring you never miss out on culinary inspiration.
Explore More Delicious Bread and Roll Recipes
If you’ve enjoyed making these easy homemade biscuits, you might love exploring some of our other fantastic bread and roll recipes. They’re perfect for any meal or occasion!
- Irresistible Garlic Knots
- Flavorful Parmesan Garlic Rolls
- Sweet & Soft Homemade Hawaiian Rolls
- Easy Pull Apart Dinner Rolls
- Crispy Air Fryer Garlic Parmesan Twists
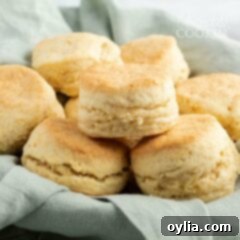
Homemade Biscuits
IMPORTANT – There are often Frequently Asked Questions within the blog post that you may find helpful. Simply scroll back up to read them!
Print It
Rate It
Save ItSaved!
Ingredients
- 2 cups all-purpose flour
- 1 Tbsp. baking powder
- 2 tsp. sugar
- ½ tsp. salt
- 1 ¼ cups heavy whipping cream
Things You’ll Need
-
Biscuit cutters
-
Whisk
-
Mixing bowls
-
Measuring cups and spoons
-
Rolling pin
-
Baking sheets
-
Silicone baking mat
Before You Begin
- Freezing: The biscuits can be prepared up to the point of baking and then frozen on the baking sheet. Once frozen solid, wrap them airtight and store in the freezer for up to 2 months. Bake directly from frozen – just add an additional couple of minutes to the oven time.
- Serving: For the ultimate tender and flaky experience, these biscuits are best served immediately, straight from the oven, ideally with cold, sweet butter.
- Storing: Leftover biscuits can be kept in a plastic bag overnight. While they can be warmed up in the oven the next day, please note that they will not fully recapture their original freshly-made flakiness and tenderness.
Instructions
-
Get Ready: Position an oven rack in the center of your oven and preheat to 425°F (220°C). Prepare a baking sheet by lining it with parchment paper or a silicone baking mat. Have a sharp 2-inch-diameter biscuit cutter (or a similarly sized glass) ready.
-
Mix Dough: In a medium bowl, whisk together the flour, baking powder, sugar, and salt. Pour approximately 1 cup of cold heavy cream over the dry ingredients. Using a fork, begin to gently toss the mixture. If the dough seems too dry, gradually add more cream, one spoonful at a time, until a soft, shaggy dough forms. Now, reach into the bowl with your hands and give the dough a quick, gentle knead—3 to 4 turns are enough to just bring everything together. Avoid overworking it.
-
Shape Dough: Lightly dust your work surface with flour and turn the dough out. Dust the top of the dough very lightly with flour. Gently pat the dough with your hands or use a rolling pin to flatten it to about 1/2 inch thick. Remember, a light touch is more important for tenderness than perfect accuracy.
-
Cut & Arrange: Use your biscuit cutter to cut out as many biscuits as possible, positioning cuts close together to maximize yield from the first round. Transfer these cut biscuits to the prepared baking sheet using your hand or a small spatula. Gather the remaining dough scraps, press them together with minimal handling, pat them out to 1/2-inch thickness, and cut any additional biscuits. Transfer these to the baking sheet. (At this stage, biscuits can be frozen. Place on a baking sheet until solid, then wrap airtight and store for up to 2 months. Bake from frozen, adding a few extra minutes to the baking time.)
-
Bake & Serve: Bake the biscuits for 14 to 18 minutes, or until they are impressively tall, beautifully puffed, and a gorgeous golden brown. Once done, transfer them immediately to a serving basket and enjoy warm.
Nutrition
The recipes on this blog are tested with a conventional gas oven and gas stovetop. It’s important to note that some ovens, especially as they age, can cook and bake inconsistently. Using an inexpensive oven thermometer can assure you that your oven is truly heating to the proper temperature. If you use a toaster oven or countertop oven, please keep in mind that they may not distribute heat the same as a conventional full sized oven and you may need to adjust your cooking/baking times. In the case of recipes made with a pressure cooker, air fryer, slow cooker, or other appliance, a link to the appliances we use is listed within each respective recipe. For baking recipes where measurements are given by weight, please note that results may not be the same if cups are used instead, and we can’t guarantee success with that method.
This post was originally published on Apr 20, 2010, and has been updated to provide even more comprehensive tips and delicious serving suggestions.
