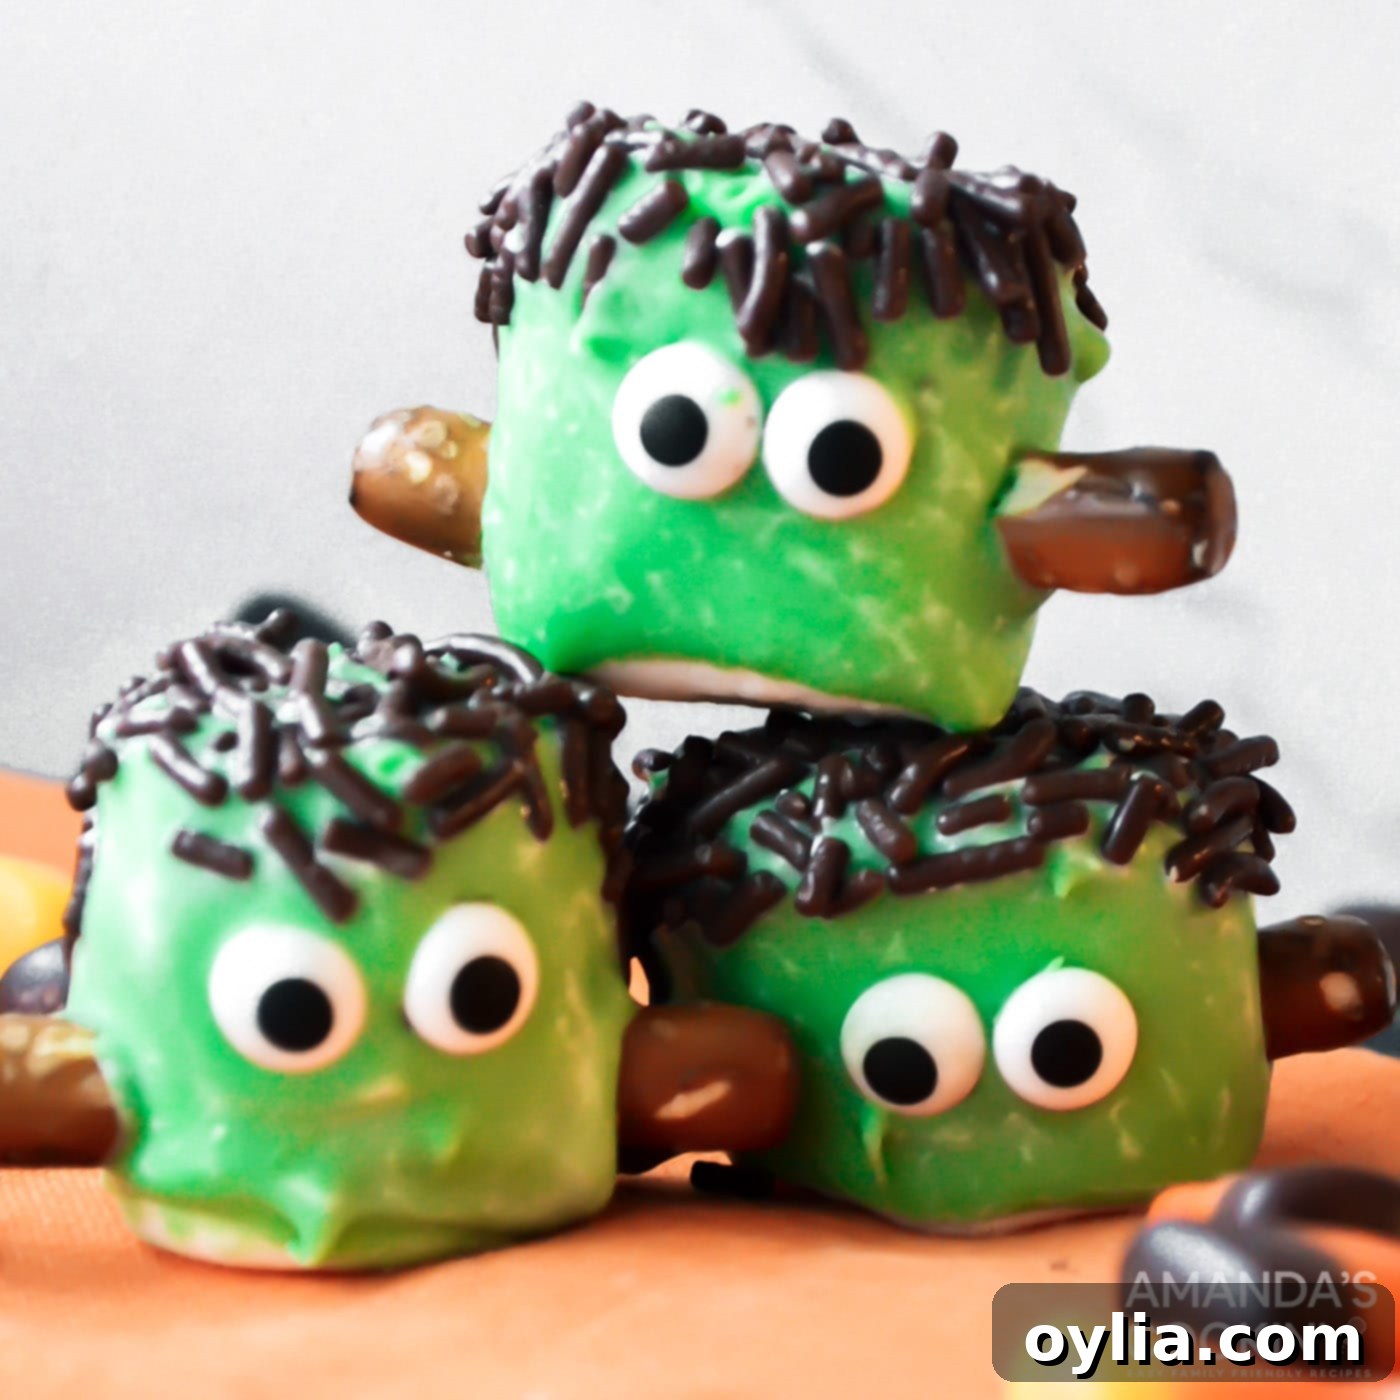
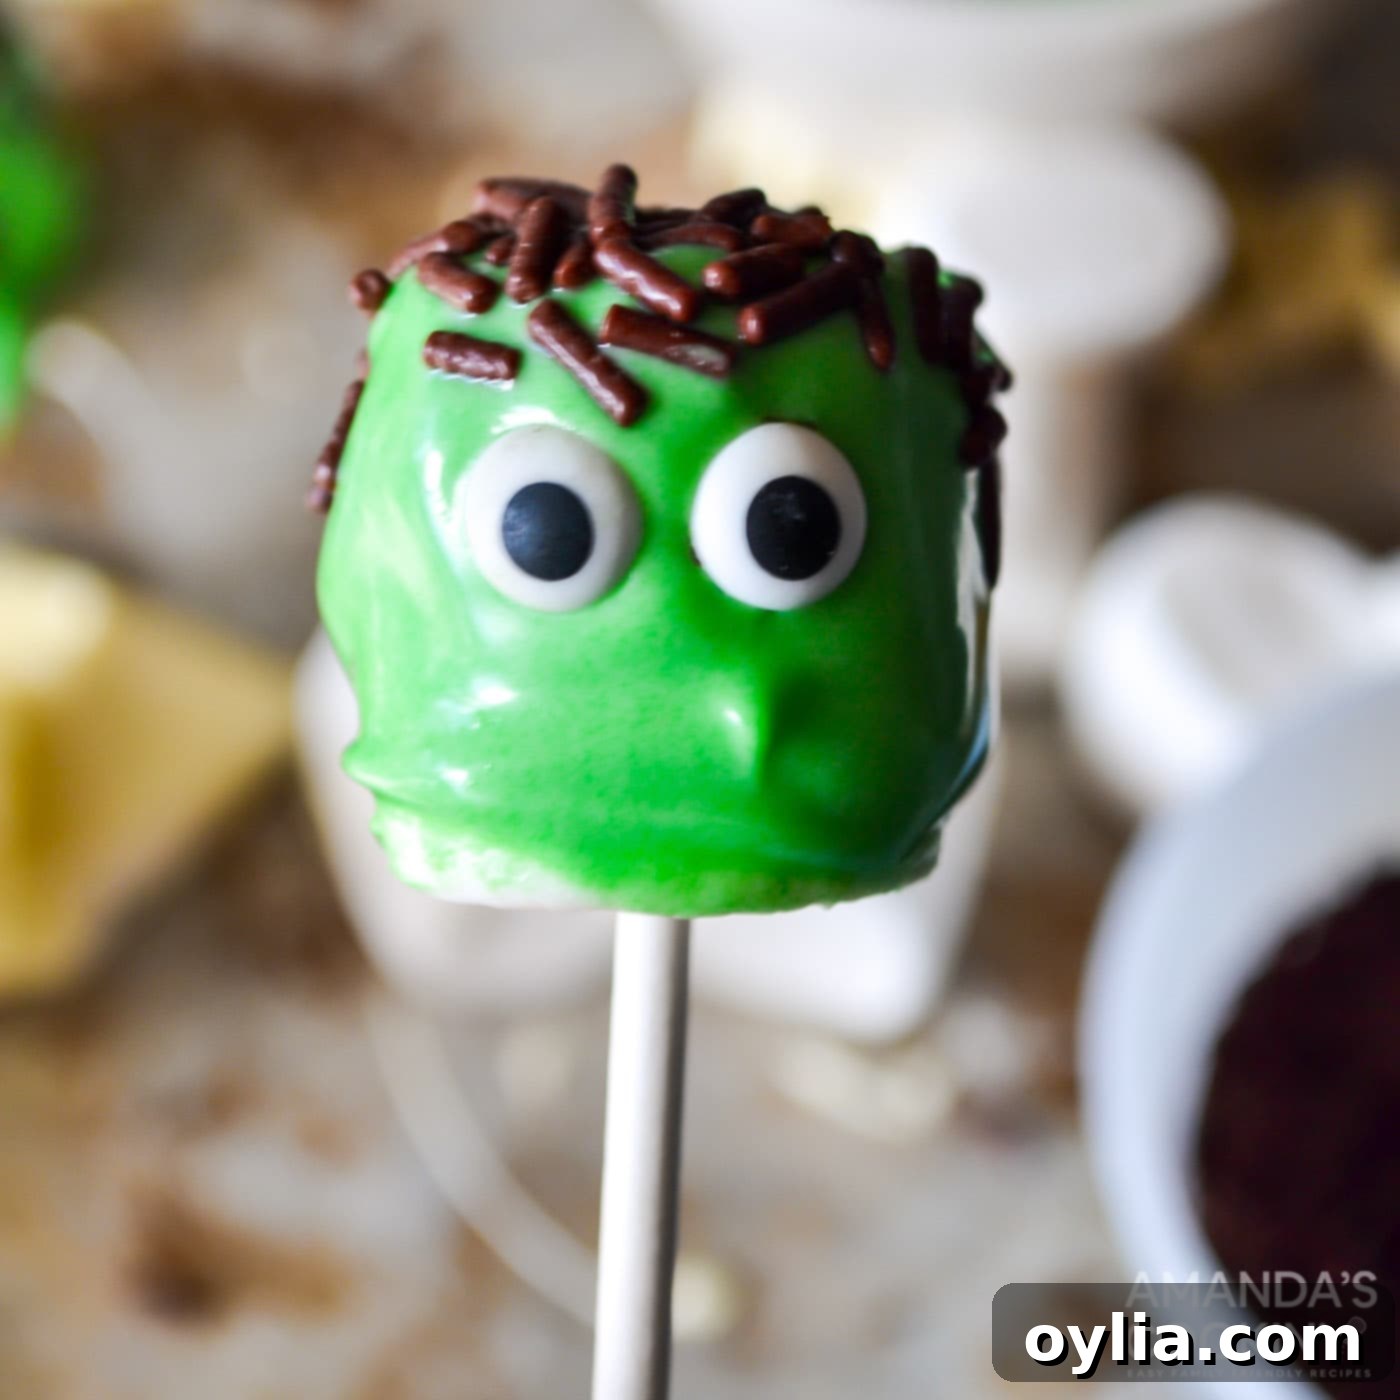
Spooktacular No-Bake Marshmallow Frankensteins: Your Ultimate Guide to Easy Halloween Treats
Get ready to unleash your inner mad scientist with these unbelievably easy-to-make, no-bake Halloween treats: adorable Marshmallow Frankensteins! If you’re searching for a fun, festive, and utterly delicious addition to your Halloween party spread or a creative activity to do with the kids, look no further. These charming chocolate-dipped monsters are not only incredibly simple to create but also guarantee to be a monstrous hit with everyone who sees (and eats) them.
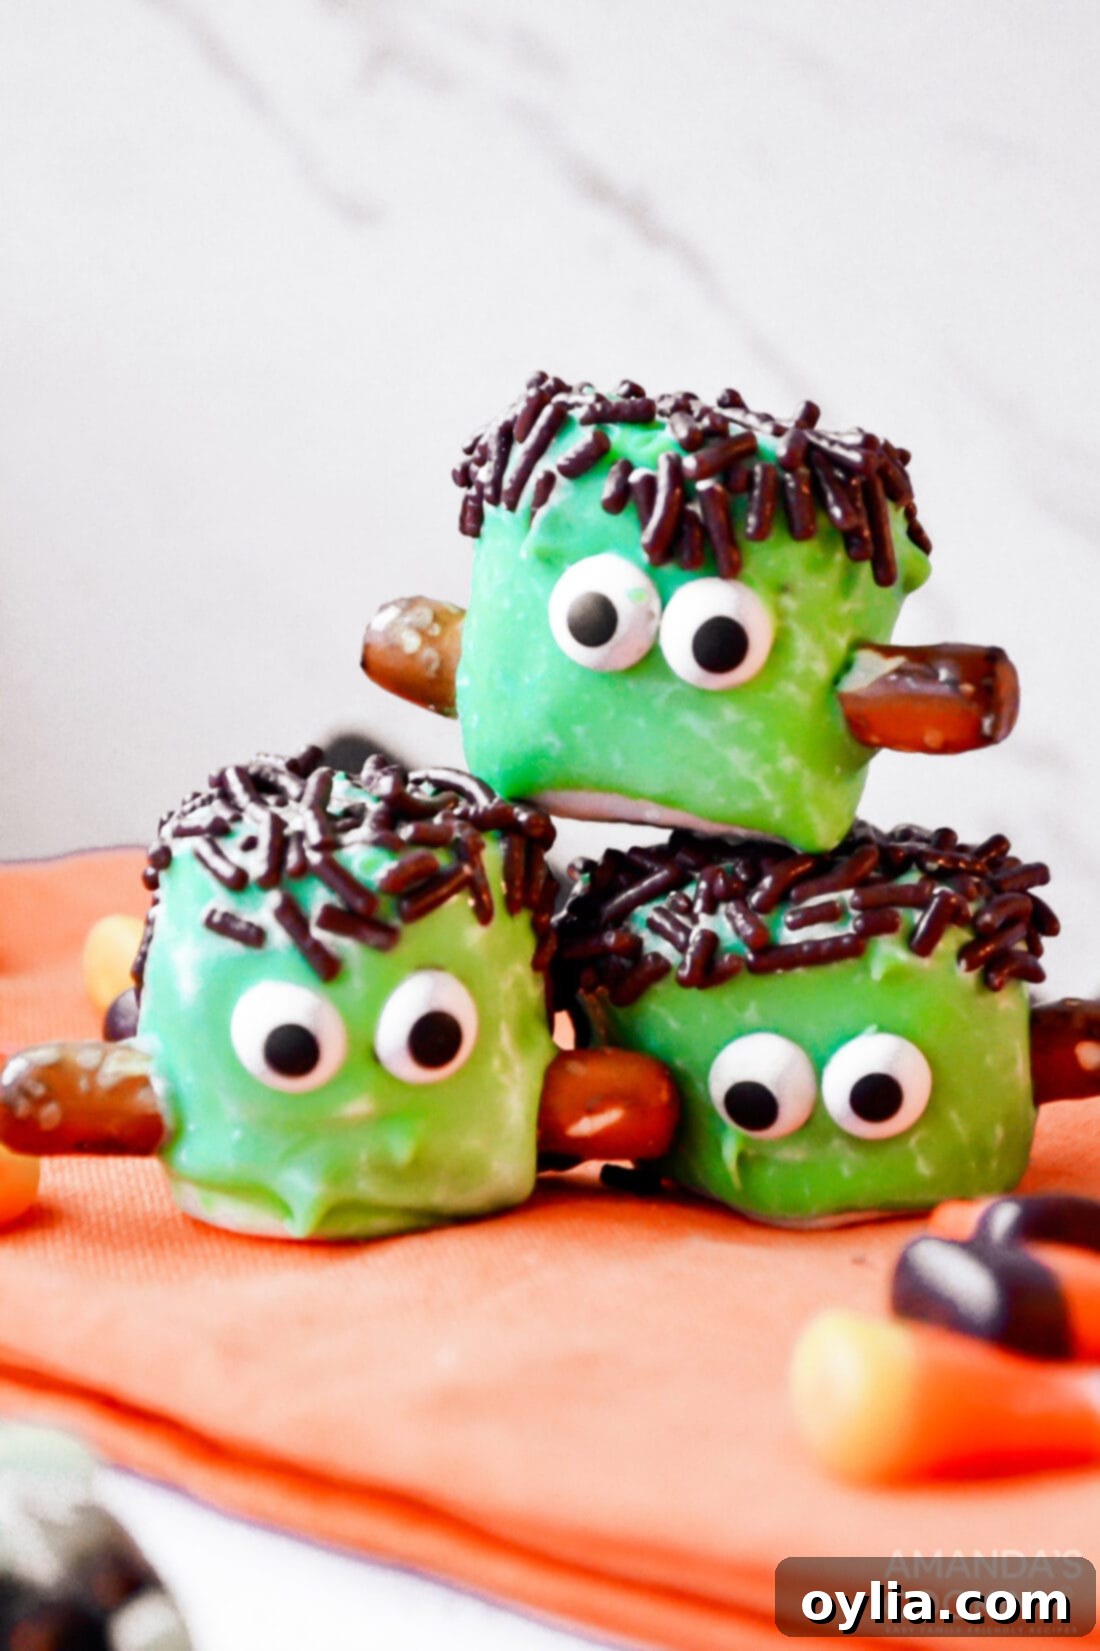
Why These Marshmallow Frankenstein Treats Are a Halloween Must-Have
This recipe for Marshmallow Frankensteins truly stands out as a Halloween favorite for several compelling reasons. First and foremost, its simplicity is unmatched. You don’t need to be a seasoned baker to bring these little monsters to life. All you need are readily available ingredients like soft marshmallows, a vibrant green candy coating (achieved by mixing white chocolate with food coloring), playful sprinkles for hair, crunchy pretzel sticks for the iconic neck bolts, and expressive candy eyeballs.
The “no-bake” aspect is a huge time-saver, making this recipe perfect for busy parents or anyone looking for quick Halloween treats that don’t compromise on visual appeal or taste. It’s a fantastic hands-on activity for kids, allowing them to express their creativity while decorating their own Frankenstein creations. Imagine the joy and excitement as they dip, sprinkle, and place eyes on their edible monsters!
These spooky sweet treats are incredibly versatile. They’re ideal for bringing to Halloween parties, school events, or simply enjoying at home with your family. Their individual serving size makes them easy to distribute, and their delightful appearance makes them a showstopper on any dessert table. And while we’re on the topic of this cute green monster, you’ll definitely want to make some Frankenstein Rice Krispie Treats to complement your marshmallow delights for an ultimate monster mash-up!
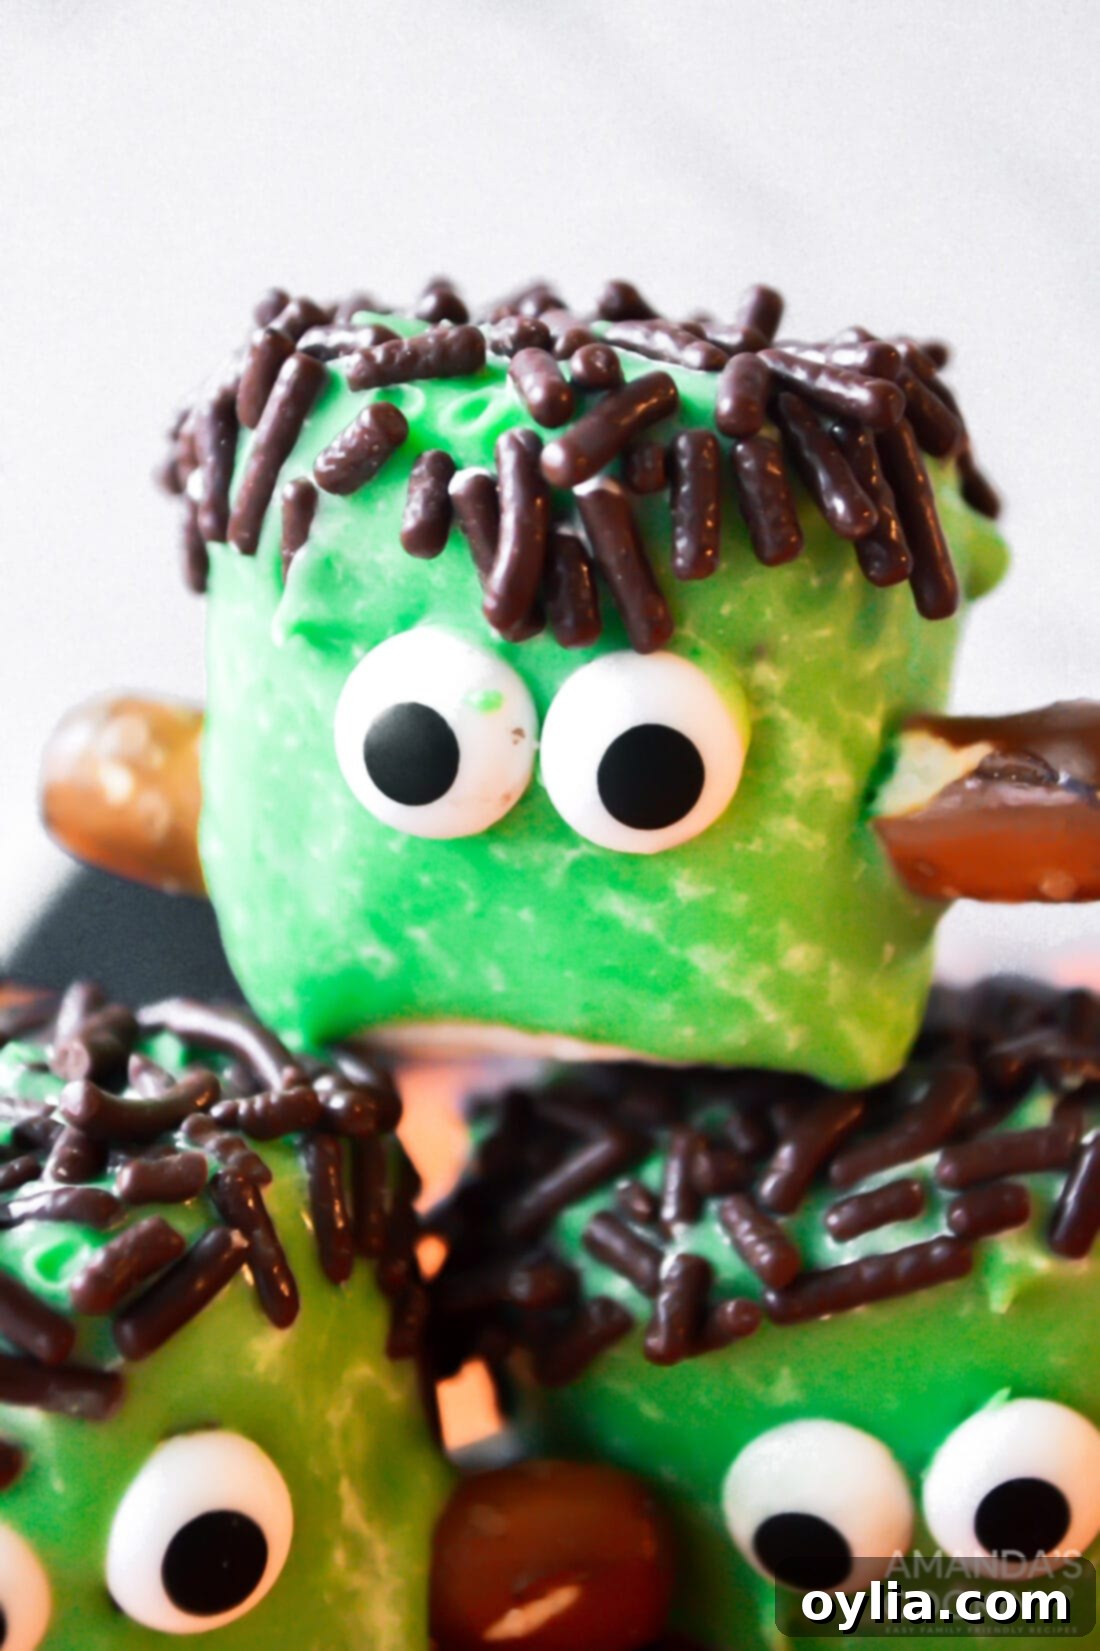
Essential Ingredients for Your Marshmallow Frankensteins
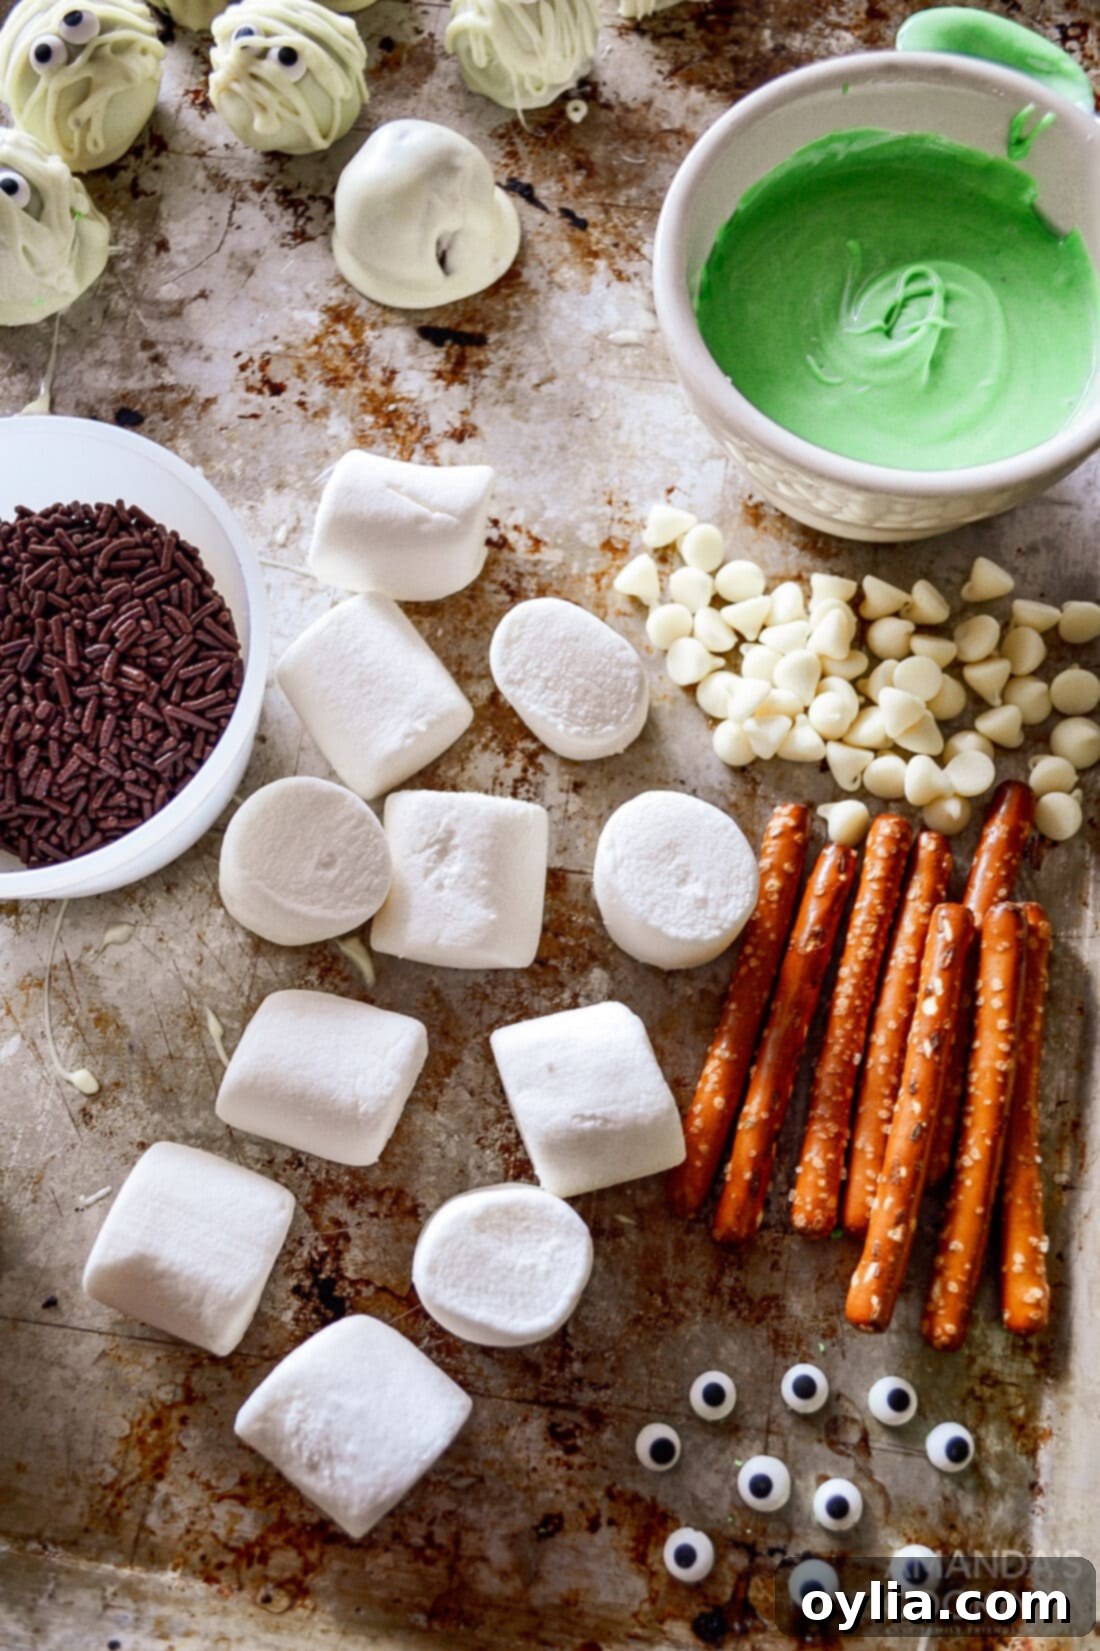
Gathering your ingredients is the first step to creating these delightful Marshmallow Frankensteins. The beauty of this recipe lies in its accessible and minimal list of items, most of which you likely already have in your pantry or can easily find at any grocery store. For exact measurements, ingredient quantities, and detailed instructions, be sure to check the printable recipe card located at the end of this post.
Ingredient Insights & Clever Substitutions
Let’s dive deeper into the ingredients and offer some helpful tips for making these Marshmallow Frankensteins perfect every time:
- Marshmallows: Standard-sized marshmallows work best for creating the classic Frankenstein head shape. Jumbo marshmallows can be used for a larger treat, but you may need more coating and decorations. Mini marshmallows are generally too small for this particular design.
- Coating: While white chocolate chips are a fantastic choice, you have options for your green candy coating. You can easily use your preferred candy coating such as almond bark or candy melts. If opting for almond bark or candy melts, you can eliminate the vegetable oil from the recipe, as these products are designed to melt smoothly without additional thinners. The vegetable oil is specifically used to make real white chocolate easier to work with, giving it a smoother consistency for dipping.
- Food Coloring: This is a crucial point! Do NOT use gel food colors when working with chocolate or candy melts, especially white chocolate. Even the tiniest bit of water-based gel can completely seize and ruin the texture of your coating, turning it into a chunky, thick, almost coagulated substance that is impossible to work with. Liquid food coloring (oil-based or specific for chocolate, like Wilton Candy Colors) is the only way to go to achieve that vibrant green without disaster. You can adjust the amount of liquid food coloring to achieve your desired shade of monster green.
- Sprinkles: Brown or black jimmies (rod-shaped sprinkles) are perfect for Frankenstein’s signature bristly hair. However, don’t hesitate to get creative with other dark-colored sprinkles or even crushed Oreos for a different texture.
- Candy Eyeballs: These instantly bring your Frankensteins to life! Candy eyeballs are widely available in the baking aisle or online. If you can’t find them, you can create eyes using small dots of melted white or dark chocolate, or even tiny pieces of licorice or M&M’s.
- Pretzel Sticks: Broken into ½ to ¾-inch pieces, pretzel sticks perfectly mimic Frankenstein’s neck bolts. They add a delightful salty crunch that balances the sweetness of the marshmallow and chocolate. You can also use small pieces of licorice or even chocolate chips inserted pointed-side out for a similar effect.
Crafting Your Marshmallow Frankensteins: Step-by-Step Guide
These step-by-step photos and instructions are here to help you visualize how to make this recipe. You can Jump to Recipe to get the printable version of this recipe, complete with precise measurements and instructions at the bottom.
- Prepare the Marshmallows: Carefully insert a lollipop stick into the center of each marshmallow. Push it in far enough to be stable but not so far that it pokes through the top. This stick will serve as a handle for dipping and decorating. Set these aside. Pour your chosen chocolate or black sprinkles into a small, shallow bowl, ready for dipping.
- Melt the Coating: In a medium-sized microwave-safe bowl, gently melt the white chocolate chips or candy coating. Microwave for 30 seconds, then remove and stir thoroughly. Continue microwaving in 10-15 second intervals, stirring well after each interval, until the coating is completely smooth and melted with no lumps. Be careful not to overheat, as chocolate can burn easily.
- Color the Coating: Once your candy coating is perfectly melted, add the green liquid food coloring and the vegetable oil (if using white chocolate chips). Stir continuously until the mixture is completely smooth and reaches your desired spooky shade of green. If the mixture seems too thick, you can add another tiny drop of vegetable oil, but be careful not to thin it too much.
- Dip the Marshmallows: Working one marshmallow at a time, carefully dip it into the green candy coating. Ensure the marshmallow is covered at least to the bottom edge, creating Frankenstein’s head. Gently tap the stick against the edge of the bowl to allow any excess green coating to drip off, ensuring a smooth, even finish.
- Add the Hair: Immediately after dipping and while the coating is still wet, dip the very top edge of the coated marshmallow into the bowl of sprinkles. Roll it slightly to create Frankenstein’s distinctive, bristly hair.
- Place the Eyes: While the coating is still soft, delicately place a pair of candy eyes on the front of each marshmallow, positioned slightly above the middle to give them a classic monster look. The wet coating will act as an adhesive.

- Insert the Bolts: Carefully poke two small pieces of pretzel sticks (about ½ to ¾ inch long) into the sides of each marshmallow, just below the “head” part, to mimic the iconic bolts on Frankenstein’s neck. Make sure they are inserted gently to avoid cracking the marshmallow.
- Allow to Dry: Continue decorating until all of your Marshmallow Frankensteins are complete. The best way to dry them is to stick the lollipop sticks upright into a block of floral foam or a sturdy piece of styrofoam. This allows air to circulate around all sides, preventing them from sticking and maintaining their perfect shape.
- Serve and Enjoy: Once the candy coating is completely hardened and set (this might take 15-30 minutes at room temperature, or quicker in the refrigerator), your delightful Marshmallow Frankensteins are ready to be served and enjoyed!
Frequently Asked Questions & Expert Tips for Perfect Frankensteins
To ensure your candy coating hardens perfectly without making a mess or smudging your adorable Frankensteins, an excellent trick is to stick the lollipop sticks down into a block of floral foam (often found in craft stores) or a sturdy piece of styrofoam after decorating each marshmallow. This method stabilizes the sticks, allowing air to circulate freely around all sides of the coated marshmallows. It also lets any excess coating drip off cleanly as they dry, preventing flat spots or sticky bottoms. If you don’t have foam, you can also place them stick-side down in tall glasses, ensuring they don’t touch each other.
Absolutely! These no-bake treats are fantastic for making in advance. Once the candy coating is completely hardened, store them in an airtight container at room temperature for up to 5-7 days. Avoid direct sunlight or excessive heat, which can cause the chocolate to melt. There’s no need to refrigerate them, as refrigeration can sometimes cause the chocolate to “bloom” (develop a whitish film) or make the marshmallows a bit chewy. If storing them layered, place a piece of parchment paper between each layer to prevent sticking.
If your chocolate coating is too thick, you can thin it out with a small amount of vegetable oil (for white chocolate chips) or a commercial candy oil thinner (for candy melts/almond bark). Add it sparingly, a quarter teaspoon at a time, until you reach your desired consistency. If the chocolate seized (became thick, lumpy, and unworkable), it’s most likely due to contact with water, usually from water-based gel food coloring or even a tiny drop of water in your bowl. Unfortunately, seized chocolate is very difficult to salvage for dipping, so it’s best to start with a fresh batch and ensure all your tools and ingredients (especially food coloring) are completely dry and appropriate for chocolate.
While lollipop sticks make these “Marshmallow Frankenstein Pops” easy to handle and display, you can still make them without. Simply place the coated marshmallows on a piece of parchment paper after dipping and decorating. They’ll be a bit messier to eat but just as delicious. You could also use small bamboo skewers or sturdy paper straws as alternatives.
Absolutely! Feel free to unleash your creativity. You could make a variety of “monster” colors, like purple for a spooky witch or orange for a pumpkin. Instead of sprinkles for hair, try crushed cookies, shredded coconut (dyed green or black), or even small chocolate candies. For added details, a toothpick dipped in melted chocolate can create scars, stitches, or a mouth for your Frankensteins!
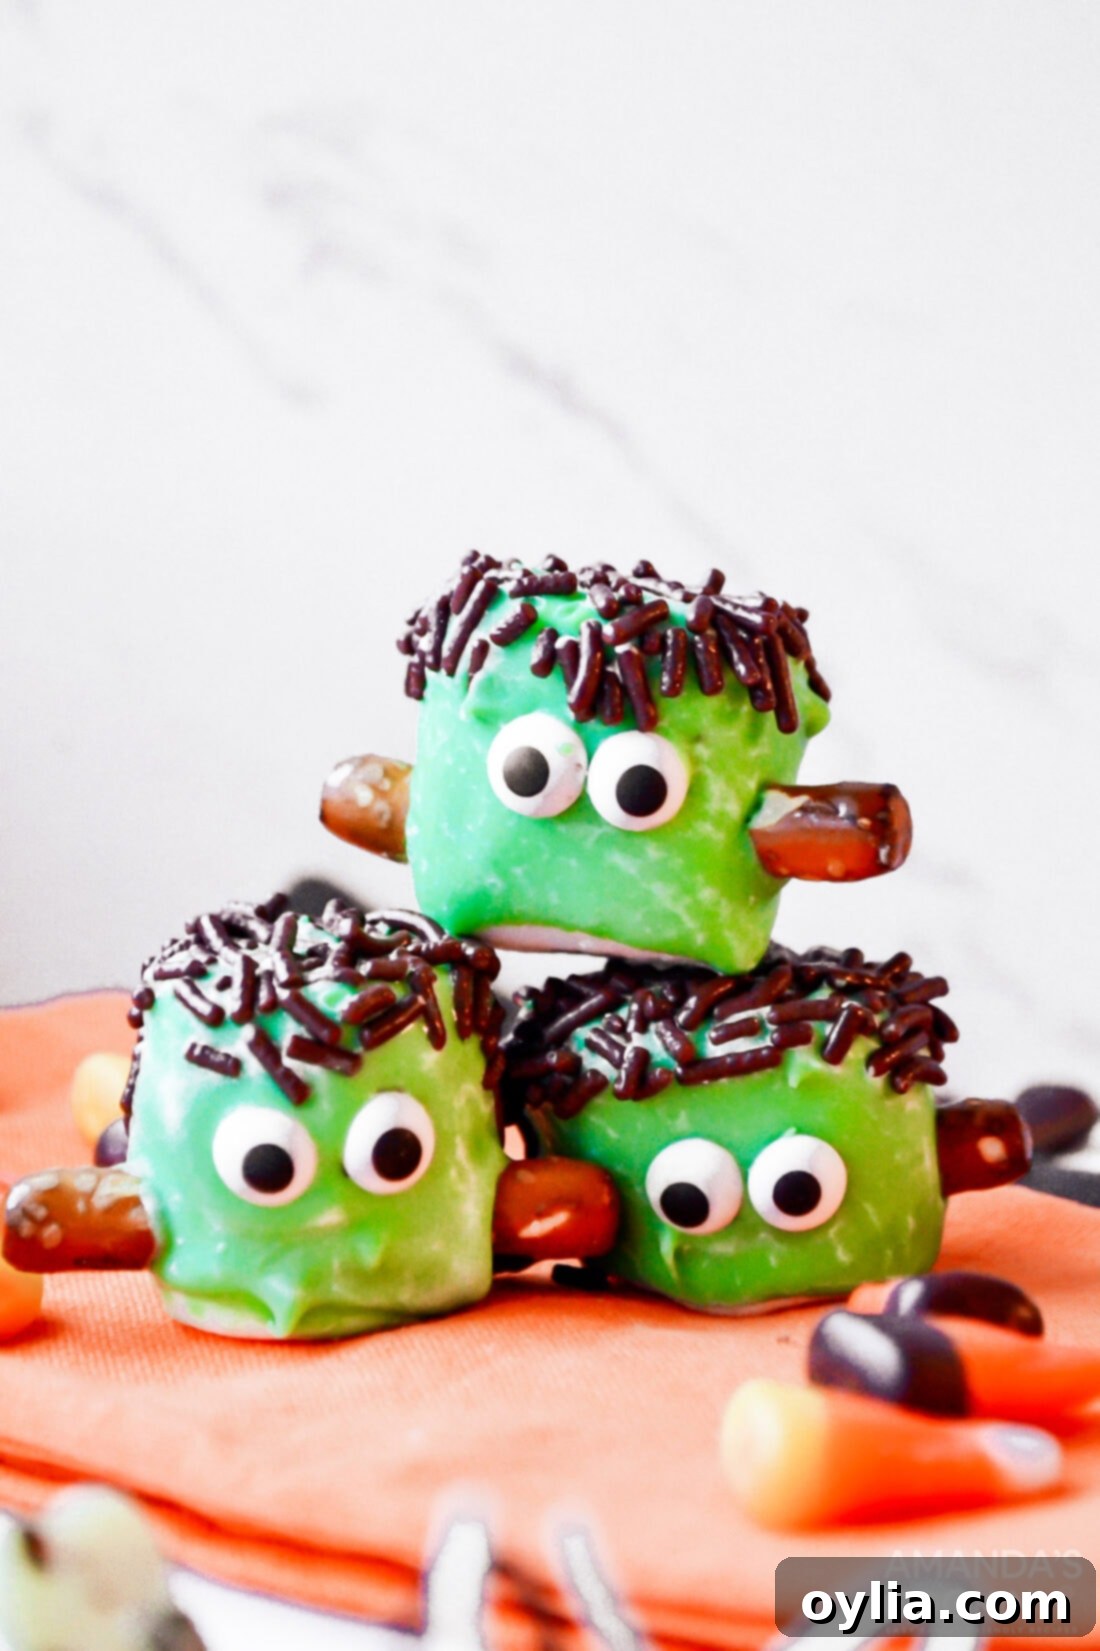
Creative Serving Ideas for Your Marshmallow Frankensteins
The best part about these delightful Marshmallow Frankensteins is their incredible versatility. You can serve them in a multitude of fun and creative ways, making them a fantastic addition to any Halloween celebration:
- As Standalone Treats: Simply arrange them on a platter for an eye-catching and easy-to-grab dessert. Their vibrant green color and quirky faces will instantly draw attention!
- Cake or Cupcake Toppers: Remove the lollipop sticks (or keep them for a fun height difference) and use these Frankensteins to decorate the top of a Halloween-themed cake or individual cupcakes. They make for truly unique and edible decorations.
- Marshmallow Pops: With the lollipop sticks, they become convenient marshmallow pops, perfect for little hands to hold without getting sticky. Create a festive display by sticking them into a carved pumpkin, a floral foam block covered in themed fabric, or a tall vase filled with candy corn.
- Party Favors: Individually wrap each Marshmallow Frankenstein in a small cellophane bag, tie it with a spooky ribbon, and hand them out as memorable party favors. They’re a homemade touch that guests will adore.
- Dessert Bar Addition: Incorporate them into a larger Halloween dessert bar alongside other treats like cookies, brownies, and candy apples. Their distinct look will add a fun monster element to the spread.
If you want to take the decorating a step further and add even more character to your creatures, consider piping a chocolate mouth onto each Frankenstein. Simply melt a small amount of chocolate chips or chocolate candy coating (dark chocolate works best for contrast). Spoon the melted chocolate into a zip-top baggie, snip a very small piece off of one corner of the bag, and use it as a makeshift piping bag. Pipe a straight, horizontal line for the mouth, then add several small, spaced-out vertical lines across it to create that iconic “stitched” look. You can also pipe small eyebrows or a tiny scar for extra detail and personality!
More Spooktacular Halloween Recipes to Try
Looking for more hauntingly good recipes to complete your Halloween festivities? Here are some other creative and delicious ideas to get you in the spirit:
- Ghost Brownies
- Witch Finger Cookies
- Halloween Candy Apples
- Jalapeno Popper Mummies
- Frankenstein Rice Krispie Treats
- Vampire Sandwich Cookies
- Frankenstein Margarita
I love to bake and cook and share my kitchen experience with all of you! Remembering to come back each day can be tough, that’s why I offer a convenient newsletter every time a new recipe posts. Simply subscribe and start receiving your free daily recipes!
Marshmallow Frankensteins
IMPORTANT – There are often Frequently Asked Questions within the blog post that you may find helpful. Simply scroll back up to read them!
Print It
Pin It
Rate It
Save ItSaved!
Ingredients
- 24 marshmallows regular sized marshmallows – 1 bag
- 12 oz white chocolate chips
- 2 Tbsp vegetable oil
- 10-12 drops green food coloring
- brown or black sprinkles jimmies
- candy eyeballs
- pretzel sticks broken into ½-¾ inch pieces
Things You’ll Need
-
Lollipop sticks
Before You Begin
- You can use your preferred candy coating such as almond bark or candy melts instead of white chocolate chips. Just eliminate the vegetable oil, as it’s used to make real white chocolate easier to work with.
- Feel free to decrease or increase the amount of liquid food coloring that you add to the white chocolate based on your preferred shade of green.
- If needed, use a pair of craft tweezers to precisely place the candy eyes on the marshmallows without getting the coating on your skin or compromising your Frankensteins.
- To make drying easier so that the candy coating hardens without making a mess or messing up your Frankensteins, I like to stick the lollipop sticks down into a block of floral foam after decorating each marshmallow. It’s a great way to stabilize the sticks, allow air to circulate all around the coated marshmallows, and let any excess coating drip off while drying.
Instructions
-
Insert a lollipop stick into the center of each marshmallow and set aside. Pour the chocolate or black sprinkles into a small bowl.
-
In a medium-sized microwaveable bowl, melt the white chocolate chips or candy coating. To melt, cook for 30 seconds, then stir. Continue microwaving in 10-15 second intervals, stirring in between, until melted.
-
When the candy is completely melted, add the green food coloring and vegetable oil. Stir until the mixture is smooth and your desired shade of green is achieved.
-
Working one by one, dip the prepared marshmallows into the green candy coating, making sure that the marshmallows are covered at least to the bottom edge of each one, and allow any excess green coating to drip off into the bowl.
-
Dip the top edge of the coated marshmallow into the sprinkles to create Frankenstein’s hair.
-
Place a pair of eyes on the front of each marshmallow.
-
Poke pretzel sticks into the sides of the marshmallows (2 pieces for each) to mimic the bolts on the sides of Frankenstein’s neck.
-
Continue decorating until all of your marshmallows are complete, placing each one right-side up to dry.
-
When the candy coating is hardened completely, serve and enjoy.
Nutrition
The recipes on this blog are tested with a conventional gas oven and gas stovetop. It’s important to note that some ovens, especially as they age, can cook and bake inconsistently. Using an inexpensive oven thermometer can assure you that your oven is truly heating to the proper temperature. If you use a toaster oven or countertop oven, please keep in mind that they may not distribute heat the same as a conventional full sized oven and you may need to adjust your cooking/baking times. In the case of recipes made with a pressure cooker, air fryer, slow cooker, or other appliance, a link to the appliances we use is listed within each respective recipe. For baking recipes where measurements are given by weight, please note that results may not be the same if cups are used instead, and we can’t guarantee success with that method.
