Homemade Pink Peppermint Ice Cream: Creamy, Crunchy & Irresistibly Festive
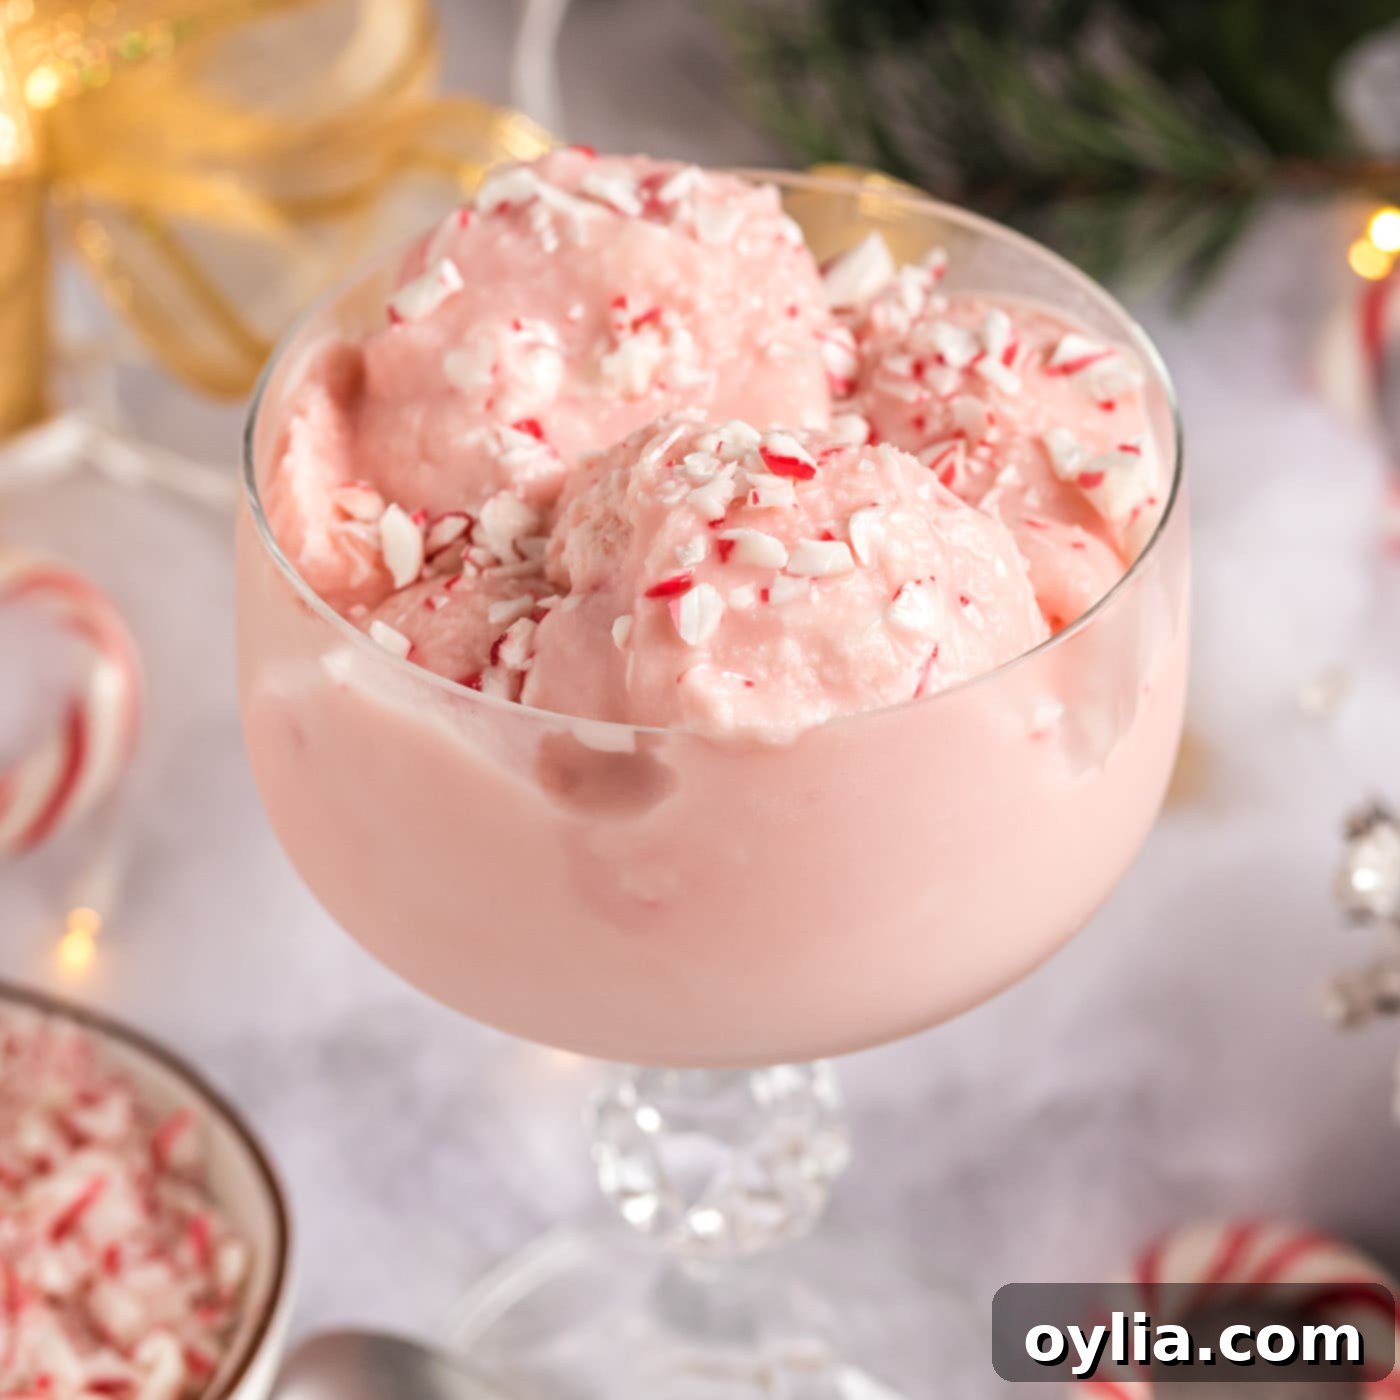
Indulge in the pure joy of a frosty, minty delight with this incredible homemade pink peppermint ice cream recipe. Churned to a velvety, dreamy perfection and generously studded with delightful peppermint crunch, every spoonful offers a burst of refreshing flavor and satisfying texture. This isn’t just a dessert; it’s a festive experience, perfect for holiday gatherings or simply to brighten any day with its vibrant color and exhilarating taste.
Why You’ll Love This Easy Peppermint Ice Cream Recipe
There’s something uniquely special about homemade ice cream, and this pink peppermint version truly shines. It’s an ideal festive sweet treat to whip together, especially around the holidays, bringing a sense of warmth and cheer even in its frosty form. Here’s why this recipe stands out:
- Unrivaled Creaminess: The carefully balanced base ensures an incredibly smooth and luxurious texture that melts beautifully in your mouth, far surpassing many store-bought options.
- Perfect Peppermint Crunch: The addition of crushed peppermint candies isn’t just for flavor; it provides a wonderful textural contrast, making each bite an exciting experience. The crunch perfectly complements the creamy ice cream.
- Burst of Minty Flavor: Fresh peppermint extract combined with actual peppermint candies delivers an authentic and invigorating minty taste, which is both bold and refreshing without being overpowering.
- Surprisingly Simple: Despite its impressive results, this ice cream comes together easily using a standard ice cream maker. The most challenging part is simply exercising patience while it chills and sets in the freezer!
- Visually Appealing: The soft pink hue, achieved with just a few drops of food coloring, makes this ice cream incredibly attractive and perfect for holiday dessert tables or any celebratory occasion.
Beyond its deliciousness, making your own ice cream allows for customization and ensures you know exactly what goes into your dessert. Plus, it’s a fun project that yields incredibly rewarding results!
Don’t let any leftover peppermint candies go to waste! They are perfect for sprinkling over frosted peppermint cookies, creating a festive rim for a chocolate peppermint martini, or even adding to hot chocolate for a minty twist. The possibilities are endless!
Key Ingredients for Your Homemade Peppermint Ice Cream
Crafting this delightful pink peppermint ice cream requires a handful of simple, yet crucial, ingredients. Quality ingredients make all the difference in achieving that rich, creamy texture and vibrant flavor. You can find all specific measurements and detailed instructions in the printable recipe card at the very end of this post.
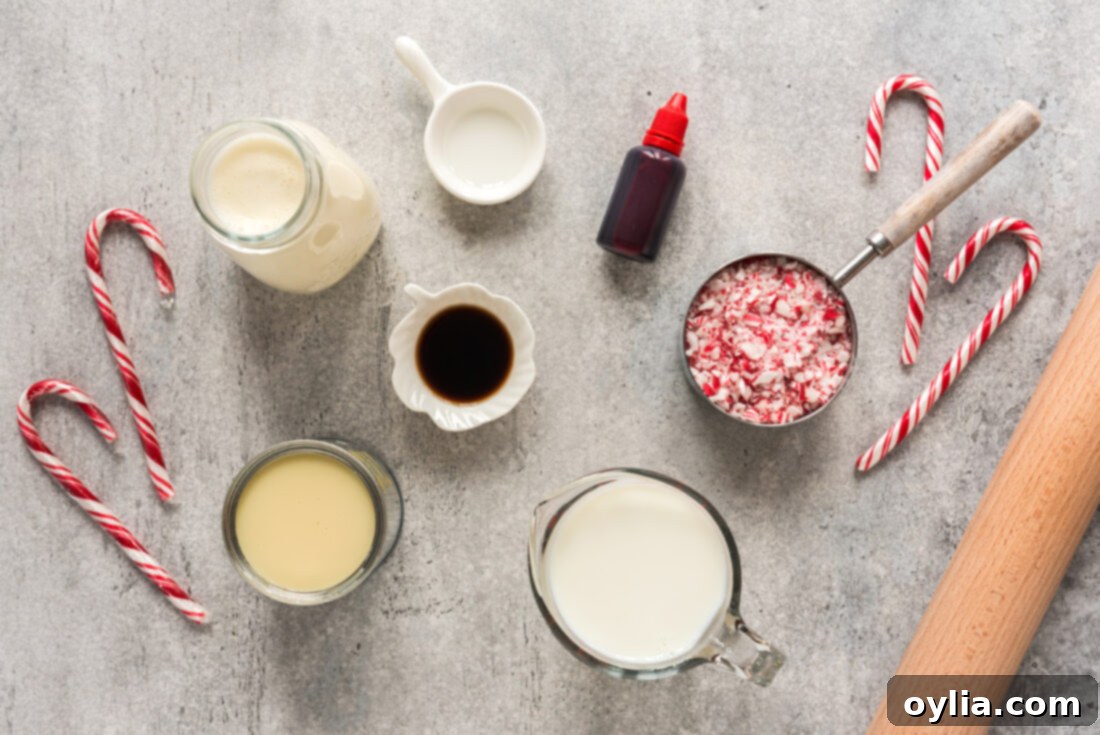
Ingredient Spotlight: Tips for Best Results
Understanding the role of each ingredient will help you achieve the best possible homemade peppermint ice cream. While some substitutions are possible, sticking to the recommended ingredients will guarantee superior texture and flavor.
- SWEETENED CONDENSED MILK: This ingredient is absolutely vital for both sweetness and a luxuriously creamy consistency. It’s been cooked down to remove most of its water content, resulting in a thick, syrupy liquid that doesn’t freeze into ice crystals as easily as regular sugar water would. Do NOT use evaporated milk; they are not interchangeable. Evaporated milk is simply concentrated milk without added sugar, and it will not provide the necessary sweetness or creamy texture. Ensure you’re grabbing a can of full-fat sweetened condensed milk for optimal results.
-
HEAVY WHIPPING CREAM: The high fat content in heavy whipping cream is the secret to rich, smooth, and scoopable ice cream. Fat particles help prevent large ice crystals from forming, which can make ice cream feel icy or grainy. For the ultimate creamy texture, I highly recommend sticking to heavy whipping cream.
- Substitution Note: You can cut down on fat by substituting a portion of the heavy cream with half-and-half or whole milk. However, be aware that any reduction in fat content will result in an ice cream that is less smooth and rich, and potentially icier. Using all milk instead of heavy cream will drastically alter the texture, making it much less creamy and more like a granita.
- 1% MILK: A small amount of lighter milk is used to thin out the base slightly and balance the richness of the heavy cream and condensed milk without sacrificing too much creaminess. You can use whole milk for a slightly richer base or 2% milk if that’s what you have on hand.
- PEPPERMINT EXTRACT: This is where the distinct minty flavor comes from. Use a good quality pure peppermint extract for the best, most authentic taste. Start with the recommended amount and adjust to your preference – some prefer a stronger mint flavor, others a more subtle hint.
- VANILLA EXTRACT: A touch of vanilla extract might seem surprising in a peppermint recipe, but it plays a crucial role. It rounds out the flavors, adding depth and warmth that prevents the peppermint from tasting too stark or artificial. Use pure vanilla extract for the best flavor.
- RED FOOD COLORING: This is entirely optional but highly recommended for achieving that classic “pink peppermint” look that makes it so festive. Start with 3-5 drops and add more until your desired shade of pink is reached. Gel food coloring provides a more vibrant color with less liquid, but liquid drops work perfectly fine. For a natural alternative, a tiny bit of beet juice concentrate could be used, but be mindful of flavor impact.
-
PEPPERMINT CANDIES (or Candy Canes): These are key for the delightful crunch and an extra layer of peppermint flavor. You can use classic candy canes or the small, round peppermint candies, often known as Starlight Mints.
- How to Crush: Place them in a sturdy plastic zipper gallon bag, squeeze out most of the air, zip it shut, and crush them with a meat mallet, rolling pin, or even a heavy pan.
- Quantity: You’ll need approximately 15 candy canes or a couple of handfuls of the round candies to yield about one cup of crushed peppermint.
- Texture Preference: I personally prefer crushing the candies finer as it makes them easier to eat within the ice cream. However, if you enjoy larger, more prominent chunks, feel free to leave some bigger pieces. Just ensure they are small enough to be enjoyable and not too hard to chew.
Crafting Your Homemade Peppermint Ice Cream: Step-by-Step Guide
These step-by-step photos and instructions are here to help you visualize how to make this recipe. You can Jump to Recipe to get the printable version of this recipe, complete with measurements and instructions at the bottom.
-
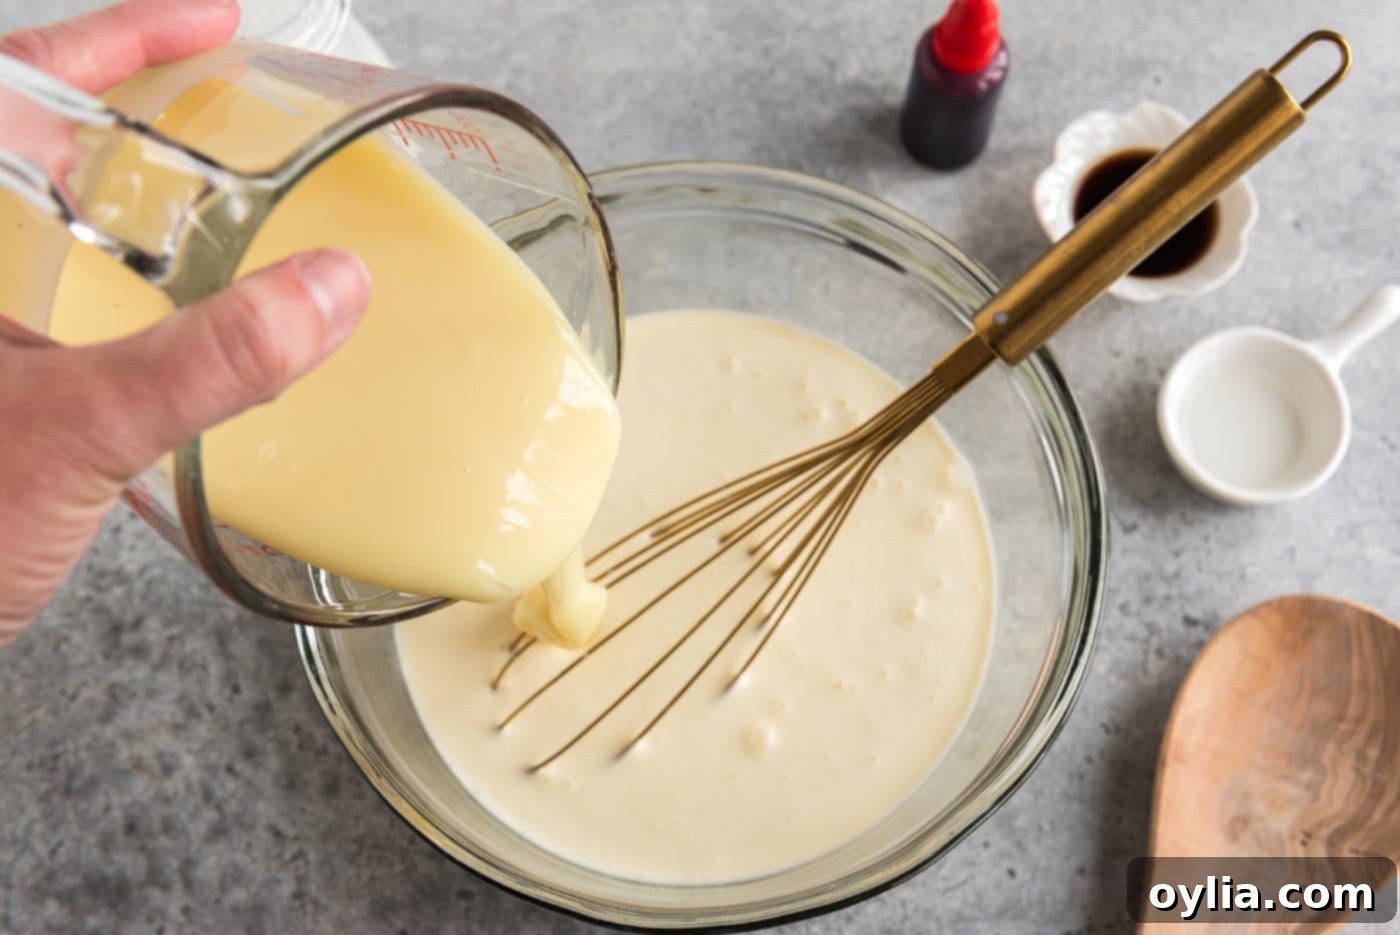
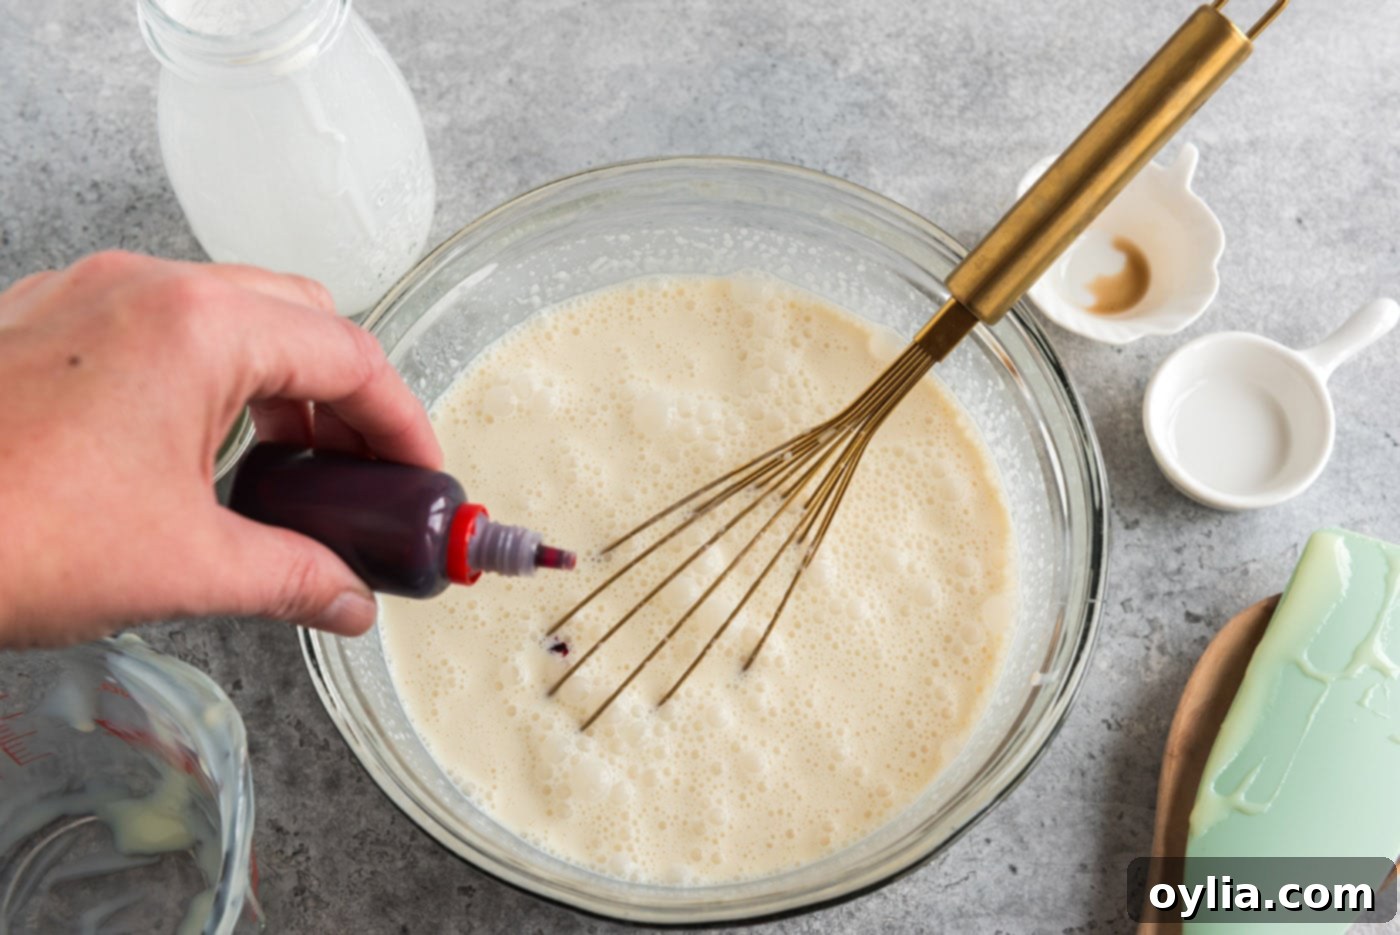
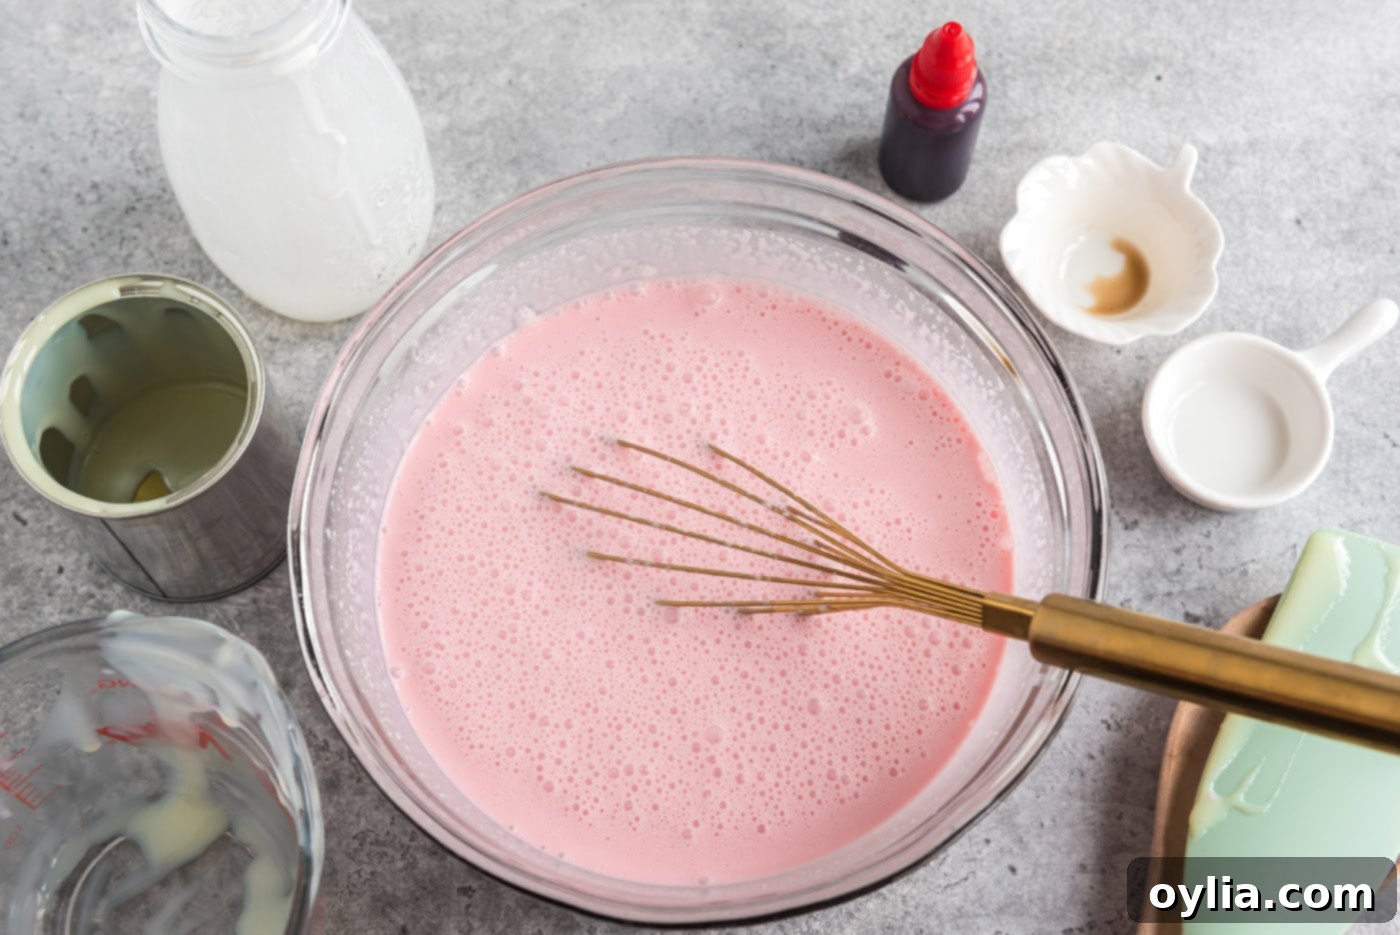
Prepare the Ice Cream Base: In a large mixing bowl, combine the sweetened condensed milk, heavy whipping cream, 1% milk, peppermint extract, and vanilla extract. Whisk these ingredients vigorously until they are thoroughly combined and the mixture is smooth. At this stage, add 3-5 drops of red food coloring (or more, if desired) and continue to whisk until a uniform light pink color is achieved. The vibrant color is part of the festive appeal!

Sweetened condensed milk being added to the base for ultimate creaminess. 
A few drops of red food coloring transform the mixture into a lovely pink. 
Whisking the ingredients ensures a smooth and uniform ice cream base. Once your base is mixed, pour it into your ice cream maker bowl. Follow your manufacturer’s instructions for processing. The churning process typically takes about 20-30 minutes, depending on your machine, until the ice cream reaches a soft-serve consistency.
-
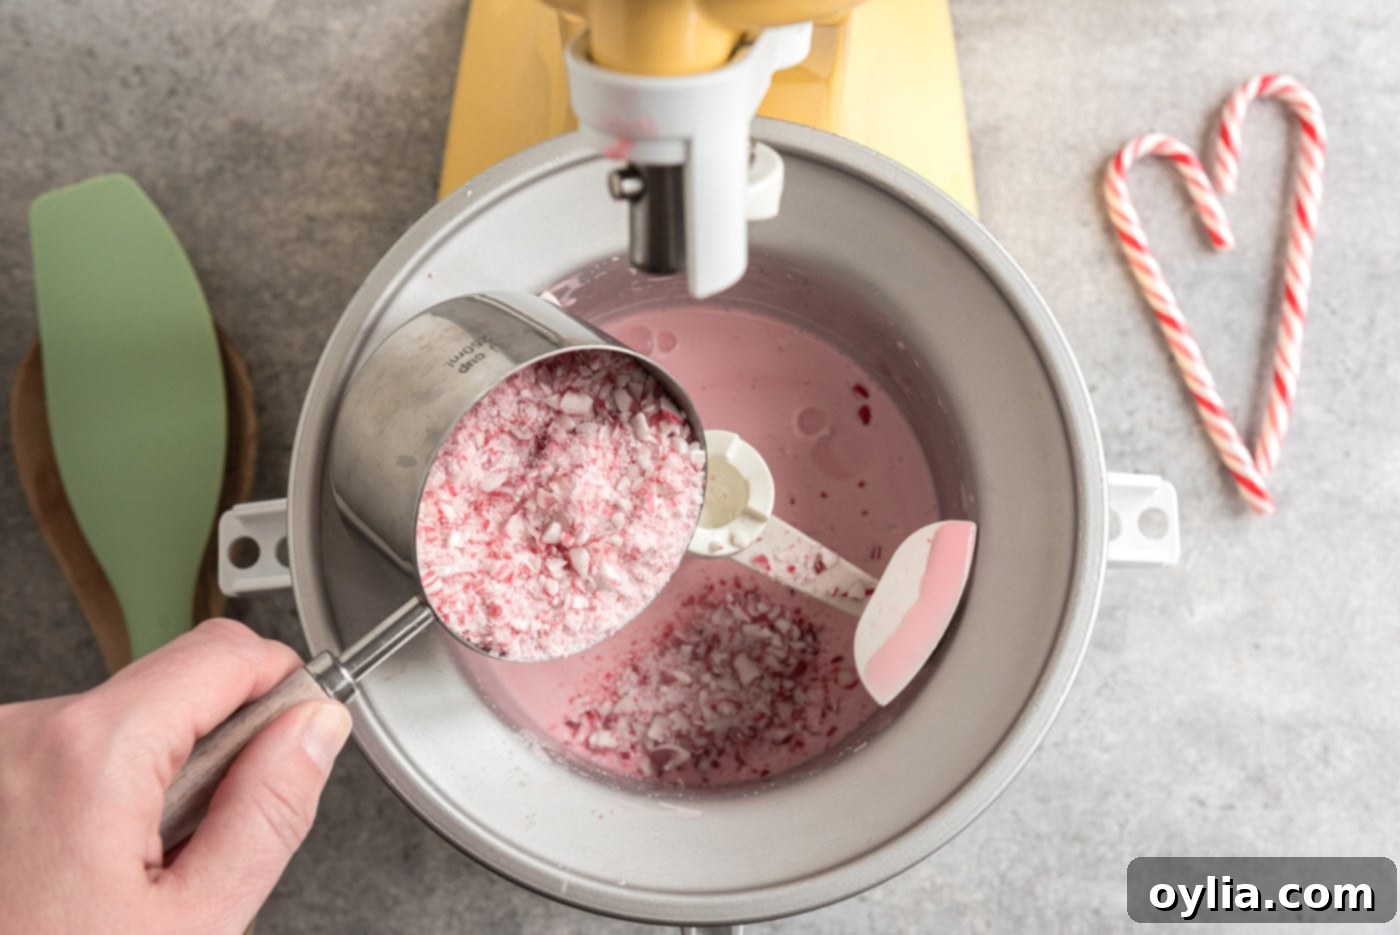
Incorporate the Peppermint Crunch: About 5 minutes before the churning process is complete, or when the ice cream has almost reached its desired soft-serve consistency, slowly add the crushed peppermint candies into the ice cream maker. Allow the machine to churn for the remaining time, ensuring the candies are evenly distributed throughout the mixture. Adding them at this stage prevents them from sinking to the bottom or dissolving too much during the initial churning.

Adding crushed peppermint candies for that signature crunch and flavor boost. -
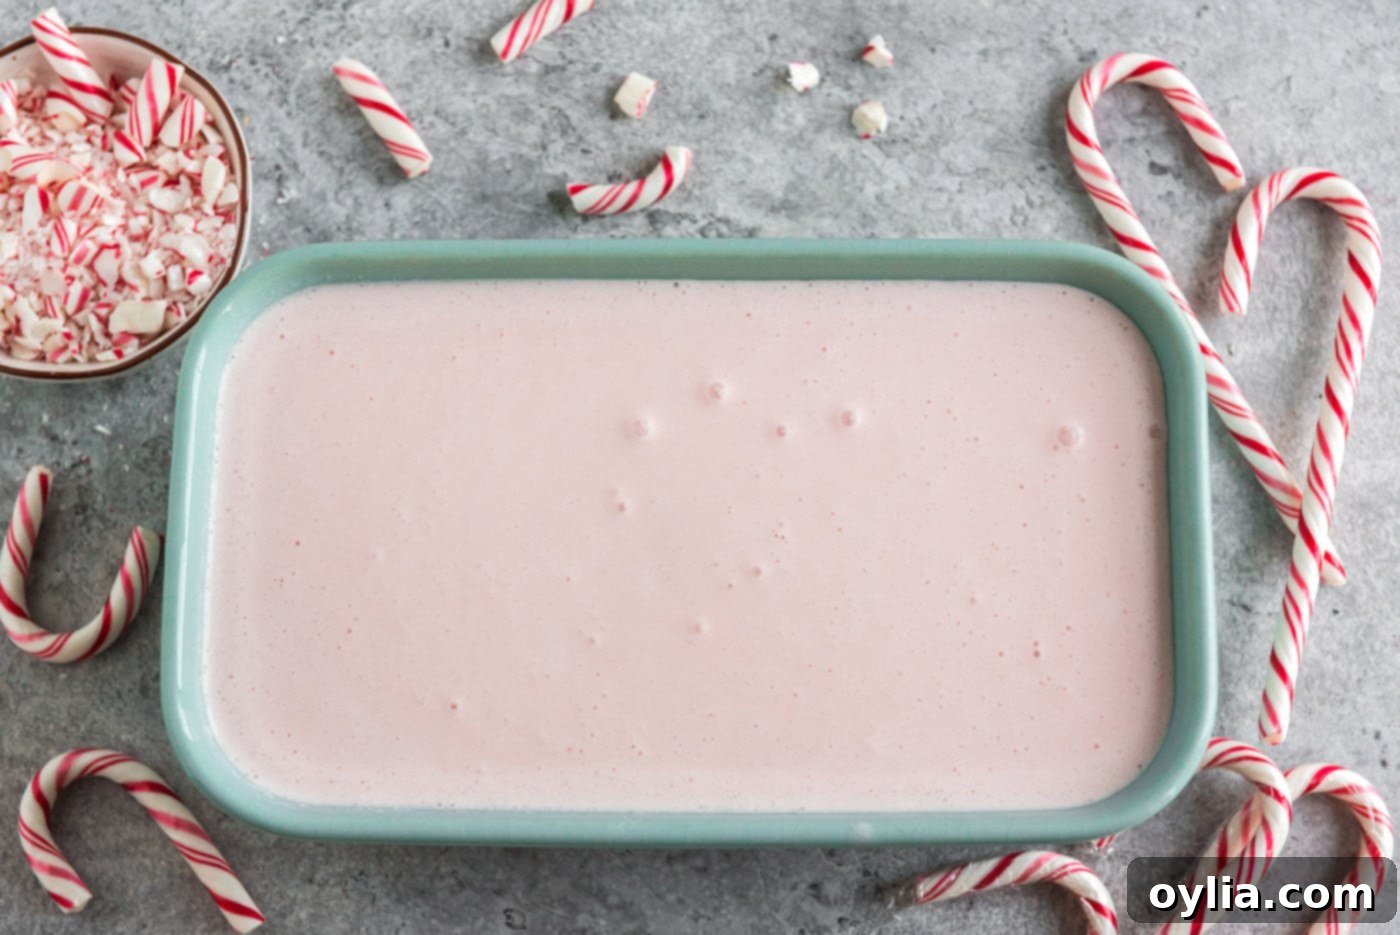
Freeze to Perfection: Once churning is complete, transfer the soft ice cream from the maker into a 2-quart freezer-safe container. Smooth the top with a spatula and place an airtight lid on the container to prevent freezer burn. For the best, firm, and scoopable texture, freeze the ice cream for at least 4 to 4.5 hours. However, for truly optimal results and a perfectly firm consistency, leaving it in the freezer overnight is highly recommended. This allows the ice cream to fully harden and develop its ideal texture.

The freshly churned ice cream, ready to be frozen until firm.
Frequently Asked Questions & Expert Tips for Success
To maintain its freshness and prevent freezer burn, store your homemade peppermint ice cream in an air-tight container specifically designed for the freezer. A shallow, wide container is often better than a deep, narrow one as it freezes more evenly. Kept properly, it will last for up to 4 weeks in the freezer. Remember, homemade ice cream doesn’t contain the preservatives found in store-bought versions, so its shelf life is naturally shorter. For the best flavor and texture, aim to enjoy it within the first two weeks.
While you technically can substitute, I strongly advise sticking to heavy whipping cream for this recipe to achieve the best possible texture. The secret to creamy, scoopable ice cream lies in its fat content; fat helps prevent the formation of large, icy crystals. If you substitute heavy cream with lower-fat milk (like 1% or skim), the resulting ice cream will be less smooth, noticeably icier, and less rich. You can use half-and-half or 2% milk if you must, but be prepared for a slightly less creamy and more crystalline texture compared to using heavy cream.
After churning, homemade ice cream will need at least 4 to 4.5 hours in the freezer to properly set and become scoopable. However, for the firmest and most satisfying consistency, leaving it to freeze overnight (8-12 hours) is truly the best approach. This allows the ice cream to fully harden and prevents it from being too soft or melting too quickly when served.
The most effective way is to place the candies in a strong, freezer-safe plastic bag (like a gallon Ziploc bag). Squeeze out as much air as possible before sealing. Then, use a meat mallet, a heavy rolling pin, or even the bottom of a sturdy pan to break them into pieces. For finer pieces, continue crushing until you reach your desired consistency. Be sure not to over-crush into a powder, as you want that delightful crunch!
This particular recipe is designed for an ice cream maker, which helps create its incredibly smooth texture by incorporating air and preventing large ice crystals. While you could adapt it to a no-churn method by whipping the heavy cream separately and folding it into the condensed milk mixture, the texture will be slightly different – usually denser and often sweeter. For the best results as described, an ice cream maker is recommended.
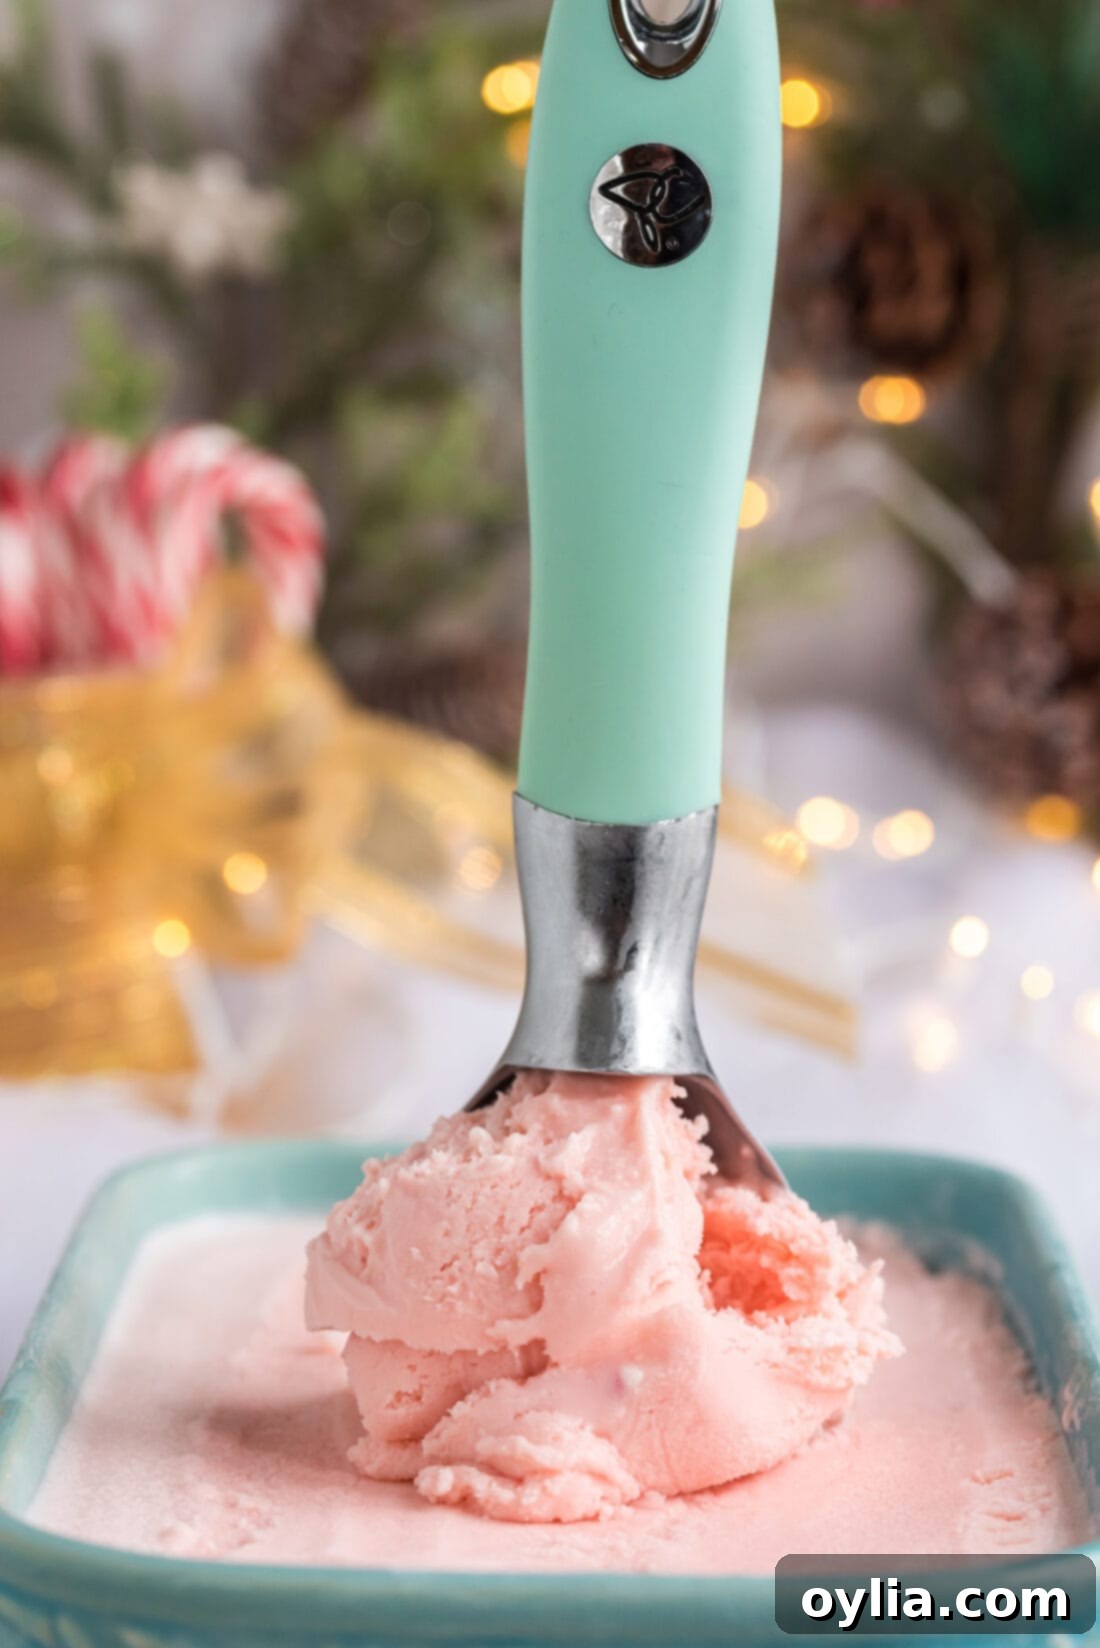
Serving Your Delicious Pink Peppermint Ice Cream
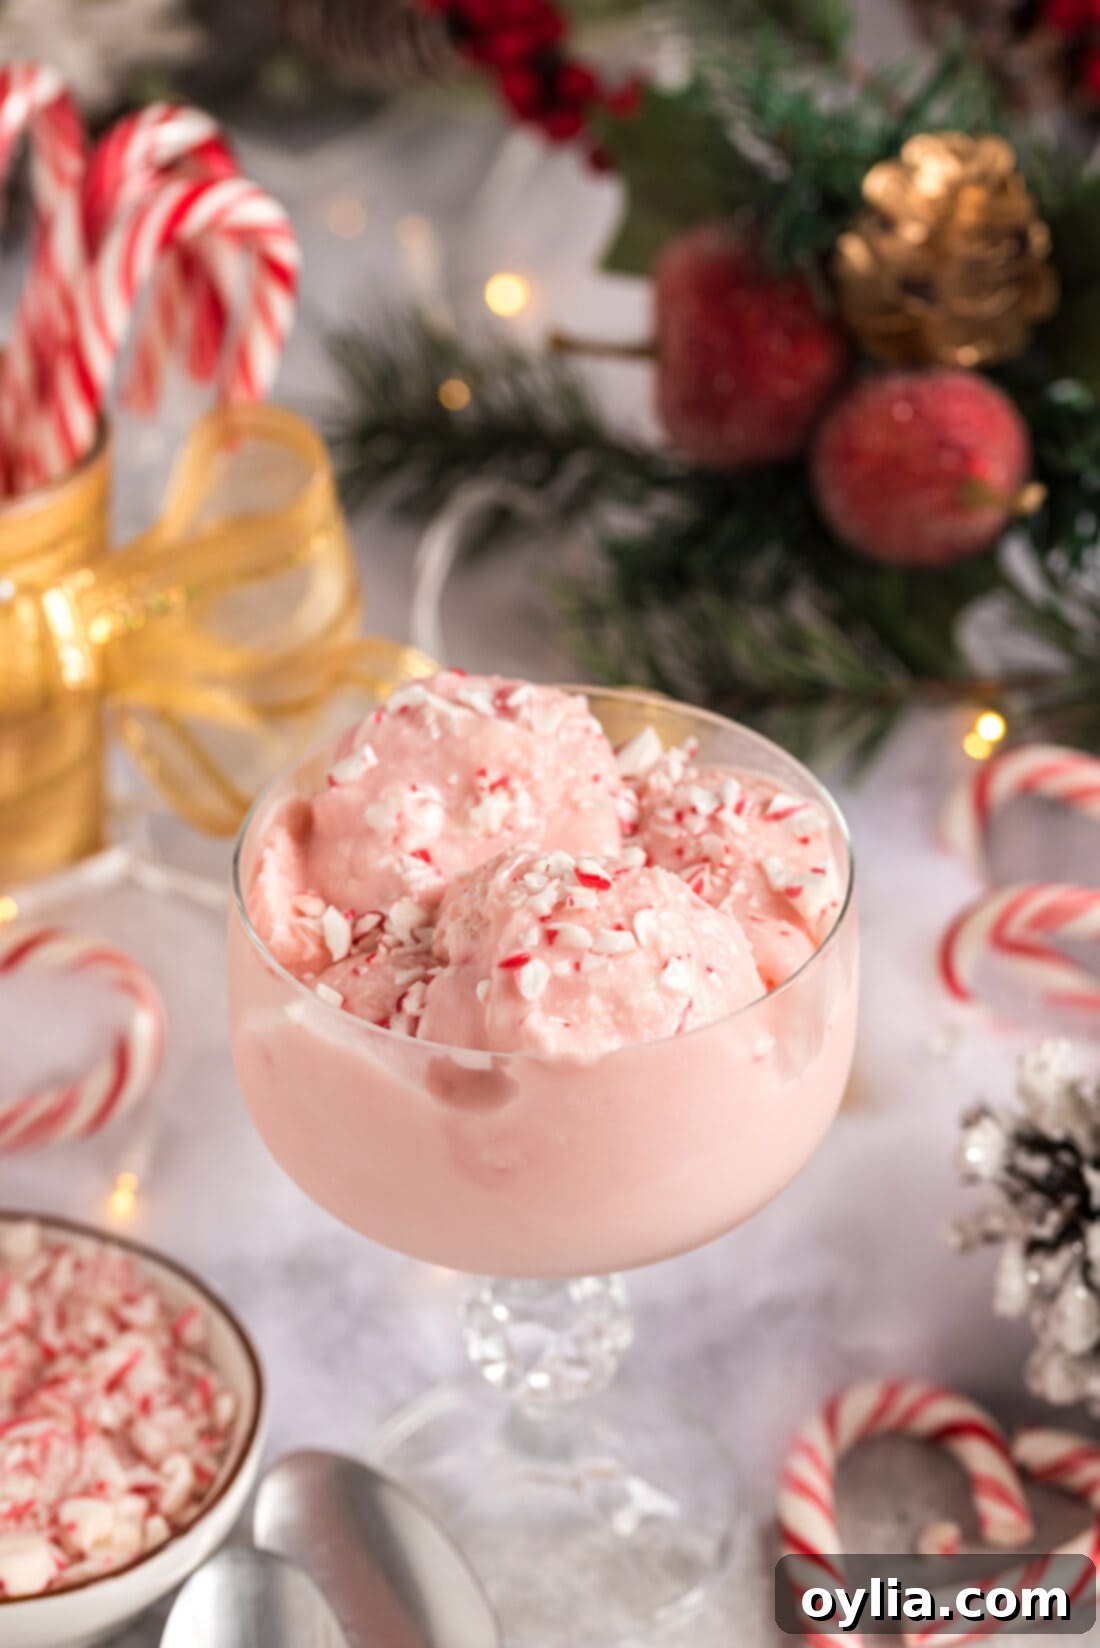
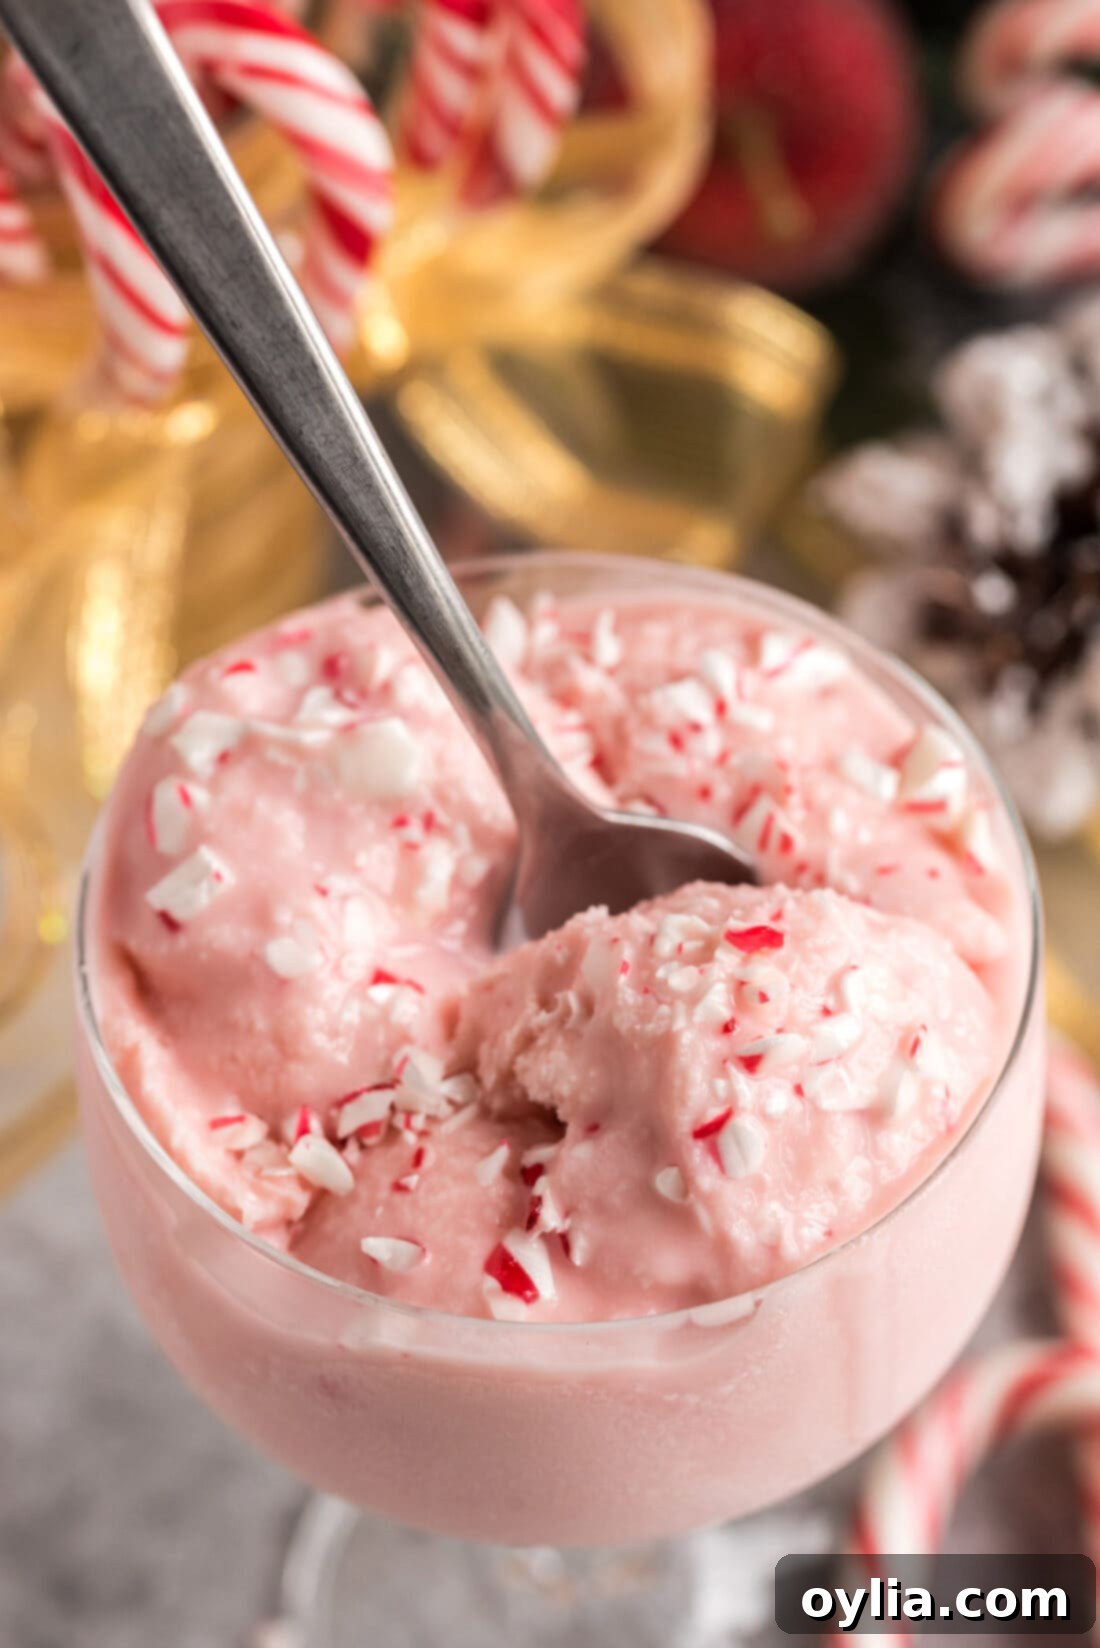
Once your homemade pink peppermint ice cream is perfectly set, it’s time to enjoy! Scoop generous portions into chilled bowls, waffle cones, or sundae cups. The vibrant pink color and enticing aroma alone are enough to make mouths water.
For an extra touch of festive flair and added texture, consider these serving enhancements:
- More Peppermint Crunch: Sprinkle additional crushed peppermint candies or candy cane pieces over each serving.
- Chocolate Drizzle: A luscious drizzle of chocolate syrup or a warm fudge sauce creates a delightful “chocolate-mint” combination.
- Whipped Cream: A generous dollop of freshly whipped cream adds another layer of creamy indulgence.
- Mini Chocolate Chips: For a subtle chocolate crunch that pairs wonderfully with mint.
- Fresh Mint Sprig: Garnish with a fresh mint leaf for a beautiful visual touch and an extra aromatic hint.
- Pair with Cookies: Serve alongside warm peppermint cookies, chocolate chip cookies, or shortbread for a delightful contrast.
While often associated with Christmas and winter holidays, pink peppermint ice cream is a refreshing delight that doesn’t have to be restricted to seasonal festivities. Now that you know how easy it is to make yourself at home, you can enjoy this sensational treat any time of the year. So go ahead, churn up a batch and treat yourself to a scoop of pure bliss!
Explore More Homemade Ice Cream Delights
If you’ve fallen in love with making your own ice cream, you’ll be thrilled to discover these other fantastic homemade ice cream recipes. Each one offers a unique flavor adventure that’s perfect for any occasion:
- No-Churn Ice Cream: For those times you crave homemade ice cream but don’t have an ice cream maker.
- Rocky Road Ice Cream: A classic favorite packed with marshmallows, nuts, and chocolate.
- White Chocolate Ice Cream: A smooth and decadent treat for white chocolate lovers.
- Mint Chocolate Chip Ice Cream: Another beloved minty classic, reinvented at home.
I love to bake and cook and share my kitchen experience with all of you! Remembering to come back each day can be tough, that’s why I offer a convenient newsletter every time a new recipe posts. Simply subscribe and start receiving your free daily recipes!
Pink Peppermint Ice Cream
IMPORTANT – There are often Frequently Asked Questions within the blog post that you may find helpful. Simply scroll back up to read them!
Print It
Pin It
Rate It
Save ItSaved!
Ingredients
- 14 ounces sweetened condensed milk (1 can)
- 2 cups heavy whipping cream
- 1 cup 1% milk
- ½ teaspoon peppermint extract
- 4 ½ teaspoons vanilla extract
- 3-5 drops red food coloring (or until desired color is reached)
- 1 cup peppermint candies (crushed, or candy canes)
Equipment
-
Ice cream maker
-
2 quart freezer container
Before You Begin & Expert Tips
- Do NOT use evaporated milk; it is not the same thing. Sweetened condensed milk is crucial for adding sweetness and creating a creamy consistency.
- For the best, creamiest texture, stick to heavy whipping cream. While you can substitute with 2% milk or half-and-half, expect the finished ice cream to be less smooth and rich due to lower fat content.
- You can use candy canes or round peppermint candies (Starlight Mints). Crush them in a sealed plastic bag with a meat mallet or hammer until you have about a cup’s worth.
- Crushing candies finer makes them easier to eat within the ice cream. Adjust crush size to your preference for chunkiness.
- For optimal setting, freeze the churned ice cream overnight.
- Ensure your ice cream maker bowl is thoroughly chilled (usually 12-24 hours in the freezer) before starting.
Instructions
-
Combine all ingredients (sweetened condensed milk, heavy cream, 1% milk, peppermint extract, vanilla extract, and red food coloring) in a large bowl and whisk until well combined and a uniform pink color is achieved. Pour the mixture into your chilled ice cream maker and process according to the manufacturer’s instructions until it reaches a soft-serve consistency (approx. 20-30 minutes).
-
Just before churning is complete (about 5 minutes remaining), add the crushed peppermint candies to the ice cream maker to combine them evenly.
-
Transfer the churned ice cream into a 2-quart freezer-safe container. Cover tightly with an airtight lid and freeze until hard, ideally for at least 4 to 4.5 hours, but overnight is best for optimal firmness.
Storage Tips
- Store the peppermint ice cream in an air-tight container in the freezer for up to 4 weeks. Homemade ice cream does not last as long as store-bought as it contains no preservatives.
Nutrition
The recipes on this blog are tested with a conventional gas oven and gas stovetop. It’s important to note that some ovens, especially as they age, can cook and bake inconsistently. Using an inexpensive oven thermometer can assure you that your oven is truly heating to the proper temperature. If you use a toaster oven or countertop oven, please keep in mind that they may not distribute heat the same as a conventional full sized oven and you may need to adjust your cooking/baking times. In the case of recipes made with a pressure cooker, air fryer, slow cooker, or other appliance, a link to the appliances we use is listed within each respective recipe. For baking recipes where measurements are given by weight, please note that results may not be the same if cups are used instead, and we can’t guarantee success with that method.
This post originally appeared here on September 21, 2012 and has since been updated with new photos and expert tips to provide the most comprehensive and delightful peppermint ice cream experience.
