Easy No-Bake Root Beer Float Pie: A Creamy, Dreamy Dessert Delight
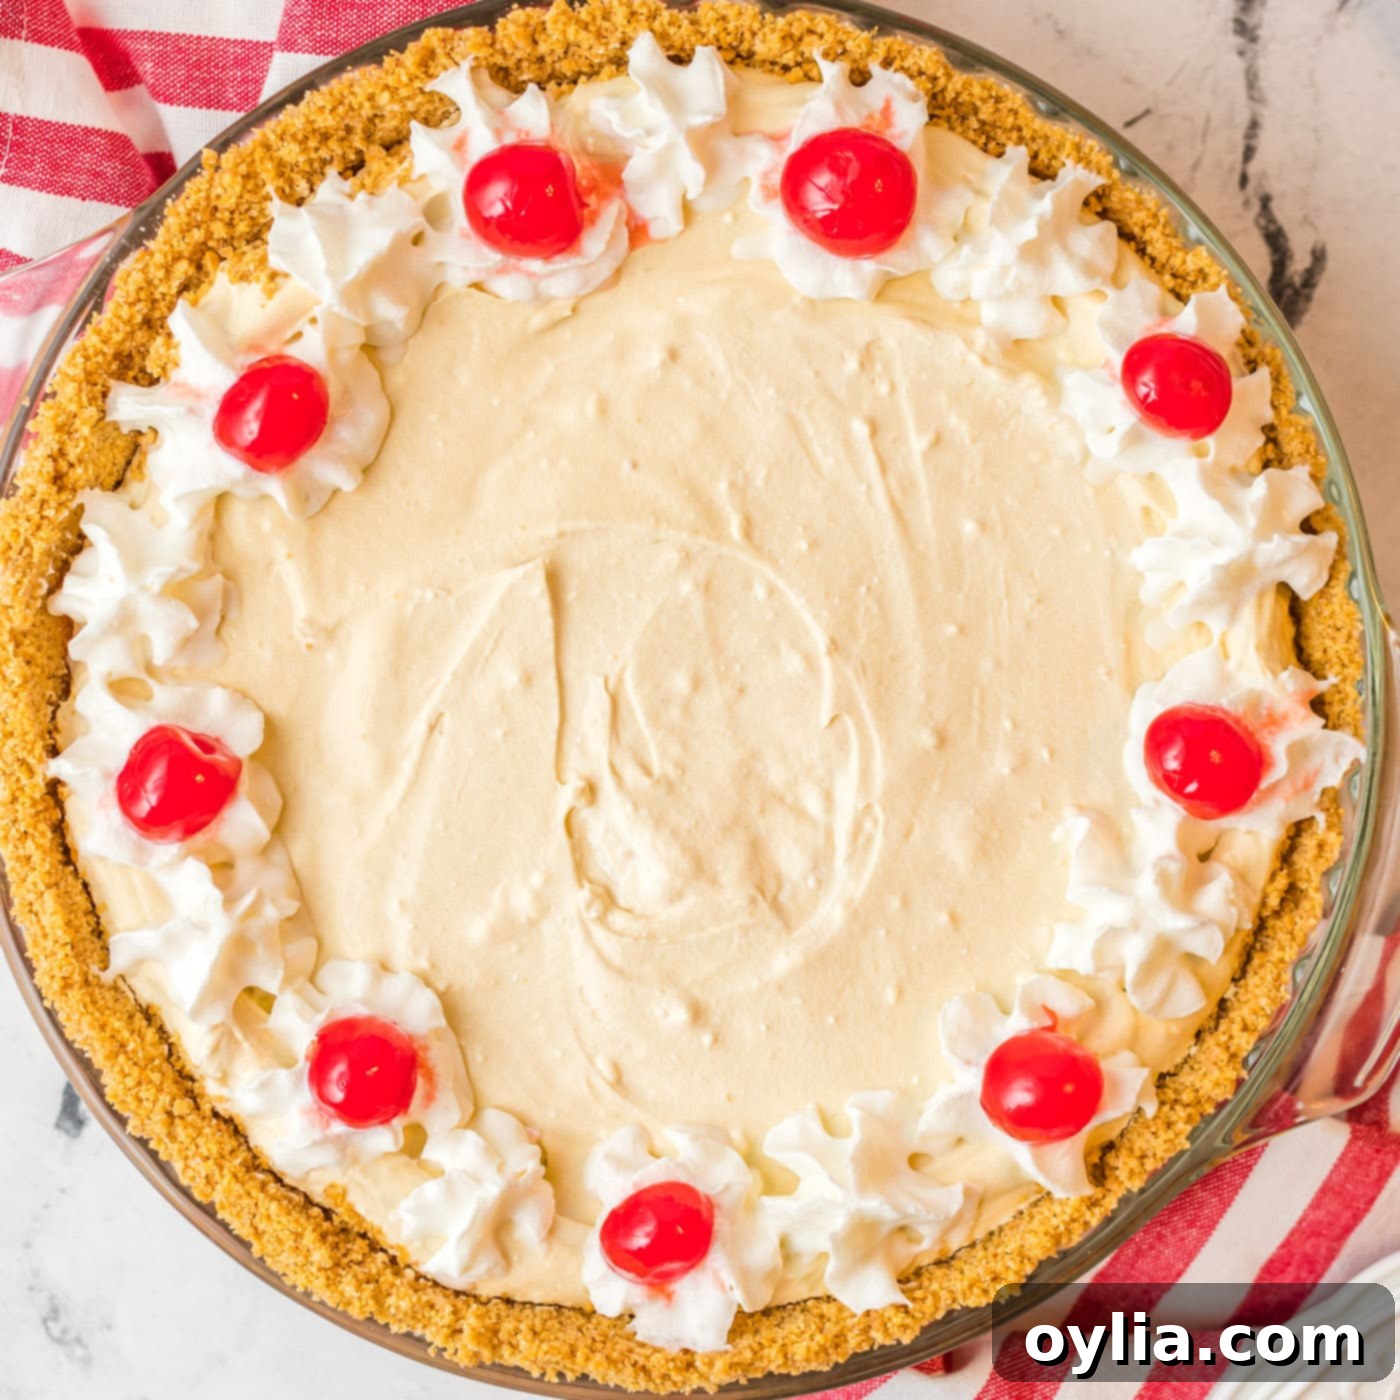
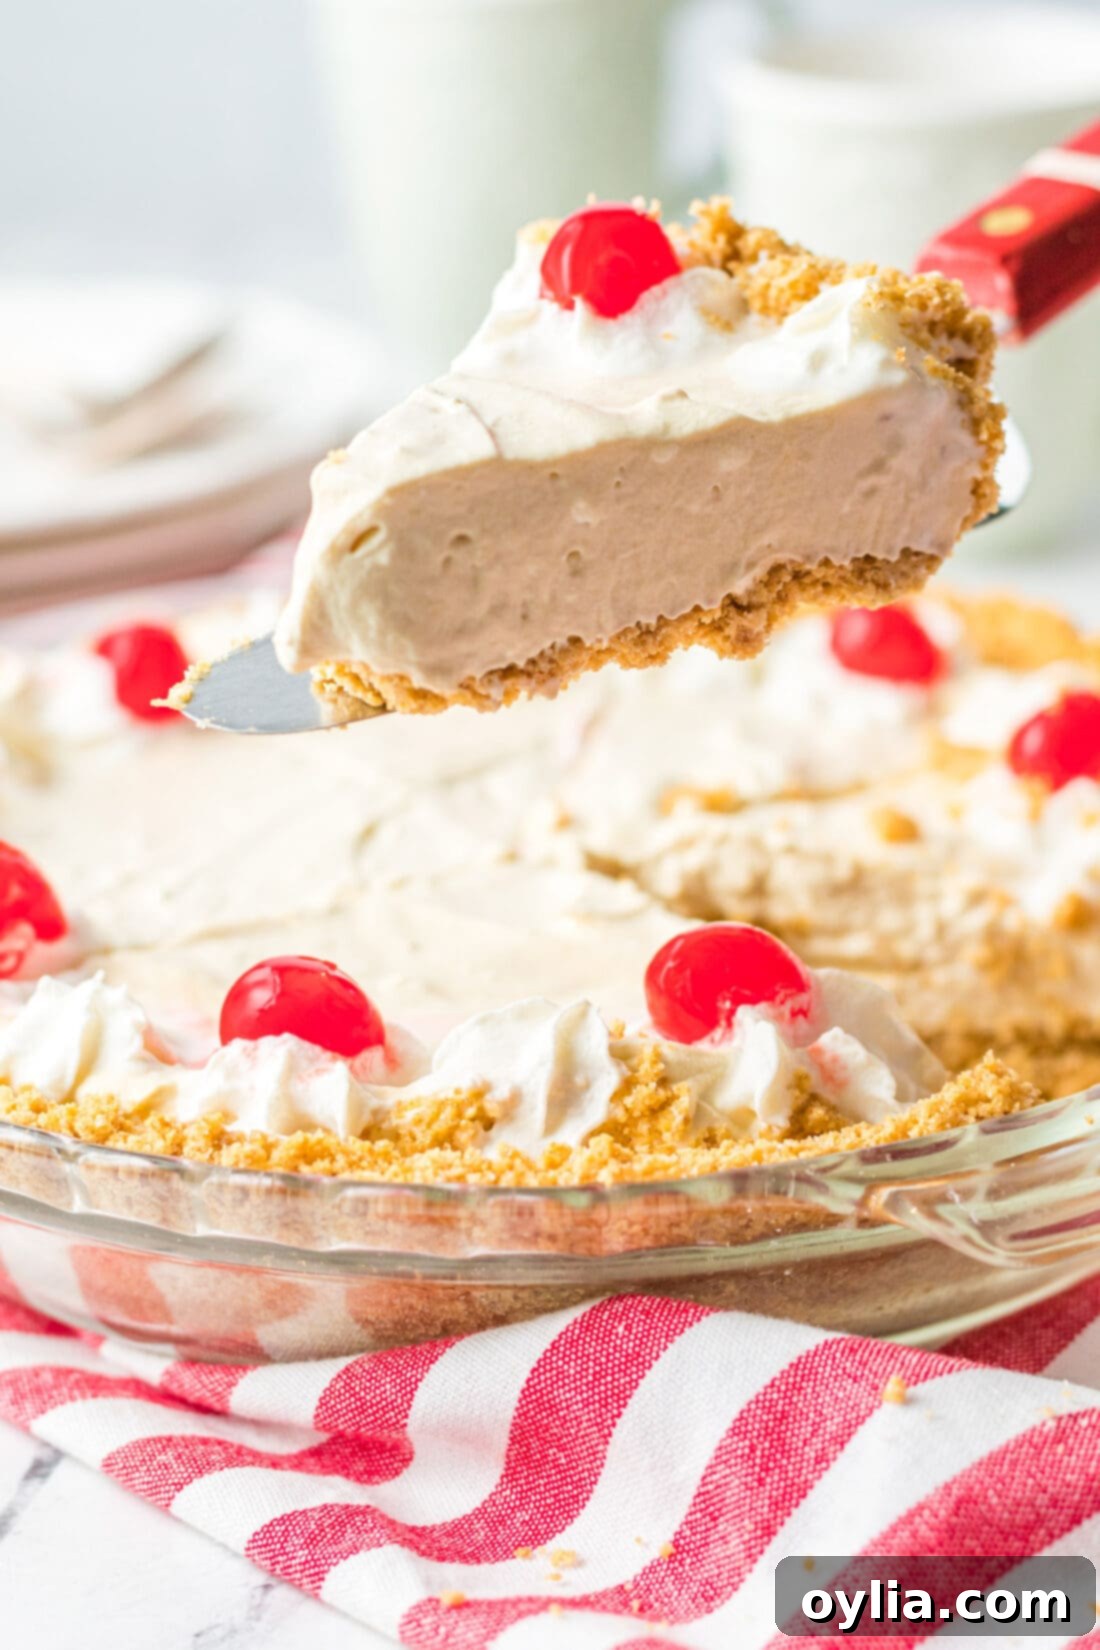
Prepare to take a delightful trip down memory lane with every bite of this incredible Root Beer Float Pie. Creamy, light, and wonderfully fluffy, this dessert is a fun and unforgettable treat that captures the essence of a classic root beer float in a pie. It’s built on a sturdy yet delicate graham cracker crumb base, filled with a smooth, root beer-infused instant vanilla pudding, and finished with a generous topping of luscious whipped cream and bright maraschino cherries. Whether it’s a summer barbecue, a family gathering, or just a craving for something sweet and unique, this pie is sure to be a showstopper and a crowd-pleaser.
Why This Root Beer Float Pie Recipe Works So Well
This root beer float pie is more than just a dessert; it’s an experience! It perfectly encapsulates the fizzy, creamy, and wonderfully sweet flavor of a classic root beer float in a delightful, sliceable format. We adore these iconic floats so much that we’ve even created a root beer float cocktail, and it was only a matter of time before we perfected it in a pie. You might initially think a root beer pie sounds a bit unusual, but trust us – one spoonful and you’ll be completely smitten!
The magic lies in its simplicity and ingenious flavor profile. The pie is incredibly creamy and dreamy, offering a fun and nostalgic twist on your average pie. It’s also incredibly easy to make, with most of the work being no-bake, making it perfect for those times you want a show-stopping dessert without turning on the oven for too long. The graham cracker crust provides a delightful crunch that perfectly complements the smooth, airy filling. This recipe truly works because it takes a beloved beverage and transforms it into an accessible, utterly delicious, and visually appealing dessert that everyone will enjoy. It’s an instant classic in the making!
Key Ingredients for Your Perfect Root Beer Float Pie
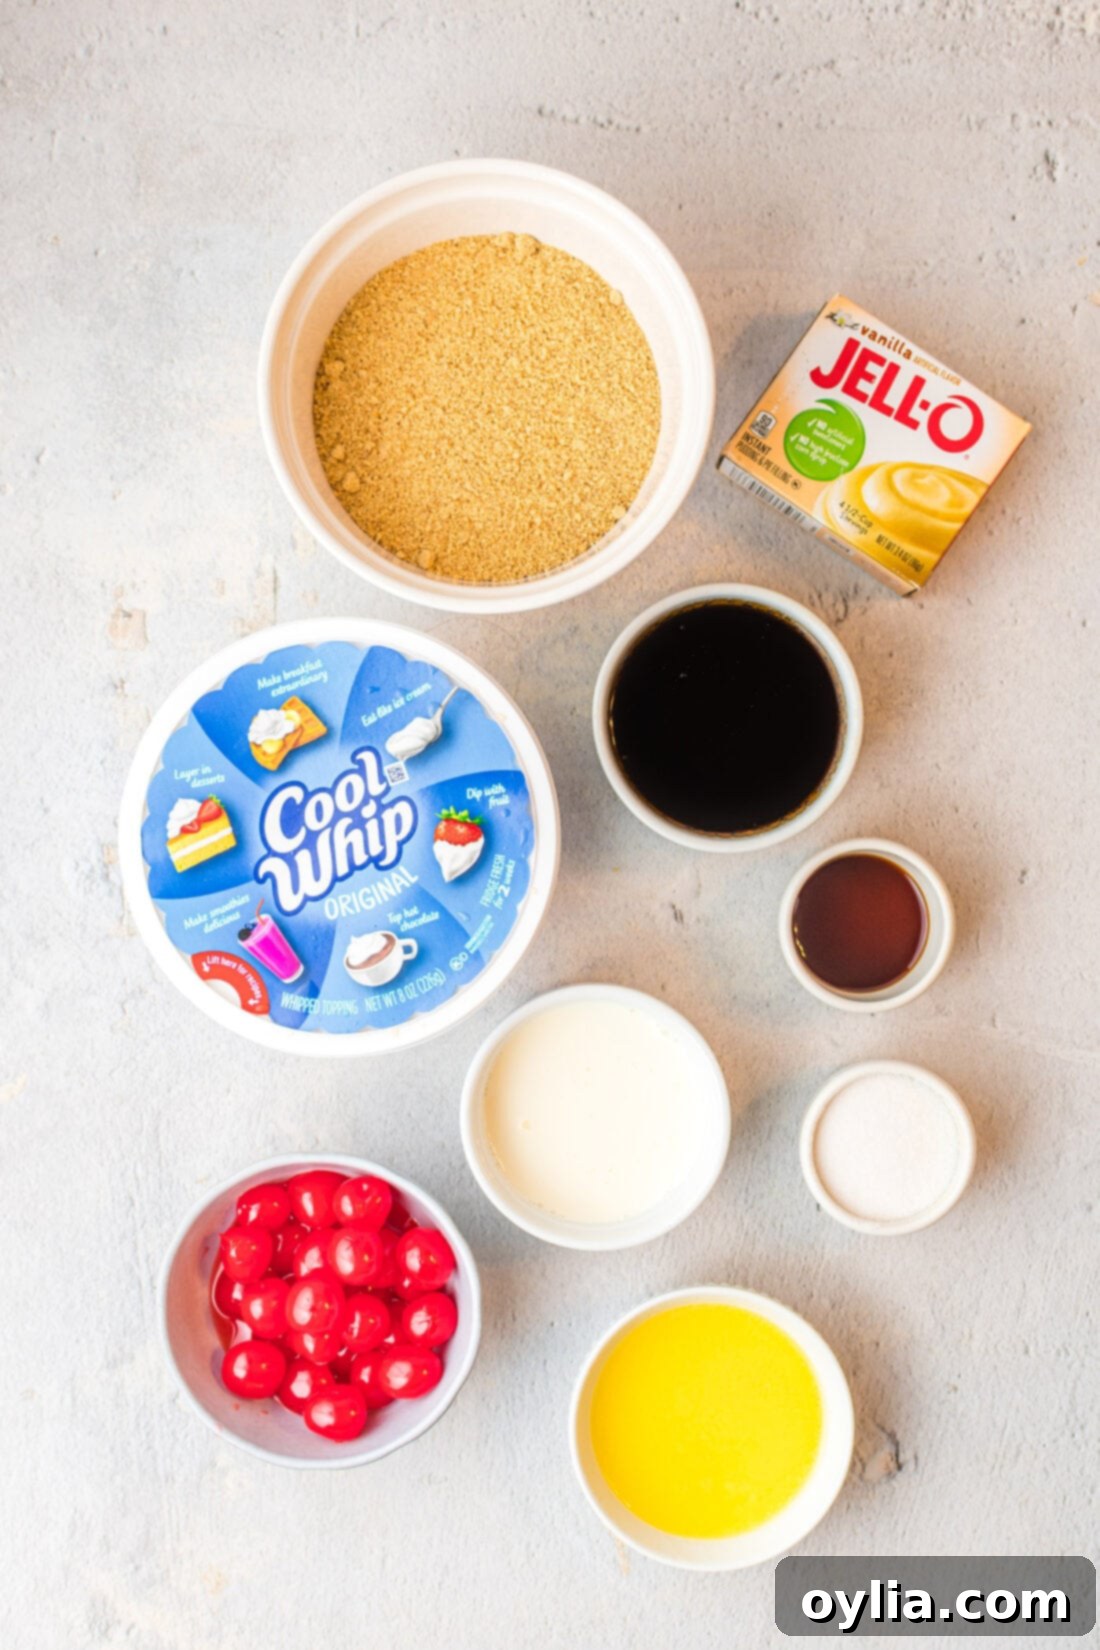
Crafting this root beer float pie requires just a handful of readily available ingredients, most of which you likely already have in your pantry or can easily find at any grocery store. For precise measurements, detailed instructions, and a printable version of this delicious recipe, please scroll to the end of this post where you’ll find our complete recipe card. However, let’s dive into the core components that make this pie so special.
Ingredient Information and Smart Substitution Suggestions
Understanding your ingredients and knowing when and how to make substitutions can elevate your baking experience. Here’s a closer look at what goes into our Root Beer Float Pie and how you can customize it to your liking:
- ROOT BEER: The star of the show! Any brand of your favorite root beer will work beautifully. For an even more intense root beer flavor, you can opt for a high-quality, craft root beer. If you’re feeling adventurous or simply don’t have root beer on hand, consider experimenting with other sodas like Dr. Pepper for a cherry twist, cream soda for an even creamier, vanilla-forward flavor, or even Coke for a classic cola pie. Just be aware that the flavor profile will shift. Crucially, you’ll also be adding root beer extract to amplify that signature root beer taste. This extract is typically found in the baking aisle alongside other flavorings like vanilla extract at your local grocery store. Don’t skip it, as it truly brings out the authentic “float” essence.
- PIE FILLING: The creamy filling relies on instant vanilla pudding. The “instant” part is critical as it sets quickly without cooking, providing that perfect, stable pie texture. If you’re keen to explore other flavor combinations, feel free to try instant banana, butterscotch, or even chocolate pudding, though the classic root beer float flavor relies heavily on the vanilla. Just remember, *always* use the instant variety for this recipe. To achieve its signature super creamy texture, we incorporate heavy whipping cream into the filling. For a slightly lighter option without sacrificing too much richness, you can substitute heavy whipping cream with half-and-half.
- CRUST: The foundation of our pie is a simple yet delicious graham cracker crumb crust. You have two convenient options here: either purchase pre-crushed graham cracker crumbs for a time-saving shortcut, or easily make your own by pulsing whole graham crackers in a blender or food processor until fine crumbs form. If graham crackers aren’t your preference or are unavailable, there are fantastic substitutes! Try crushed shortbread cookies for a buttery, delicate crust, golden Oreos (cream removed or kept in for extra sweetness) for a more decadent base, or even digestive biscuits if you’re in the UK, which offer a similar mild sweetness and crumbly texture. For those with dietary restrictions, gluten-free graham crackers or cookies can easily be swapped in.
- COOL WHIP: This recipe uses store-bought Cool Whip for its consistent texture and ease. Cool Whip contributes to the light and airy consistency of the pie filling and is also used for the final decorative topping. While you can certainly make your own homemade whipped cream for the topping, for the filling itself, Cool Whip provides a unique stability that instant pudding recipes often benefit from. If using homemade whipped cream for the topping, make sure it’s well-chilled and stiffly whipped for piping.
- GARNISHES: Maraschino cherries add a beautiful pop of color and a classic touch reminiscent of a soda fountain float. Don’t limit yourself there! Consider adding a sprinkle of extra graham cracker crumbs, a drizzle of chocolate syrup, chopped nuts like pecans or walnuts, or even some colorful sprinkles for a festive look.
How to Make This Incredible Root Beer Float Pie
These step-by-step photos and instructions are designed to help you visualize each stage of making this delicious root beer float pie. While we’ve provided clear visual guidance here, you can always Jump to Recipe to get the complete printable version, featuring all measurements and instructions, located at the bottom of this post.
Making this pie is surprisingly simple, blending a quick-bake crust with a no-bake filling for maximum flavor and minimal fuss. Follow these easy steps to create your own creamy masterpiece:
- First things first, preheat your oven to 400°F (200°C). This is for baking the crust, which gives it a lovely, firm base.
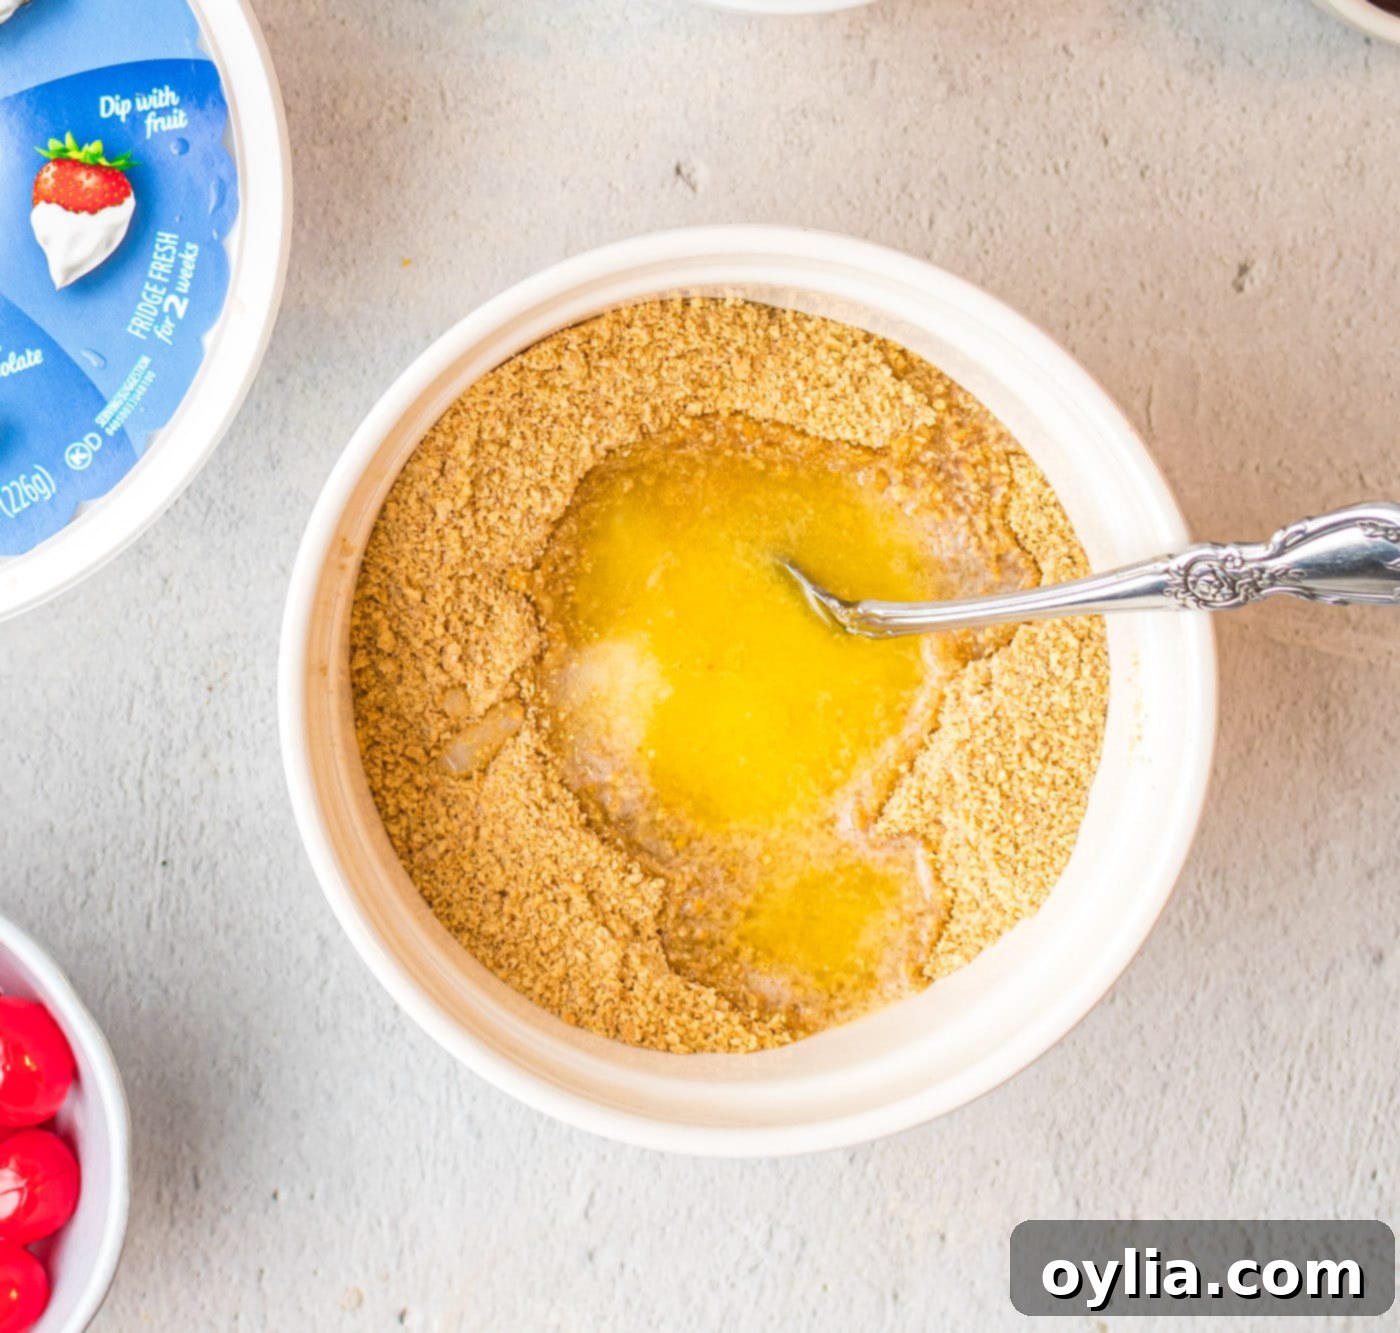
- In a medium mixing bowl, combine your graham cracker crumbs, melted unsalted butter, and granulated sugar. Stir these ingredients together thoroughly until the crumbs are evenly moistened and resemble wet sand. This forms the perfect base for your pie.

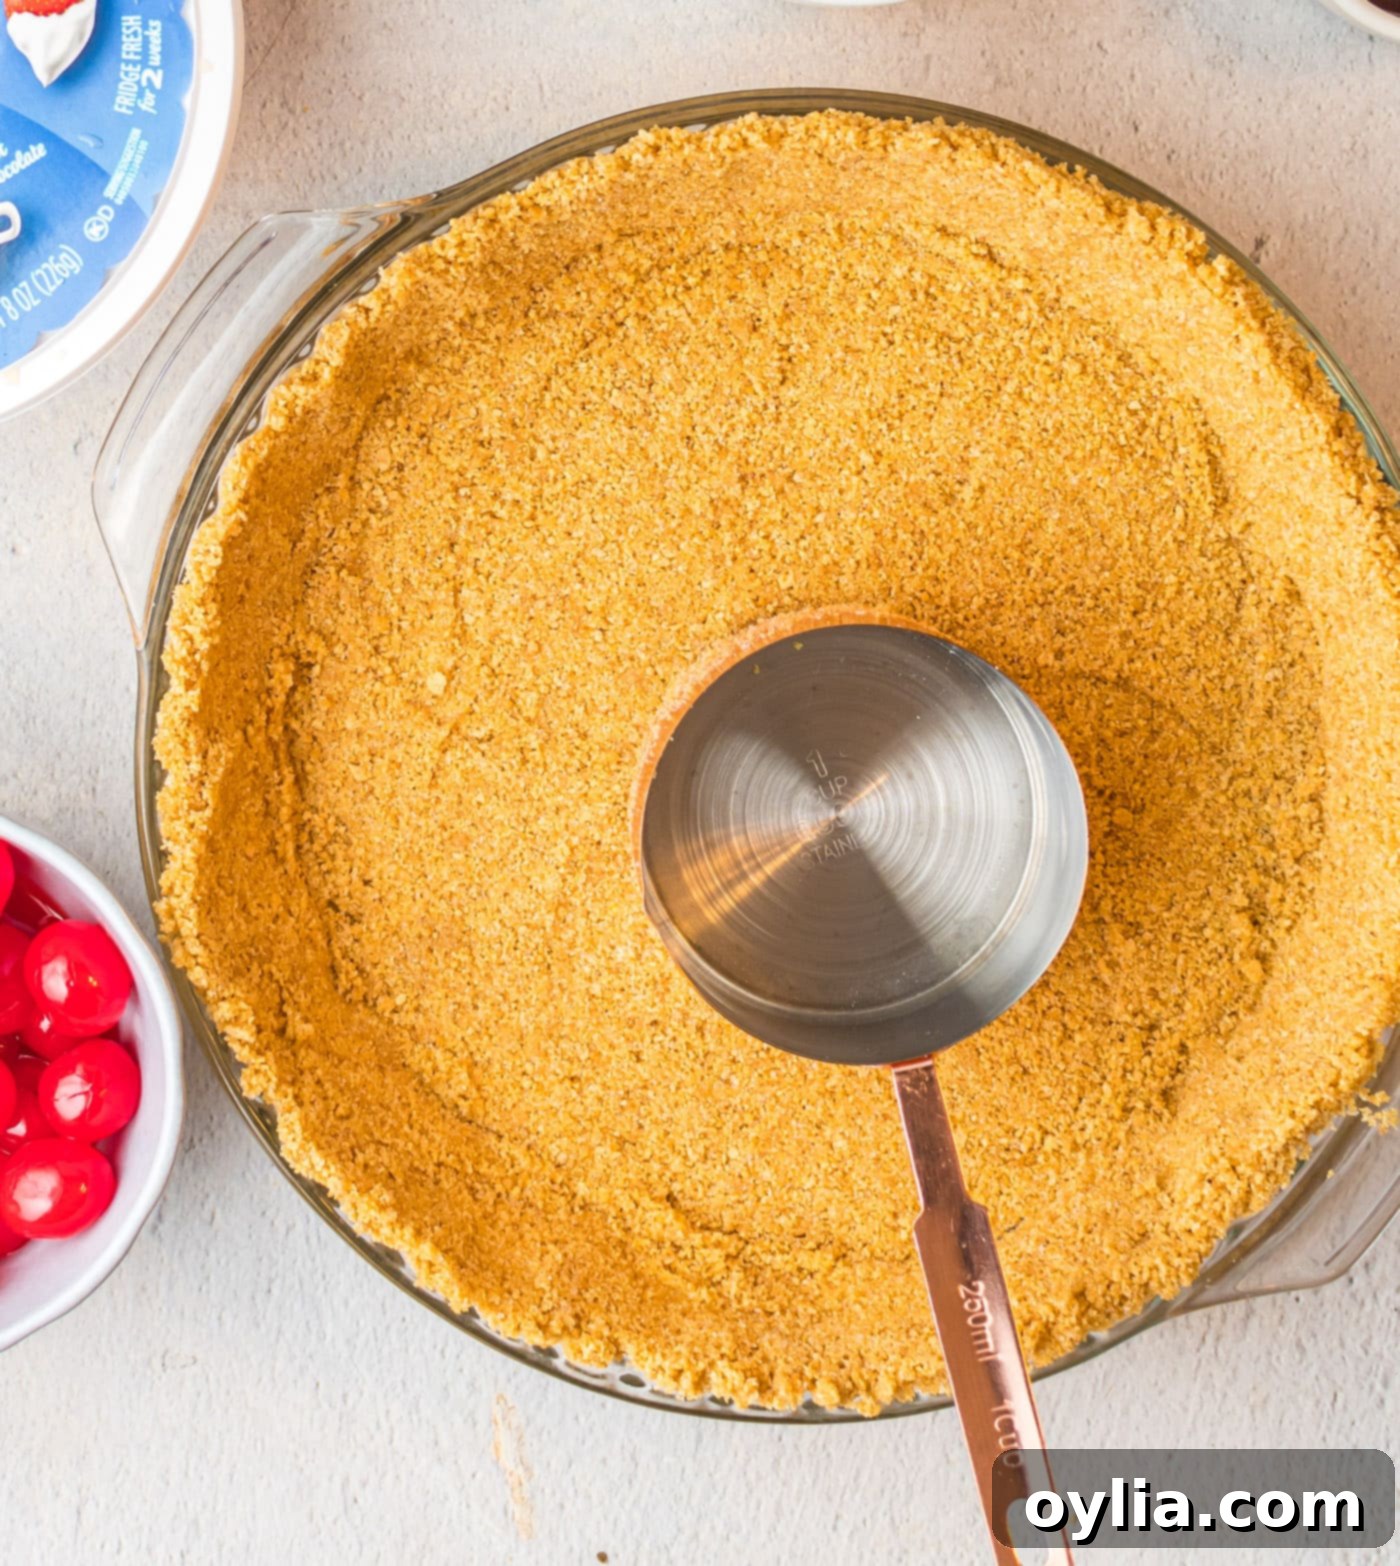
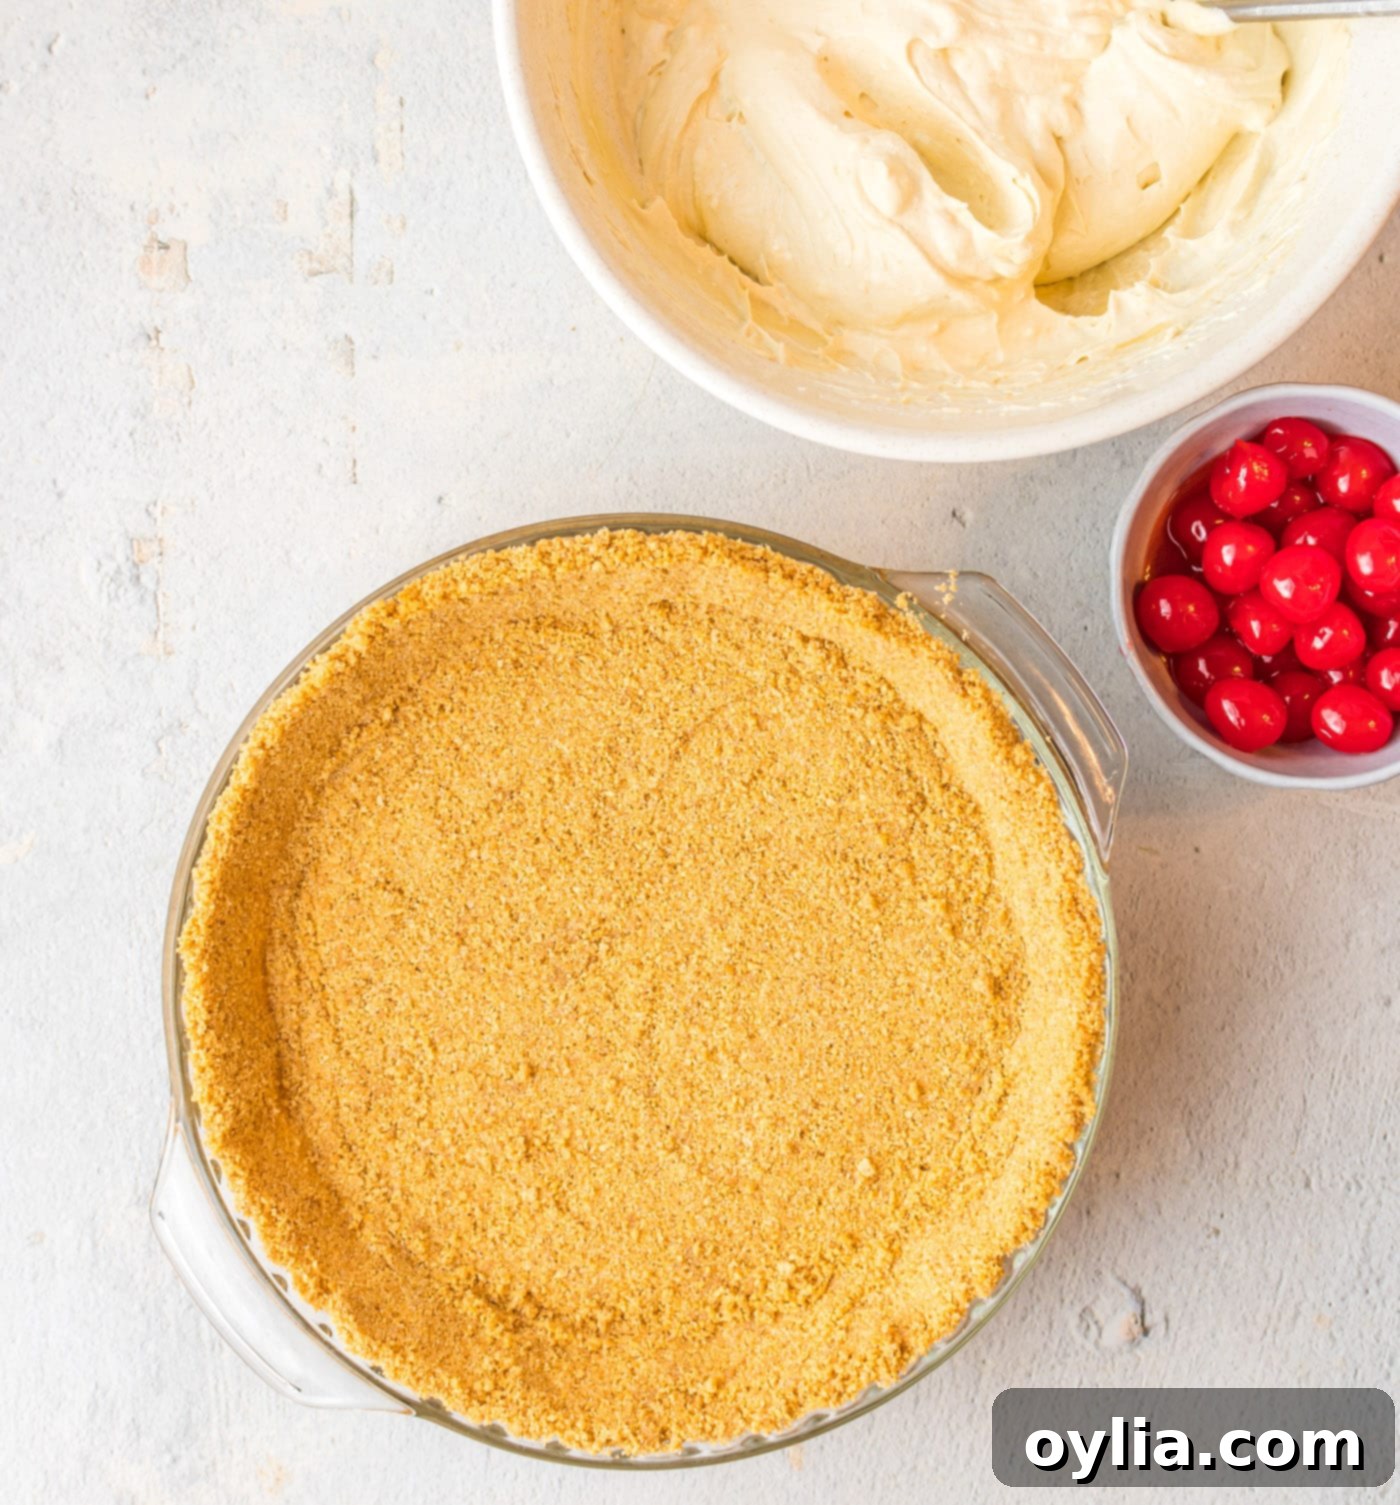
- Press the prepared graham cracker mixture firmly into a 9-inch pie pan. Make sure to press the crumbs not only into the bottom but also up the sides of the pan to form a neat and even crust. A flat-bottomed glass or a measuring cup works wonders for pressing the crumbs evenly and compactly. This creates a sturdy foundation that won’t crumble when sliced.

- Bake the crust in your preheated oven for just 5 minutes. This quick bake helps to set the butter and sugar, making the crust even more stable and flavorful. Once baked, remove the crust from the oven and let it cool completely on a wire rack. It’s crucial for the crust to be fully cooled before adding the filling to prevent it from melting the pudding.
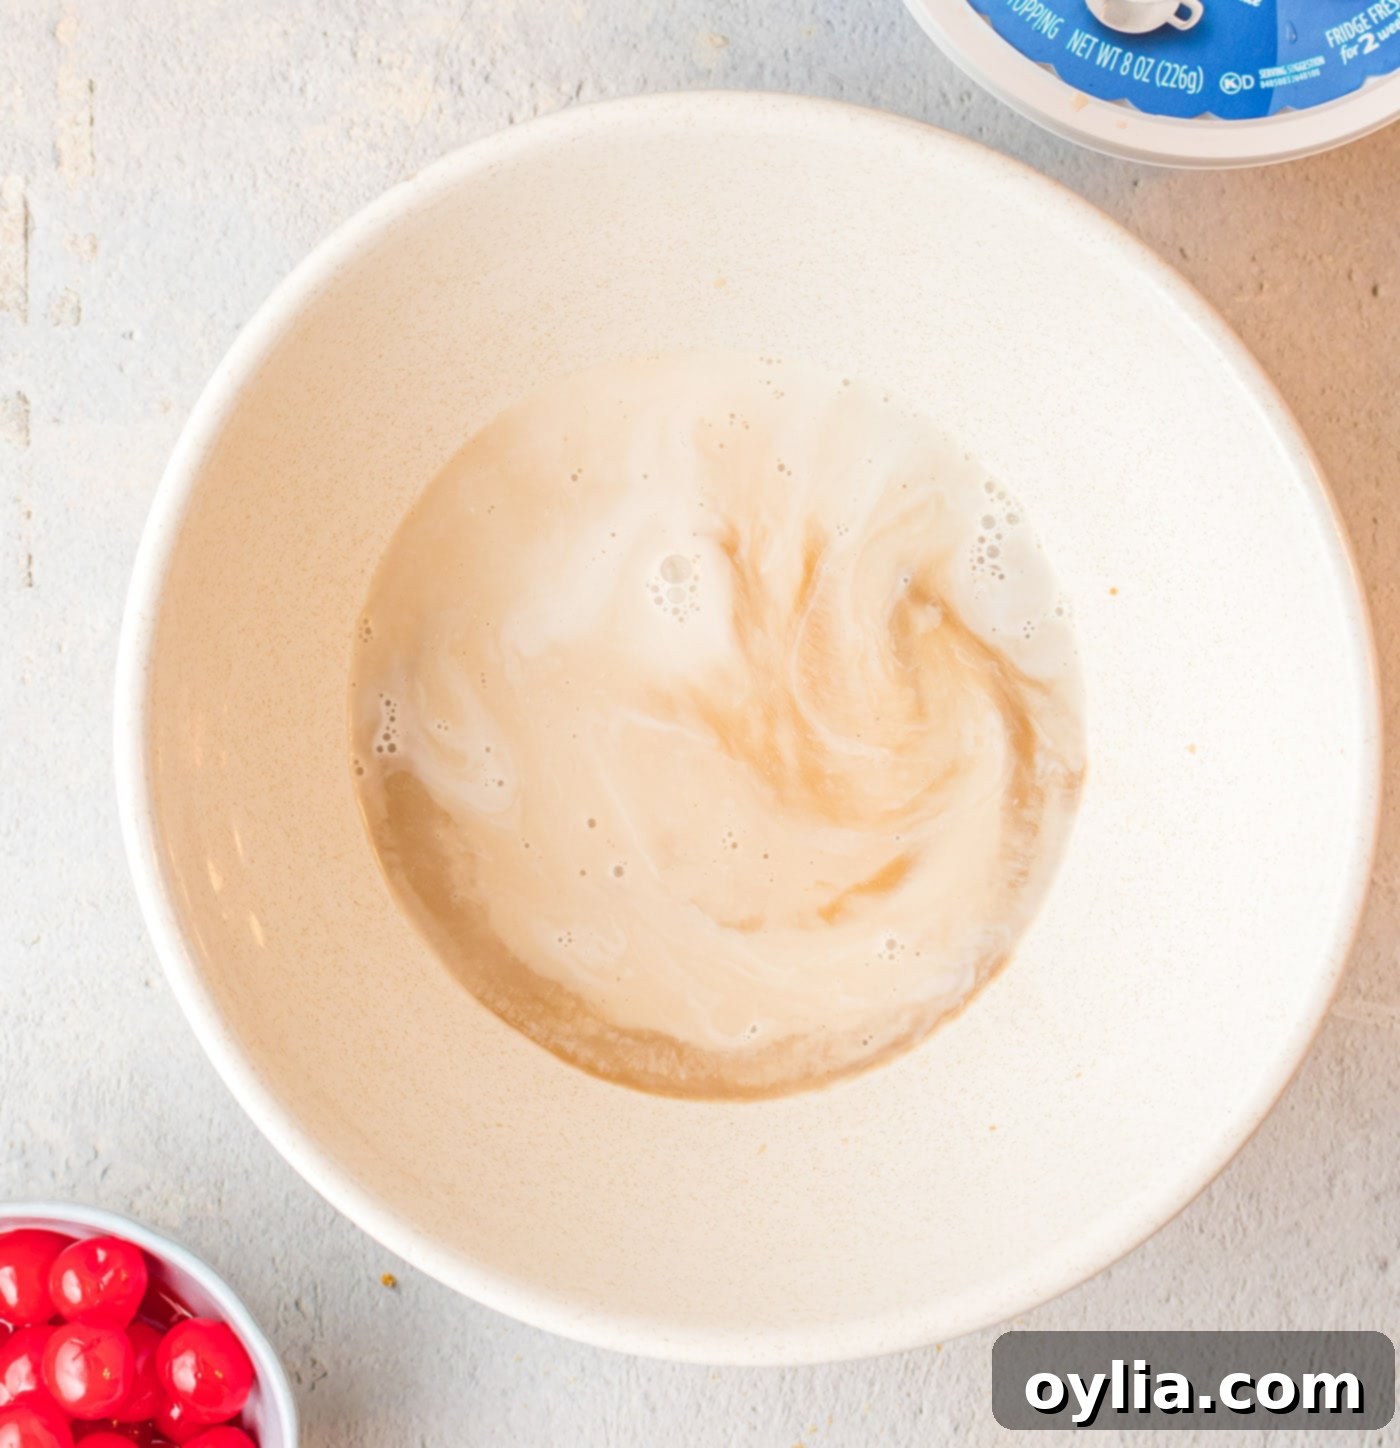
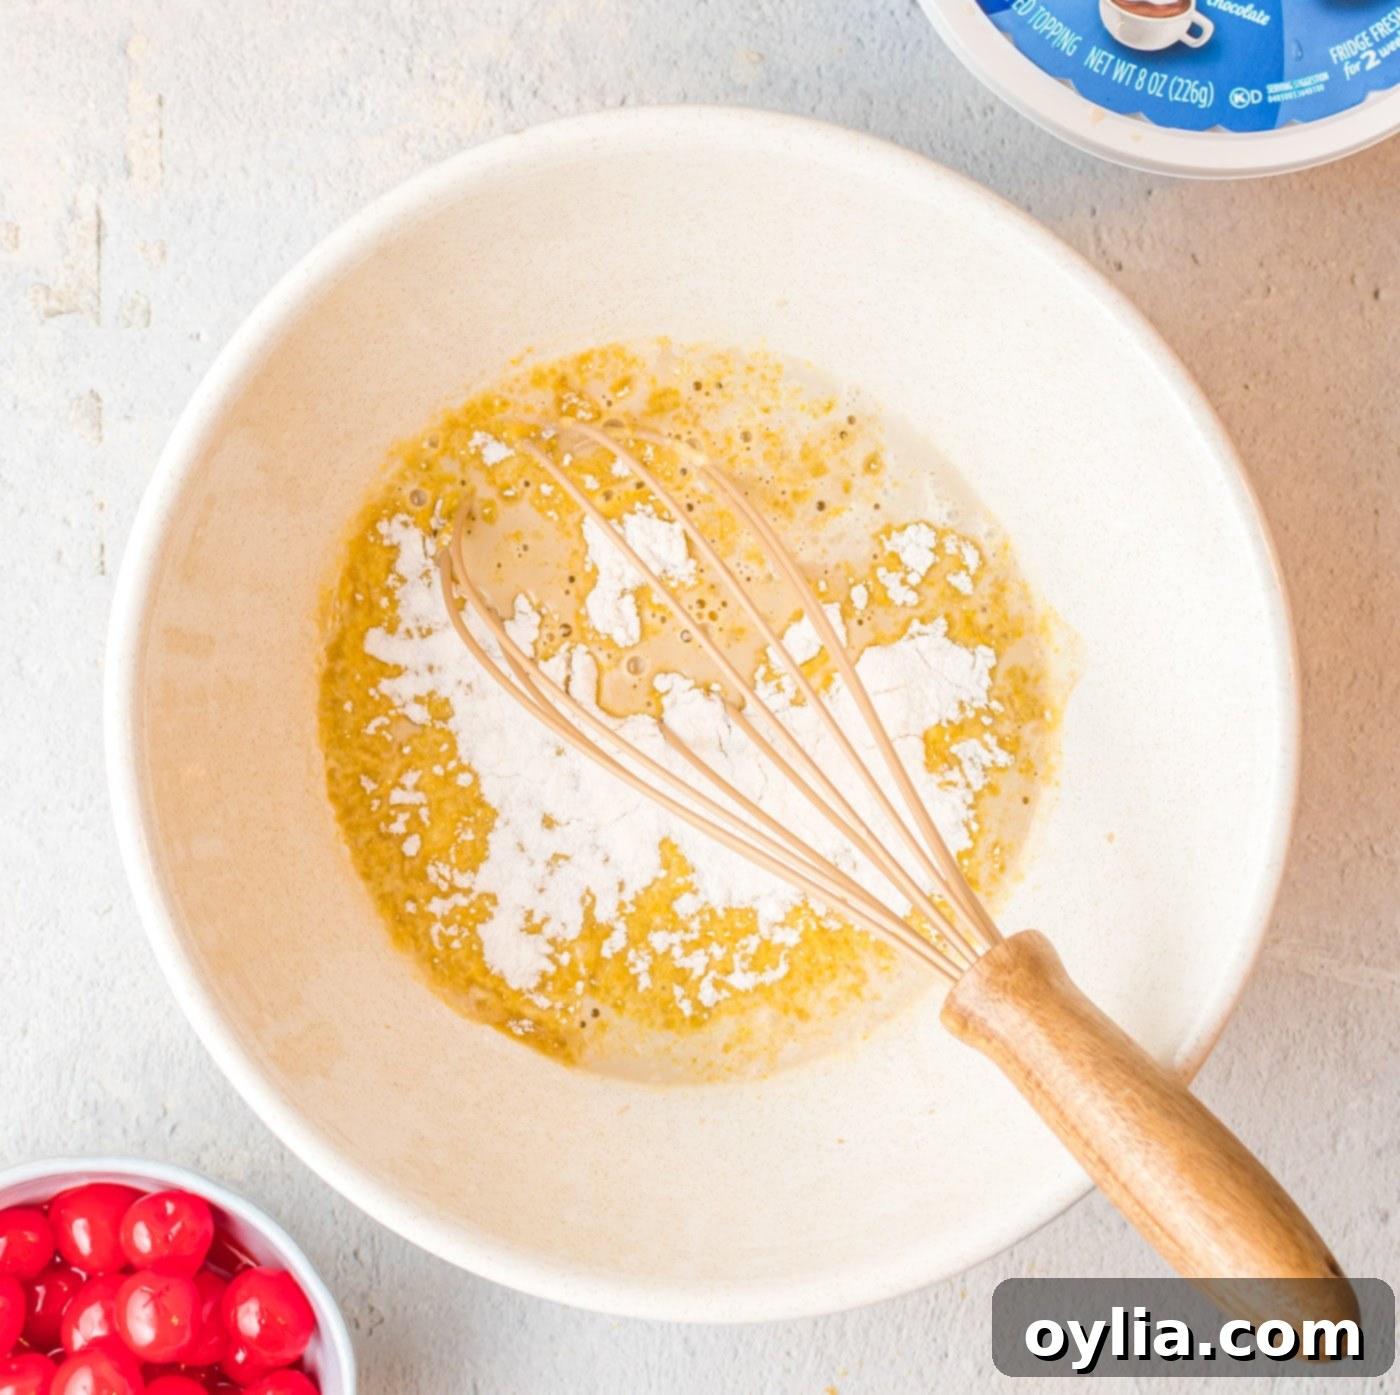
- In a separate, large mixing bowl, combine the root beer, heavy whipping cream (or half-and-half), and root beer extract. Whisk these ingredients together until they are well combined. This liquid mixture will be the base for your creamy pie filling.

- Now, sprinkle the instant vanilla pudding mix evenly over the root beer mixture. Immediately begin whisking vigorously for about 1 minute. The mixture will start to thicken rapidly as the pudding sets. Continue whisking until it’s smooth and has a creamy, pudding-like consistency.

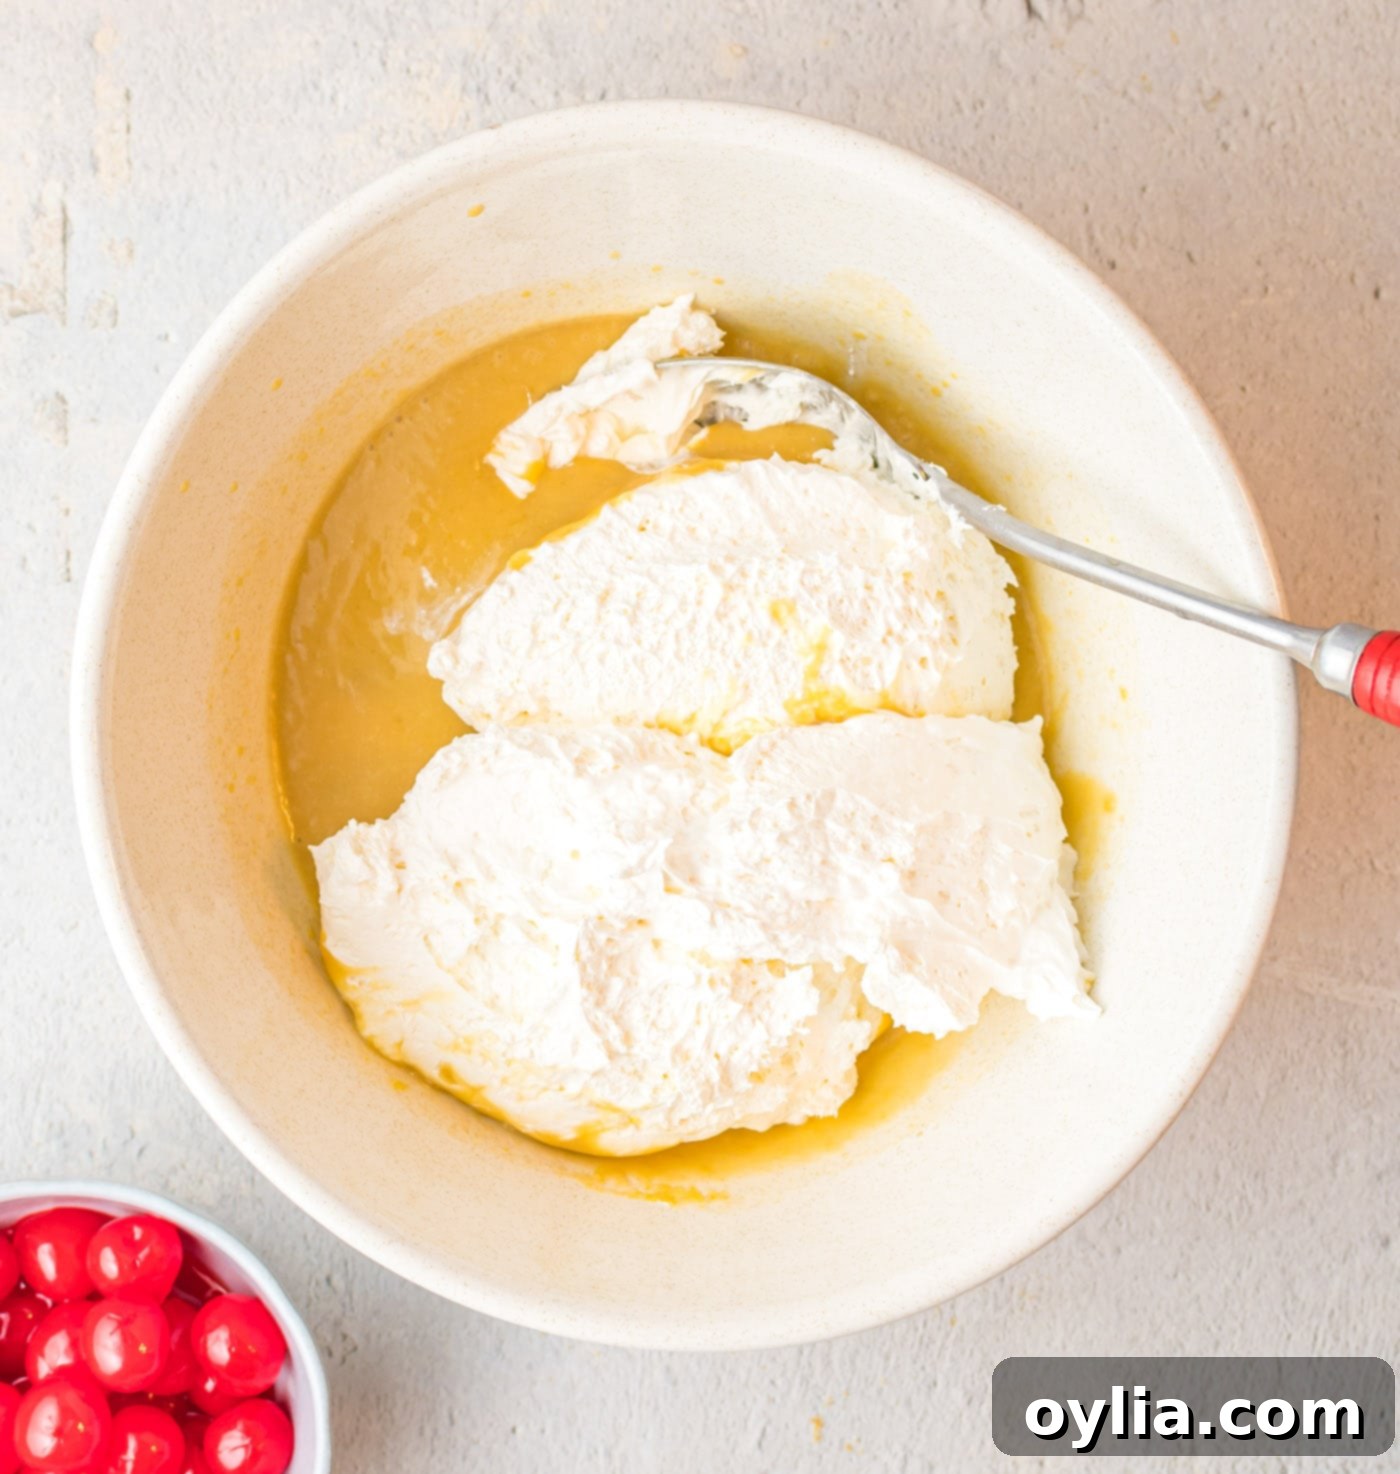
- Gently fold in the Cool Whip until it is just combined with the root beer pudding mixture. Be careful not to overmix; you want to retain the light and airy texture. The Cool Whip adds an extra layer of creaminess and fluffiness to the pie filling.

- Once your baked crust has cooled completely (this is important!), pour the root beer filling mixture into the pie pan and gently smooth out the top with a spatula.

- Cover the pie loosely with plastic wrap (ensure it doesn’t touch the filling) and place it in the refrigerator for at least 2 hours to allow the pie to fully set. Chilling is essential for achieving that perfect sliceable consistency.
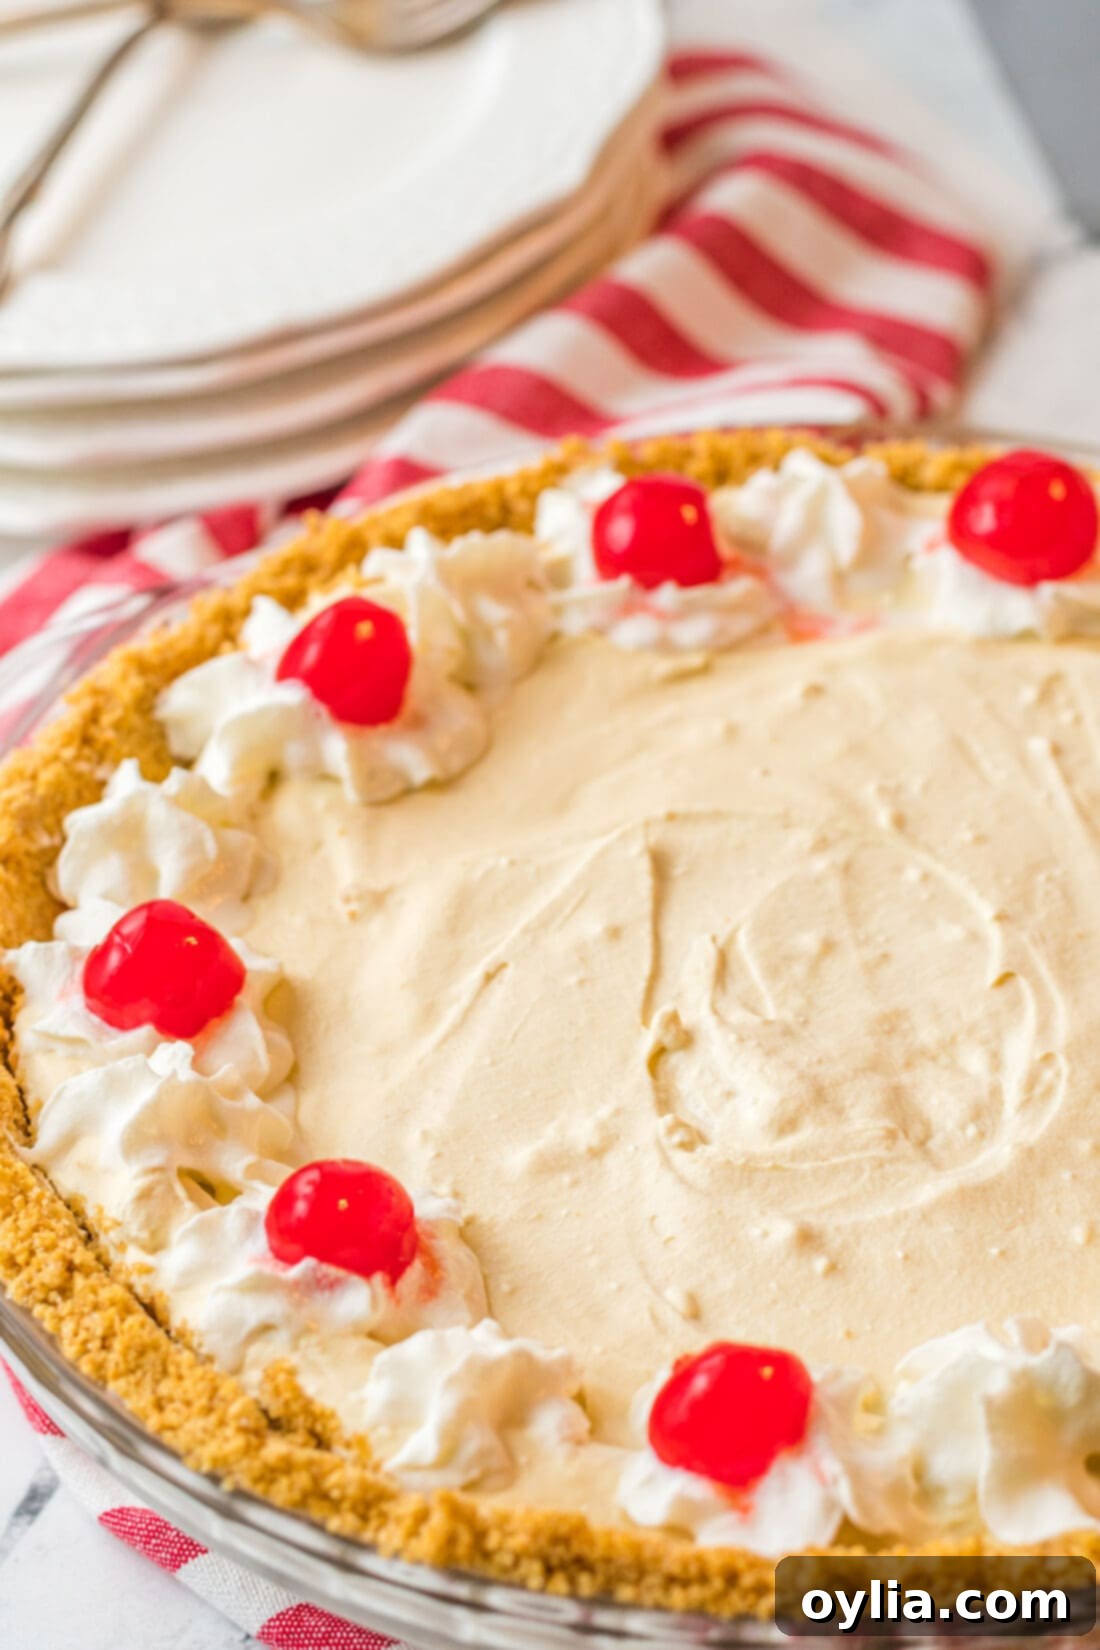
- Finally, when ready to serve, remove the pie from the refrigerator. Pipe small stars or dollops from canned whipped cream over the top of the pie for a beautiful, classic float look. Crown each slice or the entire pie with vibrant maraschino cherries.
And there you have it – a stunning, delicious, and easy-to-make Root Beer Float Pie ready to impress!
Frequently Asked Questions & Expert Tips for Perfect Root Beer Float Pie
Here are some common questions and valuable tips to ensure your Root Beer Float Pie turns out perfectly every time:
To store your delicious root beer float pie, place it in an airtight container or cover it tightly with plastic wrap or a pie topper. Keep it refrigerated. It will stay fresh and delicious for up to 3 days. For best flavor and texture, we recommend consuming it within 2 days.
Absolutely! This pie tastes absolutely fantastic when served frozen, offering a texture reminiscent of ice cream. You can definitely freeze this pie if you plan on making it ahead of time for a special occasion or simply to enjoy later. For optimal freshness, properly wrap the pie tightly in plastic wrap, then an additional layer of aluminum foil, and store it in the freezer. It should keep well for a couple of months. Thaw slightly at room temperature before serving for easier slicing, or enjoy it completely frozen for a firmer treat.
Using instant pudding is crucial for this no-bake pie recipe because it contains gelling agents that allow it to set and thicken without any cooking. Cook & Serve puddings require heat to activate their starches and won’t set correctly in a cold filling. Always double-check your pudding box to ensure it says “instant” for best results.
While homemade whipped cream is excellent for topping, it’s generally not recommended for the filling itself in recipes that call for Cool Whip and instant pudding. Cool Whip offers a unique stability and emulsification that helps the pie set firmly and maintain its airy texture over time. If you use homemade whipped cream in the filling, the pie might not set as firmly or could become watery after a day or two.
The key to a perfectly set pie is adequate chilling time. Do not rush the refrigeration step! A minimum of 2 hours is essential, but 4 hours or even overnight will yield an even firmer and easier-to-slice pie. Ensure your root beer is cold before mixing, and don’t overmix the Cool Whip, as this can break down its structure.
Expert Tips:
- Amplify the Flavor: If you’re a true root beer aficionado and desire an even bolder root beer flavor, feel free to add an additional tablespoon of root beer extract to the filling mixture. Conversely, if you prefer a more subtle hint of root beer, you can reduce the extract to just 1 or 1.5 teaspoons.
- Gentle Folding: When incorporating the Cool Whip into the root beer pudding mixture, use a gentle folding technique. Overmixing can deflate the airiness of the Cool Whip, resulting in a denser pie filling. Fold just until no streaks of Cool Whip remain.
- Chilling is Key: As mentioned in the FAQ, proper chilling time is vital. A well-chilled pie is not only easier to slice but also has the best creamy, set texture.
- Crust Protection: When baking the graham cracker crust, if you notice the edges browning too quickly, you can gently cover them with strips of aluminum foil for the last minute or two of baking.
Creative Serving Suggestions for Your Root Beer Float Pie
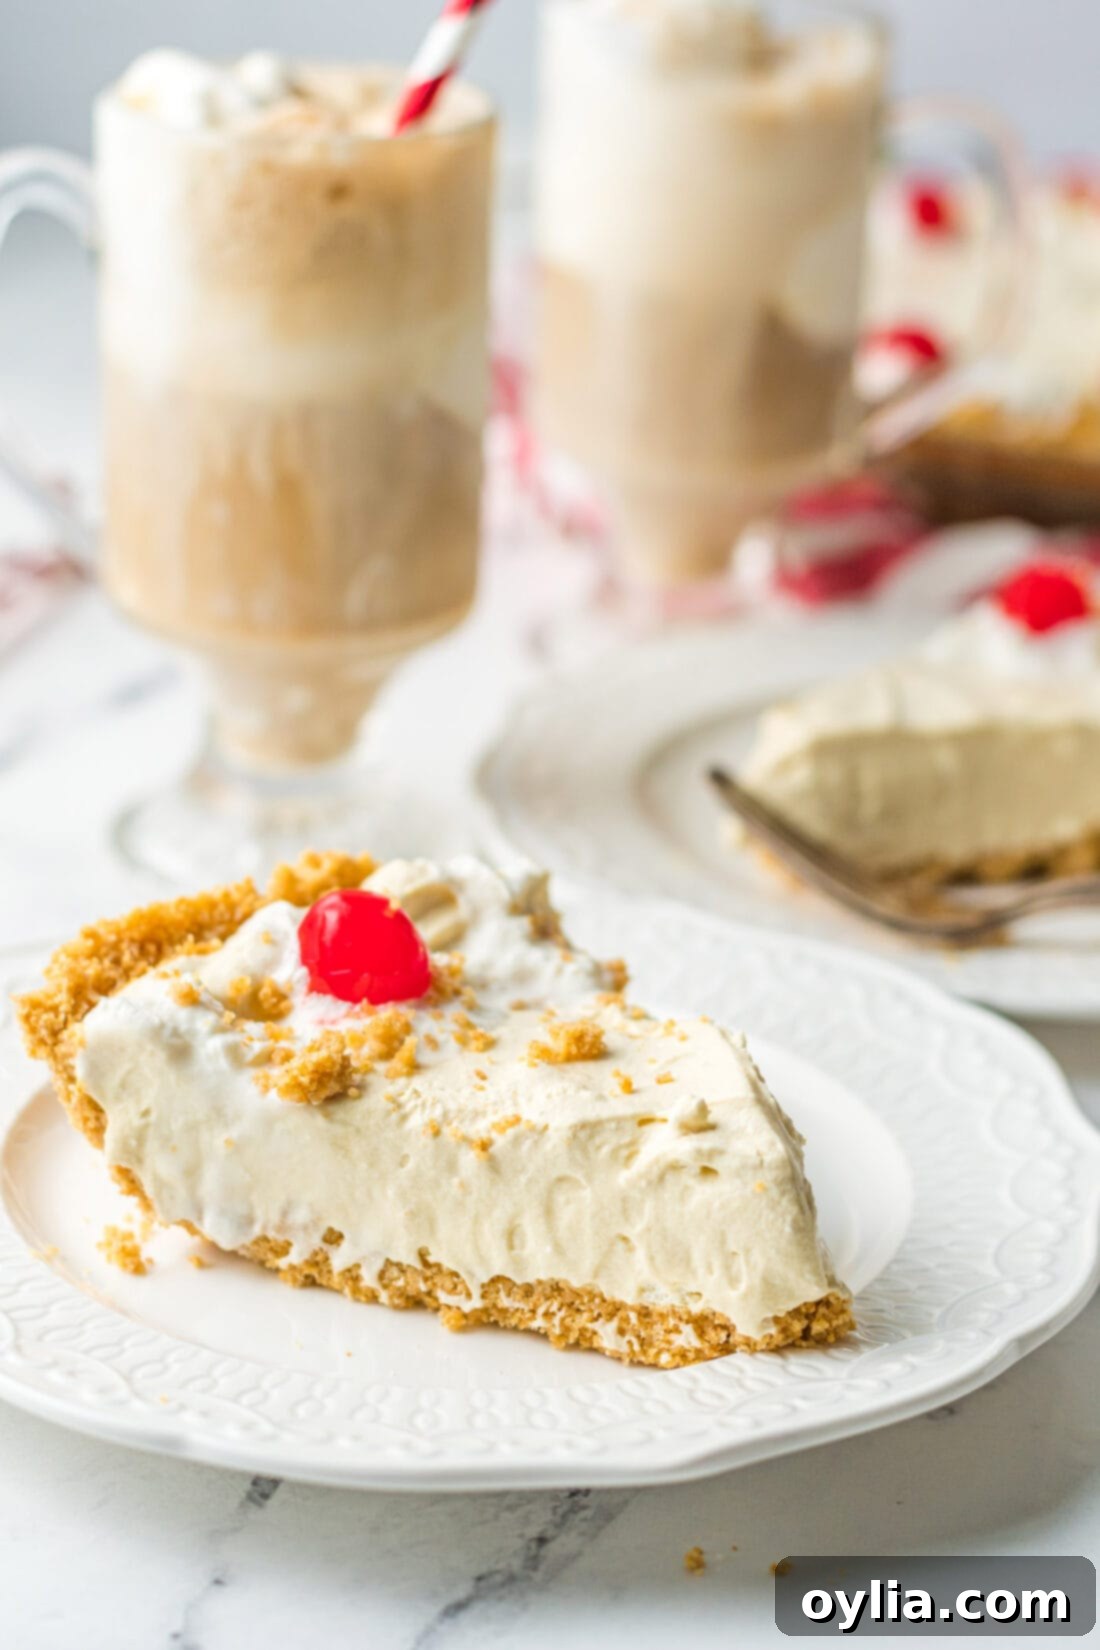
The versatility of this Root Beer Float Pie means it can be enjoyed in a variety of ways, making it suitable for any preference or occasion. You can serve it perfectly chilled straight from the refrigerator for a soft, creamy dessert, or opt for a semi-frozen or fully frozen state for a refreshing, ice cream-like treat, especially delightful on a hot day. The choice is yours!
To truly elevate the “float” experience, serve each slice with a generous scoop of classic vanilla ice cream. The melting ice cream and creamy pie are a match made in dessert heaven. Don’t hesitate to play with the flavors by using your preferred soda; imagine a cherry cola pie with Dr. Pepper, a butterscotch pie with cream soda, or even a classic cola pie using Coke or Pepsi as the base. The possibilities are endless!
When it comes to toppings, let your creativity shine. While canned whipped cream and maraschino cherries are the traditional choices, consider adding a sprinkle of chopped nuts (like pecans or walnuts) for texture, a drizzle of chocolate or caramel sauce for extra indulgence, or even some extra graham cracker crumbs for a delightful crunch. For a whimsical touch, colorful sprinkles can make this pie even more appealing, especially for younger guests. Enjoy customizing your Root Beer Float Pie to make it uniquely yours!
More Delicious Pie Recipes to Try
If you loved this Root Beer Float Pie, you’re in for a treat! Our kitchen is always buzzing with new and exciting pie creations. Here are some more of our favorite pie recipes that we think you’ll adore, ranging from classic comforts to unique no-bake delights:
- French Silk Pie
- Banana Cream Pie
- Frozen Lemonade Pie
- No Bake Peanut Butter Pie
- Southern Buttermilk Pie
- Grasshopper Pie
- Reeses Pie
There’s a pie for every craving and every occasion. Happy baking (and no-baking)!
I love to bake and cook and share my kitchen experience with all of you! Remembering to come back each day can be tough, that’s why I offer a convenient newsletter every time a new recipe posts. Simply subscribe and start receiving your free daily recipes!

Root Beer Float Pie
IMPORTANT – There are often Frequently Asked Questions within the blog post that you may find helpful. Simply scroll back up to read them!
Print It
Pin It
Rate It
Save ItSaved!
Ingredients
- 1 ½ cups graham cracker crumbs about 1 ½ sleeves of graham crackers
- 5 Tbsp unsalted butter melted
- 1 Tbsp granulated sugar
- 1 cup root beer
- ½ cup heavy whipping cream or half and half
- 3.4 oz instant vanilla pudding mix *not the ingredients on the back, just the powder
- 1 Tbsp root beer extract
- 8 oz Cool Whip
- 10 maraschino cherries for garnish
- canned whipped cream for garnish
Things You’ll Need
-
9 inch pie pan
-
Whisk
-
Mixing bowls
Before You Begin
- If you want an even stronger root beer flavor to your pie, add an additional tablespoon of the root beer extract. Alternatively, you can cut down on the flavoring by using only 1 or 1 1/2 teaspoons of extract for a more subtle pie.
- Do not overmix the cool whip into the pie. You only want to gently fold it in until it’s combined, preserving its light and airy texture.
- Ensure your root beer and heavy whipping cream are well-chilled before mixing; this helps the pudding set faster and firmer.
- Always allow the baked graham cracker crust to cool completely before adding the filling. A warm crust can prevent the filling from setting properly.
Instructions
-
Preheat the oven to 400°F (200°C).
-
In a mixing bowl, combine the graham cracker crumbs, melted unsalted butter, and granulated sugar. Stir well until all ingredients are thoroughly mixed and moistened.
-
Press the graham cracker mixture firmly into a 9-inch pie pan, ensuring to press up the sides evenly. Use the bottom of a glass or measuring cup to create a smooth, compact crust.
-
Bake the crust for 5 minutes. Remove it from the oven and let it cool completely on a wire rack before proceeding.
-
In a separate large mixing bowl, pour the root beer, heavy whipping cream (or half-and-half), and root beer extract. Whisk these together until well combined.
-
Sprinkle the instant vanilla pudding mix over the liquid mixture. Whisk vigorously for 1 minute until the pudding thickens and becomes smooth.
-
Gently fold in the Cool Whip until it is just combined into the root beer pudding mixture. Be careful not to overmix.
-
Once the baked crust has cooled completely, pour the root beer filling mixture into the pie pan and smooth out the top with a spatula.
-
Cover the pie loosely with plastic wrap and refrigerate for at least 2 hours to allow it to set completely. For best results, chill for 4 hours or overnight.
-
Before serving, remove the pie from the refrigerator. Use canned whipped cream to pipe little stars or dollops over the top, and then garnish with maraschino cherries. Slice and enjoy!
Nutrition
The recipes on this blog are tested with a conventional gas oven and gas stovetop. It’s important to note that some ovens, especially as they age, can cook and bake inconsistently. Using an inexpensive oven thermometer can assure you that your oven is truly heating to the proper temperature. If you use a toaster oven or countertop oven, please keep in mind that they may not distribute heat the same as a conventional full sized oven and you may need to adjust your cooking/baking times. In the case of recipes made with a pressure cooker, air fryer, slow cooker, or other appliance, a link to the appliances we use is listed within each respective recipe. For baking recipes where measurements are given by weight, please note that results may not be the same if cups are used instead, and we can’t guarantee success with that method.
We hope you thoroughly enjoy making and sharing this delightful Root Beer Float Pie! It’s truly a fantastic dessert that combines fun, nostalgia, and incredible flavor into one easy recipe. Whether you serve it chilled or frozen, it’s bound to bring smiles and sweet memories. Don’t forget to explore our other fantastic pie recipes for more culinary adventures. Happy baking, and happy eating!
