Decadent Double Chocolate Thumbprint Cookies: The Ultimate Fudgy & Chewy Treat
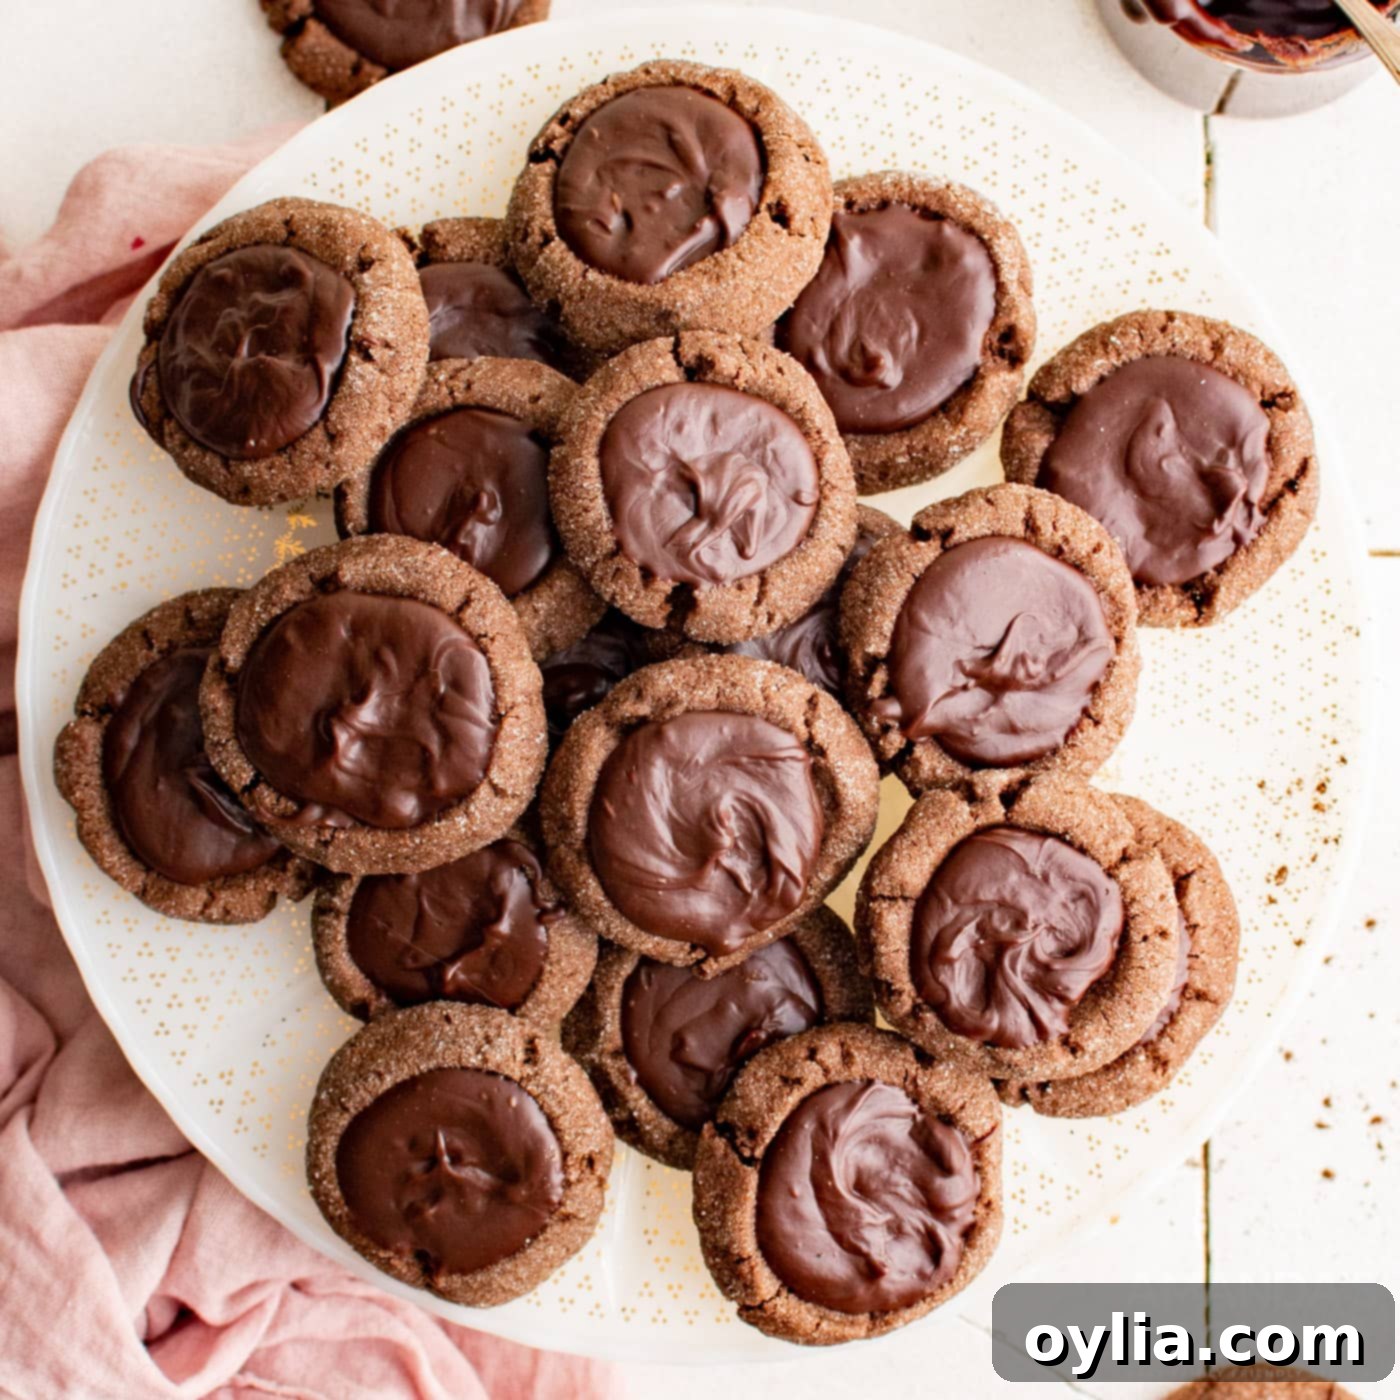
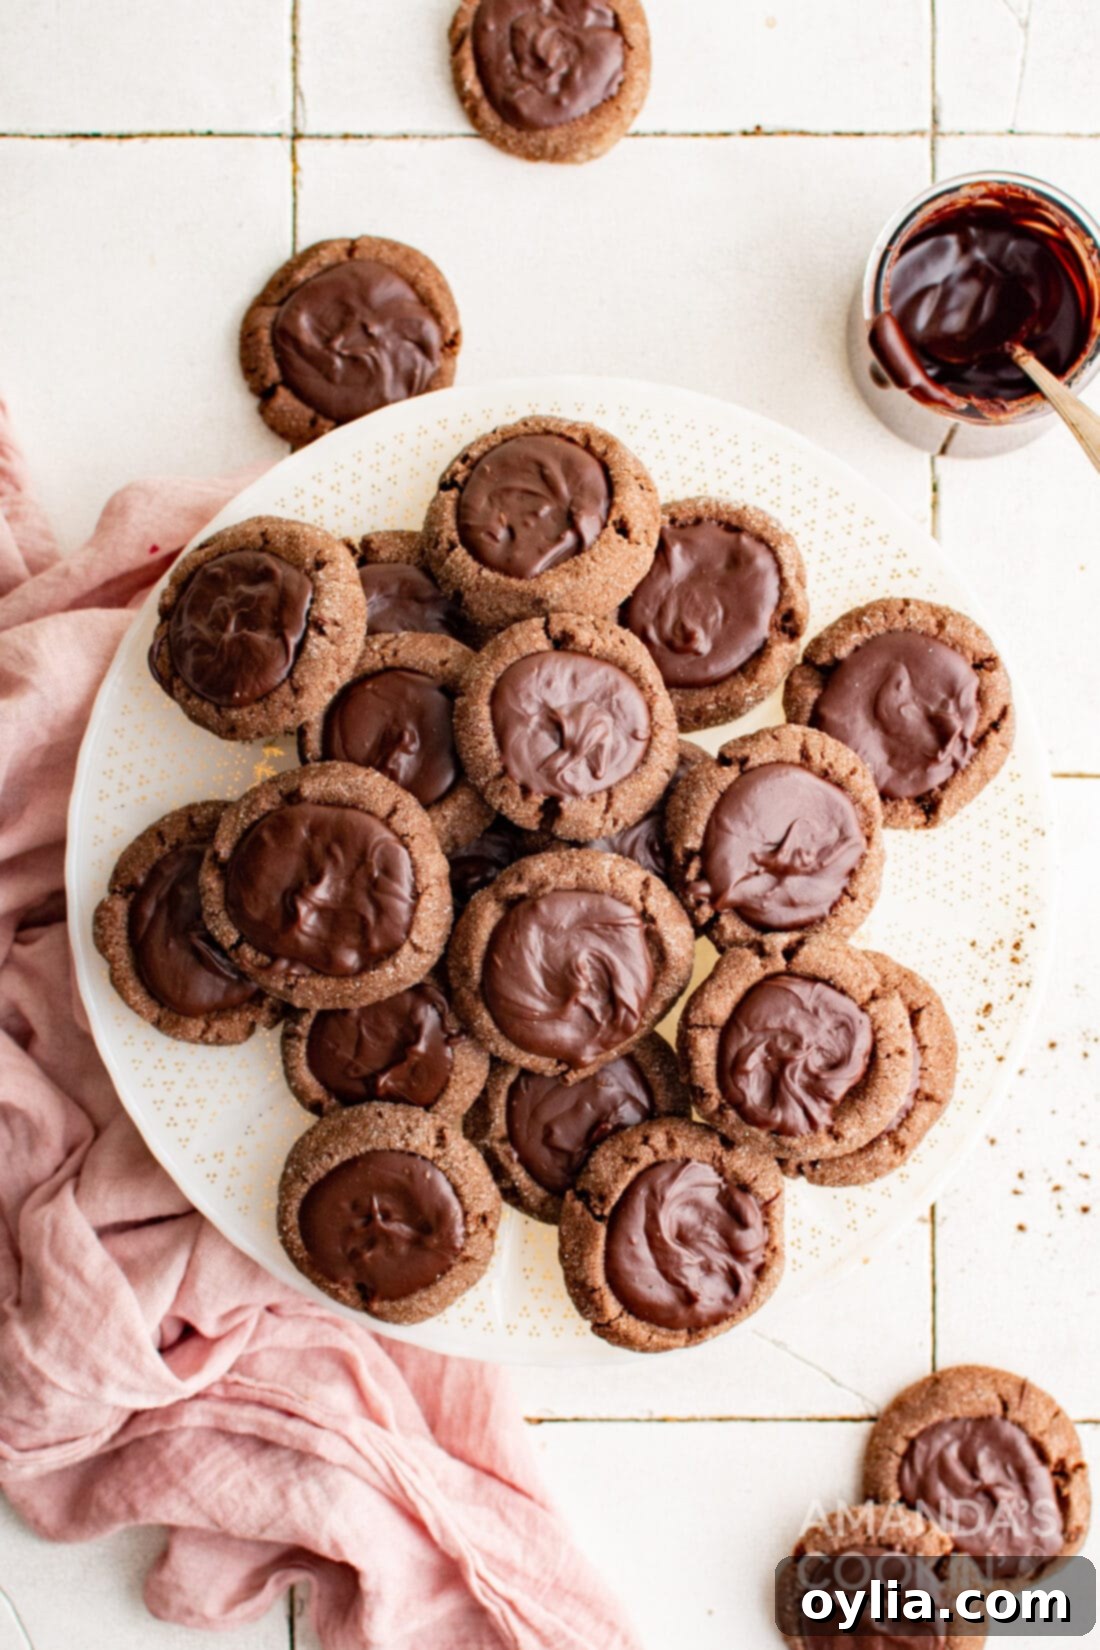
Prepare yourself for a truly irresistible indulgence: these double chocolate thumbprint cookies are a chocolate lover’s dream come true. Imagine a rich, chewy cocoa-infused cookie base, perfectly shaped to cradle a generous pool of silky, fudgy chocolate ganache. Every bite offers a harmonious blend of textures and intense chocolate flavor that will quite literally melt in your mouth. Forget traditional jam-filled thumbprints; this recipe elevates the classic to a whole new level of chocolatey bliss.
Why This Double Chocolate Thumbprint Cookie Recipe Works
As soon as the holiday season approaches, our thoughts often turn to beloved cookie recipes, and thumbprint cookies are always at the top of the list. However, instead of the usual jam-filled center and buttery vanilla base, we’ve innovated to bring you something even more decadent. This recipe swaps out the vanilla for rich cocoa powder in the cookie dough, and replaces the fruit filling with an incredibly smooth and luxurious chocolate ganache. The result? A chocolate-on-chocolate experience that’s truly unforgettable.
These chocolate thumbprint cookies aren’t just reserved for the holidays; they are a delightful treat to enjoy year-round, whenever a serious chocolate craving strikes. Their robust chocolate flavor and tender, chewy texture make them an ideal pick-me-up any day of the week. They also make magnificent homemade gifts that are sure to impress neighbors, friends, and family. Stack them neatly in cellophane baggies, tie with a festive ribbon, and watch smiles light up!
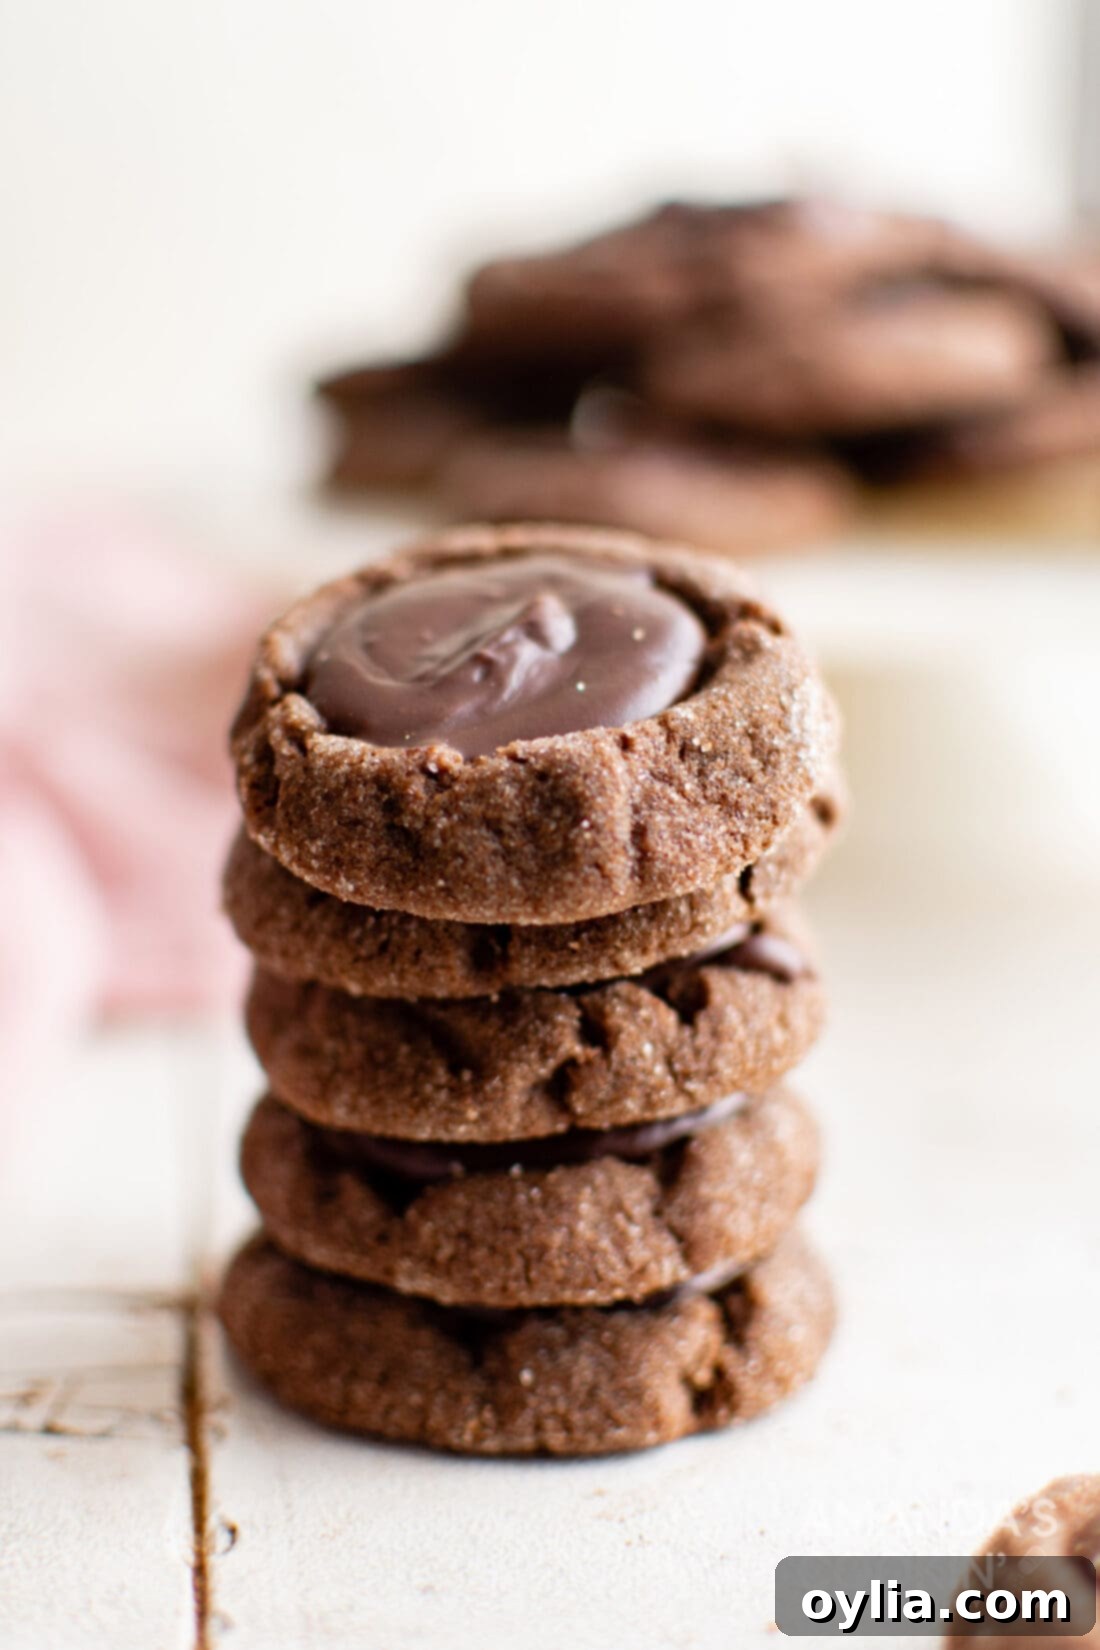
What sets this recipe apart is the careful balance between the slightly crisp edges of the cookie and its soft, chewy interior, all complemented by a gooey, rich chocolate filling that stays wonderfully fudgy. The hint of almond extract in the cookie dough adds a sophisticated note that perfectly enhances the deep chocolate flavors without overpowering them. It’s a simple recipe that yields professional-looking and tasting results, making you feel like a master baker.
Key Ingredients for Your Chocolate Thumbprint Cookies
Crafting these delicious cookies requires a few pantry staples and quality chocolate. For precise measurements, a detailed list of ingredients, and comprehensive instructions, please refer to the printable recipe card located at the end of this post. Here’s a quick overview of what you’ll need to gather:
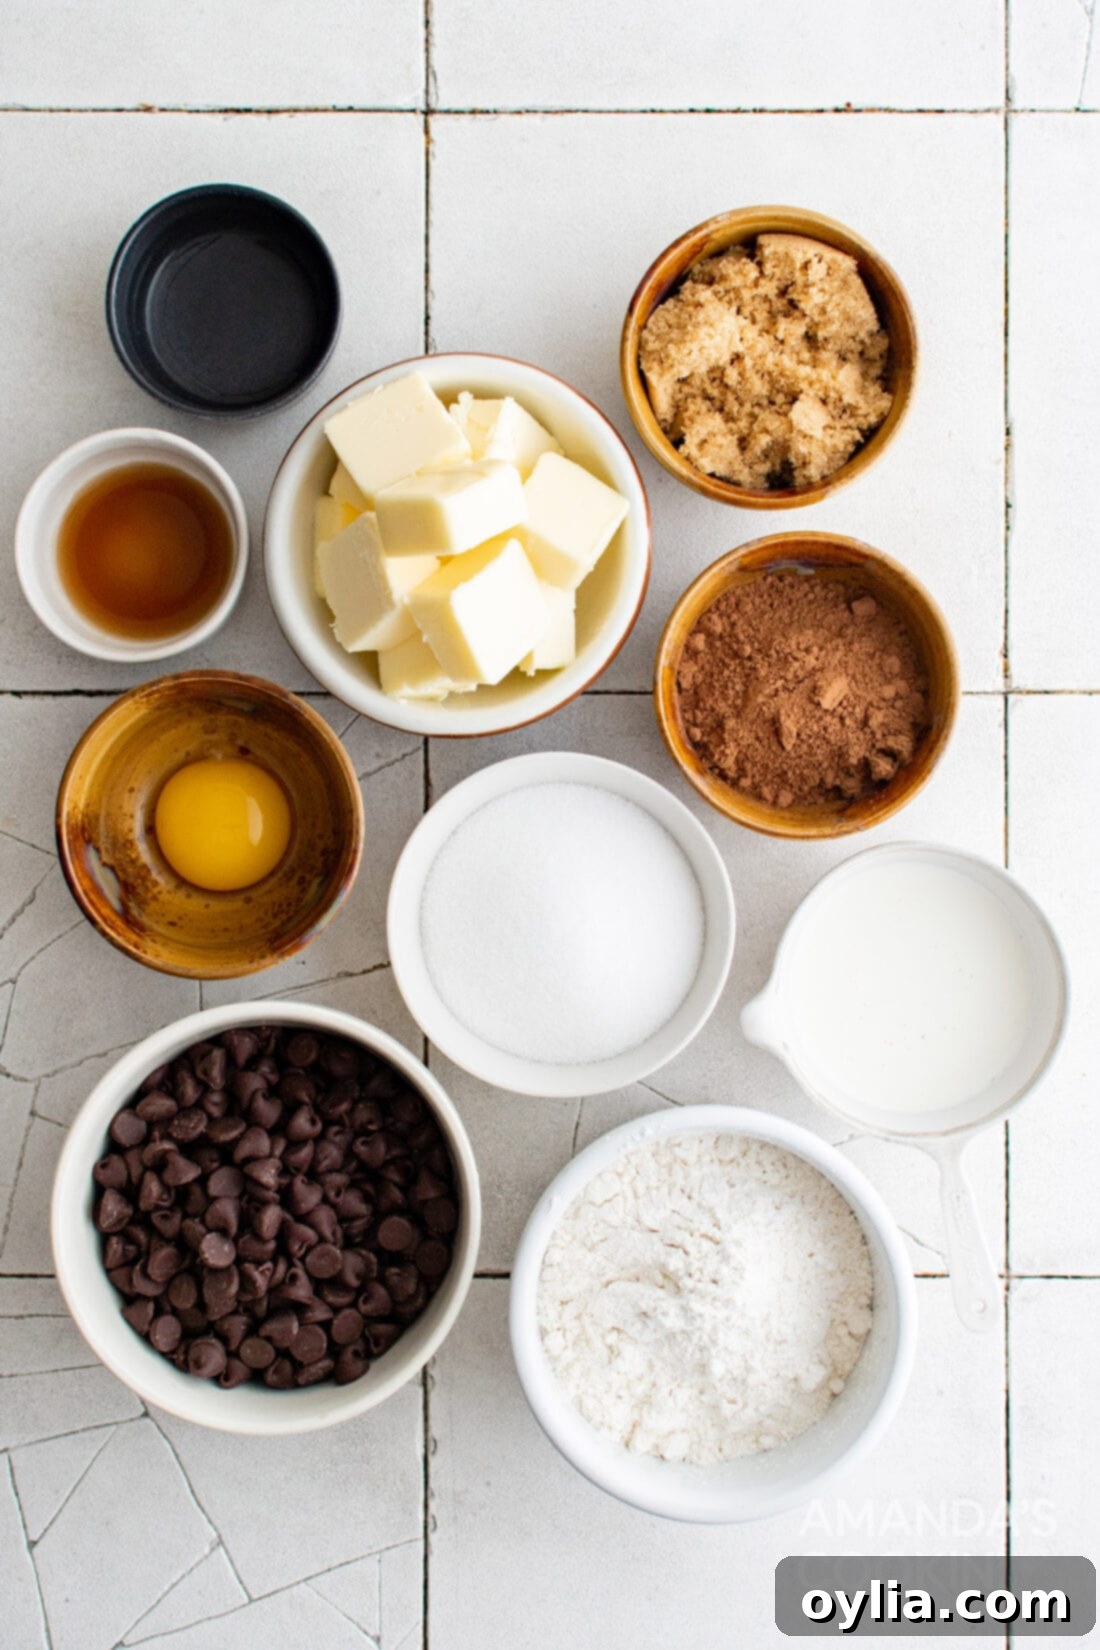
Ingredient Insights & Smart Substitutions
Understanding your ingredients and how to handle them is key to baking success. Here are some essential tips for the dough and filling:
For the Cookie Dough:
- Butter at Room Temperature: This is crucial! Softened butter creams beautifully with sugar, incorporating air that creates a light and fluffy cookie dough. If your butter is too cold, it won’t cream properly, resulting in a dense cookie. If it’s too warm (melted), your cookies might spread too much. Aim for butter that gives slightly when pressed, but isn’t greasy.
- Accurate Flour Measurement: Too much flour is a common baking mistake that can lead to dry, crumbly, and tough cookies. To measure flour correctly, avoid scooping directly from the bag with your measuring cup. First, aerate your flour by gently stirring it with a spoon to loosen any compacted areas. Then, use a spoon to lightly scoop the flour into your measuring cup until it overflows. Do not tap the cup or pack the flour down. Finally, use the back of a straight edge (like a butter knife) to level off the excess flour. This “spoon and level” method ensures you get the right amount every time.
- Cocoa Powder: Use the same “spoon and level” method for your unsweetened cocoa powder. Quality cocoa makes a big difference in flavor, so opt for a good brand. Dutch-processed cocoa will give a darker color and milder chocolate flavor, while natural cocoa powder offers a lighter color and a more intense, slightly acidic chocolate taste. Either works well here.
- Egg Yolk: This recipe specifically calls for an egg yolk, which contributes to the cookie’s chewiness and richness without adding extra liquid from the egg white, which could make the cookies less tender.
- Almond Extract: This is a secret weapon that elevates the chocolate flavor, adding a subtle, sophisticated undertone. If you’re not a fan of almond, you can simply omit it or replace it with an equal amount of pure vanilla extract for a more straightforward chocolate profile.
For the Chocolate Filling:
- Heavy Cream & Unsalted Butter: These are the base for our rich, ganache-like filling. The high-fat content of heavy cream creates a luscious, smooth texture, while the butter adds extra richness, shine, and helps the ganache set with a wonderful fudgy consistency.
- Semisweet Chocolate Chips: These are a great choice for a balanced chocolate flavor that isn’t overly sweet. However, feel free to experiment!
- Dark chocolate chips would be absolutely divine for a deeper, more intense chocolate experience.
- Milk chocolate chips could be used for a sweeter, creamier filling, though you might need to adjust the amount of heavy cream slightly as milk chocolate is softer.
- You could even try a blend of different chocolate types to create your signature flavor.
- Pure Vanilla Extract: Just a touch enhances the overall chocolate flavor, making the filling even more irresistible.
- Flavor Variations: To add another layer of flavor to your chocolate filling, consider stirring in a pinch of espresso powder (it deepens chocolate flavor without making it taste like coffee!), a few drops of peppermint extract for a festive twist, or a hint of orange zest for a bright, citrusy note.
How to Make Decadent Chocolate Thumbprint Cookies
These step-by-step photos and instructions are here to help you visualize how to make this recipe perfectly. For a printable version, complete with precise measurements and full instructions, you can Jump to Recipe at the bottom of this post.
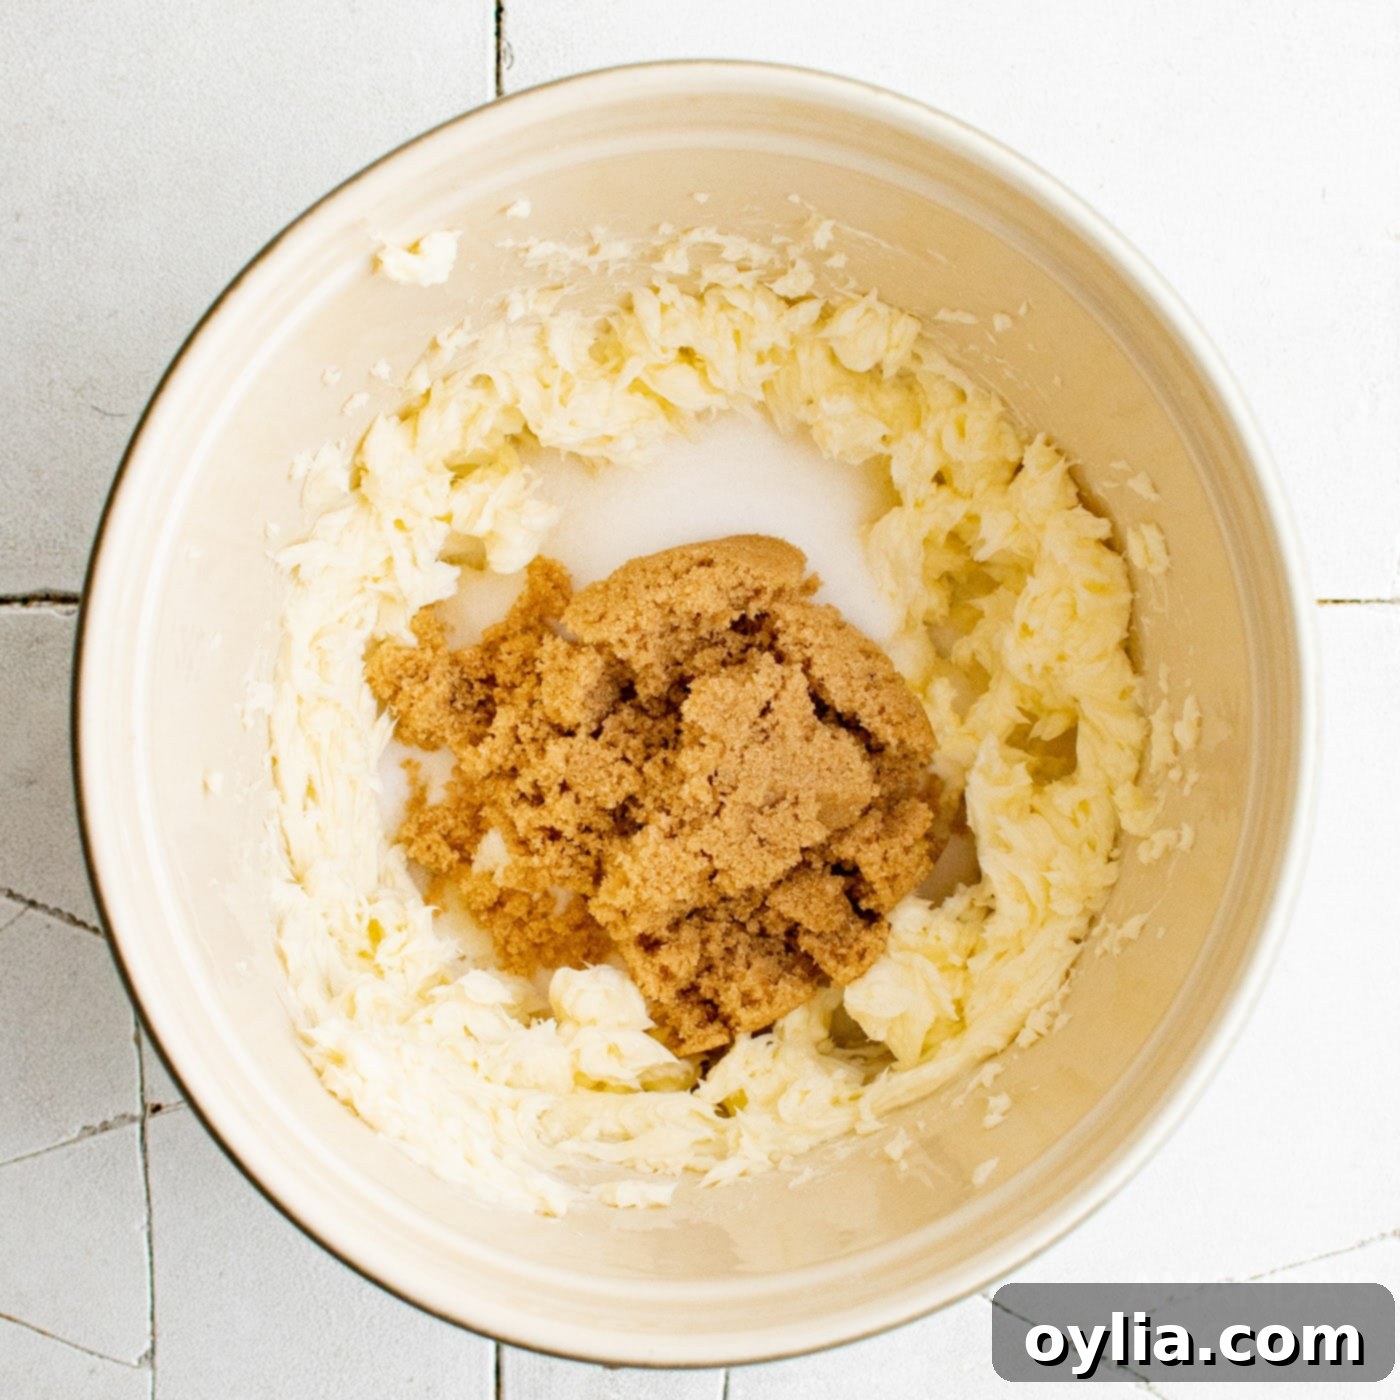
- Cream Butter and Sugars: In a large mixing bowl, combine the softened unsalted butter, granulated sugar, and light brown sugar. Beat them together until the mixture becomes light and fluffy, usually around 3 minutes. This creaming process incorporates air, crucial for a tender cookie.

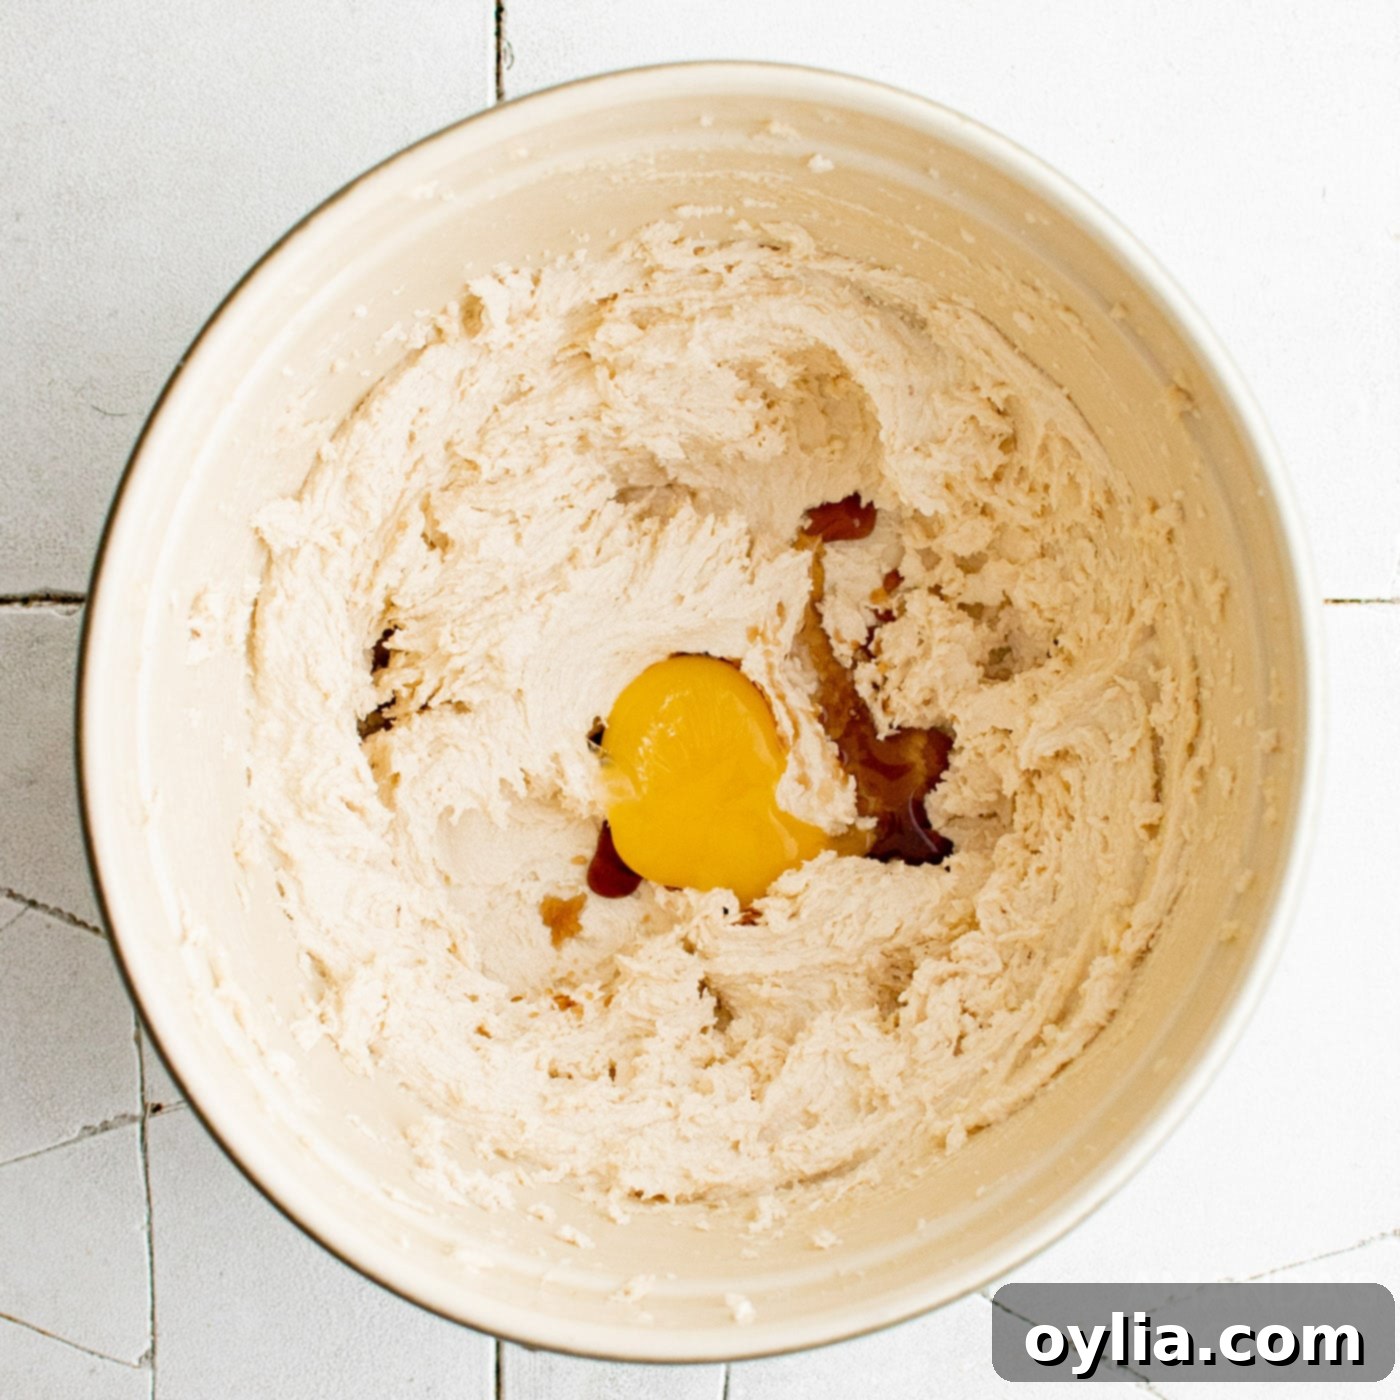
- Incorporate Wet Ingredients: Add the egg yolk, pure vanilla extract, and almond extract to the creamed mixture. Mix again until all ingredients are thoroughly combined and smooth.

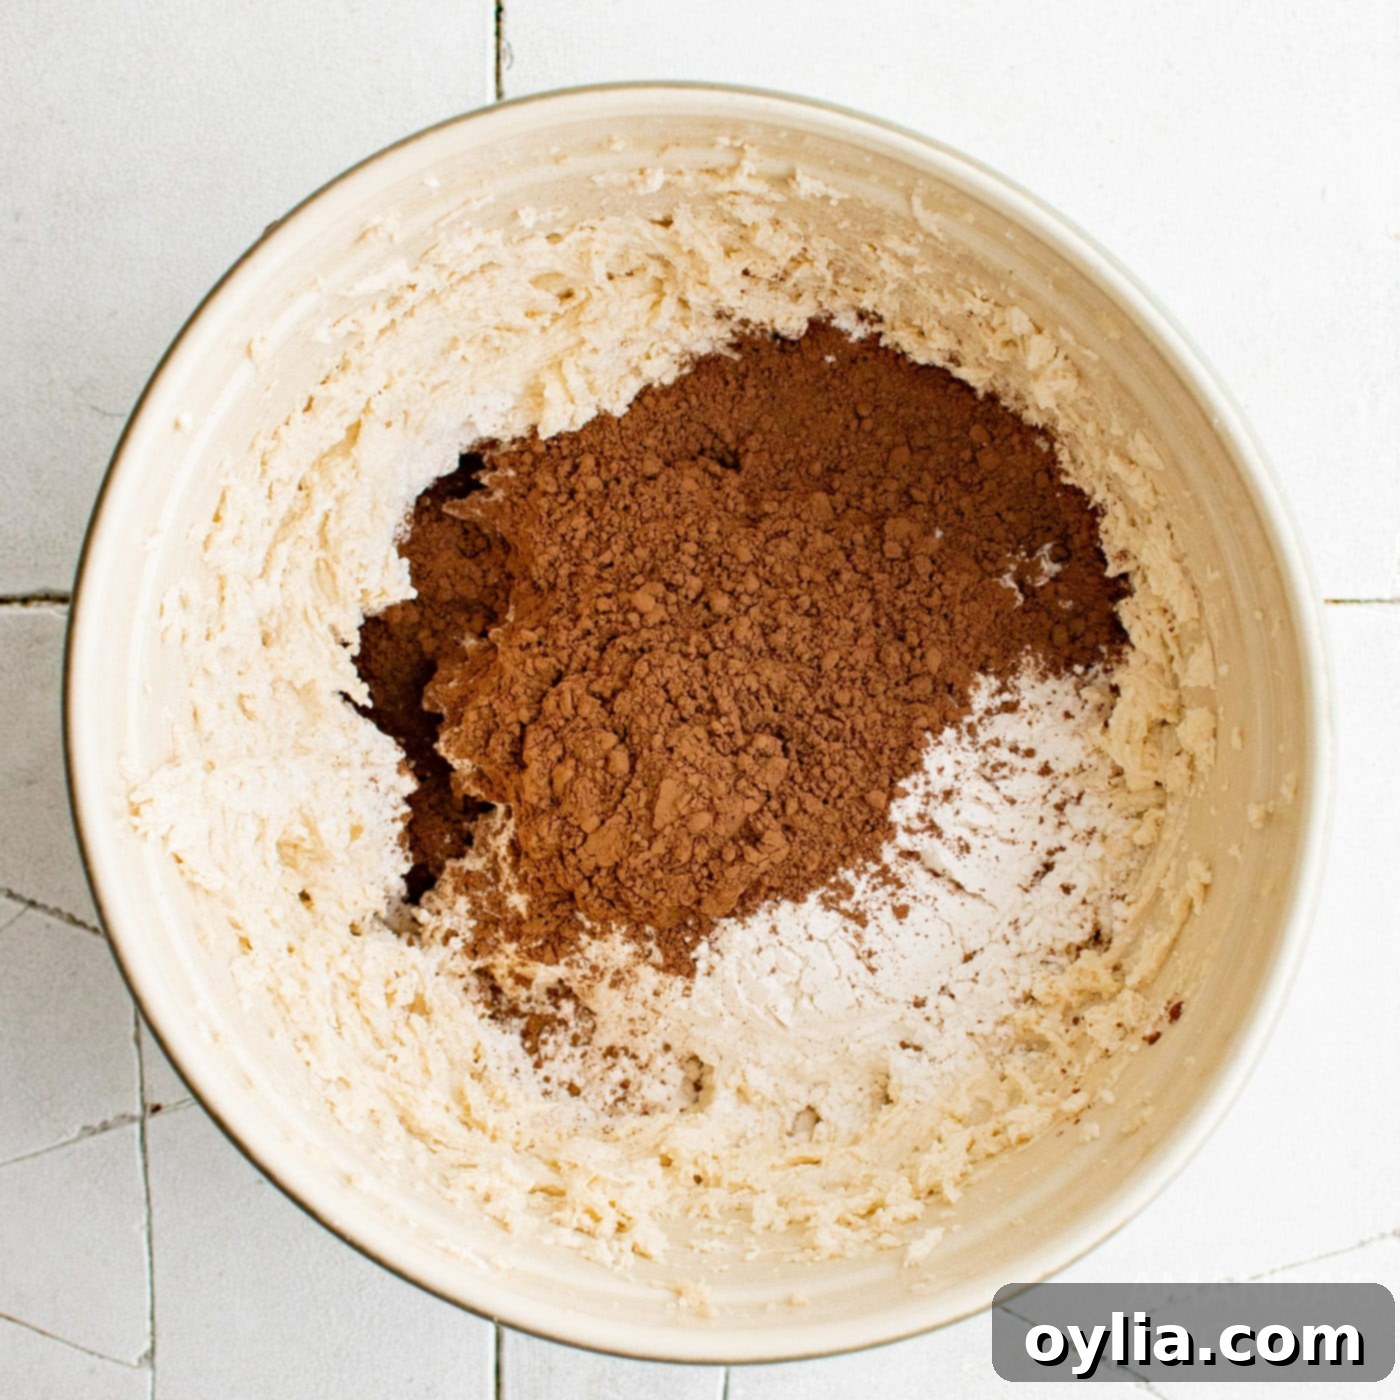
- Combine Dry Ingredients: In a separate bowl, whisk together the all-purpose flour and unsweetened cocoa powder. Gradually add the dry ingredients to the wet ingredients, stirring until a thick, cohesive dough forms. Be careful not to overmix, as this can lead to tough cookies.

- Chill the Dough: Cover the cookie dough and refrigerate it for at least one hour. Chilling helps solidify the butter, preventing the cookies from spreading too much during baking and allowing the flavors to meld beautifully.
- Prepare for Baking: Preheat your oven to 350°F (175°C). Line a baking sheet with parchment paper to prevent sticking and ensure even baking, then set it aside.
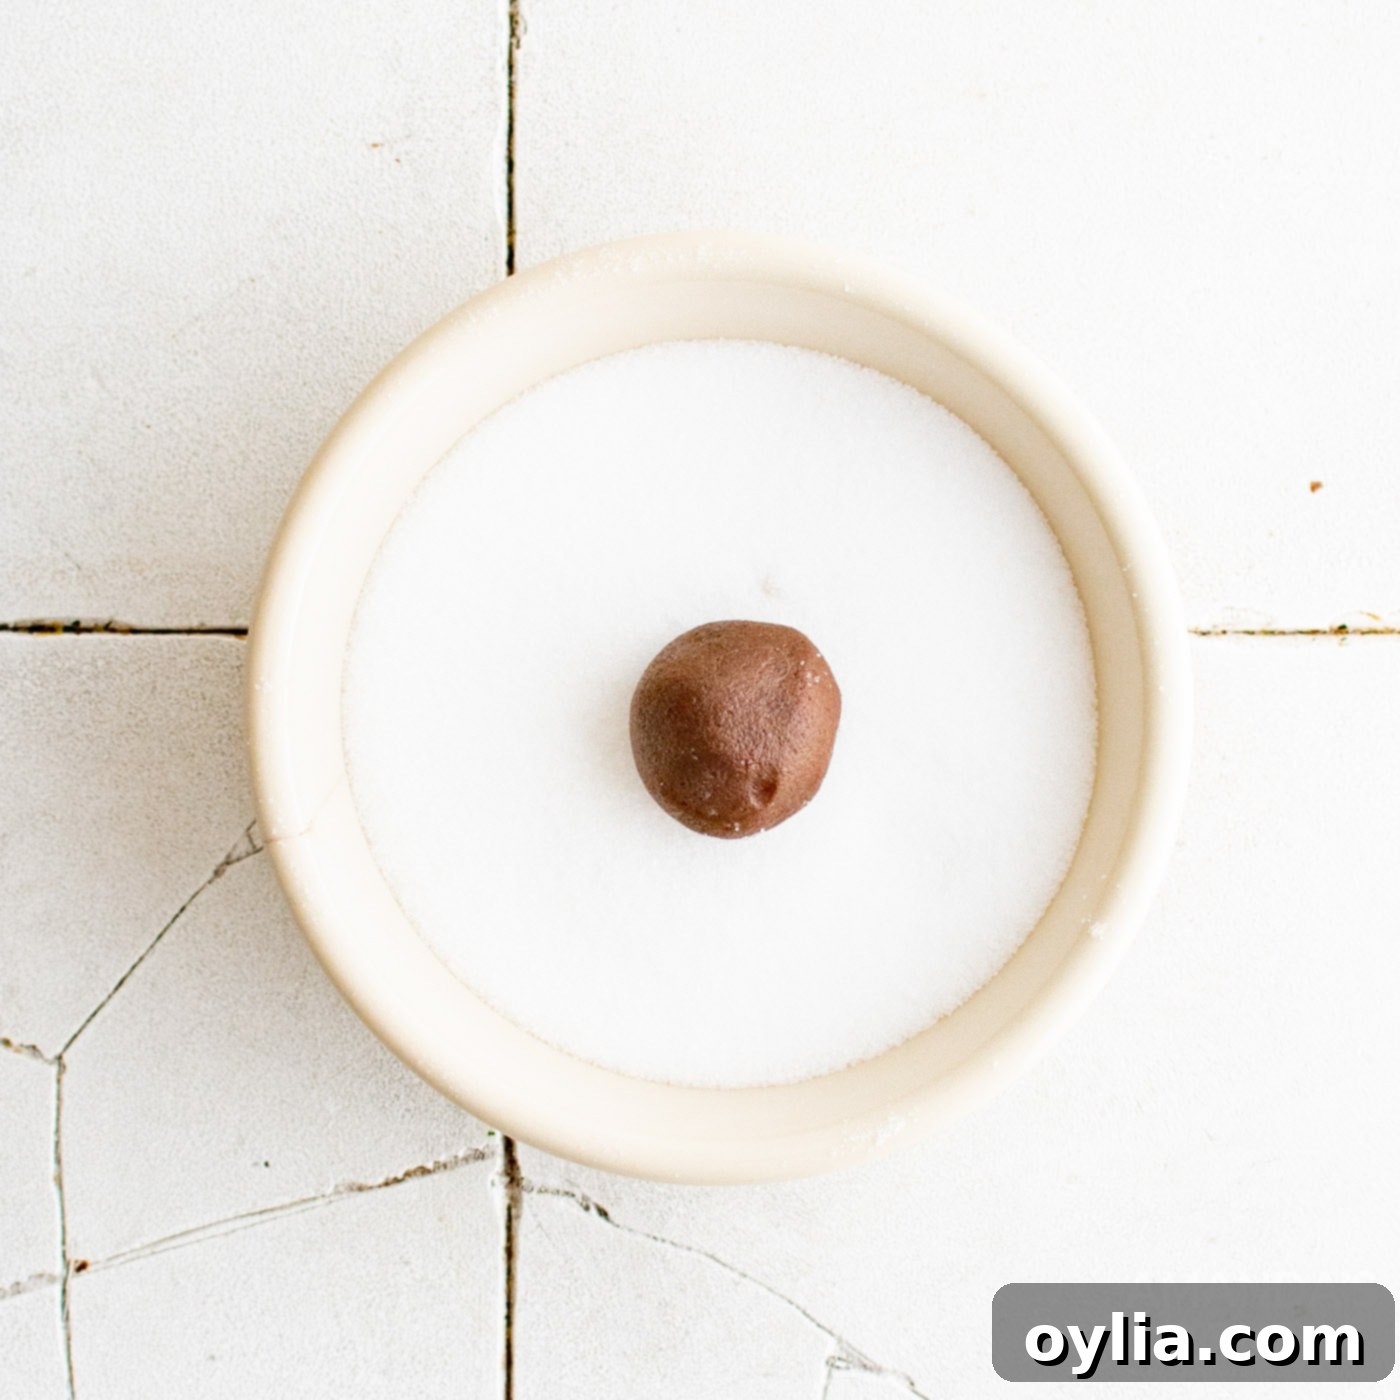
- Form and Sugar Coat Cookies: Take small portions of the chilled cookie dough and roll them into 1-inch balls. For uniform size, a cookie scoop can be very helpful. Dip each dough ball into granulated sugar, ensuring it’s fully coated, then arrange 12 to 18 cookies on the prepared baking pan, leaving some space between them.

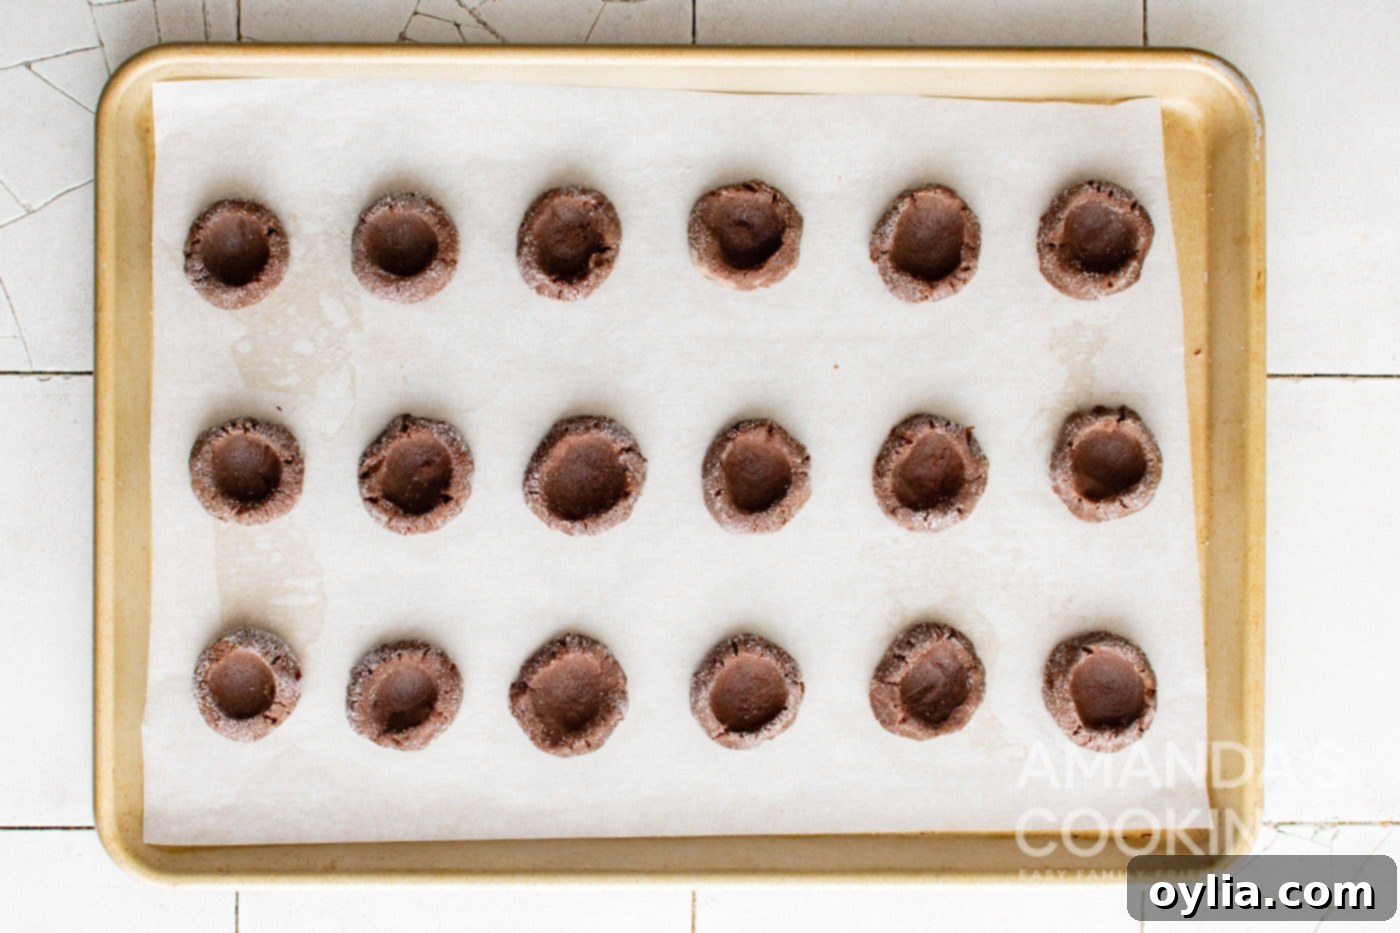
- Create Thumbprints & Bake: Using the back of a small measuring spoon (or your thumb, as the name suggests!), gently press down into the center of each cookie dough ball to create an indent. Bake for 8-10 minutes, or until the cookies have set and the edges begin to look slightly dry. Avoid overbaking to keep them chewy.

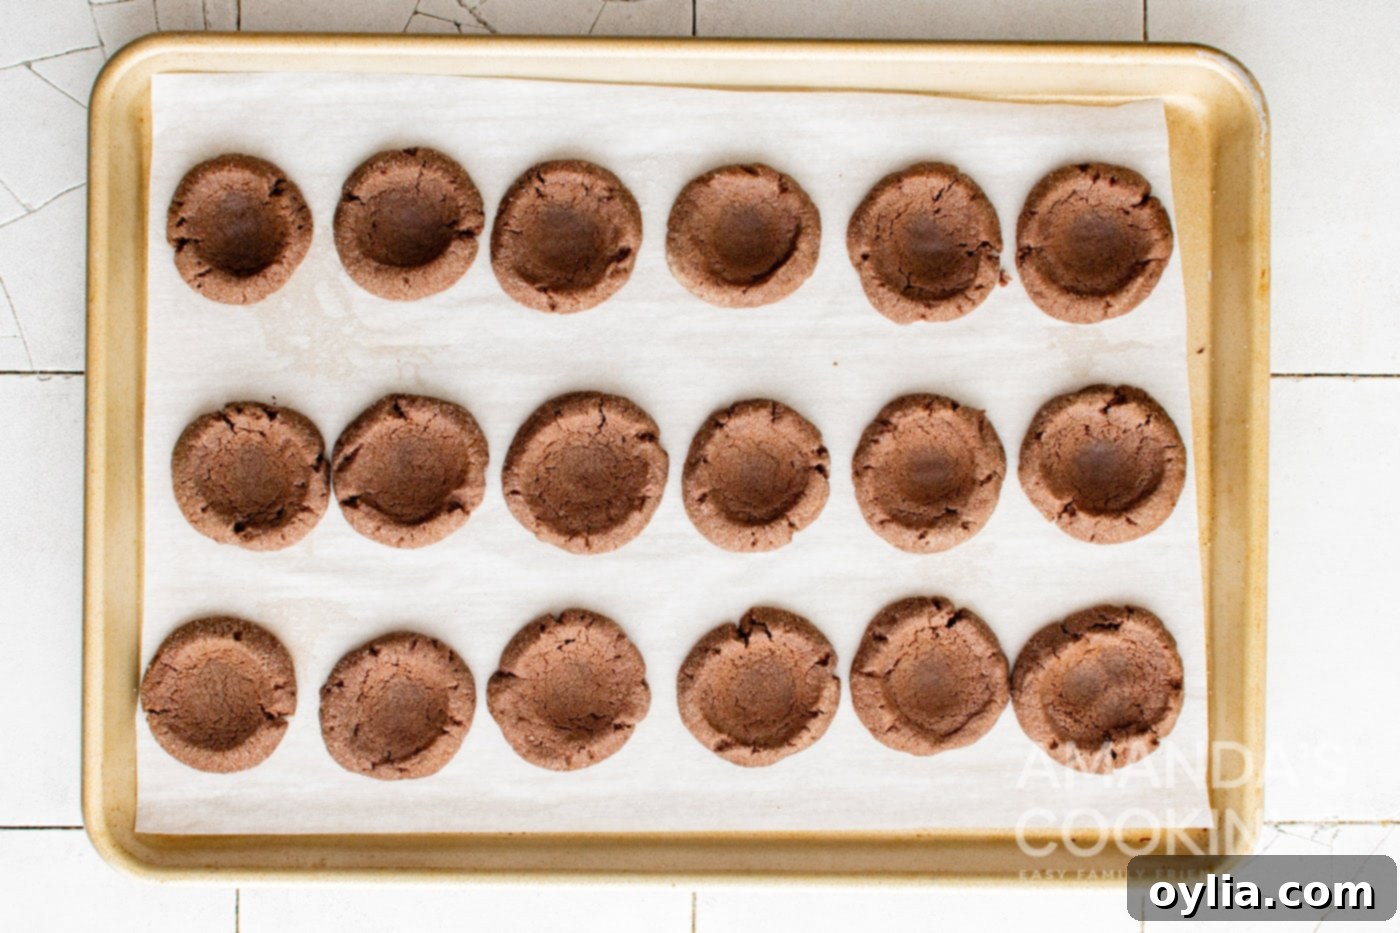
- Reform Divots (Optional but Recommended): Immediately after removing the cookies from the oven, while they are still hot and pliable, use a slightly larger measuring spoon to gently press down the centers again. This helps to reform the divot, as it will have puffed up slightly during baking, ensuring a deep well for your chocolate filling.

- Bake Remaining Dough: Repeat the forming and baking process with any remaining cookie dough until all cookies are baked. Let them cool completely on a wire rack before filling.
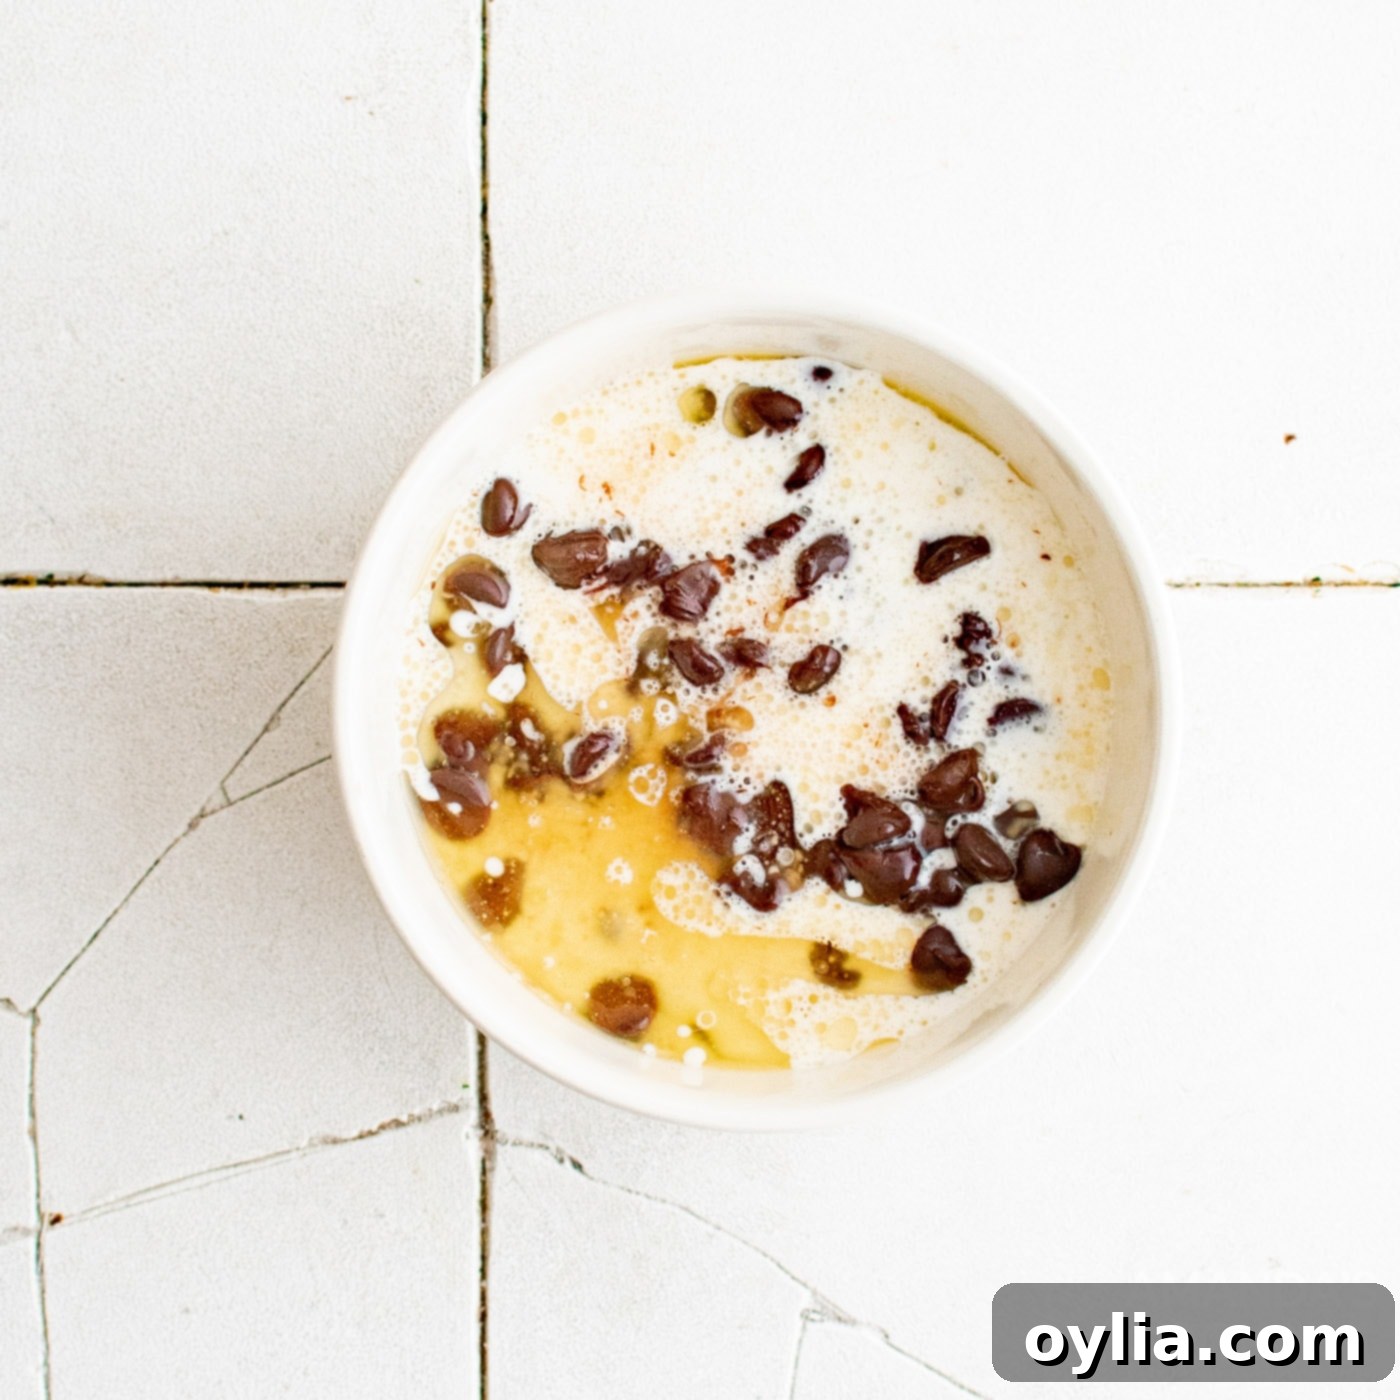
- Prepare Chocolate Filling: While the cookies are cooling, prepare the rich chocolate ganache. In a microwave-safe bowl, heat the heavy cream and unsalted butter together for about 30 seconds, or until the mixture is hot but not boiling.

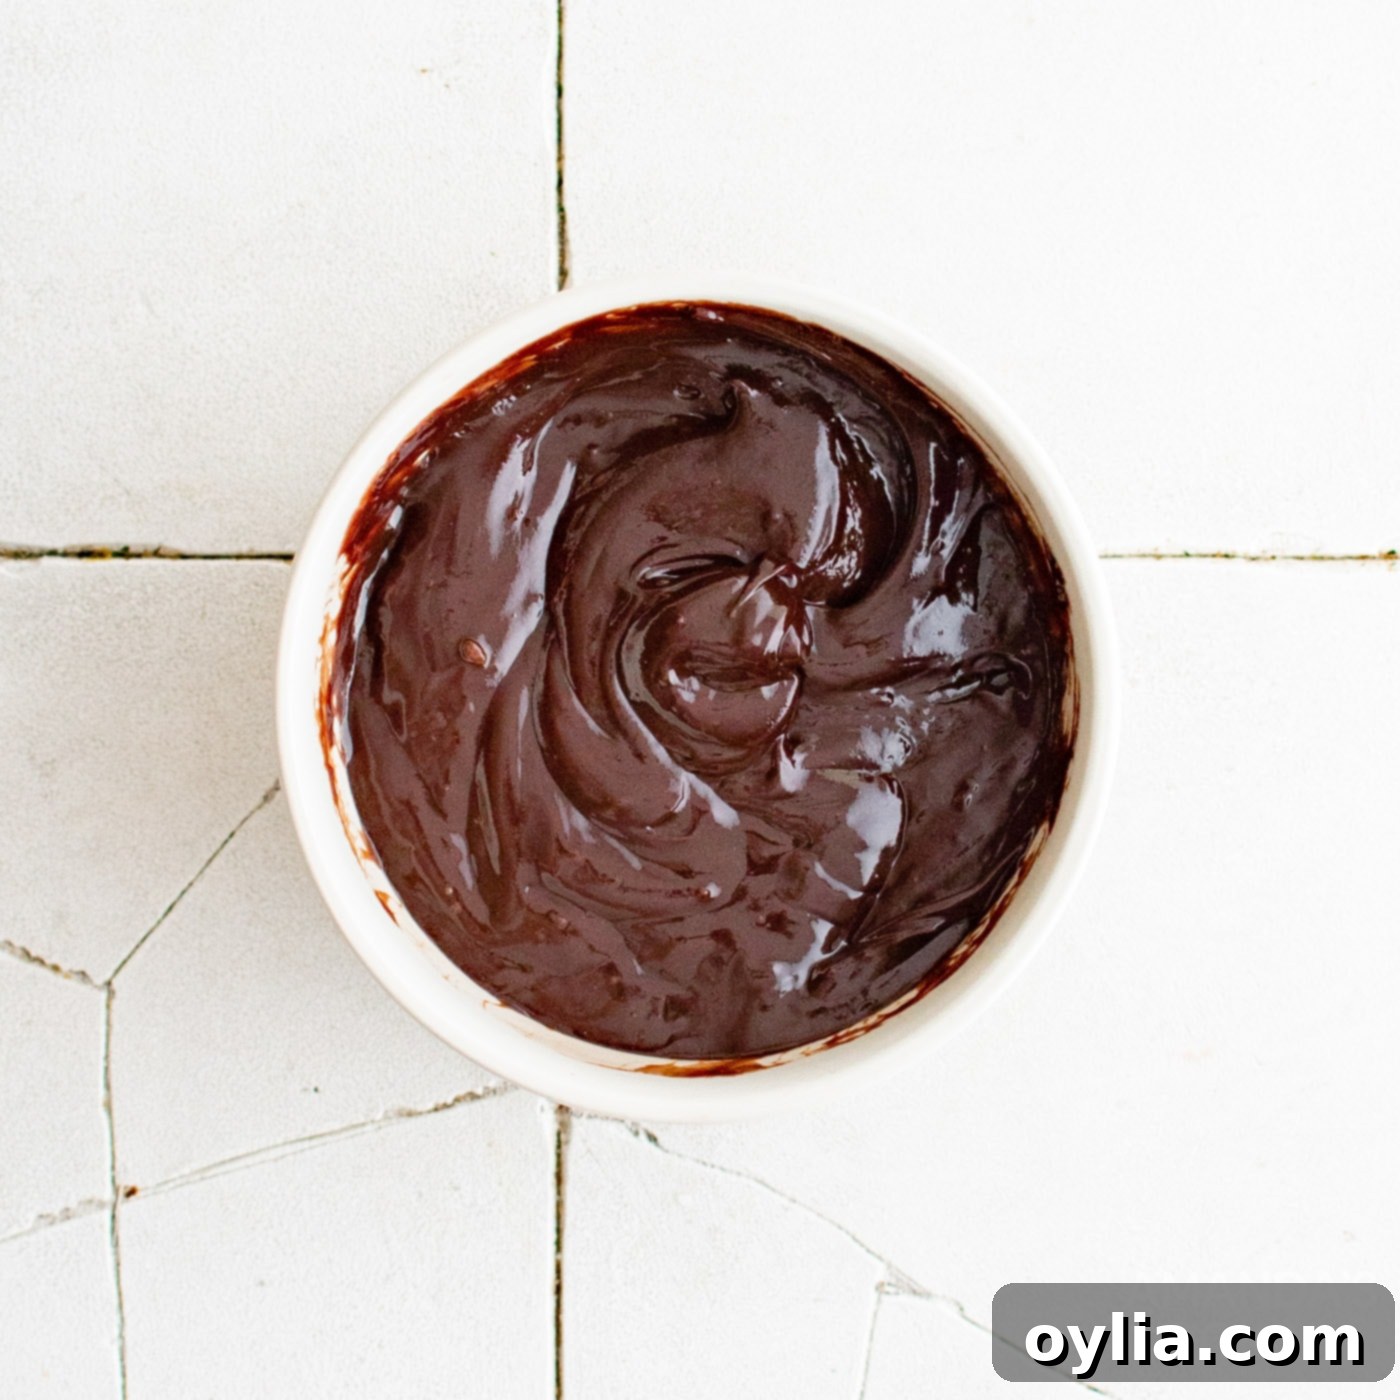
- Melt Chocolate Chips: Pour the hot cream and butter mixture over the semisweet chocolate chips in a medium bowl. Add the vanilla extract. Stir gently a couple of times to ensure all chocolate chips are coated.
- Rest and Stir: Let the mixture sit undisturbed for about 5 minutes. This allows the residual heat from the cream to melt the chocolate chips completely. After 5 minutes, stir vigorously with a whisk until all ingredients are fully incorporated and you have a smooth, glossy chocolate ganache.

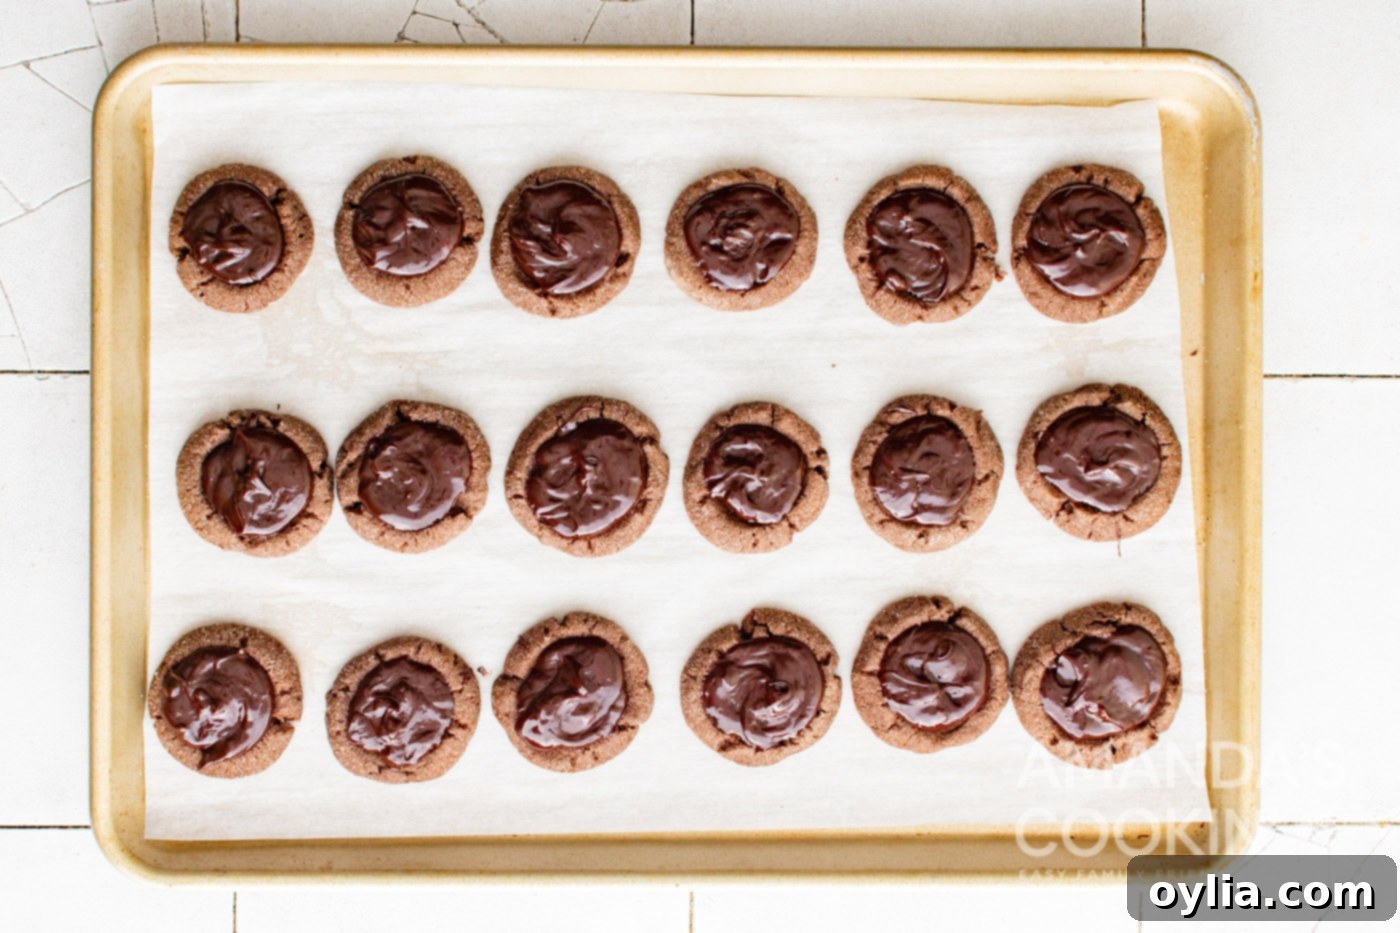
- Fill Cookies: Carefully spoon the warm chocolate ganache into the divot of each cooled cookie. You can lightly spread the top with the back of the spoon to create a smooth surface.

- Set the Chocolate: Allow the filled cookies to cool for approximately two hours, or until the chocolate filling has fully set. This ensures the ganache is firm and fudgy, ready for optimal enjoyment.
Frequently Asked Questions & Expert Baking Tips
Even seasoned bakers have questions! Here are some common queries and expert tips to help you achieve perfect chocolate thumbprint cookies every time:
Absolutely! Freezing cookie dough is a fantastic way to prepare ahead and enjoy freshly baked cookies whenever the craving strikes. To freeze, form the raw cookie dough into balls as instructed, then place them on a baking sheet and flash freeze for about 30-60 minutes until firm. Once frozen, transfer the dough balls to a plastic freezer-safe ziptop bag. They can be stored in the freezer for up to 3 months. When you’re ready to bake, remove them from the freezer and let them rest at room temperature for 5-10 minutes before baking as directed. No need to fully thaw!
Once baked and the chocolate filling has set, store your delicious cookies in an airtight container. Keep them at room temperature for up to 5 days. Ensure they are not exposed to excessive humidity or heat, as this can affect the texture of both the cookie and the ganache. For longer storage, you can also freeze baked cookies without the filling, then add fresh ganache after thawing.
Several factors can cause cookies to spread. Ensure your butter is at room temperature but not melted. Chilling the dough for at least an hour (or even longer) is crucial as it solidifies the fat, preventing excessive spreading. Also, accurately measuring your flour using the “spoon and level” method is important, as too little flour can lead to flat cookies. Finally, make sure your oven temperature is accurate; an oven that runs too cool might cause spreading.
For consistent and clean indentations, we recommend using the back of a small measuring spoon rather than your actual thumb. A ½-teaspoon or 1-teaspoon measuring spoon works wonderfully. Gently press down, twisting slightly if needed, to create a neat well. Don’t worry if they puff up a bit during baking; pressing them again gently with a slightly larger spoon right after they come out of the oven will redefine the divot beautifully.
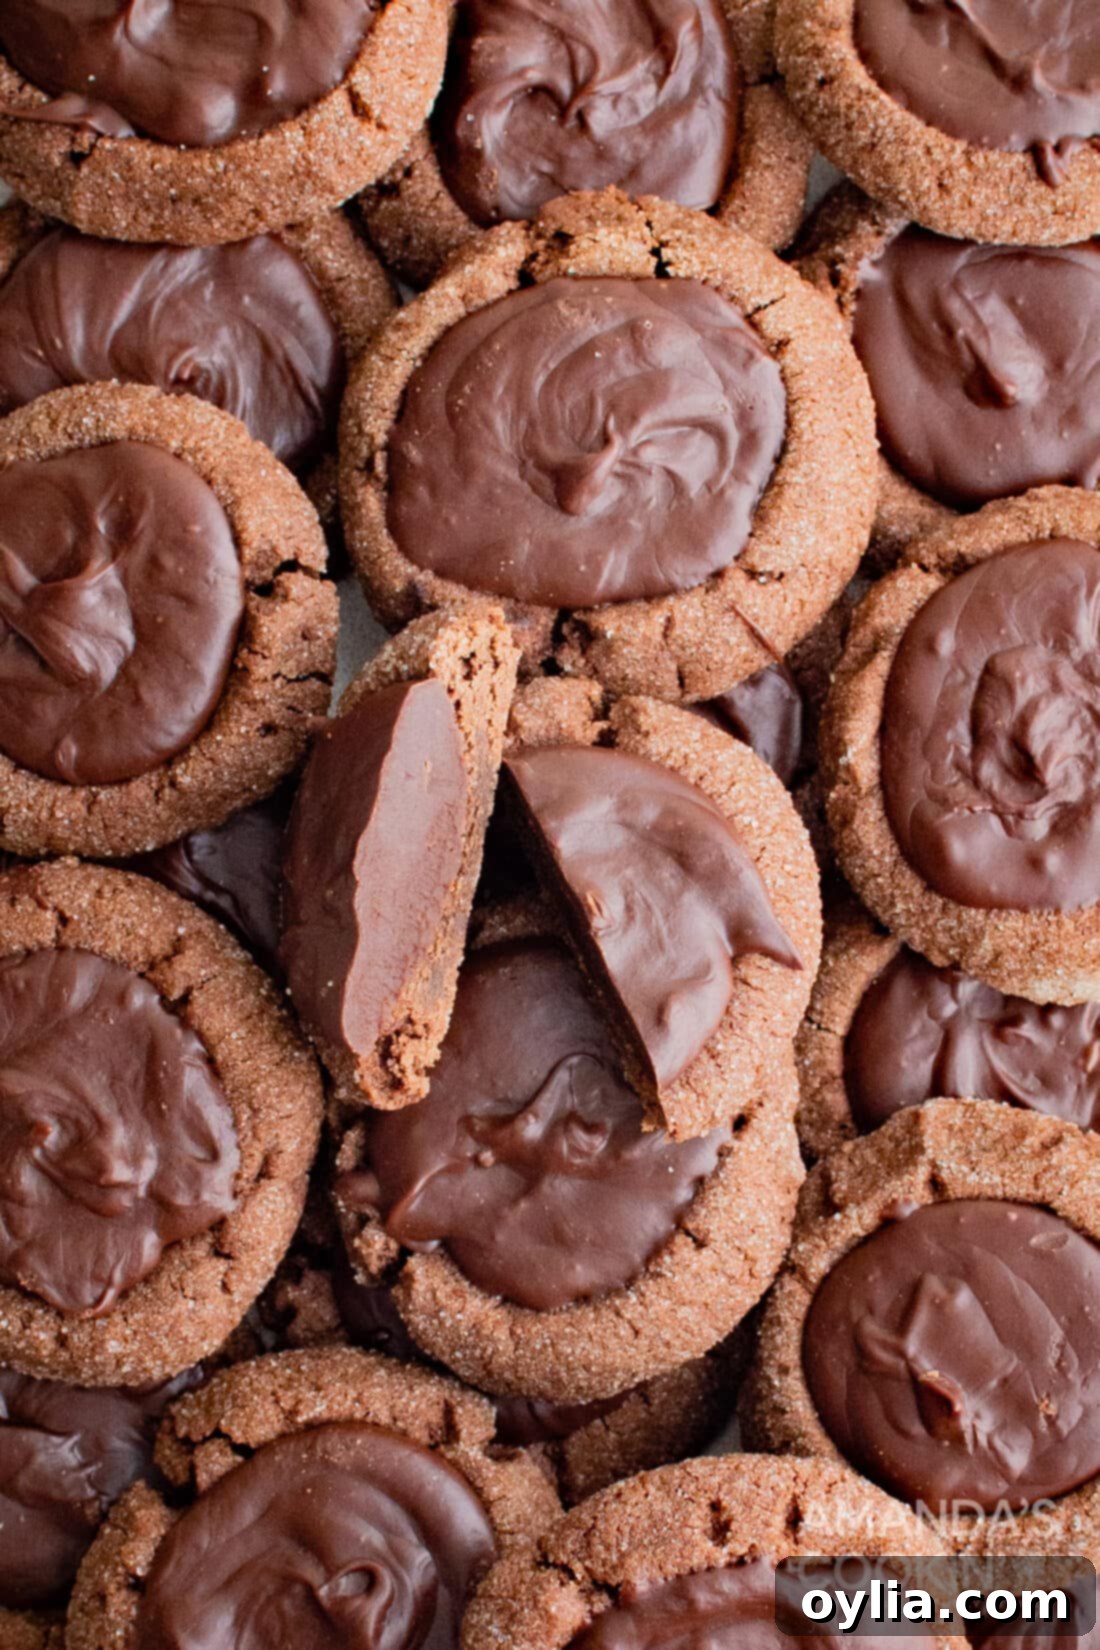
Creative Serving & Gifting Ideas
These double chocolate thumbprint cookies are versatile and perfect for any occasion! Serve them at parties, family gatherings, or simply make a batch “just because” – you won’t regret it. They always make a welcome addition to any holiday dessert table and are a fantastic choice for cookie swaps. The intense chocolate flavor pairs beautifully with a glass of cold milk, a warm cup of coffee, or a rich espresso.
If you plan to give these delightful cookies as gifts, here are a few ideas: stack them gently in decorative cellophane baggies and tie with a pretty bow for an elegant presentation. For an extra festive touch, sprinkle a tiny pinch of sea salt on top of the still-wet chocolate ganache, or add some colorful sprinkles before the chocolate sets. You can also vary the chocolate filling by using white chocolate ganache and adding a drop of food coloring for a vibrant effect.
Remember, you can easily double this recipe and store half of the cookie dough in the freezer. This way, you’ll always have a batch ready to pop in the oven for last-minute guests or an unexpected chocolate craving. Enjoy the rich, fudgy goodness!
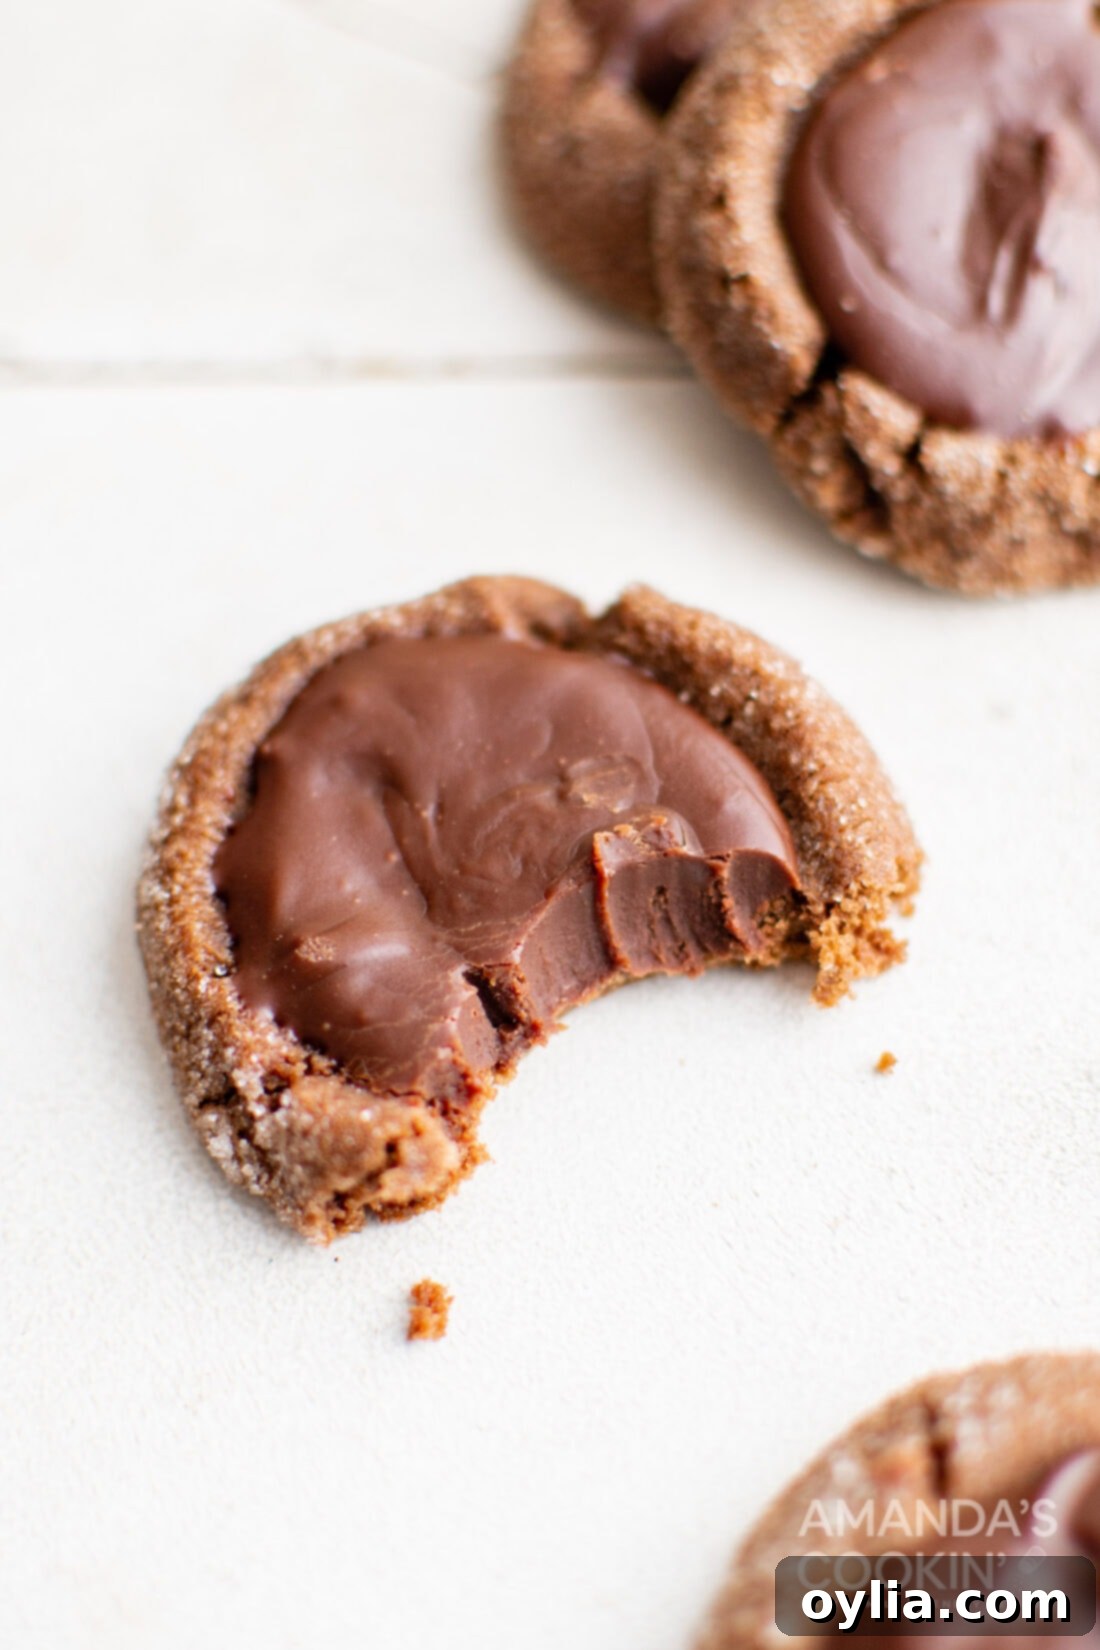
More Irresistible Cookie Recipes to Try
If you loved these chocolate thumbprint cookies, you’re in for a treat! Explore some of our other fantastic cookie creations:
- Classic Spritz Cookies
- Warm Hot Cocoa Cookies
- Grandma’s Best Sugar Cookies
- Rich Chocolate Peanut Butter Cookies
- Sweet White Chocolate Cranberry Cookies
- Festive Cornflake Christmas Wreaths
- Creative Paintbrush Cookies
- Quick Chocolate No Bake Cookies
I absolutely love to bake and cook, and there’s nothing I enjoy more than sharing my kitchen experiences and delicious recipes with all of you! Remembering to come back each day for new inspiration can sometimes be tough, which is why I offer a convenient newsletter every time a new recipe posts. Simply subscribe and start receiving your free daily recipes directly to your inbox. Happy baking!

Chocolate Thumbprint Cookies
IMPORTANT – There are often Frequently Asked Questions within the blog post that you may find helpful. Simply scroll back up to read them!
Print It
Pin It
Rate It
Save ItSaved!
Ingredients
Cookie Dough
- ¾ cup unsalted butter at room temperature
- ½ cup granulated sugar
- ⅓ cup light brown sugar packed
- 1 egg yolk
- ½ tsp pure vanilla extract
- ½ tsp almond extract
- 1 ½ cup all-purpose flour
- ⅓ cup unsweetened cocoa powder
- extra granulated sugar for rolling the cookie balls in
Chocolate Filling
- ½ cup heavy whipping cream
- 2 Tbsp unsalted butter
- 1 ½ cup semi-sweet chocolate chips
- ¼ tsp pure vanilla extract
Things You’ll Need
-
Insulated baking sheets
-
Mixing bowls
Before You Begin
- This recipe will make 25-30 cookies depending on the size you roll the dough balls.
- As every oven runs at a different temperature, be sure to keep a close eye on your cookies. The suggested bake time is 8-10 minutes, but ovens can vary.
- For a perfect, tender cookie, always measure your flour correctly. Aerate it with a spoon, then gently spoon it into a measuring cup and level with a straight edge. Do not pack or tap the flour. Use the same process for cocoa powder.
- Ensure your unsalted butter is at room temperature for optimal creaming with the sugars.
- Chilling the cookie dough for at least an hour is crucial to prevent spreading during baking and enhance the cookie’s texture and flavor.
Instructions
-
Mix the butter, granulated sugar and brown sugar together in a large bowl until light and fluffy, about 3 minutes.
-
Add the egg yolk, vanilla extract and almond extract and mix again until smooth.
-
Stir the flour and cocoa powder together, then stir into the wet ingredients until a thick dough starts to form. Cover and refrigerate for at least one hour before forming the cookies.
-
Preheat the oven to 350F and line a cookie sheet with parchment paper and set aside.
-
Form 1-inch balls from the cookie dough. Dip them into the granulated sugar and place 12 to 18 cookies on the prepared baking pan.
-
Press the centers of the cookies down with the back of a small measuring spoon or your thumb then bake for 8-10 minutes or until the cookies have set and start to dry out around the edges.
-
Using a larger measuring spoon, press down the center of the cookies while they are still hot to reform the divot as it will have risen while baking.
-
Repeat the baking process with the remaining dough.
-
While the cookies are cooling, heat the heavy cream and butter together in the microwave for 30 seconds or until hot but not boiling.
-
Pour it over the semisweet chocolate chips in a medium bowl and pour in the vanilla extract then stir a couple of times to coat all of the chocolate chips.
-
Let it sit for about 5 minutes or until the chocolate chips have melted completely.
-
Stir to incorporate all the ingredients together then pour the chocolate into the divot of the cooled cookies and lightly spread out the top.
-
Let these cookies cool for about two hours or until the chocolate has set on top.
Nutrition
The recipes on this blog are tested with a conventional gas oven and gas stovetop. It’s important to note that some ovens, especially as they age, can cook and bake inconsistently. Using an inexpensive oven thermometer can assure you that your oven is truly heating to the proper temperature. If you use a toaster oven or countertop oven, please keep in mind that they may not distribute heat the same as a conventional full sized oven and you may need to adjust your cooking/baking times. In the case of recipes made with a pressure cooker, air fryer, slow cooker, or other appliance, a link to the appliances we use is listed within each respective recipe. For baking recipes where measurements are given by weight, please note that results may not be the same if cups are used instead, and we can’t guarantee success with that method.
