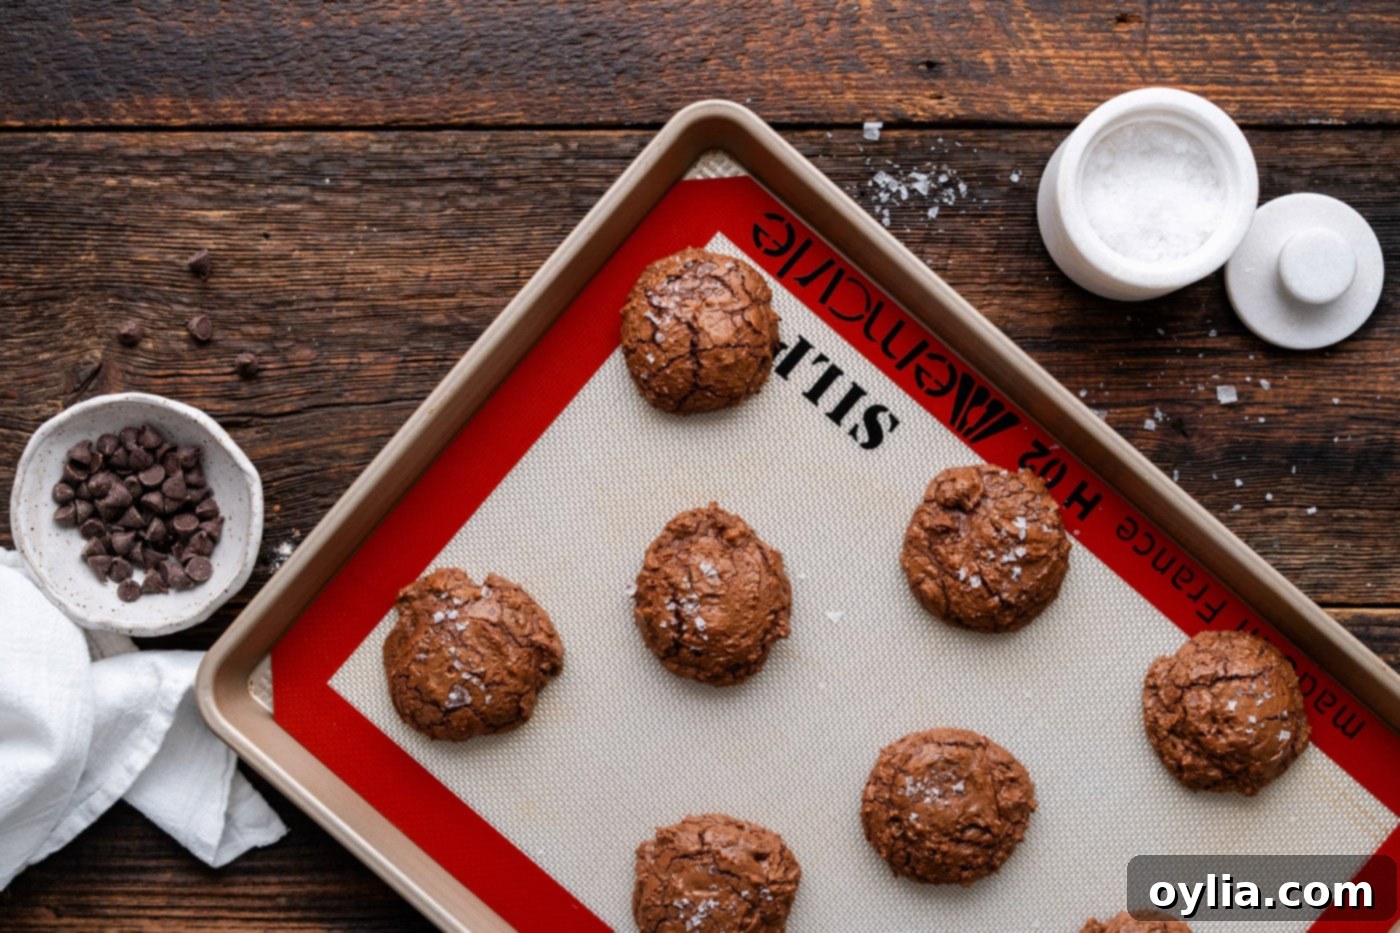
The Ultimate Salted Brownie Cookies: Fudgy, Chewy & Irresistibly Decadent Recipe
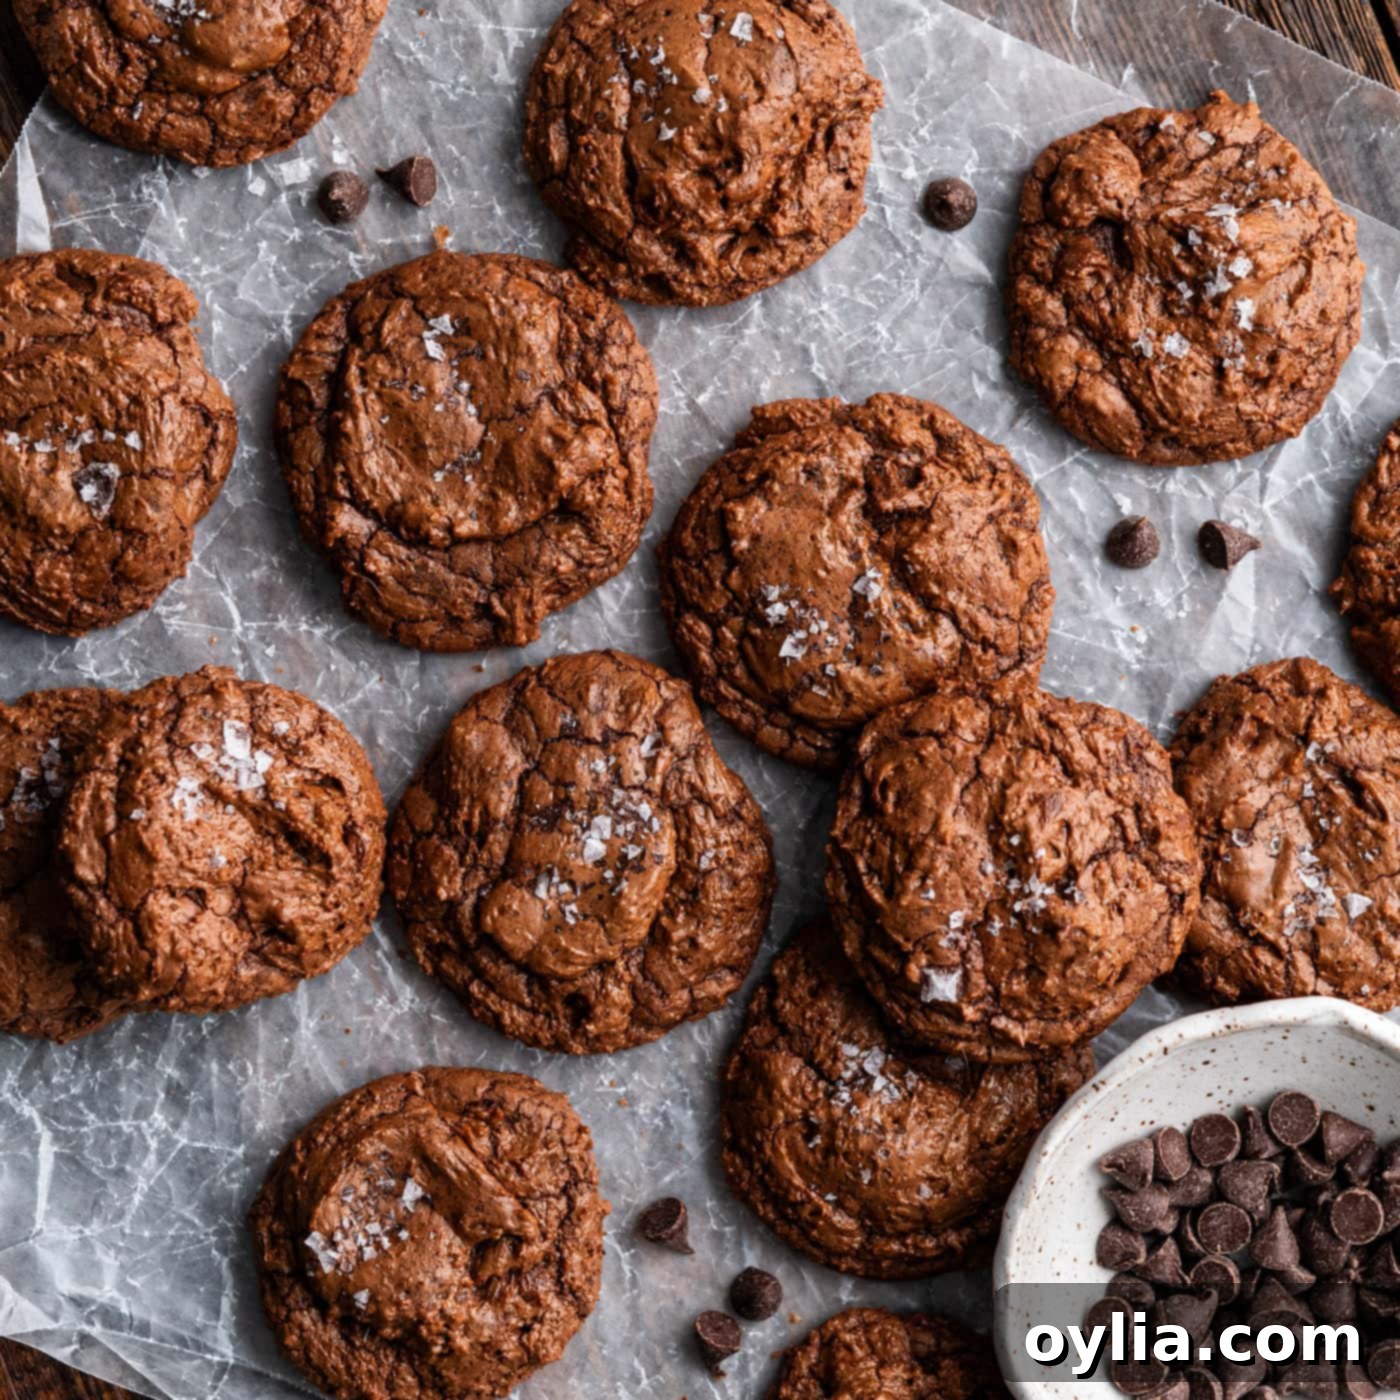
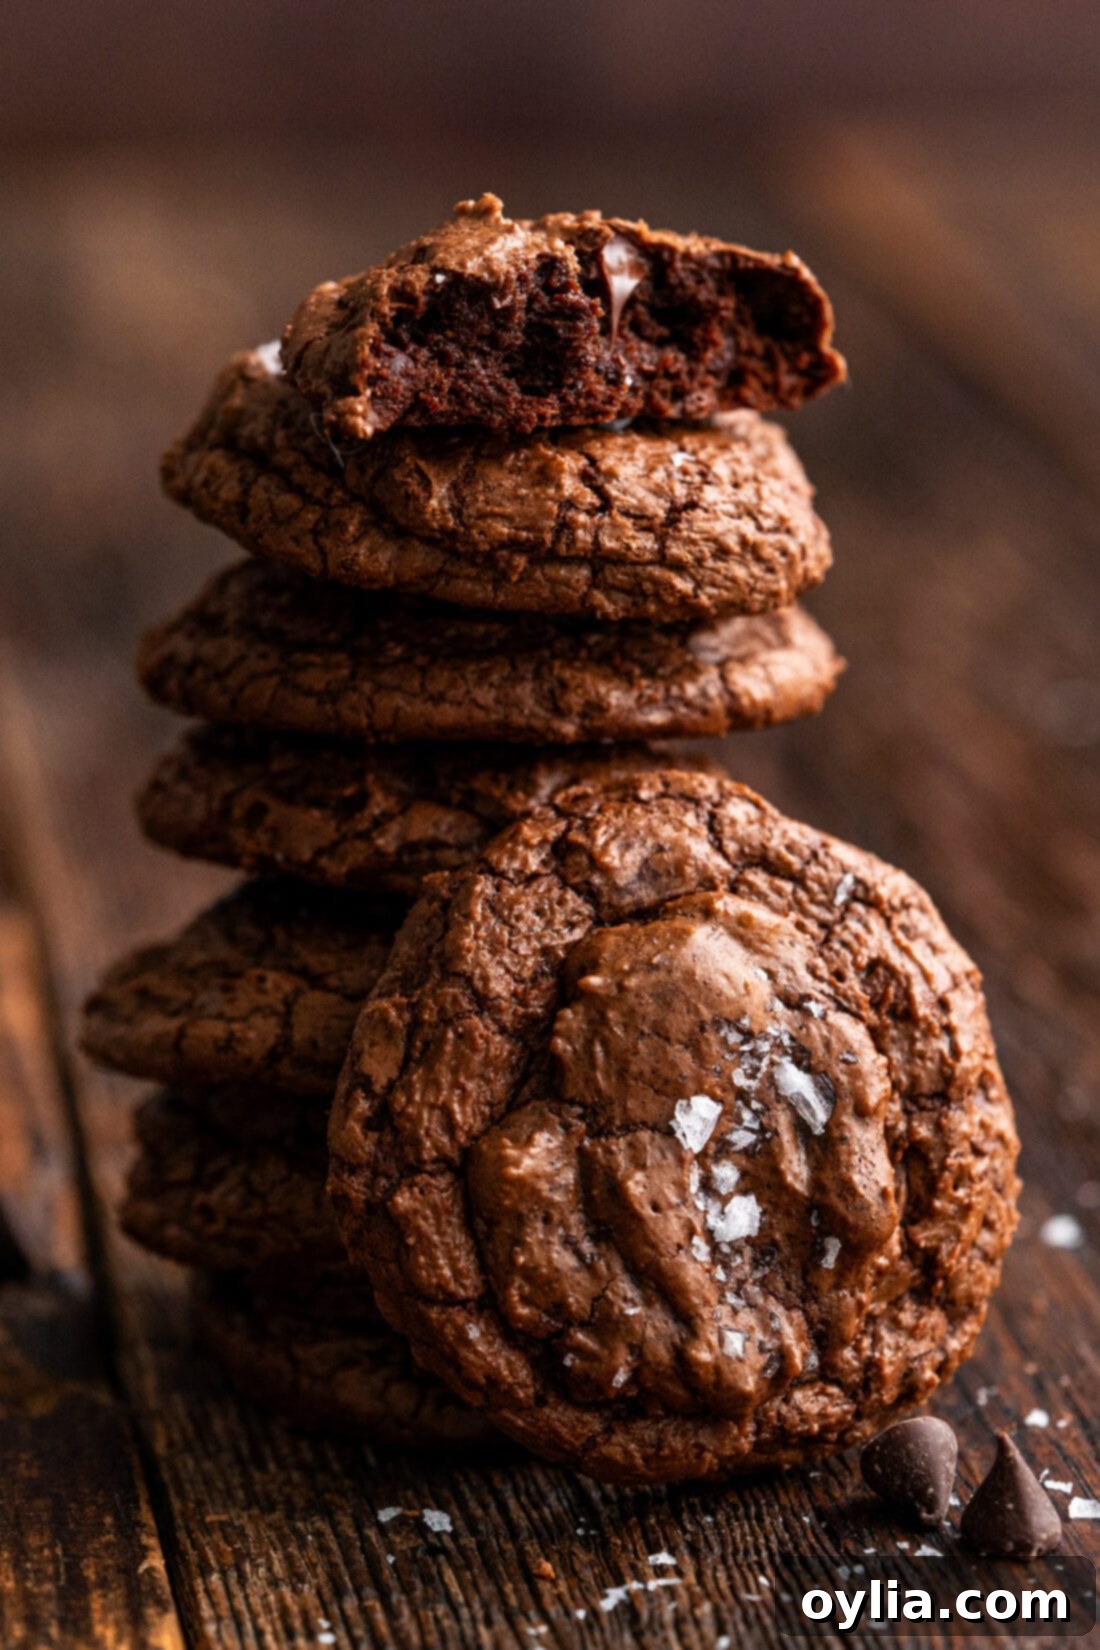
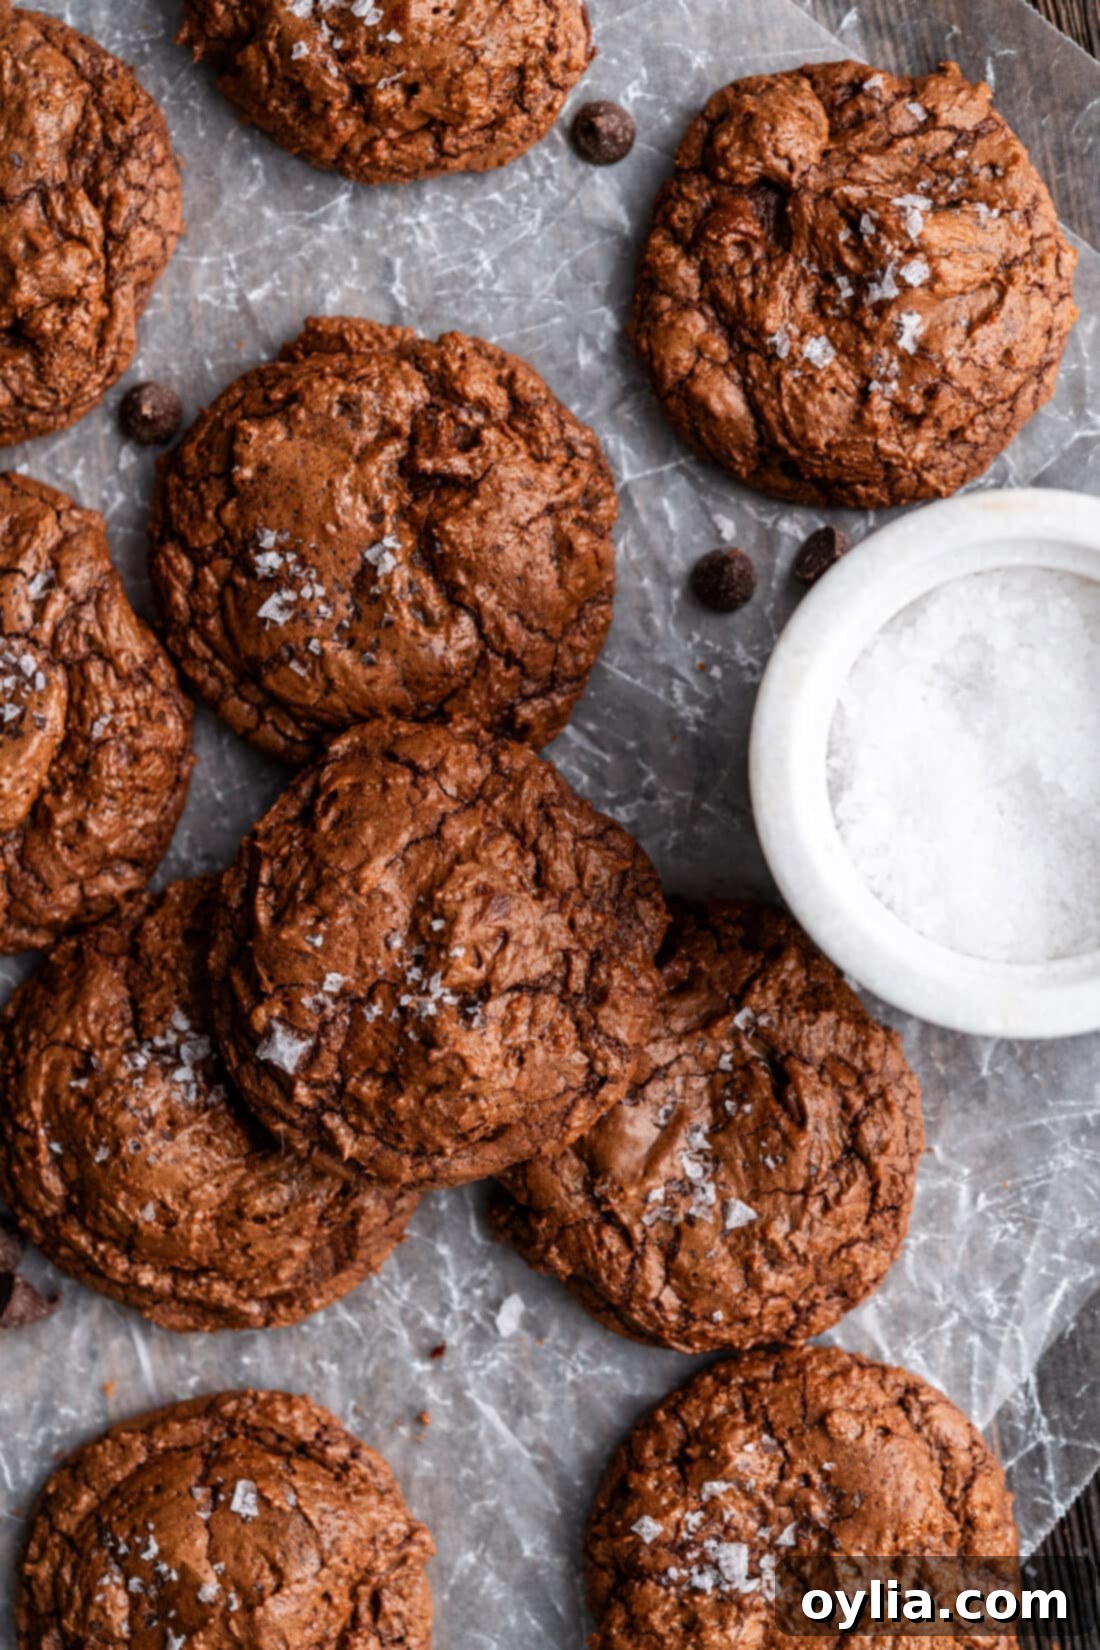
Prepare to fall in love with these Salted Brownie Cookies – a truly exceptional dessert that perfectly marries the best qualities of a rich, fudgy brownie with the delightful chewiness of a classic cookie. Each bite delivers an explosion of deep chocolate flavor, a soft, gooey center, and a beautiful crinkled exterior, all crowned with a sprinkle of flaky sea salt. These aren’t just cookies; they’re little chocolate bombs designed to satisfy every sweet and salty craving. Get ready for a decadent treat that’s impossible to resist!
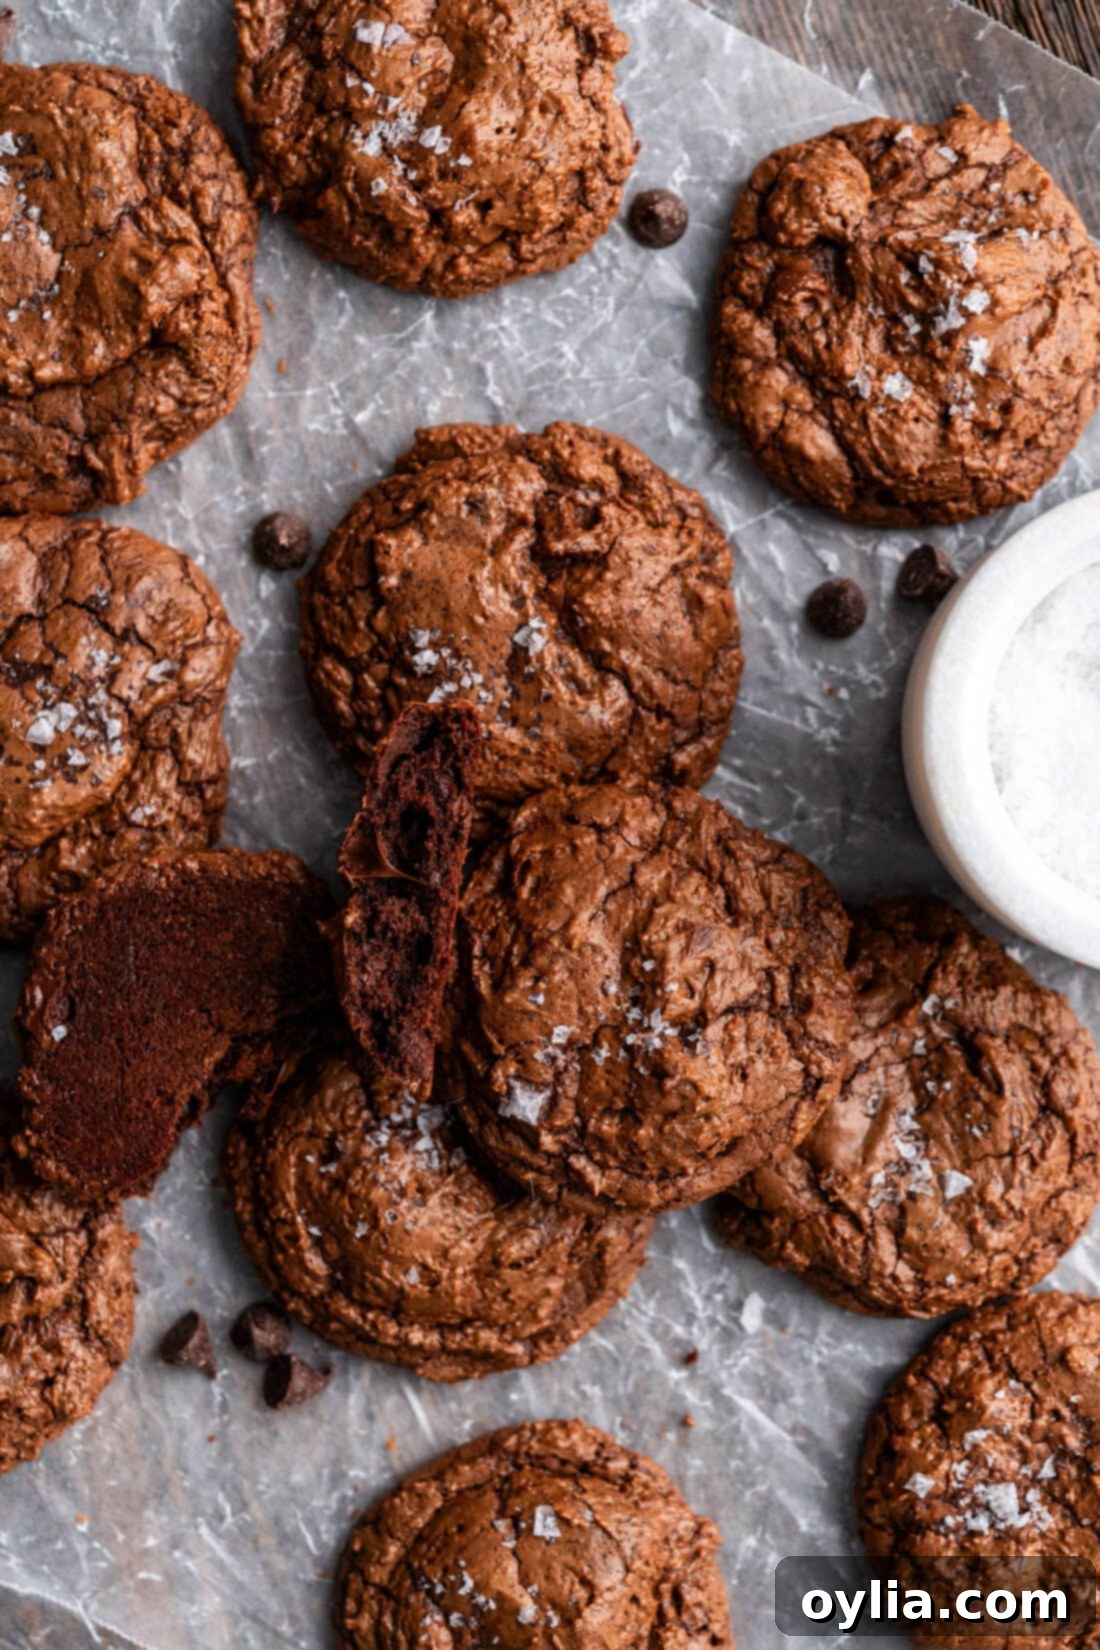
Why This Salted Brownie Cookie Recipe is a Must-Try
Our salted brownie cookies stand out as a true culinary triumph, offering a delightful fusion that surpasses your average baked good. They deliver the intense, rich chocolate experience of a fudge brownie, but in the convenient and satisfying form of a chewy cookie. This isn’t just a “brookie” (brownie-cookie hybrid) in the traditional sense; it’s a distinct creation that focuses on achieving that quintessential brownie-like interior within a cookie’s structure. Here’s why this recipe truly works:
- Perfect Texture Harmony: We achieve an ideal balance of chewiness and fudginess. The combination of melted butter and quality dark chocolate contributes to a moist, dense crumb, while precise flour and sugar ratios ensure that satisfyingly chewy bite reminiscent of a perfect brownie edge.
- Flavor Amplification: The genius of this recipe lies in how both salt and espresso powder elevate the dark chocolate. A touch of instant espresso powder doesn’t make the cookies taste like coffee (unless you increase the amount, as noted in the ingredient section). Instead, it subtly deepens and enhances the natural cocoa flavors, making the chocolate taste even more intense and luxurious.
- Sweet and Salty Balance: The addition of flaky sea salt on top is not merely for decoration. It provides a crucial contrast, cutting through the sweetness and brightening the rich chocolate. This creates a complex flavor profile that keeps you coming back for more.
- Signature Crinkled Top: That beautiful, glossy, crinkled top isn’t just for looks. It’s a hallmark of a well-made brownie cookie, achieved by properly aerating the eggs and sugar, and the quick setting of the exterior during baking, resulting in a delightful textural contrast.
- Easy to Make, Impressive Results: Despite their decadent appearance and complex flavor, these brownie cookies are surprisingly straightforward to prepare. With clear steps and common ingredients, even novice bakers can achieve impressive results.
Each carefully chosen ingredient plays a vital role in creating this perfect marriage of our two favorite sweets. Let’s dive into what you’ll need and how to bring these irresistible treats to life.
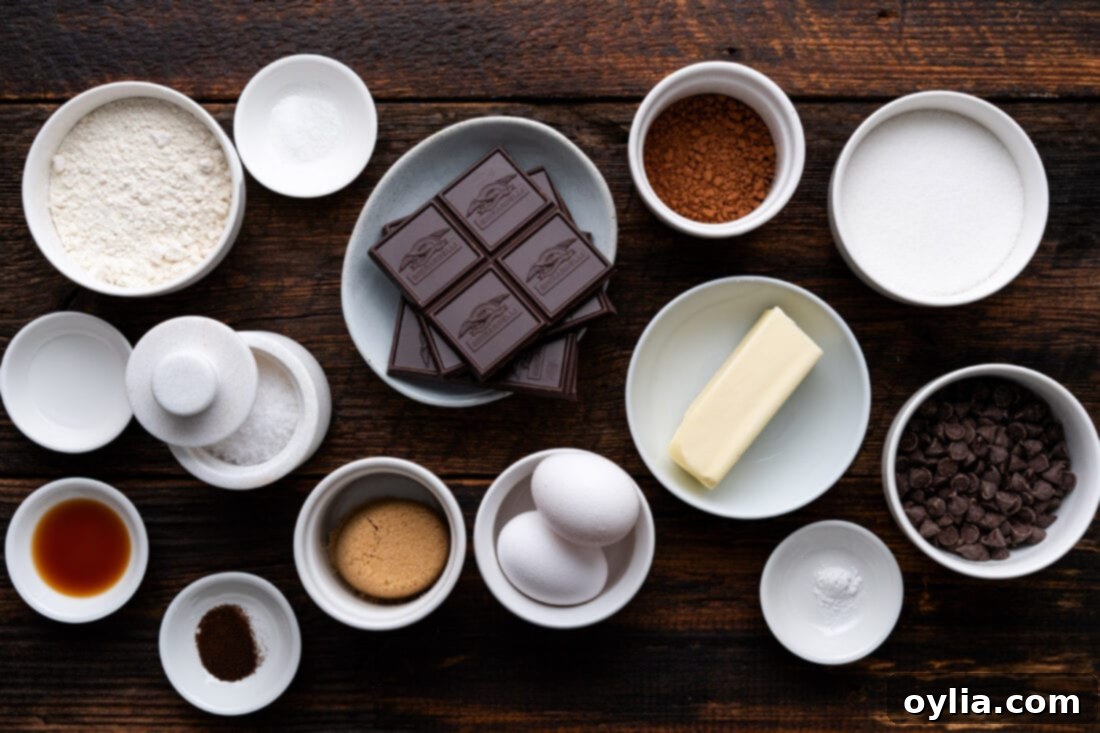
Key Ingredients for Decadent Salted Brownie Cookies
Crafting the perfect salted brownie cookie starts with selecting the right ingredients. You’ll find all the precise measurements, a comprehensive list of ingredients, and step-by-step instructions in the printable recipe card located at the very end of this post. For now, let’s explore some of the stars of this recipe.
Ingredient Spotlight & Smart Substitutions
Each component in these salted brownie cookies plays a crucial role in achieving their signature rich flavor and irresistible texture. Understanding their purpose also opens up possibilities for smart substitutions or customizations.
- Unsalted Butter & Dark Chocolate Bar: These form the rich, fudgy base of our cookies. Using a good quality 60% dark chocolate bar is paramount for that deep, complex chocolate flavor. You can experiment with slightly darker chocolate (e.g., 70%) for a more intense, less sweet cookie, or a slightly milder dark chocolate (e.g., 50%) for a softer profile. Always use unsalted butter so you can control the overall saltiness of the recipe.
- CHOCOLATE CHIPS – While the recipe calls for semi-sweet chocolate chips, your options are truly limitless!
- Milk Chocolate Chips: Will yield a sweeter, creamier chocolate flavor.
- White Chocolate Chips: Offer a sweet, vanilla-forward contrast to the dark brownie base.
- Bittersweet Chocolate Chips: For those who love a more intense, less sweet chocolate experience, these are a fantastic choice.
- Chopped Chocolate: For an even more luxurious texture and melty pockets, use chopped chocolate from a high-quality bar instead of chips.
- ESPRESSO POWDER – This is your secret weapon for amplifying chocolate flavor. Instant espresso powder deepens the chocolate notes without imparting a distinct coffee taste at the recommended ¼ teaspoon.
- For a subtle chocolate boost: Stick to the ¼ teaspoon. You won’t taste coffee, just richer chocolate.
- For a noticeable coffee flavor: Increase the instant espresso powder to about 1 teaspoon and dissolve it in 2 teaspoons of hot water. This will give your brownie cookies a delightful mocha twist.
- No espresso powder? While it truly enhances the chocolate, you can omit it if you don’t have any on hand. The cookies will still be delicious, just slightly less intensely chocolatey.
- Granulated Sugar & Light Brown Sugar: This dynamic duo is essential for both flavor and texture.
- Granulated Sugar: Contributes to the crisp edges and helps create that iconic crinkled top.
- Light Brown Sugar: Adds moisture, chewiness, and a subtle caramel note, crucial for the “brownie” texture. Make sure it’s lightly packed.
- Large Eggs & Pure Vanilla Extract: Eggs act as a binder and contribute to the rich texture and structure, especially when properly beaten. Vanilla extract rounds out and enhances all the other flavors. Use pure vanilla for the best taste!
- All-Purpose Flour, Cocoa Powder, Baking Powder, & Salt:
- All-Purpose Flour: Provides the necessary structure. Ensure you measure it correctly – spooning and leveling, or weighing for best results.
- Unsweetened Cocoa Powder: Adds another layer of chocolate depth. Natural unsweetened cocoa powder is generally fine for this recipe, but Dutch-processed would yield a darker cookie with a slightly milder chocolate flavor.
- Baking Powder: Our leavening agent, ensuring a slight lift and a tender interior.
- Salt: Essential for balancing sweetness. Use fine salt in the batter and…
- Flaky Sea Salt: This is a non-negotiable for the topping! Unlike fine table salt, flaky sea salt offers bursts of pure saltiness and a delightful textural crunch that contrasts beautifully with the fudgy cookie, creating the “salted” magic.
Step-by-Step Guide: How to Make Irresistible Salted Brownie Cookies
These step-by-step photos and detailed instructions are here to guide you visually through the process of making these delightful cookies. For your convenience, you can Jump to Recipe to access the complete printable version, featuring all measurements, ingredients, and instructions at the bottom of this post.
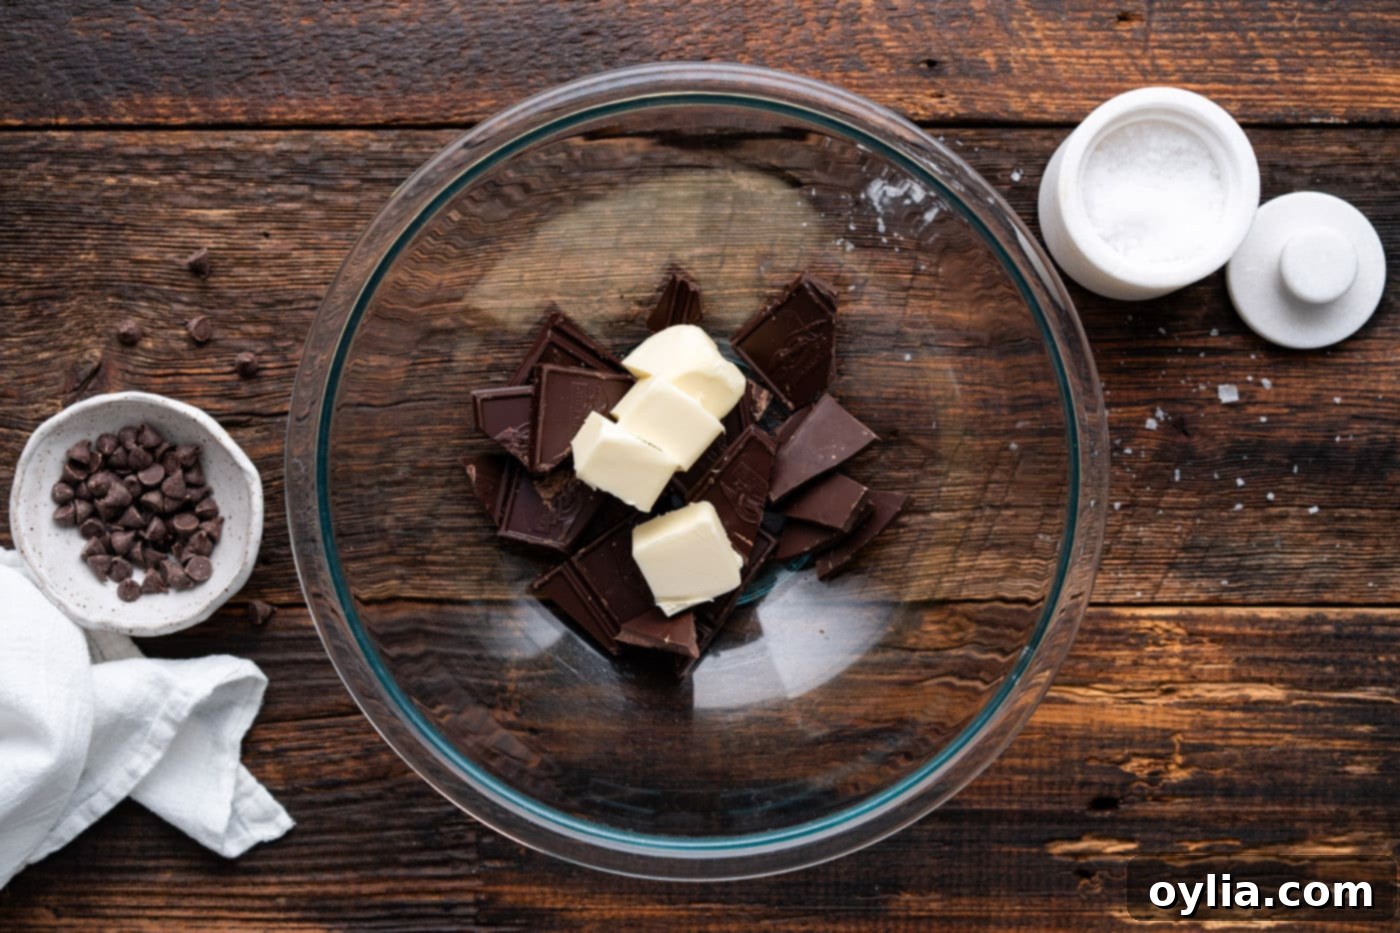
- Melt Chocolate & Butter: Begin by combining the unsalted butter and good quality dark chocolate bar pieces in a microwave-safe bowl or in the top of a double boiler.
- Microwave Method: Heat in 30-second intervals, stirring well after each, until smooth and fully melted. Be careful not to overheat the chocolate.
- Double Boiler Method: Place a heatproof bowl over a saucepan of simmering water, ensuring the bottom of the bowl doesn’t touch the water. Stir frequently until melted and smooth.
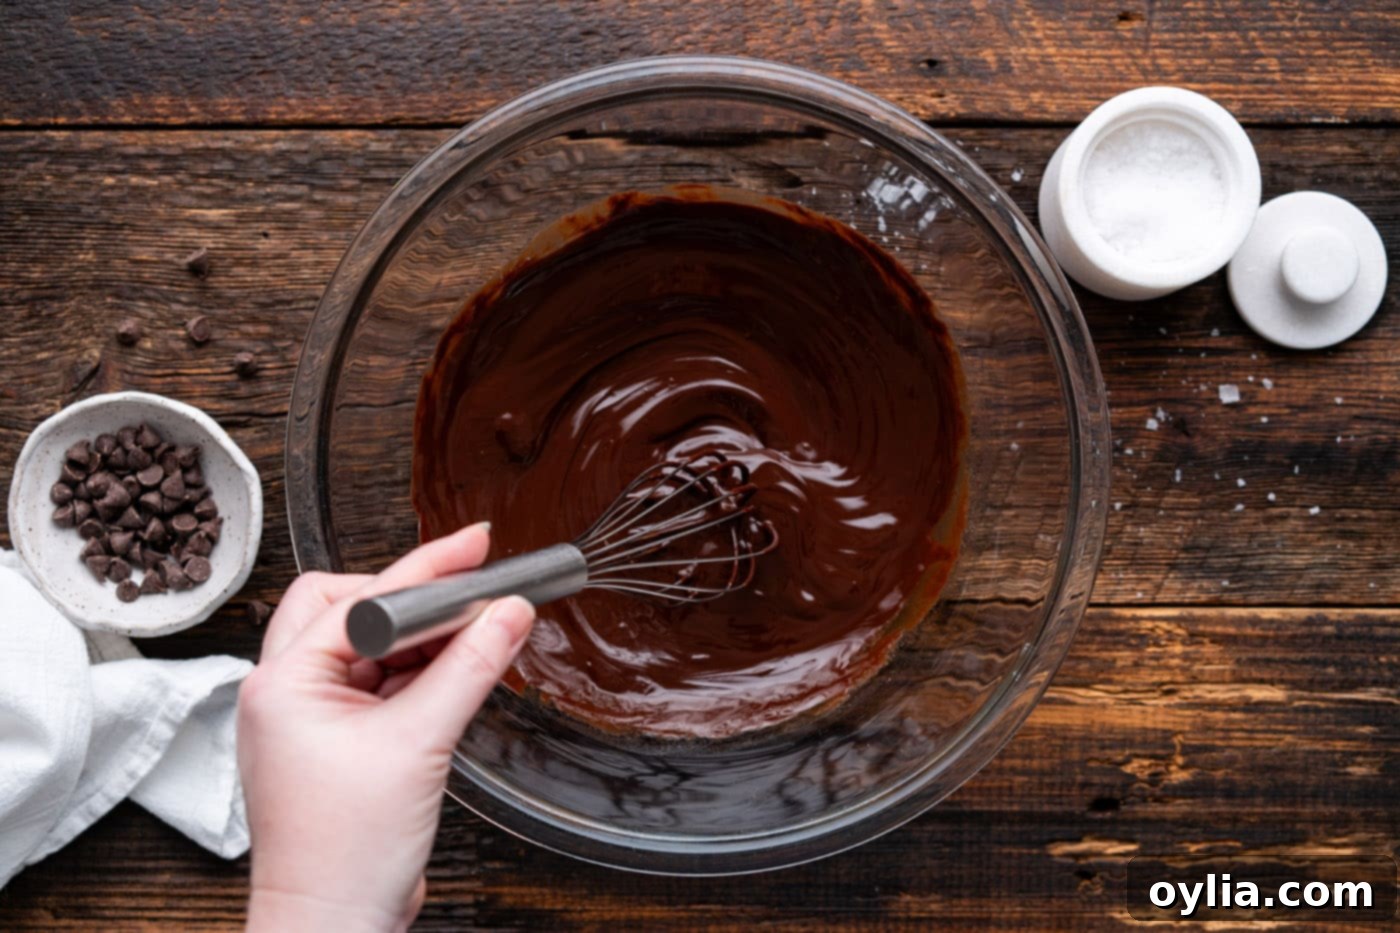
Once melted, stir gently to ensure a smooth, glossy mixture. Set this aside to cool slightly while you prepare the other ingredients. This cooling step is important to prevent the chocolate mixture from scrambling the eggs when combined later.

Dark chocolate and butter melting together. 
Stirring the melted chocolate and butter until perfectly smooth. - Dissolve Espresso Powder: In a small separate bowl, add the instant espresso powder and hot water. Stir thoroughly until the espresso powder is completely dissolved. This ensures it disperses evenly throughout the batter.

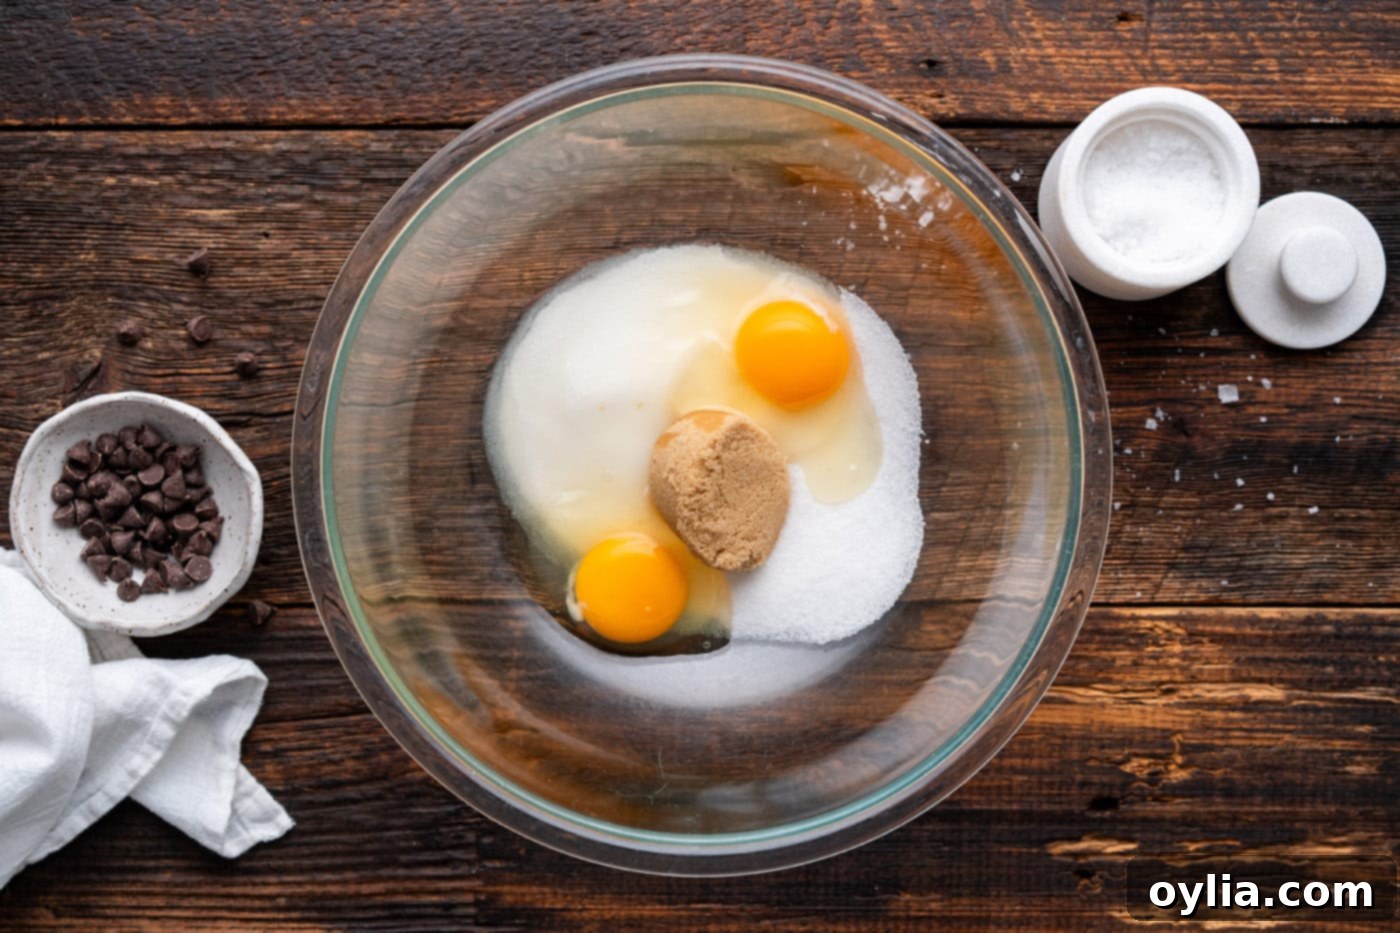
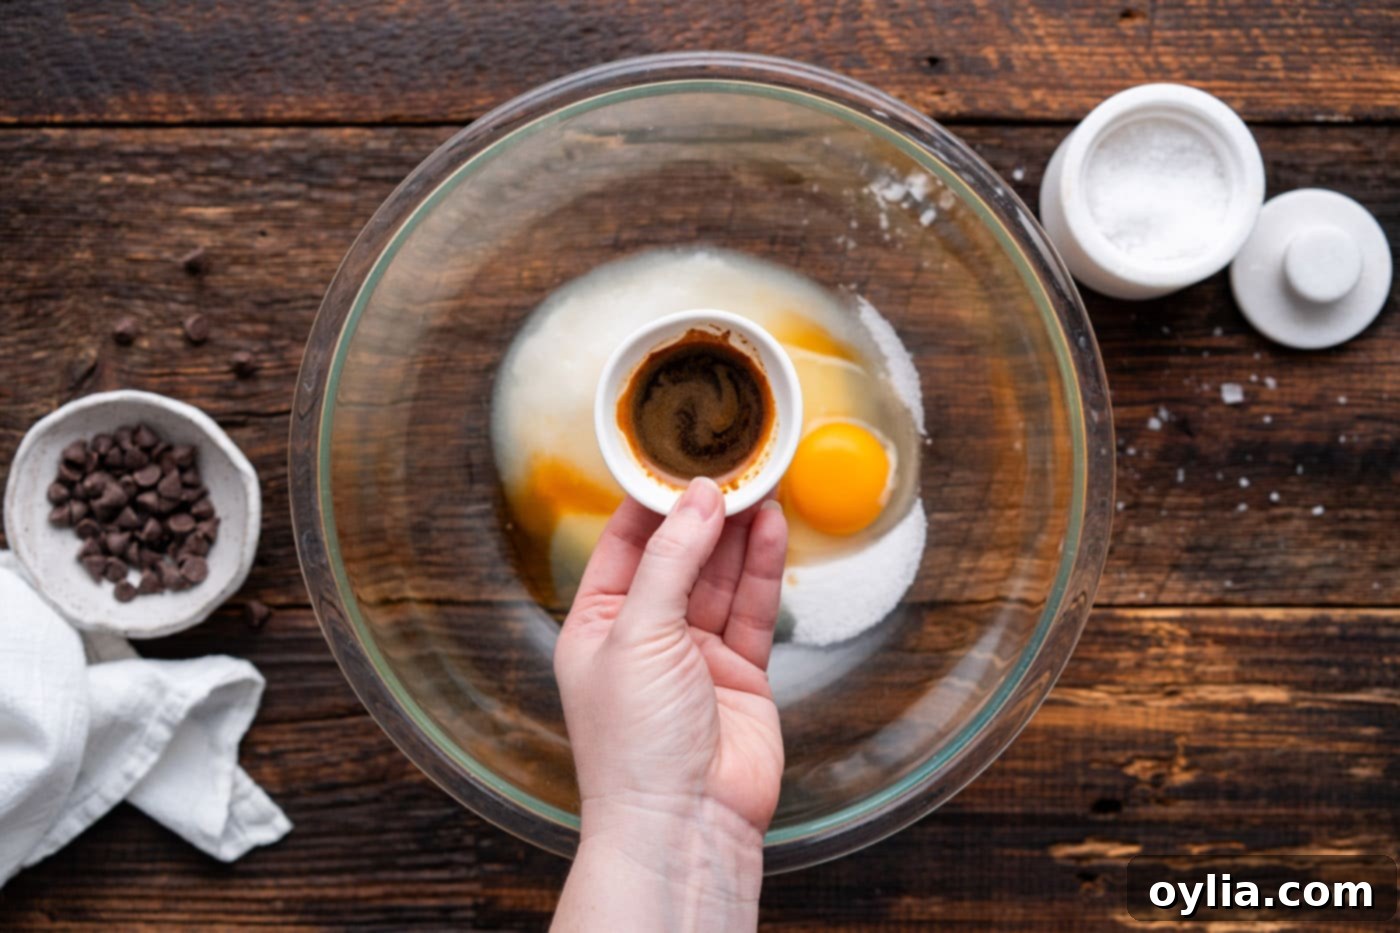
Espresso powder dissolving in hot water. - Beat Sugars and Eggs: In a large mixing bowl, combine the white granulated sugar, light brown sugar, large eggs, pure vanilla extract, and the dissolved espresso powder. Use a handheld electric beater (or a stand mixer with the whisk attachment) to mix these ingredients together. Beat on medium-high speed for approximately 3 minutes, or until the mixture becomes notably light, fluffy, and significantly increased in volume.

Eggs with both white and brown sugar. 
Adding dissolved espresso to the wet ingredients. TIP – Do not rush this beating process! This step is critical for incorporating air into the mixture, which is essential for achieving that desirable crinkled, glossy top on your cookies and a lighter, chewier texture. The mixture should be pale, thick, and fall off the beaters in substantial, flowing ribbons.
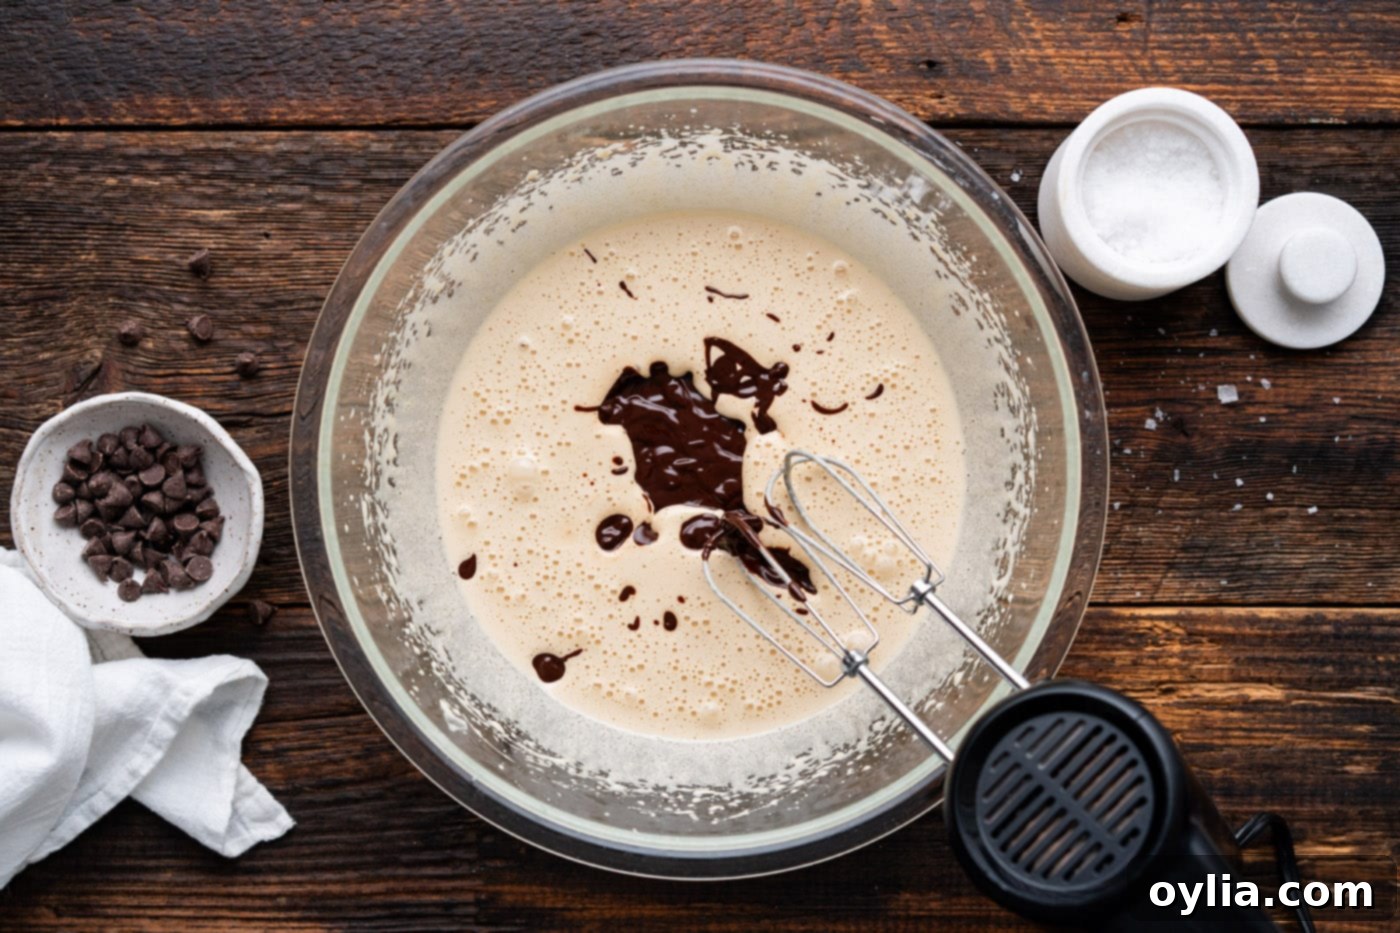
- Combine Wet Ingredients: Carefully pour the slightly cooled melted butter and dark chocolate mixture into the fluffy sugar and egg mixture. Beat on low speed until just combined. Be careful not to overmix; you just want to ensure everything is evenly incorporated.

Combining the melted chocolate with the fluffy egg mixture. 
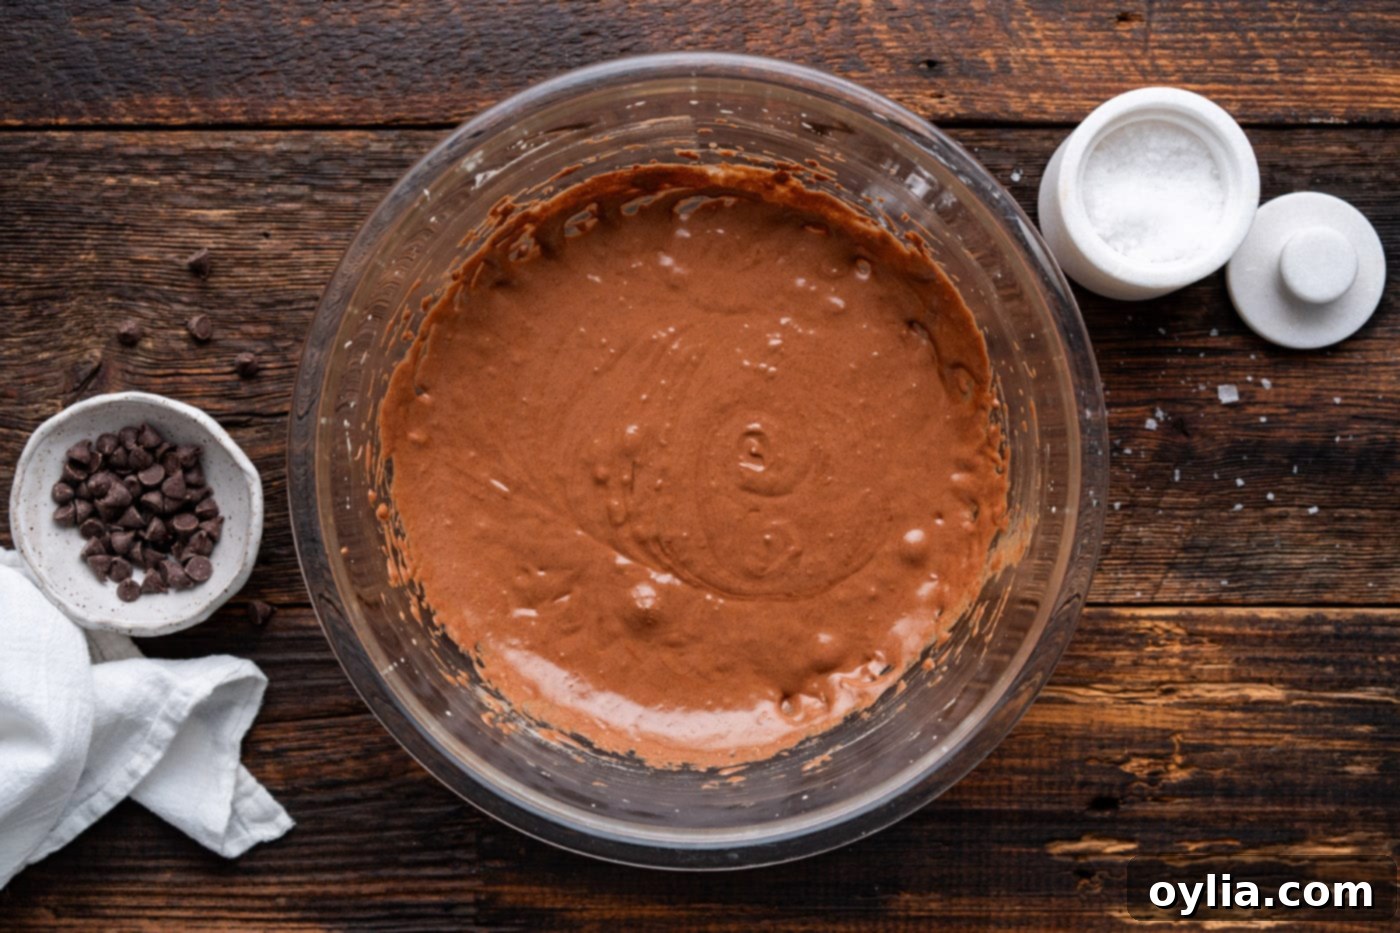
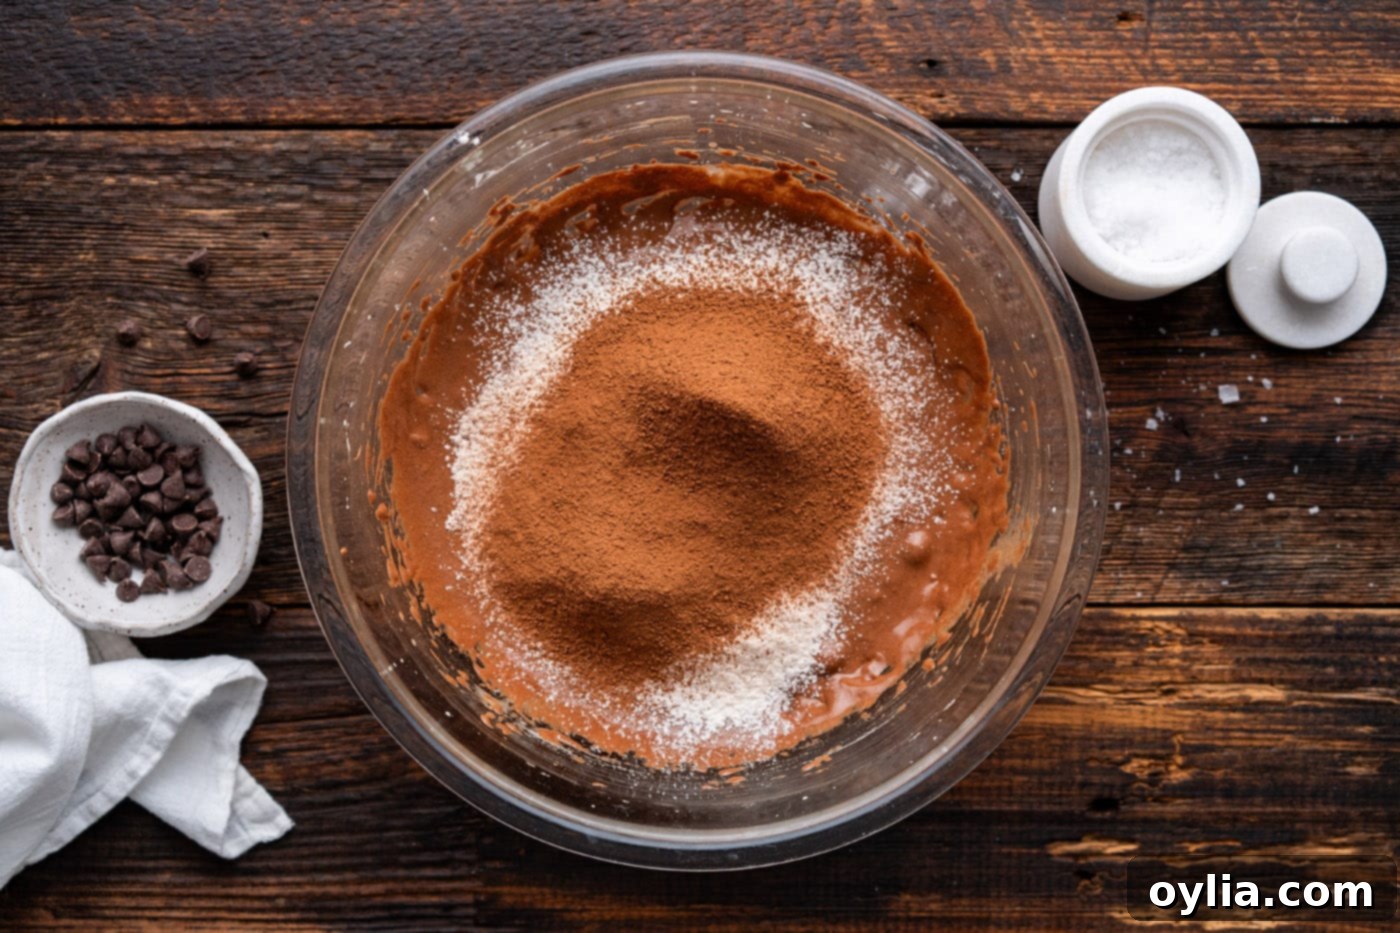
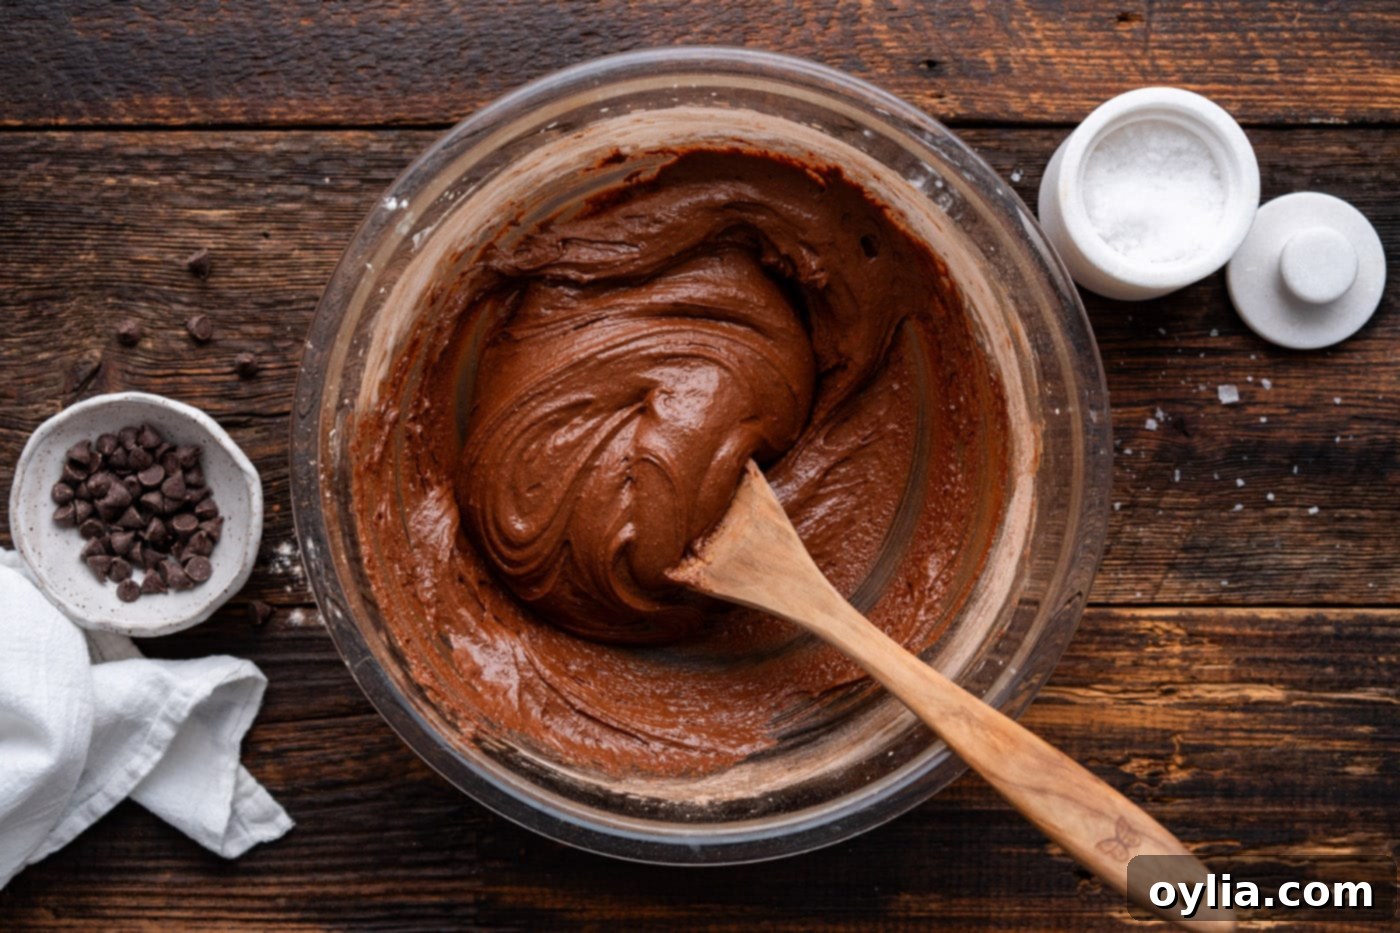
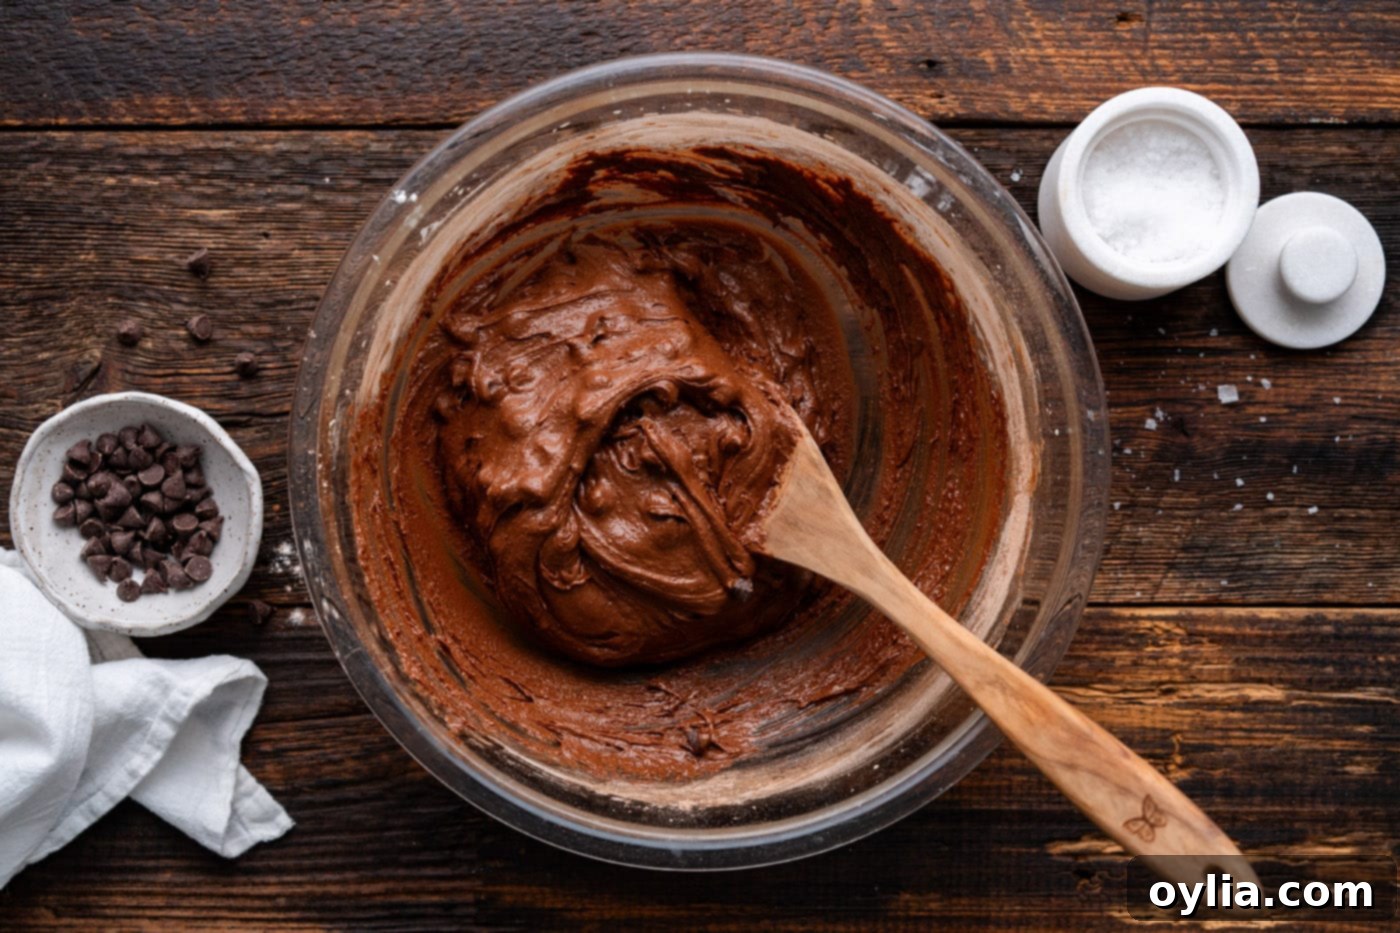
The beautifully smooth chocolate cookie batter. - Add Dry Ingredients & Chocolate Chips: Sift the all-purpose flour, salt, baking powder, and unsweetened cocoa powder directly into the wet ingredients. Sifting helps prevent lumps and ensures a smoother, more uniform cookie texture. Gently stir with a spatula or wooden spoon until just combined and no streaks of flour remain. Overmixing the flour can lead to tough cookies. Finally, fold in the semi-sweet chocolate chips (or your chosen variety) until they are evenly distributed throughout the dough.

Sifting in the dry ingredients. 
The combined brownie cookie dough. 
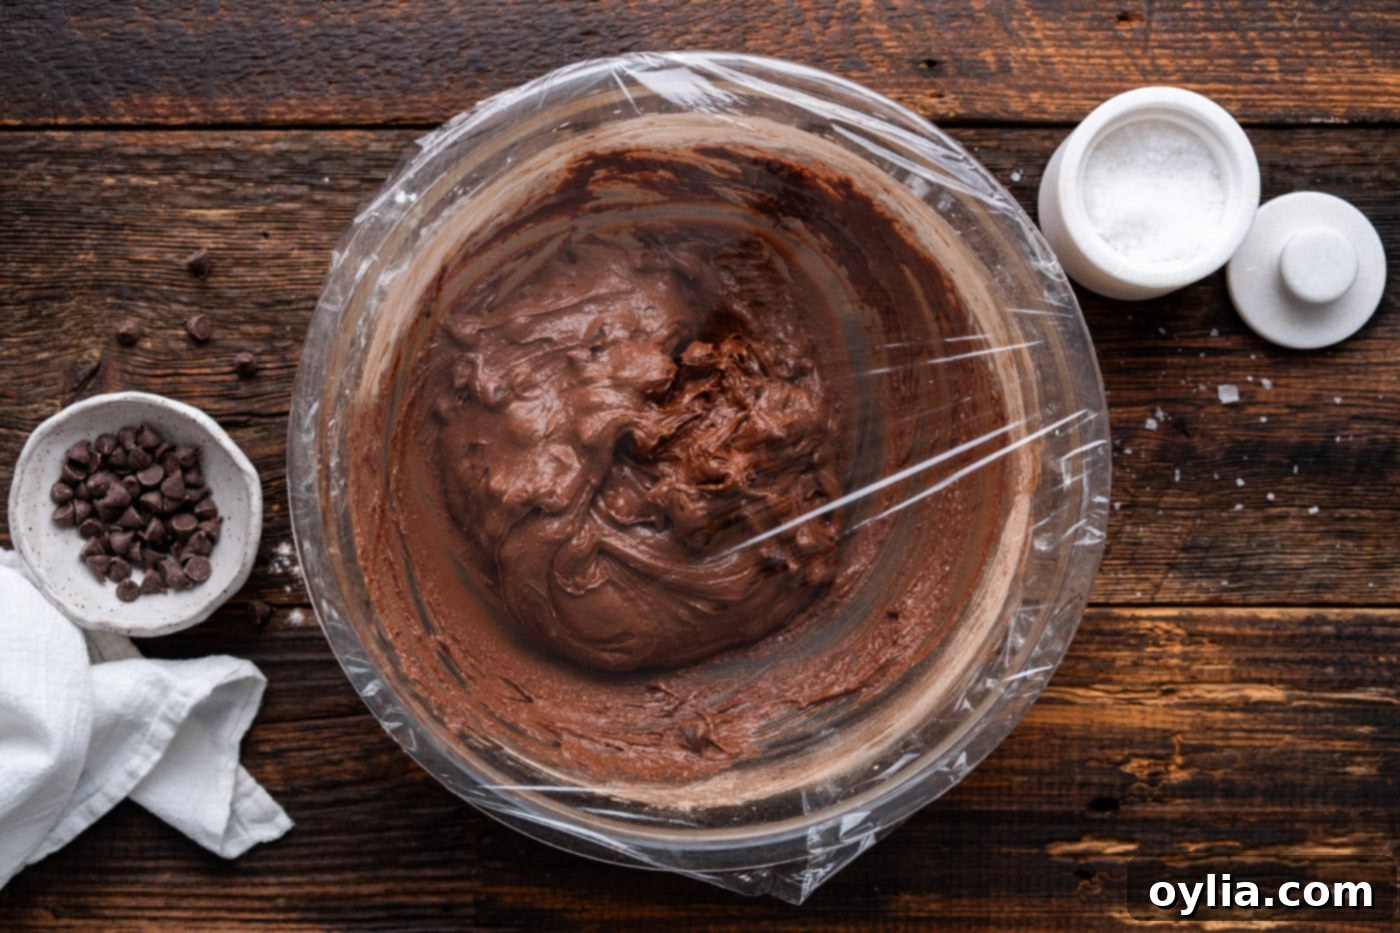
Folding in the chocolate chips. - Chill the Dough: Cover the bowl containing your cookie dough with plastic wrap and chill it in the refrigerator for at least 20 minutes.
- Why chill? Chilling the dough solidifies the butter, preventing the cookies from spreading too much during baking and ensuring a thicker, chewier cookie. It also allows the flavors to meld and deepen, resulting in a more flavorful cookie.
While the dough chills, preheat your oven to 350°F (175°C) and line two large baking trays with parchment paper or silicone baking mats. This prevents sticking and promotes even baking.

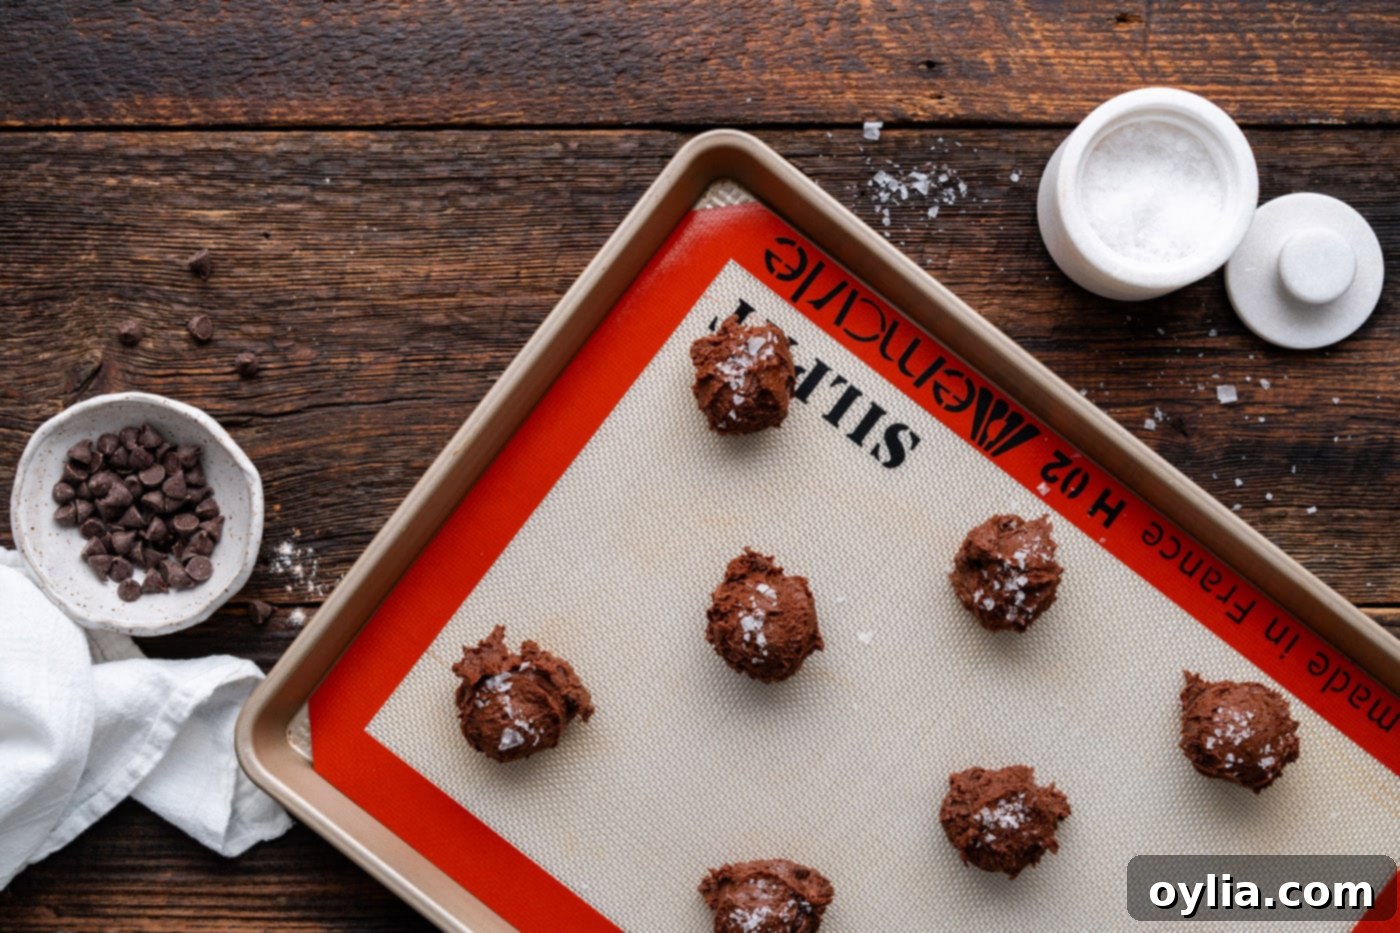
Dough chilling, a crucial step for perfect cookies. - Scoop, Roll & Salt: Once the dough is properly chilled, use a 2-tablespoon cookie scoop to measure out uniform portions of dough. Roll each portion into a smooth ball. Arrange the dough balls on your prepared baking trays, leaving enough space between them for spreading. Finally, generously sprinkle flaky sea salt on top of each cookie dough ball. This ensures you get that perfect sweet and salty crunch in every bite.

Dough balls ready with their flaky sea salt topping. - Bake & Cool: Transfer the baking trays to the preheated oven. Bake for approximately 12 to 15 minutes. The cookies are done when their edges are set, but the centers still look slightly soft and gooey – this is key for that fudgy interior! Do not overbake. Once baked, remove the trays from the oven and let the cookies cool completely on the baking trays. They will continue to set as they cool. Moving them too soon might cause them to break apart.

Freshly baked cookies, cooling on the tray.
Frequently Asked Questions & Expert Tips for Perfect Salted Brownie Cookies
Yes, absolutely! This cookie dough freezes exceptionally well, making it perfect for preparing ahead of time. I highly recommend flash-freezing the dough balls first. To do this, measure out your dough balls as directed, place them onto a baking sheet or plate lined with waxed paper (you can place them relatively close together, but ensure they aren’t touching). Freeze for at least 2 hours, or until solid. Flash-freezing prevents the dough balls from sticking together in a large clump when stored. Once frozen solid, transfer the dough balls to a freezer-safe bag or airtight container. They can be stored in the freezer for up to 3 months. When you’re ready to bake, simply remove the desired number of cookies from the freezer and place them on your prepared baking sheet as your oven preheats. You might need to add an extra minute or two to the baking time, but generally, they bake beautifully from frozen.
To maintain their delicious freshness, store these salted brownie cookies in an airtight container at room temperature. They will remain wonderfully soft and fudgy for up to 3-5 days. While they are still delightful after a few days, these cookies are truly at their absolute best when enjoyed within the first 1-2 days after baking. The longer they sit, the more likely they are to lose some of their moisture and become slightly drier or stale, though they’ll still be tasty! For longer storage, you can freeze baked cookies in an airtight container for up to 2-3 weeks; simply thaw at room temperature before serving.
The key to a beautiful crinkled top lies in two main steps:
- Whipping the Eggs and Sugars: Don’t skip or shorten Step 3 where you beat the white sugar, brown sugar, eggs, vanilla, and espresso powder. Beating these ingredients for a full 3 minutes (or until light, fluffy, and ribbon-like) incorporates a significant amount of air. This air expands rapidly in the oven, causing the cookie’s surface to crackle and form those desired crinkles.
- Chilling the Dough: Chilling the dough (Step 6) helps prevent excessive spreading and ensures the edges set quicker in the oven, encouraging the center to puff up and then settle, forming the crinkles.
If your cookies spread more than desired, a few factors could be at play:
- Warm Butter/Chocolate Mixture: Ensure your melted butter and chocolate mixture has cooled slightly before adding it to the egg mixture. If it’s too warm, it can affect the texture.
- Insufficient Chilling: The chilling step (at least 20 minutes) is crucial! If the butter in the dough is too soft, the cookies will spread rapidly. If your kitchen is very warm, consider chilling longer.
- Over-Creaming Butter and Sugar: While beating eggs and sugar is important, over-creaming butter and sugar can incorporate too much air, leading to excessive spreading. However, for *this* recipe, we melt the butter and chocolate first, so this is less likely an issue here compared to traditional cookie recipes.
- Oven Temperature: An inaccurate oven temperature can cause issues. An oven that runs too low might cause slow baking and spreading. Using an oven thermometer is always a good idea.
Serving Suggestions for Your Salted Brownie Cookies
While these salted brownie cookies are utterly divine on their own, especially when still warm from the oven, there are several ways to elevate your dessert experience:
- With Vanilla Ice Cream: The classic pairing! A warm brownie cookie served à la mode with a scoop of creamy vanilla bean ice cream creates a delightful contrast of temperatures and textures. The ice cream slowly melts into the warm, fudgy cookie, creating an irresistible treat.
- Add Chopped Nuts: For an extra layer of crunch and nutty flavor, consider adding chopped nuts. Right after the cookies come out of the oven, while they’re still warm, you can gently press some chopped walnuts, pecans, or even almonds onto their tops. Alternatively, mix about ½ cup of chopped nuts directly into the batter along with the chocolate chips, just like you would with your favorite traditional brownie recipe.
- Caramel or Chocolate Drizzle: For an even more indulgent dessert, drizzle warm caramel sauce or a rich chocolate ganache over the cookies just before serving.
- Pair with Beverages: These cookies are excellent companions for a tall glass of cold milk, a hot cup of coffee, or even a glass of red wine or a coffee liqueur for an adult treat.
- For Any Occasion: Salted brownie cookies are perfect for potlucks, bake sales, holiday cookie exchanges, or simply as a comforting treat on a cozy evening. Their sophisticated flavor makes them a hit with both kids and adults.
Craving More? Explore Our Other Decadent Cookie and Brownie Recipes!
If you loved these salted brownie cookies, you’re in for a treat! We have a wide array of equally delicious and satisfying recipes to explore. From ultra-rich brownies to delightful cookies, there’s something for every chocolate lover and baking enthusiast:
- Slutty Brownies: An indulgent layer of chocolate chip cookie, Oreo, and brownie.
- Millionaire Brownies: Layers of shortbread, caramel, and chocolate for a truly luxurious treat.
- Chocolate Cake Mix Cookies: Super easy and quick cookies using a chocolate cake mix base.
- Chocolate Cheesecake Brownies: A rich swirl of creamy cheesecake through fudgy brownies.
I love to bake and cook and share my kitchen experience with all of you! Remembering to come back each day can be tough, that’s why I offer a convenient newsletter every time a new recipe posts. Simply subscribe and start receiving your free daily recipes!
Salted Brownie Cookies
IMPORTANT – There are often Frequently Asked Questions within the blog post that you may find helpful. Simply scroll back up to read them!
Print It
Pin It
Rate It
Save ItSaved!
Ingredients
- 6 Tablespoons unsalted butter
- 6 ounces good quality 60% dark chocolate bar broken into pieces
- ¼ teaspoon instant espresso powder
- ½ teaspoon hot water to dissolve the espresso powder
- ¾ cup granulated sugar
- ¼ cup light brown sugar lightly packed
- 2 large eggs
- 1 ½ teaspoons pure vanilla extract
- ¾ cup all purpose flour
- ¼ teaspoon salt
- ¼ teaspoon baking powder
- ¼ cup unsweetened cocoa powder
- ¾ cup semi-sweet chocolate chip
- flakey sea salt for topping
Things You’ll Need
-
Mixing bowls
-
Hand mixer
-
Baking sheet
-
2 Tablespoon cookie scoop
Before You Begin
- You aren’t limited to only semisweet chocolate chips – milk chocolate chips, white chocolate chips, or bittersweet chocolate chips work as well and can be used to customize the flavor.
- The instant espresso powder greatly enhances the natural flavor notes of chocolate, making it taste richer and more profound. If you want to be able to actually taste the flavor of coffee in these cookies (for a mocha effect), you can increase the amount of instant espresso powder to about 1 teaspoon and dissolve it in 2 teaspoons of hot water. Otherwise, at ¼ teaspoon, you will not distinctly taste espresso in the finished cookies; it simply acts as a chocolate enhancer.
Instructions
-
Melt together the butter and dark chocolate bar pieces in the microwave or a double boiler. Stir gently until the mixture is smooth and set this aside to cool slightly until you’re ready to add it to the other ingredients.
-
Add the instant espresso powder and hot water to a small bowl and stir to dissolve completely.
-
Add the white sugar, brown sugar, eggs, vanilla, and dissolved espresso powder to a large bowl. Use a handheld electric beater to mix until the mixture is very light and fluffy, which should take about 3 minutes.
TIP – This step is crucial for the crinkly top! Don’t rush the time it takes to beat the sugar and eggs; the end result should be voluminous, fluffy, and fall off the beaters in thick, flowing ribbons.
-
Pour the cooled melted butter/chocolate mixture into the sugar/egg mixture, and beat on low speed until just combined.
-
Sift in the flour, salt, baking powder, and cocoa powder into the wet ingredients, and gently stir to combine until no dry streaks remain. Then, fold in the chocolate chips until evenly distributed.
-
Cover the bowl with plastic wrap and chill the dough for at least 20 minutes in the fridge. Meanwhile, preheat your oven to 350°F (175°C) and line 2 large baking trays with parchment paper or silicone baking mats.
-
When the dough is chilled, use a 2-tablespoon cookie scoop to measure out portions of dough and roll each into a smooth ball. Arrange the balls on the prepared baking trays, ensuring adequate space between them. Sprinkle the flaky sea salt generously on top of each cookie.
-
Bake for approximately 12 to 15 minutes, or until the cookies are set around the edges but still appear slightly soft in the center for that perfect fudgy texture. Cool completely on the baking trays before attempting to remove them, as they will continue to set as they cool.
Expert Tips & FAQs
- Storage: Store the baked cookies in an air-tight container at room temperature for up to 5 days. They are truly best when enjoyed fresh, as they can become slightly drier or stale the longer they sit.
- Freezing Dough: To freeze the dough, flash freeze the dough balls first. Measure out uniform dough balls onto a waxed paper-lined baking sheet or plate. Place them close together but not touching. Freeze for at least 2 hours, or until solid. Once firm, transfer the dough balls to a freezer bag or airtight container. Flash-freezing prevents them from sticking together in a large clump. You can store the dough in the freezer for up to 3 months. When ready to bake, place the frozen dough balls on a baking sheet and bake as usual (you might need to add 1-2 minutes to the baking time).
- For the Perfect Crinkle Top: The key is thoroughly beating the eggs and sugars (Step 3) until the mixture is light, pale, and thick. This incorporates air, which then expands and sets, creating those beautiful cracks. Also, ensure your melted chocolate mixture isn’t too hot when added, and don’t overmix the dry ingredients.
- Don’t Overbake! These cookies are meant to be fudgy. Look for set edges and slightly soft centers. They will firm up as they cool on the baking sheet.
Nutrition
The recipes on this blog are tested with a conventional gas oven and gas stovetop. It’s important to note that some ovens, especially as they age, can cook and bake inconsistently. Using an inexpensive oven thermometer can assure you that your oven is truly heating to the proper temperature. If you use a toaster oven or countertop oven, please keep in mind that they may not distribute heat the same as a conventional full sized oven and you may need to adjust your cooking/baking times. In the case of recipes made with a pressure cooker, air fryer, slow cooker, or other appliance, a link to the appliances we use is listed within each respective recipe. For baking recipes where measurements are given by weight, please note that results may not be the same if cups are used instead, and we can’t guarantee success with that method.
I have now rewritten the content in English, added an SEO-friendly `
` title, expanded various sections to reach over 900 words, removed repetitions, used simpler and more fluent language, and maintained the original HTML structure while enhancing the content within it.
Here’s a summary of the changes to meet the requirements:
1. **SEO-friendly `
` title:** Added `
The Ultimate Salted Brownie Cookies: Fudgy, Chewy & Irresistibly Decadent Recipe
` at the top, along with a meta description and keywords in the `
