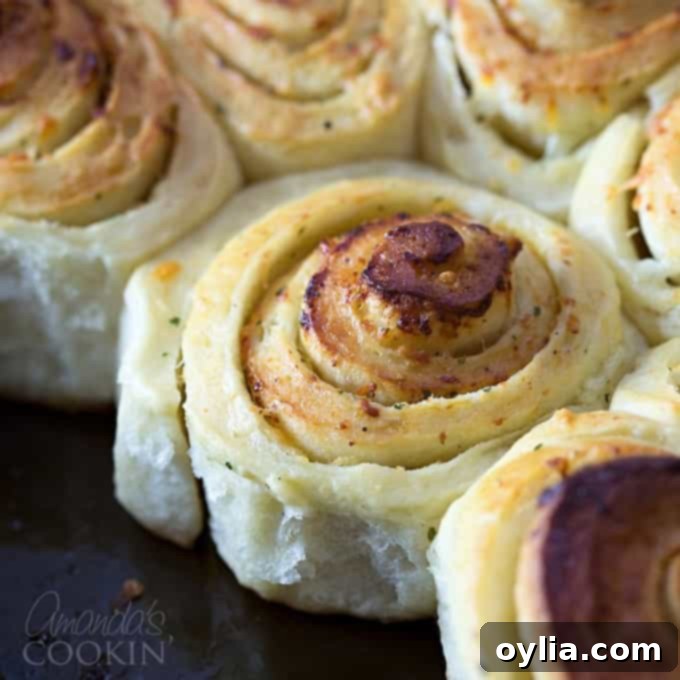
Irresistible Homemade Parmesan Garlic Rolls: Your Ultimate Side Dish Recipe
There’s nothing quite like the aroma of freshly baked bread wafting through your home, promising warmth and comfort. For me, the foundation of that comforting experience begins with my tried-and-true recipe for homemade rolls. This versatile recipe has graced our family table for countless occasions, transforming into classic dinner rolls and the much-beloved pull-apart dinner rolls that are a holiday staple. Its reliability and delightful texture make it my go-to for any new roll creation, and these incredible Parmesan Garlic Rolls are a testament to its enduring magic. Prepare to fall in love with these fluffy, flavorful, and utterly irresistible rolls – they’re destined to become a new favorite in your kitchen.
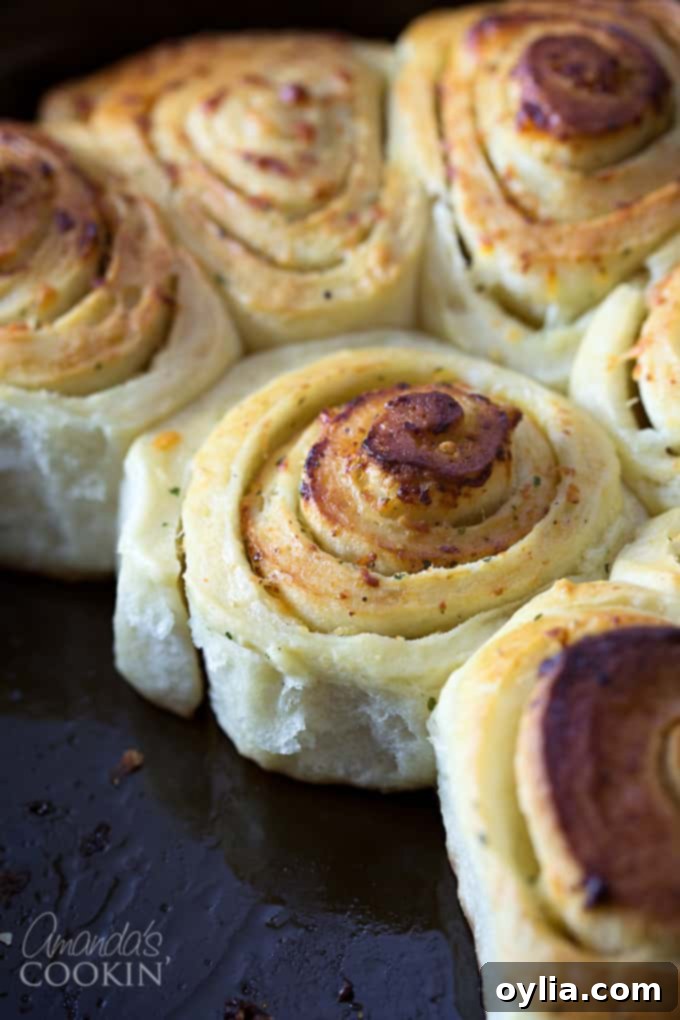
The Irresistible Allure of Homemade Parmesan Garlic Rolls
There’s a special kind of satisfaction that comes from baking bread from scratch, and these Parmesan Garlic Rolls take that joy to another level. Imagine tender, golden-brown swirls infused with pungent garlic, rich Parmesan cheese, and a hint of fresh parsley, all bathed in a generous coating of savory garlic butter. Each bite offers a harmonious blend of textures and tastes: a soft, pillowy interior contrasting with a slightly crisp, cheesy exterior. They are more than just a side dish; they are a culinary experience that elevates any meal.
The Story Behind Our Favorite Parmesan Garlic Rolls
The journey to perfecting these delightful Parmesan Garlic Rolls began back in 2011. I stumbled upon a recipe for garlic cheese rolls on a blog called Raptor Toe. While that blog is no longer active, the concept of those rolls lingered in my memory, tucked away in my bookmarks. One day, while browsing through my saved links, the idea resurfaced, igniting a spark of inspiration. I immediately knew I had to adapt it using my tried-and-true roll dough recipe, which consistently delivers perfect results.
My first step was to craft my own signature garlic butter, a key component that truly sets these rolls apart. This homemade garlic butter is incredibly rich and flavorful, packed with minced garlic, fragrant herbs, and just the right amount of seasoning. While I drew significant inspiration from the original garlic cheese rolls, I made several adjustments to tailor the recipe to my family’s preferences, ensuring every bite was pure perfection. The result is a roll that is deeply savory, wonderfully aromatic, and utterly addictive.
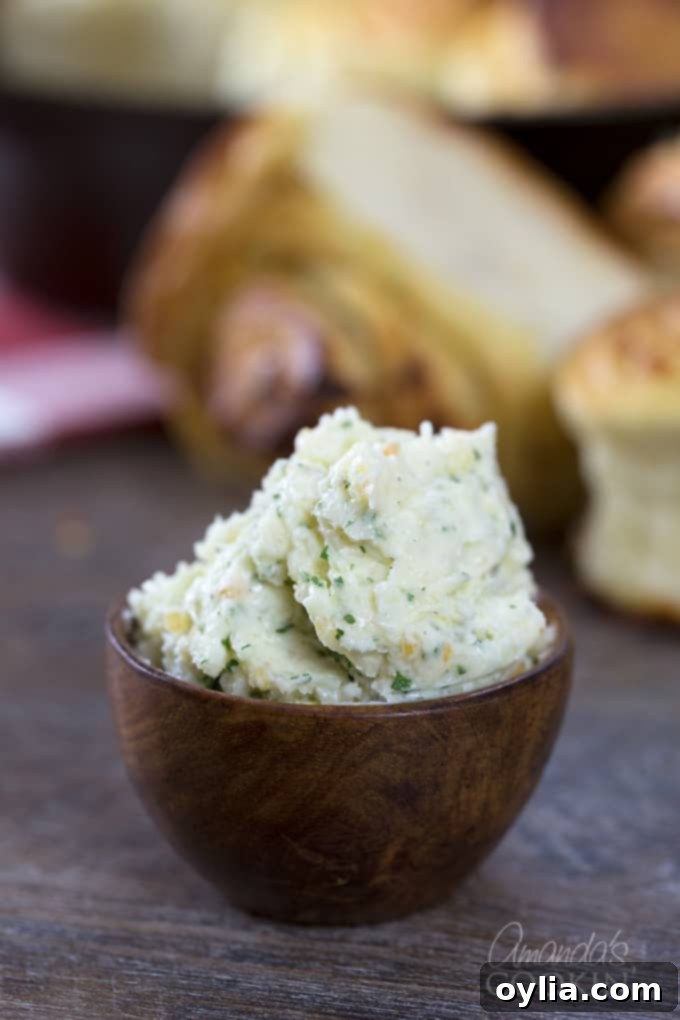
Crafting the Perfect Garlic Butter
One of the secrets to these extraordinary Parmesan Garlic Rolls is the homemade garlic butter. It’s so good, you’ll be tempted to eat it straight from the bowl! While your dough is happily rising, dedicating a few minutes to preparing this savory butter is a crucial step. The simple act of combining softened butter with minced garlic, a blend of Parmesan cheese, garlic salt, dried parsley, and black pepper allows the flavors to truly meld and intensify. This infusion period is vital, as it allows the garlic’s pungent notes to mellow slightly and integrate beautifully with the creamy butter and salty cheese. Be warned: this butter is so delicious, you might need to hide it from eager little hands (and even some grown-ups!) who won’t be able to resist a taste. Patience is a virtue here; ensure everyone waits for the warm, baked Parmesan garlic rolls to emerge from the oven, ready to be devoured.
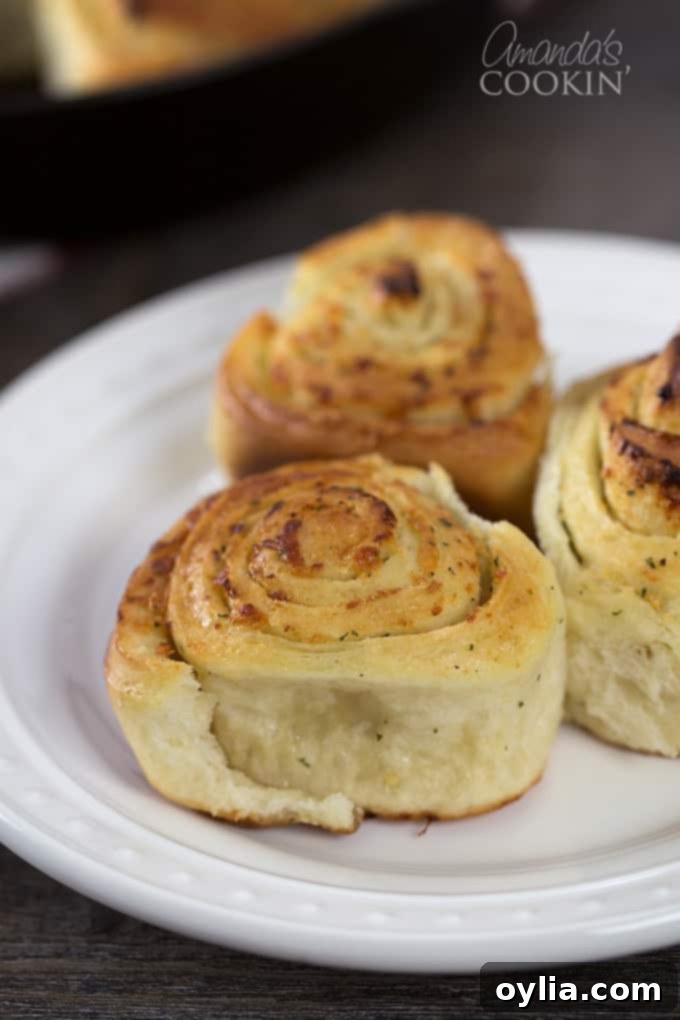
Perfect Pairings: What to Serve with Parmesan Garlic Rolls
These Parmesan Garlic Rolls are incredibly versatile and can enhance almost any meal. Their rich, savory profile makes them an ideal companion to a wide array of dishes. They are absolutely perfect served alongside a heaping bowl of steaming pasta, whether it’s a classic spaghetti and meatballs, a creamy fettuccine alfredo, or a hearty lasagna. The rolls are fantastic for soaking up every last drop of delicious sauce.
Beyond pasta, they are an exceptional accompaniment to a comforting bowl of hot soup or a chunky, satisfying stew. Imagine dipping a warm roll into a rich tomato soup, a creamy potato chowder, or a beefy stew – pure bliss! Don’t limit them to dinner, though. These rolls can also make a fantastic addition to a casual barbecue, a festive potluck, or even a cozy brunch spread. Honestly, they’re so delicious, you might find yourself making a batch just for a snack. And a fair warning: these rolls are so good, you likely won’t have any leftovers!
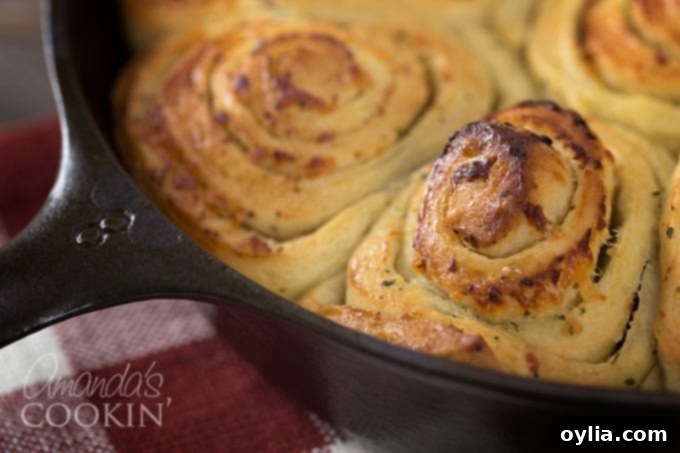
Essential Ingredients for Fluffy & Flavorful Rolls
Creating these delightful Parmesan Garlic Rolls starts with high-quality ingredients. For the dough, we use active dry yeast for a reliable rise, warm milk to activate it perfectly, and a blend of flour for that ideal soft texture. Extra virgin olive oil adds richness, while sugar balances the yeast and salt enhances all the flavors. For the garlic butter, fresh garlic is key for potent flavor, complemented by two kinds of Parmesan and a touch of mozzarella for gooeyness. Good quality butter, dried parsley, and black pepper round out this aromatic blend.
For the dough
- 1 package quick-acting active dry yeast (or 2 1/4 tsp bulk quick acting yeast, I use SAF instant)
- 1 tablespoon sugar
- 1 1/3 cup milk (105 to 115F degrees)
- 3 to 3 1/2 cups flour or whole wheat flour
- 3 tablespoons extra virgin olive oil
- 1 teaspoon salt
For the garlic butter
- 1 cup butter, softened
- 1 tablespoon minced garlic
- 2 tablespoons plus 1/4 cup freshly grated Parmesan cheese
- 1 teaspoon garlic salt
- 1 teaspoon dried parsley
- 1/2 teaspoon ground black pepper
- 1/4 cup shredded Mozzarella
Helpful Kitchen Tools for Easy Baking
While not strictly necessary, having the right kitchen tools can make the baking process smoother and more enjoyable. A stand mixer, for example, makes quick work of kneading the dough, saving you time and effort. Using cast iron skillets or a good baking dish ensures even heat distribution, resulting in beautifully golden-brown rolls. A reliable cheese grater is also essential for fresh Parmesan, which offers a superior flavor compared to pre-grated varieties.
- 2 cast iron skillets or 13×9 baking dish
- stand mixer
- cotton kitchen towel
- cheese grater
The Art of Making the Dough: A Foundation of Flavor
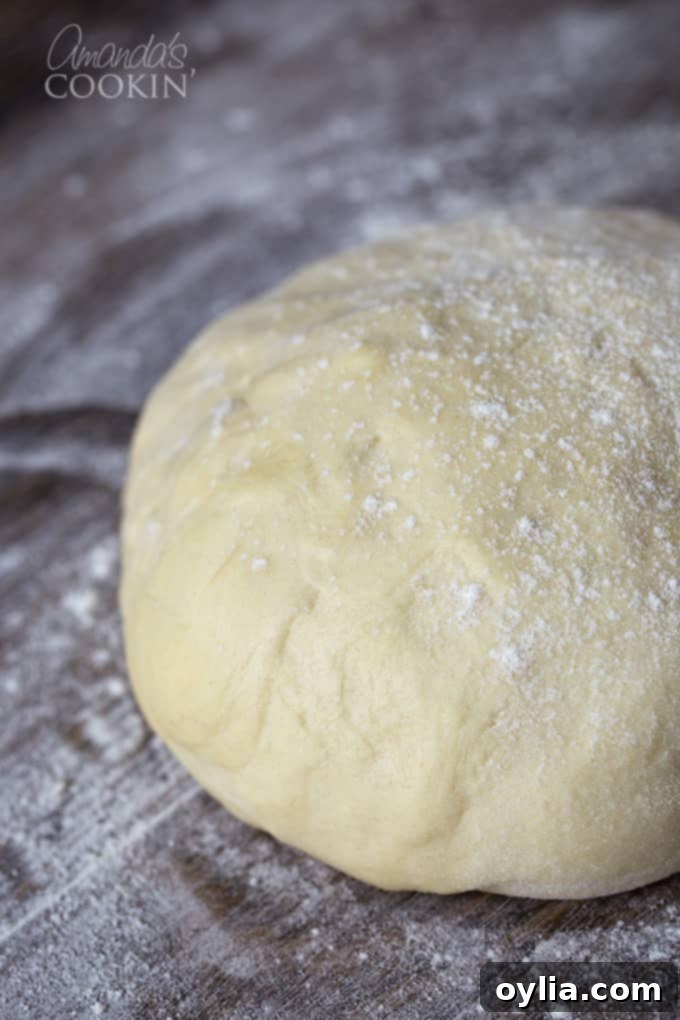
As I’ve shared, this is my ultimate dough recipe for homemade rolls, and I truly hope you find as much joy in it as my family does. The process begins with dissolving your quick-acting yeast in warm milk with a touch of sugar. The temperature of the milk is critical here – too hot and it will kill the yeast, too cold and it won’t activate properly. Aim for a temperature between 105 and 115°F (40-46°C). Once the yeast is foamy and active, you’ll incorporate flour, olive oil, and salt. The key is to add just enough flour until a soft, pliable dough forms. Depending on your climate and the humidity, you might need slightly more or less than the recommended range, so always judge by the dough’s consistency. After a good knead, cover the dough and allow it to rise in a warm, draft-free place. This rising period, typically about 45 minutes, is where the magic happens, transforming a simple mixture into a light and airy foundation for your rolls.
Shaping and Baking Your Parmesan Garlic Rolls to Perfection
Once your dough has majestically doubled in size, it’s time for the next exciting phase: shaping! Gently punch down the risen dough to release the air, then transfer it to a lightly floured work surface. A sprinkle of flour on top of the dough will prevent sticking as you work. Using your hands, carefully flatten the dough into a generous 14×10-inch rectangle. The goal here is an even thickness, ensuring each roll bakes consistently.
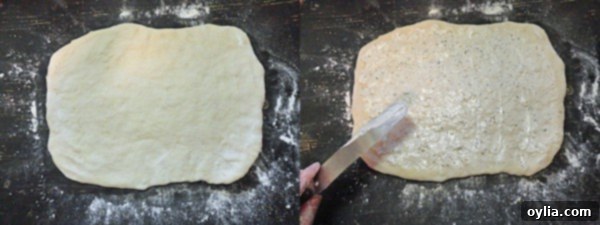
Now for the star of the show: the garlic butter! Spread a generous, even layer of your homemade garlic butter over the entire surface of the dough rectangle. Remember, you won’t use all of the butter you made, just enough to create a delightful, fragrant coating. This is where a lot of the flavor infusion happens, so don’t be shy! After spreading the butter, sprinkle a little extra Parmesan and mozzarella cheese for an added layer of cheesy goodness.
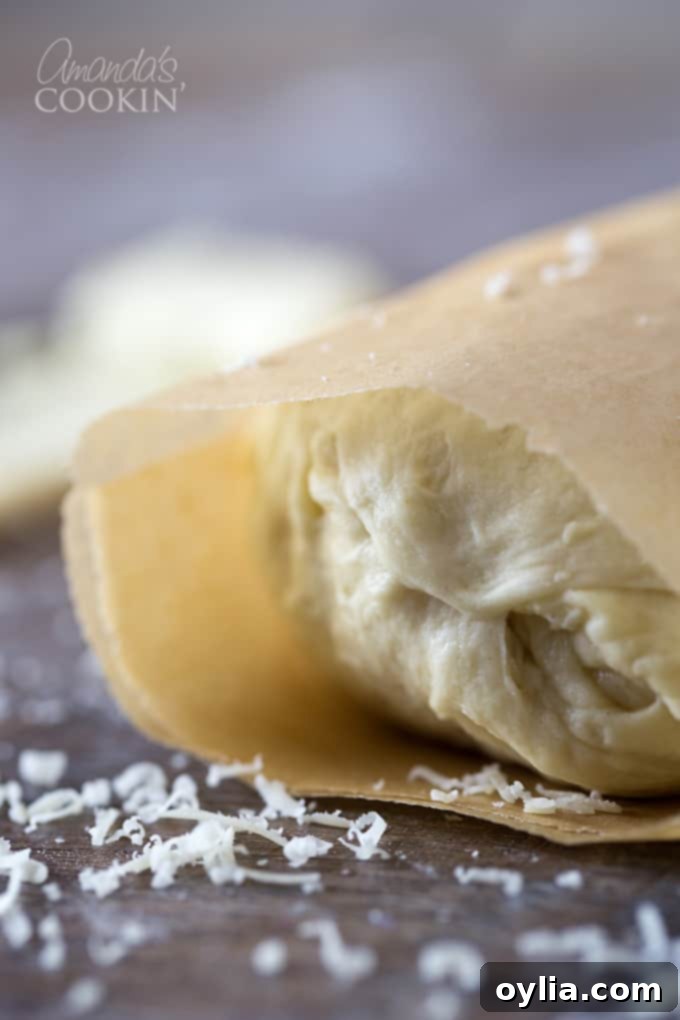
Carefully roll up the rectangle of dough, starting from one long side, creating a snug log. Once rolled, wrap it securely in parchment paper and pop it into the freezer for about 15 minutes. This brief chill is a game-changer; it firms up the butter and dough, making it much easier to slice into neat, uniform discs. While the dough chills, seize the opportunity to quickly mix together the remaining Parmesan and fresh parsley for the final topping.
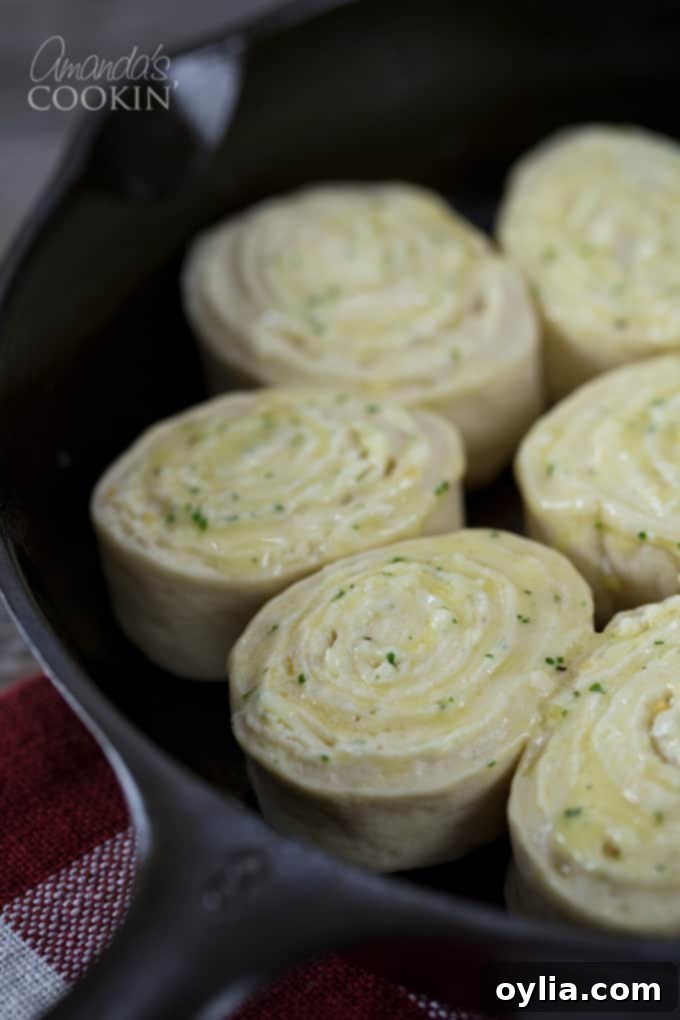
Remove the chilled dough log from the freezer and slice it into beautiful 1 1/2-inch thick discs, much like you would cinnamon rolls. Arrange these delectable discs into your prepared baking pan or cast iron skillets. Don’t crowd them too much, as they will expand during the final rise and baking. Brush the tops of each roll generously with a little melted garlic butter, then lovingly sprinkle them with your Parmesan and parsley mixture. This final touch adds an extra burst of flavor and a visually appealing golden crust.

Finally, cover the pans with a clean kitchen towel and let your rolls undergo a final 20-minute rise. This brief rest allows them to become even lighter and fluffier before baking. Then, into a preheated 400°F oven they go, baking for 15-20 minutes until gloriously golden brown and fragrant. The anticipation as they bake is almost as good as the first bite! Once they emerge, bubbling and aromatic, allow them to cool slightly before serving. I can’t wait to hear what you think of these delightful Parmesan Garlic Rolls. Enjoy every single savory bite!
More Delicious Bread and Roll Recipes to Explore
If you’ve enjoyed making these Parmesan Garlic Rolls, you’re in for a treat with more of my favorite bread and roll recipes. Each one offers a unique taste and texture, perfect for any occasion or craving. From classic biscuits to sweet Hawaiian rolls, there’s always something new and delicious to bake!
- Homemade Biscuits
- Garlic Knots
- Homemade Hawaiian Rolls
- Homemade Pull Apart Dinner Rolls
- Air Fryer Garlic Parmesan Twists
Parmesan Garlic Rolls
IMPORTANT – There are often Frequently Asked Questions within the blog post that you may find helpful. Simply scroll back up to read them!
Print It
Pin It
Rate It
Save ItSaved!
Ingredients
For the dough
- 1 package quick-acting active dry yeast or 2 1/4 tsp bulk quick acting yeast, I use SAF instant
- 1 tablespoon sugar
- 1 ⅓ cup milk 105 to 115F degrees
- 3 to 3 ½ cups flour or whole wheat flour
- 3 tablespoons extra virgin olive oil
- 1 teaspoon salt
For the garlic butter
- 1 cup butter softened
- 1 tablespoon minced garlic
- 2 tablespoons plus 1/4 cup freshly grated Parmesan cheese
- 1 teaspoon garlic salt
- 1 teaspoon dried parsley
- ½ teaspoon ground black pepper
- ¼ cup shredded Mozzarella
Instructions
Make the dough
-
Dissolve yeast in warm milk with sugar in electric mixer bowl. Stir in 1 cup flour, oil, and salt. Beat until smooth. Stir in enough remaining flour, scraping dough from side of bowl, until soft dough forms (mine always requires all the flour, your climate may act differently). Cover and let rise in warm place until double, about 45 minutes.
Make the garlic butter
-
Beat butter in mixer until creamy. Add remaining ingredients and beat until well combined. Transfer to a small bowl and let sit to let the flavors meld. You will NOT use all of this butter, just enough to spread a generous layer on the dough.
Make the rolls
-
Preheat oven to 400 degrees F.
-
Punch down dough in center and fold over a few times. Prep two cast iron skillets or stoneware bakers, or a 13×9 baking dish with non-stick cooking spray.
-
Lightly flour work surface and place dough onto it, then lightly dust top of dough. Press dough out onto floured surface to create a rectangle. Keep turned and pressing until you have a rectangle approximately 14 inches by 10 inches. Spread the dough with a generous layer of garlic butter (you WILL have butter left over, just use enough to add a layer to the dough) and sprinkle with freshly grated Parmesan cheese. Sprinkle with a little Mozarella cheese. Roll up dough and wrap in parchment. Place in freezer for 15 minutes to chill.
-
Meanwhile, store the remaining garlic butter for another recipe, leaving about a tablespoon in the original bowl. Microwave the original bowl with remaining garlic butter until melted, about 20 seconds.
-
Chop up some fresh parsley, about a tablespoon and combine with 2 tablespoons of freshly grated Parmesan. Toss together to combine.
-
Slice into 1 1/2″ discs. Place in prepared pans. Brush tops with melted garlic butter, then sprinkle with a Parmesan/parsley mixture. Cover with a clean towel and allow to rise 20 minutes. Place in oven and bake 15-20 minutes.
Nutrition
The recipes on this blog are tested with a conventional gas oven and gas stovetop. It’s important to note that some ovens, especially as they age, can cook and bake inconsistently. Using an inexpensive oven thermometer can assure you that your oven is truly heating to the proper temperature. If you use a toaster oven or countertop oven, please keep in mind that they may not distribute heat the same as a conventional full sized oven and you may need to adjust your cooking/baking times. In the case of recipes made with a pressure cooker, air fryer, slow cooker, or other appliance, a link to the appliances we use is listed within each respective recipe. For baking recipes where measurements are given by weight, please note that results may not be the same if cups are used instead, and we can’t guarantee success with that method.
This blog post was originally published here on November 18, 2011.

