Easy Honey Garlic Shrimp: Your 25-Minute Weeknight Dinner Hero
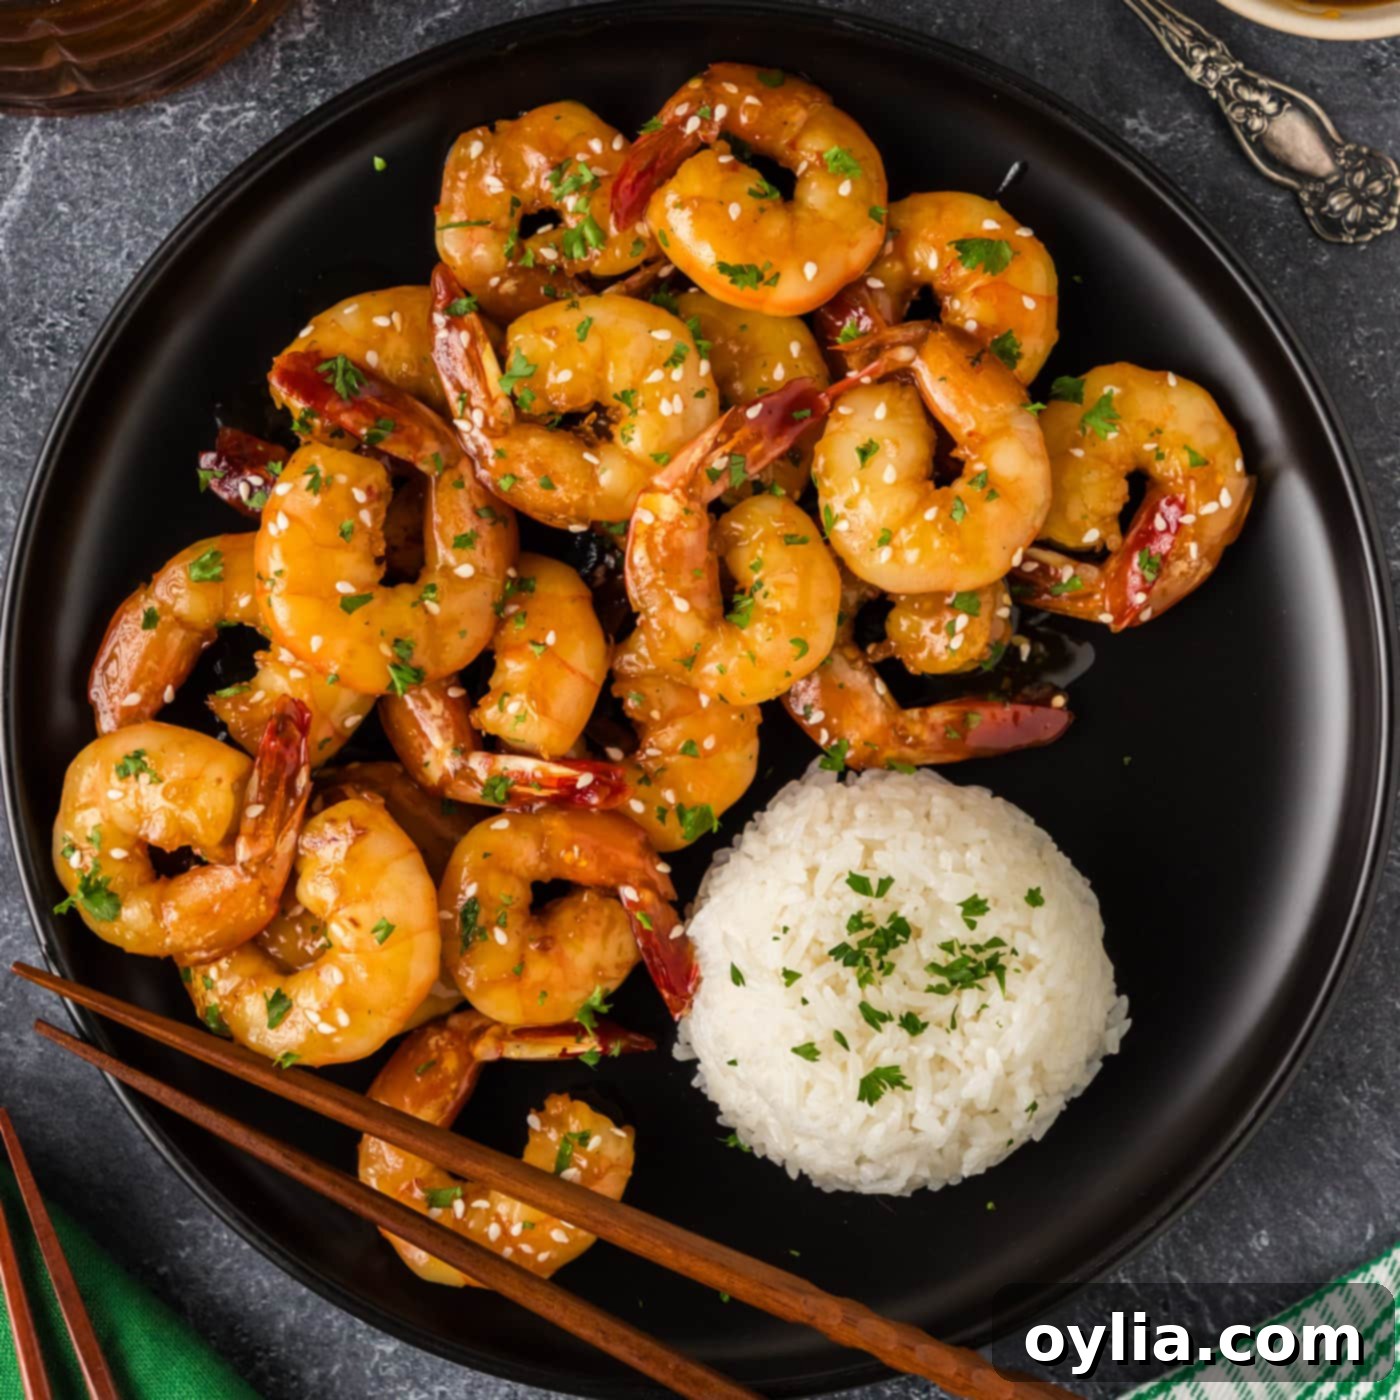
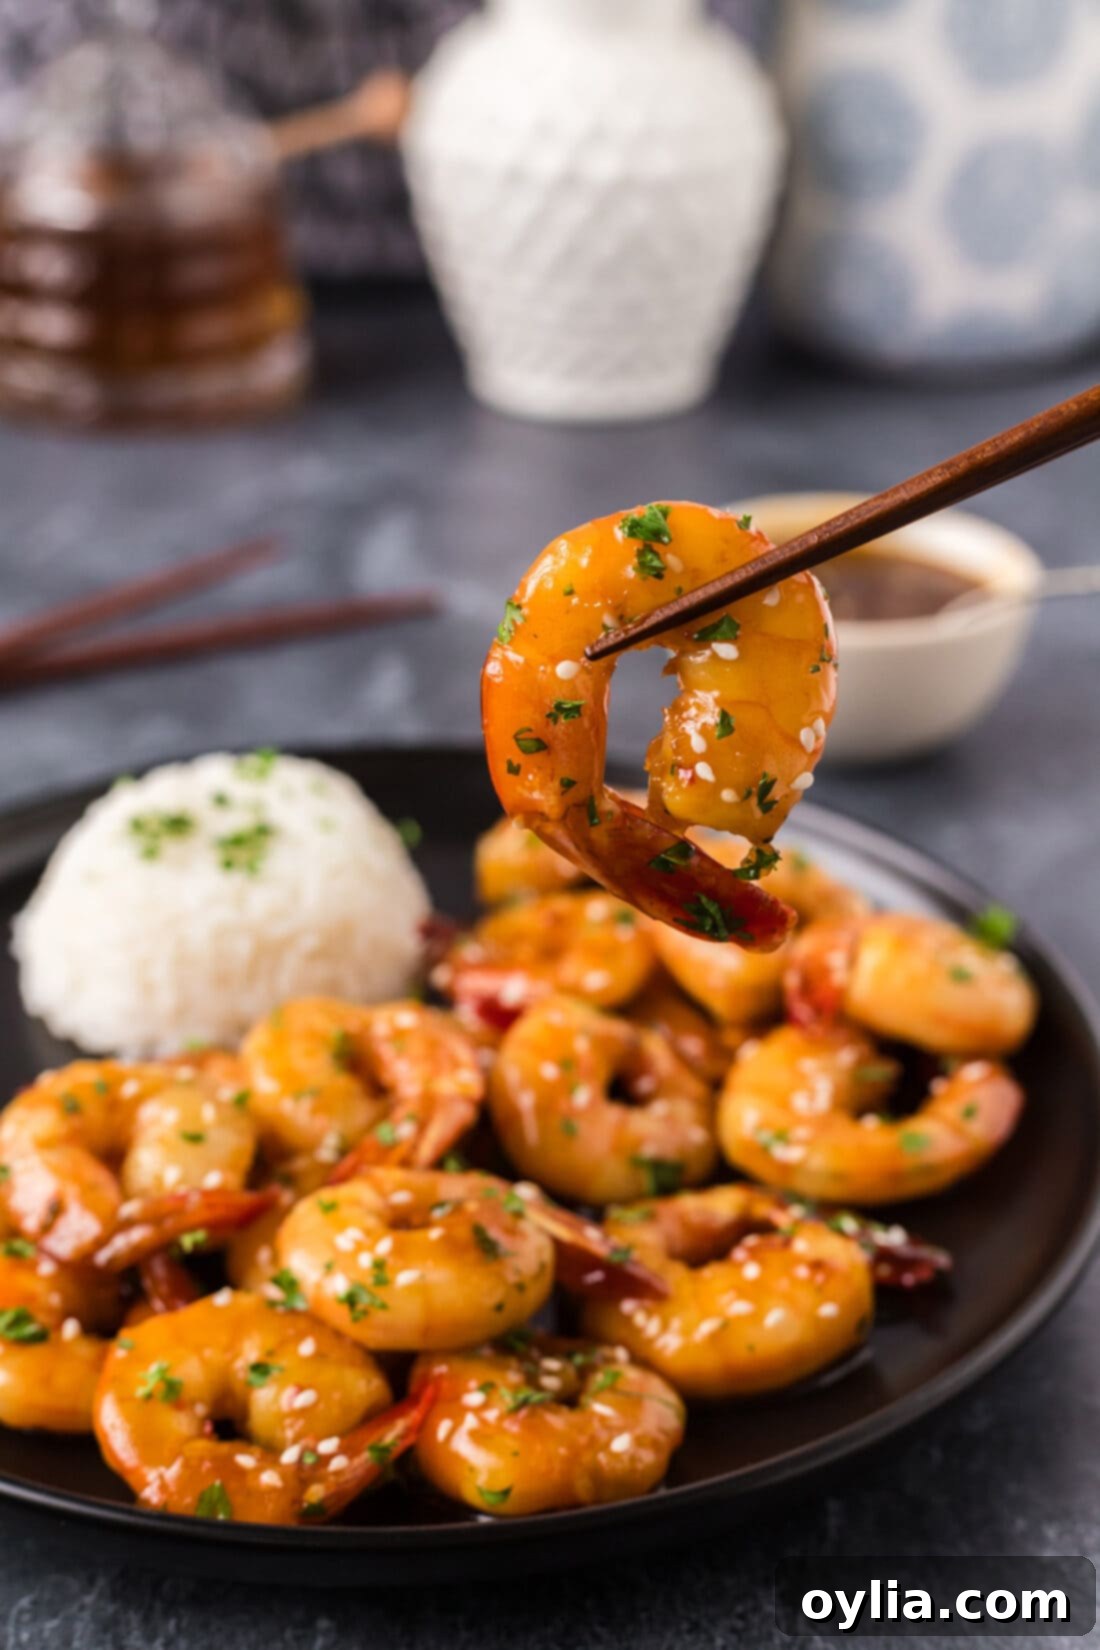
Craving a vibrant, flavorful meal that comes together in a flash? Look no further than this incredibly delicious Honey Garlic Shrimp recipe. Juicy, tender shrimp are coated in a sticky-sweet and savory glaze that’s utterly irresistible. Best of all, it’s ready from start to finish in just 25 minutes, making it the perfect solution for busy weeknights when you need something quick, satisfying, and bursting with flavor. Get ready to elevate your dinner game with this super easy and utterly mouth-watering dish!
Why This Honey Garlic Shrimp Recipe Works So Well
This honey garlic shrimp recipe isn’t just a meal; it’s a culinary triumph that hits all the right notes for flavor, convenience, and pure deliciousness. It truly checks every box on the list for what makes a fantastic dinner. The secret lies in the masterful balance of flavors: the rich sweetness from natural honey, the pungent depth of fresh garlic, the umami punch of soy sauce, and a subtle tang from white wine vinegar. These elements combine to create a sticky, glossy glaze that clings beautifully to each succulent piece of shrimp, delivering an explosion of taste with every bite.
Beyond its incredible flavor profile, the efficiency of this dish is a major selling point. In just 25 minutes, you can transform simple ingredients into a gourmet-level meal. This makes it an ideal choice for busy weeknights when time is of the essence but you still want to enjoy a homemade, wholesome dinner. The shrimp cooks quickly, ensuring a tender, juicy interior with a slightly crispy exterior from the searing process, all enveloped in that gorgeous, caramelized sauce.
The versatility of this honey garlic sauce is another reason it stands out. Its harmonious balance between sweet and savory flavors has proven to elevate just about anything it touches. We’ve successfully adapted this incredible sauce to coat chicken breasts, add zest to vibrant stir-fries, and even transform into a delectable honey garlic marinade for various meats and vegetables. This demonstrates just how universally appealing and robust this flavor combination truly is. Once you taste this shrimp, you’ll understand why this sauce has become a kitchen staple!
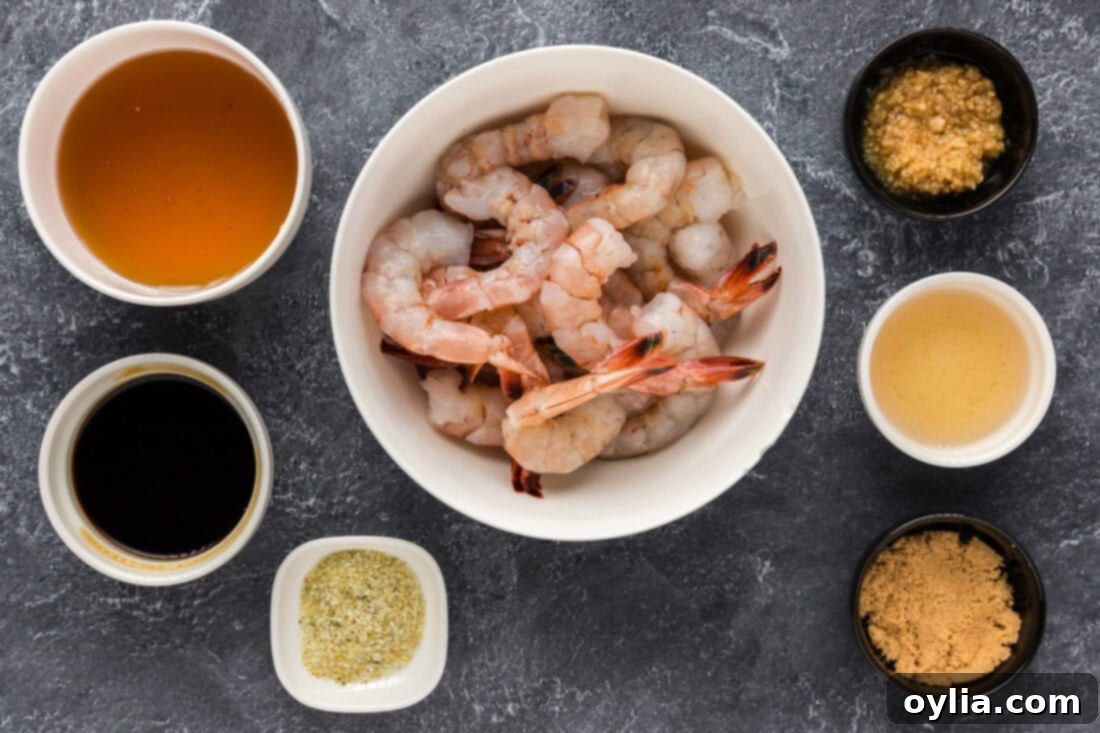
Key Ingredients You Will Need for Honey Garlic Shrimp
This recipe relies on a handful of simple, accessible ingredients that combine to create an extraordinary flavor. You’ll find all specific measurements and detailed instructions in the printable recipe card at the very end of this post.
Ingredient Information and Smart Substitution Suggestions
- SHRIMP: You will need 1 pound of large raw shrimp. It’s crucial that they are peeled and deveined. Whether you keep the tails on or take them off is entirely up to your preference. Many chefs leave the tails on for presentation, or simply because they act as a convenient handle for eating. In this recipe, the tails are kept on for that appealing visual. If you’re using frozen shrimp, which is very common and often just as good as fresh (as most “fresh” shrimp have been previously frozen), ensure you thaw them completely and pat them thoroughly dry with paper towels before starting. This step is vital for achieving a good sear and allowing the glaze to adhere properly.
- HONEY: This is the cornerstone of the “honey” in honey garlic! Any good quality honey will work perfectly. Clover or wildflower honey are excellent choices for their balanced sweetness. The honey not only provides sweetness but also helps create that beautiful, sticky glaze and rich golden-brown color as it caramelizes in the skillet.
- GARLIC: Freshly minced garlic is highly recommended for the best, most vibrant flavor. While pre-minced garlic can be a time-saver, nothing quite compares to the aromatic punch of fresh cloves. You’ll need a generous amount to stand up to the sweetness of the honey.
- SOY SAUCE: This adds the essential savory, umami, and salty notes that balance the honey. For those watching their sodium intake, a low-sodium soy sauce works perfectly. If you need a gluten-free option, Tamari is an excellent substitute for soy sauce and will deliver the same great flavor profile.
- WHITE WINE VINEGAR: The vinegar introduces a crucial element of acidity, which cuts through the richness and sweetness, brightening the overall flavor of the sauce. If you don’t have white wine vinegar, rice vinegar or even apple cider vinegar can be used as alternatives, though they may impart a slightly different subtle flavor.
- BROWN SUGAR: While honey provides much of the sweetness, a tablespoon of brown sugar adds another layer of deep, molasses-like sweetness and helps in achieving a richer caramelization for the glaze. Either light or dark brown sugar will work.
- OLIVE OIL: Used for searing the shrimp in the skillet. A good quality extra virgin olive oil works well, or you can opt for a neutral oil with a high smoke point like avocado oil if preferred.
- CORNSTARCH (Optional): This is your secret weapon for thickening the honey garlic sauce into that luscious, sticky glaze. If you prefer a thinner sauce, you can simply omit it. When using, ensure it’s sprinkled evenly to avoid lumps and stirred vigorously to incorporate.
- GARLIC SALT: This ingredient boosts the garlic flavor and adds seasoning simultaneously. If you don’t have garlic salt, you can use a combination of regular salt and garlic powder, adjusting to taste.
How to Make Perfect Honey Garlic Shrimp in Simple Steps
These step-by-step photos and detailed instructions are here to help you visualize how to make this recipe successfully. For a printable version of this recipe, complete with precise measurements and full instructions, simply jump to the recipe card at the bottom of the post.
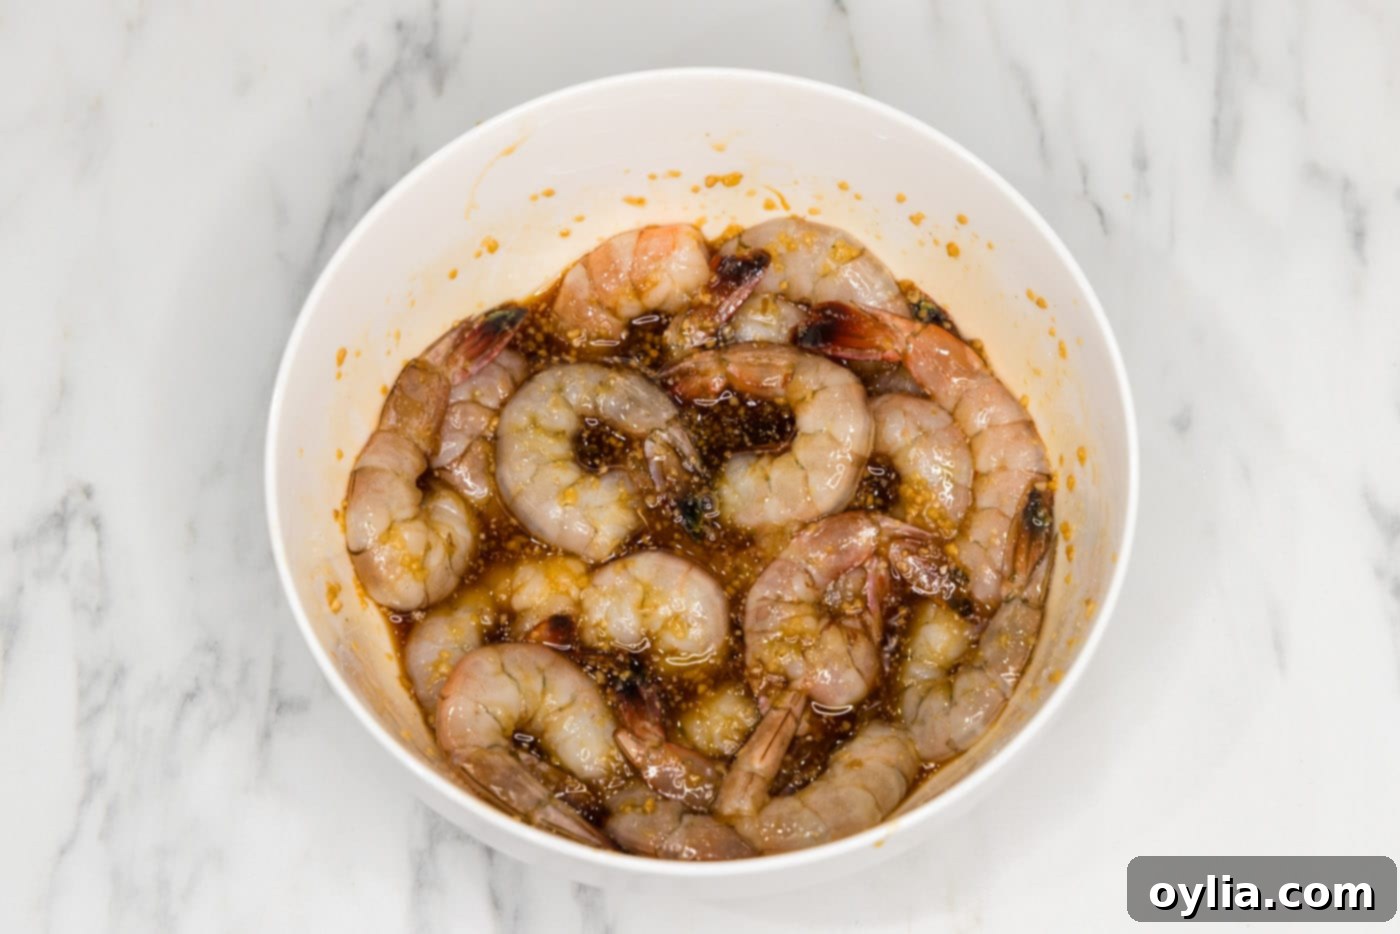
- Prepare the Shrimp: Begin by placing your peeled and deveined shrimp in a large mixing bowl. Ensure they are thoroughly patted dry before adding them to the bowl, as this helps them sear better and absorb the sauce more effectively.
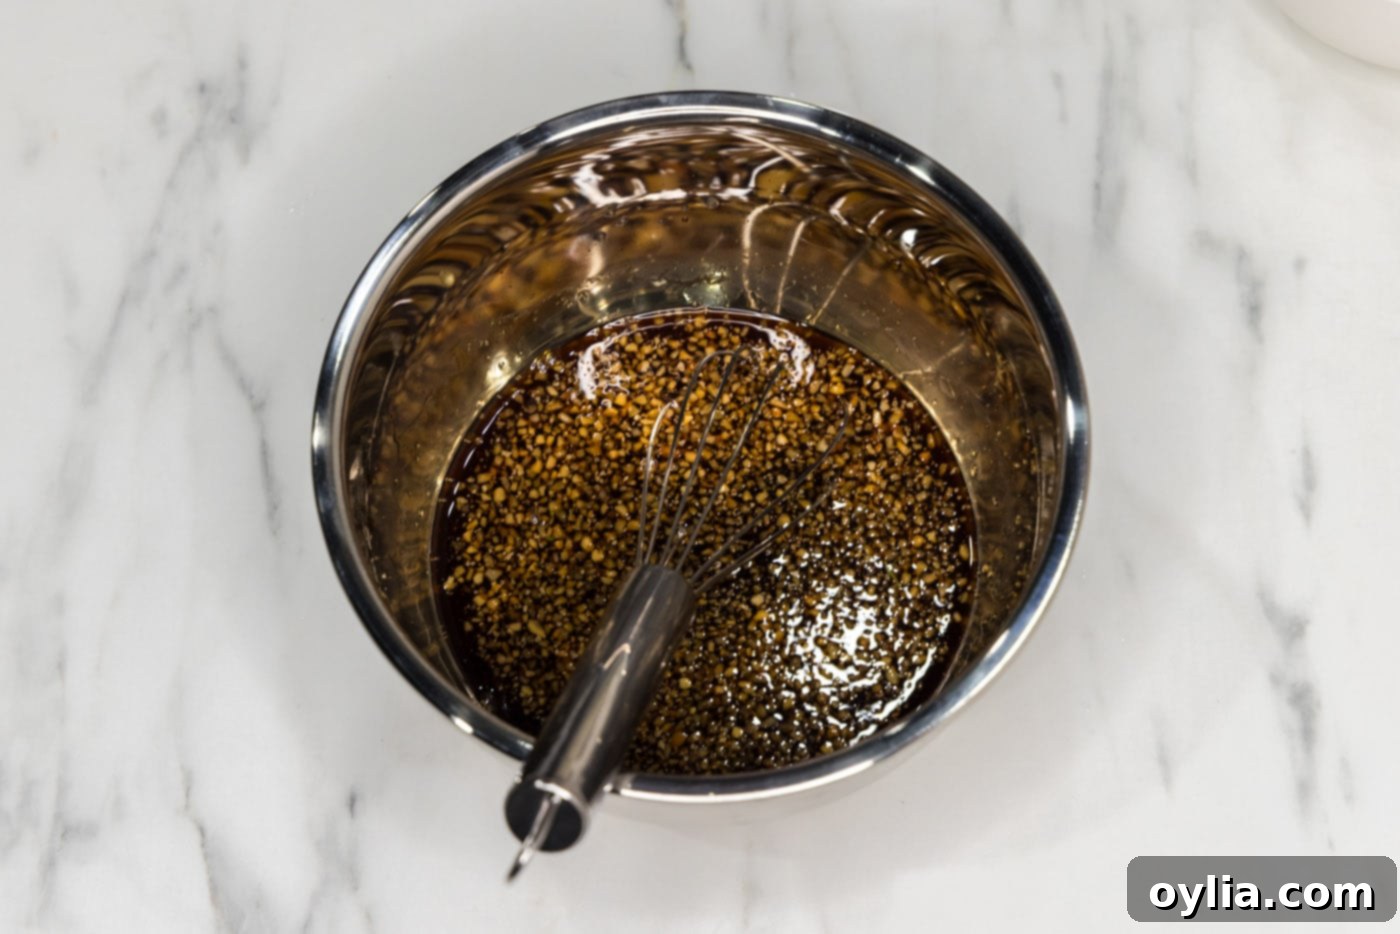
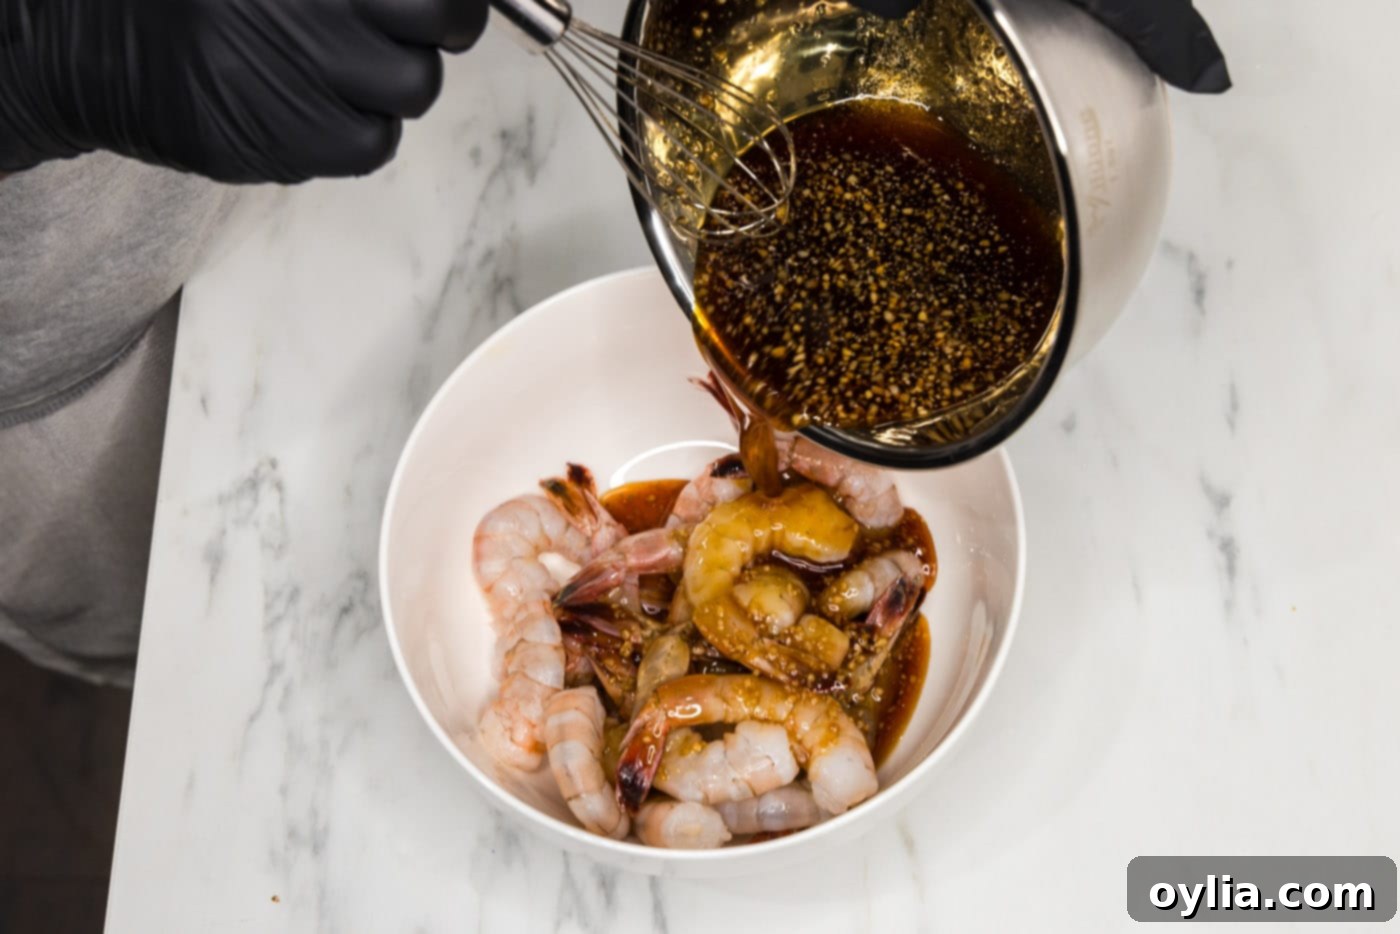
- Whisk the Honey Garlic Sauce: In a separate medium-sized bowl, combine all the sauce ingredients: soy sauce, white wine vinegar, minced garlic, brown sugar, honey, and garlic salt. Whisk vigorously until all ingredients are well combined and the brown sugar has dissolved. Pour this aromatic mixture generously over the shrimp in the large bowl and toss gently to ensure every piece of shrimp is thoroughly coated in the delicious glaze.


- Heat the Skillet: Place a large skillet over medium-high heat. Add the olive oil and allow it to heat up until it shimmers slightly. A hot skillet is key to getting a nice sear on the shrimp.
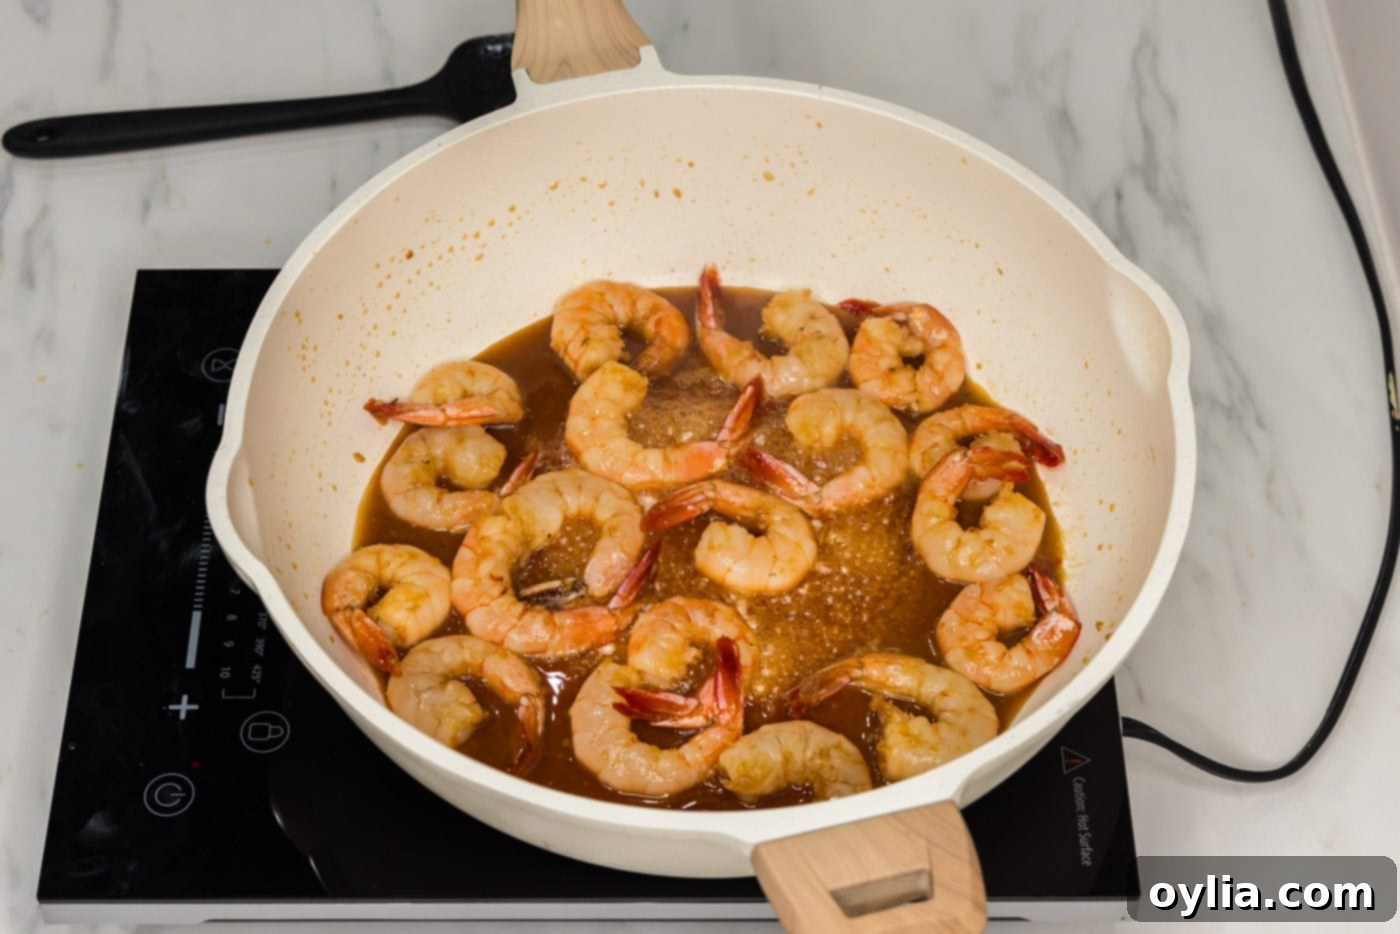
- Cook the Shrimp to Perfection: Carefully add the entire contents of the shrimp bowl (both the marinated shrimp and all the delicious sauce) to the hot skillet. Spread the shrimp into an even layer. Cook for approximately 10 minutes, stirring and flipping the shrimp 3 or 4 times throughout the cooking process. This ensures even cooking and allows the sauce to thicken and caramelize around each shrimp. The shrimp are done when they curl into a C-shape and turn opaque with vibrant pink and orange hues. Be careful not to overcook, as this can make them rubbery.

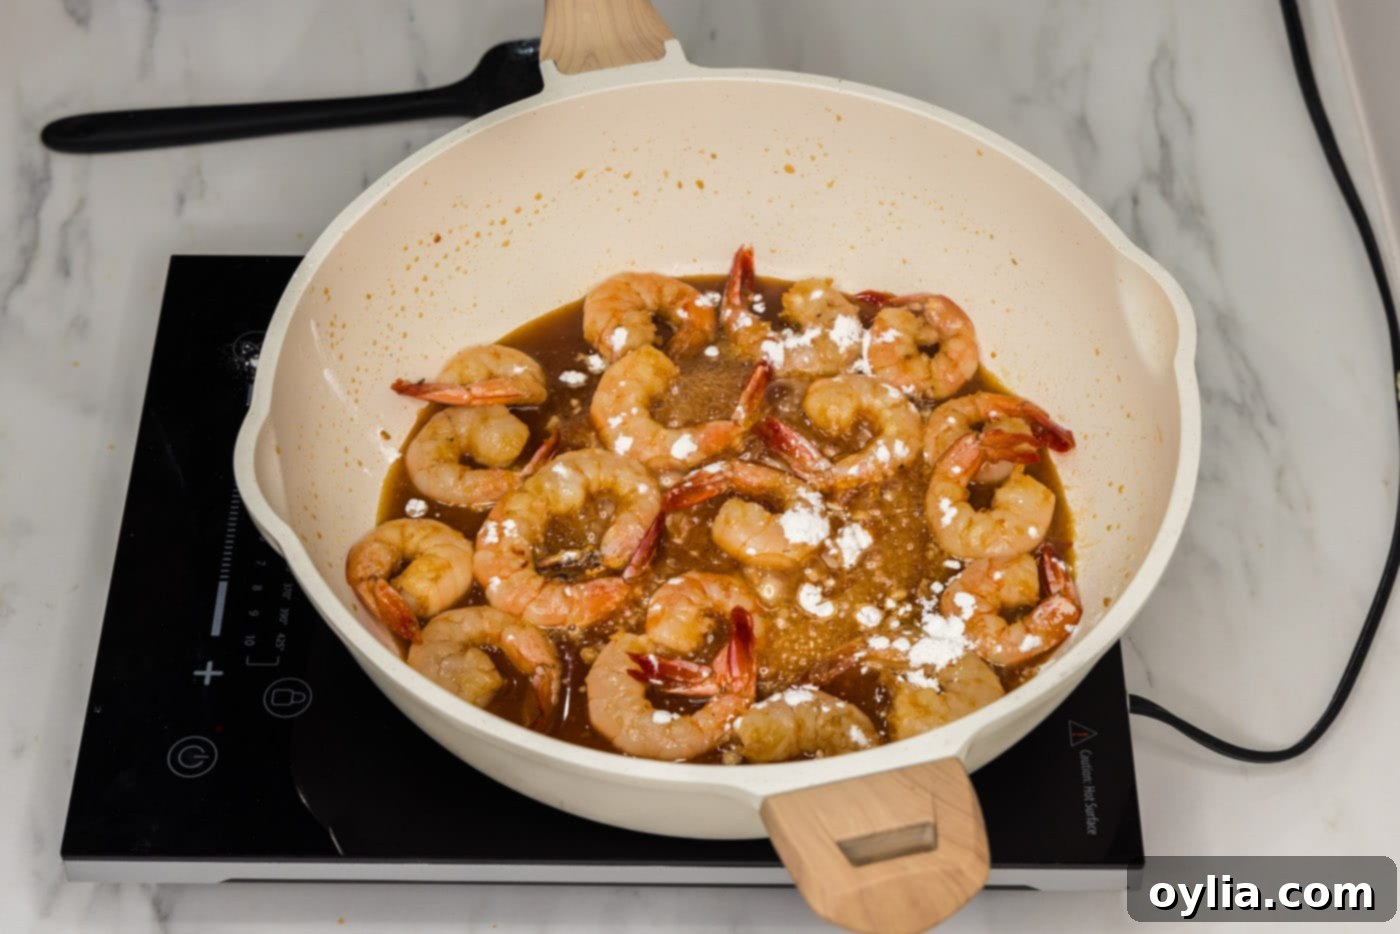
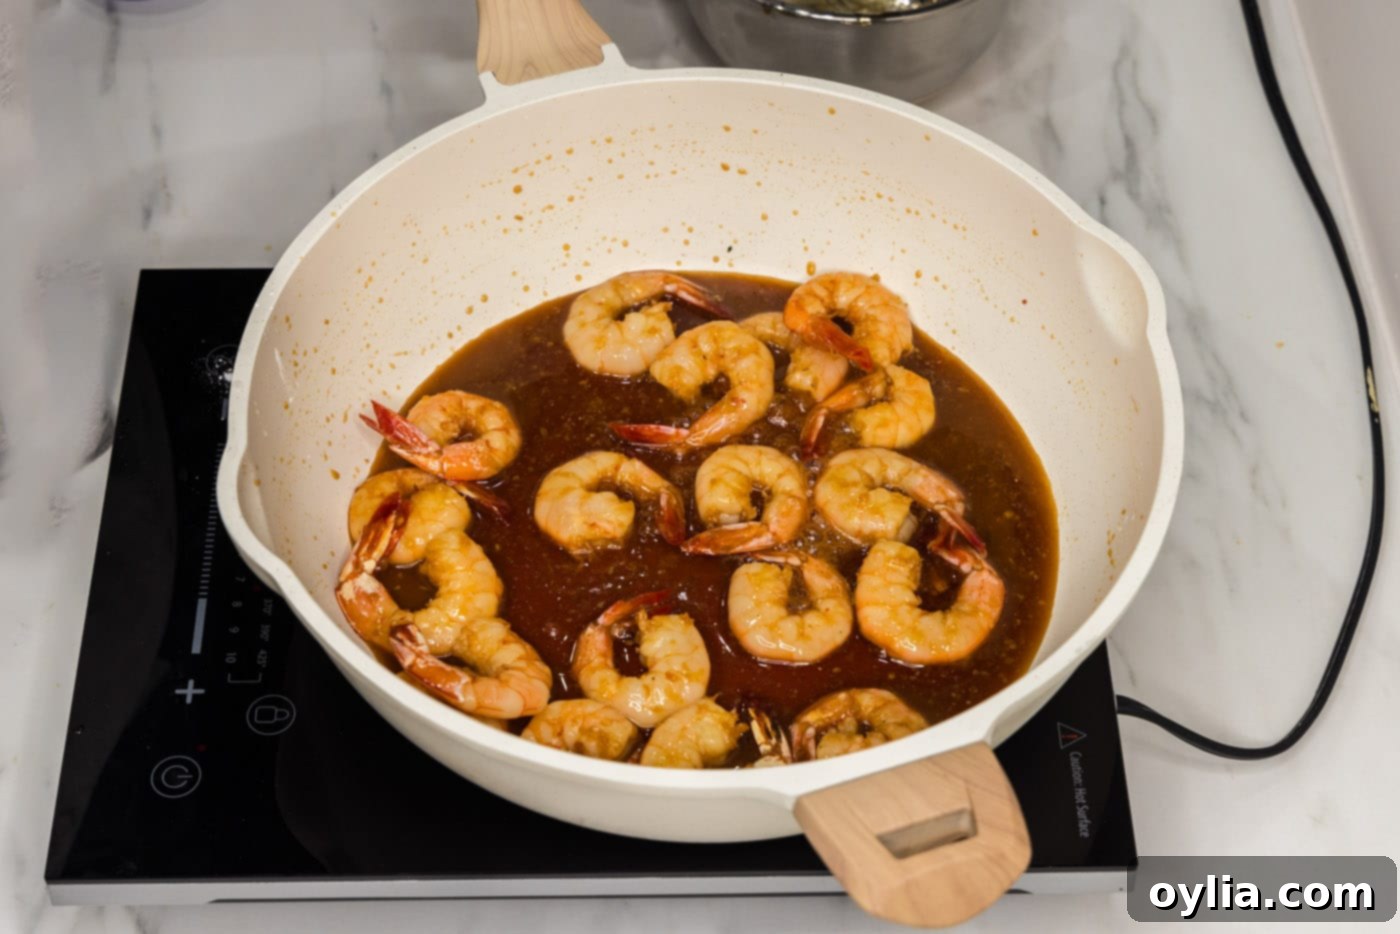
- Thicken the Sauce (Optional): If you prefer a richer, thicker glaze, now is the time to add the cornstarch. Sprinkle it evenly over the shrimp and sauce in the skillet. Immediately stir and turn the shrimp to fully incorporate the cornstarch. Continue to cook for another minute or two, stirring constantly, until the sauce thickens to your desired consistency and achieves a beautiful, glossy sheen.


Frequently Asked Questions & Expert Tips for Honey Garlic Shrimp
To store any delicious leftover honey garlic shrimp, allow it to cool completely before transferring it to an air-tight container. Keep it refrigerated for 2-3 days. When ready to enjoy again, gently reheat it over low heat on the stovetop, in the microwave, or even in an air fryer for a few minutes. Be careful not to overcook the shrimp during reheating, as it can become tough.
Shrimp cooks incredibly fast, which means it can also be easily overcooked. Keep a close eye on it! Properly cooked shrimp will curl into a C-shape and turn opaque with vibrant pink and orange hues. If your shrimp curls into an “O” shape, it’s a sign it’s overcooked and will likely have a rubbery and tough texture. Aim for that perfect C-curve for tender, succulent shrimp.
The best way to thaw frozen shrimp is safely and gently. Place the frozen shrimp in a sealed ziptop bag, making sure to remove as much air as possible. Submerge this bag in a bowl of cold water for around 15-20 minutes, or until fully thawed. Change the water halfway through if needed. It’s crucial not to use warm or hot water to thaw shrimp, as this can begin to cook them prematurely and negatively affect their texture.
Absolutely! To make this honey garlic shrimp recipe gluten-free, simply substitute the regular soy sauce with an equal amount of Tamari. Tamari is a gluten-free alternative to soy sauce that offers a similar savory, umami flavor.
If you like a little heat, it’s easy to add a spicy kick! Incorporate a pinch of red pepper flakes into the sauce mixture along with the other ingredients, or drizzle a little sriracha or your favorite chili garlic sauce into the skillet during the last few minutes of cooking. Adjust the amount to your preferred spice level.
For that perfect sticky, glossy glaze, ensure your skillet is adequately hot when the shrimp and sauce are added. This helps the sauce caramelize. If you’re using cornstarch, sprinkle it evenly and stir constantly to prevent lumps, allowing it to cook for just a minute or two until it reaches your desired thickness. Don’t overdo the cornstarch, as it can make the sauce too gummy.
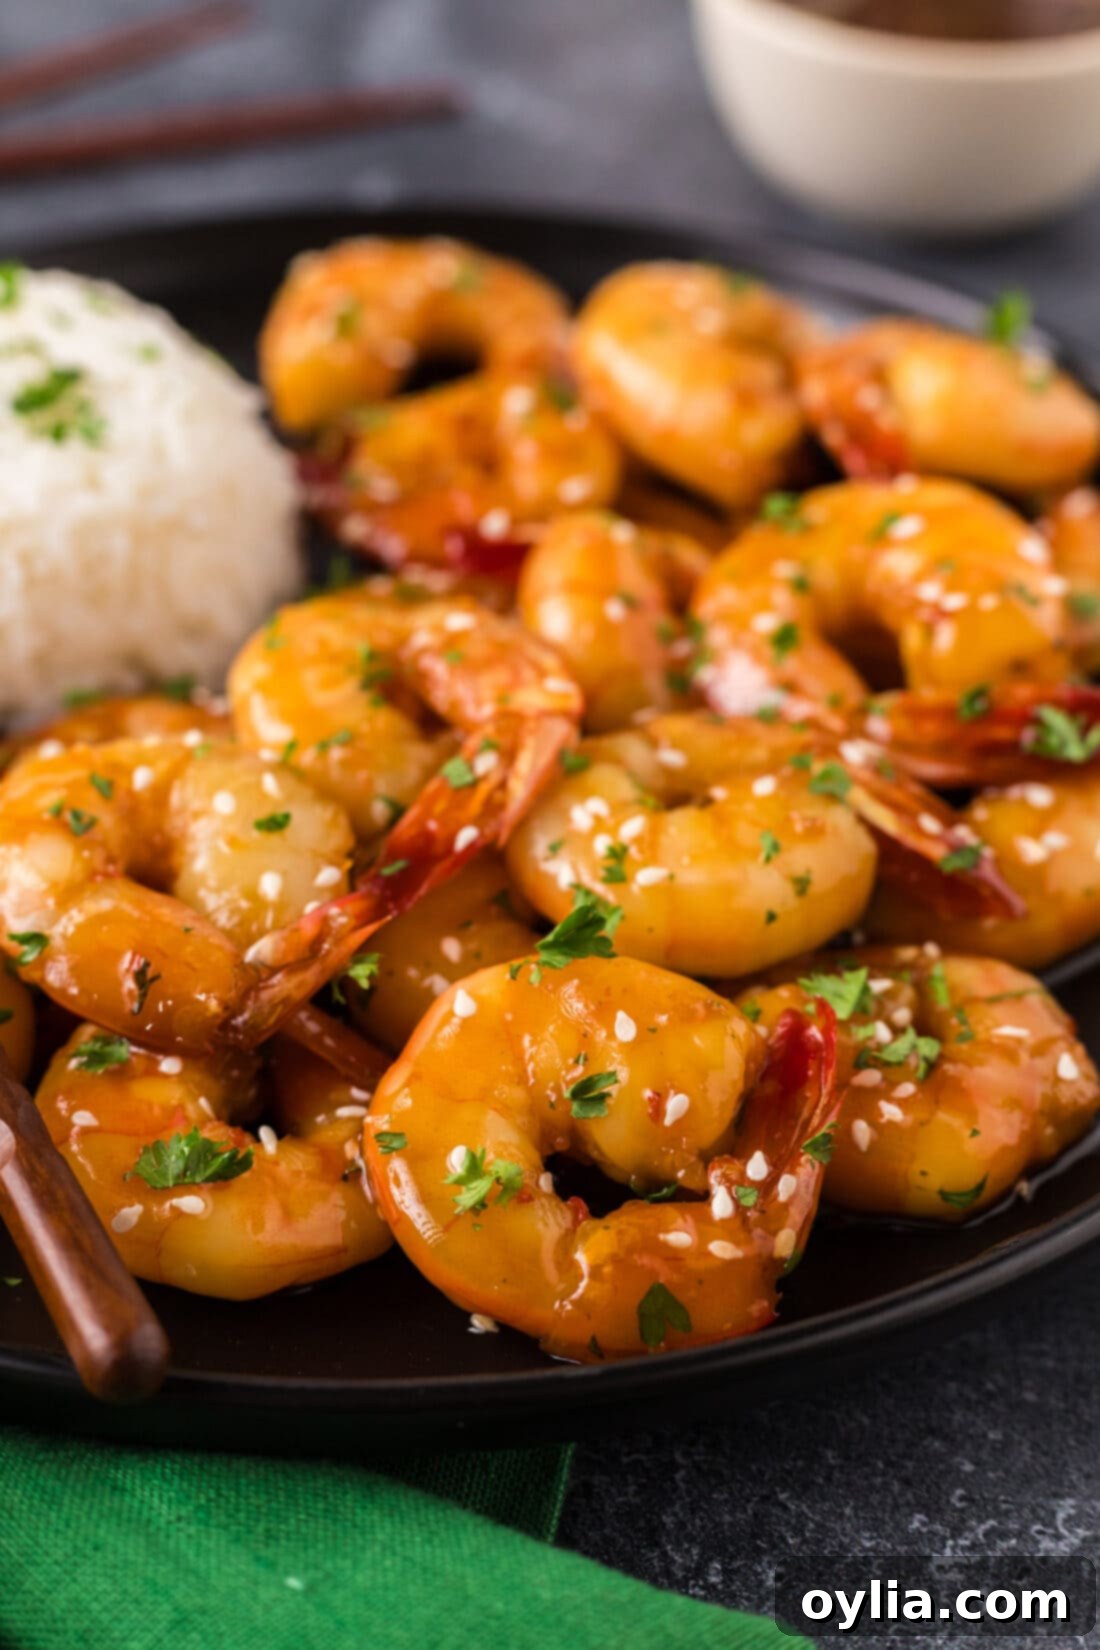
Delicious Serving Suggestions for Honey Garlic Shrimp
Honey Garlic Shrimp is incredibly versatile and pairs wonderfully with a variety of sides, making it easy to create a complete and satisfying meal. Here are some of our favorite ways to enjoy this flavorful dish:
- Over Rice: The classic pairing! Serve your honey garlic shrimp over a bed of fluffy white rice, brown rice, or even fragrant jasmine rice to soak up every last drop of that amazing sauce.
- With Noodles: Toss the shrimp and sauce with your favorite cooked noodles, such as lo mein, ramen, or rice vermicelli, for a quick and comforting noodle dish.
- In Stir-Fries: Add this shrimp to the end of a colorful vegetable stir-fry for an extra protein boost and incredible flavor. Bell peppers, broccoli, snap peas, and carrots work wonderfully.
- As a Salad Topper: Let the shrimp cool slightly and add them to a fresh green salad for a light yet satisfying meal. A vinaigrette dressing that complements the sweet and savory notes is ideal.
- With Steamed Vegetables: For a lighter meal, serve alongside perfectly steamed broccoli, asparagus, or green beans. The glaze will beautifully coat the veggies too!
- Lettuce Wraps: Spoon the shrimp into crisp lettuce cups (like butter lettuce or romaine) for a fun, low-carb, and refreshing appetizer or main course.
- Appetizer Skewers: Thread the cooked shrimp onto small skewers for an elegant party appetizer.
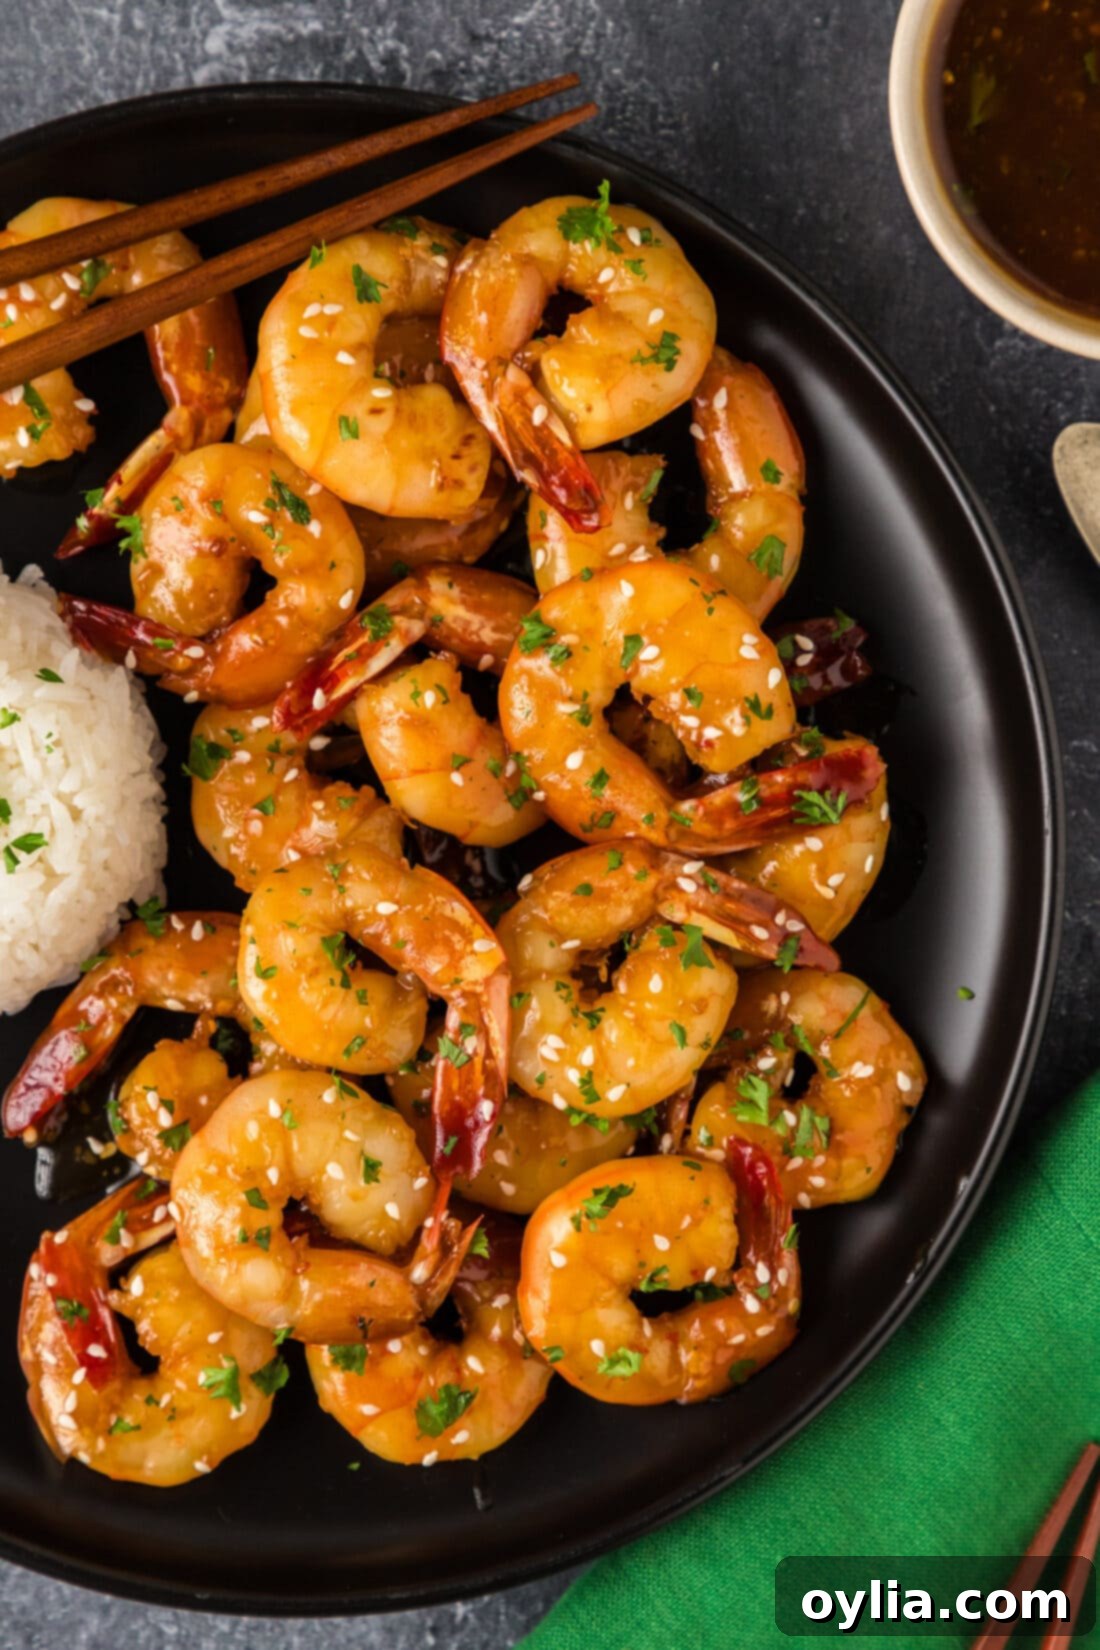
- Garnishes: A sprinkle of fresh chopped green onions or toasted sesame seeds adds a beautiful finish, a hint of freshness, and extra texture. A squeeze of fresh lime juice can also brighten the flavors just before serving.
No matter how you choose to serve it, this honey garlic shrimp is best enjoyed warm, straight from the skillet, allowing you to savor its full, sticky-sweet, and savory glory.
Explore More Irresistible Honey Garlic Recipes
If you’ve fallen in love with the incredible sweet and savory balance of this honey garlic shrimp, you’re in luck! This versatile flavor profile lends itself beautifully to a wide array of dishes. We encourage you to try some of our other cherished honey garlic recipes that bring the same delightful taste to different proteins and meals:
- Honey Salmon
- Honey Garlic Chicken
- Honey Garlic Chicken Wings
- Honey Garlic Chicken Marinade
- Honey Garlic Tofu
I am passionate about baking and cooking, and it brings me immense joy to share my kitchen experiences and delicious recipes with all of you! Remembering to come back each day for new inspiration can be tough, which is why I offer a convenient newsletter every time a new recipe posts. Simply subscribe today and start receiving your free daily recipes directly to your inbox, ensuring you never miss a mouth-watering meal idea!
Honey Garlic Shrimp
IMPORTANT – There are often Frequently Asked Questions within the blog post that you may find helpful. Simply scroll back up to read them!
Print It
Pin It
Rate It
Save ItSaved!
Ingredients
- 1 pound large raw shrimp peeled, deveined, tails on or off
- 1 Tablespoon olive oil
- 1 Tablespoon cornstarch optional for thickening the sauce
Sauce
- ⅓ cup soy sauce
- 2 Tablespoons white wine vinegar
- 3 Tablespoons minced garlic
- 1 Tablespoon brown sugar
- ½ cup honey
- 1 teaspoon garlic salt
Things You’ll Need
-
Large skillet
-
Mixing bowls
Before You Begin
- You will need 1 pound of large raw shrimp that have been peeled, deveined, and the tails either on or off. Keeping the tails on or taking them off is completely up to you. Most recipes that keep the tails on do it for presentation or use them as a handle. In this recipe, the tails are on for presentation. Frozen shrimp is perfectly fine as most shrimp come frozen initially, just be sure to thaw them completely and pat them thoroughly dry before beginning.
- To quickly thaw your shrimp, place them in a sealed ziptop bag, removing as much air as possible. Submerge the bag in a bowl of cold water for around 15-20 minutes until thawed. Do not use warm water to thaw shrimp, as this will cook them prematurely and affect their texture.
Instructions
-
Place peeled, deveined, and thoroughly patted dry shrimp in a large mixing bowl.
-
In a medium bowl, whisk together soy sauce, white wine vinegar, minced garlic, brown sugar, honey, and garlic salt until well combined. Pour this mixture over the shrimp and toss to ensure all shrimp are coated.
-
Heat olive oil in a large skillet over medium-high heat until shimmering.
-
Add the entire contents of the shrimp bowl (shrimp and sauce) to the skillet. Cook for 10 minutes, stirring and flipping shrimp 3 or 4 times to ensure even cooking and glaze development. Shrimp are done when they curl and turn opaque with pink/orange hues.
-
If you desire a thicker sauce, sprinkle on cornstarch and immediately stir and turn to incorporate. Continue cooking for another minute or two until the sauce thickens and becomes glossy.
Expert Tips & FAQs
- Shrimp cooks very quickly; avoid overcooking to prevent a rubbery texture. Look for a C-shape and opaque pink/orange color for perfect doneness.
- Leftovers can be stored in an air-tight container in the refrigerator for 2-3 days. Reheat gently over low heat on the stovetop or in the microwave until just warmed through to maintain texture.
- For a thicker, glossy sauce, ensure even sprinkling of cornstarch and continuous stirring until desired consistency is reached.
- Want to add some heat? A pinch of red pepper flakes or a dash of sriracha can be added to the sauce mixture.
- For a gluten-free version, simply swap out the regular soy sauce for Tamari.
Nutrition
The recipes on this blog are tested with a conventional gas oven and gas stovetop. It’s important to note that some ovens, especially as they age, can cook and bake inconsistently. Using an inexpensive oven thermometer can assure you that your oven is truly heating to the proper temperature. If you use a toaster oven or countertop oven, please keep in mind that they may not distribute heat the same as a conventional full sized oven and you may need to adjust your cooking/baking times. In the case of recipes made with a pressure cooker, air fryer, slow cooker, or other appliance, a link to the appliances we use is listed within each respective recipe. For baking recipes where measurements are given by weight, please note that results may not be the same if cups are used instead, and we can’t guarantee success with that method.
