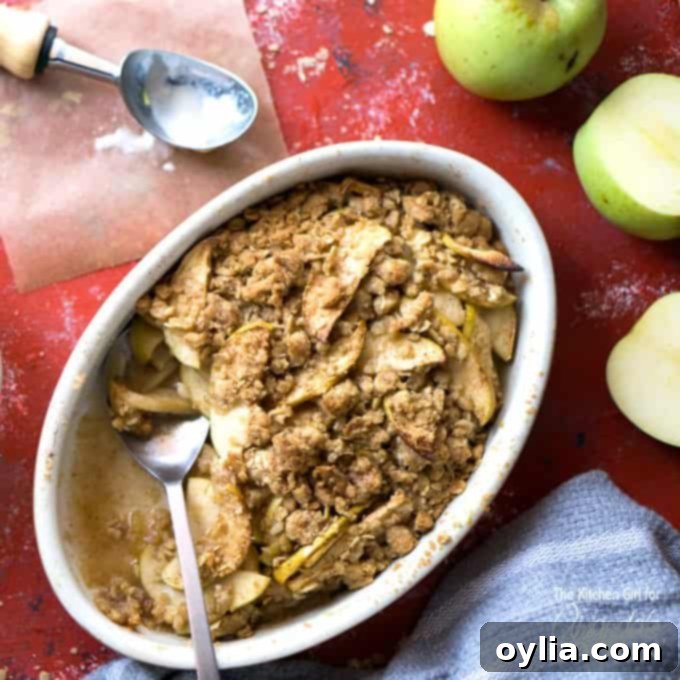
The Ultimate Easy Baked Apple Crisp Recipe: Your Go-To Fall Dessert
As the crisp autumn air sweeps in and leaves begin to change, few things evoke the cozy spirit of fall quite like the aroma of freshly baked apples. And what better way to celebrate this bountiful season than with a delightful Baked Apple Crisp? This recipe isn’t just a dessert; it’s a warm hug in a bowl, a timeless classic that brings comfort and joy with every spoonful. Forget complicated pie crusts – this easy-to-follow recipe features a buttery, crumbly oat topping that perfectly complements sweet, tender apples, creating a dessert experience that is simply irresistible. Best of all, it requires just nine essential ingredients, most of which you likely already have in your pantry.
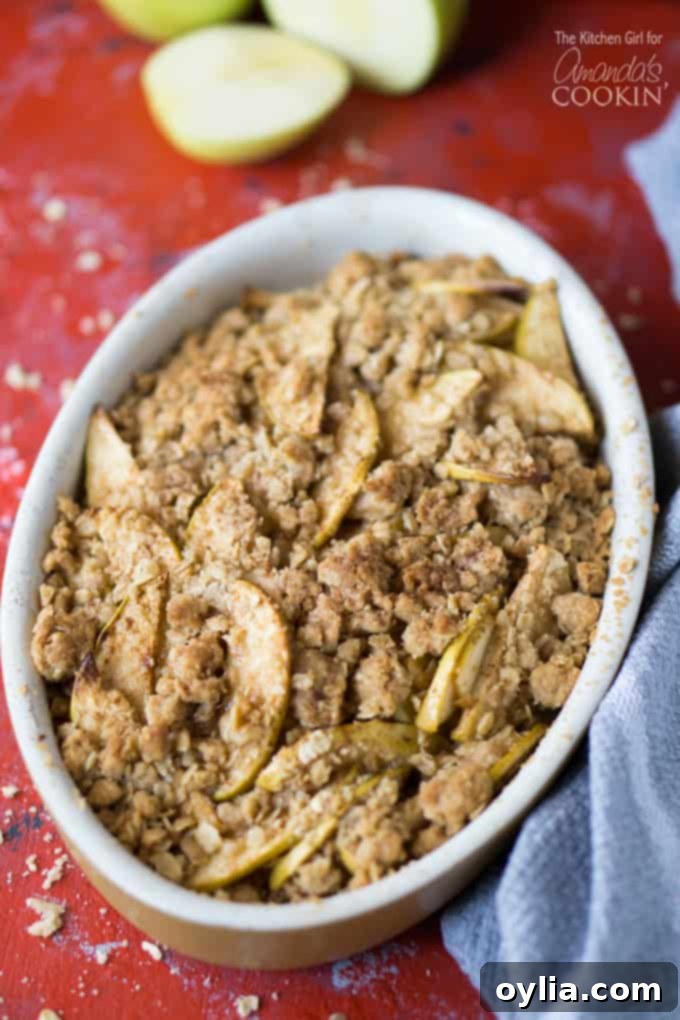
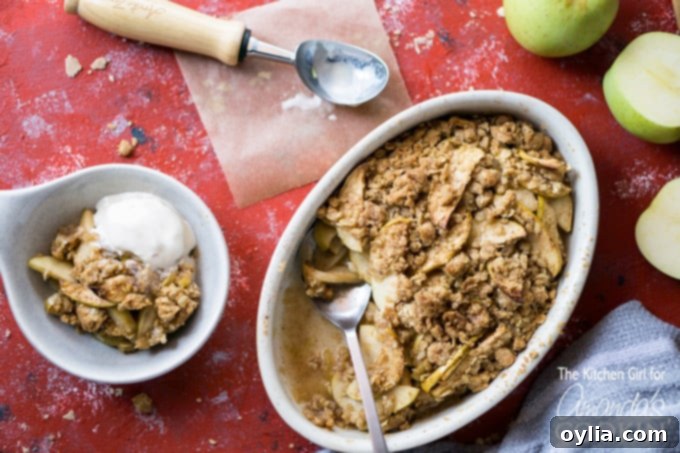
There’s a special magic in a freshly baked apple crisp, especially when served warm with a generous scoop of vanilla ice cream melting gloriously over the top. It’s a dessert that transcends generations, loved by children and adults alike. If you’re a fan of the comforting scent of apples and cinnamon filling your home, you’ll also adore our Crockpot Cinnamon Apples or our festive Apple Cranberry Crisp, another fall favorite.
RELATED RECIPE: You might also enjoy this simple and delicious Rhubarb Crisp.
Why Baked Apple Crisp is the Perfect Fall Indulgence
Fall truly is a baker’s paradise, offering an abundance of cool-weather produce, with apples taking center stage. The thought of creating warm, fruity desserts fills the kitchen with an inviting aroma and a sense of coziness. Many dessert enthusiasts, myself included, often shy away from the elaborate process of making pie crusts from scratch. This is precisely where the brilliance of apple crisp shines! It’s a delicious pastry shortcut that delivers all the flavor and satisfaction of a classic apple pie with significantly less fuss. This beloved dessert offers a delightful combination of tender, spiced apples beneath a crunchy, golden-brown oat topping – a truly divine experience.
For those fortunate enough to have an apple tree, like we do, the fall season brings an overwhelming harvest. It’s a wonderful problem to have, ensuring a steady supply of fresh apples for countless crisps, crumbles, and other treats throughout the extended apple season. Whether you have your own apple orchard or simply pick up a bag from your local market, this recipe offers the ultimate convenience and simplicity for a comforting, baked fruit dessert that everyone will adore. It’s particularly splendid when crowned with a scoop of creamy vanilla ice cream, creating a delightful contrast of warm and cold, soft and crunchy.
If you’re looking for more fruit-inspired fall dessert recipes that offer subtle sweetness complementing natural fruit sugars, be sure to explore options like Spanish-inspired Orange Olive Oil Cake with Dark Chocolate Ganache or a Gluten-Free Peach Blackberry Crisp. But for pure, unadulterated autumn bliss, our Baked Apple Crisp remains a firm family favorite.
Choosing the Best Apples for Your Crisp
One of the beauties of apple crisp is its versatility, especially when it comes to the star ingredient: apples! While you truly can’t go wrong with almost any apple variety, choosing the right ones can elevate your crisp from great to extraordinary. We recommend opting for sweet and crunchy varieties that hold their shape well during baking and offer a delightful textural contrast to the soft topping. Some of our top recommendations include:
- Gala: Sweet, mellow, and readily available, Galas bake down nicely without becoming mushy.
- Golden Delicious: These apples are naturally sweet and soften beautifully, contributing a lovely golden hue and rich flavor to the crisp.
- Fuji: Known for their crisp texture and balanced sweetness, Fujis are excellent for baking as they maintain some bite.
- Honeycrisp: As the name suggests, Honeycrisps are incredibly crisp and sweet, making them a premium choice for a textured, flavorful crisp.
- Red Delicious: While primarily an eating apple, Red Delicious can work, though they might become a bit softer than other varieties.
If you prefer a tarter dessert, feel free to incorporate some Granny Smith apples into your mix. A combination of sweet and tart apples can create a more complex and exciting flavor profile. The good news? You generally don’t need to peel the apples unless you have a strong preference. The apple skins soften beautifully during baking and add a nice rustic touch and additional fiber to your crisp. Simply core and thinly slice them, and you’re ready to go!
Essential Ingredients for Your Perfect Apple Crisp:
- Brown Sugar: Essential for that deep, caramel-like sweetness. While white sugar can be substituted, brown sugar truly enhances the richness and moisture of the topping.
- Flour: All-purpose flour is typically used to bind the topping ingredients, ensuring a cohesive and crumbly texture. Whole wheat flour can be used for a slightly nuttier flavor and added fiber.
- Rolled Oats (Old-Fashioned Oats): These provide the signature chewy and crispy texture of a classic apple crisp. Quick oats can be used in a pinch, but rolled oats deliver superior texture.
- Cinnamon: The quintessential fall spice, cinnamon brings warmth and aromatic depth to both the apples and the topping. Feel free to experiment with other complementary spices like nutmeg, ground cloves, or allspice for a more complex flavor.
- Sea Salt: A small amount of salt is crucial for balancing the sweetness and enhancing all the other flavors. If using salted butter, reduce the amount of sea salt by half.
- Unsalted Butter: Cold, cubed unsalted butter is worked into the dry ingredients to create that perfect crumbly topping. Using unsalted butter gives you better control over the overall saltiness of the dish. Margarine can be an acceptable substitute.
- Apples: As discussed above, sweet and crunchy varieties like Gala, Golden Delicious, Fuji, or Honeycrisp are ideal. About 4 medium apples should yield the 4 cups needed.
- Lemon Juice: Freshly squeezed lemon juice brightens the flavor of the apples and helps prevent them from browning. Always opt for fresh lemon juice over bottled for the best taste.
Helpful Kitchen Tools:
- Chef’s knife: For easily slicing apples.
- Cutting board: A stable surface for preparing your fruit.
- 9 x 7 baking dish: The perfect size for this comforting dessert.
- Oil spray: To prevent the apples from sticking to the dish.
- Pastry blender (or your hands): Essential for incorporating butter into the topping mixture to create perfect crumbles.
- Mixing bowls: For preparing the topping and apple mixture.
Tips for the Ultimate Baked Apple Crisp
- Don’t Overmix the Topping: When combining the butter with the dry ingredients, work it just until the mixture is crumbly. Overmixing can lead to a tougher topping, so embrace the rustic, uneven texture.
- Chill the Topping: Refrigerating the crumble topping before baking helps to keep the butter cold, which results in a crispier, less greasy topping. This is a small step that makes a big difference.
- Slice Apples Evenly: Uniformly sliced apples ensure even cooking. Aim for slices that are about ¼-inch thick. If they are too thick, they won’t soften enough; too thin, and they might turn to mush.
- No Need to Peel: As mentioned, apple skins soften considerably during baking and add a lovely rustic look and extra nutrients. Save yourself time and skip the peeling!
- Check for Doneness: The crisp is ready when the topping is golden brown and bubbling around the edges. You can also gently poke an apple slice with a knife through the topping to check for tenderness.
- Prevent a Soggy Bottom: Tossing the apples with a bit of lemon juice not only prevents browning but also helps to draw out some moisture, contributing to a less soggy filling. Ensure your apples are sliced not too thick, allowing them to release moisture and cook thoroughly.
Variations and Customizations for Your Apple Crisp
While the classic Baked Apple Crisp is perfect as is, it’s also wonderfully adaptable! Here are a few ideas to customize your next batch:
- Spice It Up: In addition to cinnamon, try adding a pinch of ground ginger, cardamom, or a pumpkin pie spice blend for an extra layer of fall flavor.
- Add Nuts: Toasted chopped pecans, walnuts, or almonds can be mixed into the oat topping for added crunch and nutty flavor.
- Fruit Combinations: Introduce other fruits! Our Apple Cranberry Crisp is a great example. Pears, blackberries, or even a handful of dried cranberries can be mixed with the apples for a unique twist.
- Gluten-Free Option: Easily make this recipe gluten-free by using certified gluten-free rolled oats and a gluten-free all-purpose flour blend in the topping.
- Caramel Drizzle: For an extra indulgent treat, drizzle warm caramel sauce over the crisp just before serving.
Serving Suggestions
Baked Apple Crisp is glorious on its own, but it truly shines with accompaniments. Here are some serving suggestions:
- Vanilla Ice Cream: The absolute classic pairing! The cold, creamy ice cream perfectly contrasts the warm, sweet crisp.
- Whipped Cream: A dollop of freshly whipped cream adds a light and airy touch.
- Caramel Sauce: A warm drizzle of caramel sauce takes this dessert to a new level of decadence.
- Cinnamon or Nutmeg Dusting: A final sprinkle of cinnamon or nutmeg right before serving enhances the aromatic experience.
- Plain Greek Yogurt: For a slightly healthier and tangy option, a spoonful of Greek yogurt can be surprisingly delicious.
Storage and Reheating Your Apple Crisp
Have leftovers? Lucky you! Here’s how to store and reheat your delicious apple crisp:
- At Room Temperature: Apple crisp can be stored, covered, at room temperature for up to one day.
- In the Refrigerator: For longer storage, cover the crisp tightly with plastic wrap or aluminum foil and refrigerate for up to 3-4 days. The topping may soften slightly.
- Freezing: You can freeze baked apple crisp for up to 3 months. Let it cool completely, then wrap it tightly in plastic wrap and then foil. To serve, thaw overnight in the refrigerator and reheat.
- Reheating: For best results, reheat individual servings in the microwave until warm, or warm the entire dish in an oven preheated to 300°F (150°C) for 15-20 minutes, or until heated through and the topping is re-crisped.
Frequently Asked Questions About Apple Crisp
Here are answers to some common questions about making the perfect apple crisp:
Q: Do I really not need to peel the apples?
A: No, peeling is entirely optional! The skins soften during baking and add a nice rustic texture and extra nutrients. If you prefer a smoother texture, feel free to peel them.
Q: Can I use different types of oats?
A: Rolled oats (old-fashioned oats) are highly recommended for their chewy texture. Quick oats can be used, but the topping might be less substantial and chewier. Steel-cut oats are not suitable for this recipe as they require much longer cooking times.
Q: Can I make the apple crisp ahead of time?
A: Yes, you can! Prepare the apple filling and the crumble topping separately. Store the apple mixture covered in the fridge for up to 24 hours. Keep the crumble topping in the fridge. Assemble and bake just before you plan to serve it for the freshest results.
Q: How do I know when the crisp is fully baked?
A: The topping should be golden brown and crisp, and the apple filling should be bubbling around the edges. You can also insert a knife into the apple mixture to check that the apples are tender.
Q: What if my topping isn’t crispy?
A: Ensure your butter is cold when you mix it into the dry ingredients. Chilling the topping before baking also helps. If it’s still not crispy, try baking for a few extra minutes, or for a very quick fix, pop it under the broiler for a minute or two (watch carefully to prevent burning).
Q: Can I make this apple crisp vegan?
A: Yes! Substitute the butter with a good quality vegan butter alternative. The rest of the ingredients are typically vegan.
More Apple Recipes You’ll Love:
Don’t miss out on all things apple! Check out some of this blog’s favorite apple recipes below to continue your autumn baking journey:
- Apple Cider Ice Cream
- Homemade Apple Pie
- Crockpot Apple Butter Recipe
- Apple Cobbler in the Crockpot
- Apple Hand Pies
- Air Fryer Baked Apples
- Apple Crumble

Baked Apple Crisp
Find more helpful tips and answers to your questions by scrolling back up to the sections above!
Print It
Rate It
Save ItSaved!
Ingredients
- ½ cup brown sugar
- ½ cup flour all-purpose or whole wheat
- ½ cup rolled oats whole, uncooked (old-fashioned)
- ¼ teaspoon ground cinnamon
- ¼ teaspoon sea salt
- ⅓ cup unsalted butter cold, cubed
- 4 cups sweet apples about 4 medium apples, thinly sliced (e.g., Gala, Fuji, Honeycrisp)
- 2 Tbsp fresh lemon juice
- ¼ teaspoon ground cinnamon for the apples
Instructions
-
Prepare the Topping: In a medium mixing bowl, combine the brown sugar, flour, rolled oats, ¼ teaspoon cinnamon, and sea salt. Add the cold, cubed unsalted butter. Using a pastry blender or your fingertips, work the butter into the dry mixture until it forms coarse crumbs and resembles a crumbly texture. Cover the bowl and refrigerate the topping while you prepare the apples.
-
Prepare the Apples: Preheat your oven to 350°F (175°C). Lightly grease a 9 x 7-inch baking dish with oil spray. Spread the thinly sliced apples evenly in the prepared dish. Drizzle the fresh lemon juice over the apples and sprinkle with the remaining ¼ teaspoon of cinnamon. Gently toss the apples to ensure they are evenly coated.
-
Assemble and Bake: Evenly sprinkle the chilled crumble topping mixture over the surface of the seasoned apples. Place the baking dish in the preheated oven and bake for 30-40 minutes, or until the topping is beautifully golden brown and the fruit mixture is visibly bubbling around the edges and tender when poked.
-
Serve: Allow the apple crisp to cool for a few minutes before serving warm. It’s absolutely divine on its own, but truly exceptional with a scoop of vanilla ice cream, whipped cream, or a drizzle of caramel sauce. Enjoy!
Nutrition
The recipes on this blog are tested with a conventional gas oven and gas stovetop. It’s important to note that some ovens, especially as they age, can cook and bake inconsistently. Using an inexpensive oven thermometer can assure you that your oven is truly heating to the proper temperature. If you use a toaster oven or countertop oven, please keep in mind that they may not distribute heat the same as a conventional full sized oven and you may need to adjust your cooking/baking times. In the case of recipes made with a pressure cooker, air fryer, slow cooker, or other appliance, a link to the appliances we use is listed within each respective recipe. For baking recipes where measurements are given by weight, please note that results may not be the same if cups are used instead, and we can’t guarantee success with that method.
