Crispy Pan-Fried Butterfly Shrimp Recipe: Your Guide to Perfectly Golden Seafood
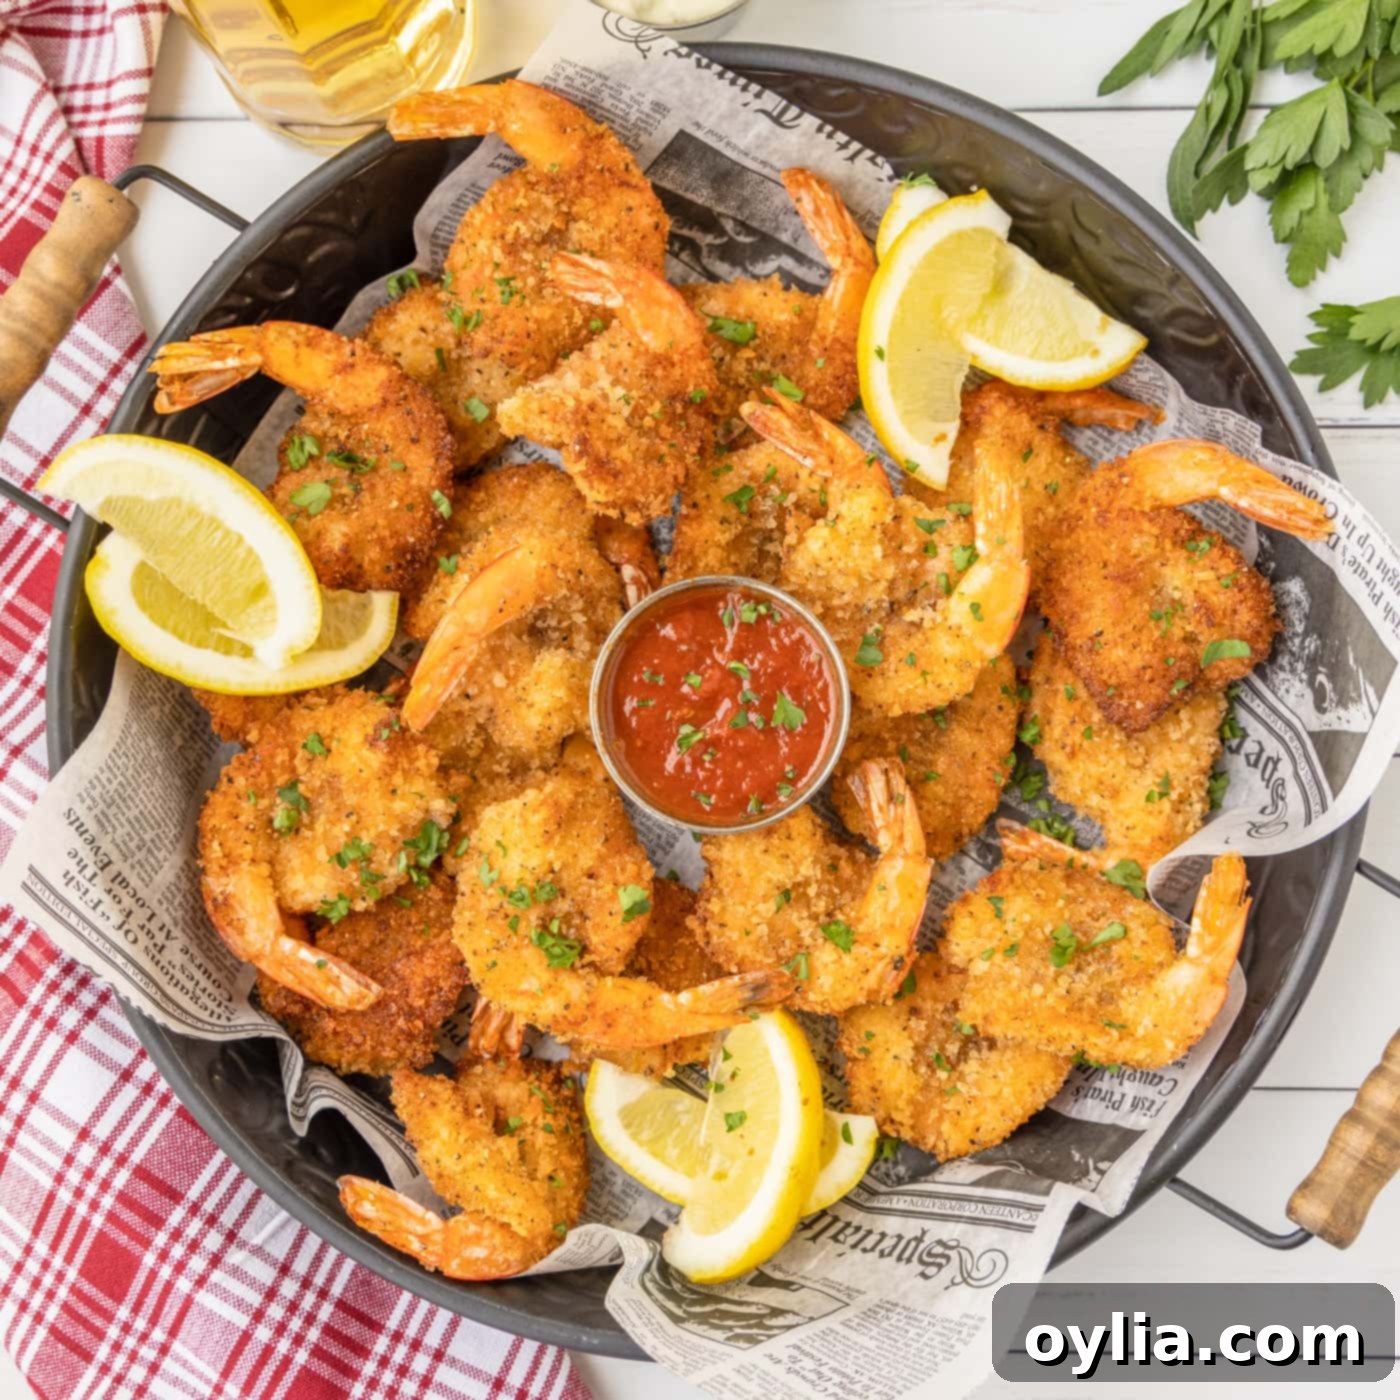
Prepare to delight your taste buds with this incredible recipe for **Crispy Pan-Fried Butterfly Shrimp**. Imagine succulent shrimp, carefully butterflied and coated in a flavorful blend of panko, traditional breadcrumbs, and the iconic Old Bay seasoning. Each piece is then pan-fried to a shimmering, golden-brown perfection, offering an irresistible crunch with every bite. The result is a dish that’s tender on the inside, wonderfully crispy on the outside, and absolutely begging for a generous squeeze of fresh lemon and a dip into your favorite cocktail sauce. This recipe isn’t just about making fried shrimp; it’s about elevating a classic to an art form, ensuring a restaurant-quality experience right in your own kitchen.
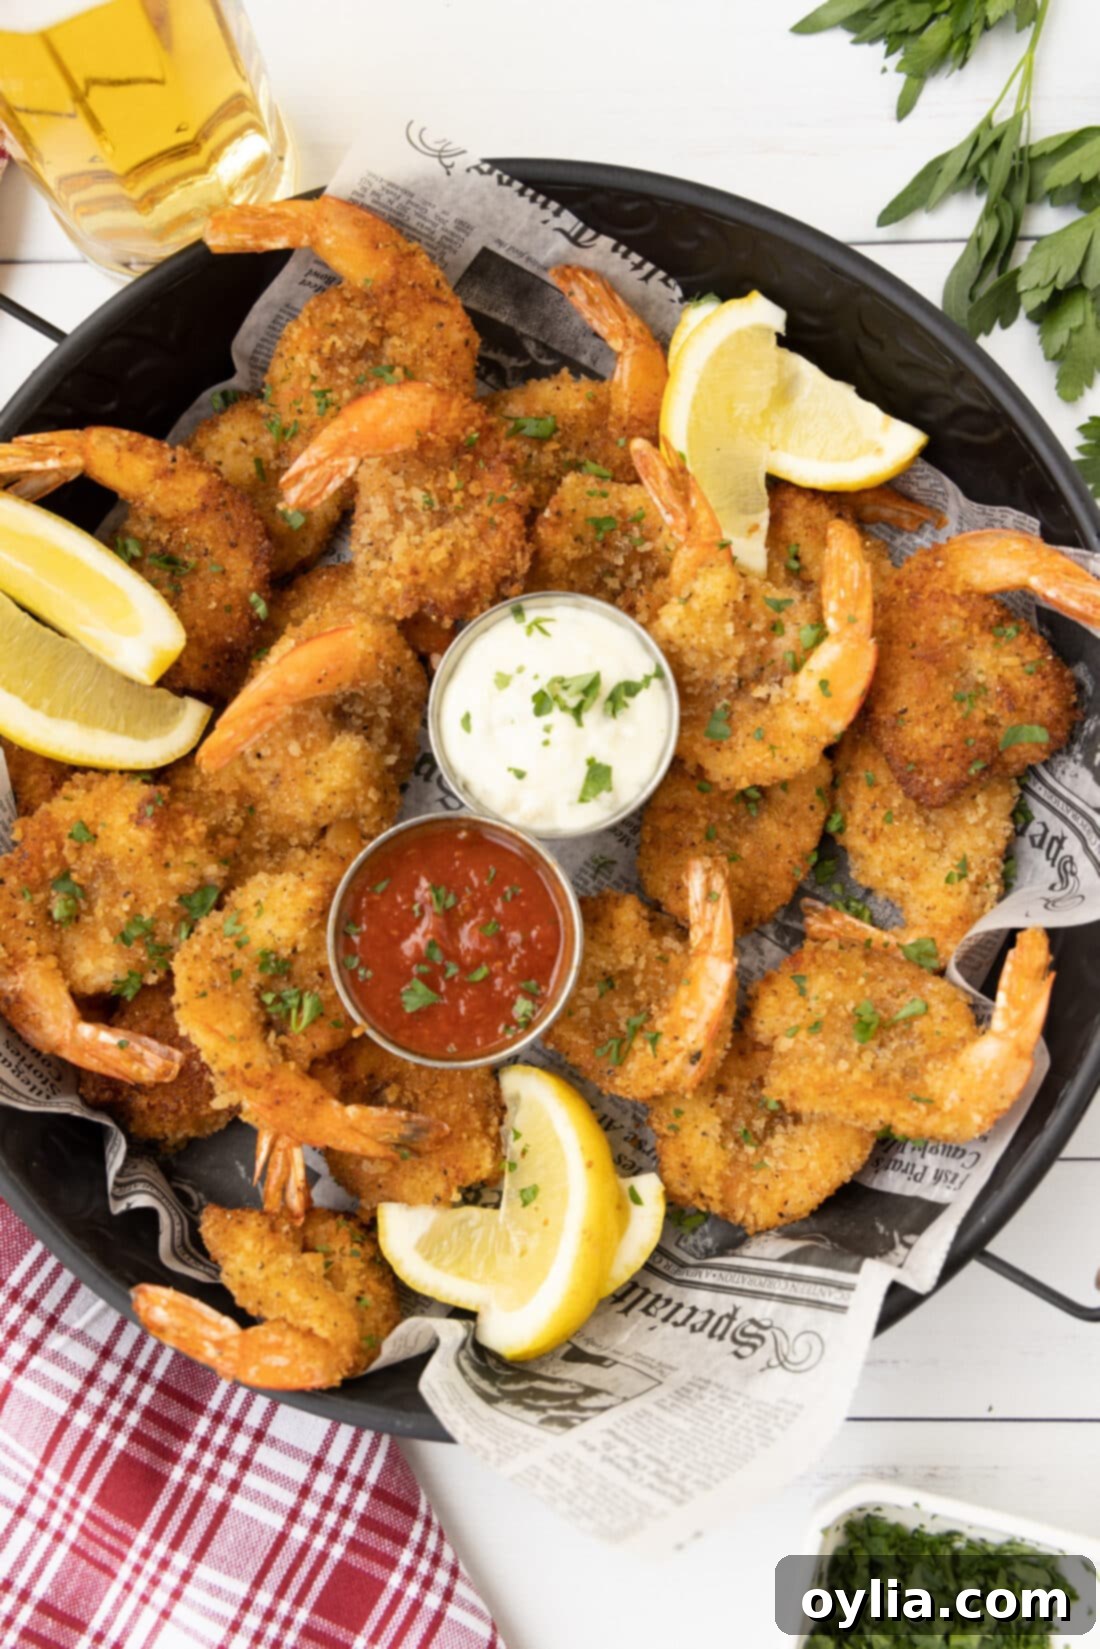
Why This Butterfly Shrimp Recipe Works So Well
This butterfly shrimp recipe is not only incredibly simple to follow but also delivers a truly stunning presentation that will impress your guests. The secret lies in the art of butterflying the shrimp. By carefully slicing down the center of each shrimp, but not all the way through, you achieve several benefits. First, it makes the shrimp thinner, ensuring remarkably even and quick cooking. This prevents the edges from drying out while the thicker middle cooks through, resulting in perfectly tender shrimp every time. Second, it significantly increases the surface area, allowing for a more generous coating of our delicious, seasoned breadcrumbs. This maximizes the crunch factor, which is essential for truly satisfying fried shrimp.
While butterflying is often reserved for larger or jumbo shrimp, making them appear even more substantial and elegant, this technique can also be successfully applied to regular-sized shrimp. Think of it as a culinary trick to make your seafood stand out. Just like butterflying chicken for dishes like stuffed chicken breast, this method transforms the ingredient. However, instead of stuffing these delicate seafood morsels, we’re focusing on creating an incredibly crisp exterior with a mouth-watering mixture of panko and traditional breadcrumbs, enhanced with classic Old Bay seasoning. This simple yet effective preparation method guarantees a consistent golden-brown finish and an unforgettable crunch, making this recipe a winner for any occasion.
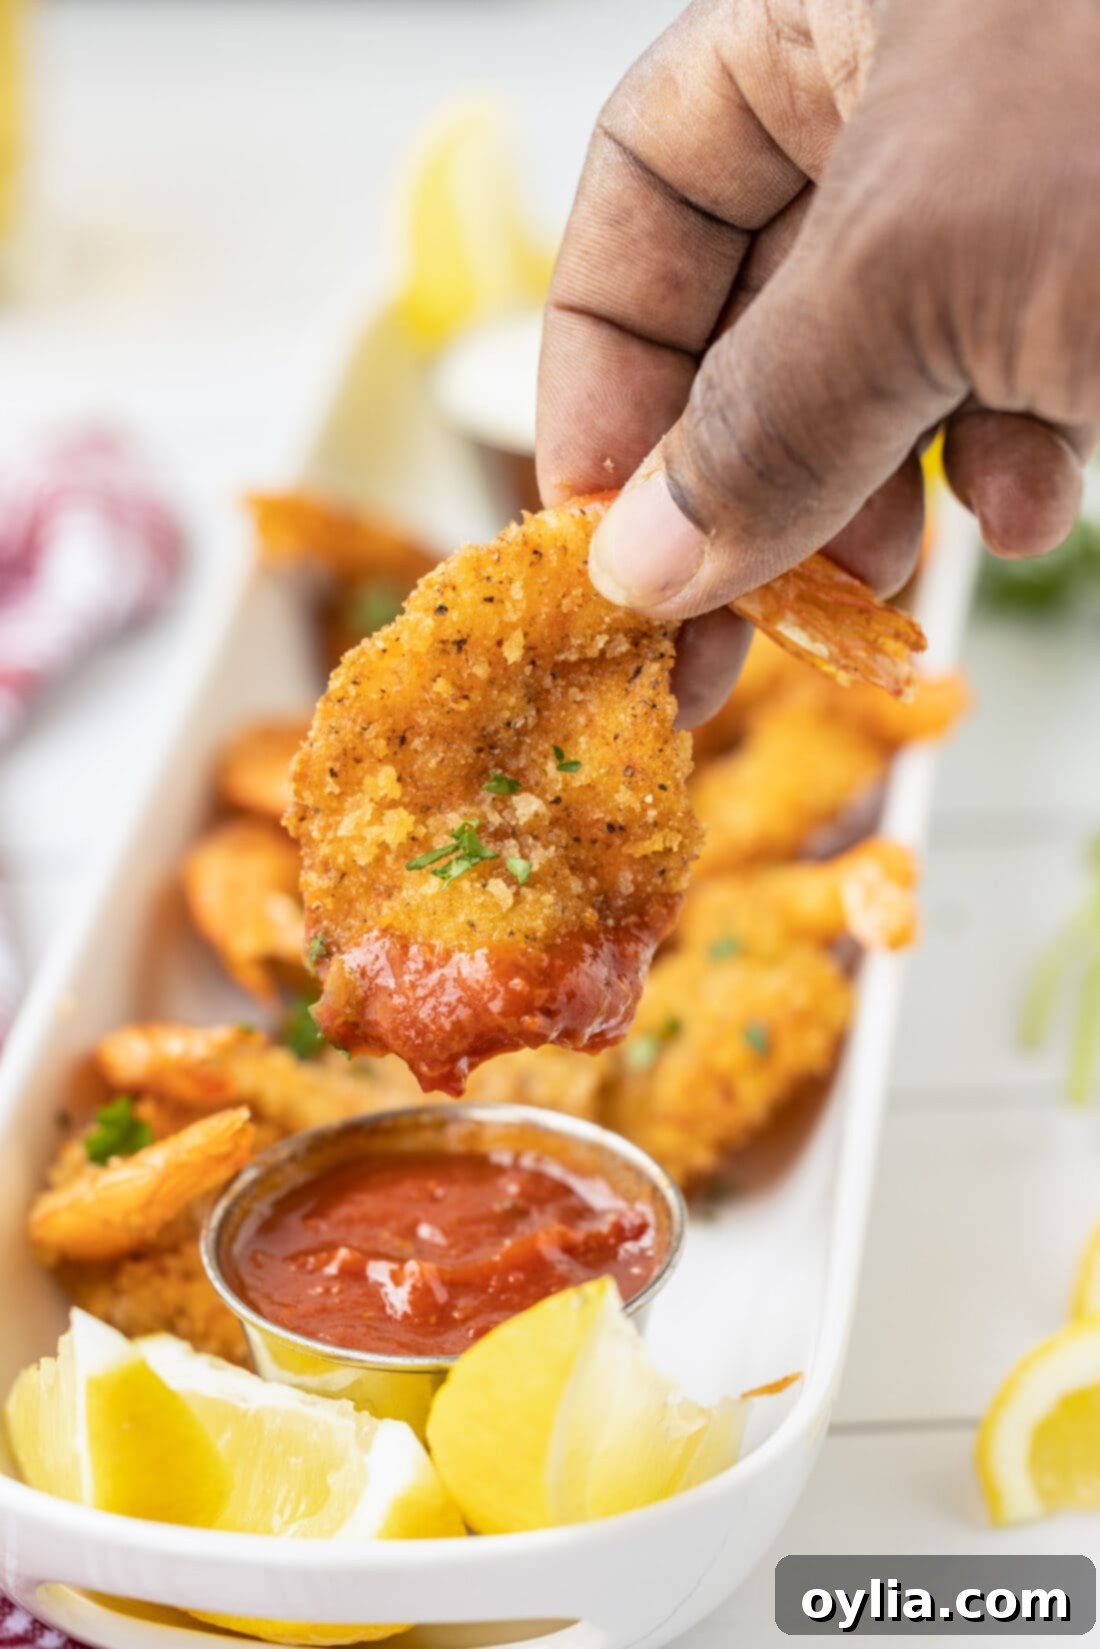
Essential Ingredients for Crispy Butterfly Shrimp
To embark on your culinary journey to the perfect butterfly shrimp, gathering your ingredients beforehand is key. This simple list combines fresh seafood with pantry staples and a few star seasonings to create a truly memorable dish. You’ll find all precise measurements, a detailed ingredient list, and step-by-step instructions in the printable recipe card located at the end of this post.
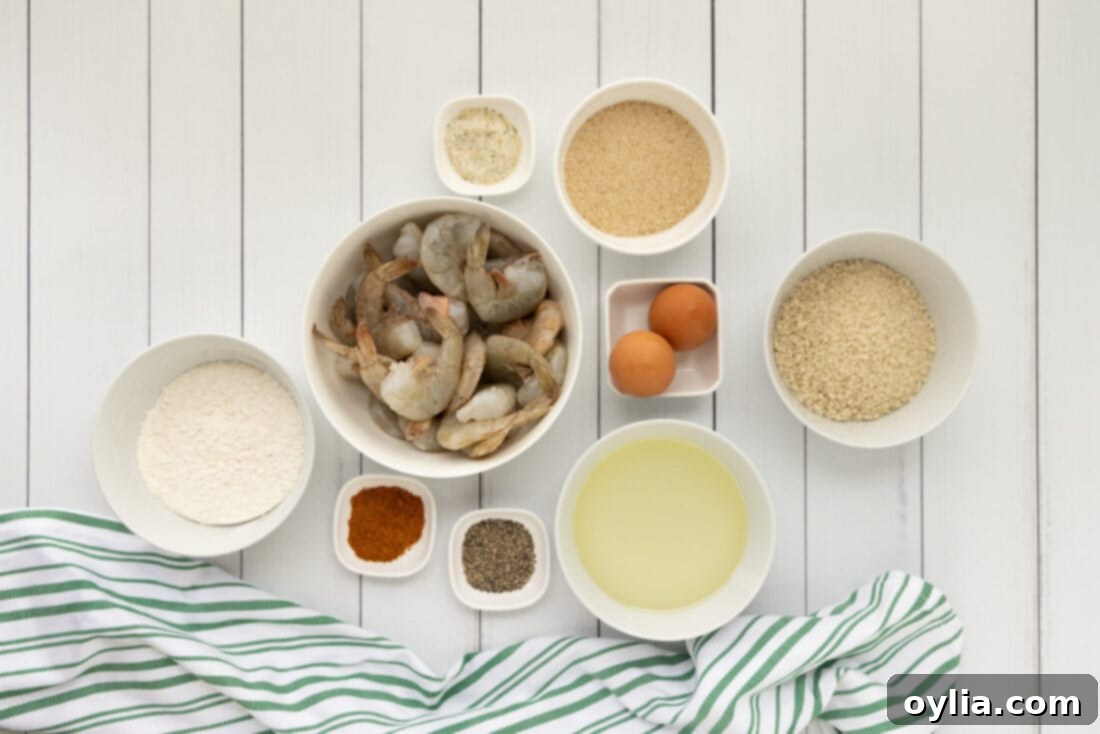
Ingredient Spotlight & Expert Substitution Tips
Each component in this recipe plays a crucial role in achieving the perfect crispy butterfly shrimp. Here’s a closer look at what you’ll need and how you can adapt the recipe to your preferences or what you have on hand.
- SHRIMP: We highly recommend using “grilling shrimp” for this recipe, often found at your grocery store’s seafood counter. These are typically larger and heartier, providing a more substantial bite and a better canvas for butterflying. Since the butterflying process makes the shrimp quite thin, they will cook very quickly. The key to perfectly tender shrimp is to avoid overcooking them; you essentially need just enough time to achieve a beautiful golden-brown crust on the breading. Overcooked shrimp become rubbery, so keep a close eye on them during frying. When choosing shrimp, opt for peeled and deveined with tails on for presentation and ease of handling.
- Panko Breadcrumbs: These Japanese-style breadcrumbs are a game-changer for crispiness. Their flaky, airy texture absorbs less oil and delivers an unparalleled crunch. If you don’t have panko, you can use all regular breadcrumbs, but the texture will be slightly less crisp.
- Traditional Breadcrumbs: Used in combination with panko, these provide a finer coating that adheres well to the shrimp and helps build a robust crust. For added flavor, consider using seasoned breadcrumbs or Italian-style breadcrumbs.
- Old Bay Seasoning: This iconic blend is the heart and soul of many classic seafood dishes. Its unique mix of celery salt, paprika, red and black pepper, and other spices gives the shrimp a distinct, savory, and slightly zesty flavor. If Old Bay isn’t available, a good quality Cajun seasoning or another all-purpose seafood seasoning blend can work as a substitute, though the flavor profile will differ slightly.
- Garlic Salt & Black Pepper: These pantry staples enhance the overall savory profile. Freshly cracked black pepper will offer a more pungent aroma and taste. If using garlic powder and salt separately, adjust quantities accordingly to avoid over-salting.
- Large Eggs & Water (Egg Wash): The eggs whisked with a touch of water create the essential “glue” that binds the breading to the shrimp. This liquid layer is crucial for achieving that perfectly crispy coating. For a dairy-free option, you can experiment with plant-based milks or even just plain water, though the adhesion might not be as strong.
- All-Purpose Flour: The initial dredge in flour helps to create a dry surface on the shrimp, allowing the egg wash to adhere more effectively. This forms the foundation for a thick, even crust. You can season your flour with a pinch of salt and pepper for an extra layer of flavor.
- Vegetable Oil for Frying: A neutral-flavored oil with a high smoke point is ideal for pan-frying. Vegetable oil, canola oil, sunflower oil, or peanut oil are excellent choices. You’ll need enough to create about a 1/2-inch deep layer in your skillet for optimal frying.
Step-by-Step Guide: Crafting Perfect Butterfly Shrimp
These step-by-step photos and detailed instructions are here to help you visualize how to make this delicious recipe. For a quick overview, you can Jump to Recipe to get the printable version of this recipe, complete with precise measurements and instructions at the bottom.
- Prepare the Shrimp: Begin by thoroughly rinsing your shrimp under cold water to clean them. Once rinsed, pat them completely dry with paper towels. Excess moisture is the enemy of crispy breading, so ensure they are as dry as possible.
- Set Up for Draining: Line a large baking sheet with several layers of paper towel. Place a wire rack over the baking sheet. This setup will be used to drain your freshly fried shrimp, allowing air to circulate and keep them crispy. Set it aside for now.
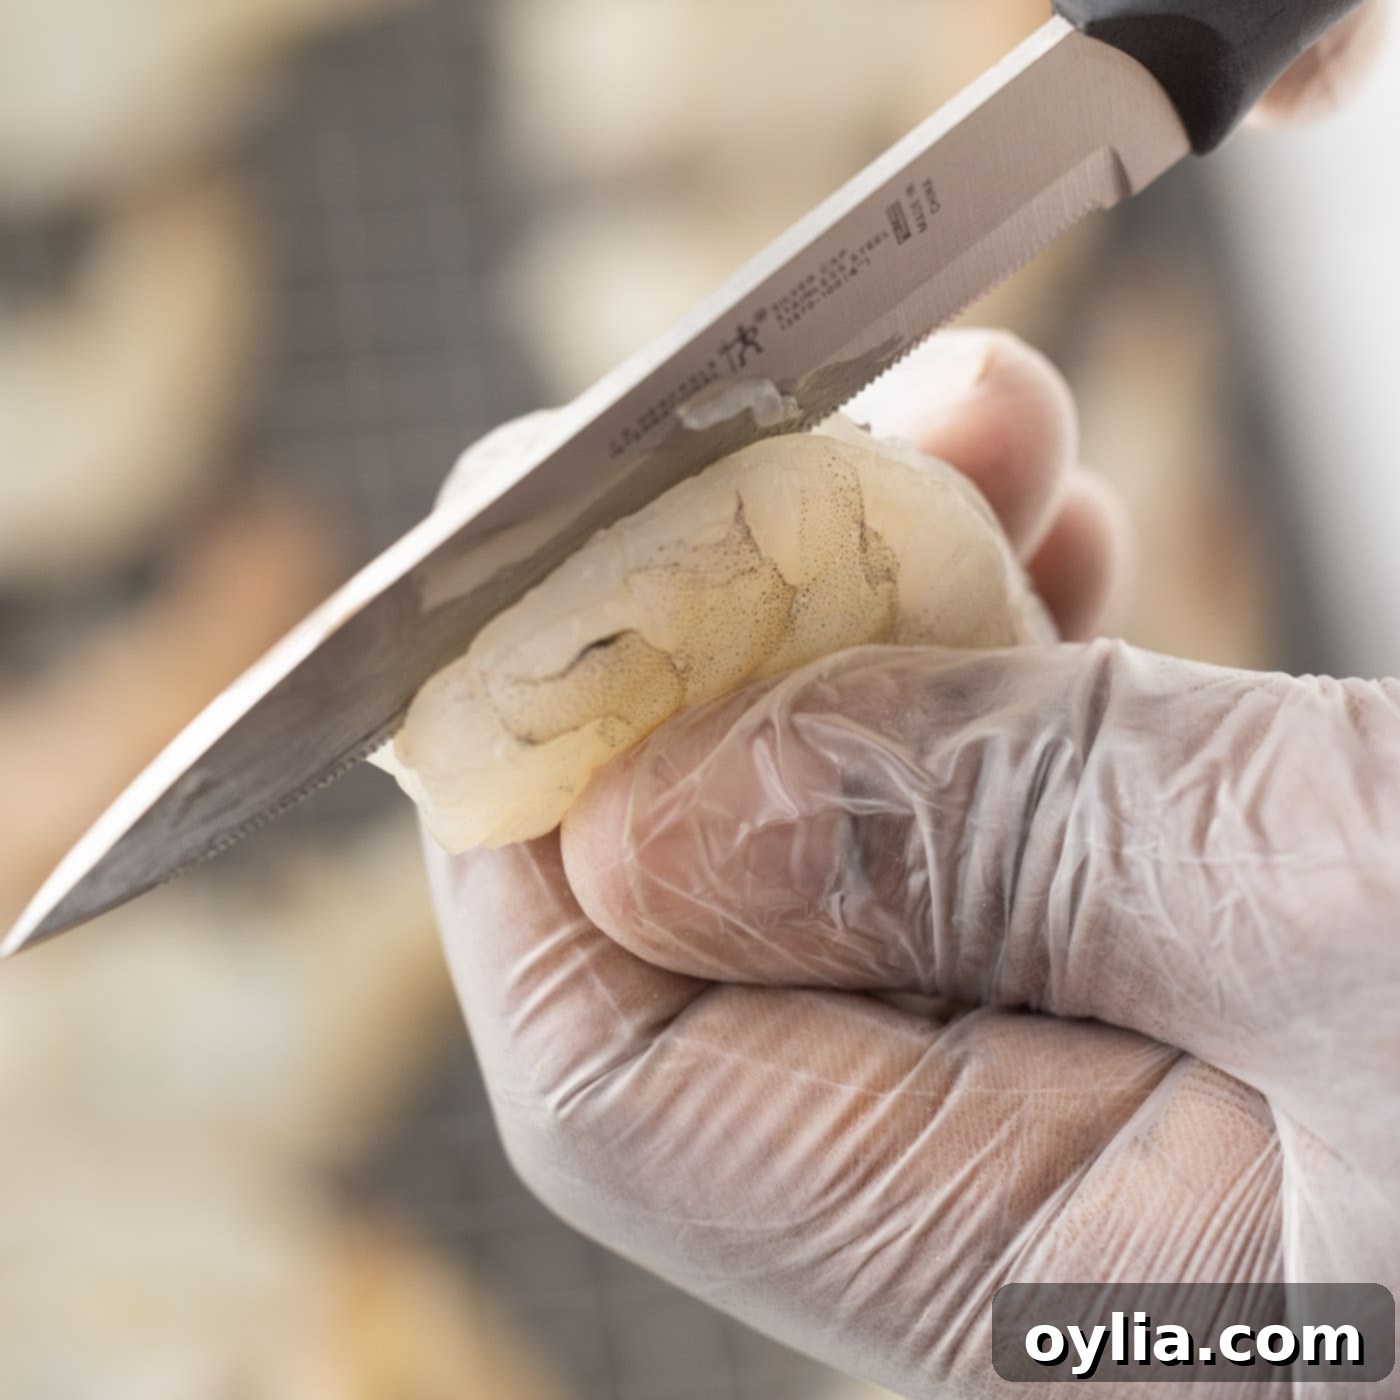
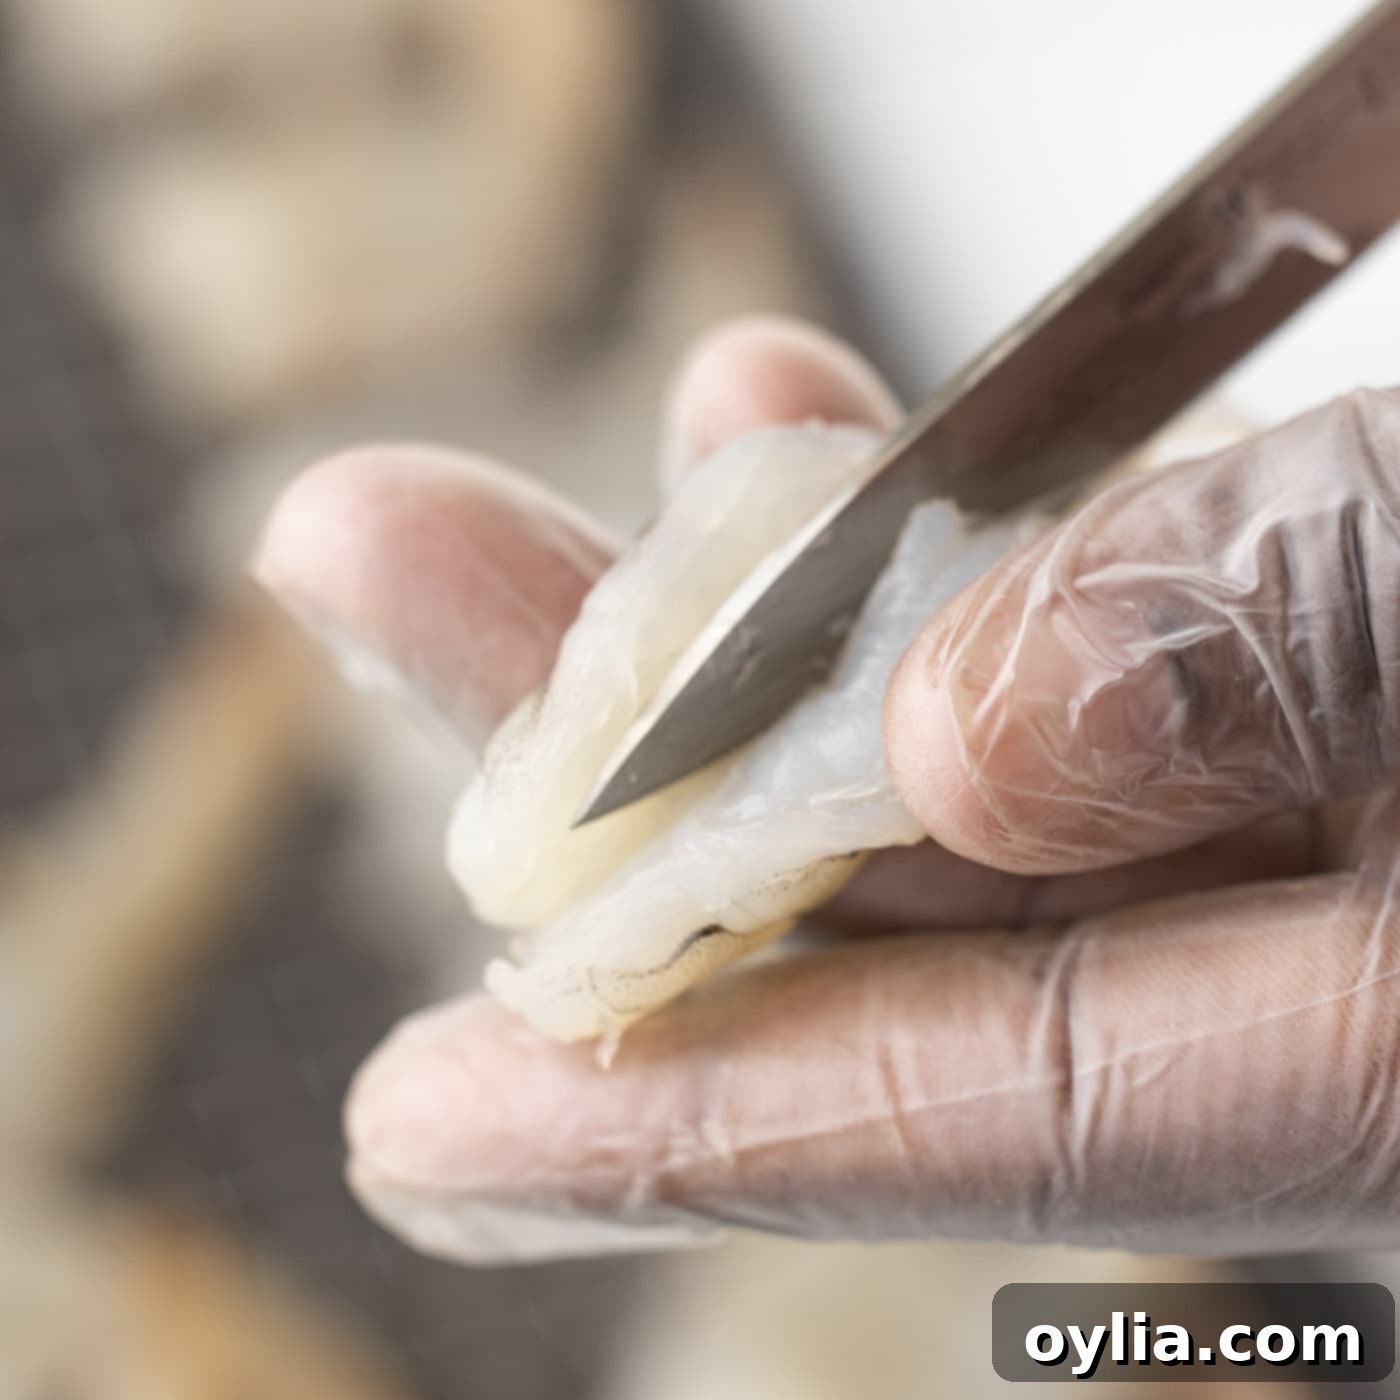
- Butterfly the Shrimp: Donning a pair of gloves (optional, but recommended for hygiene), carefully butterfly each shrimp. To do this, place a shrimp on a cutting board, belly side down. Using a sharp paring knife, slice down the center of the shrimp’s back, from the head end towards the tail, but do not cut all the way through. You want to open it up flat, like a butterfly, while keeping the two halves connected. This creates a wider, thinner piece. Place the butterflied shrimp on a second clean wire rack as you go.


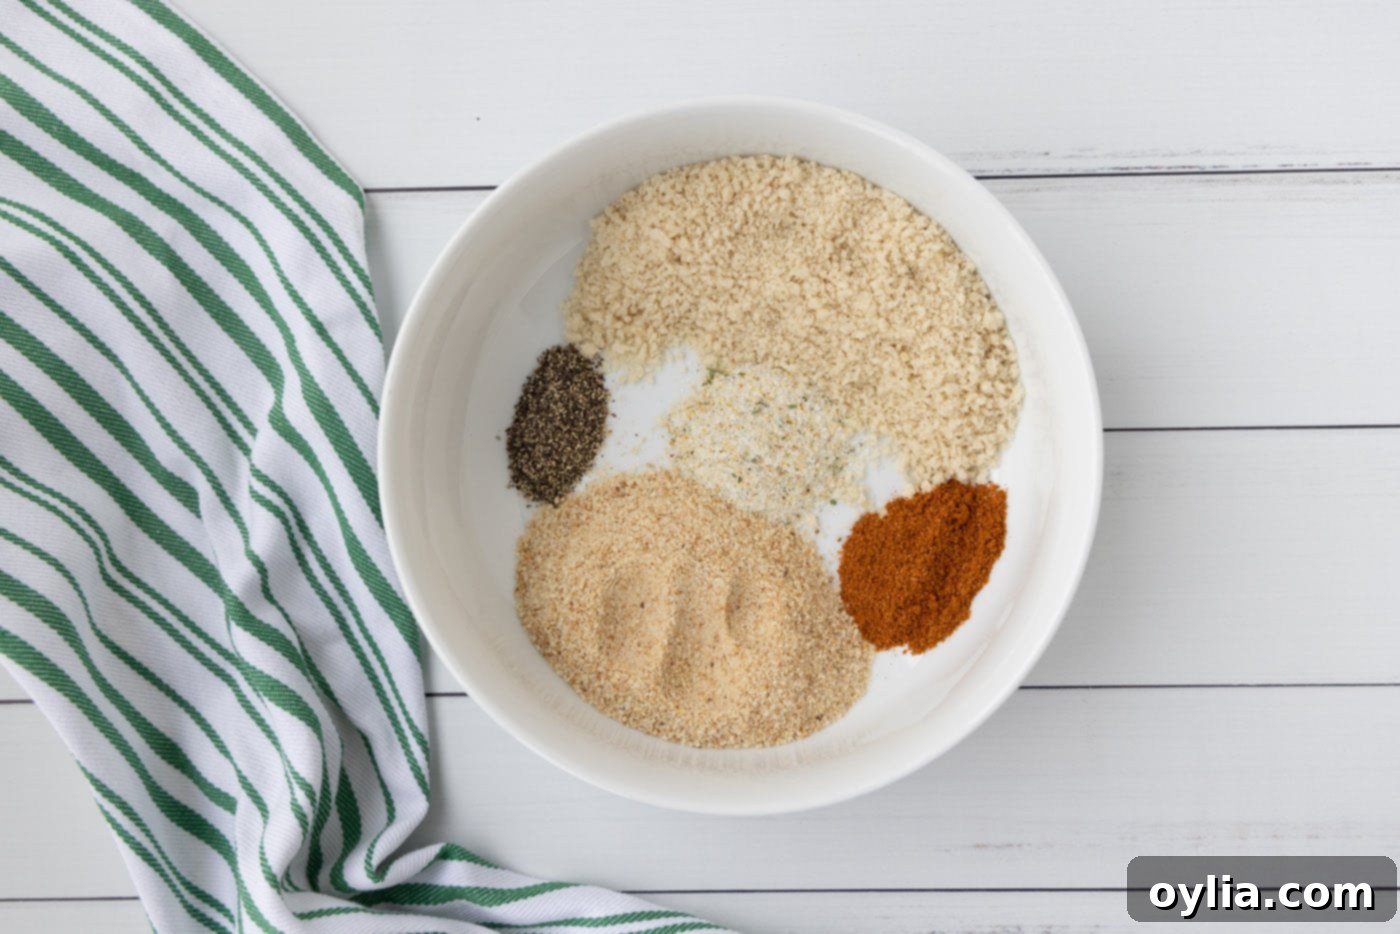
- Prepare Breading Mixture: In a medium-sized shallow bowl, combine the bread crumbs, panko bread crumbs, garlic salt, Old Bay seasoning, and black pepper. Stir thoroughly to ensure all seasonings are evenly distributed. This is your flavorful crispy coating!

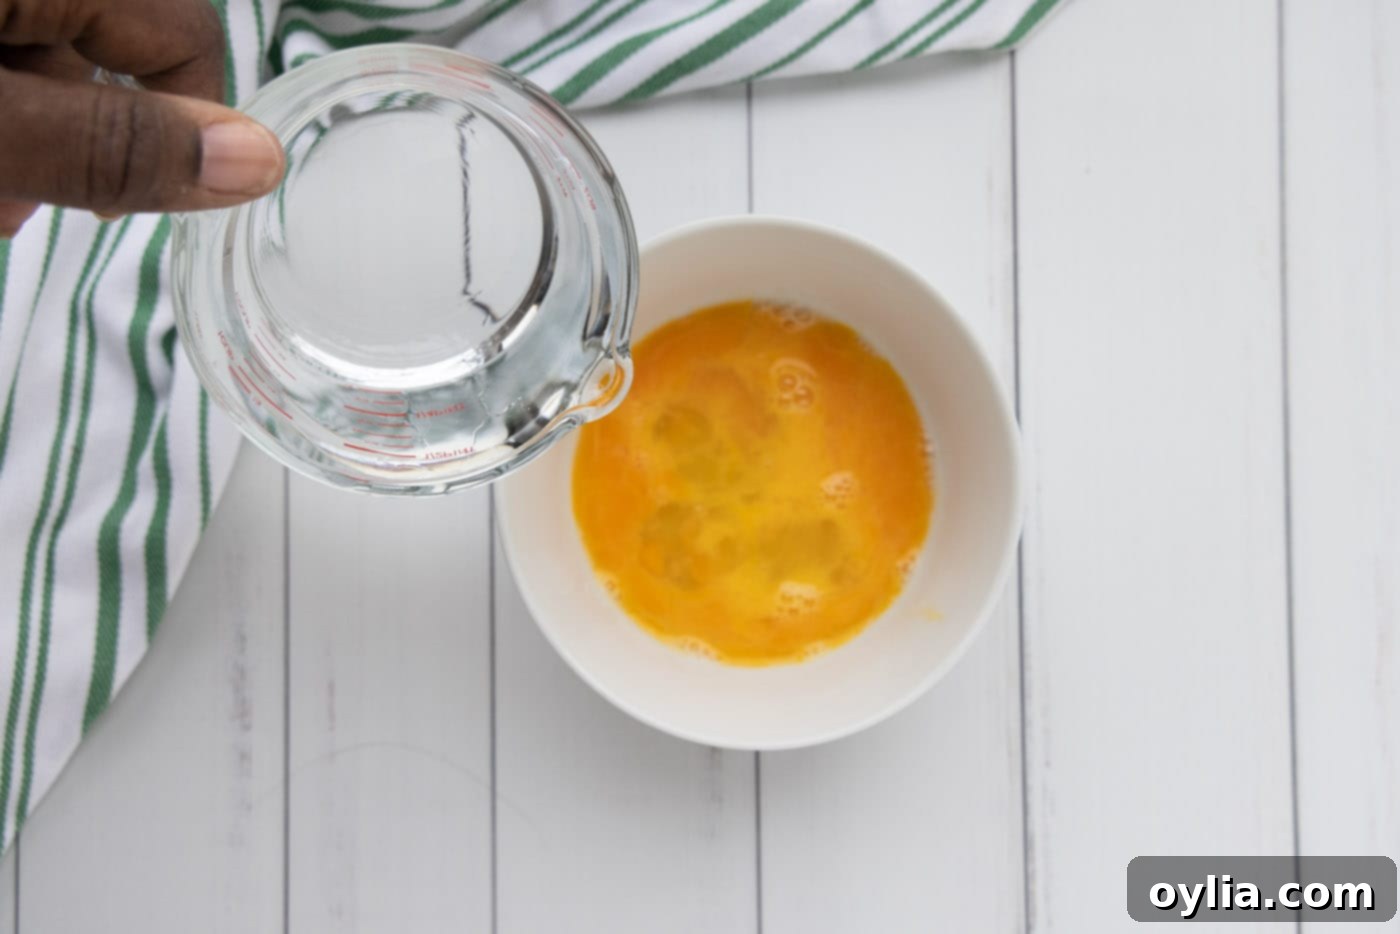
- Create Egg Wash: In a second medium-sized shallow bowl, whisk together the eggs and water until well combined. This is your egg wash, which will help the breading stick to the shrimp.

- Prepare Flour Station: Place the all-purpose flour in a third medium-sized shallow bowl. This sets up your classic dredging station: flour, egg, then breadcrumbs.
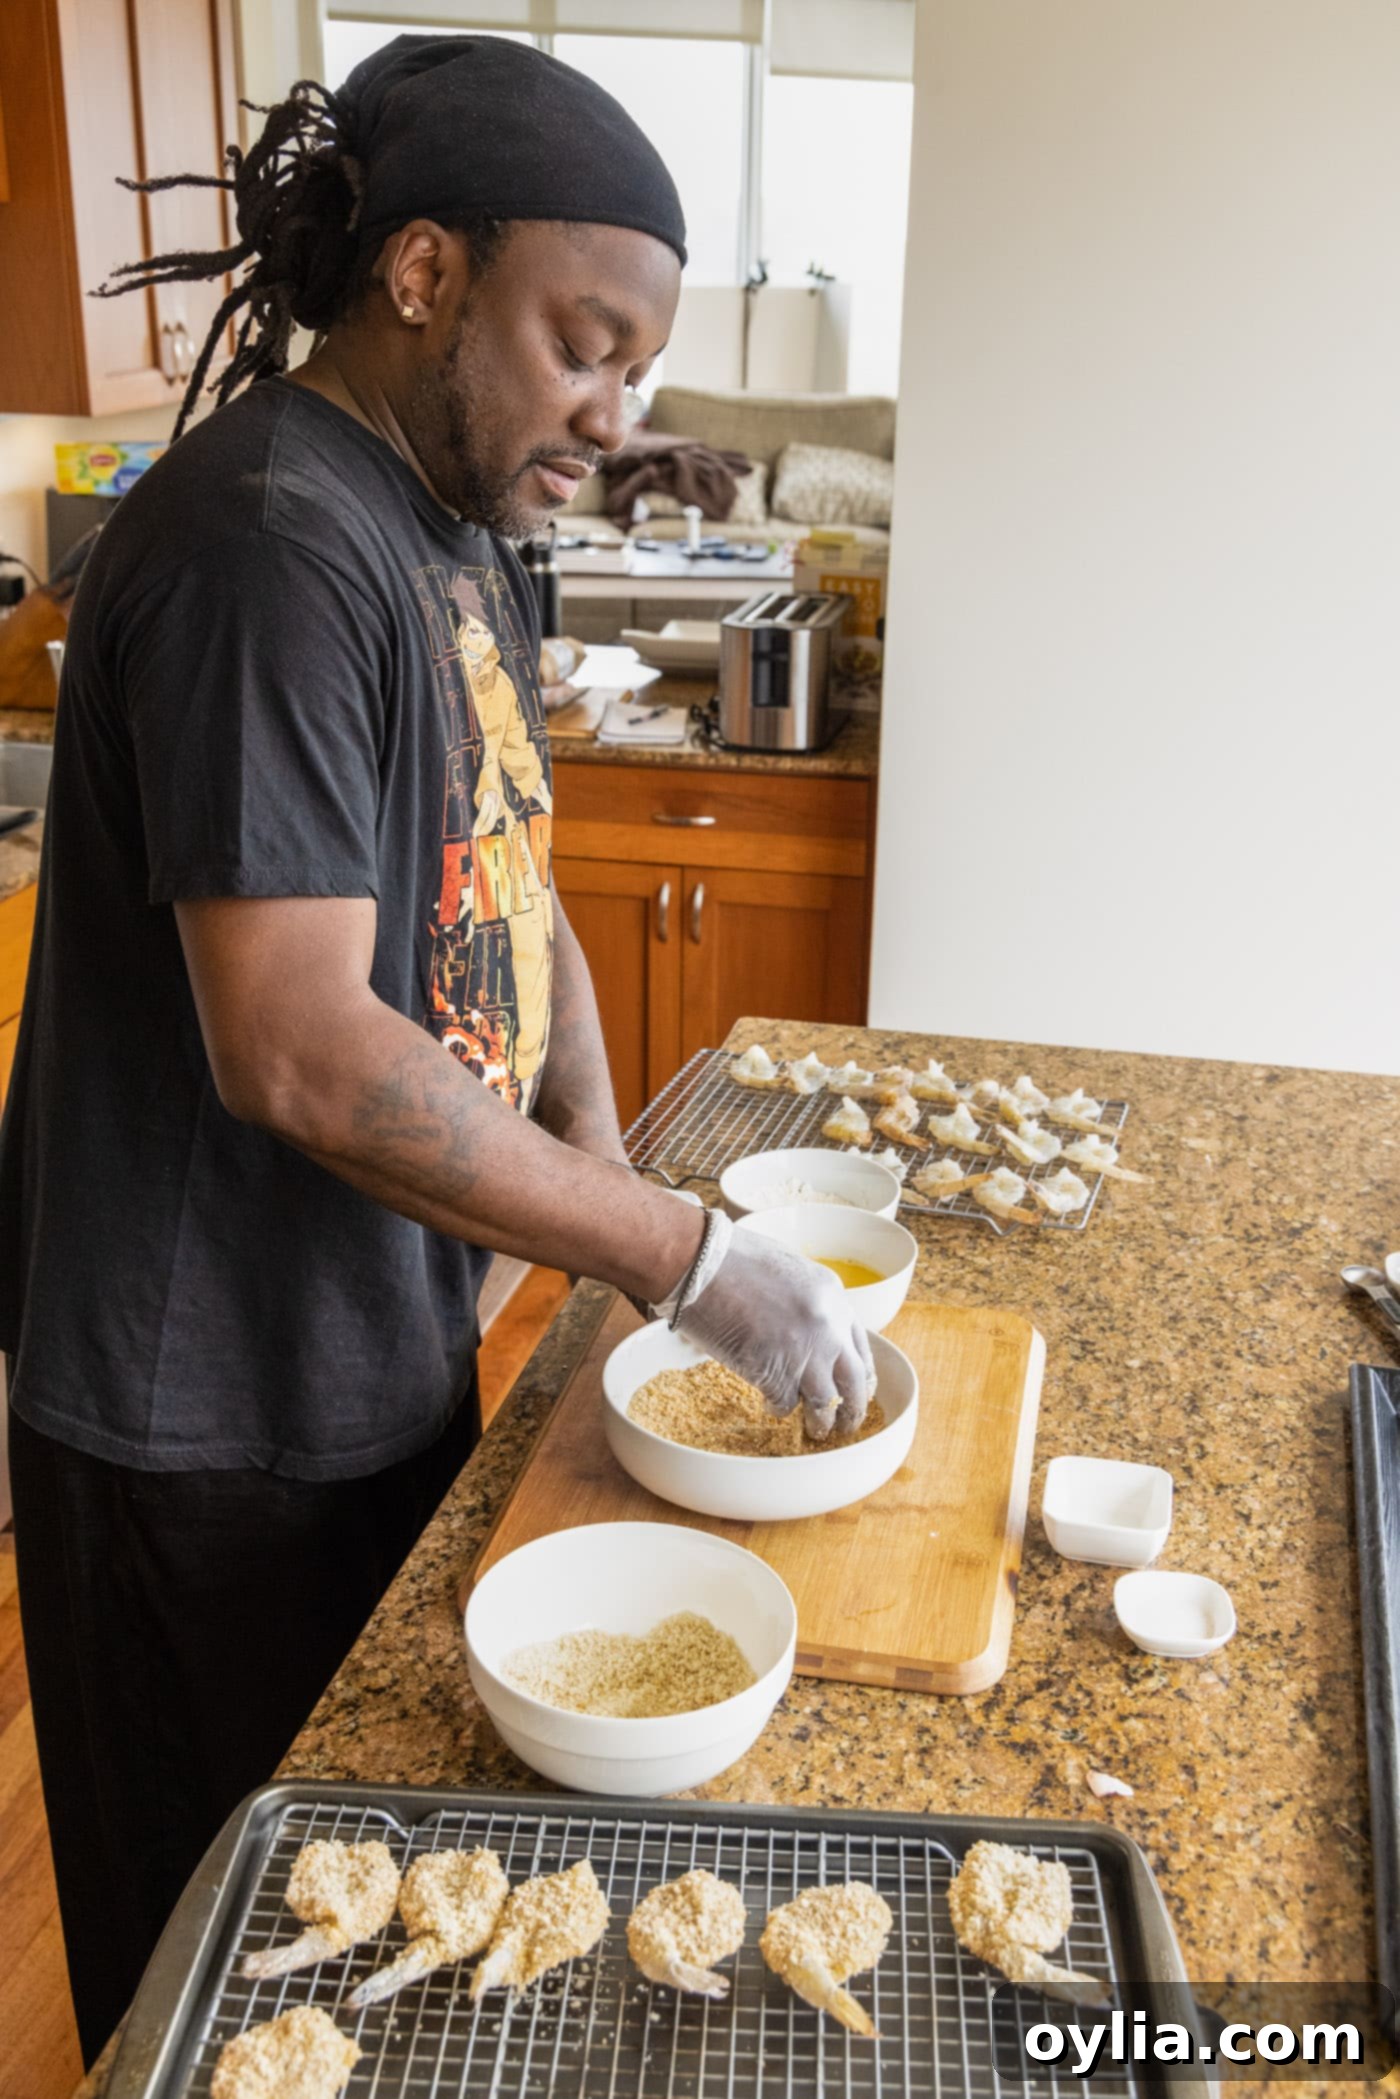
- Flour the Shrimp: Take one butterflied shrimp and dip it into the flour, ensuring both sides are lightly but completely coated. Gently shake off any excess flour.
- Egg Wash Dip: Next, dip the floured shrimp into the egg and water mixture, allowing any excess to drip off.
- Breading the Shrimp: Finally, dip the shrimp into the bread crumb mixture. Gently press down on both sides to help the breading adhere firmly. Ensure the entire surface is covered for maximum crispiness and flavor.

- Continue Breading: Place the breaded shrimp back onto the second wire rack. Repeat this flour-egg-breadcrumb process for all remaining shrimp until they are fully coated.
- Heat the Oil: Heat the vegetable oil in a large, heavy-bottomed skillet over medium heat. Wait until the oil is shimmering, which indicates it’s hot enough for frying. You can test a tiny piece of breading; if it sizzles vigorously, the oil is ready.

NOTE: You can watch a short demonstration video at the end of these step-by-step instructions for visual guidance.
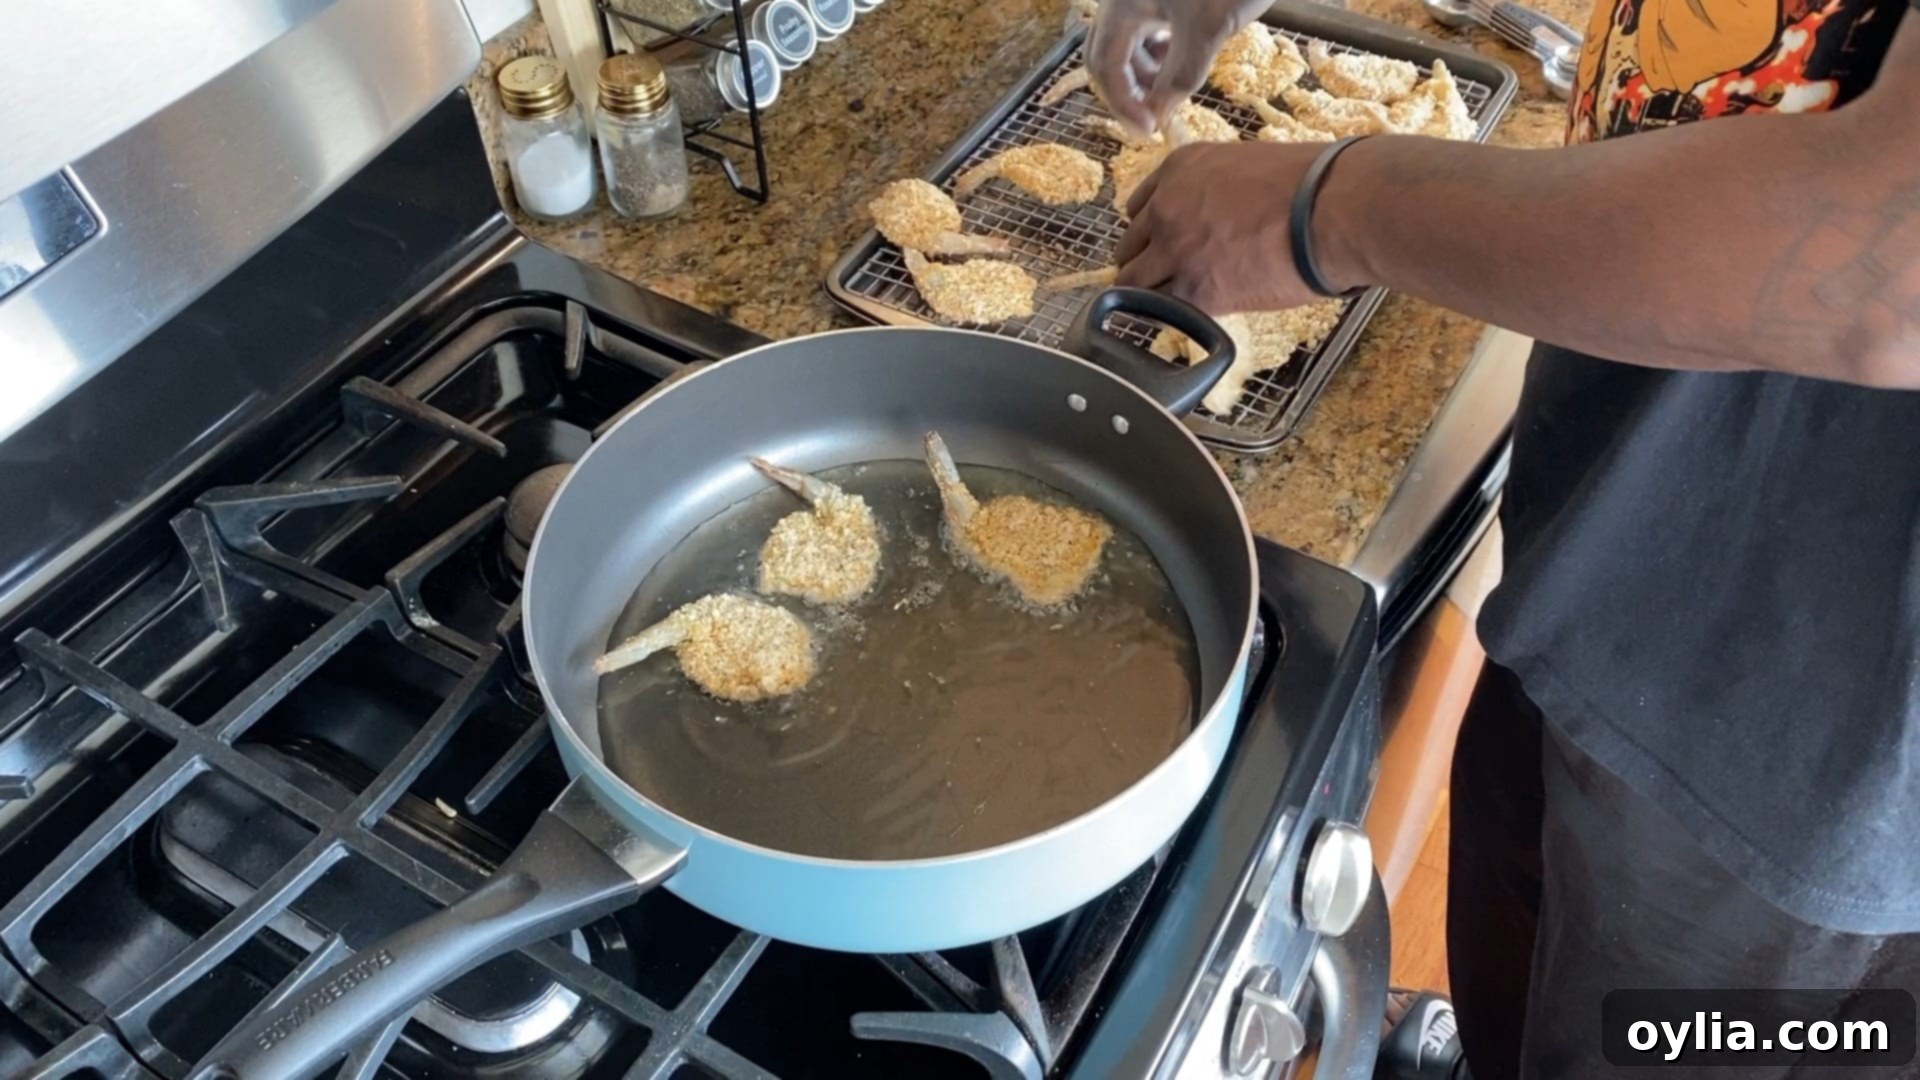
- Pan-Fry the Shrimp: Carefully place the breaded shrimp into the hot oil. Be mindful not to overcrowd the skillet, as this can lower the oil temperature and lead to soggy shrimp. You will likely need to cook the shrimp in multiple batches to ensure even cooking and a consistent crisp.
- Cook to Golden Perfection: Cook the shrimp for approximately 2 minutes on each side. Remember, butterflied shrimp are thin and cook very quickly. The goal is to achieve a beautiful golden-brown crust on the breading. Overcooking will make the shrimp rubbery, so remove them from the heat as soon as they reach that perfect golden color and are opaque throughout.

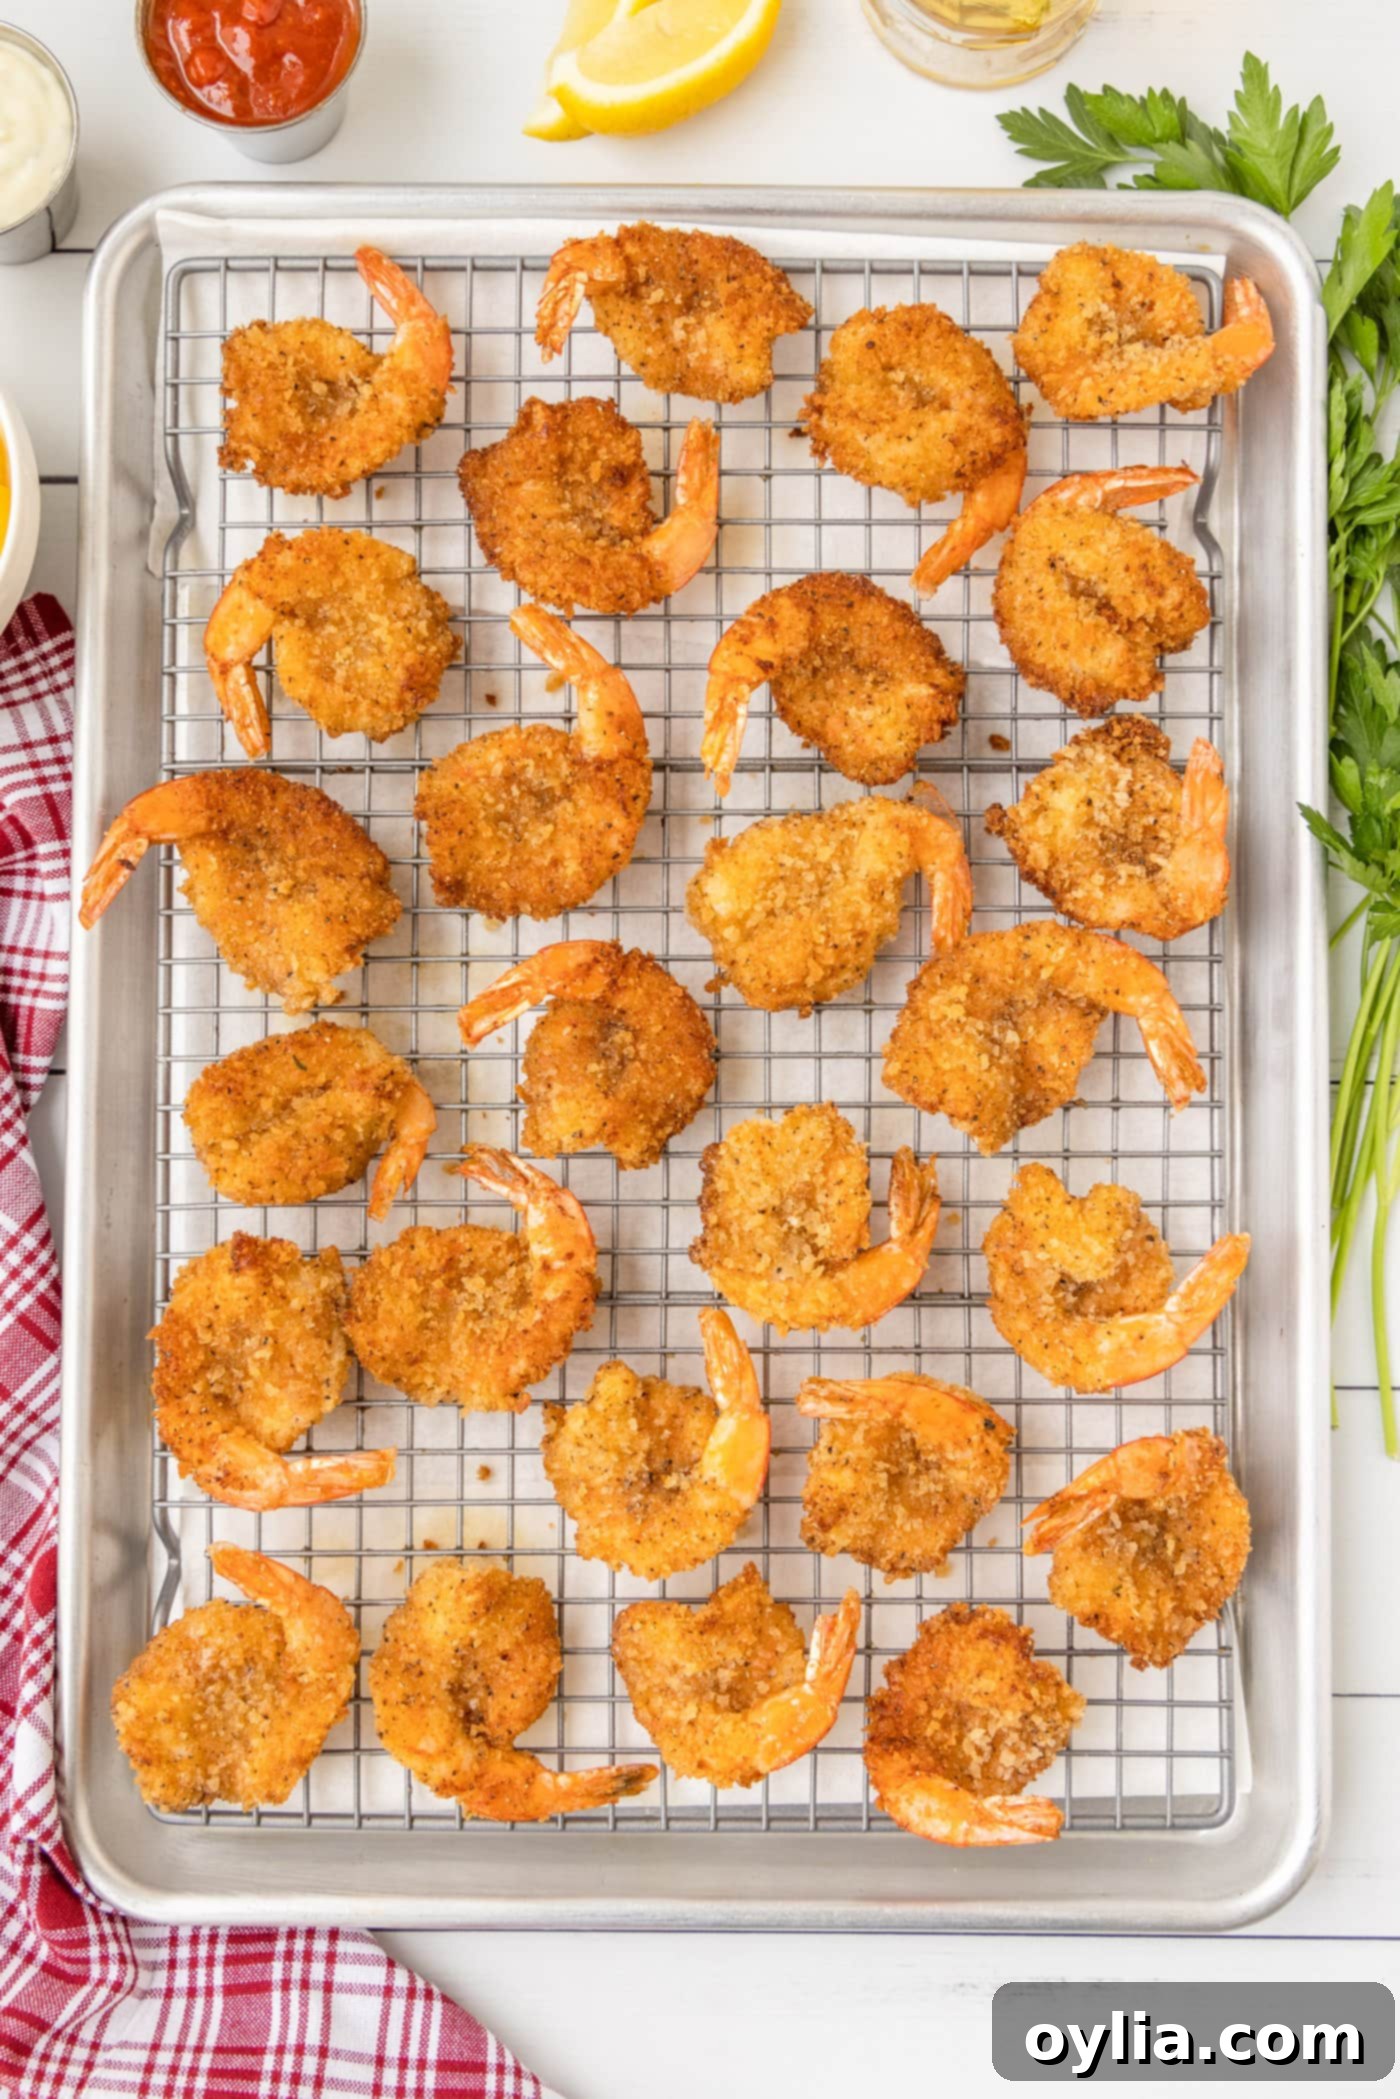
- Drain and Serve: Once cooked, immediately remove the crispy shrimp from the skillet and place them on the prepared paper towel-lined pan with the wire rack. This allows any excess oil to drain away, maintaining their crispiness. Serve hot and enjoy!
Frequently Asked Questions & Expert Tips for Butterfly Shrimp
Yes, absolutely! You can use frozen shrimp, but it is crucial to allow them to thaw completely before you begin. The best way to thaw shrimp is in the refrigerator overnight, or for a quicker method, place them in a colander under cold running water for about 15-20 minutes. Once thawed, rinse them thoroughly and, most importantly, pat them bone-dry with paper towels. This ensures the breading and seasonings adhere properly and achieve that desirable crisp texture. We highly recommend using raw frozen shrimp, not pre-cooked frozen shrimp, as pre-cooked shrimp will become rubbery and tough when fried again.
Store any leftover crispy butterfly shrimp in an airtight container in the refrigerator for up to 3-4 days. To bring back their delicious crispiness, reheating is key. The best methods are an air fryer (at 350°F or 175°C for 3-5 minutes) or a conventional oven (on a baking sheet at 300°F or 150°C for 5-10 minutes), flipping halfway through. Avoid the microwave, as it will make the breading soggy.
For pan-frying shrimp, you’ll want a neutral-flavored oil with a high smoke point. Good choices include vegetable oil, canola oil, sunflower oil, or peanut oil. These oils can withstand the higher temperatures needed for frying without burning and imparting off-flavors to your delicate shrimp.
Cooked shrimp will turn opaque and pink in color, and they will curl into a loose “C” shape. If they curl into a tight “O” shape, they are likely overcooked. Since butterflied shrimp cook very quickly due to their thinness, pay close attention to the breading turning golden brown; the shrimp inside will usually be perfectly cooked by then.
Yes, you can! For baking, preheat your oven to 400°F (200°C). Place the breaded shrimp on a wire rack set over a baking sheet and bake for 10-15 minutes, flipping halfway, until golden and cooked through. For air frying, preheat your air fryer to 375°F (190°C). Spray the basket lightly with oil, arrange shrimp in a single layer, and air fry for 6-8 minutes, flipping halfway, until crispy and cooked. Both methods will yield a slightly different texture than pan-frying, but can still be delicious.
If you like a kick, there are several ways to spice up your butterfly shrimp! You can add a pinch of cayenne pepper to the breadcrumb mixture, a dash of your favorite hot sauce to the egg wash, or serve the finished shrimp with a spicy dipping sauce like sriracha mayo or a homemade chili-lime aioli.
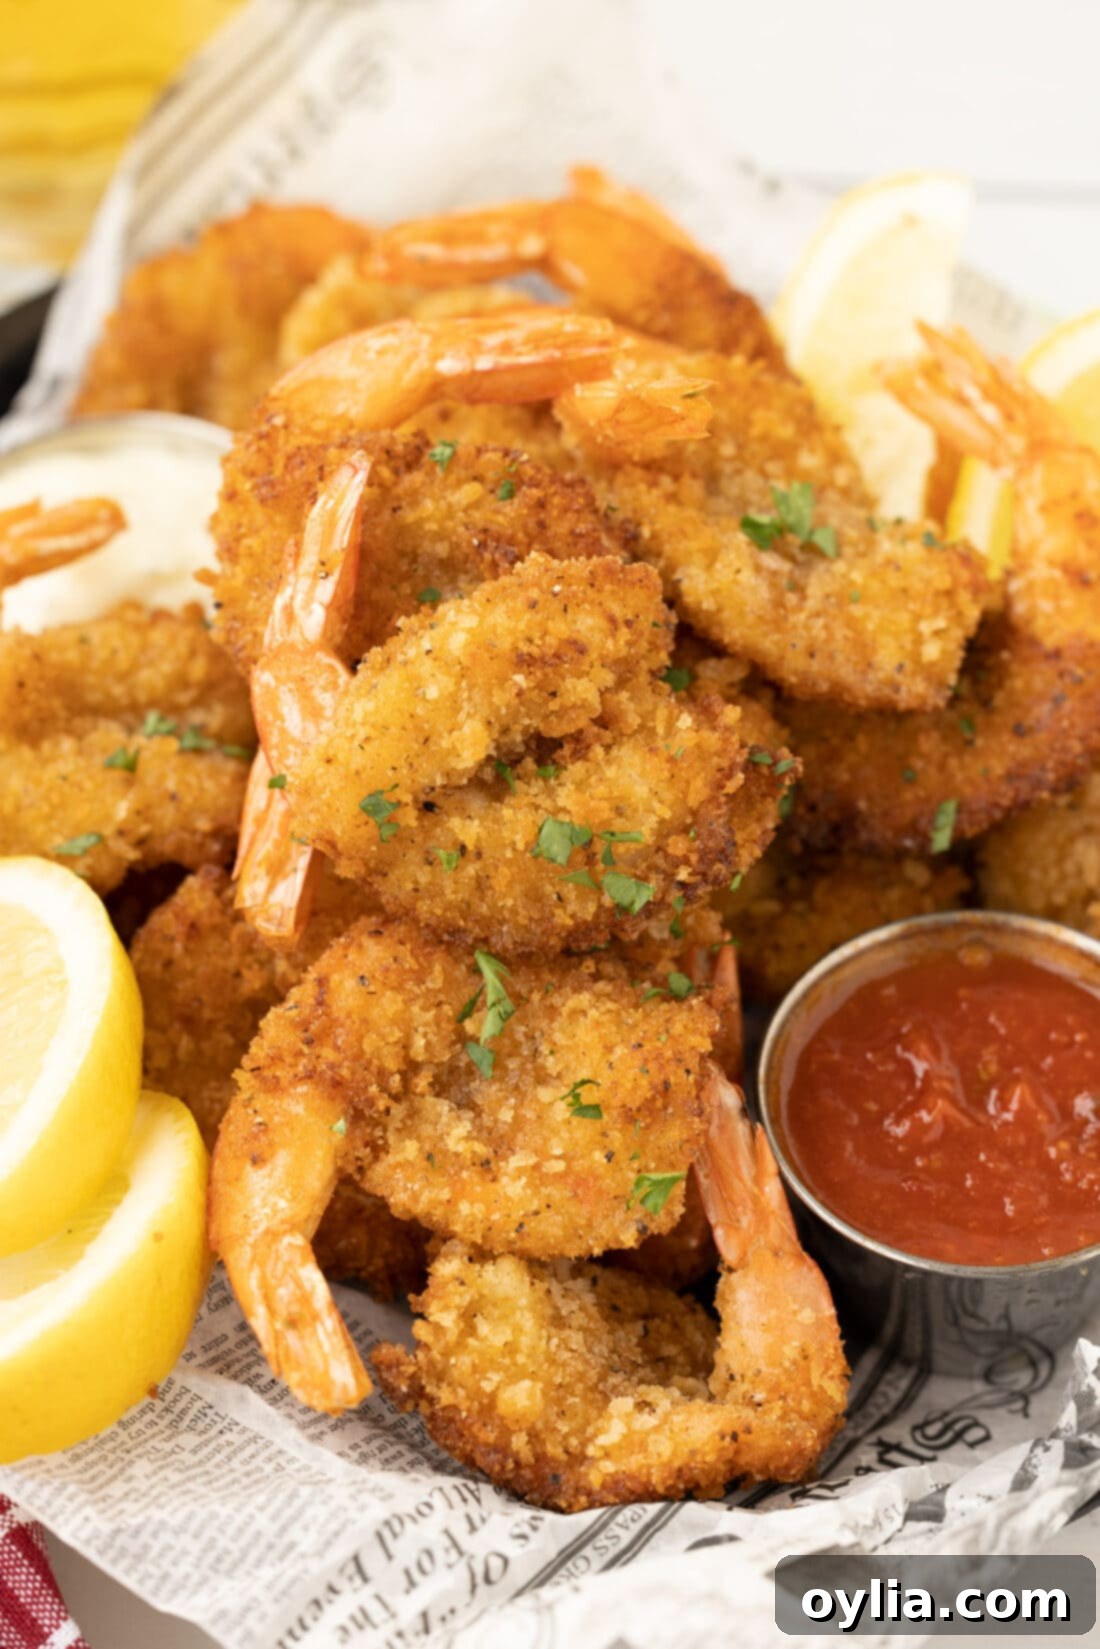
Delectable Serving Suggestions for Your Crispy Butterfly Shrimp
Crispy butterfly shrimp are incredibly versatile and pair wonderfully with a variety of sides and dipping sauces. For the ultimate classic experience, serve them piping hot with generous bowls of zesty cocktail sauce and tangy tartar sauce. Don’t forget fresh lemon wedges for squeezing over the top – the bright citrus cuts through the richness of the fried shrimp beautifully.
When it comes to side dishes, consider options that complement the texture and flavor. Classic pairings include golden french fries or crispy sweet potato fries for an irresistible crunch. A creamy coleslaw or a light, refreshing garden salad can provide a lovely contrast. For something heartier, macaroni and cheese, rice pilaf, or fresh corn on the cob (or a vibrant corn salad) are excellent choices. If you’re hosting a party, consider serving these shrimp as an appetizer alongside other finger foods, or as the main event for a casual weeknight dinner.
More Irresistible Shrimp Recipes to Explore
If you’ve fallen in love with these crispy butterfly shrimp, you’re in for a treat! Shrimp is a fantastic protein that lends itself to countless delicious preparations. Explore some of our other favorite shrimp recipes to add more seafood variety to your meal plan:
- Shrimp Boil: A festive, flavorful feast perfect for gatherings.
- Crispy Shrimp: Another fantastic option for perfectly crunchy shrimp.
- Sauteed Shrimp: Quick, easy, and bursting with flavor for a light meal.
- Popcorn Shrimp: Bite-sized delights that are always a crowd-pleaser.
- Blackened Shrimp: Bold, spicy, and incredibly aromatic.
- Air Fryer Shrimp: A lighter, equally delicious way to get crispy shrimp.
I love to bake and cook and share my kitchen experience with all of you! Remembering to come back each day can be tough, that’s why I offer a convenient newsletter every time a new recipe posts. Simply subscribe and start receiving your free daily recipes!
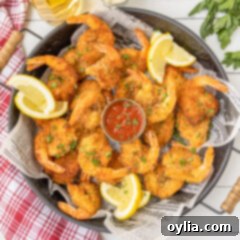
Butterfly Shrimp
IMPORTANT – There are often Frequently Asked Questions within the blog post that you may find helpful. Simply scroll back up to read them!
Print It
Pin It
Rate It
Save It
Saved!
Ingredients
- 1 pound grilling shrimp peeled, deveined, tails on
- 1 cup breadcrumbs
- 2 cups panko breadcrumbs
- ½ Tablespoon garlic salt
- ½ Tablespoon Old Bay seasoning
- 1 teaspoon black pepper
- 2 large eggs
- 2 Tablespoons water
- 1 cup all-purpose flour
- 1 ½ cups vegetable oil for frying
Things You’ll Need
-
Large heavy bottomed skillet
-
Wire cooling racks
-
Baking sheet
-
Tongs
-
Vinyl gloves
Before You Begin
- The shrimp will cook quickly because it is so thin. Be careful not to overcook or they will become rubbery. You basically just need enough time to brown the breading.
- The shrimp we used are called grilling shrimp and we get them from the grocery store seafood counter.
- Grilling shrimp are larger and heartier than other shrimp.
- Nutrition facts listed do not include the oil needed for frying.
Instructions
-
Rinse shrimp and pat dry with paper towels.
-
Line a large baking sheet with paper towel. Place wire rack over the baking sheet and set aside to use for the cooked shrimp.
-
With gloved hands, carefully butterfly each shrimp by carefully slicing through the center of the shrimp but not cutting all the way through. Place butterflied shrimp on a second wire rack.
-
In a medium bowl, combine bread crumbs, pinko bread crumbs, garlic salt, Old Bay, and black pepper.
-
In another medium bowl whisk together eggs and water.
-
Place flour in a third medium bowl.
-
Dip a shrimp into the flour, coating both sides.
-
Dip floured shrimp into egg/water mixture.
-
Lastly dip shrimp into bread crumb mixture, pressing down gently on both sides to adhere.
-
Place breaded shrimp on wire rack and continue this process until all shrimp are breaded.
-
Heat oil in skillet over medium until shimmering.
-
Place shrimp into hot oil being careful not to crowd. You may need to cook in batches.
-
Cook for about 2 minutes on each side.
-
Remove to paper towel lined pan with wire rack.
Nutrition
The recipes on this blog are tested with a conventional gas oven and gas stovetop. It’s important to note that some ovens, especially as they age, can cook and bake inconsistently. Using an inexpensive oven thermometer can assure you that your oven is truly heating to the proper temperature. If you use a toaster oven or countertop oven, please keep in mind that they may not distribute heat the same as a conventional full sized oven and you may need to adjust your cooking/baking times. In the case of recipes made with a pressure cooker, air fryer, slow cooker, or other appliance, a link to the appliances we use is listed within each respective recipe. For baking recipes where measurements are given by weight, please note that results may not be the same if cups are used instead, and we can’t guarantee success with that method.
