Crispy Pan-Fried Shrimp: Your Ultimate Guide to Perfect Crunchy Bites
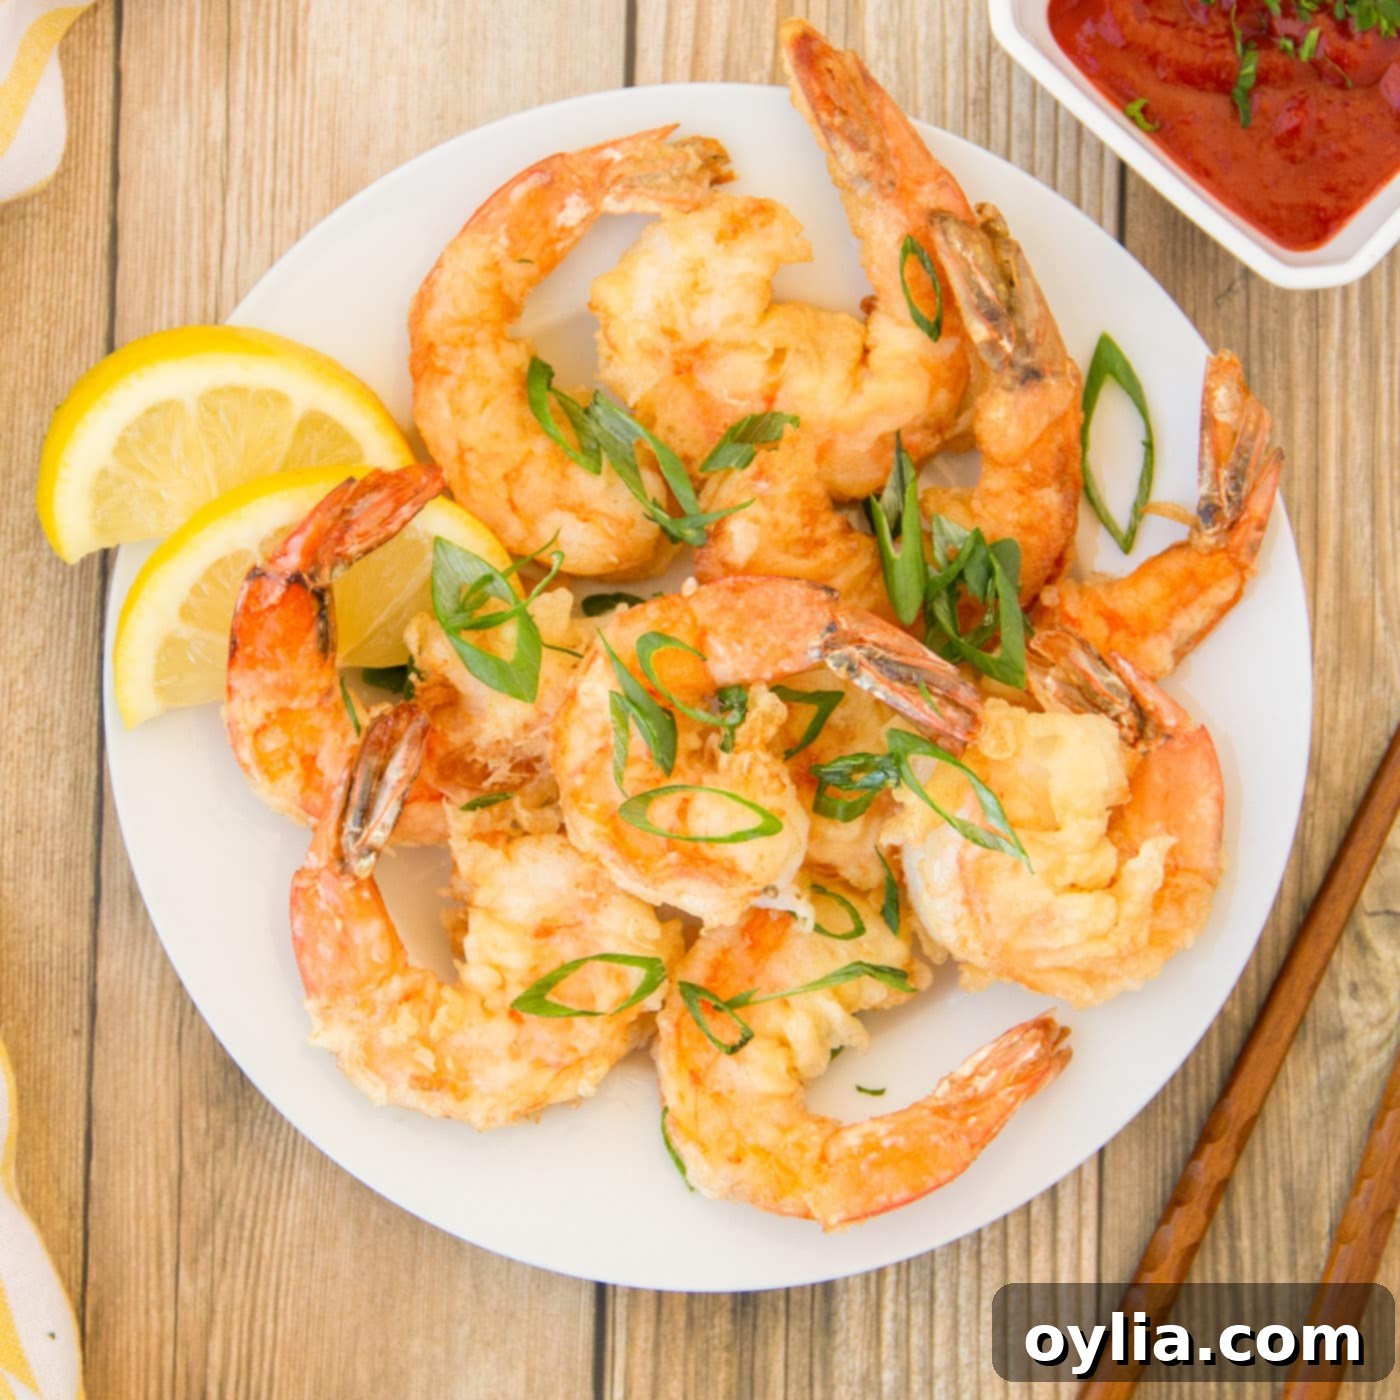
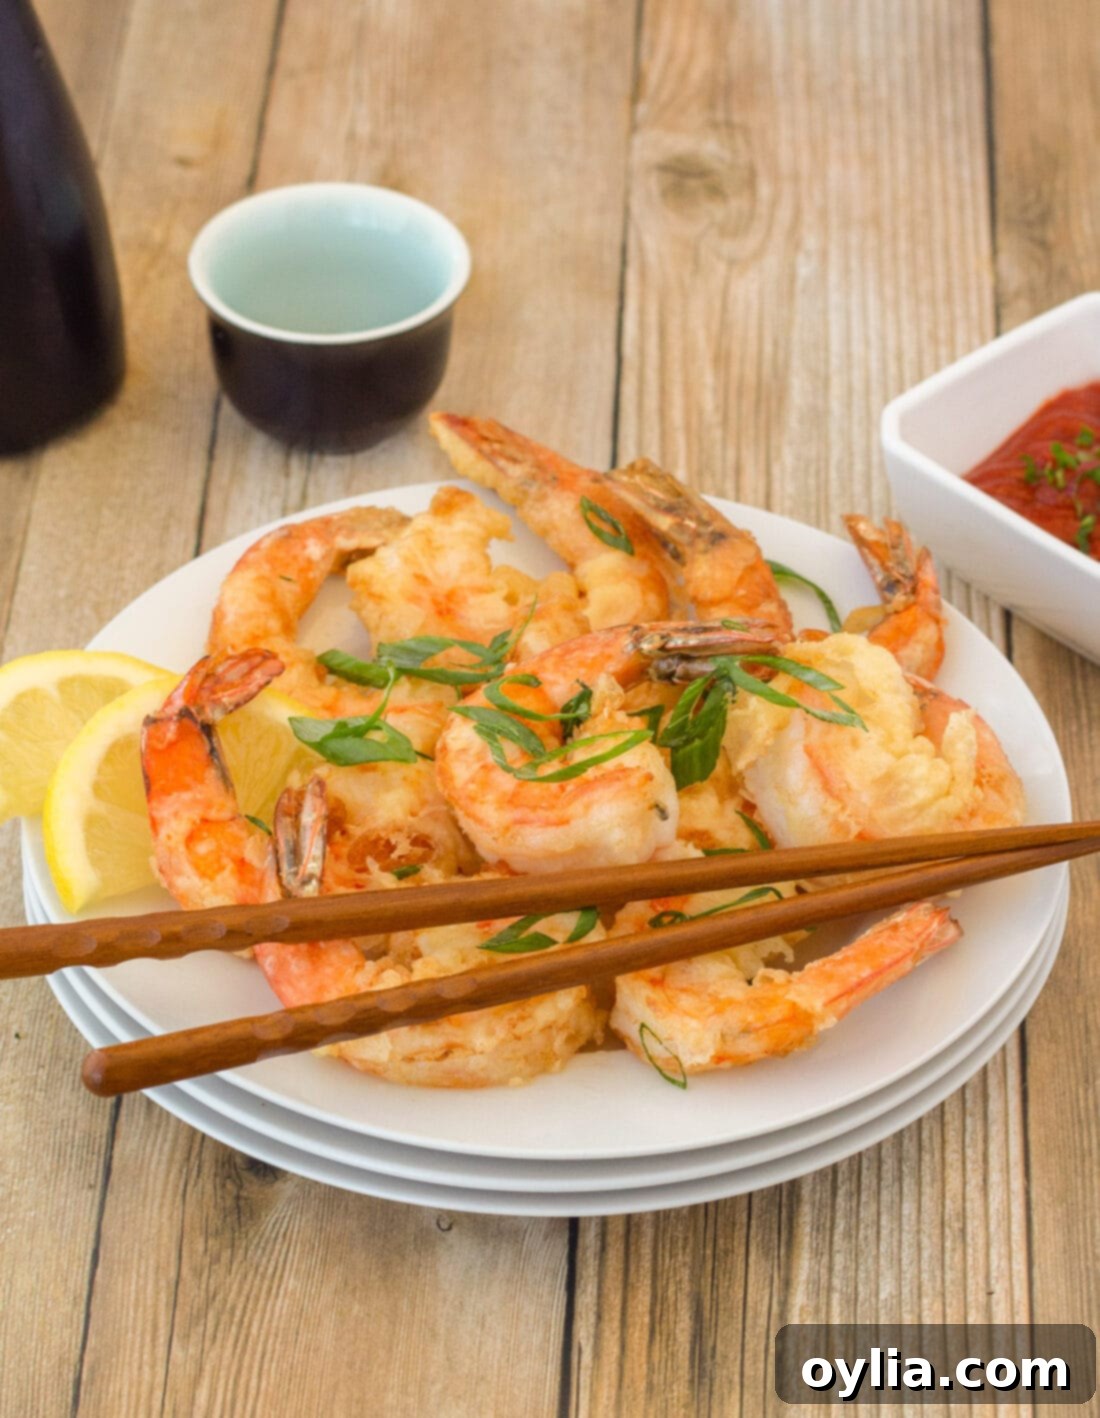
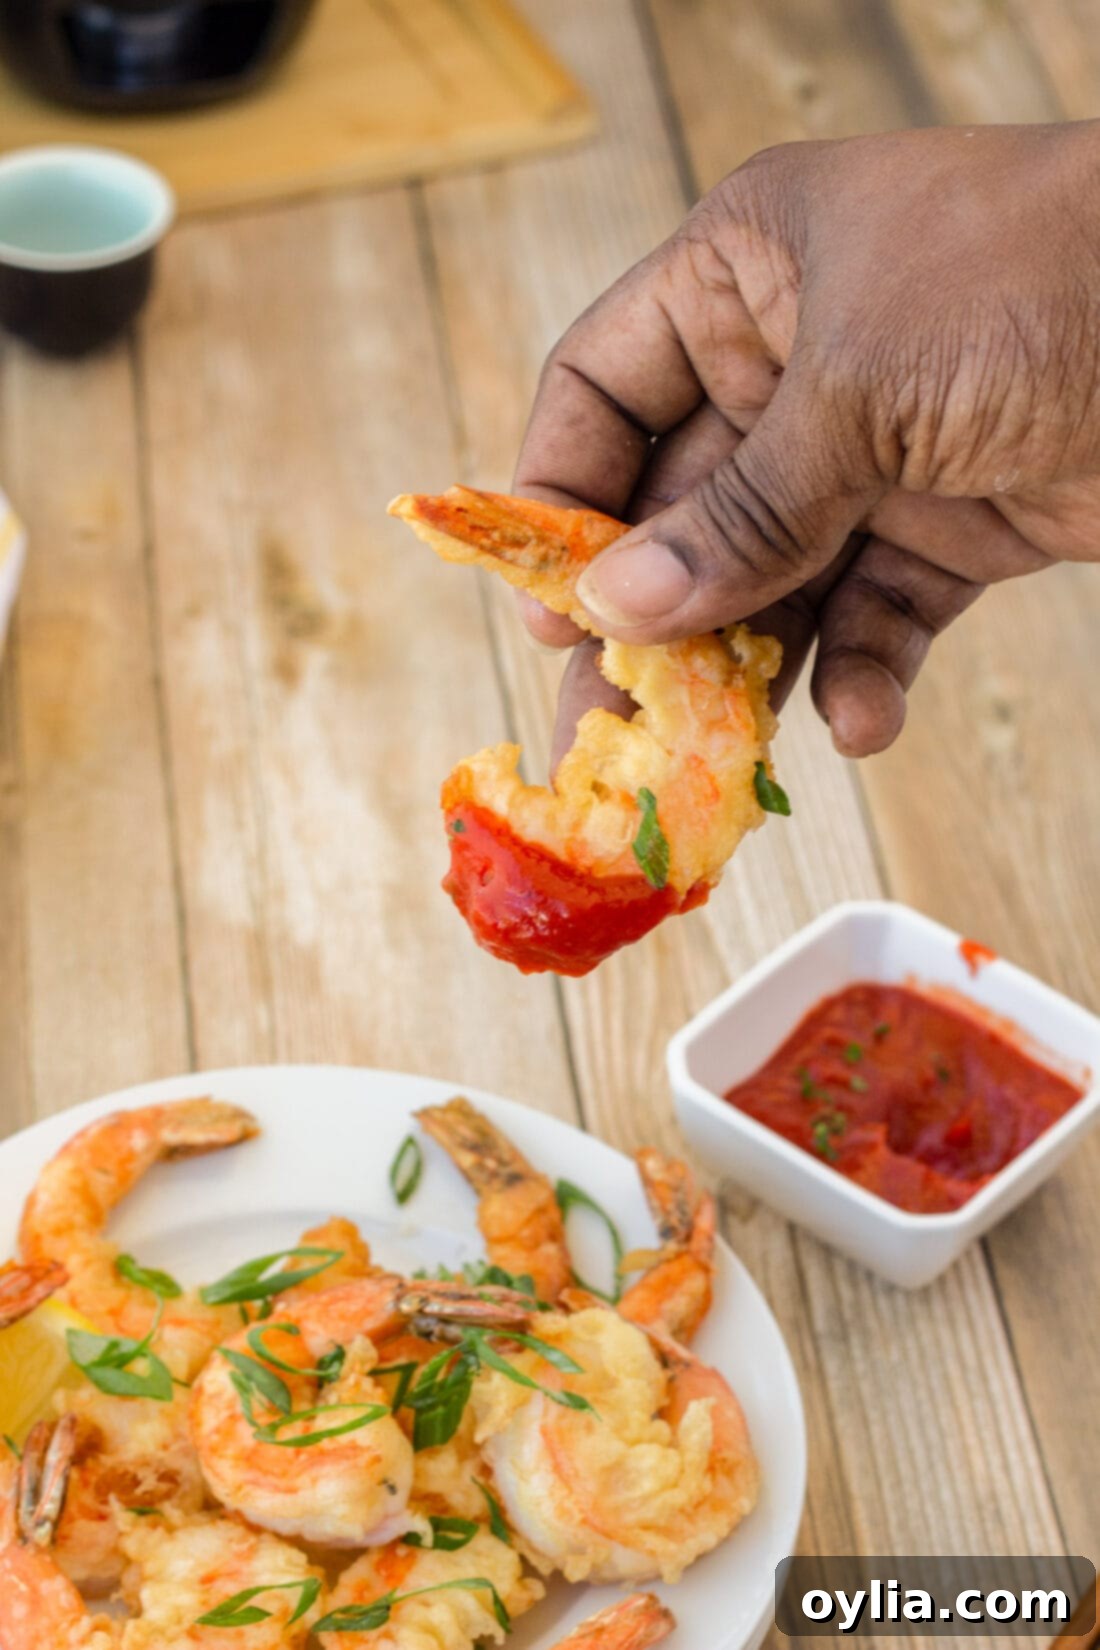
Imagine biting into a perfectly plump, juicy shrimp, encased in a golden, remarkably crispy coating that delivers just the right amount of crunch. This isn’t a dream; it’s exactly what you’ll achieve with our incredibly easy pan-fried crispy shrimp recipe! Unlike heavily breaded versions that can feel dense and greasy, this recipe focuses on a light batter that ensures maximum crispiness without overpowering the delicate flavor of the shrimp. Simply flash-fry them in a skillet until they reach a beautiful, golden-brown perfection, and get ready to impress your taste buds and your guests!
Why This Crispy Shrimp Recipe Works So Well
This crispy shrimp recipe is a true kitchen hero – it’s incredibly simple to prepare, requiring just a handful of everyday ingredients and a mere 20 minutes from start to finish. The magic lies in our carefully crafted, light batter, which is designed to deliver maximum crispiness without a heavy, overwhelming coating. You’ll simply toss your prepared shrimp in this special batter and then pan-fry them in hot oil until they turn a beautiful, crisp golden brown.
It’s an excellent way to elevate ordinary shrimp dishes and makes for a fantastic appetizer at parties or a quick, satisfying meal for any night of the week. Forget the often-soggy results of overly breaded seafood; our method ensures each bite is perfectly crunchy and full of flavor. This recipe offers a delightful alternative to plain sauteed shrimp, introducing a texture that’s both exciting and incredibly addictive.
While similar in method to popular dishes like Shrimp Tempura, our approach uses a slightly thinner batter. This subtle difference is key to achieving that signature delicate crispiness that truly makes these pan-fried shrimp stand out. The result is a wonderfully flavorful shrimp with an amazing texture that doesn’t rely on thick breading, allowing the natural sweetness of the shrimp to shine through. It’s a versatile dish that promises a delightful culinary experience every time.
Essential Ingredients for Your Crispy Shrimp
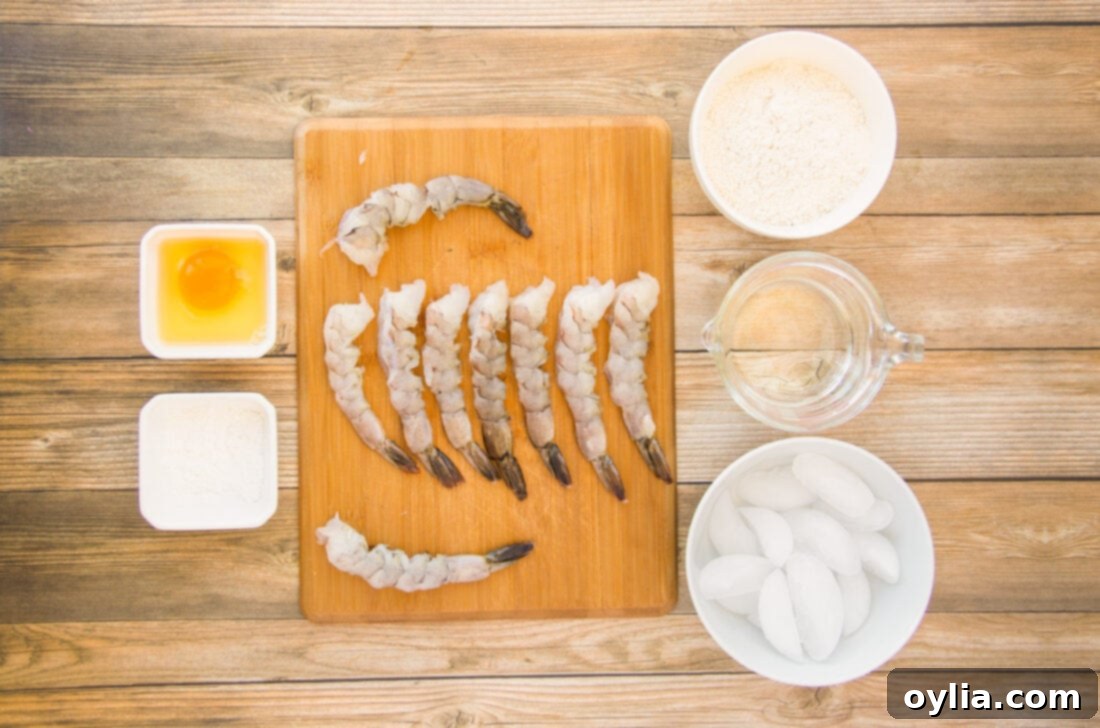
Gathering your ingredients is the first step to culinary success! For precise measurements, detailed instructions, and a convenient printable version of this recipe, please refer to the recipe card located at the very end of this post. We’ll cover the main components here, but the full recipe will provide all the specifics you need to get cooking.
Ingredient Spotlight & Smart Substitutions
Let’s dive deeper into the ingredients, discussing their roles and offering useful tips for substitutions or variations to ensure your crispy shrimp are always a success.
- SHRIMP – For this recipe, we utilized 1/2 pound of fresh grilling shrimp. The beauty of this dish is its flexibility; almost any variety of fresh shrimp will yield fantastic results. If you’re opting for frozen shrimp, which works perfectly fine, make sure to completely thaw them first. Patting them thoroughly dry with paper towels is a crucial step – excess moisture prevents the cornstarch and batter from adhering properly, which is essential for that coveted crispy texture. Consider using medium to large shrimp for the best bite.
- CORNSTARCH – This might seem like a small detail, but cornstarch plays a significant role! Applying a light dusting of cornstarch to the shrimp before dipping them in the batter creates an extra layer of crispiness and helps the batter stick more effectively. It also absorbs any residual moisture, further ensuring a dry, crunchy exterior.
- EGG, FLOUR, AND ICED WATER – These are the building blocks of our signature light batter. The egg acts as a binder, while the all-purpose flour provides structure. The use of iced water (without the ice, just the very cold water) is a key technique for achieving a light, airy, and incredibly crispy coating. The cold temperature of the batter reduces gluten development in the flour, making the coating lighter, and also creates a greater temperature contrast when it hits the hot oil, resulting in a more dramatic crisping effect. You can experiment with a tiny pinch of baking powder in the flour for an even lighter batter, though it’s not strictly necessary for this recipe’s success.
- OLIVE OIL – While the recipe specifies olive oil for pan-frying, you can certainly substitute it with other high smoke point oils suitable for frying. Good alternatives include vegetable oil, canola oil, peanut oil, or even sunflower oil. The key is to use an oil that can withstand the medium-high heat required without burning, which would impart an unpleasant flavor. Ensure you have enough oil to come up about 1/4-inch in your skillet, allowing for proper shallow frying.
- SEASONING (Optional but Recommended) – While the batter itself is mild, feel free to add a pinch of salt and pepper directly to the shrimp after patting them dry, or even a dash of garlic powder or paprika to the flour mixture for an extra layer of flavor.
Step-by-Step: Crafting Your Perfect Crispy Shrimp
These step-by-step photos and detailed instructions are provided to help you visualize each stage of making this delightful recipe. For the printable version, complete with all measurements and full instructions, you can Jump to Recipe at the bottom of this post.
- Prepare the Shrimp: Begin by thoroughly rinsing your shrimp under cold water. Once rinsed, it’s crucial to pat them completely dry with paper towels. Removing excess moisture is vital for the cornstarch and batter to adhere properly, ensuring a truly crispy outcome.
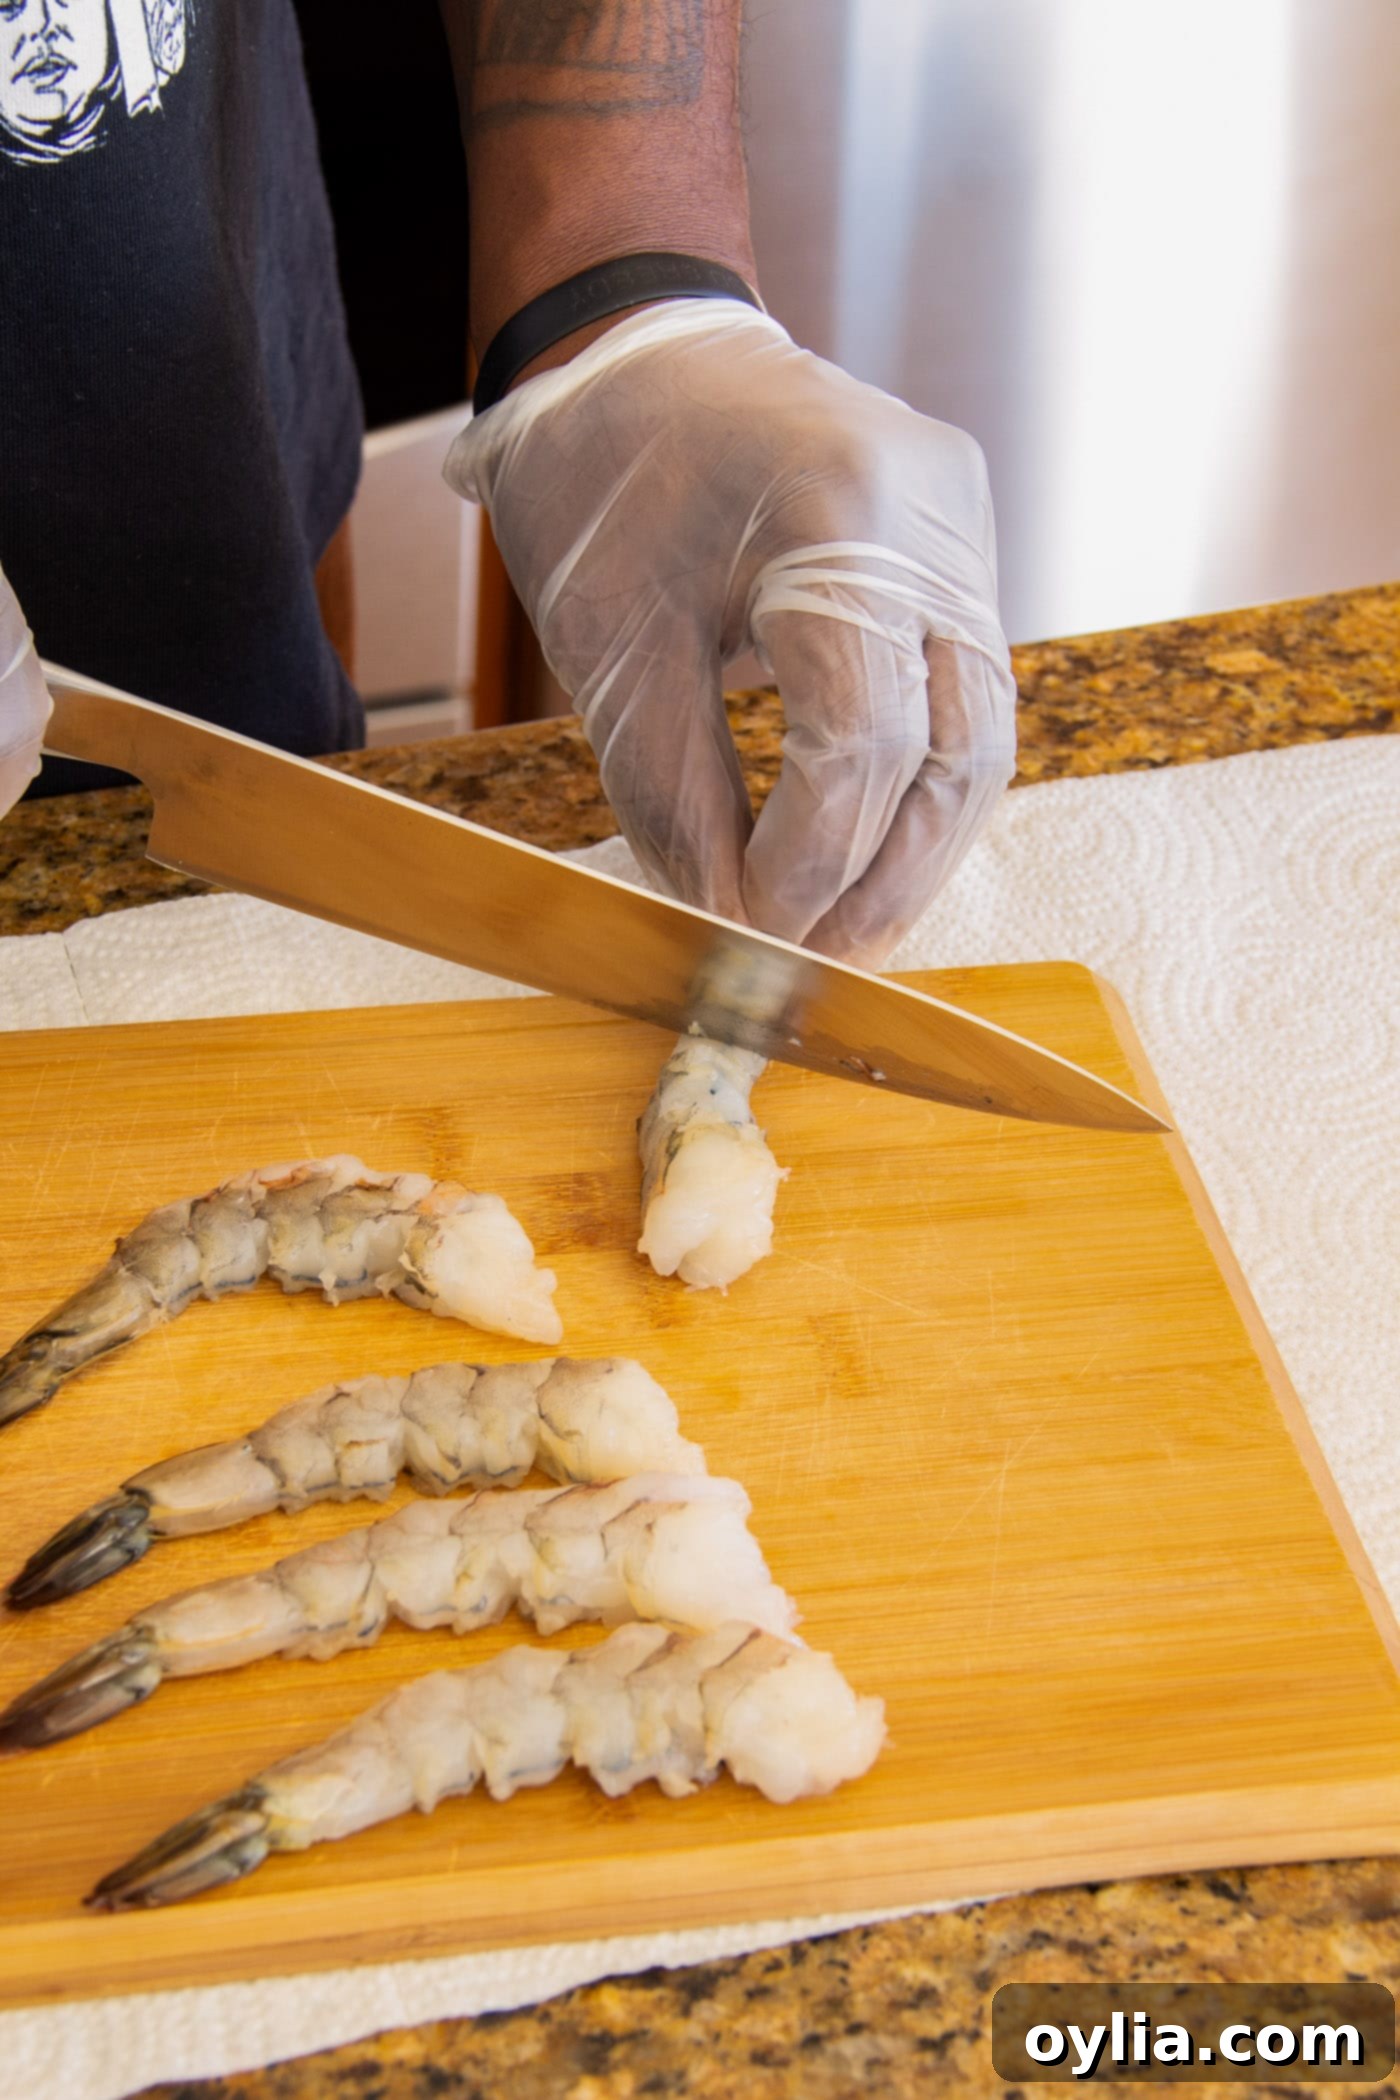
- Score the Shrimp: To prevent the shrimp from curling up tightly into a ball during cooking, we’ll score them. Make two shallow cuts through the vein on the underside of each shrimp: one closer to the head and another farther down near the tail. Remember, you’re only scoring the shrimp, not cutting all the way through them. This technique helps them maintain a straighter shape, which cooks more evenly and looks more appealing.

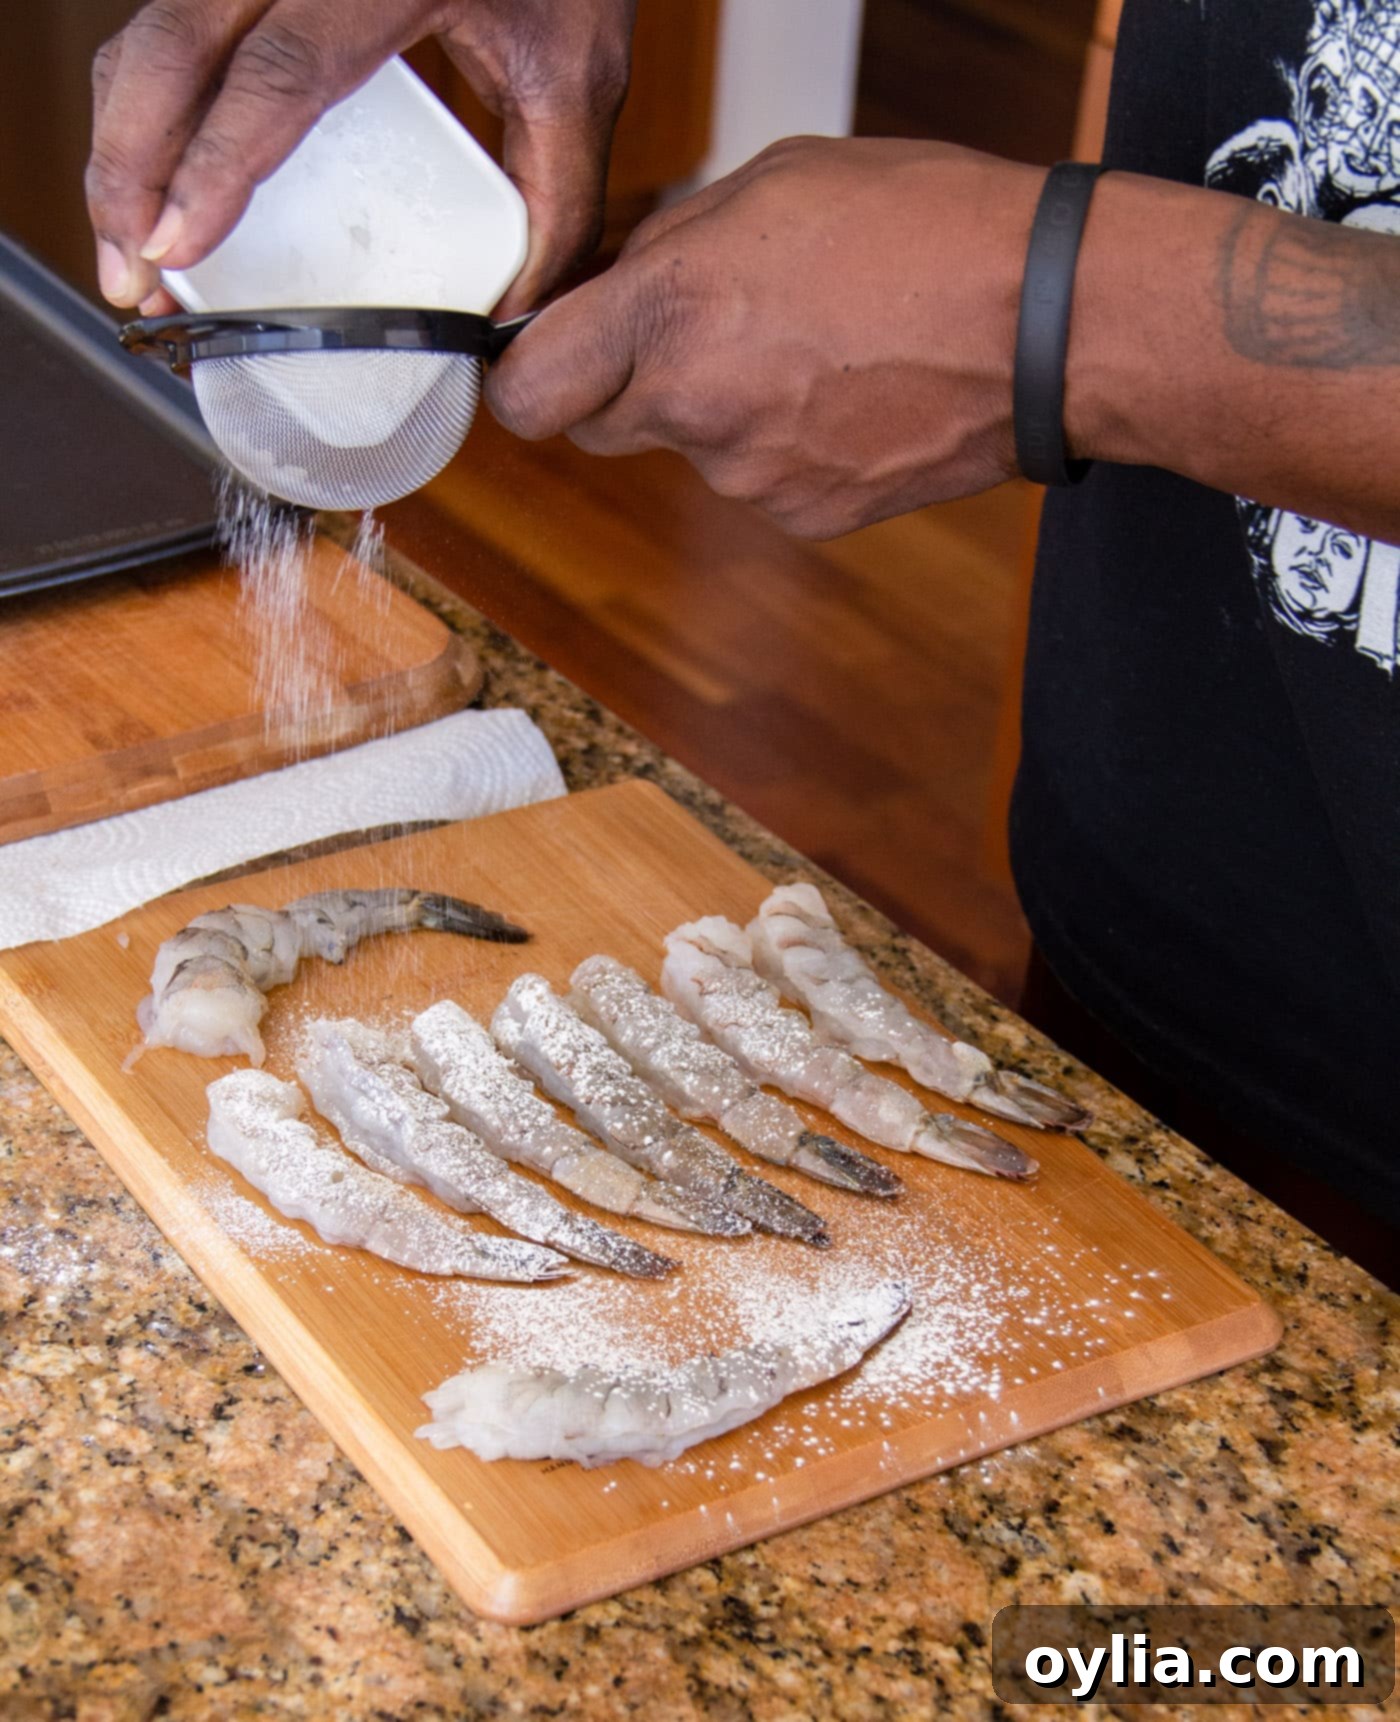
- Dust with Cornstarch: Place the scored shrimp on a clean cutting board. Hold a sifter above the shrimp and lightly sprinkle cornstarch over them. Gently turn the shrimp over to ensure both sides are lightly coated. This initial dusting helps create that extra crispy layer and ensures the batter adheres well. You might not use all of the cornstarch, just enough for a light, even coating.

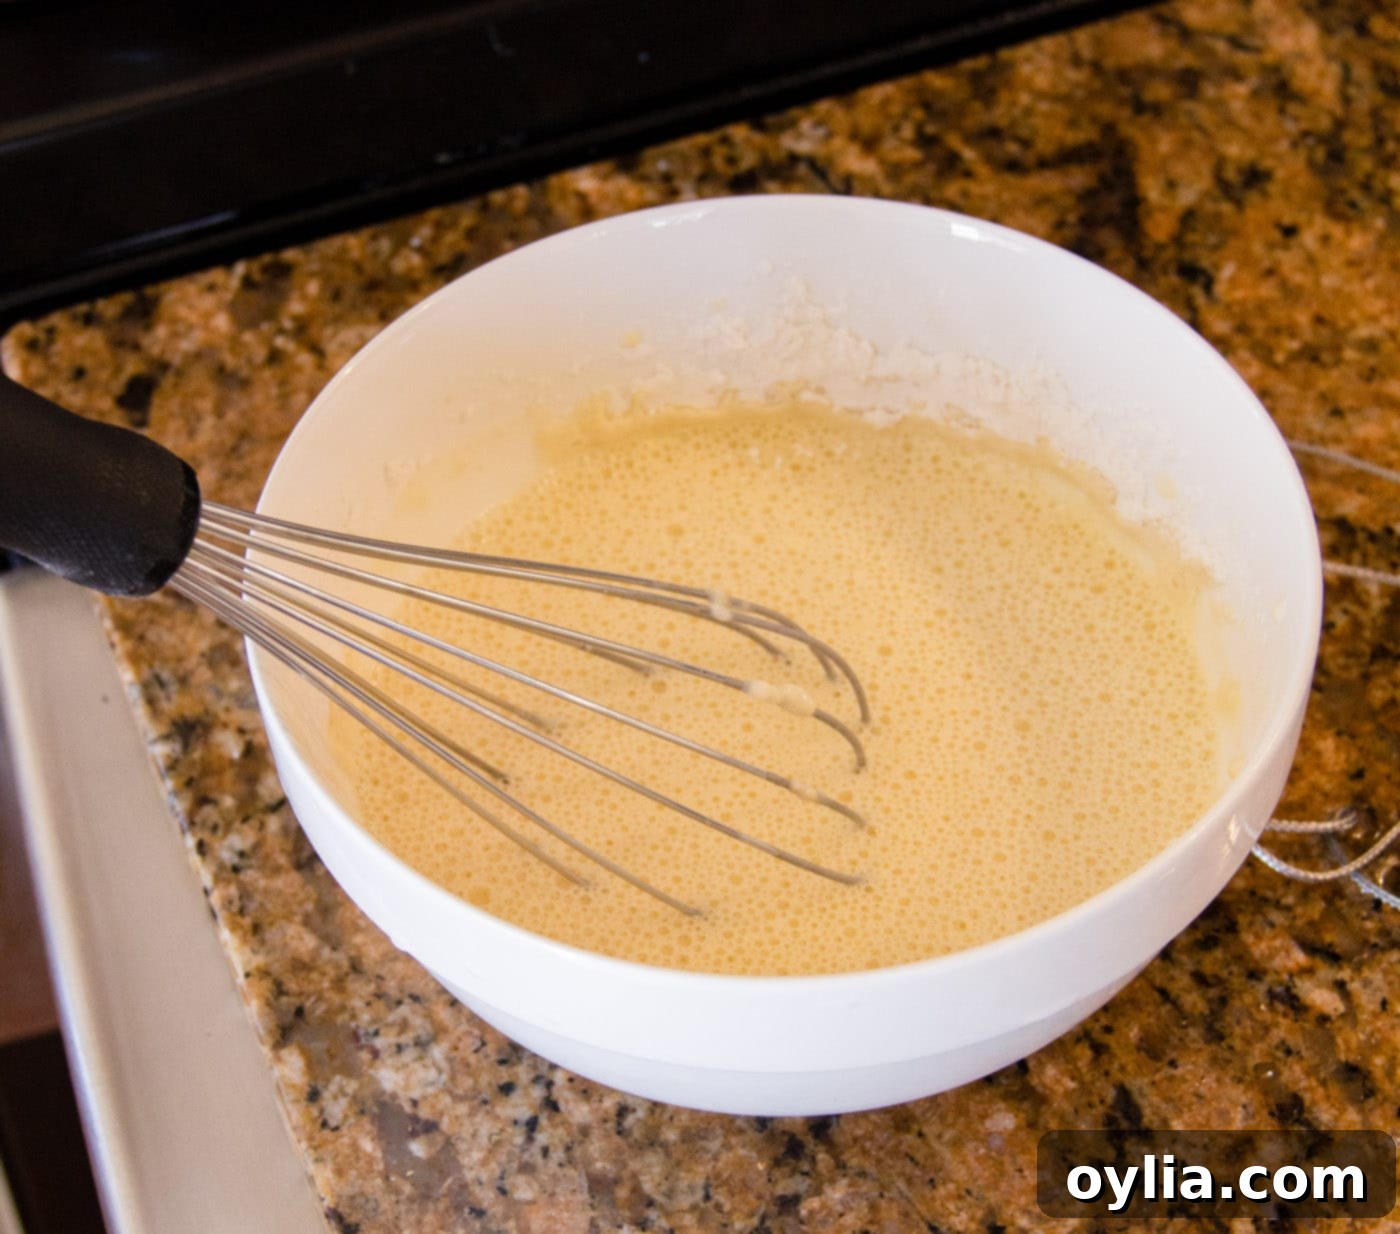
- Prepare the Batter: In a medium-sized mixing bowl, combine the egg, all-purpose flour, and iced water. Whisk these ingredients together until you achieve a smooth batter, free of lumps. Remember, only use the very cold water; discard any ice cubes to avoid diluting the batter. The cold batter is crucial for achieving that superior crispiness.

- Heat the Oil: Pour enough olive oil (or your preferred frying oil) into your skillet so that it comes up about 1/4-inch on the sides. Place the skillet over medium-high heat and allow the oil to preheat. For optimal results, use a candy thermometer to accurately gauge the temperature, aiming for 150-175 degrees Fahrenheit (approximately 65-80 degrees Celsius). Maintaining the correct oil temperature is vital for even cooking and preventing soggy shrimp.
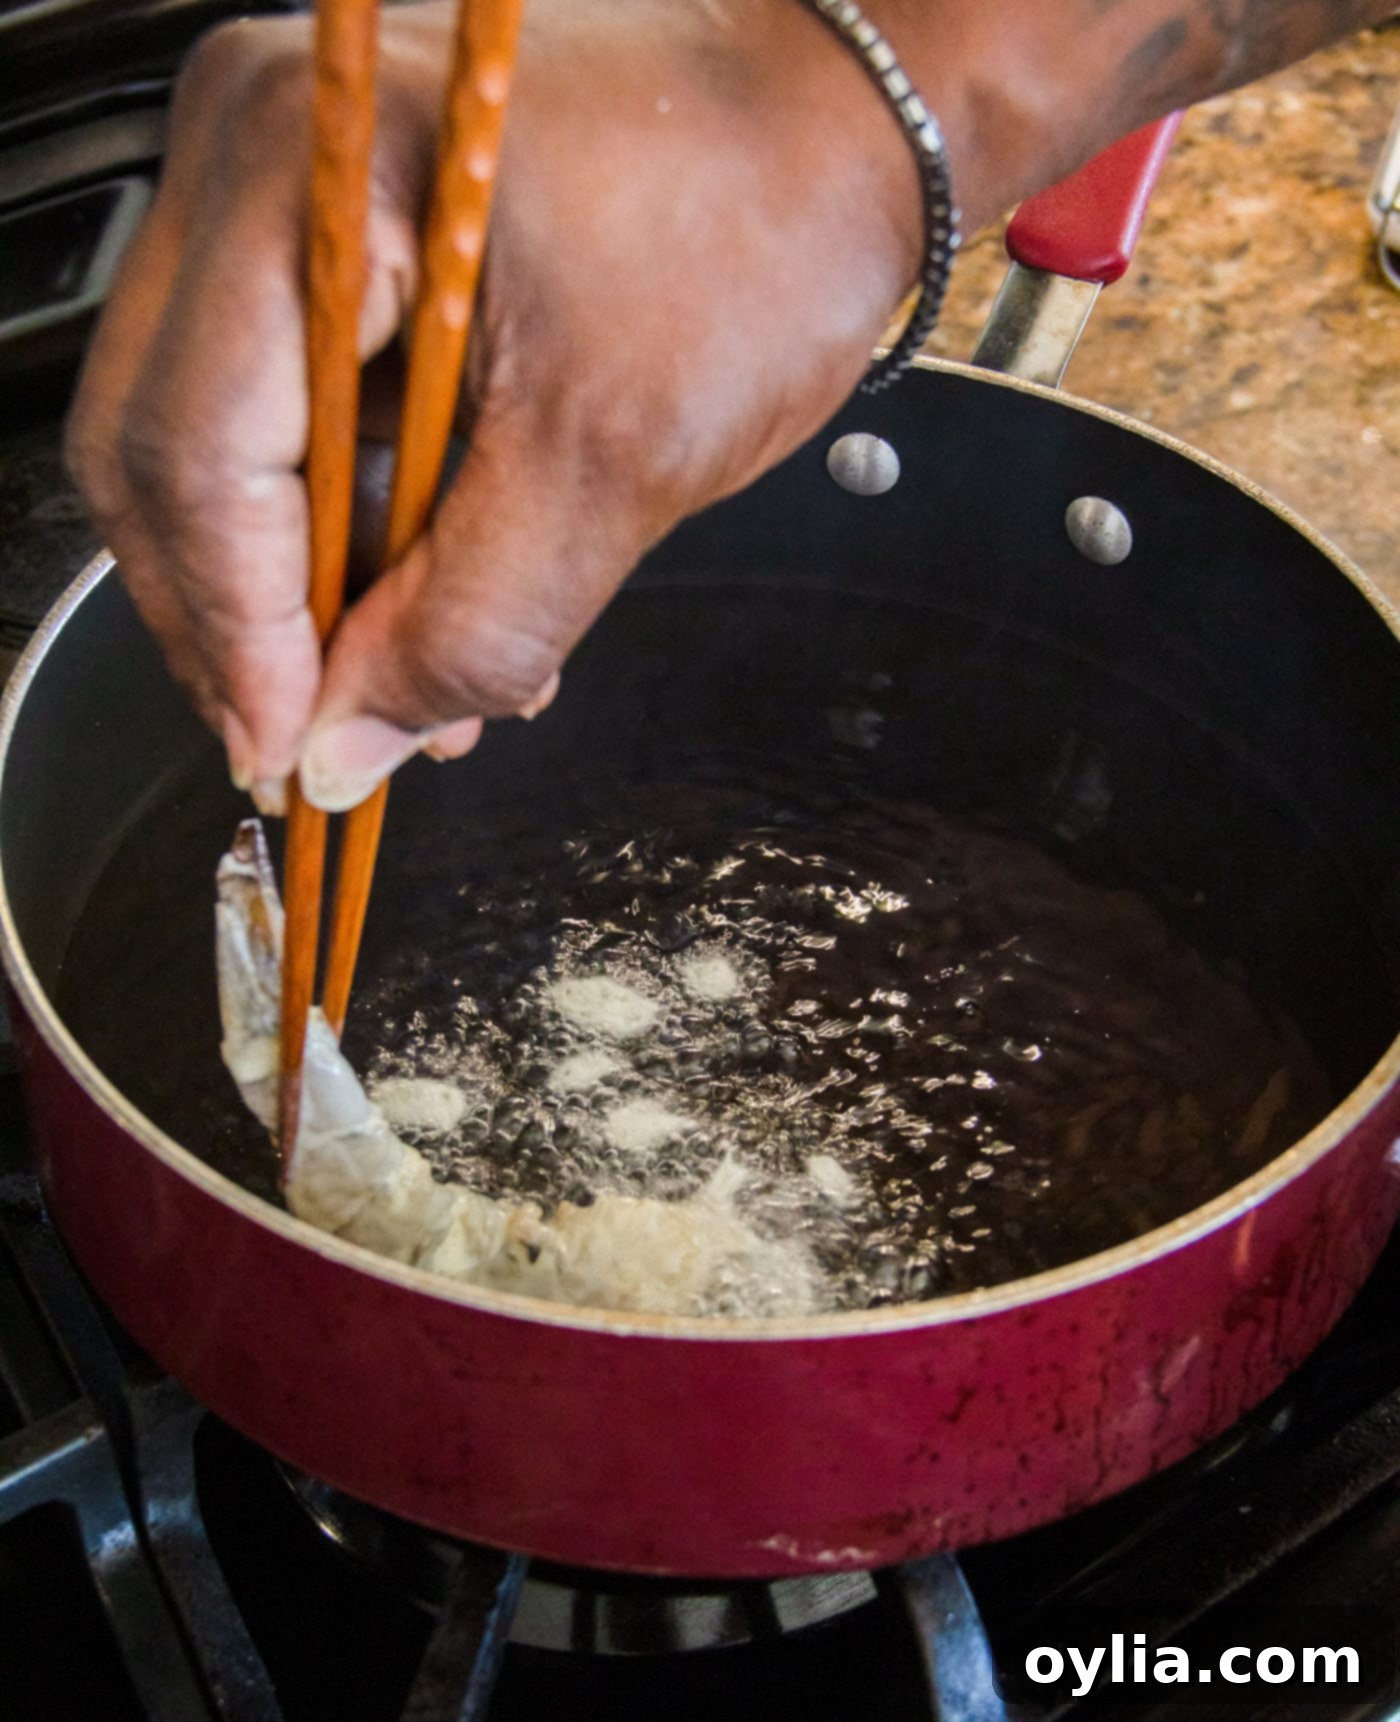
- Batter and Fry: Once your oil reaches the desired temperature, you’ll need to work efficiently. Using a pair of tongs, dip each shrimp into the prepared batter, allowing any excess to drip off for just a second. Immediately place the battered shrimp into the hot oil. Repeat this process with the remaining shrimp, ensuring not to overcrowd the skillet. Frying in batches is often best to maintain the oil’s temperature and ensure even crisping.

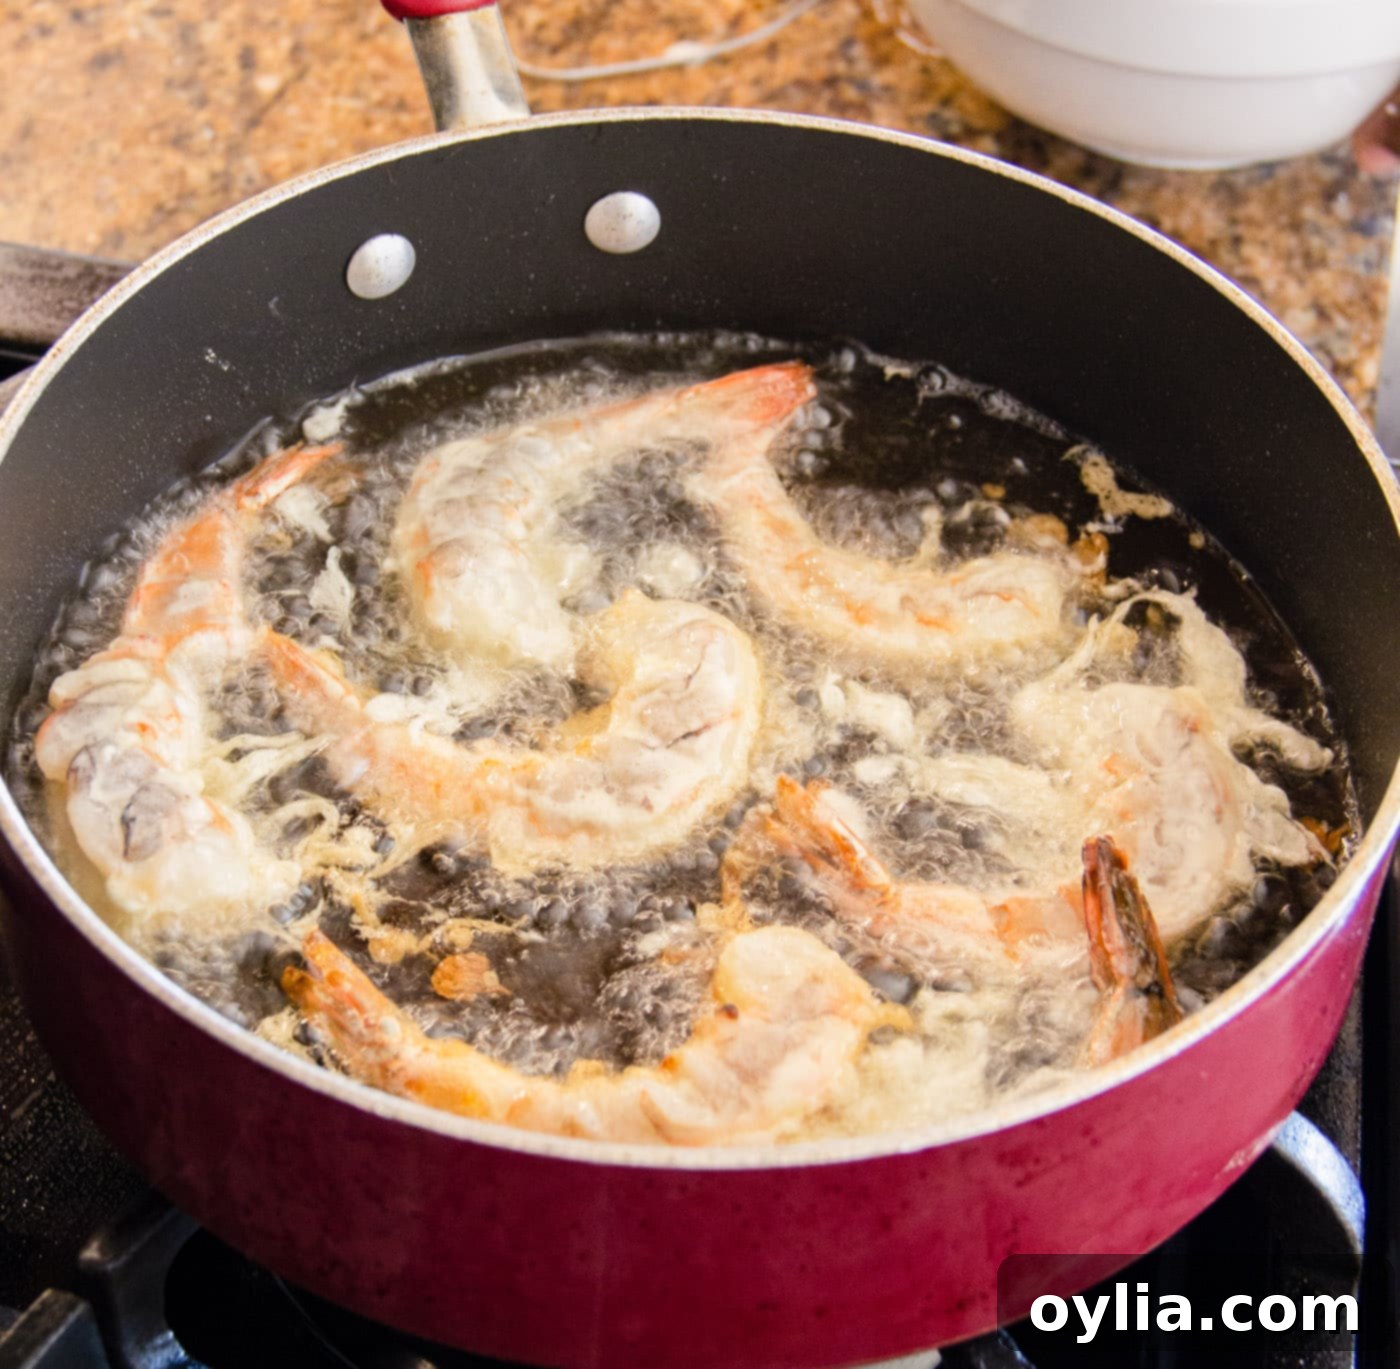
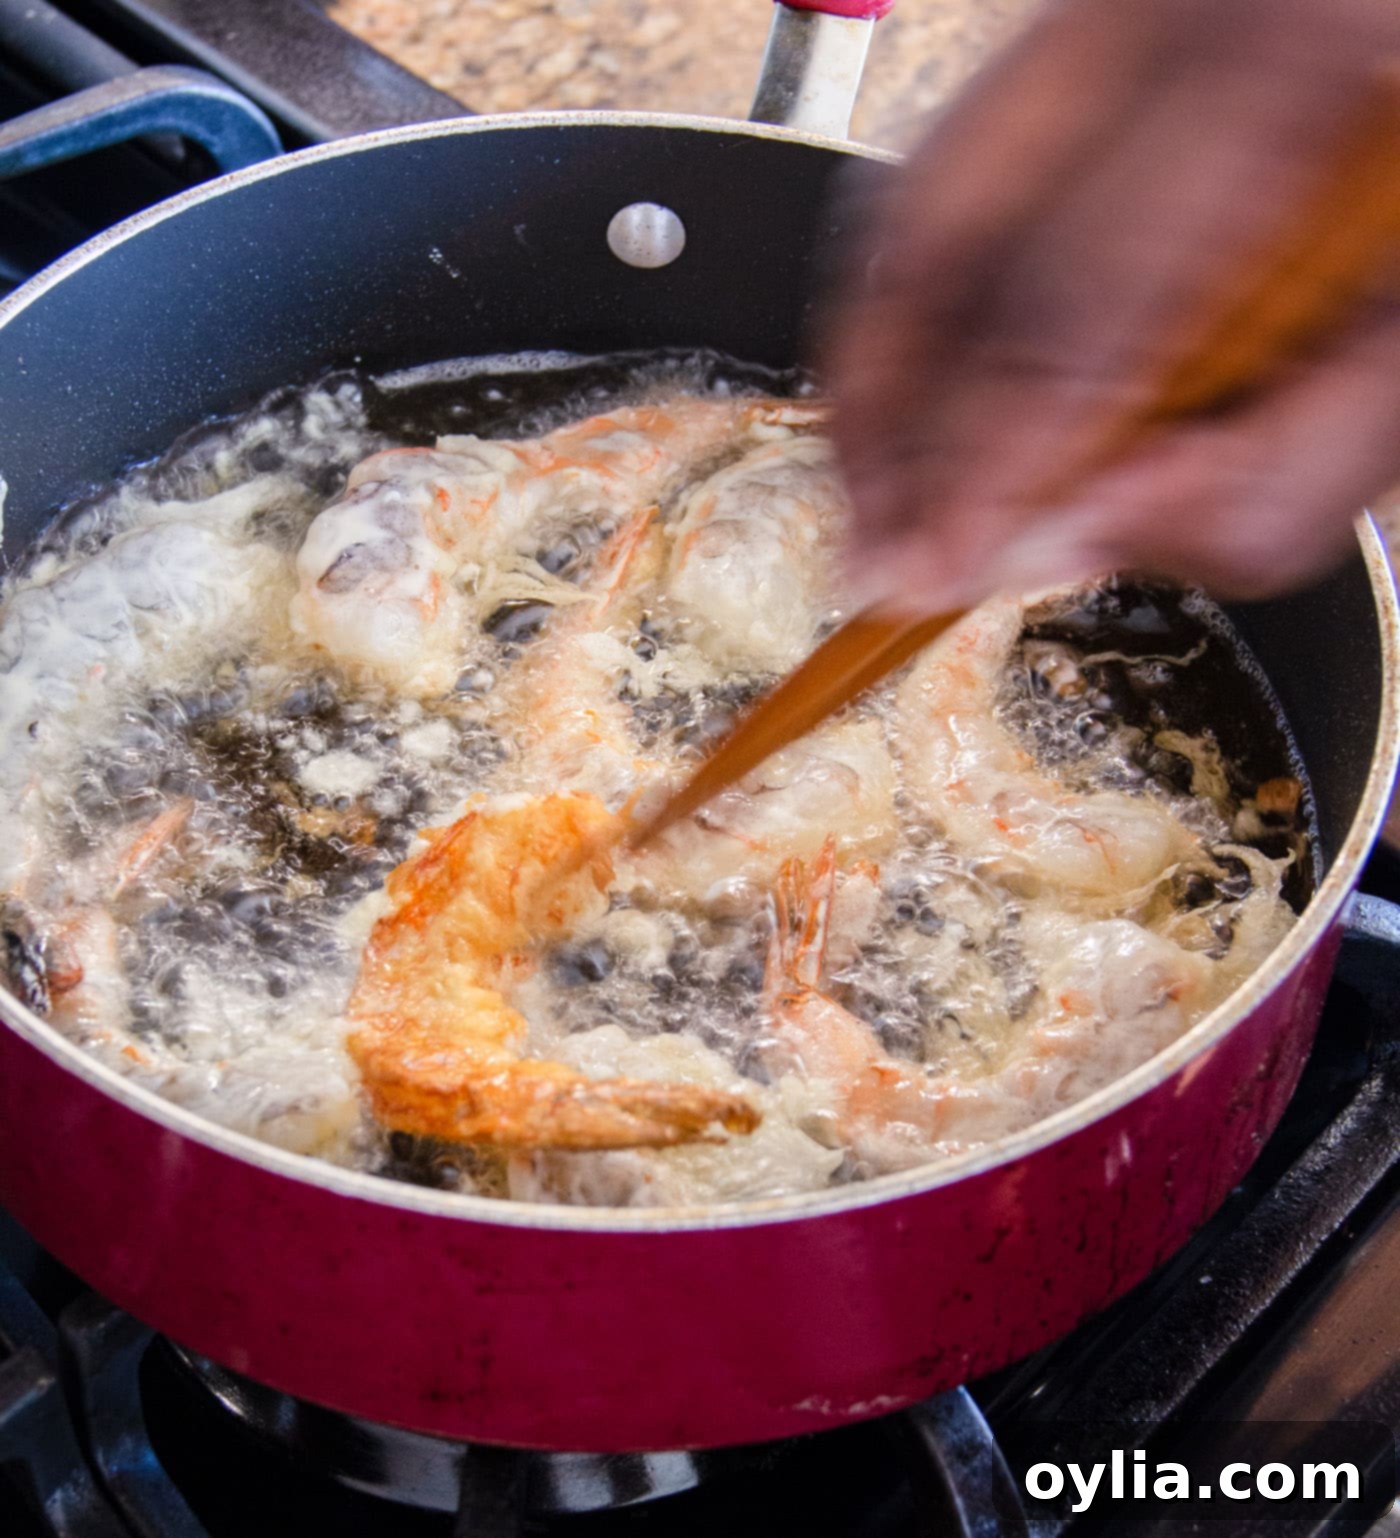
- Cook Until Golden: Cook the shrimp for approximately 3 minutes on each side, or until they are beautifully golden brown and cooked through. It’s crucial not to overcrowd the shrimp in the skillet, as this will lower the oil temperature and prevent them from crisping properly. Cook in batches if necessary, allowing sufficient space around each piece.


- Drain and Serve: Once cooked, remove the crispy shrimp from the skillet and transfer them to a plate lined with paper towels. This allows any excess oil to drain off, keeping your shrimp extra crispy and not greasy. Serve immediately for the best texture and flavor!
Frequently Asked Questions & Expert Tips for Perfect Crispy Shrimp
Expert Tips for Ultimate Crispiness
- Don’t Overcrowd the Pan: This is arguably the most important tip for frying. Frying too many shrimp at once will drastically lower the oil’s temperature, leading to soggy, oil-soaked shrimp instead of crispy ones. Work in batches to maintain consistent heat and ensure each shrimp gets that perfect golden crust.
- Maintain Oil Temperature: Use a thermometer to keep the oil within the recommended temperature range (150-175°F or 65-80°C). If the oil is too cool, the shrimp will absorb too much oil; if it’s too hot, the exterior will burn before the shrimp cooks through.
- Pat Shrimp Dry Thoroughly: Moisture is the enemy of crispiness. Even a little bit of water on the shrimp can lead to a less crunchy coating and potential oil splattering.
- Use Cold Batter: As mentioned, using iced water for the batter helps create a crispier result. Keep your batter chilled until just before use.
- Serve Immediately: Crispy shrimp are best enjoyed fresh out of the pan. While they can be reheated (see FAQ below), their peak crispiness is right after cooking.
If you find yourself with the rare luxury of leftovers, you can store your crispy shrimp in an airtight container in the refrigerator for 3-4 days. To best preserve their crispiness, ensure they have cooled completely before storing.
Reheating crispy shrimp while retaining their crunch can be tricky, but it’s definitely possible! Avoid the microwave, which will make them soggy. Instead, preheat your oven to 350°F (175°C) and spread the shrimp in a single layer on a baking sheet. Bake for 8-10 minutes, or until heated through and crisp. Alternatively, a preheated air fryer at 350°F (175°C) for 5-7 minutes works wonderfully, offering excellent results for restoring that desired crunch.
While all-purpose flour works perfectly, you can experiment with other flours. For an even lighter and crispier texture, some chefs use a mix of rice flour and potato starch, or even self-rising flour if you want a slightly puffier coating. However, for simplicity and consistent results, all-purpose flour is an excellent choice.
Delicious Serving Suggestions for Crispy Shrimp
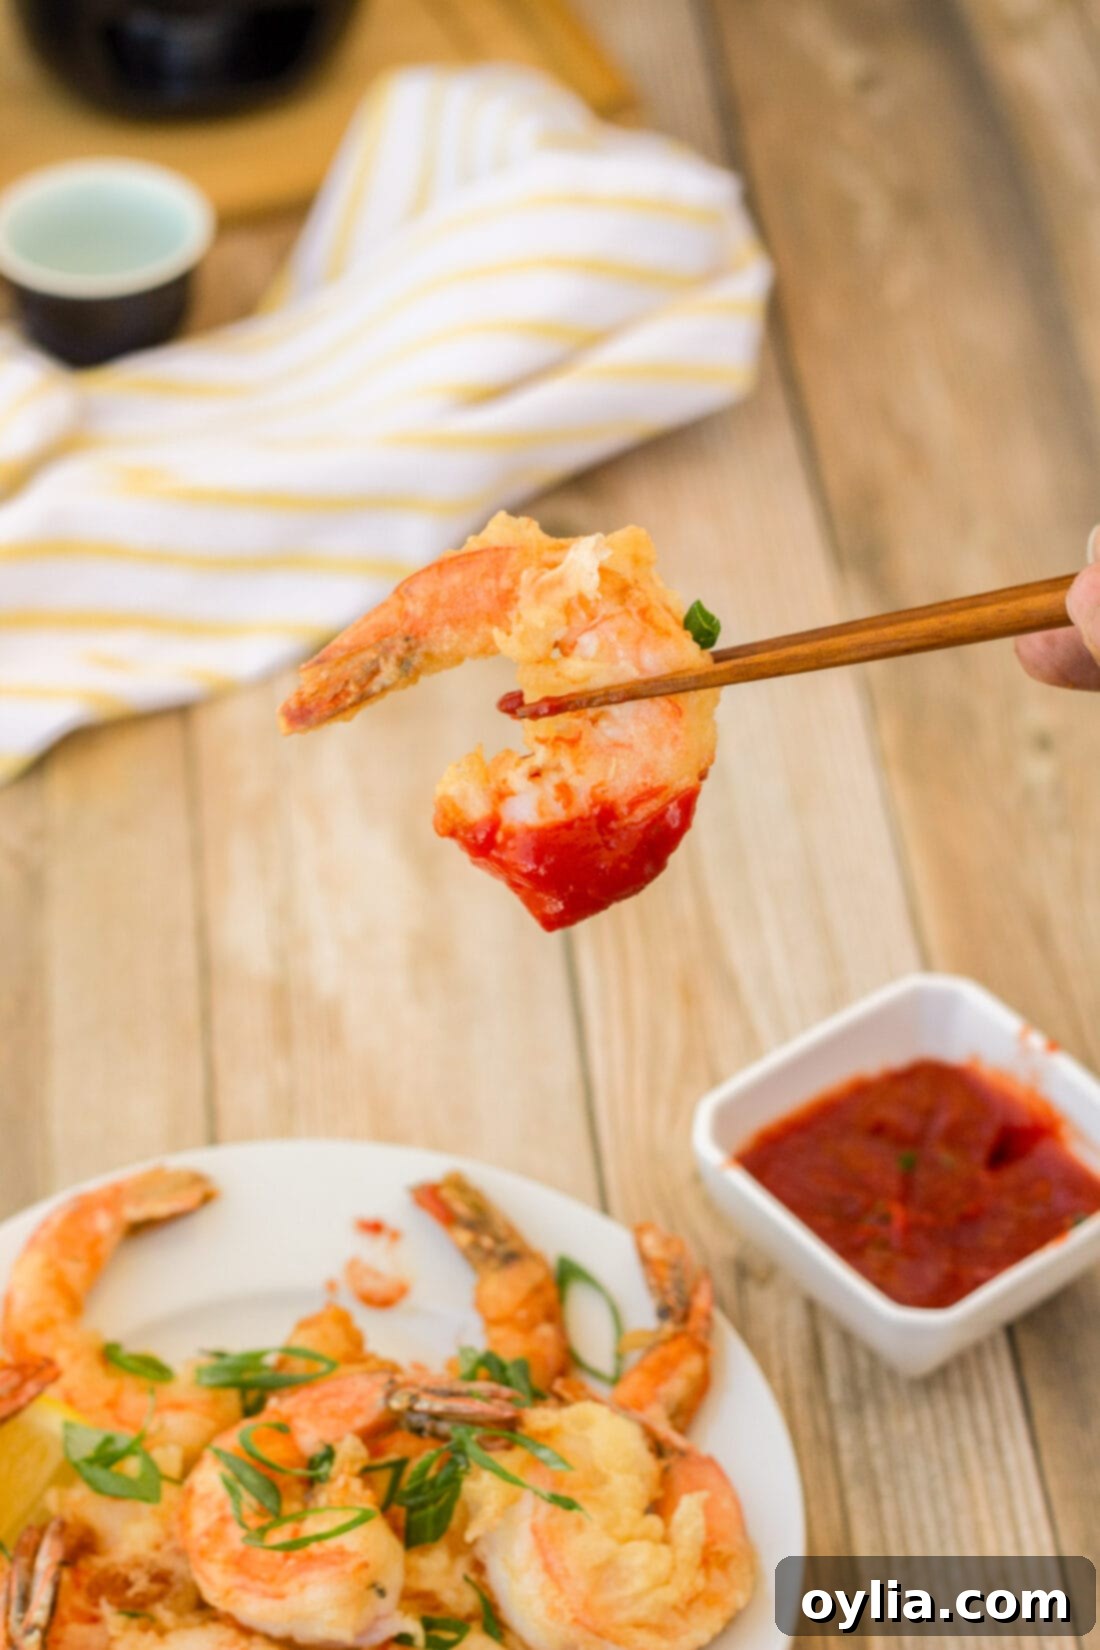
Crispy shrimp are incredibly versatile, making them a fantastic choice for both an elegant appetizer or a satisfying main course. Their light, crunchy texture pairs beautifully with a variety of flavors. Here are some ideas to elevate your dining experience:
- Dipping Sauces: The right dipping sauce can truly transform these crispy delights. Classic choices include tangy cocktail sauce or a rich garlic butter. For an adventurous twist, try a zesty sriracha mayo, a sweet chili sauce, or even a homemade lemon aioli. The creamy texture of a remoulade also works wonderfully! Our unique Alabama white sauce offers a distinct and delicious pairing.
- Appetizer Platter: Serve your crispy shrimp alongside fresh lemon wedges, a sprinkle of fresh parsley, and a selection of your favorite dipping sauces for a crowd-pleasing appetizer platter.
- As a Main Course:
- With Rice: Pair them with a bed of fluffy jasmine rice or a savory fried rice for a complete and comforting meal.
- In Tacos or Wraps: Chop them up and use them as a filling for exciting shrimp tacos, or light lettuce wraps with a drizzle of spicy mayo and fresh slaw.
- With Salad: Add them to a vibrant green salad for a delightful crunch and protein boost. A simple Caesar salad or an Asian-inspired slaw would be perfect.
- Alongside Vegetables: Serve with steamed asparagus, roasted broccoli, or a medley of stir-fried vegetables for a balanced and healthy dinner.
- On a Sandwich: Make a gourmet shrimp po’boy by placing them in a crusty roll with lettuce, tomato, and a generous dollop of remoulade sauce.
Explore More Delicious Shrimp Recipes
If you’re a fan of the versatility and deliciousness of shrimp, you’re in luck! We have a treasure trove of other fantastic shrimp recipes for you to explore. Whether you’re looking for quick weeknight dinners, impressive party dishes, or healthy meal options, there’s something here for every shrimp lover:
- Shrimp Tacos – A fiesta of flavors in every bite!
- Shrimp Pasta – Comfort food with a seafood twist.
- Grilled Shrimp – Perfect for summer barbecues.
- Shrimp Salad – Light, refreshing, and full of flavor.
- Shrimp Fajitas – Sizzling and vibrant, a weeknight favorite.
- Shrimp Kabobs – Easy, colorful, and great for grilling.
- Air Fryer Shrimp – For a healthier, equally crispy option.
- Chile Lime Shrimp – Zesty and with a kick!
I love to bake and cook and share my kitchen experience with all of you! Remembering to come back each day can be tough, that’s why I offer a convenient newsletter every time a new recipe posts. Simply subscribe and start receiving your free daily recipes!
Crispy Shrimp
IMPORTANT – There are often Frequently Asked Questions within the blog post that you may find helpful. Simply scroll back up to read them!
Print It
Pin It
Rate It
Save ItSaved!
Ingredients
- ½ pound grilling shrimp
- 1 Tablespoon cornstarch
- 1 large egg
- 1 cup all-purpose flour
- ¾ cup iced water
- olive oil for pan
Things You’ll Need
-
Sifter
-
Skillet
-
Chef’s knife
-
Candy thermometer
-
Tongs
Before You Begin
- Ensure you leave enough room around each shrimp as you are frying them to prevent them from sticking together and ensure even crisping. Work in batches if needed.
- For any rare leftovers, store them in an airtight container in the refrigerator for 3-4 days. Reheat using the oven or air fryer for best crispiness.
Instructions
-
Rinse shrimp and pat them completely dry with paper towels.
-
Score through the vein on the underside of each shrimp in two places (near the head and tail). Only score, do not cut all the way through, to prevent curling.
-
On a cutting board, use a sifter to lightly sprinkle cornstarch over both sides of the shrimp.
-
In a medium bowl, whisk together the egg, all-purpose flour, and iced water (ensure no ice is added) until smooth to create the batter.
-
Add olive oil to your skillet, enough to reach about 1/4-inch up the side. Preheat the oil to 150-175°F (65-80°C) over medium-high heat.
-
Once the oil is hot, quickly dip each shrimp into the batter using tongs, allowing excess to drip off, then place it into the hot oil. Repeat with remaining shrimp, working in batches.
-
Cook shrimp for about 3 minutes per side, or until golden brown and cooked through. Avoid crowding the skillet.
-
Remove cooked shrimp from the skillet and place them on a paper towel-lined plate to drain any excess oil before serving.
Nutrition
The recipes on this blog are tested with a conventional gas oven and gas stovetop. It’s important to note that some ovens, especially as they age, can cook and bake inconsistently. Using an inexpensive oven thermometer can assure you that your oven is truly heating to the proper temperature. If you use a toaster oven or countertop oven, please keep in mind that they may not distribute heat the same as a conventional full sized oven and you may need to adjust your cooking/baking times. In the case of recipes made with a pressure cooker, air fryer, slow cooker, or other appliance, a link to the appliances we use is listed within each respective recipe. For baking recipes where measurements are given by weight, please note that results may not be the same if cups are used instead, and we can’t guarantee success with that method.
