Crispy Fried Squash: Your Go-To Recipe for Perfect Pan-Fried Summer Squash
Get ready to transform your summer squash into an irresistible delight with this easy fried squash recipe. We’re talking about golden-brown perfection: crispy on the outside, incredibly tender on the inside, and bursting with simple, fresh flavors. Whether your garden is overflowing with zucchini or vibrant yellow squash, this pan-fried method is guaranteed to become a family favorite. It’s the ideal way to enjoy the season’s bounty, creating delectable discs that are perfect as a light appetizer or a versatile side dish.

Why This Crispy Fried Squash Recipe Works So Well
There’s nothing quite like the abundance of summer squash, and this recipe offers the perfect solution for your harvest. This fried squash recipe stands out because it consistently delivers that sought-after texture contrast: an incredibly crispy, flavorful breading that gives way to a wonderfully soft and tender interior. Each disc is a “poppable” bite of pure satisfaction, making it an instant crowd-pleaser.
Many recipes for fried vegetables can end up greasy or soggy, but with our carefully balanced breading and precise frying technique, you’ll achieve perfect results every time. We specifically chose to feature both zucchini and yellow squash not only for their delightful, slightly different flavors but also for the beautiful contrast in color on your plate. This recipe isn’t just about using up your garden’s generosity; it’s about elevating simple summer squash into a truly memorable dish. It holds its own alongside other summer squash favorites like squash casserole and grilled zucchini, offering a unique texture that’s hard to resist.

Key Ingredients for Crispy Fried Squash
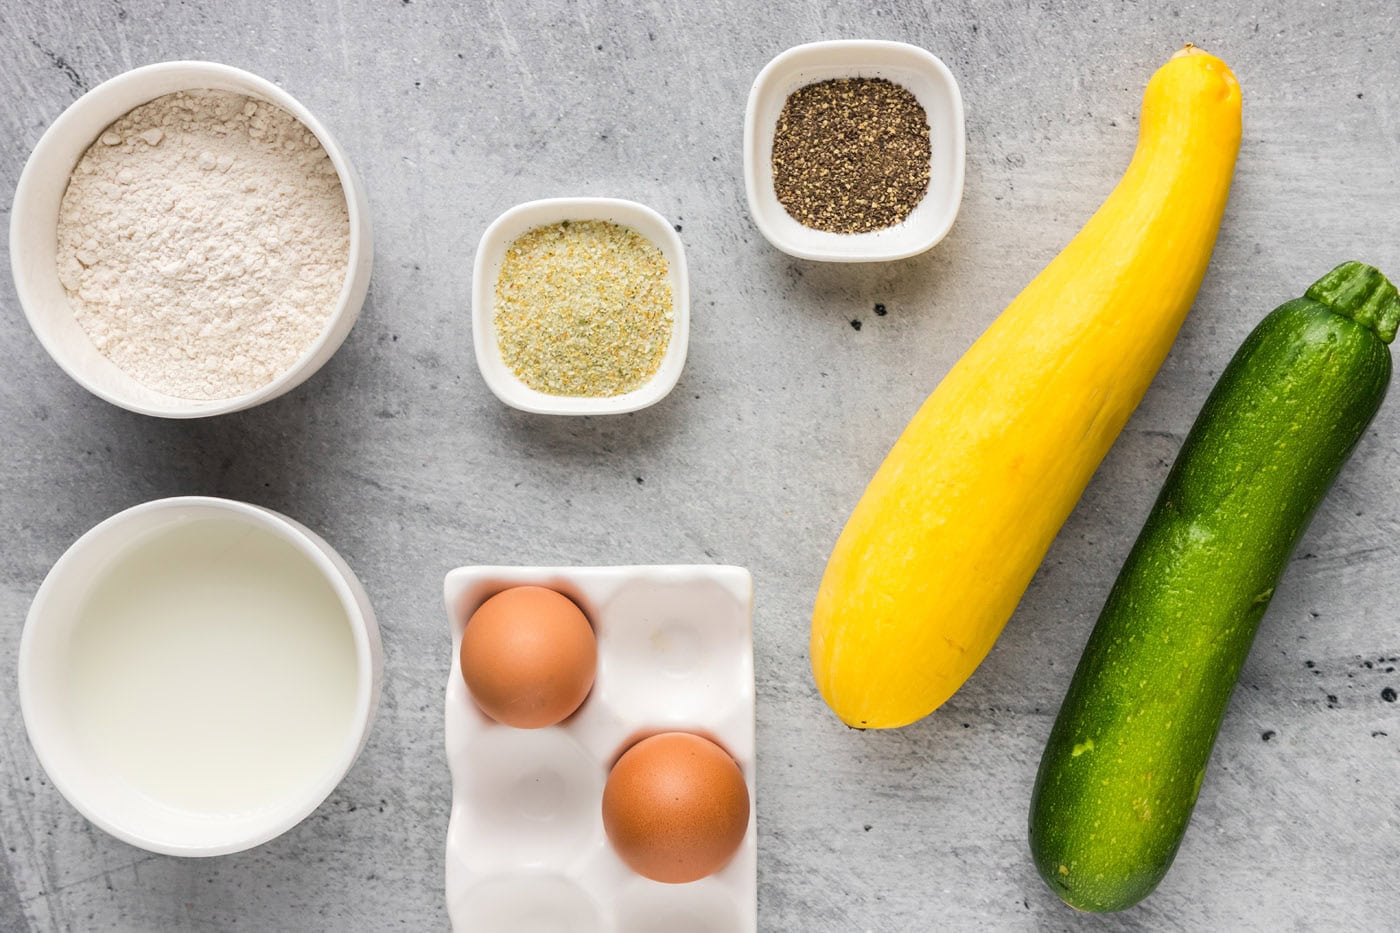
Crafting the perfect fried squash requires a few simple ingredients, each playing a crucial role in achieving that coveted golden crispness and tender texture. For the exact measurements and detailed instructions, refer to the printable recipe card at the end of this post.
Ingredient Spotlight & Smart Substitutions
- Summer Squash: While traditional fried squash often uses yellow squash, we love the visual appeal of combining both zucchini and yellow squash. Zucchini offers a slightly firmer texture, while yellow squash tends to be a bit softer and sweeter. Feel free to use just one type if that’s what you have on hand, or mix and match for a vibrant dish. When selecting squash, look for firm, unblemished vegetables that feel heavy for their size. Smaller to medium-sized squashes tend to have fewer seeds and more flavor.
- All-Purpose Flour: This forms the base of our crispy coating. You can experiment with adding a tablespoon of cornstarch to the flour mixture for an extra layer of crispness. For a gluten-free option, a good quality all-purpose gluten-free flour blend works beautifully.
- Seasonings (Black Pepper & Garlic Salt): These staples provide a foundational savory flavor. Garlic salt adds an essential aromatic kick, while black pepper offers a subtle warmth. Don’t hesitate to customize! Consider adding a pinch of paprika for color and mild flavor, a dash of cayenne pepper for a little heat, or a sprinkle of onion powder for more depth.
- Eggs & Buttermilk: The egg and buttermilk mixture is critical for creating a coating that adheres perfectly to the squash. Buttermilk not only adds a slight tangy flavor but its acidity helps tenderize the squash and allows the flour mixture to stick more effectively. If you don’t have buttermilk, you can easily make a substitute by adding 1 tablespoon of white vinegar or lemon juice to a measuring cup, then filling the rest with regular milk to ½ cup. Let it sit for 5-10 minutes until it slightly curdles.
- Frying Oil: The choice of oil is paramount for achieving a beautifully fried, non-greasy result. We recommend using oils with a high smoke point, such as peanut oil, canola oil, or vegetable oil. These oils can reach the high temperatures needed for frying without burning or imparting off-flavors. Avoid olive oil or butter, as they have lower smoke points and will likely burn.
How to Achieve Perfectly Crispy Pan-Fried Squash
These step-by-step photos and instructions are here to help you visualize how to make this recipe. You can Jump to Recipe to get the printable version of this recipe, complete with measurements and instructions at the bottom.
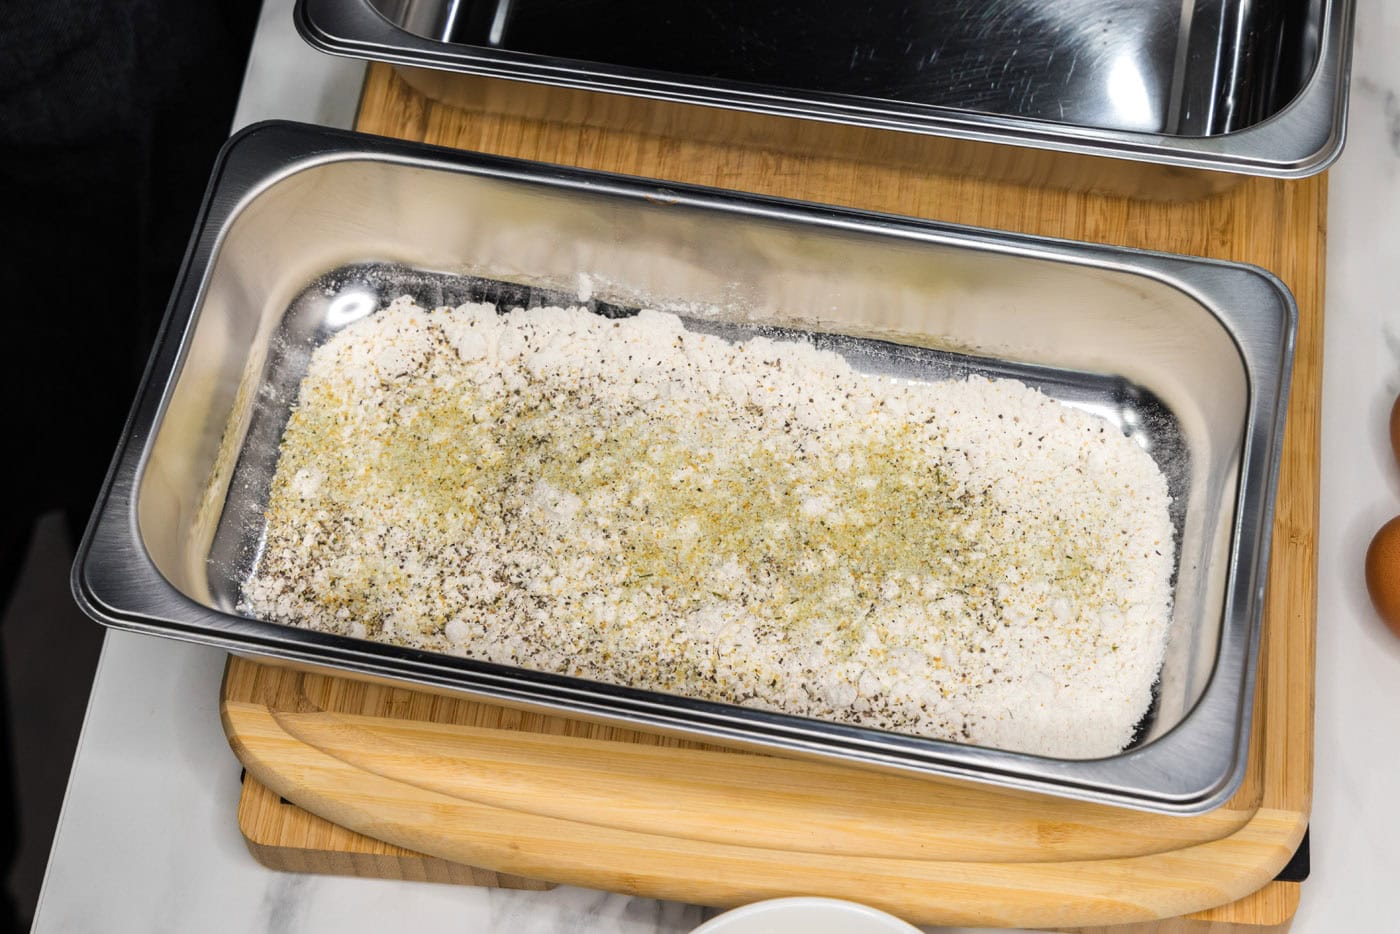
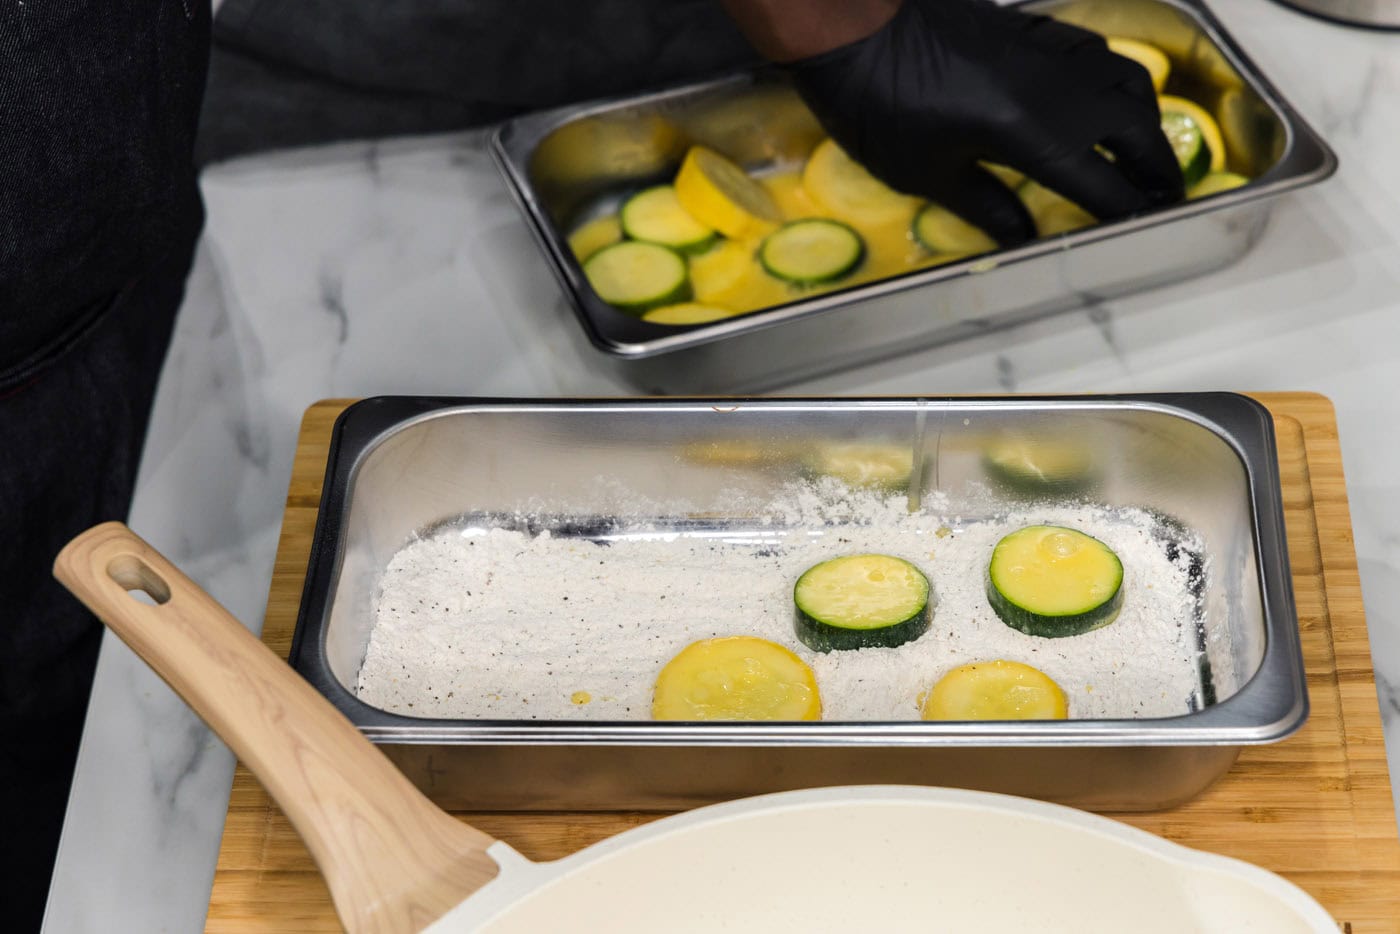
- Prepare the Dry Breading Station: To one of your breading trays, add the all-purpose flour, black pepper, and garlic salt. Use a whisk or fork to thoroughly combine these ingredients. Ensuring an even mixture is crucial for consistent flavor in every bite of your fried squash.
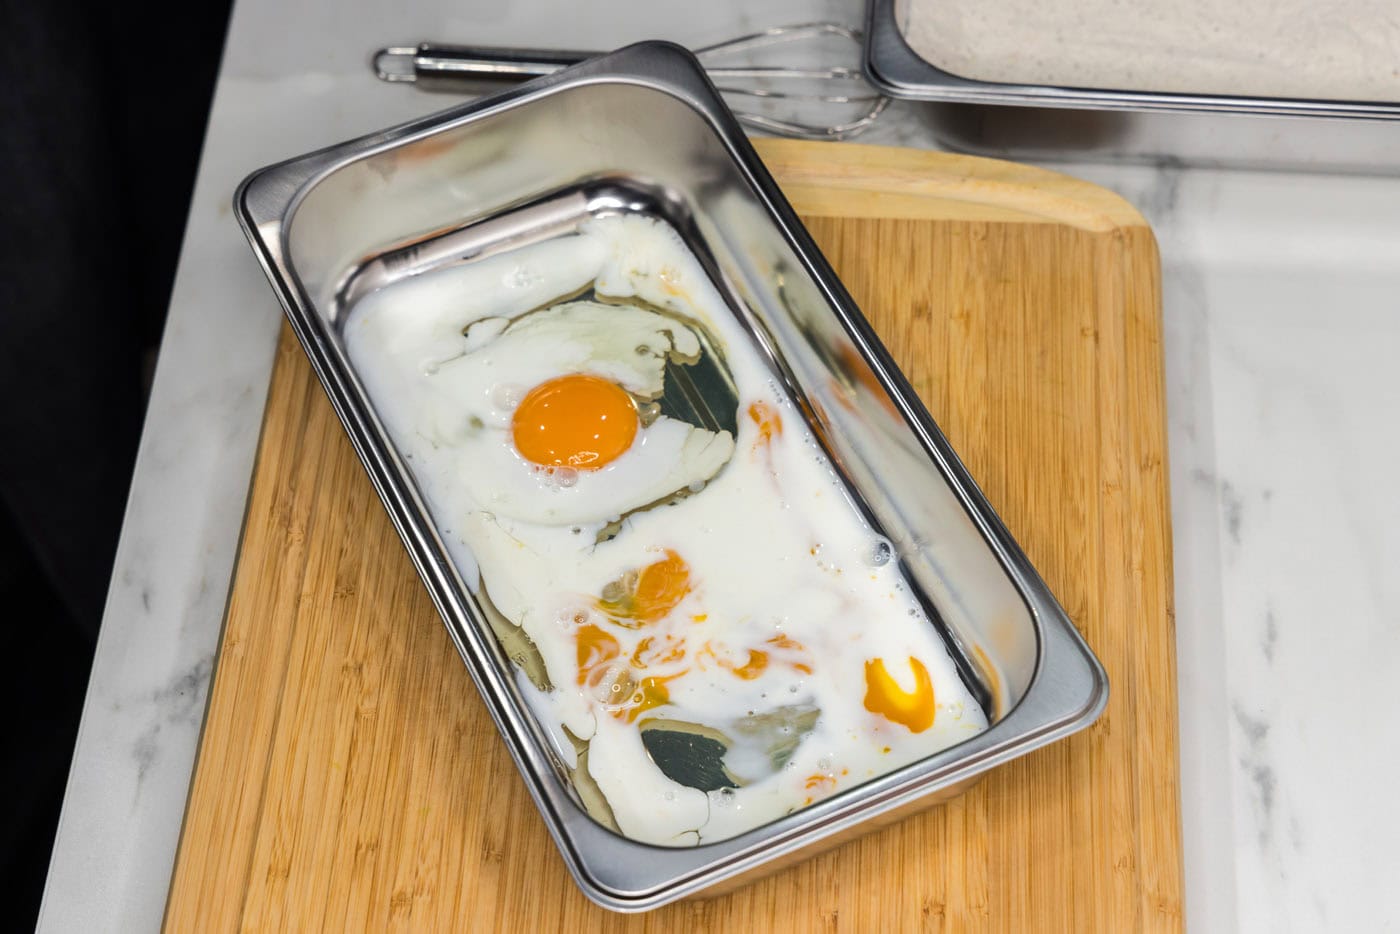
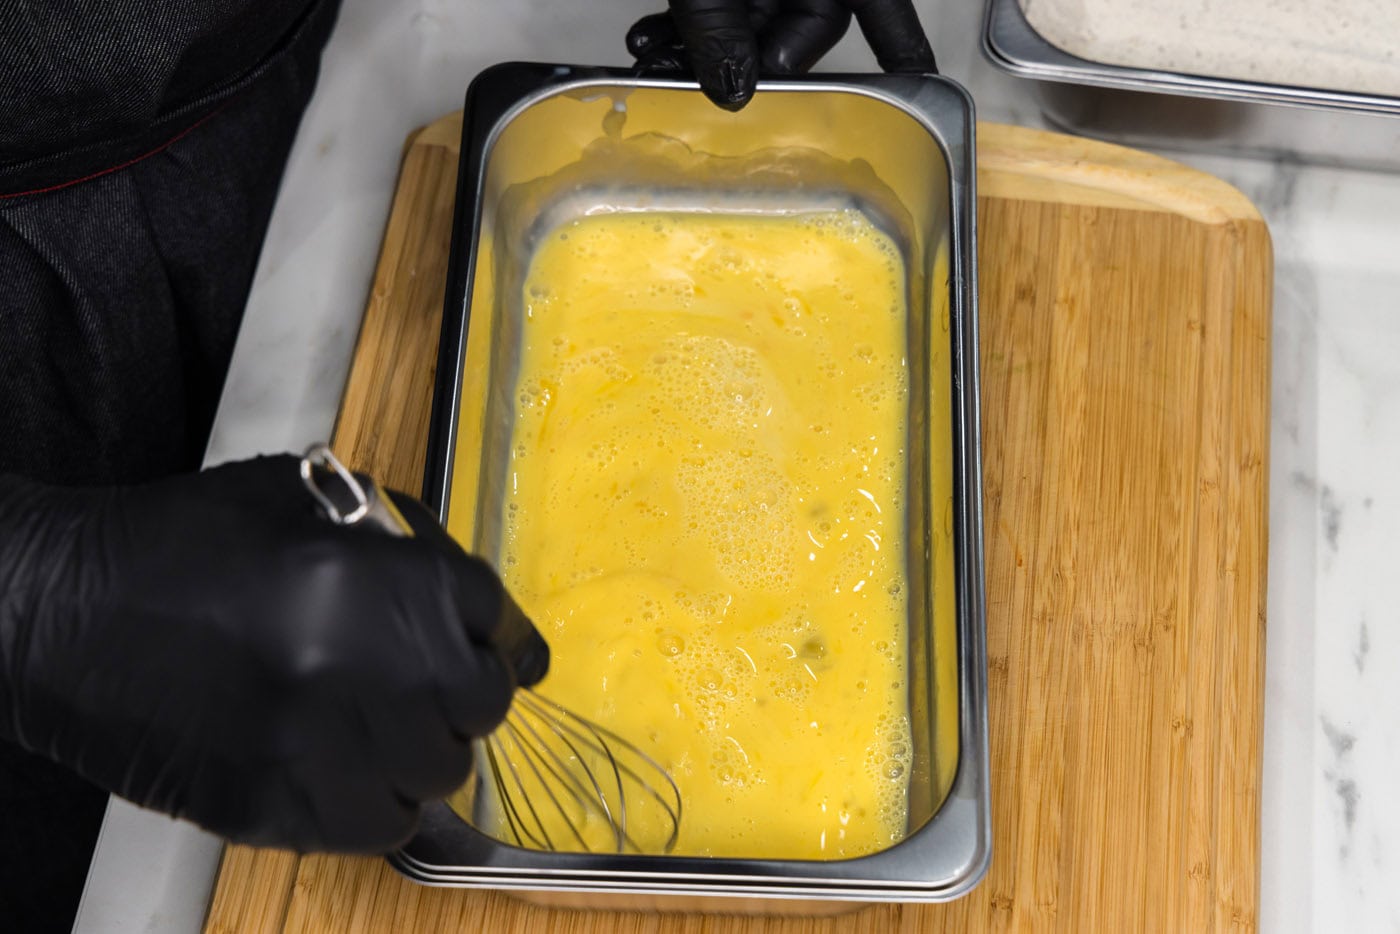
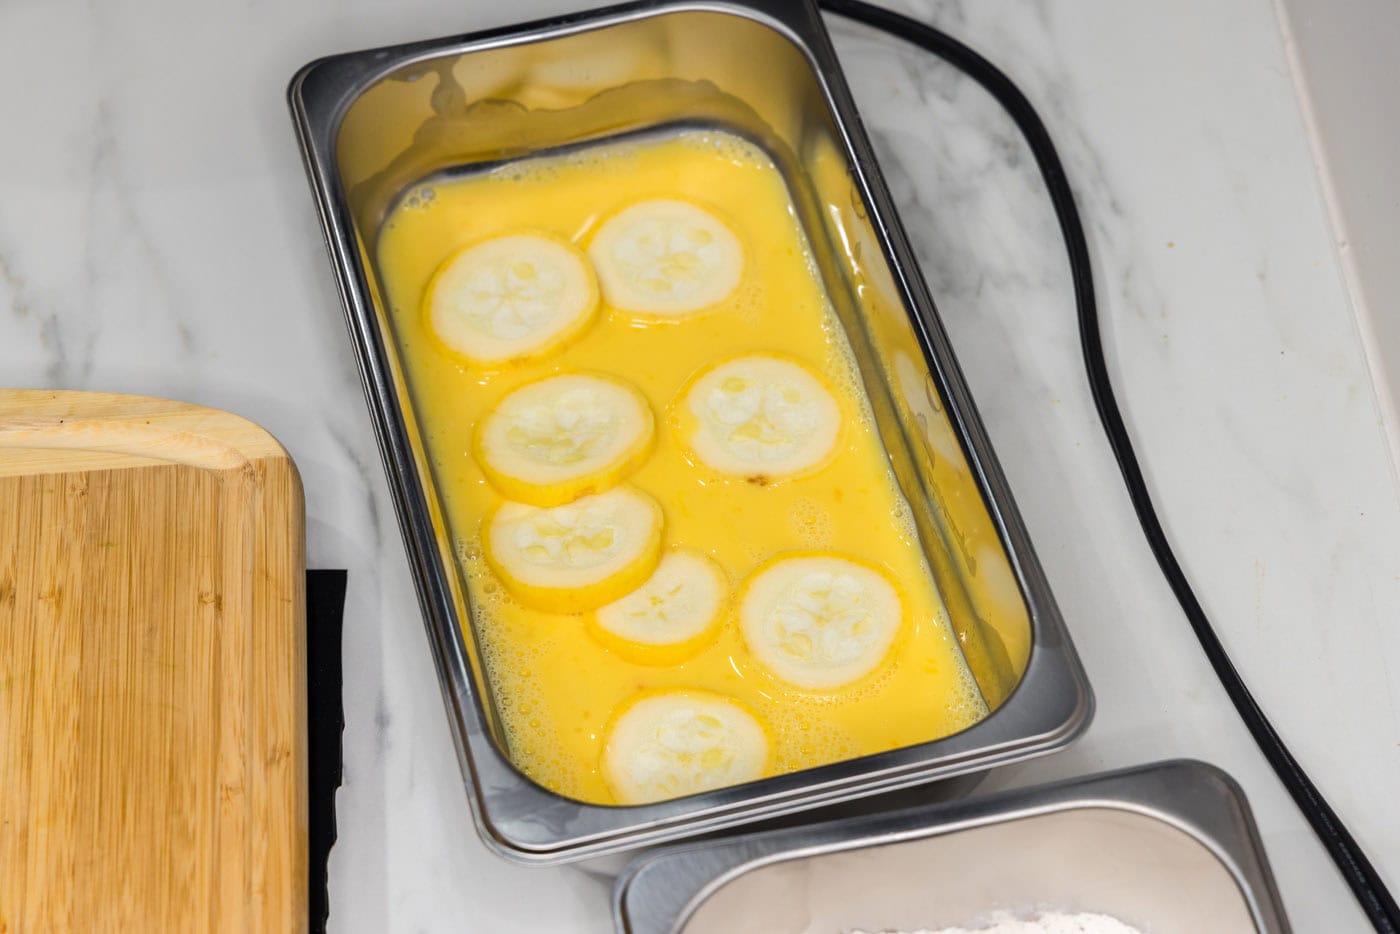
- Set Up the Wet Breading Station: In a second breading tray, whisk together the large eggs and buttermilk until well combined. This creamy mixture will act as the crucial binder for our crispy flour coating.
- Prepare the Squash: Begin by washing your squash and zucchini thoroughly. Trim off both ends, then slice them into uniform 1/2-inch thick coins. Consistency in thickness is key here for even cooking, ensuring all your fried squash pieces become perfectly tender at the same time.
- Bread the Squash: Take your sliced squash coins and dip them into the egg and buttermilk mixture, ensuring each side is thoroughly coated. Once wet, transfer them one at a time into the flour mixture. Use tongs to gently turn and press the squash, making sure the flour coats both sides completely. A thin, even coating is what we’re aiming for. Lightly tap off any excess flour before setting them aside.
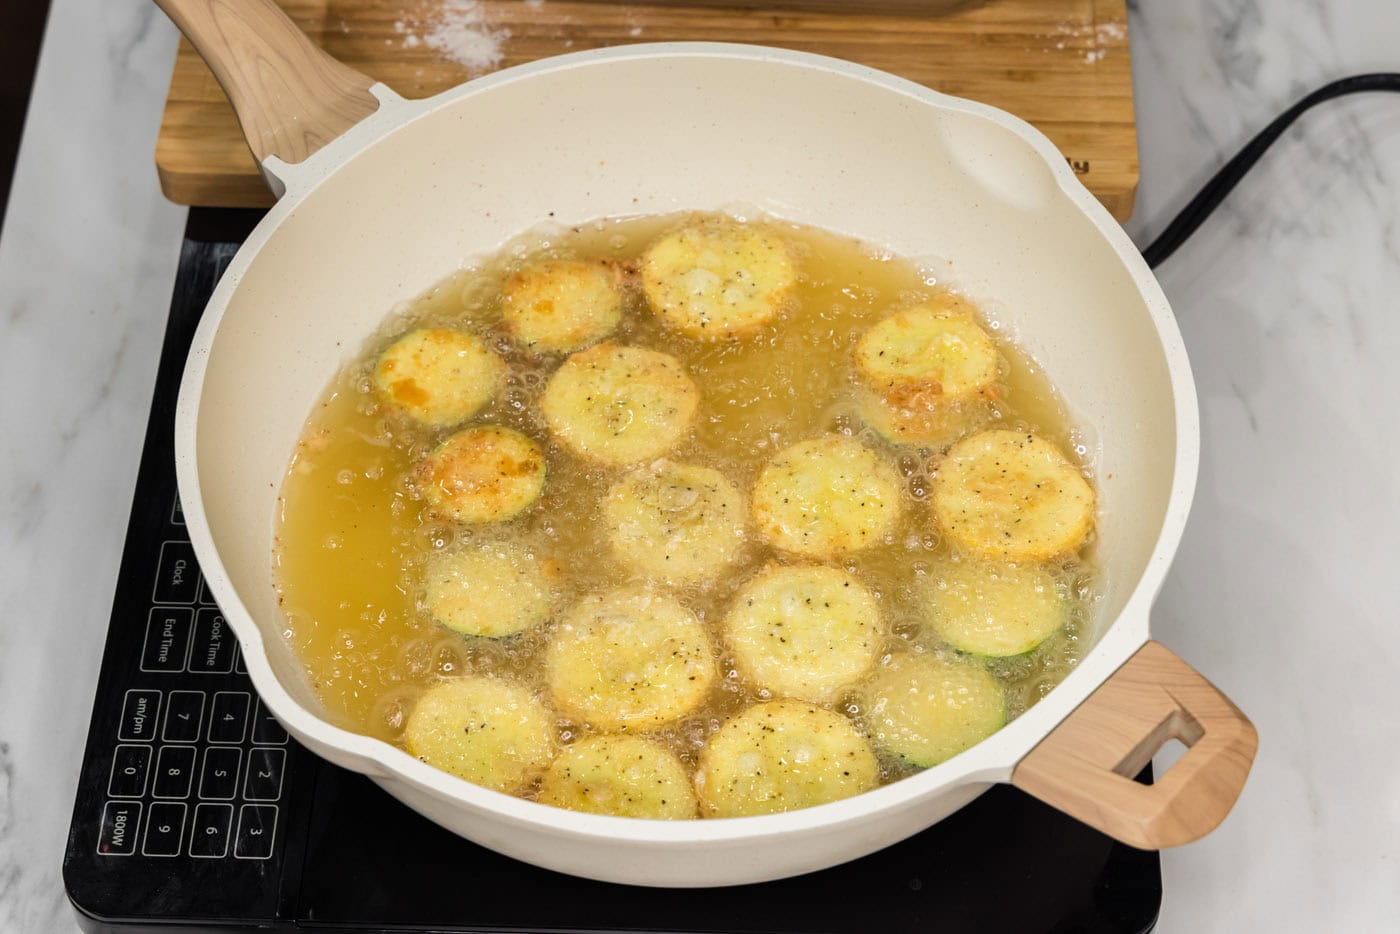
- Heat the Oil: Pour enough frying oil into a heavy-bottomed skillet so that it comes about an inch up the sides of the pan. Heat the oil over medium-high heat until it reaches 350°F (175°C). Using a kitchen thermometer clipped to the side of the pan is highly recommended to maintain this consistent temperature, which is key for crispy, non-greasy results.
- Fry the Squash: Carefully add the floured squash coins to the hot oil, one at a time. Do not overcrowd the pan; work in batches if necessary to ensure even cooking and maintain oil temperature. Fry for approximately 3 minutes per side, or until each piece is beautifully golden brown and delightfully crispy.
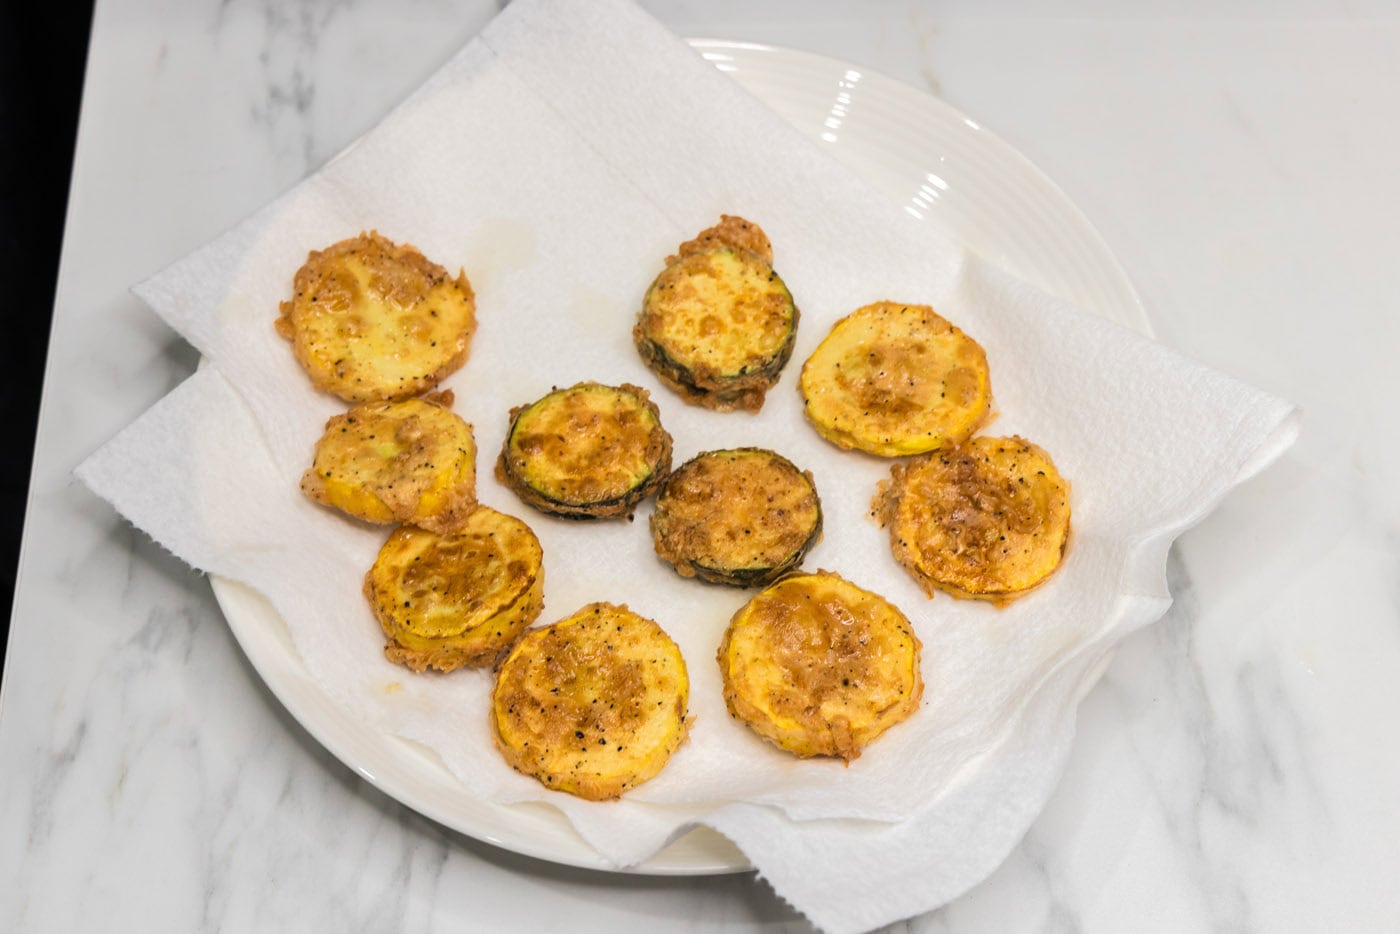
- Drain and Serve: Once fried to perfection, remove the squash with tongs and place them on a plate lined with paper towels. This step is vital for draining excess oil and preserving that desirable crisp texture. Serve immediately while hot!
Frequently Asked Questions & Expert Tips for Fried Squash
Absolutely! While the crispness won’t be identical to pan-frying, oven-baked squash is a fantastic and healthier alternative. To prepare, follow the same breading steps. Then, line a baking sheet with parchment paper and top it with a wire rack. Arrange the dredged squash in a single layer on the rack to allow for even air circulation. Bake in a preheated 350°F (175°C) oven for about 25-35 minutes, flipping halfway through, or until golden brown and tender. The wire rack helps ensure crispiness all around.
Fried squash is undoubtedly at its best when enjoyed fresh from the skillet. However, if you have leftovers, store them in an airtight container in the refrigerator for up to 3 days. Be aware that the breading may lose some of its crispness and become softer in the fridge. To bring back some of that delightful crunch, reheat the squash in an air fryer at 350°F (175°C) for 5-7 minutes, or in an oven at 375°F (190°C) for 10-15 minutes, until heated through and re-crisped.
Soggy fried squash is usually a result of incorrect oil temperature or overcrowding the pan. The most critical factor is maintaining your oil temperature at 350°F (175°C). When the oil isn’t hot enough, the squash absorbs too much oil instead of quickly crisping, leading to a greasy, limp result. Conversely, if the oil is too hot, the coating will burn before the squash cooks through. Use a thermometer to monitor the oil’s temperature and adjust your heat as needed. Additionally, frying in batches prevents the oil temperature from dropping too much and ensures each piece has enough space to cook evenly and get crispy. Another common cause of sogginess is excess moisture in the squash itself. For best results, after slicing your squash, you can lightly salt the coins and let them sit for 15-20 minutes. This draws out excess water. Pat them thoroughly dry with paper towels before breading.
For optimal results, slice your zucchini and yellow squash into uniform 1/2-inch thick coins. This thickness ensures that the squash cooks through to tender perfection at the same rate that the breading achieves its golden crispness. Thicker slices might remain too firm inside, while thinner slices could overcook and become mushy.
You can certainly mix the flour and spice blend ahead of time and store it in an airtight container. The egg and buttermilk mixture should be prepared just before you’re ready to fry. For the best crispness, it’s ideal to bread and fry the squash immediately.

Delicious Serving Suggestions for Fried Squash
Crispy fried squash is incredibly versatile and can be served in numerous ways to elevate any meal or gathering. Enjoy these golden discs as a delightful appetizer, perfect for sharing, or pair them as a savory side dish with a variety of main courses. They are truly irresistible straight from the pan!
- Dipping Sauces: Elevate the experience with a selection of dipping sauces. Classic ranch dressing is always a hit, but consider stepping it up with a spicy ranch, a tangy Alabama white sauce, a creamy honey mustard, a vibrant marinara, or even a zesty lemon-garlic aioli.
- Main Course Pairings: Fried squash makes an excellent accompaniment to grilled meats like chicken, steak, or pork chops. It also pairs wonderfully with fried fish or even a juicy burger. For a vegetarian meal, serve it alongside a fresh summer salad or a hearty grain bowl.
- Garnish Ideas: A simple garnish can add both visual appeal and an extra layer of flavor. Sprinkle your finished fried squash with freshly grated Parmesan cheese, a scattering of chopped fresh parsley, or a squeeze of fresh lemon juice for a bright finish. A flaky sea salt dusting right after draining can also enhance the crisp texture.
More Delightful Summer Squash Recipes You’ll Love
- Crispy Fried Zucchini Fries
- Simple Sauteed Zucchini
- Kid-Friendly Zucchini Pizza Bites
- Hearty Baked Spaghetti Squash
I love to bake and cook and share my kitchen experience with all of you! Remembering to come back each day can be tough, that’s why I offer a convenient newsletter every time a new recipe posts. Simply subscribe and start receiving your free daily recipes!

Fried Squash
IMPORTANT – There are often Frequently Asked Questions within the blog post that you may find helpful. Simply scroll back up to read them!
Print It
Pin It
Rate It
Save ItSaved!
Course: Appetizer, Side Dish
Cuisine: American
Ingredients
- ½ cup all purpose flour
- ½ Tablespoon black pepper
- 1 Tablespoon garlic salt
- 2 large eggs
- ½ cup buttermilk
- 1 medium yellow squash
- 1 medium zucchini
- oil for frying
Things You’ll Need
-
Large heavy bottomed skillet
-
Breading trays
-
Tongs
Before You Begin
- You do not have to use both zucchini and yellow squash. We chose both for color and presentation, but feel free to use either or.
- You can use peanut, canola, or vegetable oil for frying.
- You’ll likely have leftover breading mixture.
- It’s really important to maintain the temperature of your oil in the skillet while frying squash. The temperature will fluctuate as you add and remove the squash. It’s best to keep a thermometer clipped to the side of the skillet to make sure the oil stays at 350F. Work in batches to fry the squash (if needed) instead of crowding the pan.
Instructions
-
To one of the breading trays, add the flour, black pepper, and garlic salt. Stir or whisk to combine.
-
To a second breading tray, add the eggs and buttermilk. Whisk together.
-
Cut the ends off of the squash and zucchini. Slice into 1/2-inch thick coins.
-
Place squash coins into the egg mixture. Coat one and a time, then move into the flour mixture. Use tongs to turn them, ensuring the flour mixture coats both sides.
-
Add enough oil in a skillet to come about an inch up the sides of the pan. Heat over medium-high until temperature reaches 350 F.
-
Add floured squash coins to the hot oil one at a time until pan is full but not crowded. Fry for 3 minutes per side or until golden brown and crispy.
-
Drain on paper towels.
Expert Tips & FAQs
- Storage – Store leftovers in an air-tight container kept in the refrigerator for up to 3 days. Fried squash is best enjoyed right away for the best texture. As it sits in the refrigerator the breading may become soggy. Reheat in the air fryer or oven to help crisp it back up.
- To Make in the Oven – Prep the squash just as you would if you were frying it in the oven. Line a baking sheet with parchment paper followed by a wire rack. Place the dredged squash on top of the wire rack and bake in a 350F oven for around 30 minutes or until golden.
Nutrition
Tried this Recipe? Pin it for Later!Follow on Pinterest @AmandasCookin or tag #AmandasCookin!
The recipes on this blog are tested with a conventional gas oven and gas stovetop. It’s important to note that some ovens, especially as they age, can cook and bake inconsistently. Using an inexpensive oven thermometer can assure you that your oven is truly heating to the proper temperature. If you use a toaster oven or countertop oven, please keep in mind that they may not distribute heat the same as a conventional full sized oven and you may need to adjust your cooking/baking times. In the case of recipes made with a pressure cooker, air fryer, slow cooker, or other appliance, a link to the appliances we use is listed within each respective recipe. For baking recipes where measurements are given by weight, please note that results may not be the same if cups are used instead, and we can’t guarantee success with that method.
